 MAP
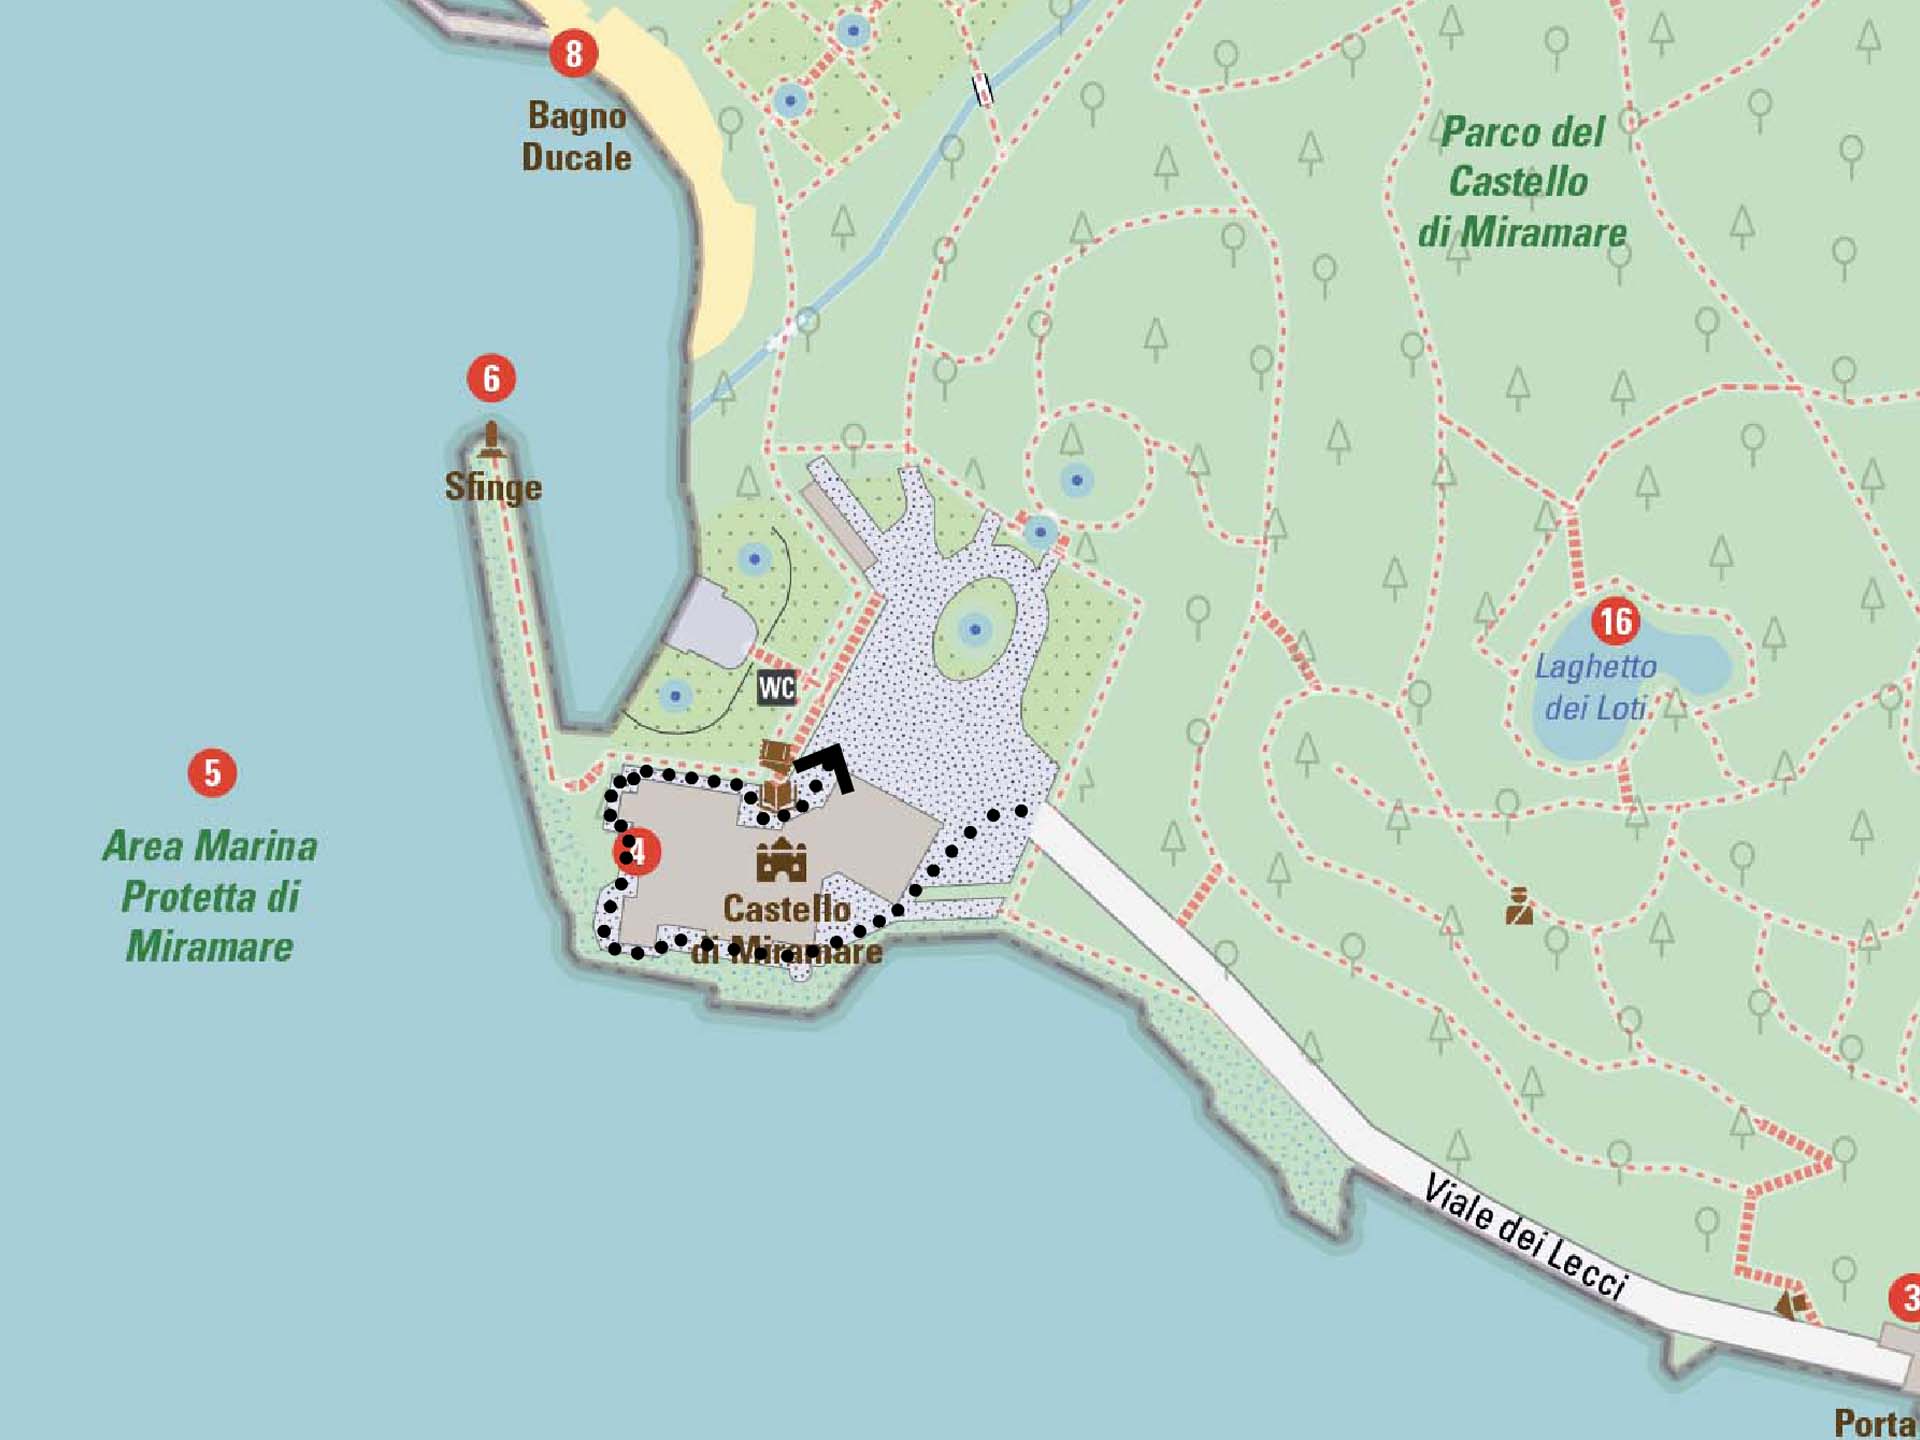
Trieste - Miramare Castle Park

Sea
GENERAL INFORMATION
LAST INSPECTION DATE
09/07/2024
PLANNED ITINERARY
Trieste - Miramare Castle Park
LENGTH
2060 meters
DEPARTURE
Viale Miramare
Section 1
Before entering the Park by car and parking, we find a barrier that opens by taking a ticket (photo 1). People entering with a car with a permit have free parking, which is recognized upon exit by pressing the sos button and speaking with the operator. After passing the curve after the barrier, we arrive at the entrance gate to the park (photo 2), once passed, on the right we find the ticket office for parking payment (photo 3) and subsequently the accessible restrooms with an accessible ramp (photo 4). Continuing along the paved road, on the left side there is a sidewalk while on the opposite side there are parking spaces for cars. We proceed along the right side of the BioMa - Marine Biodiversity Museum (photo 5) and the Former Stables (photo 6).
The road narrows, there is no sidewalk but on the right side of the parking spaces there is a small green area, elevated from the road level, with benches and a drinking fountain (photo 7).
In the last part of the section on the right, there are some parking spaces for motorcycles, reserved parking for employees on yellow lines (photo 8). The last two parking spaces before Porta della Bora are for people with disabilities (photo 9). For people with mobility difficulties, it is possible to arrange, with prior communication, car entry up to the Castle, taking the car out through Porta della Bora immediately after.
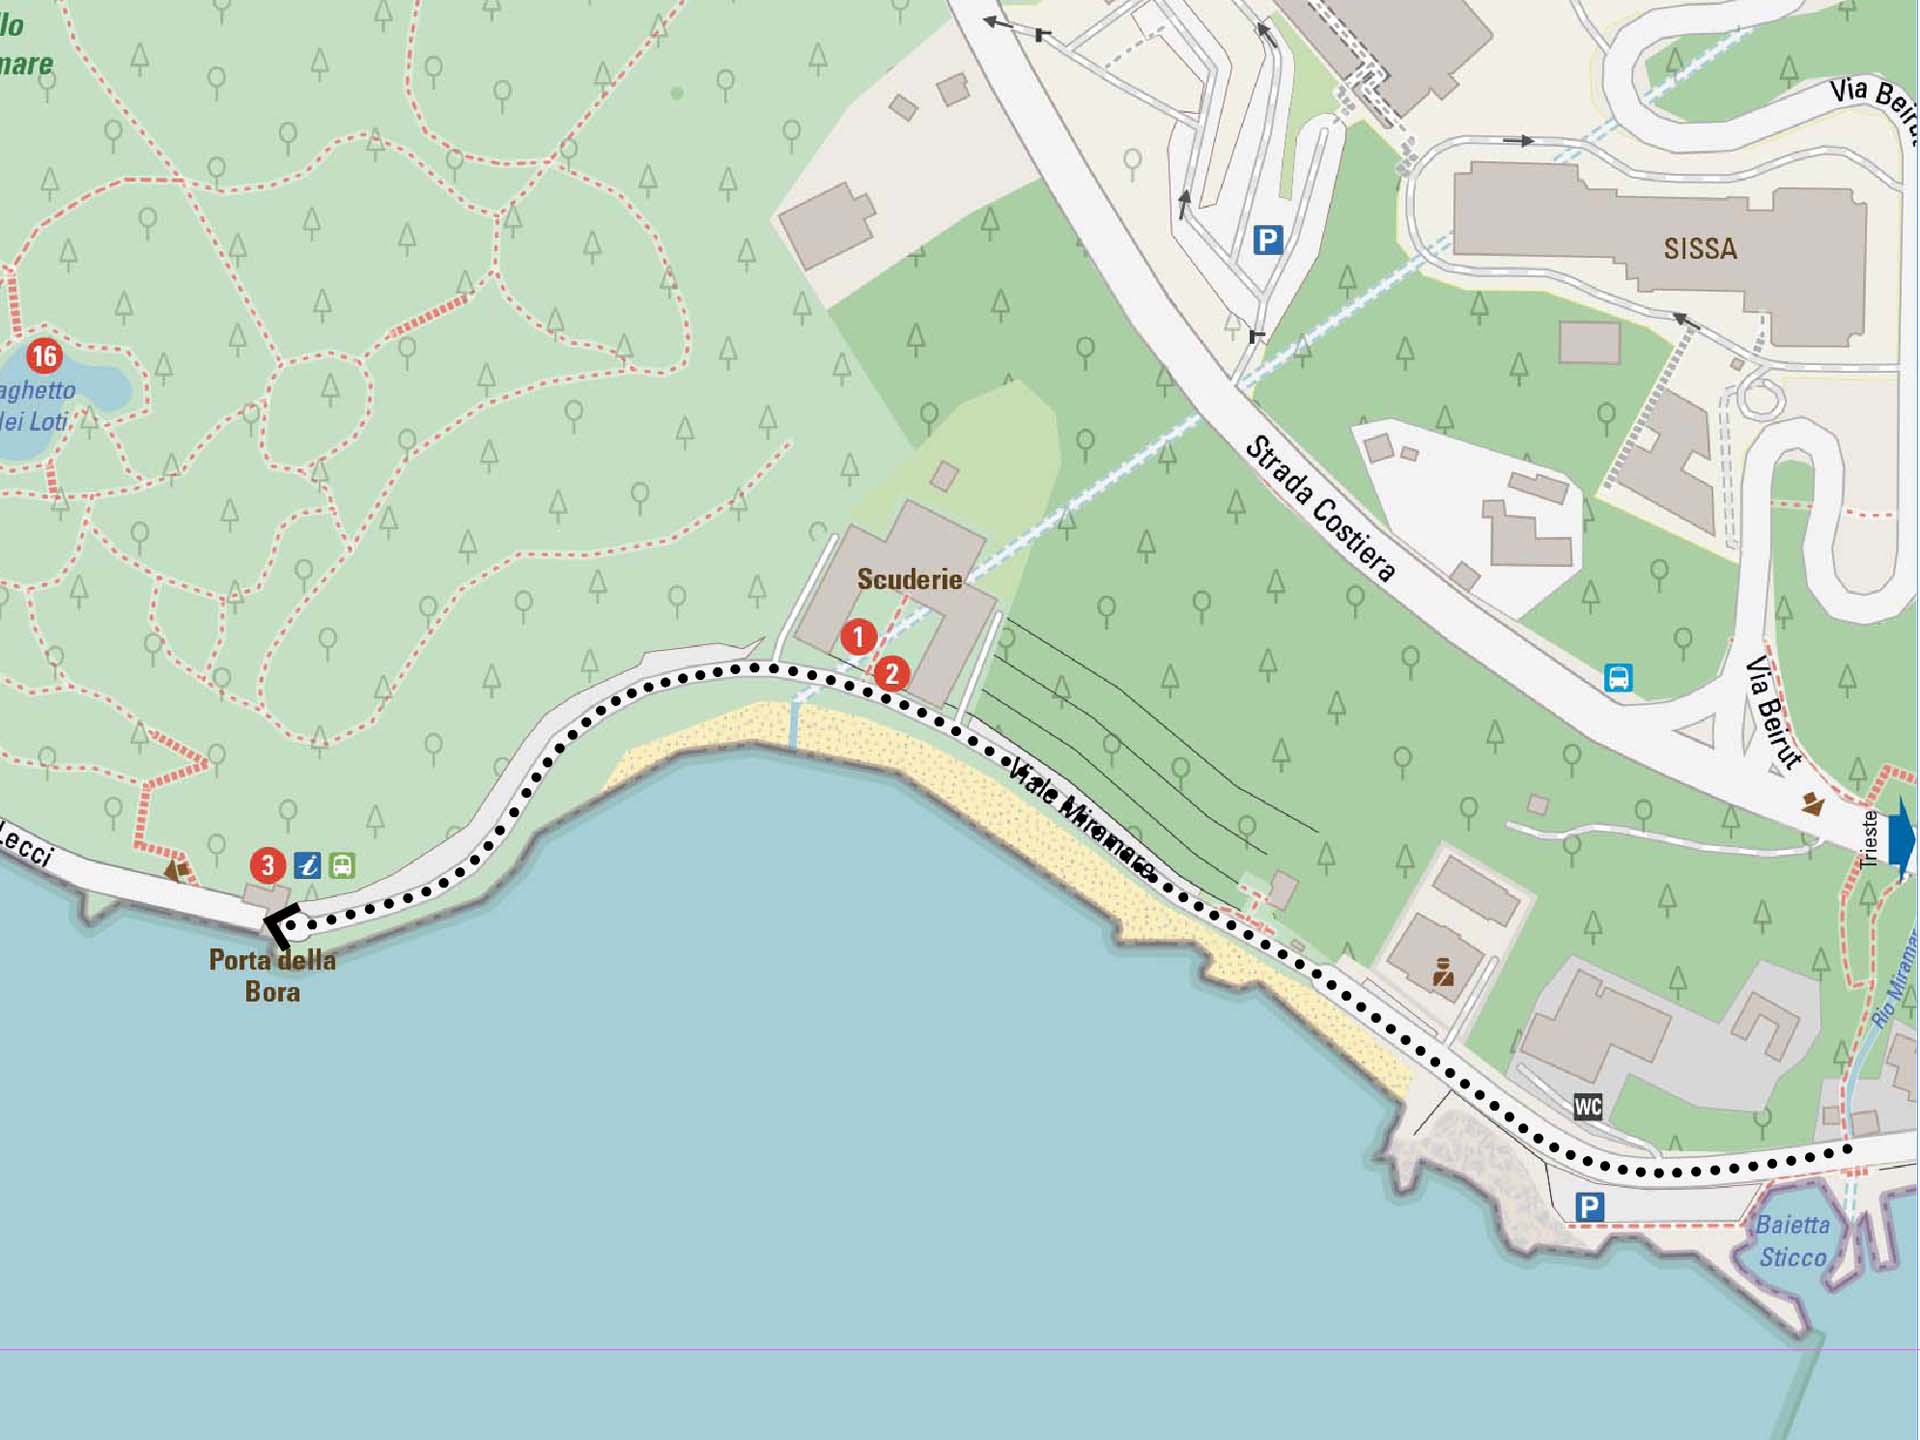
Section 1
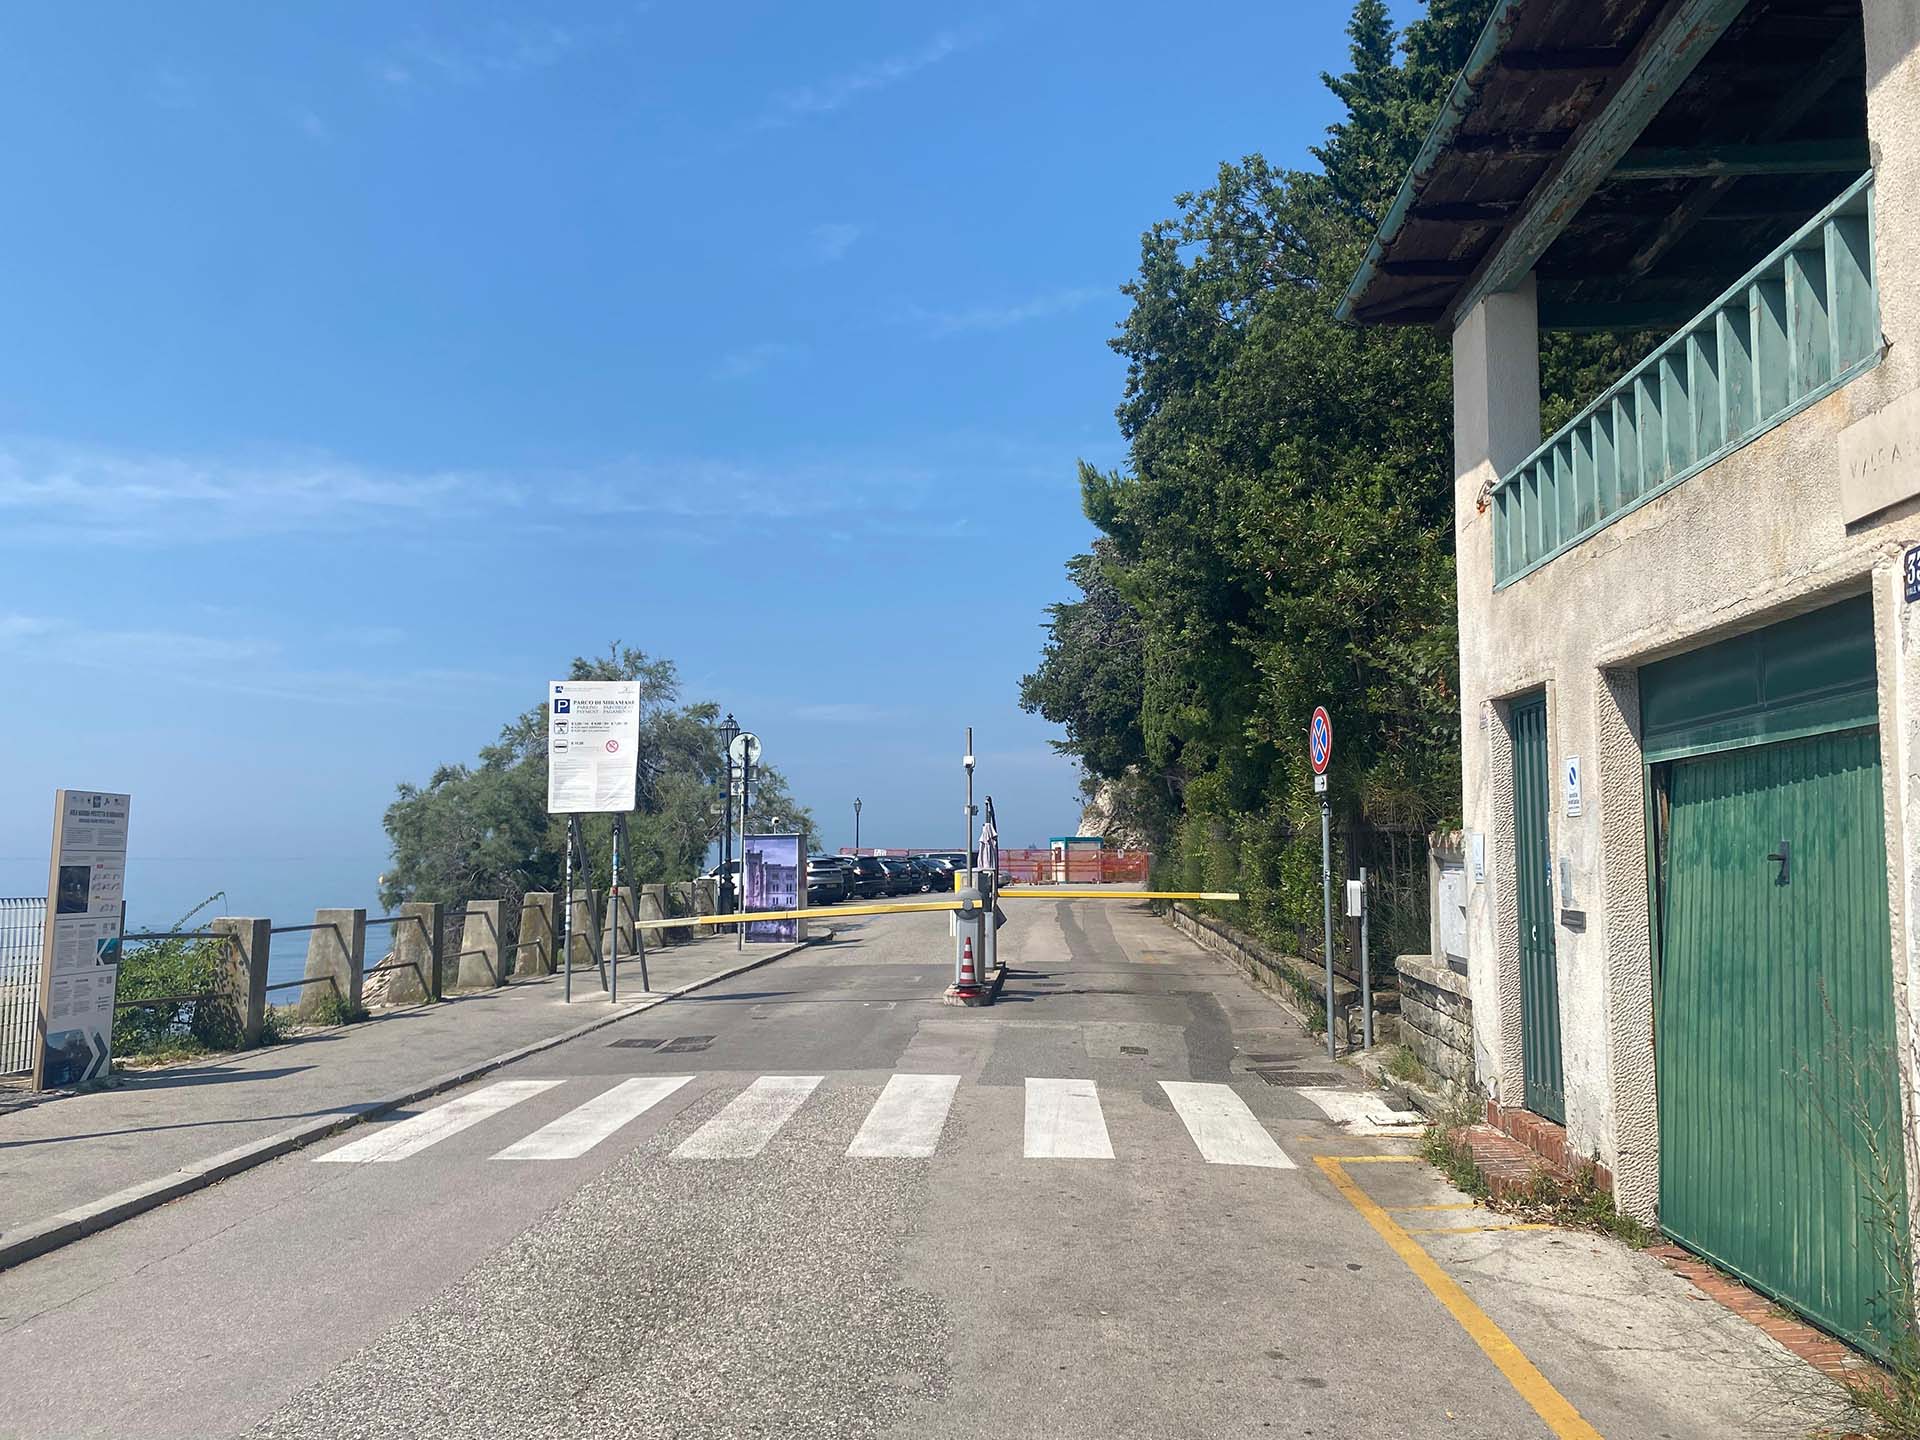
Photo 1 - Entrance gate to the parking lots of the Park
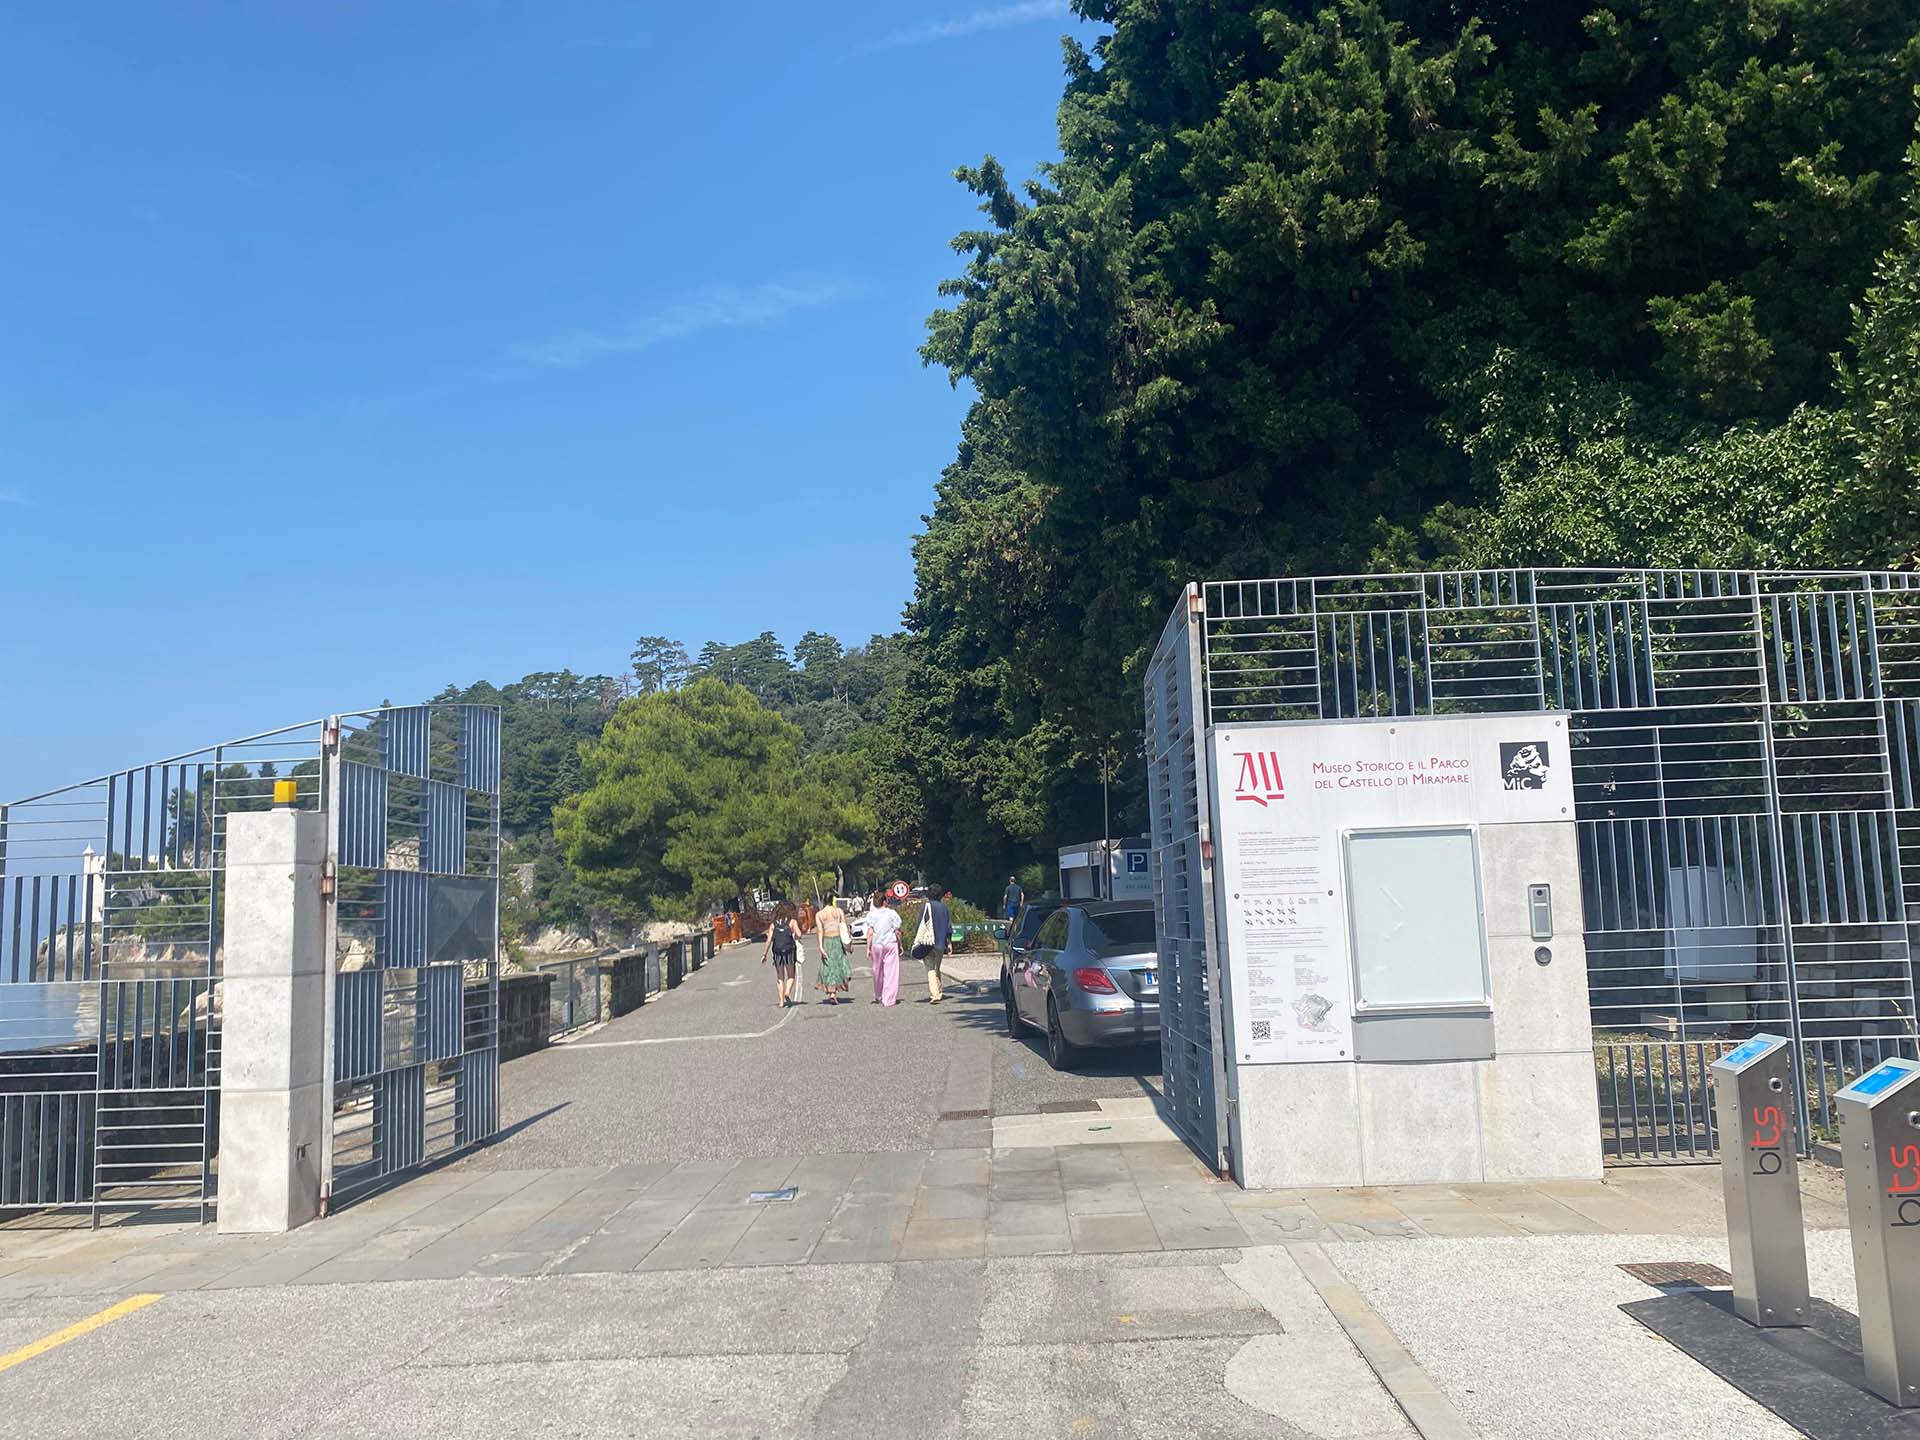
Photo 2 - Entrance gate to the Park
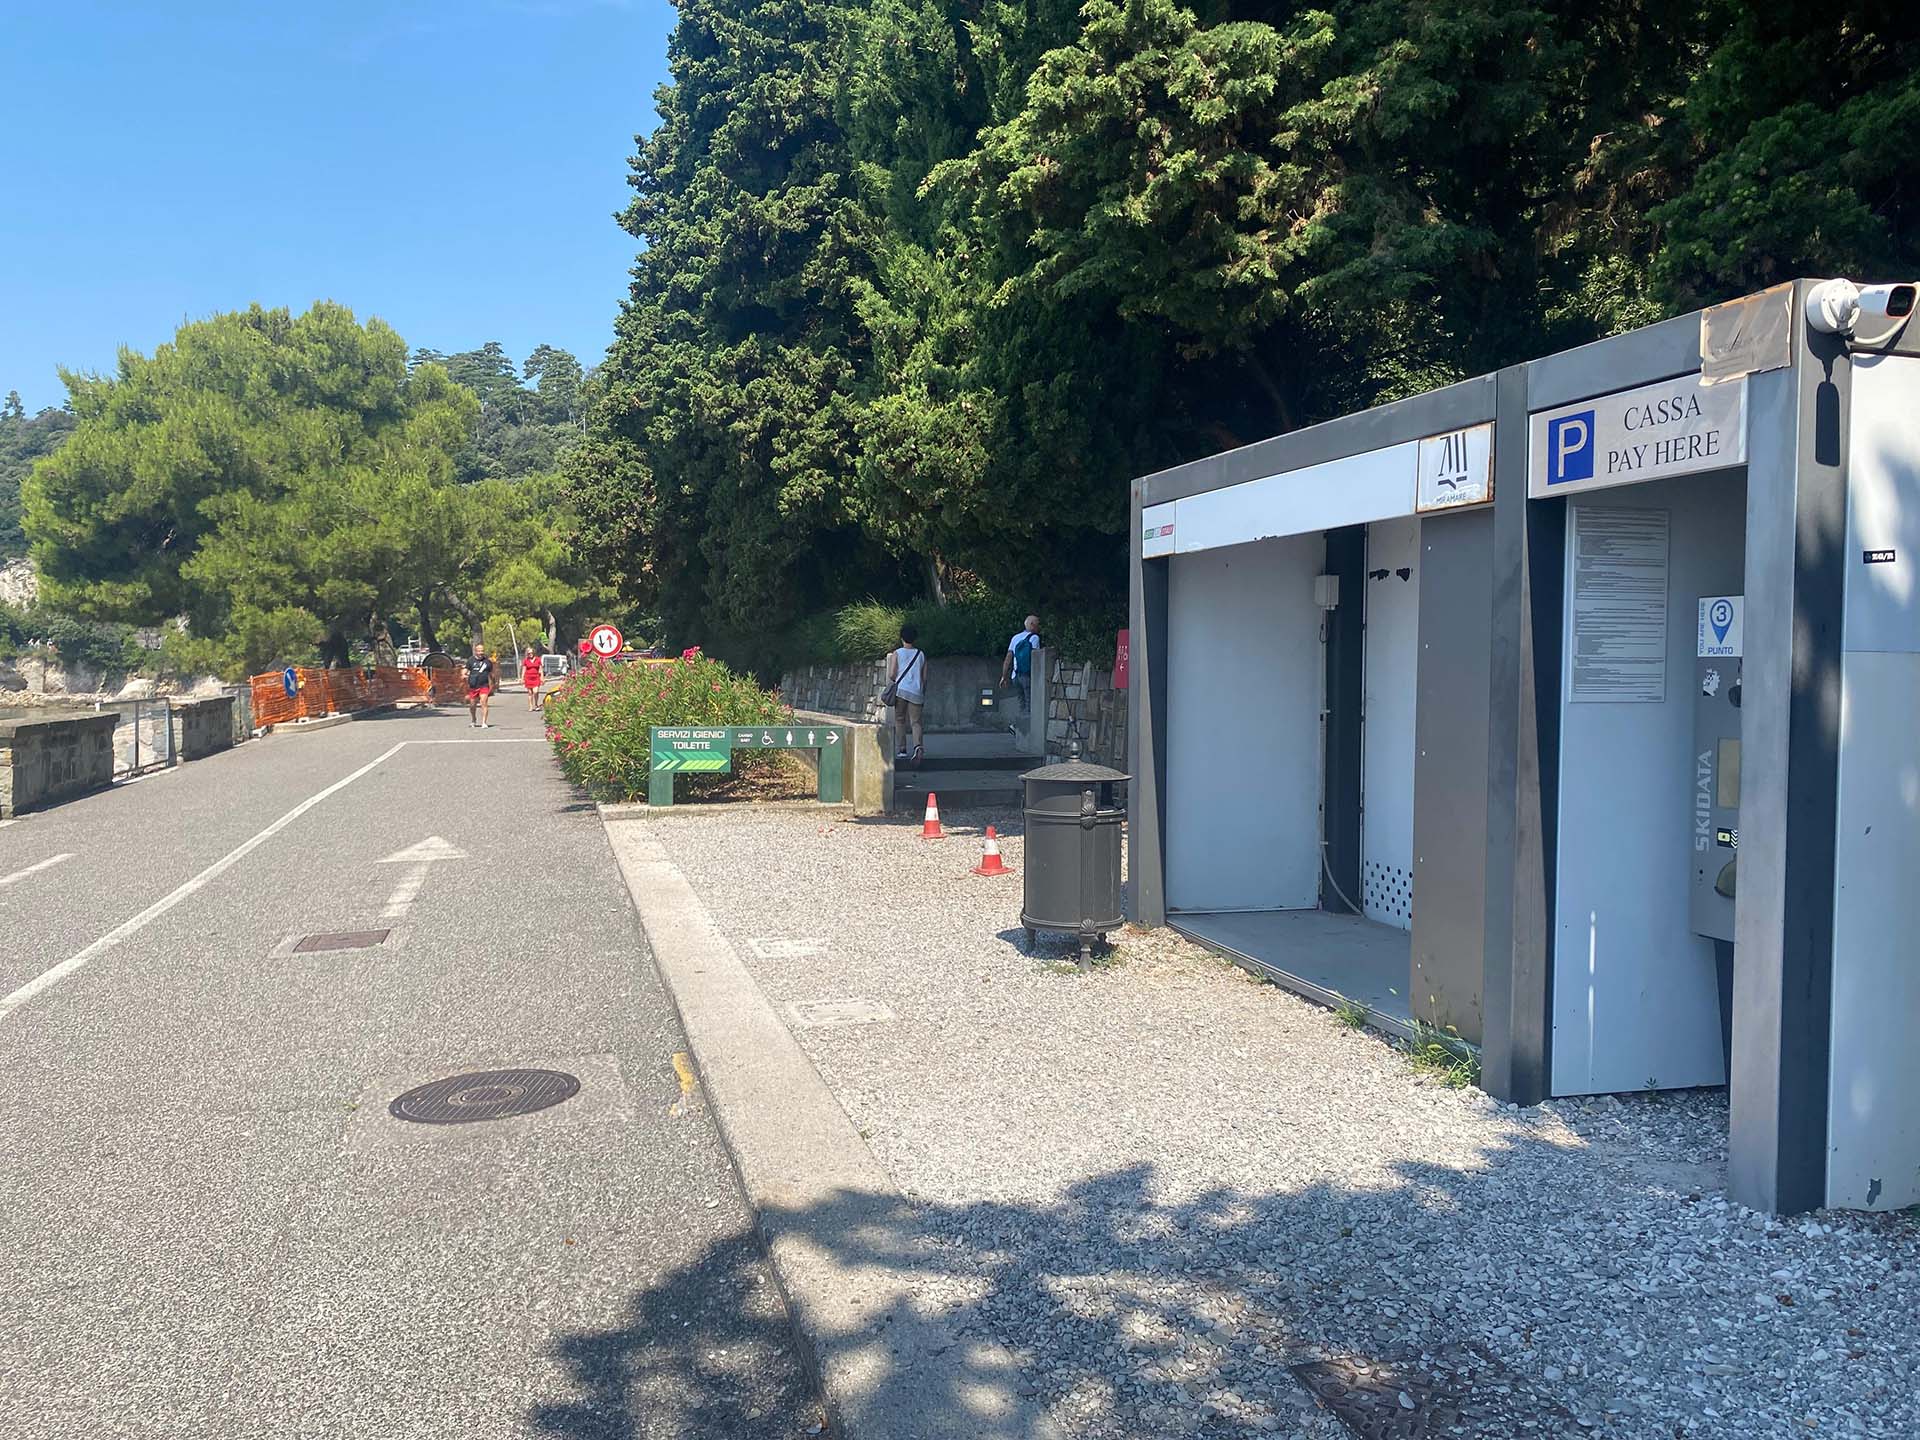
Photo 3 - Payment machine for parking
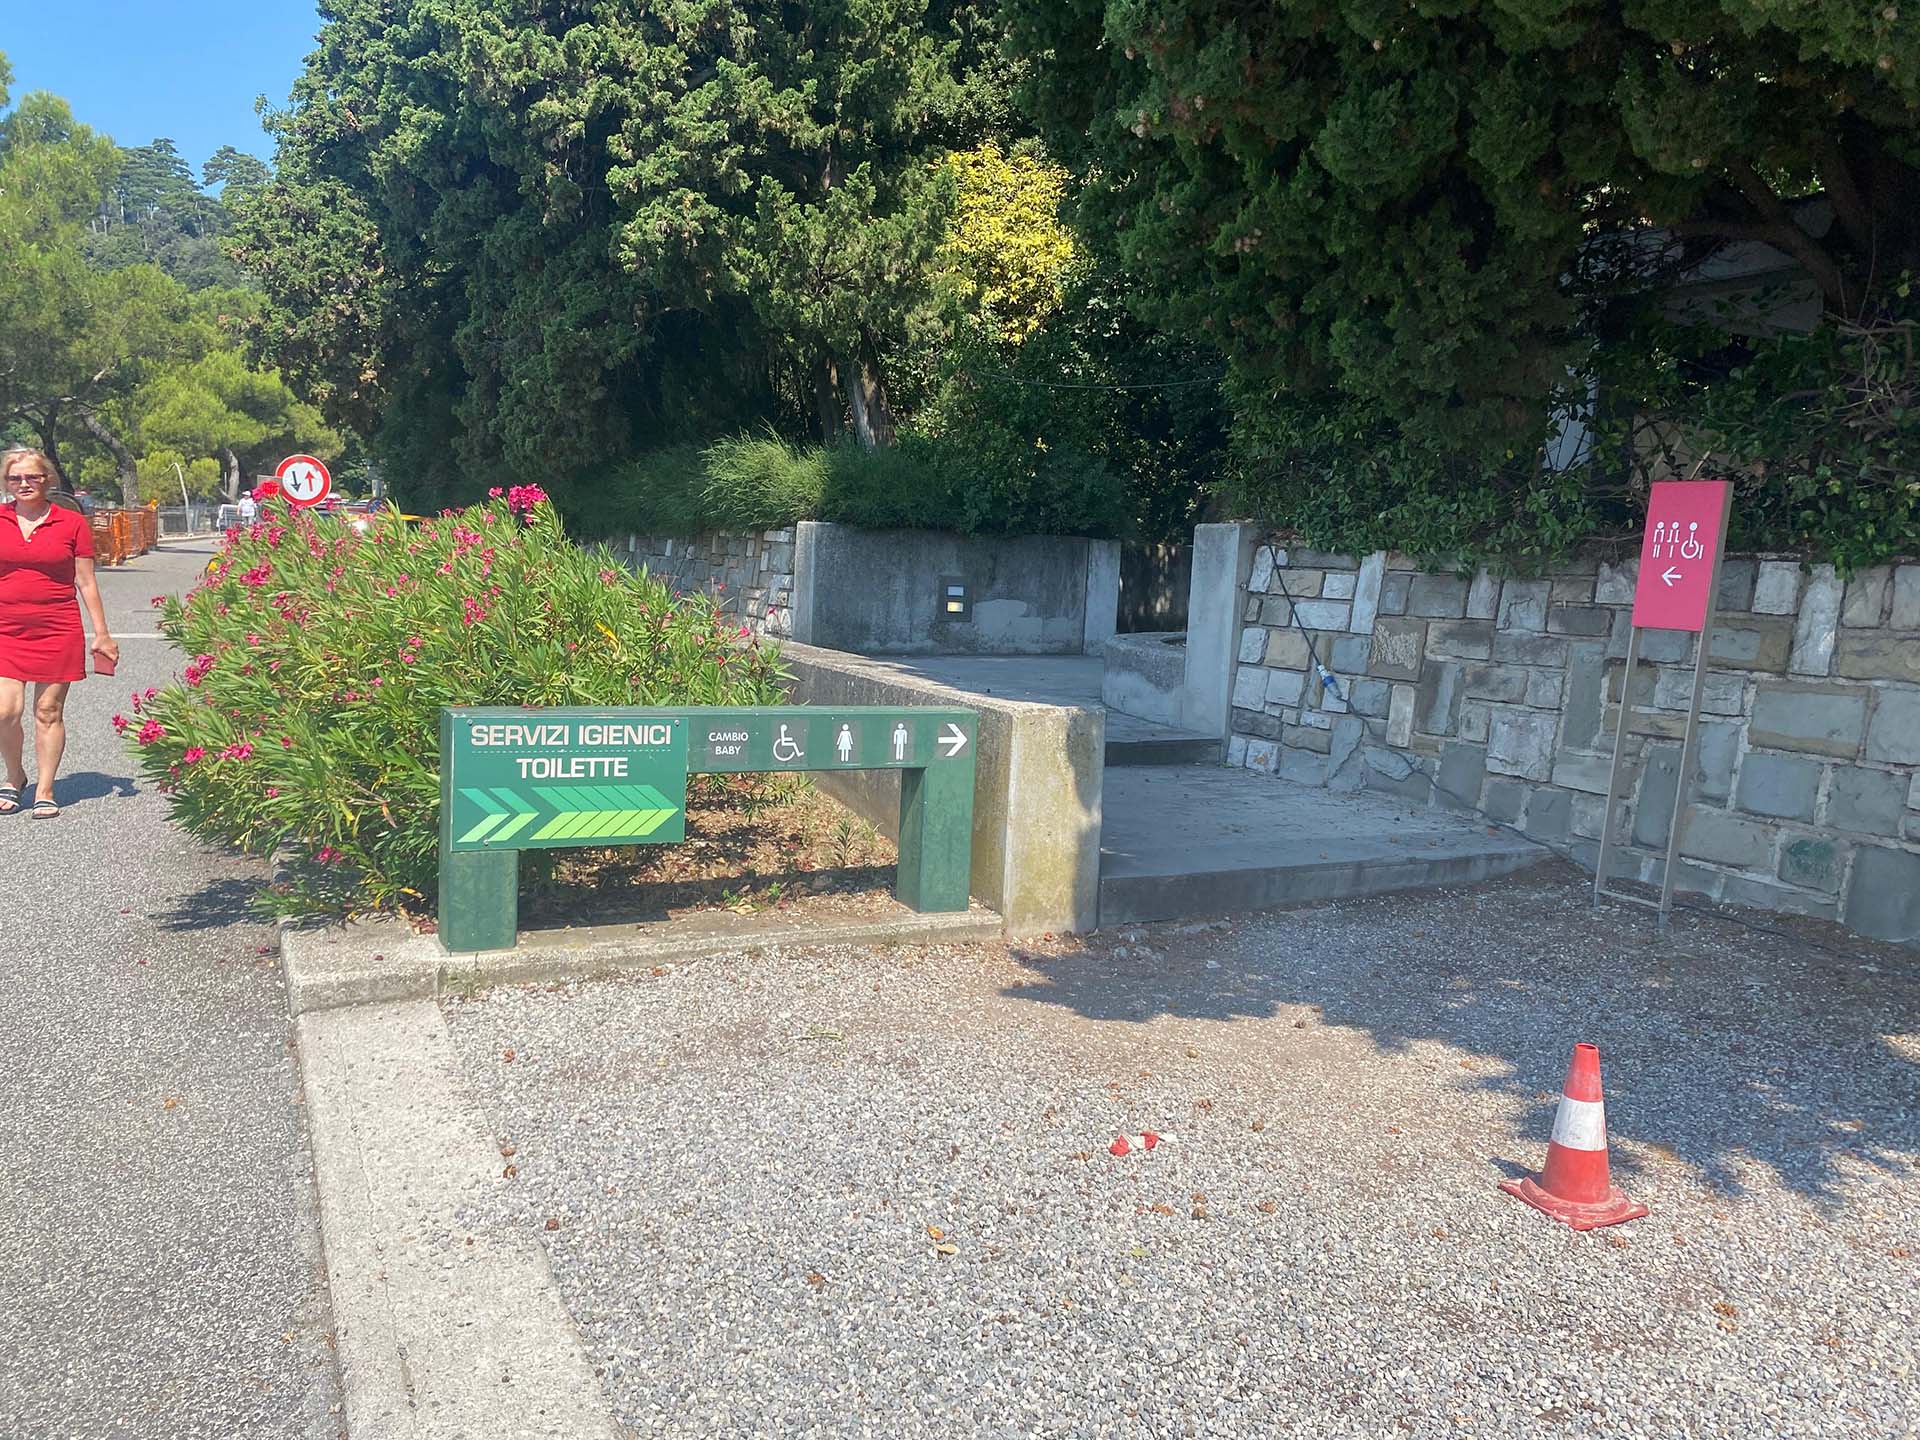
Photo 4 - Opposite side of the accessible ramp for restrooms (often occupied by cars)
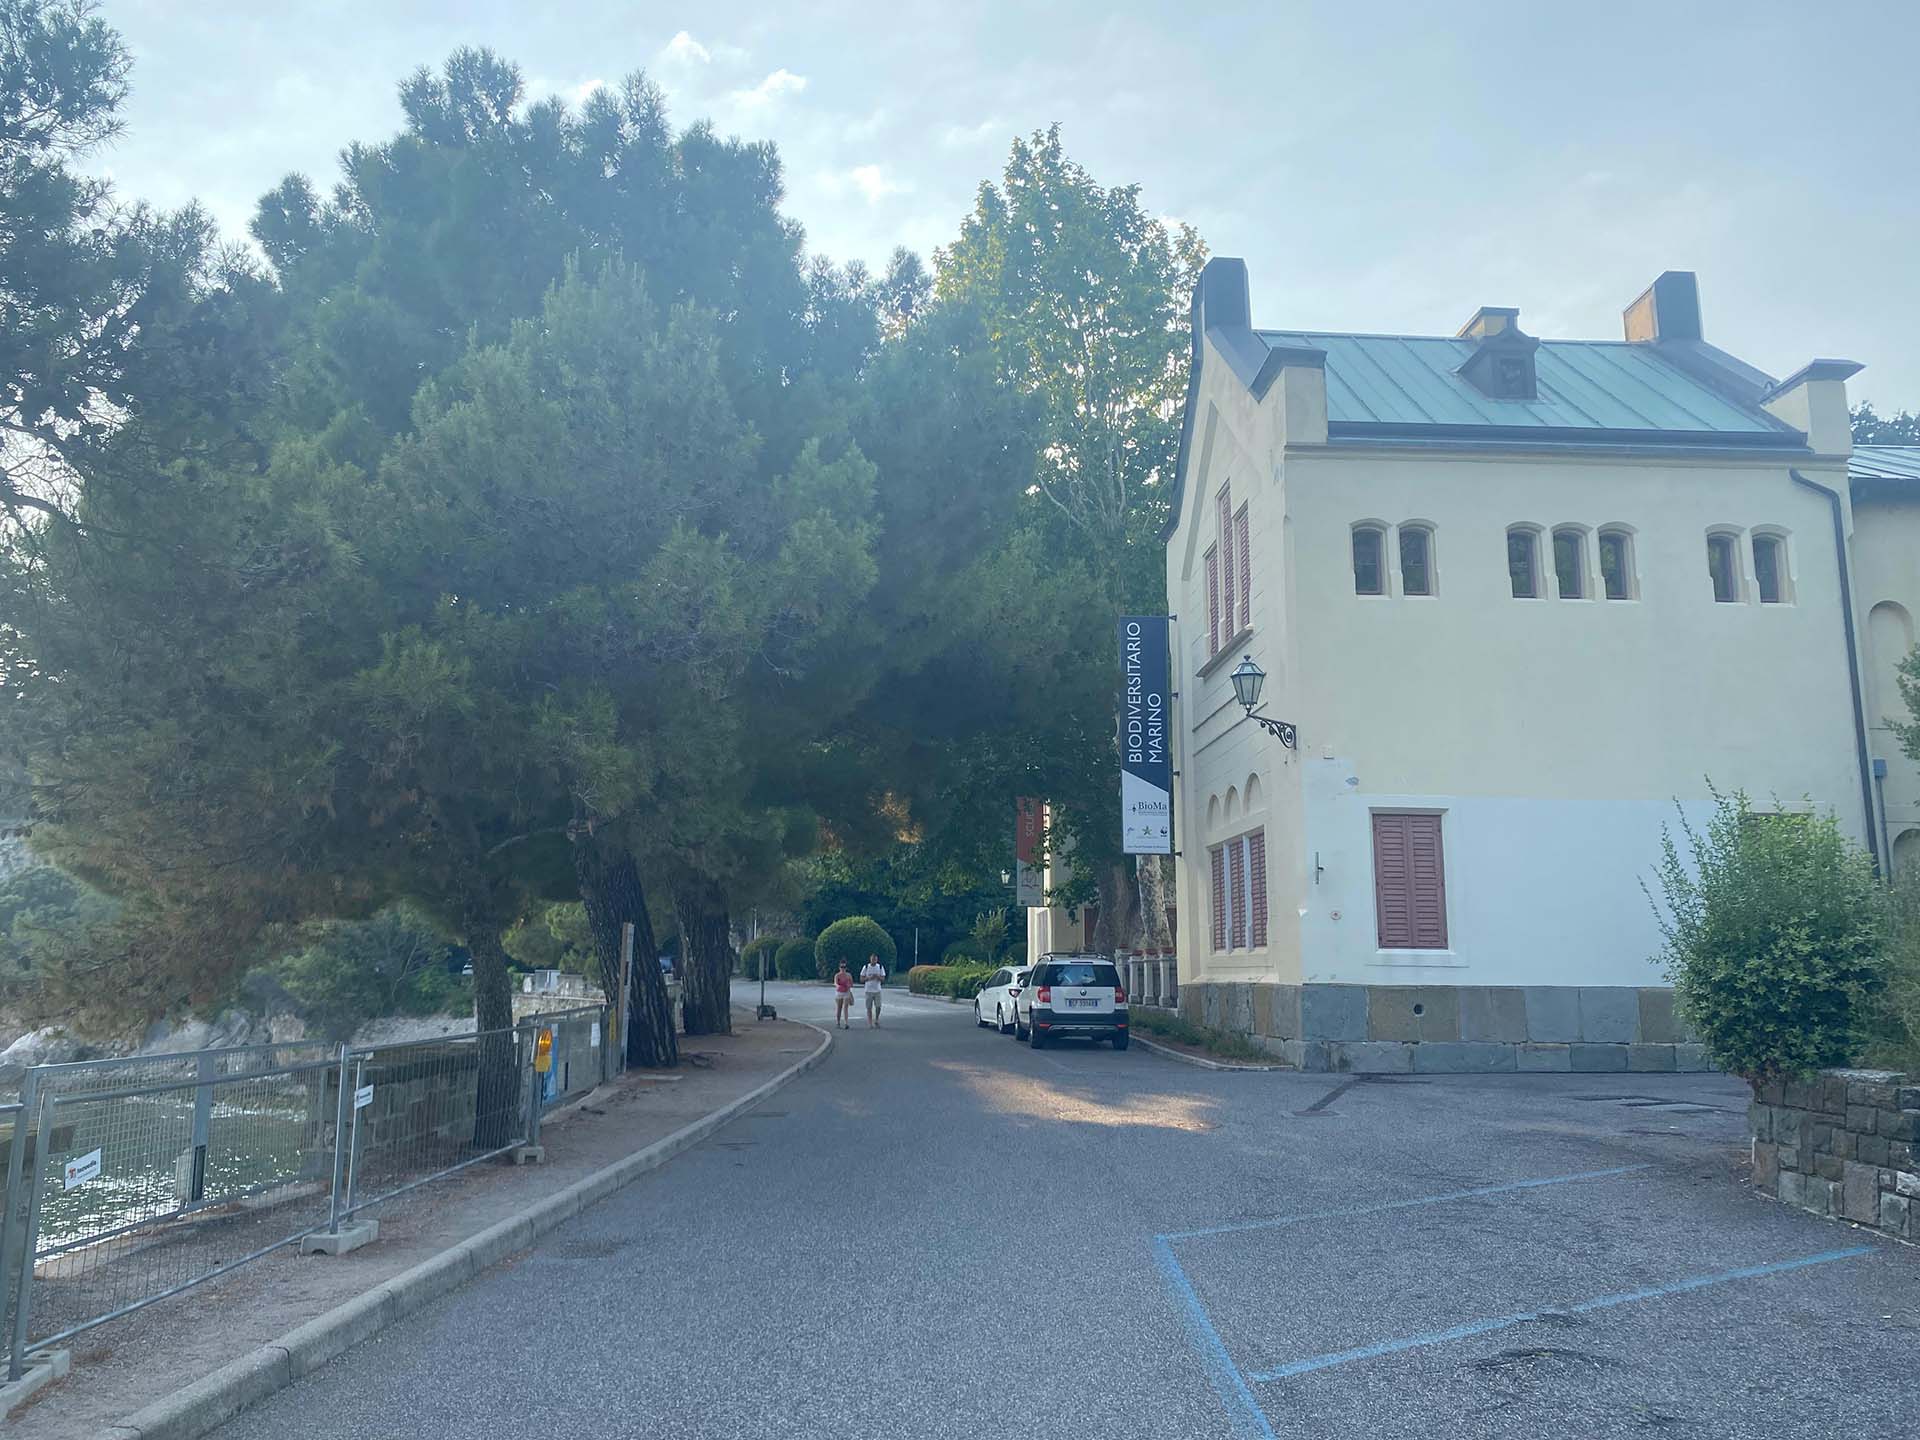
Photo 5 - BioMa Marine Biodiversity Museum
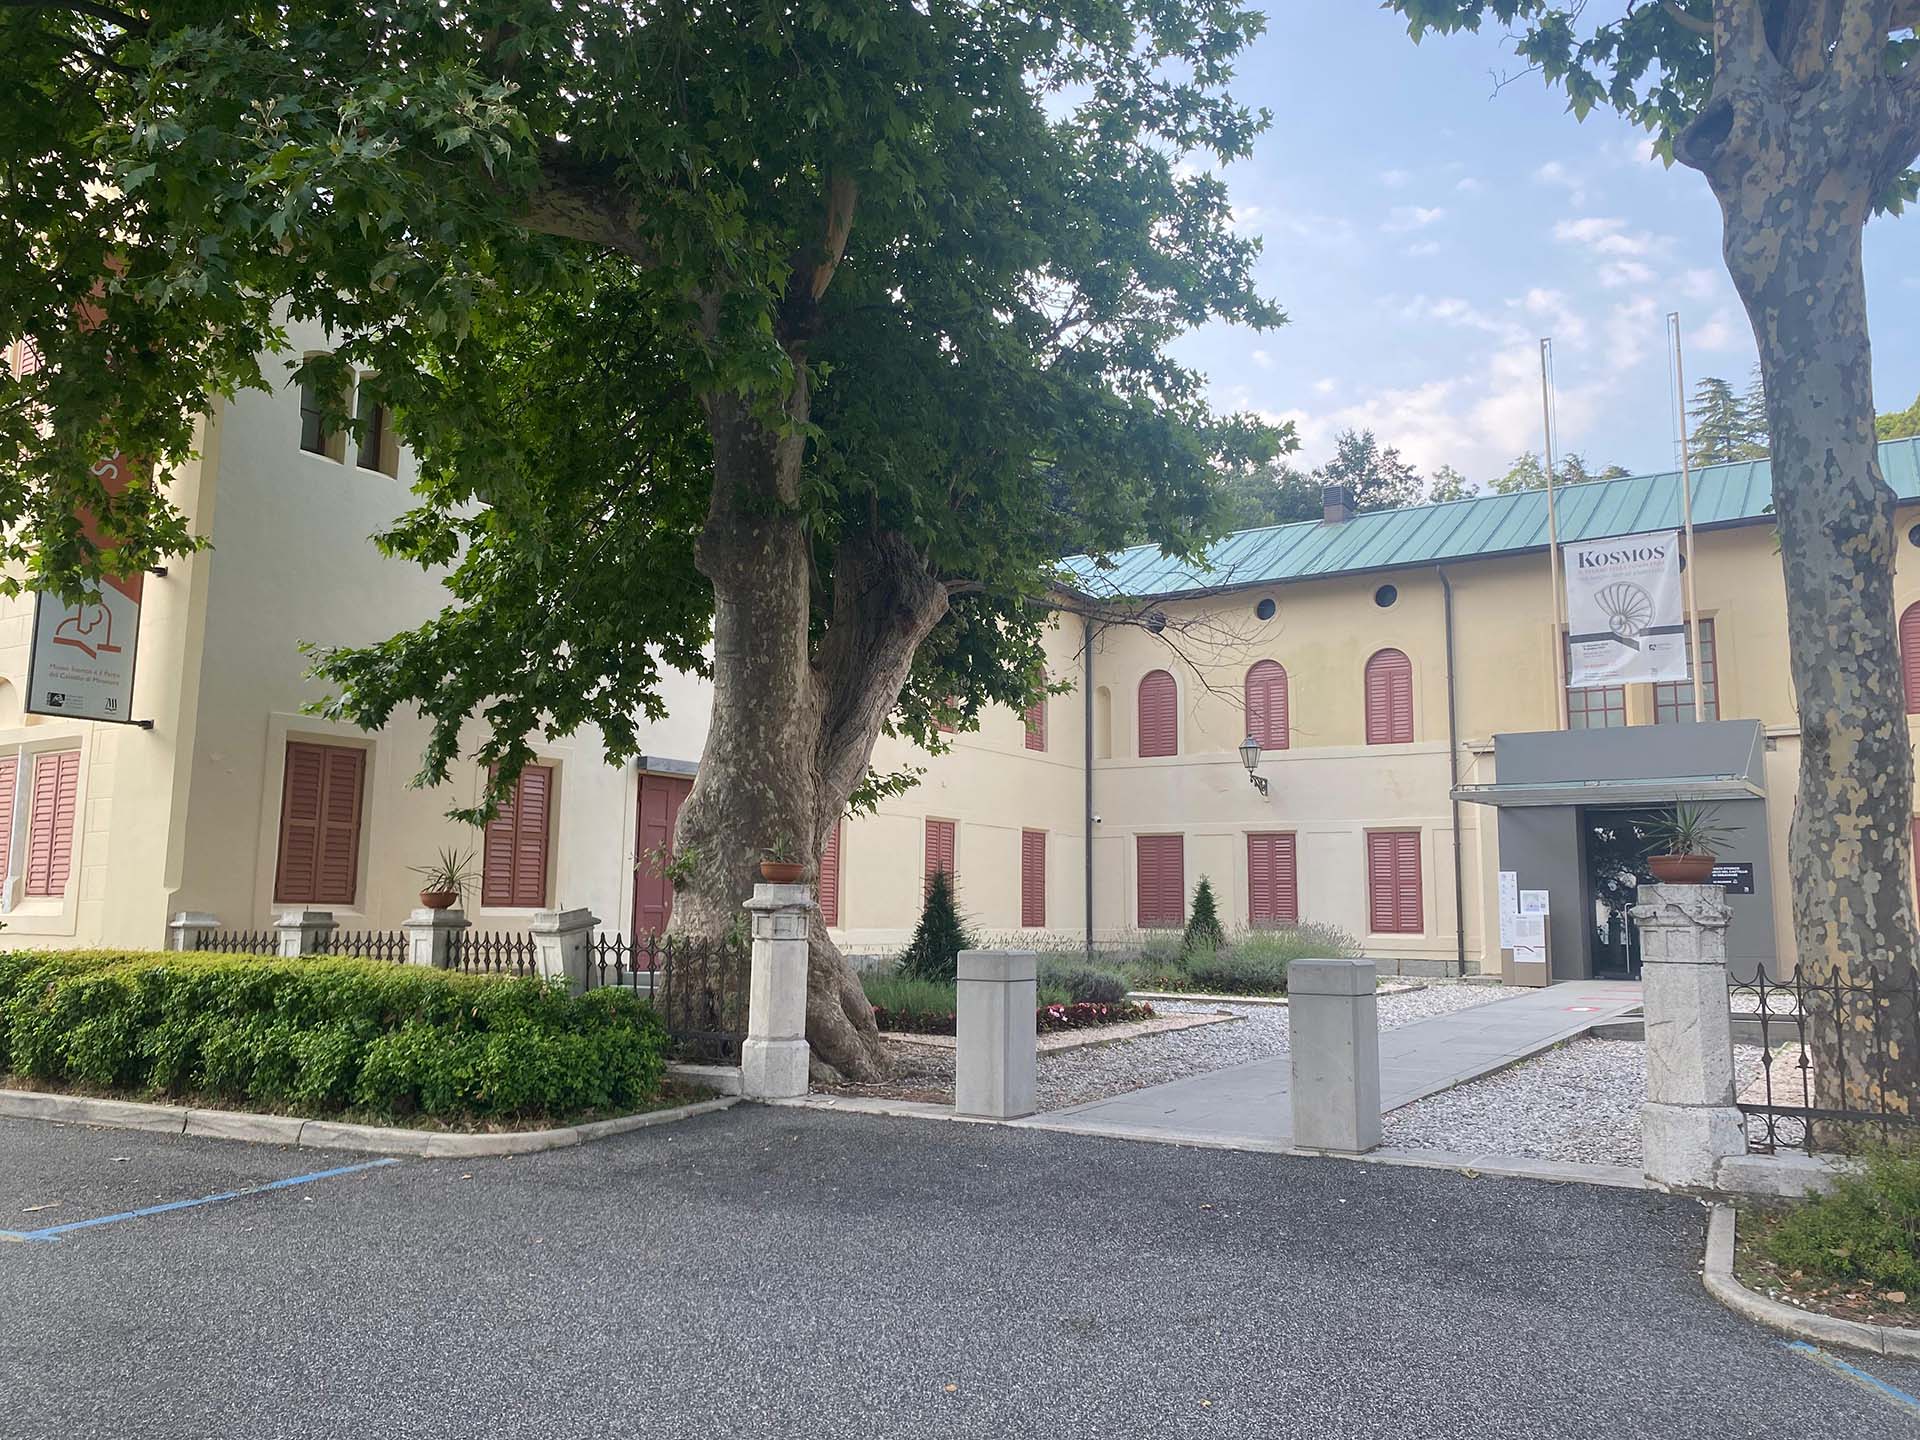
Photo 6 - Former Stables
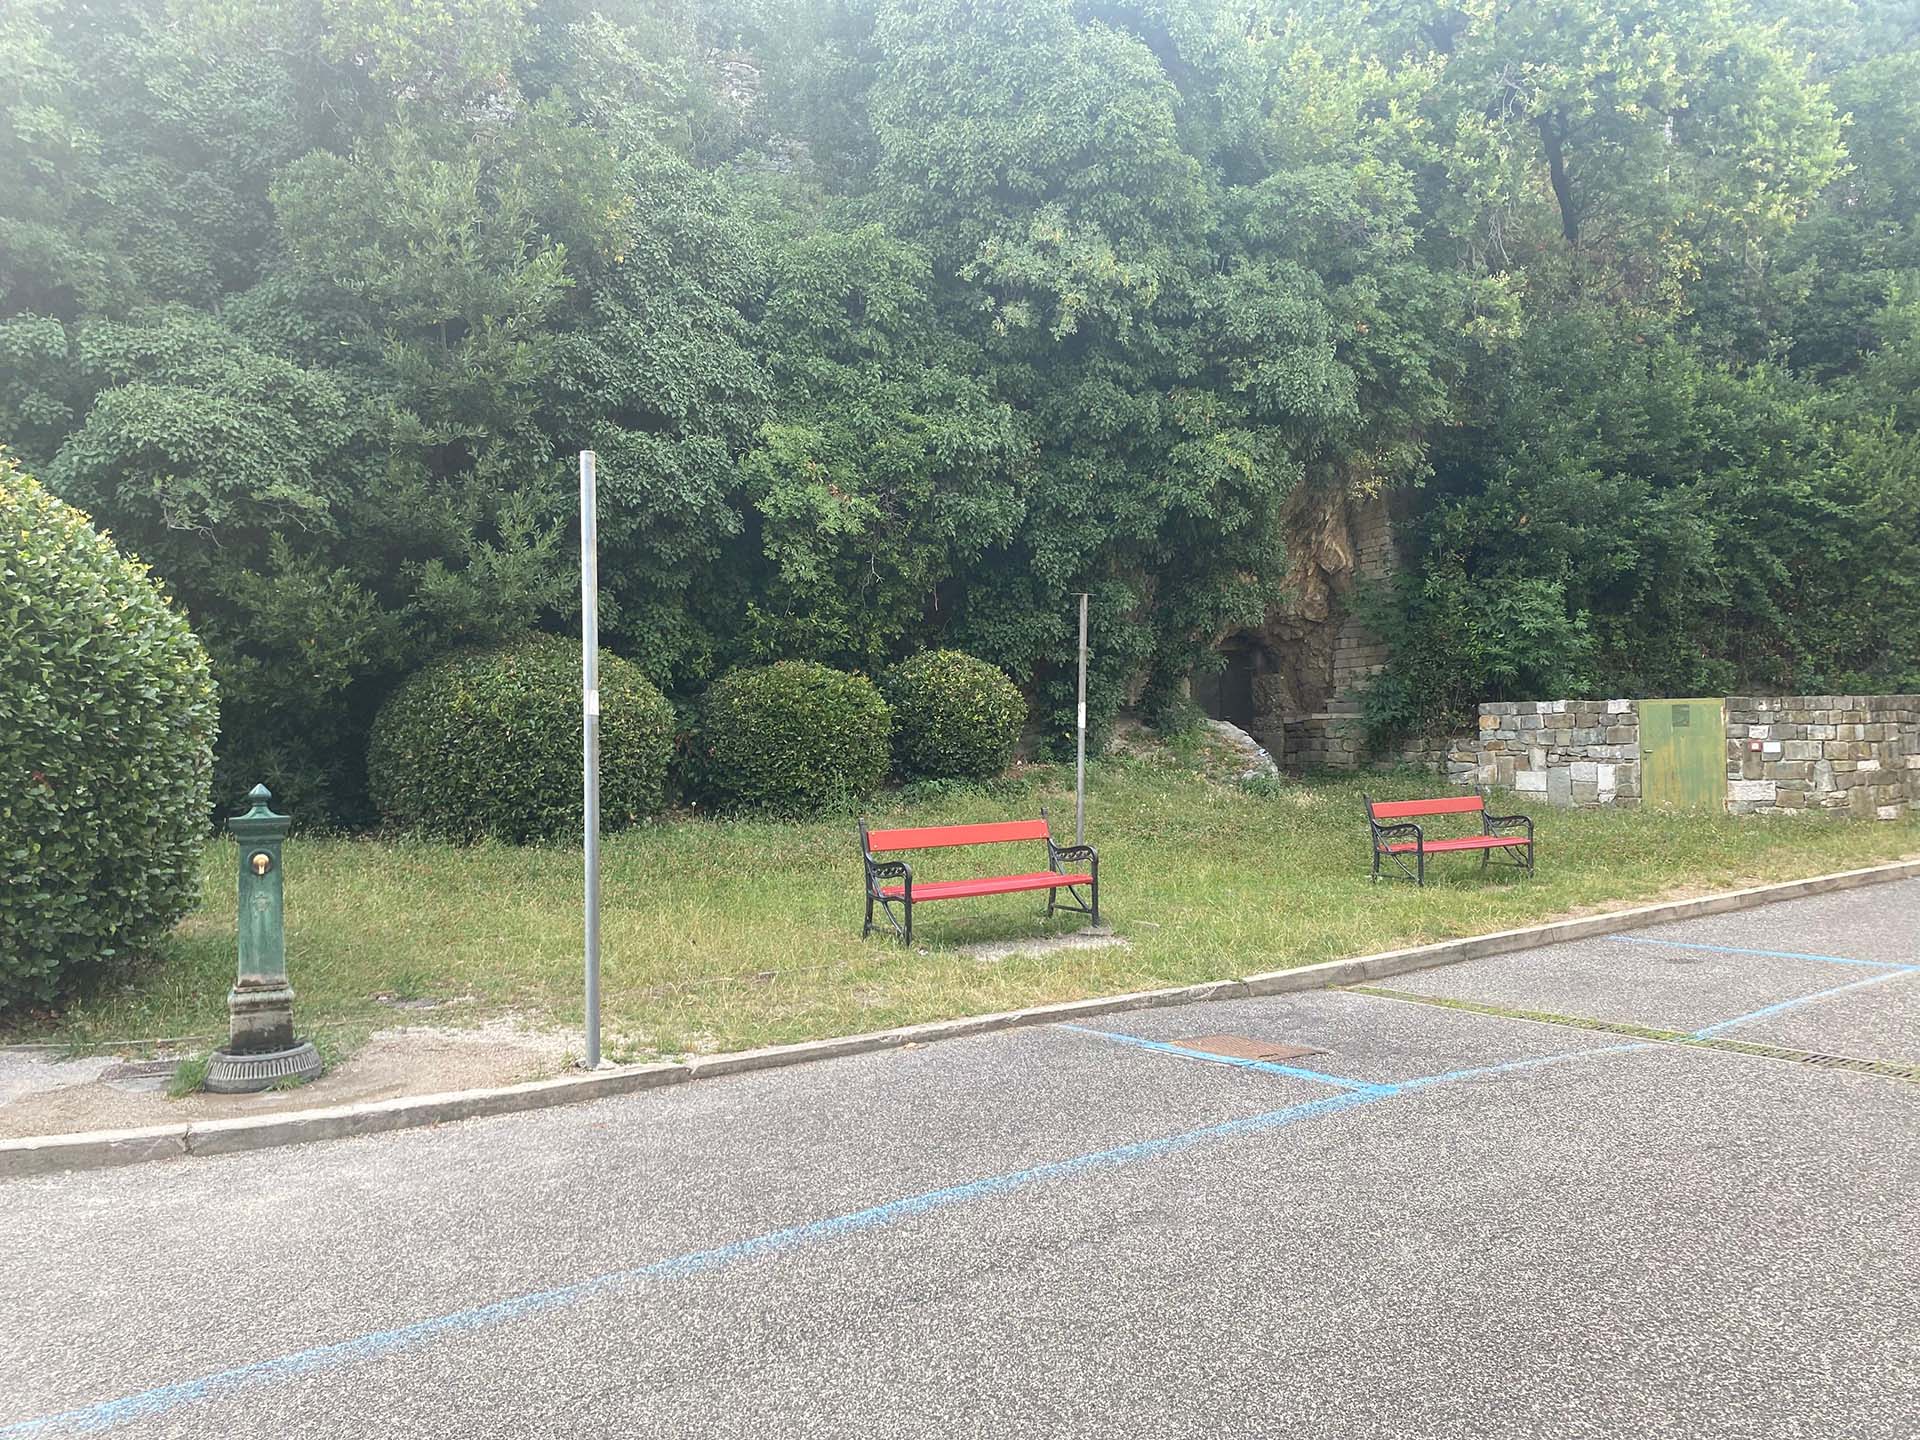
Photo 7 - Green area with seating
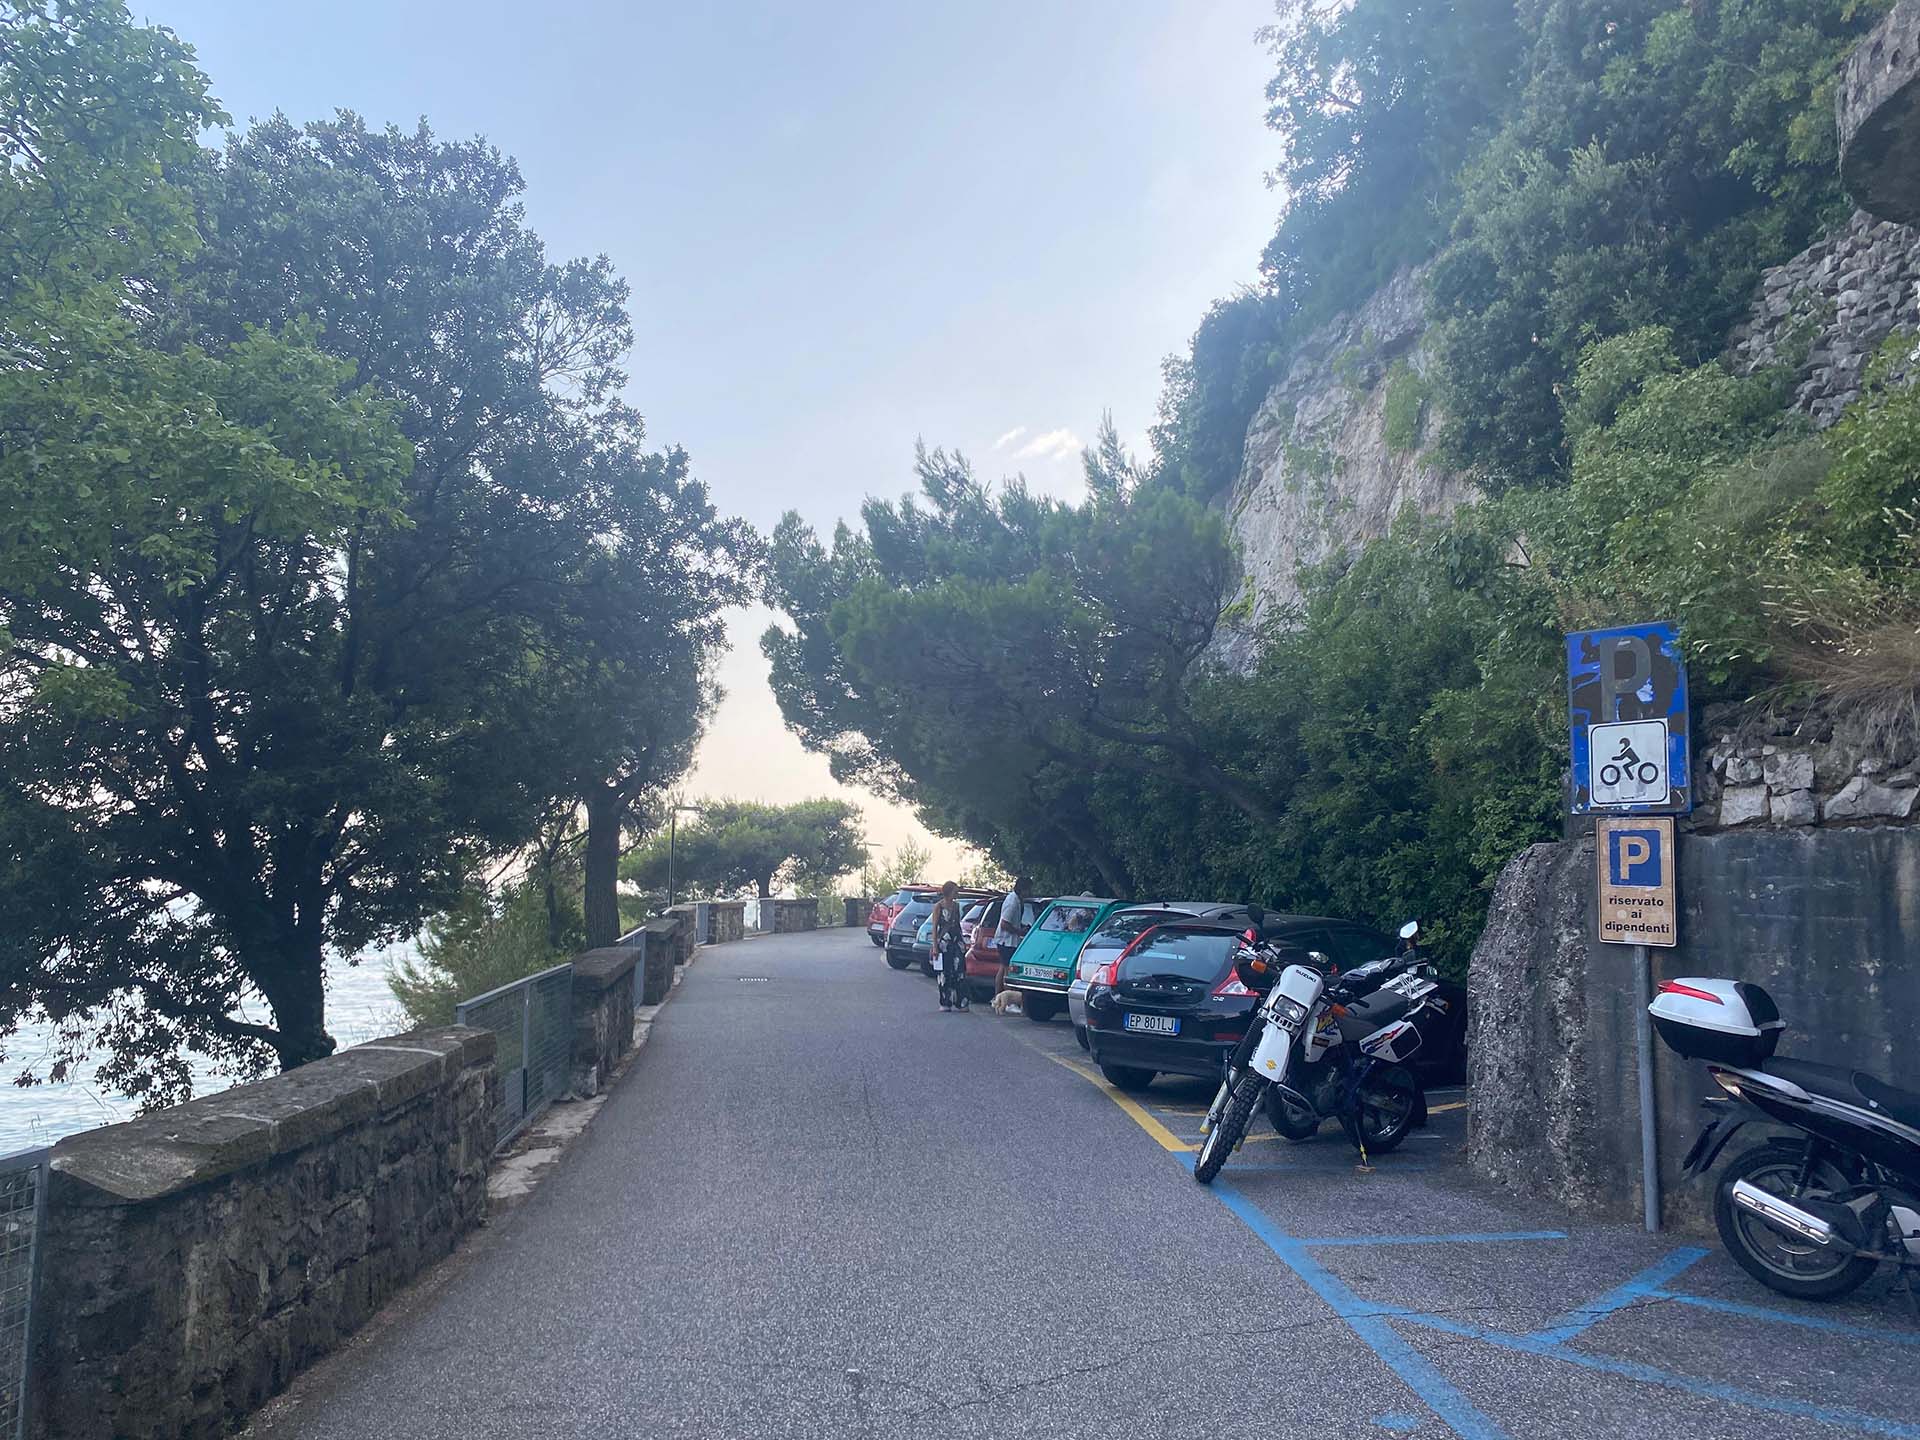
Photo 8 - Motorcycle parking and reserved spots for employees (yellow lines)
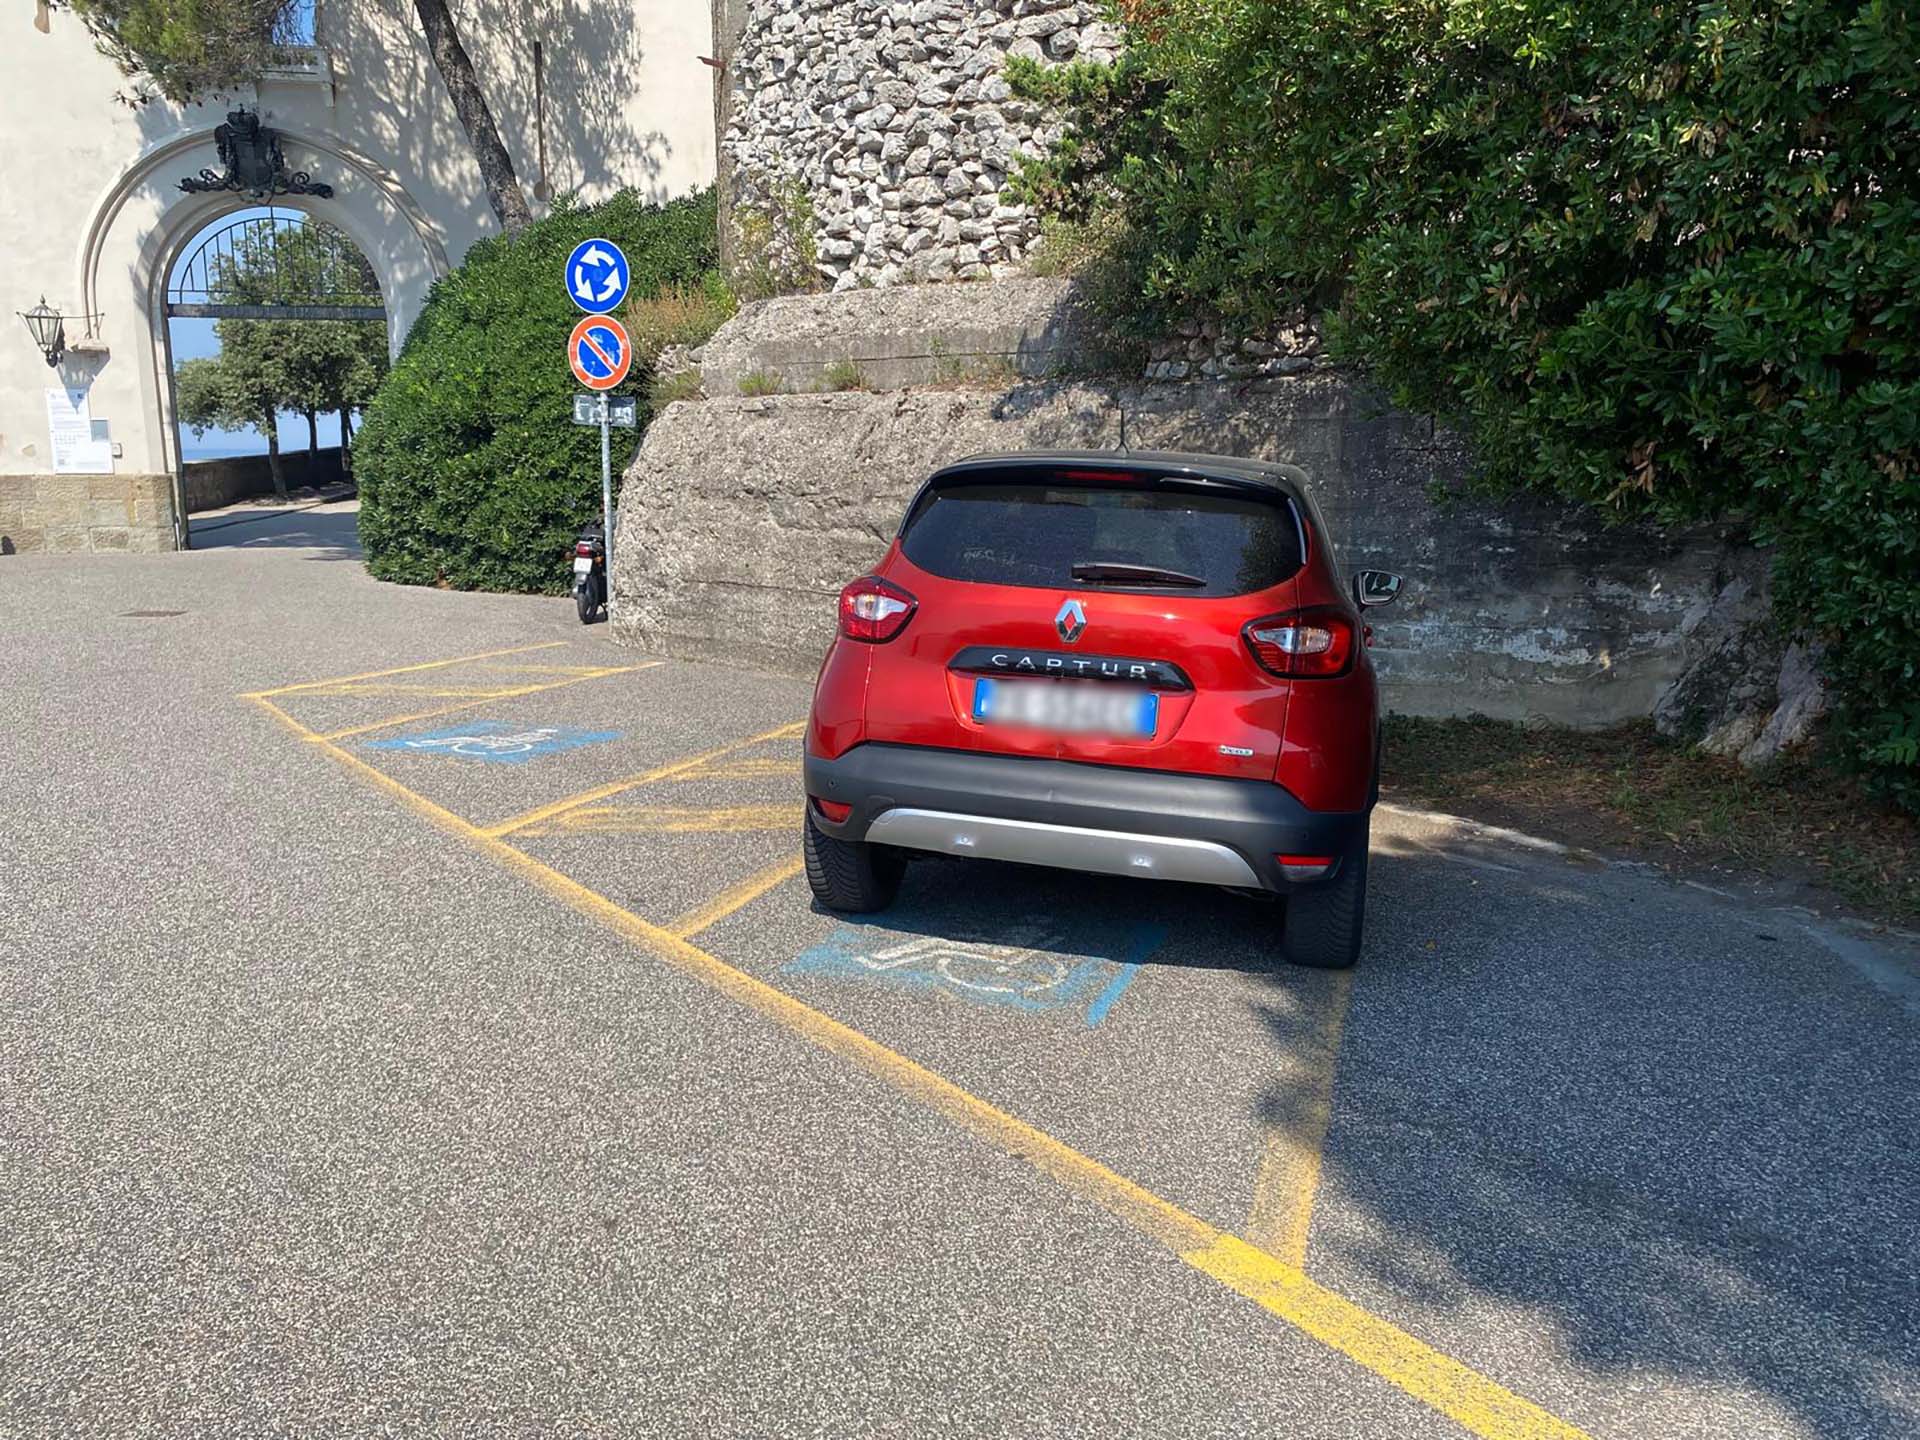
Photo 9 - Parking reserved for people with disabilities
Section 2
The section begins at the Porta della Bora (photo 10), near the parking spaces for people with disabilities, with information signs and an intercom located on the left side of the entrance gate (photo 11).
After passing through the entrance and the Infopoint on the right (photo 12), you walk along the Viale dei Lecci (photo 13), a pedestrian road, paved and slightly uphill, shaded by large holm oaks with a sidewalk and a sea view on the left. For people with mobility difficulties, it is possible to arrange, with prior notice, car access to the Castle (photo 14), taking the car out from the Porta della Bora immediately afterwards.
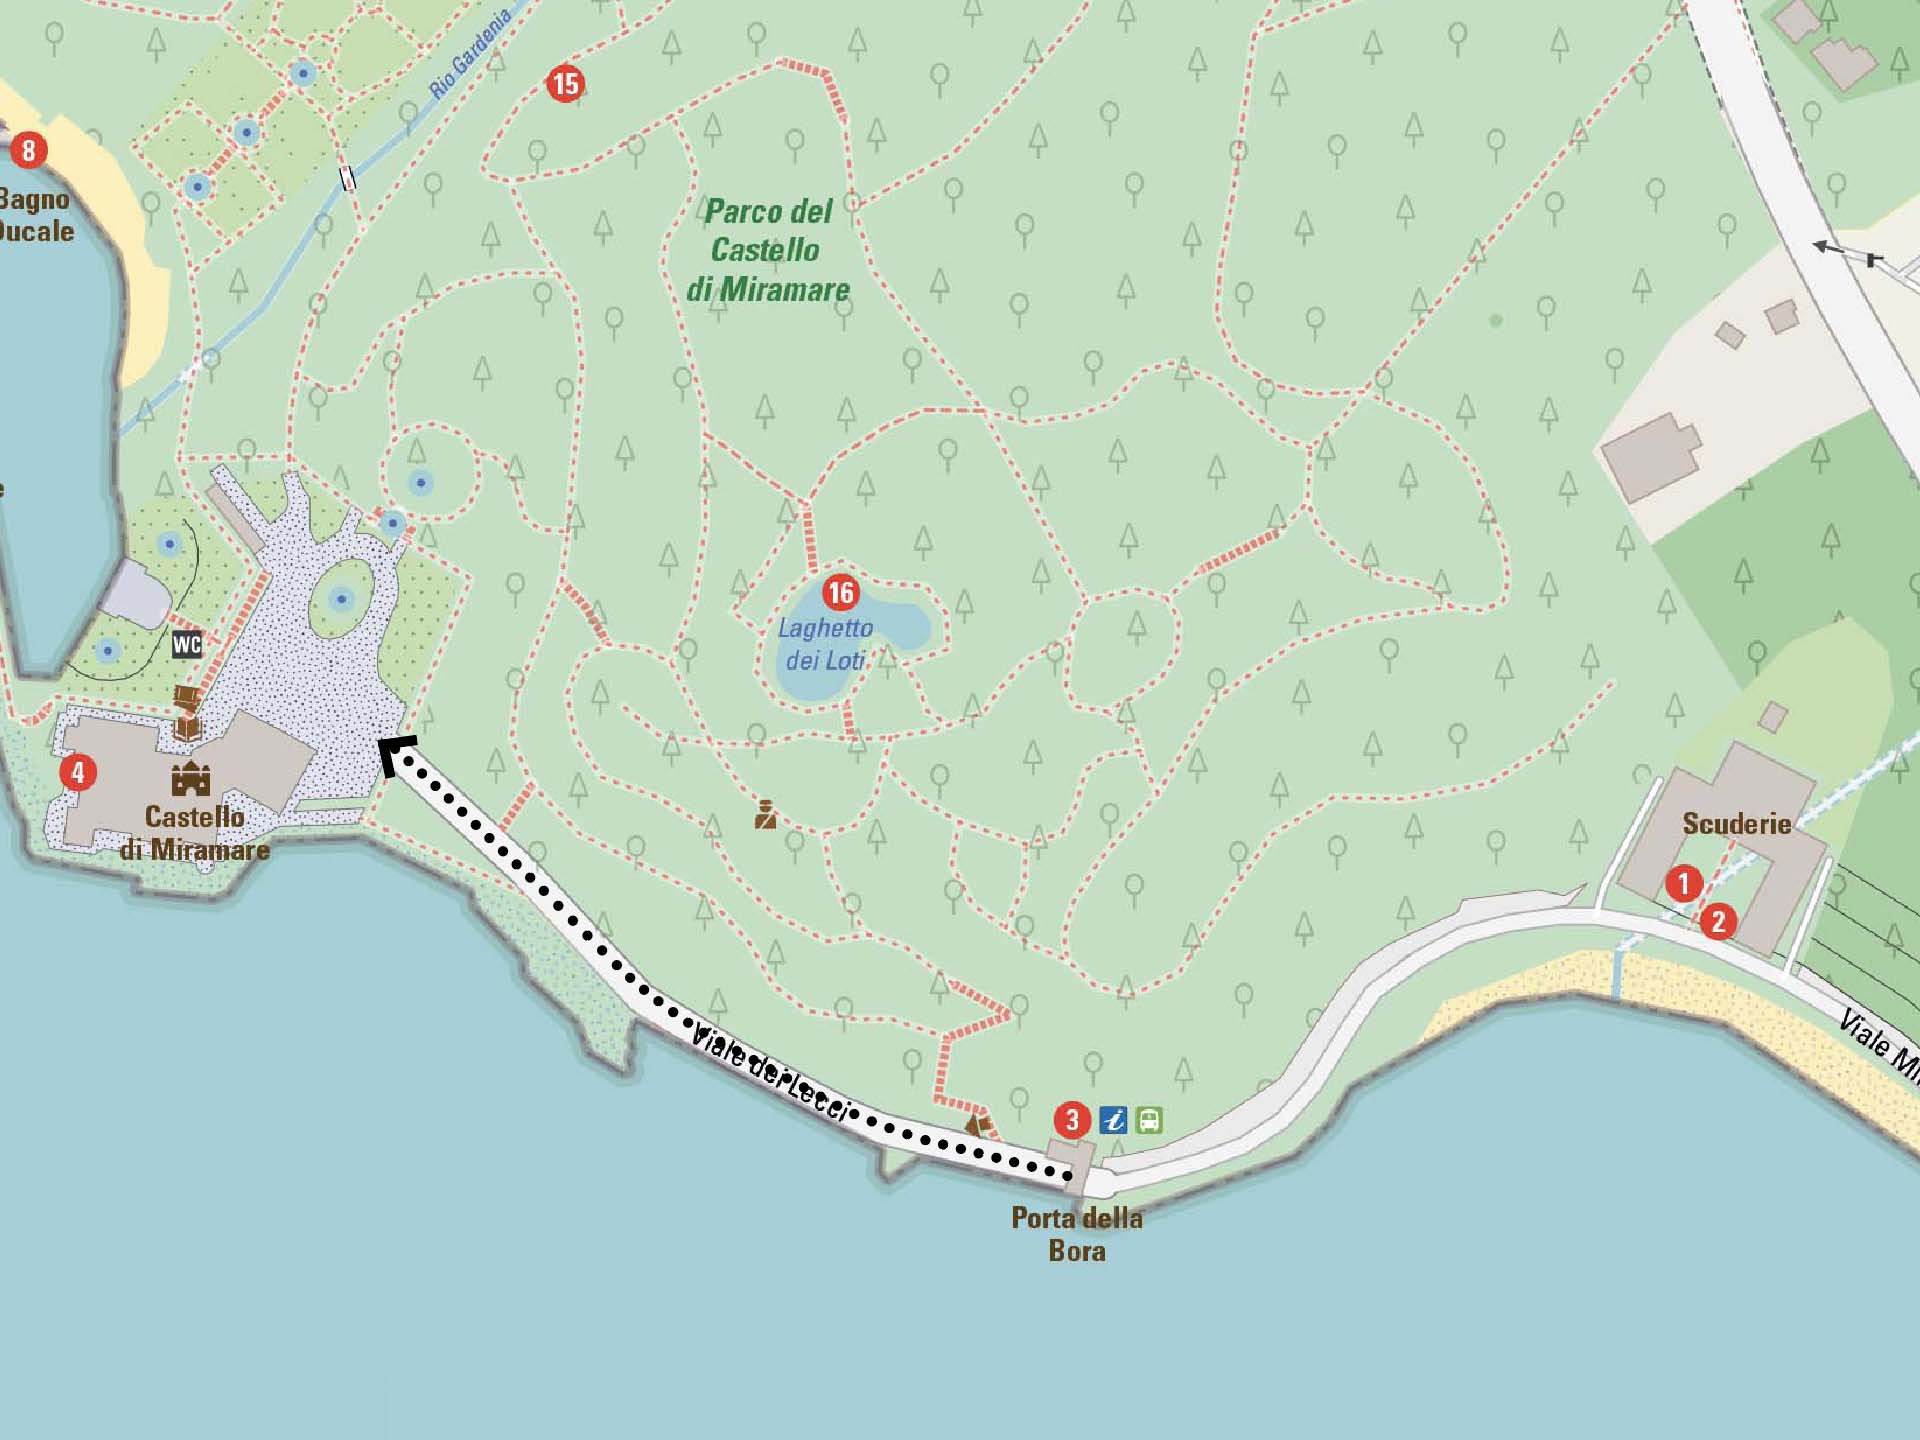
Section 2
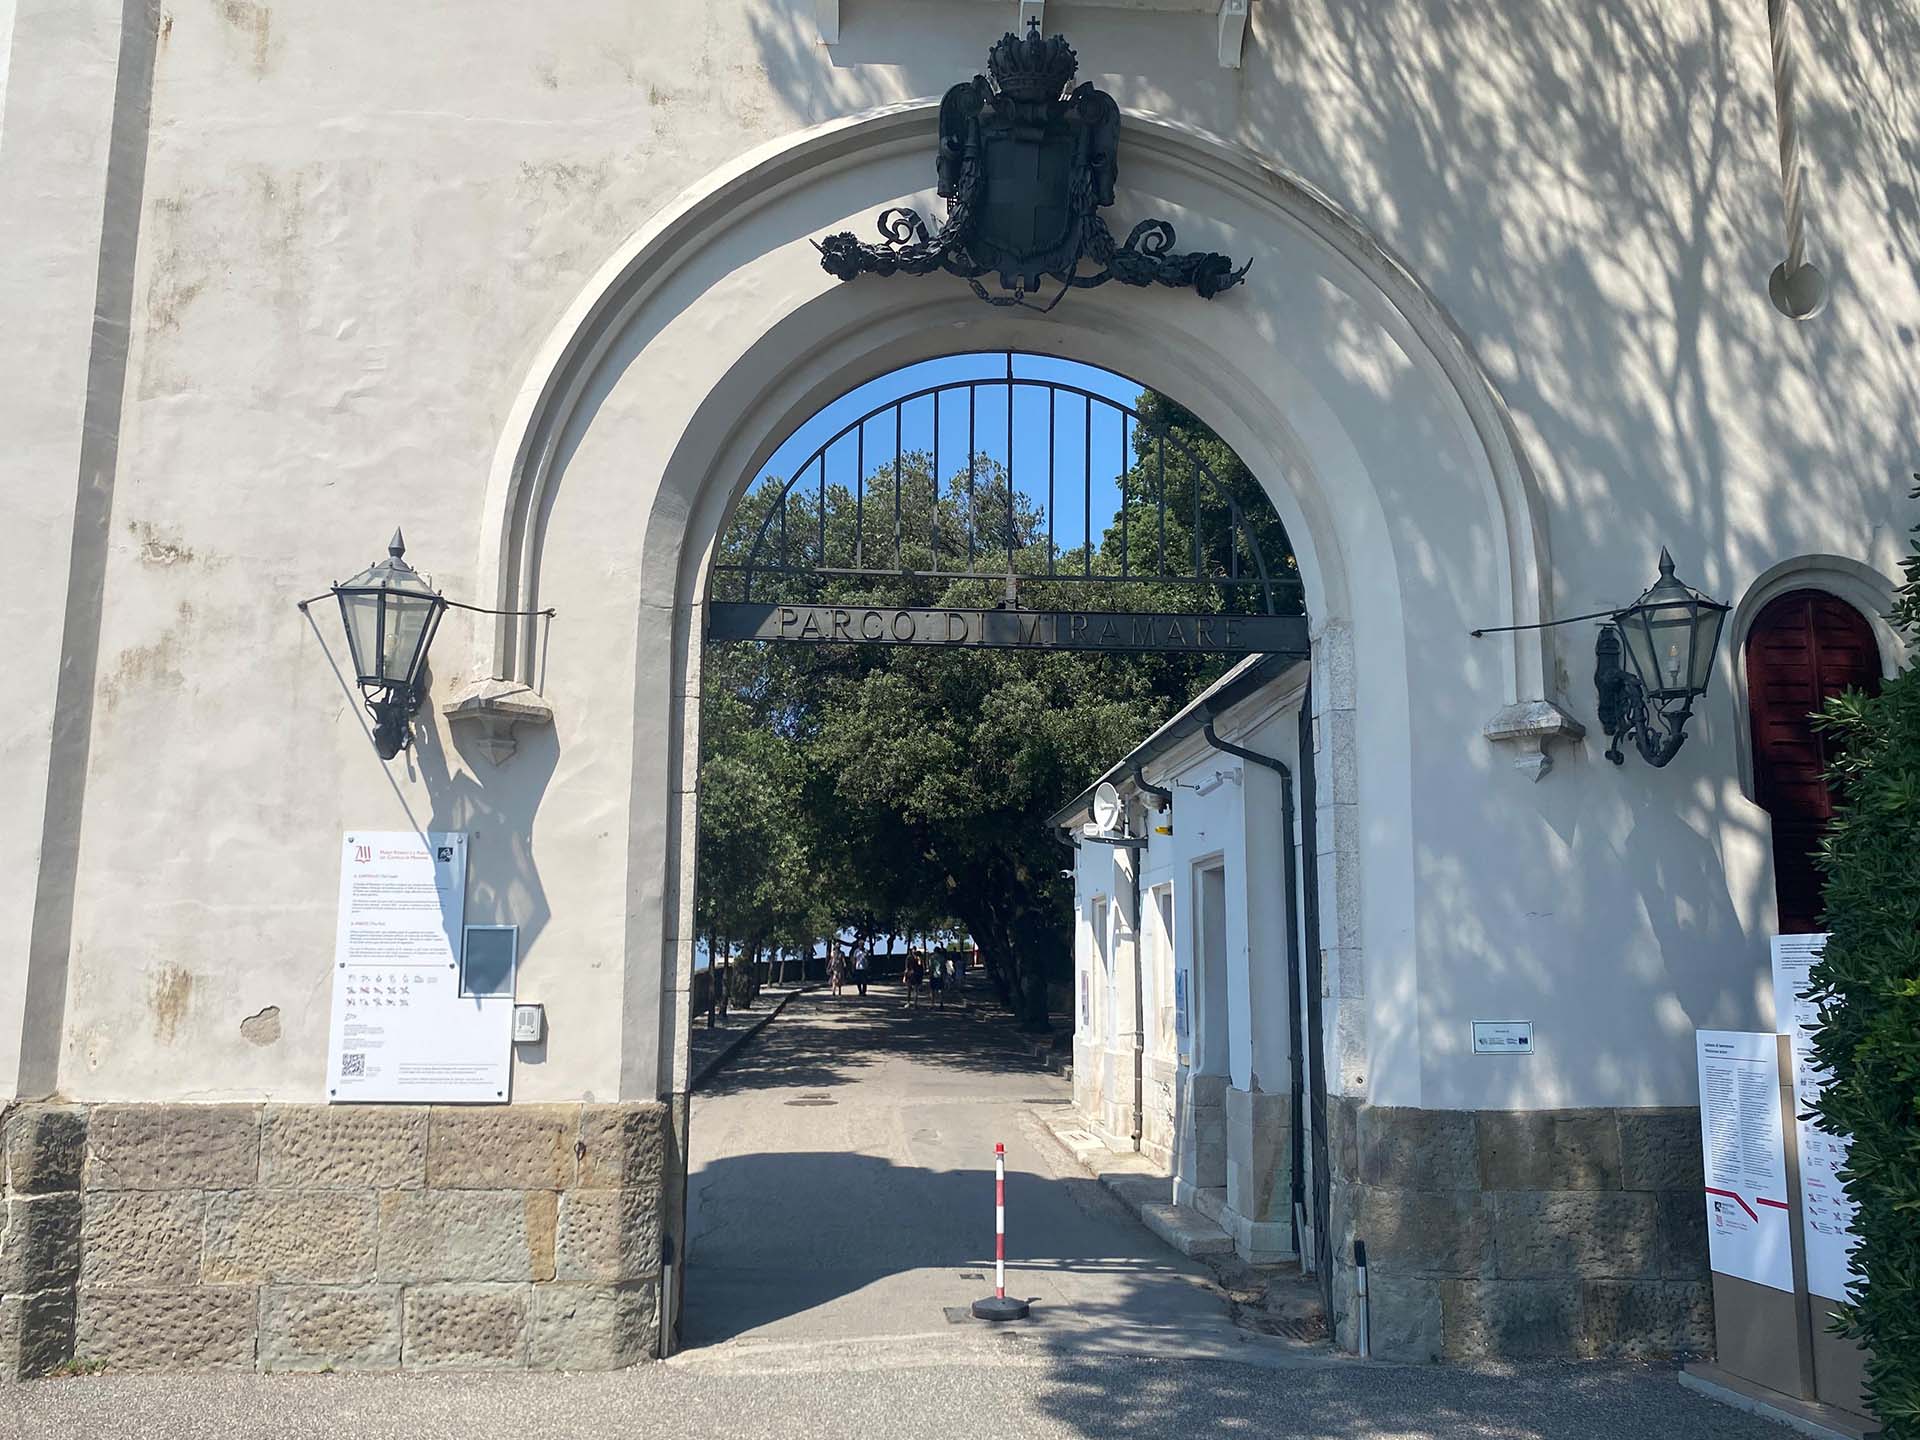
Photo 10 - Bora Gate
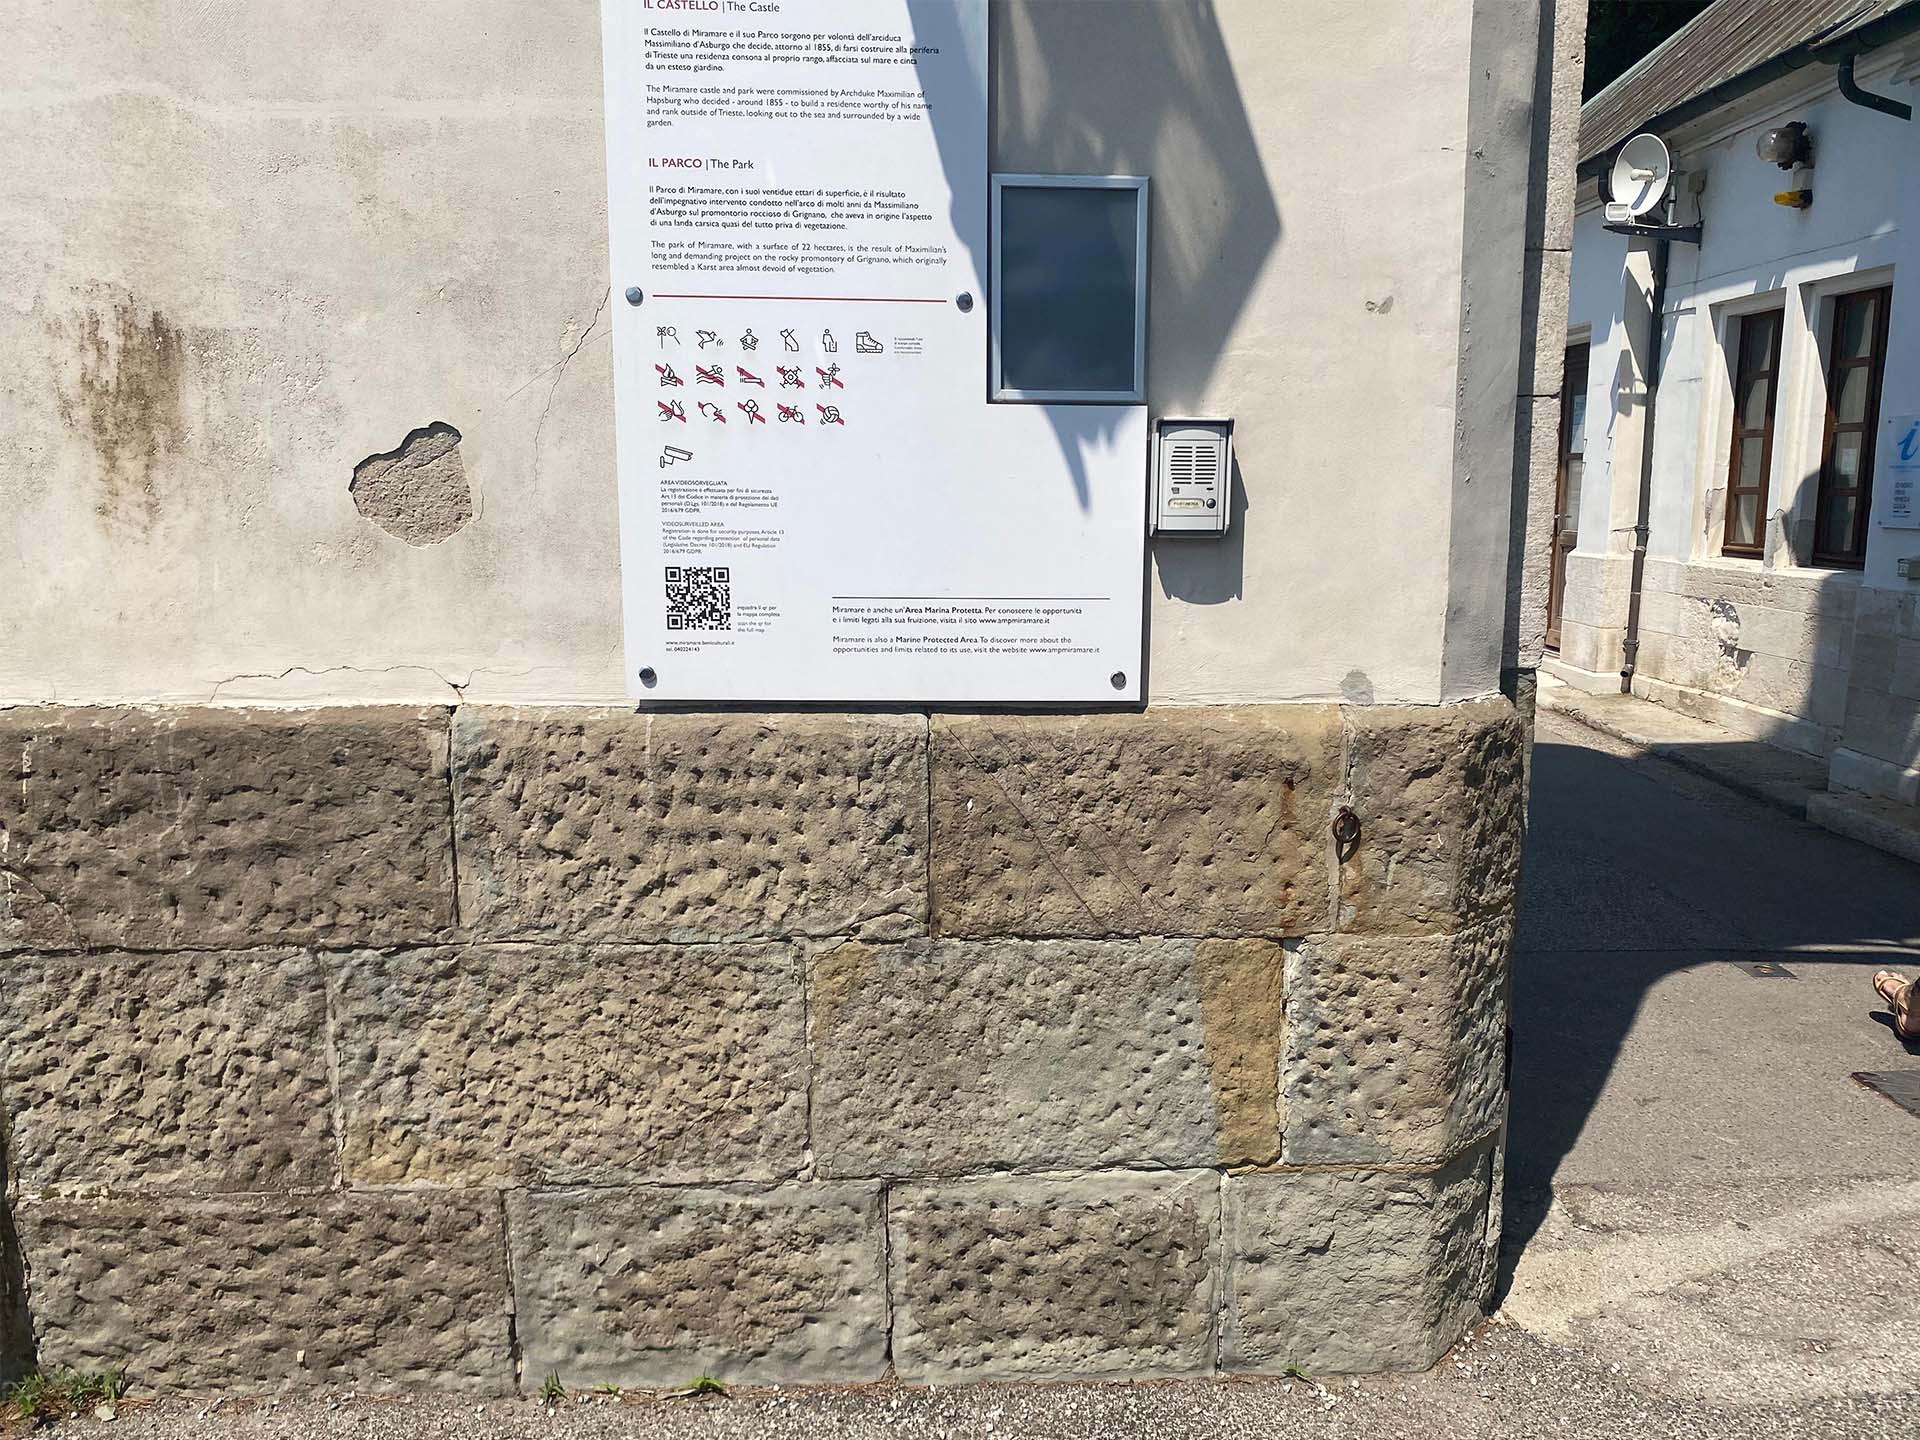
Photo 11 - Directions and doorbell at the entrance of the gate
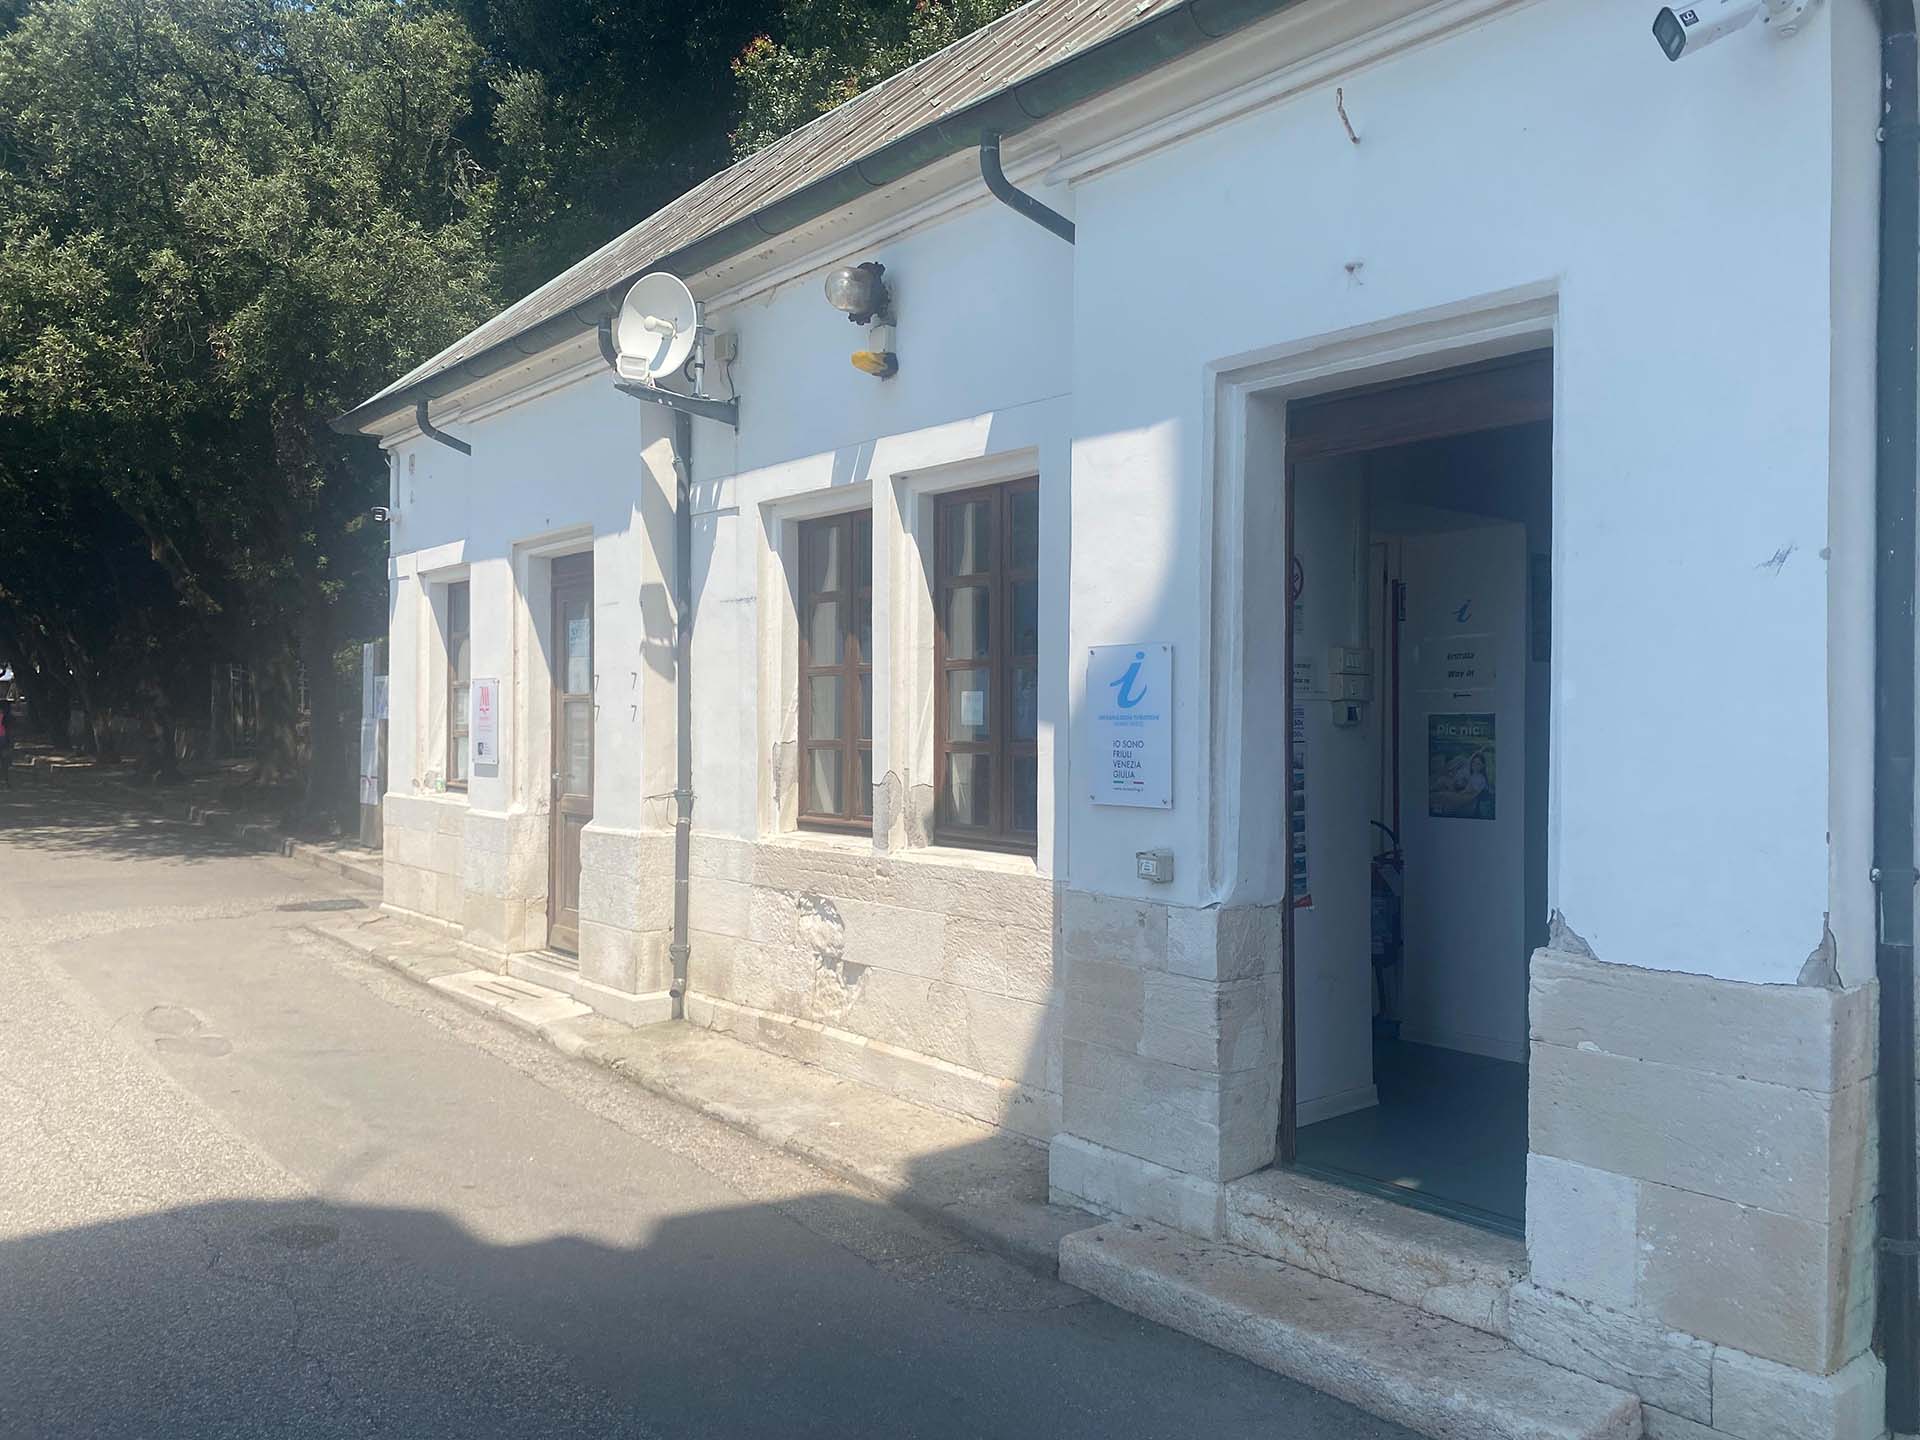
Photo 12 - Infopoint
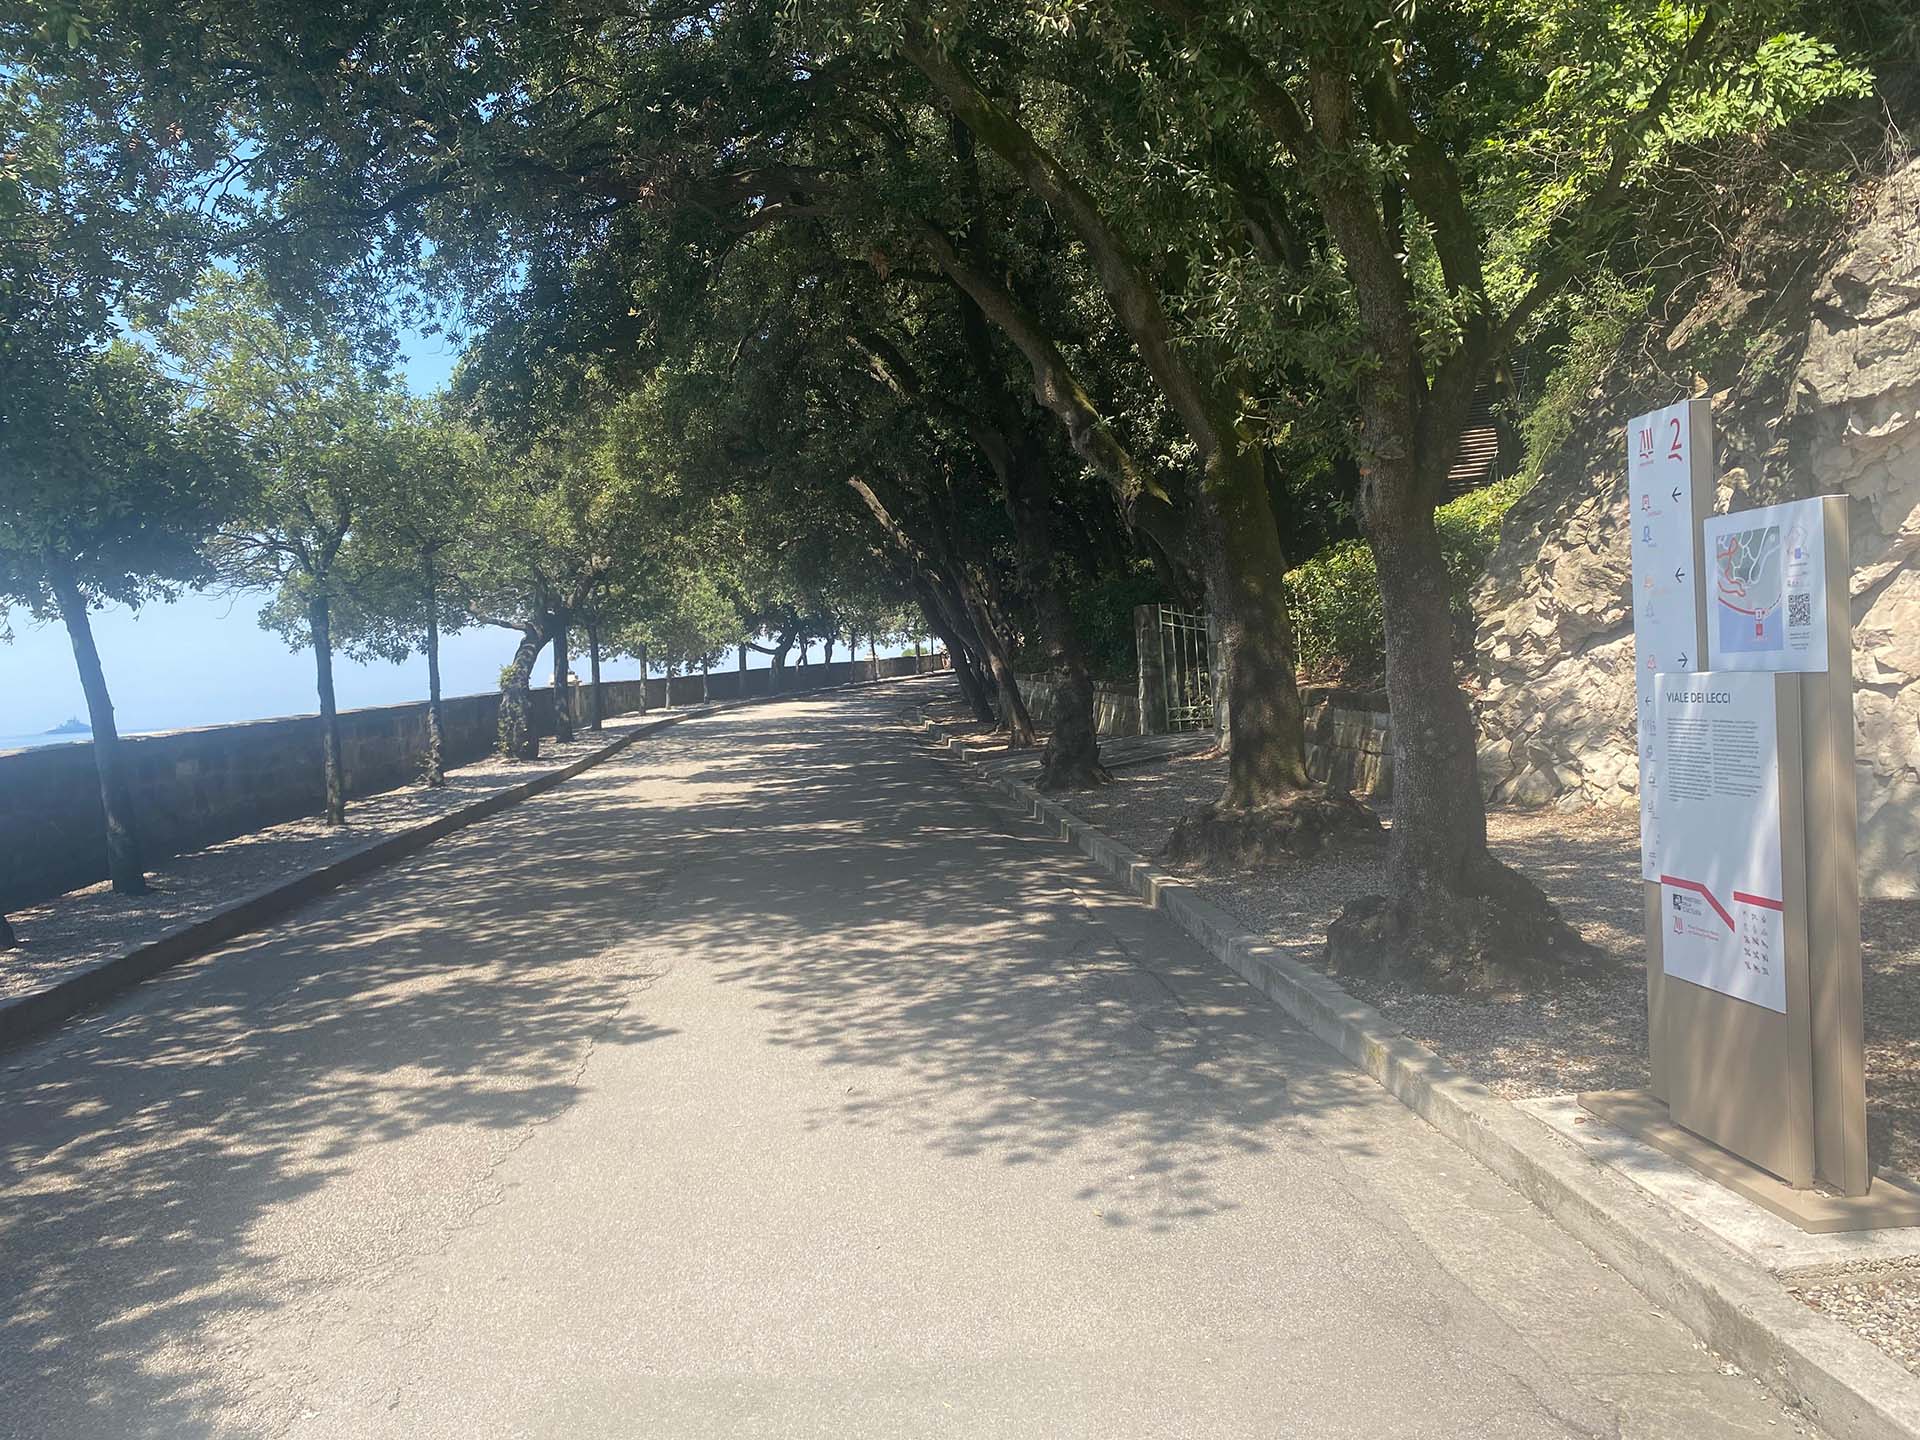
Photo 13 - Start of Viale dei Lecci
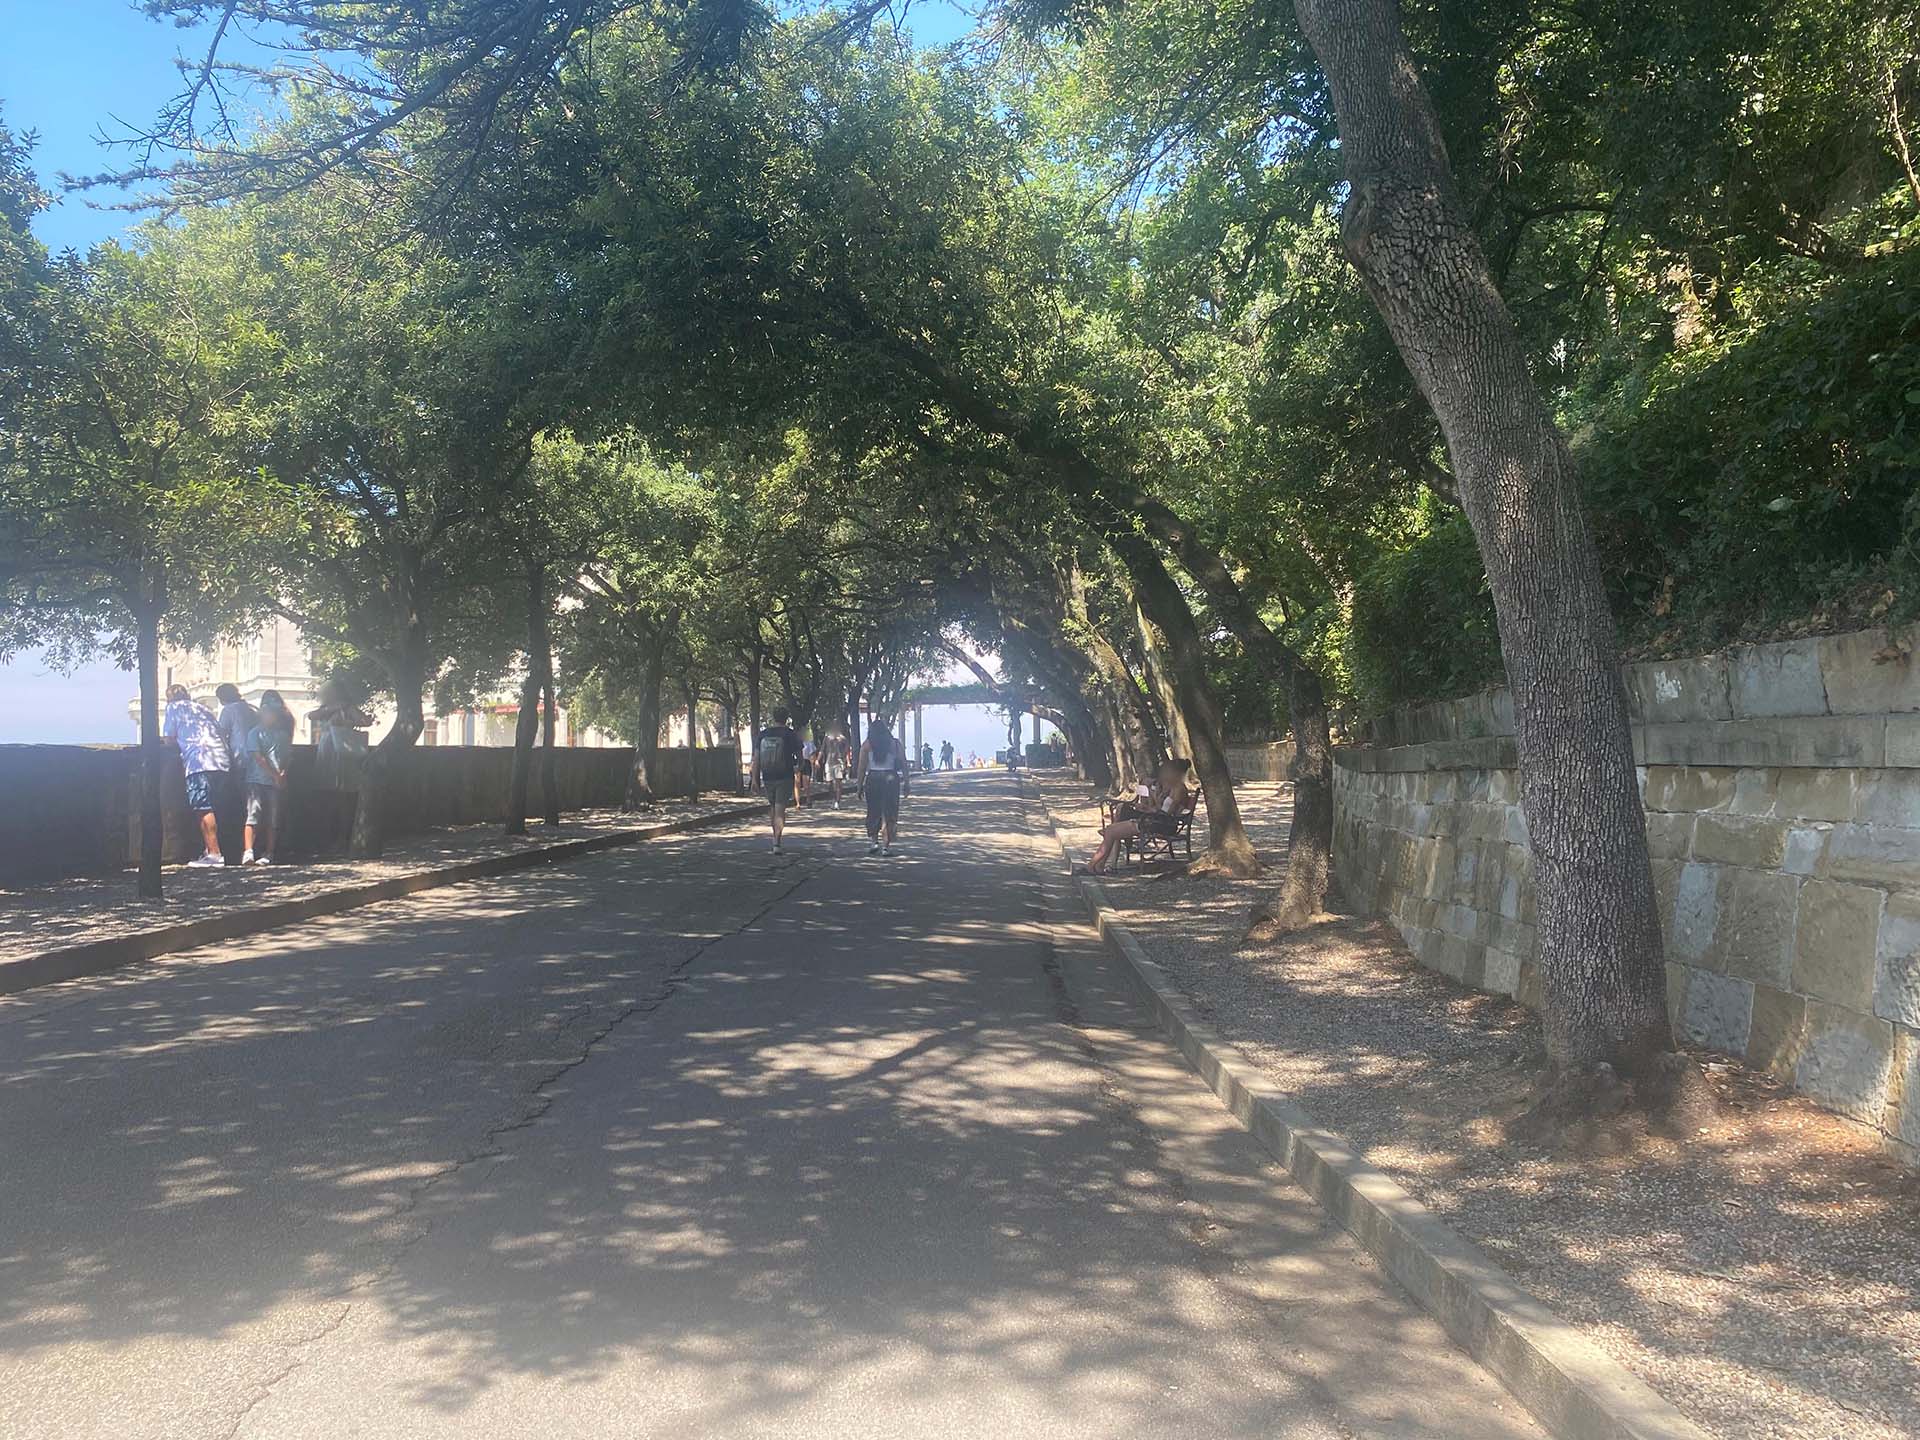
Photo 14 - Avenue with a view of the Castle
Section 3
After finishing Viale dei Lecci, turn immediately left, the pavement changes and you walk a short distance on gravel under the pergola (photo 16).
After about twenty meters, at the location of three manholes, the pavement becomes stone (photo 17) and the panoramic terrace that embraces the Castle begins.
The path is flat and with variable widths with steps at the entrances to the Castle that are usually closed (photo 18).
The parapet on the left is made of a concrete structure with brick holes in the center, in some corners of the path there are small viewing points (photo 19).
As you move forward, you pass under a small loggia (photo 20) and subsequently, turning the corner to the northwest (photo 21), it is possible to admire the underlying gardens, unfortunately not accessible (photo 22).
Continuing and looking towards the sea, it is possible to observe a small pier (photo 23). The path around the Castle widens in front of entrances to the castle that are usually closed, before arriving at the square in front of the Castle (photo 24), where the pavement becomes stabilized gravel (photo 25).
Section 3
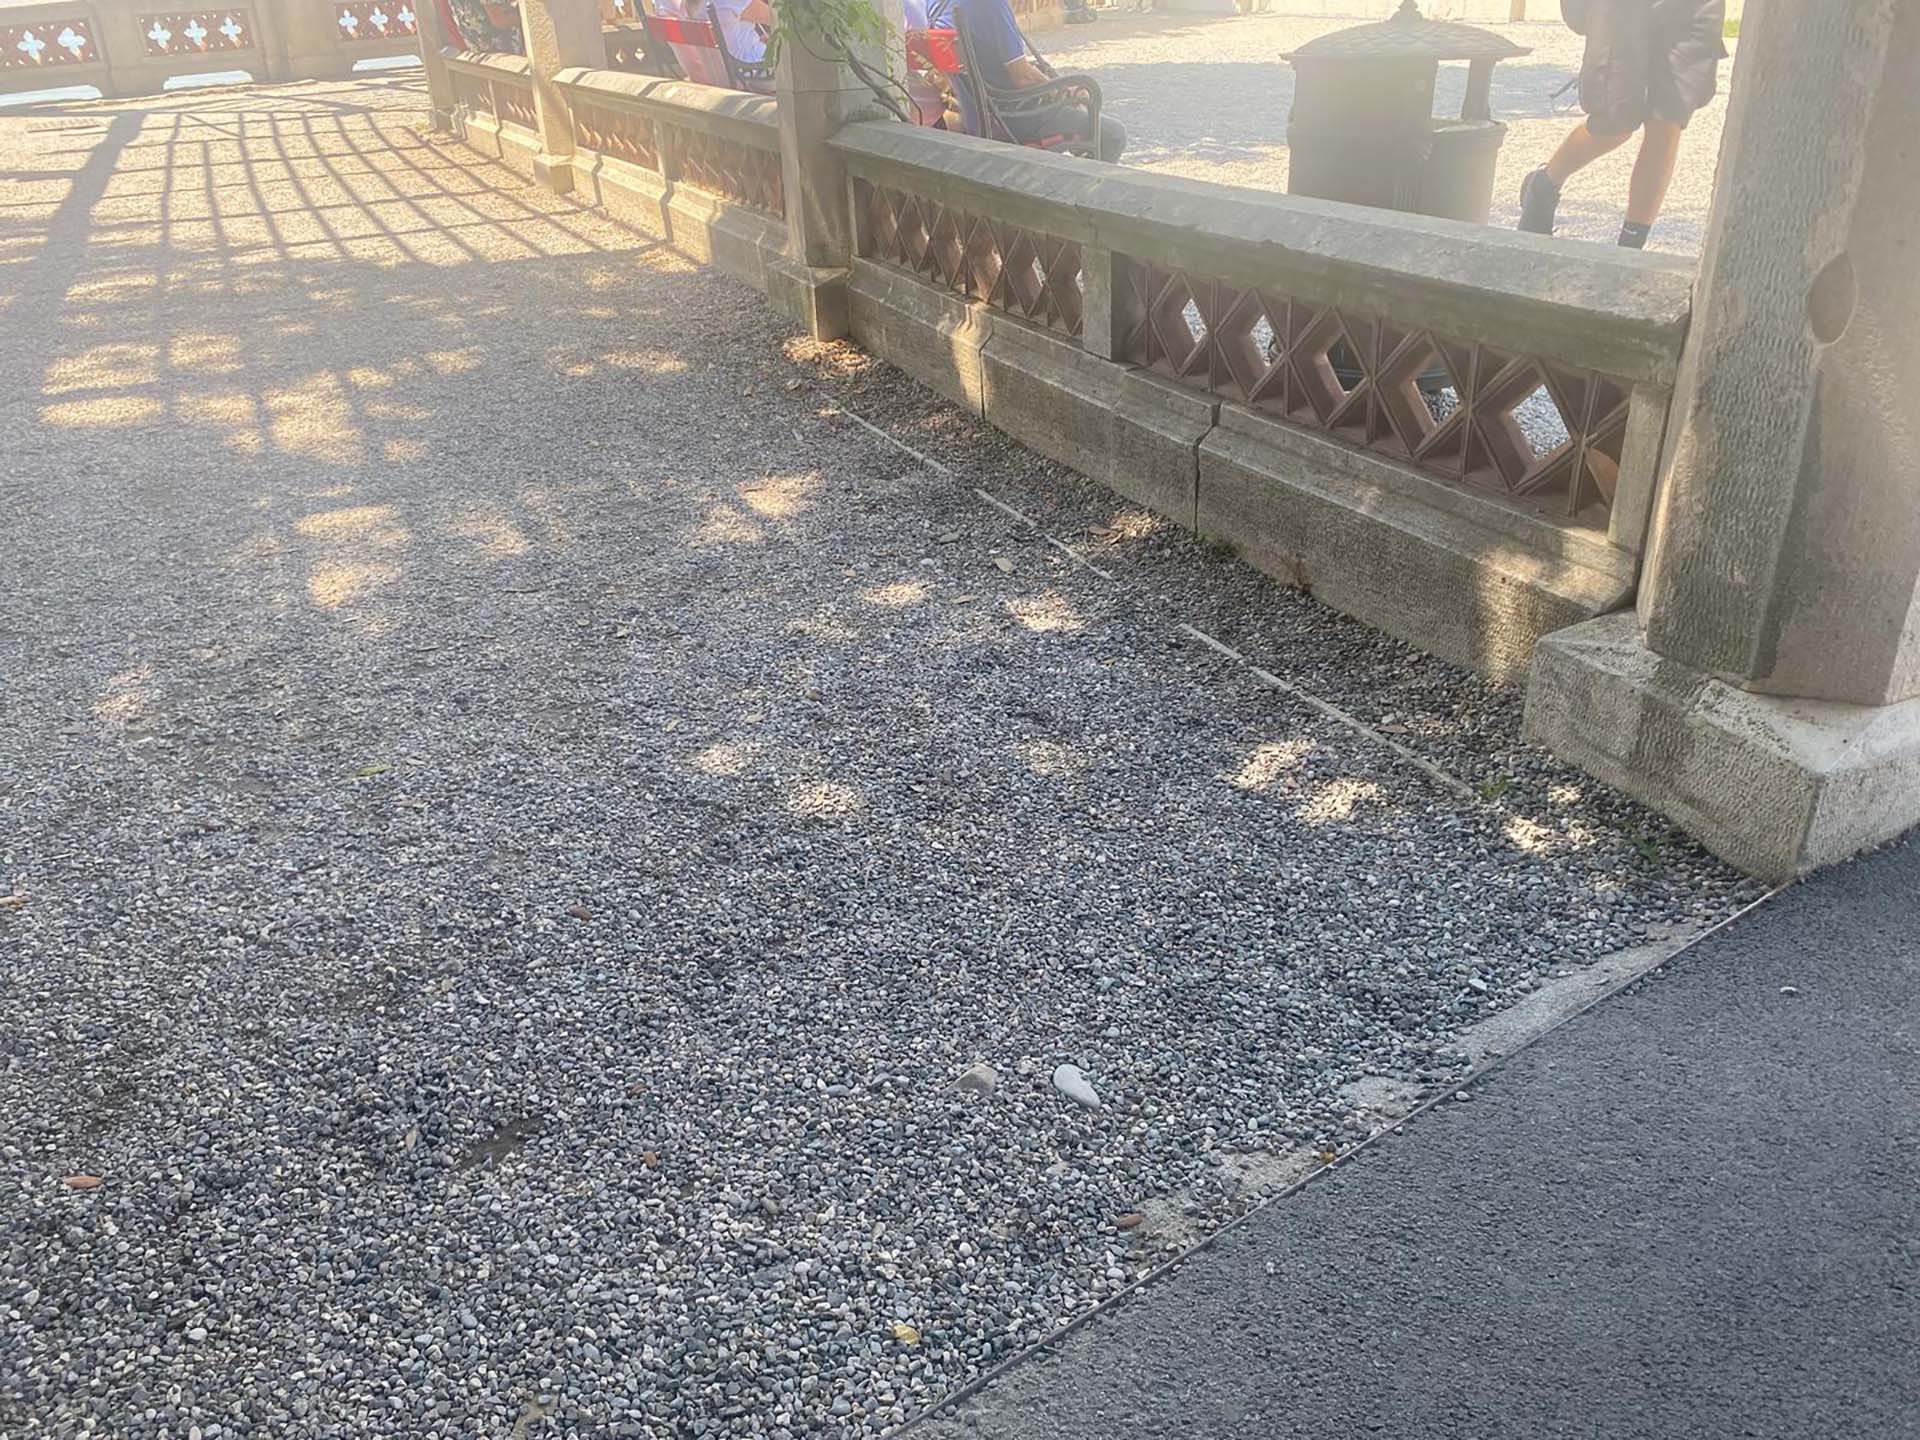
Photo 15 - Start of section
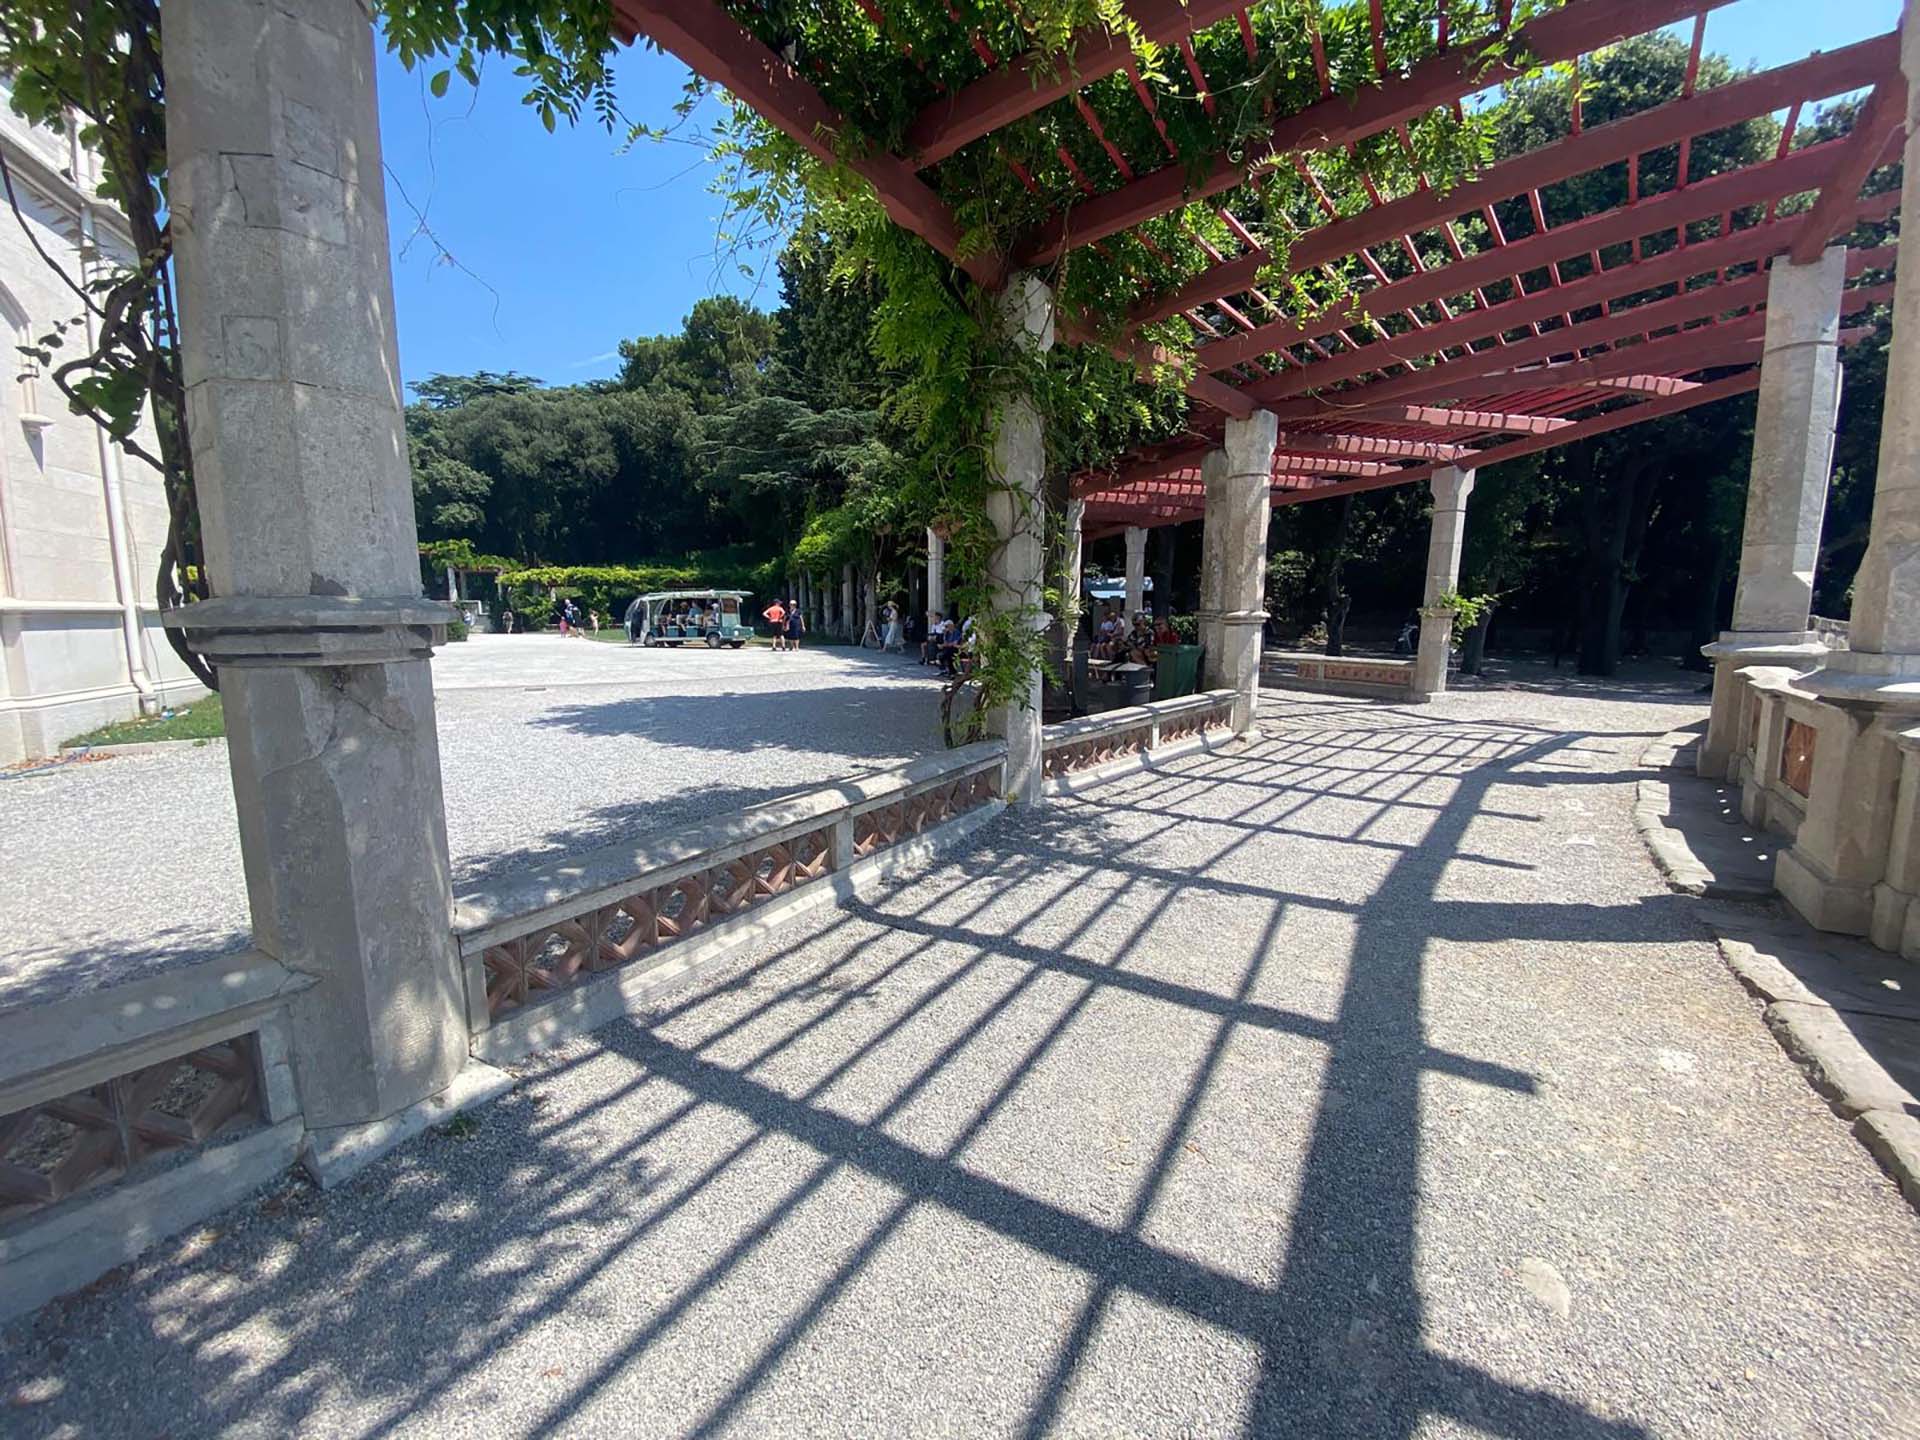
Photo 16 - Path under pergola (reverse shot of photo 15)
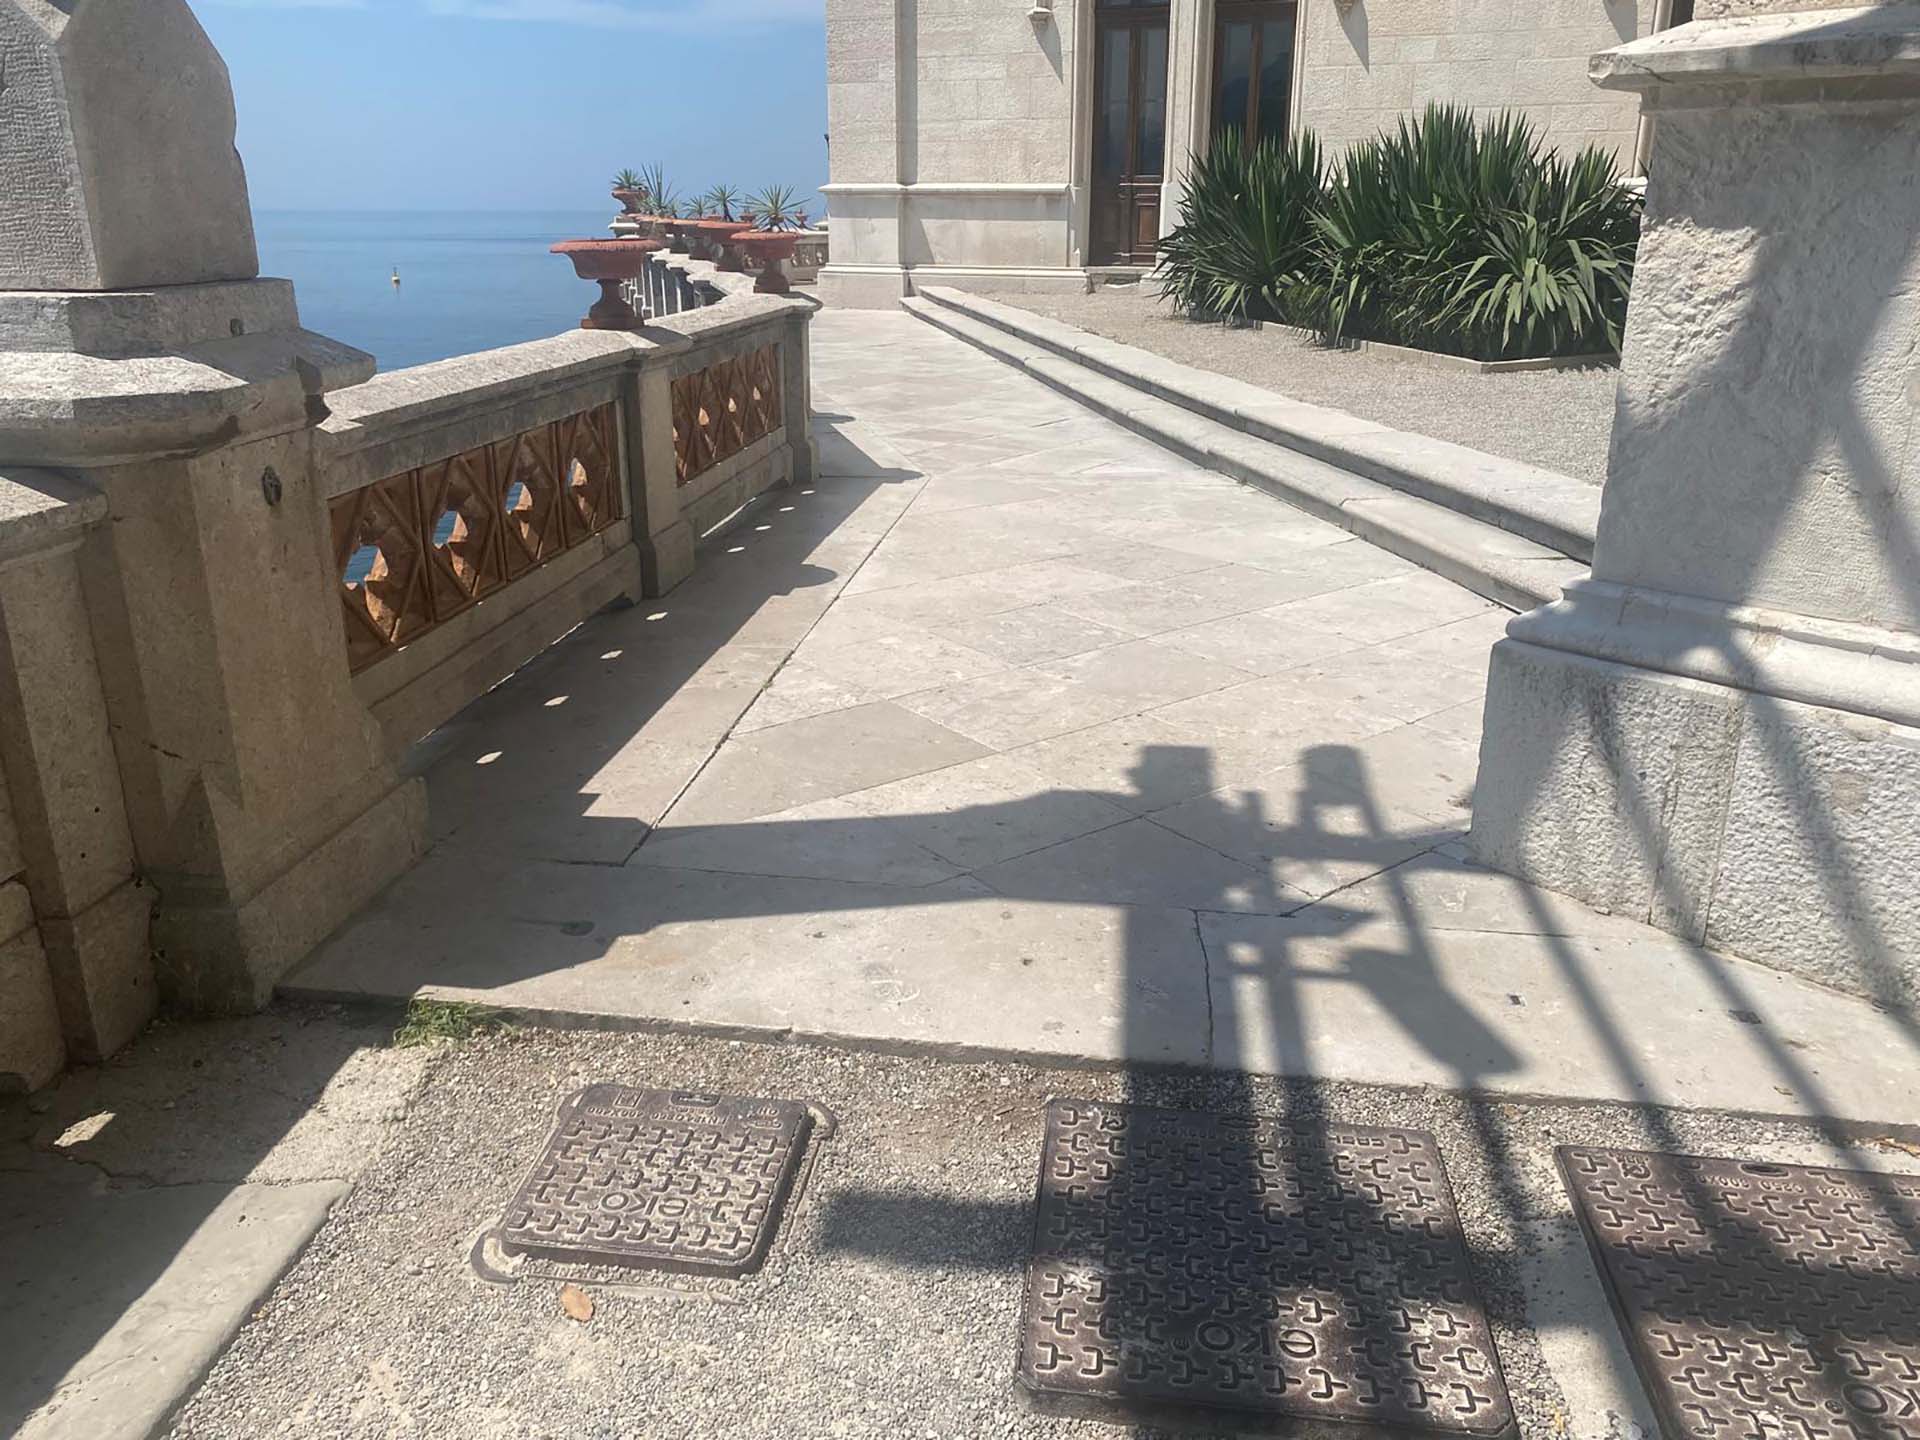
Photo 17 - Detail of pavement change and manholes
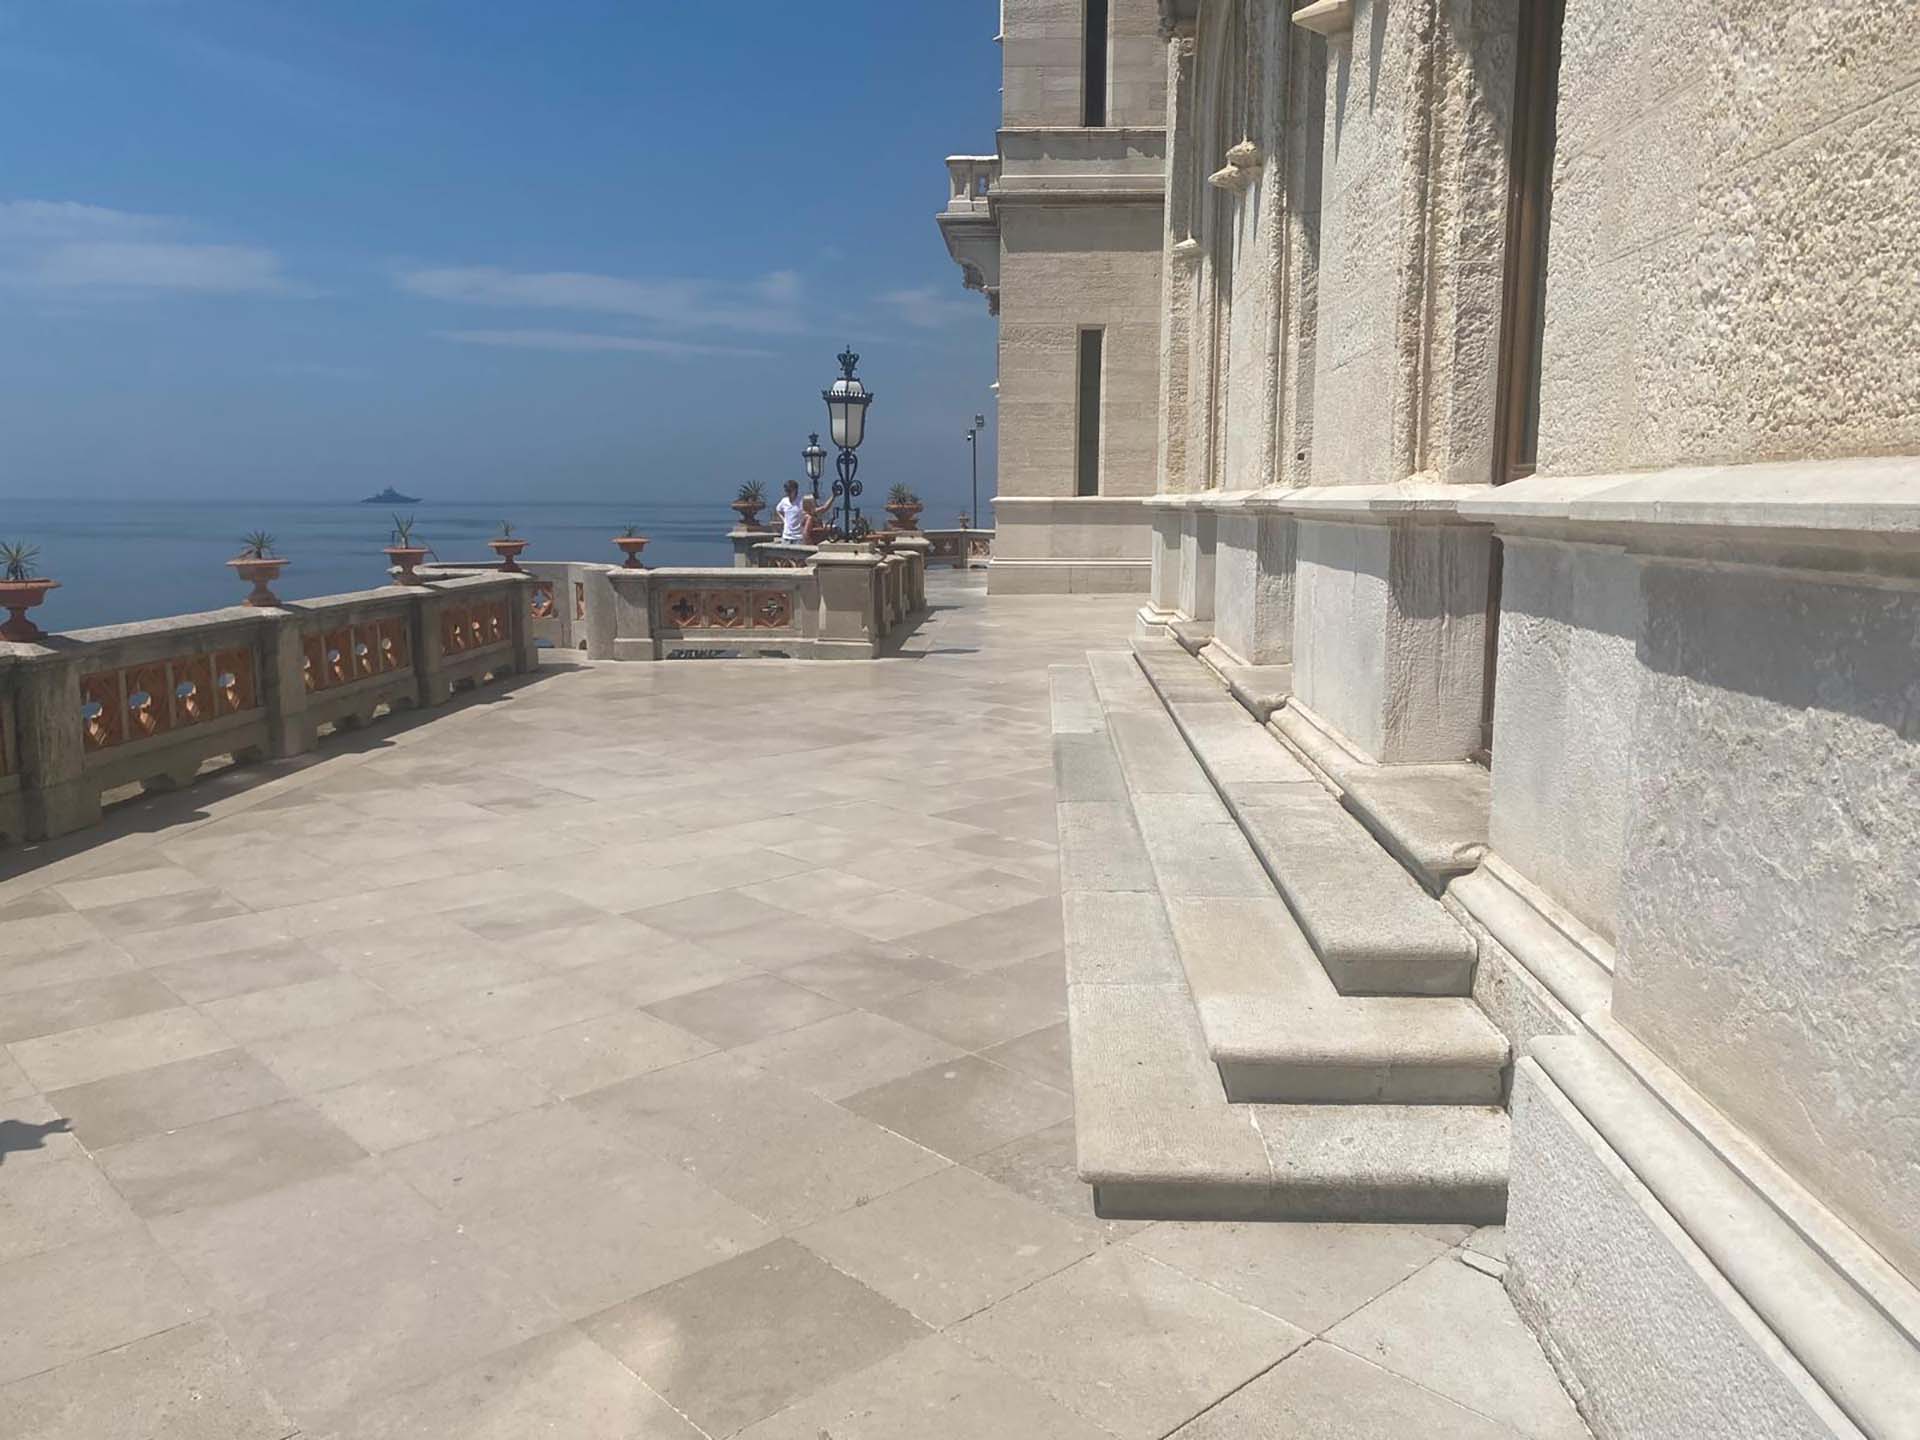
Photo 18 - Widening of path
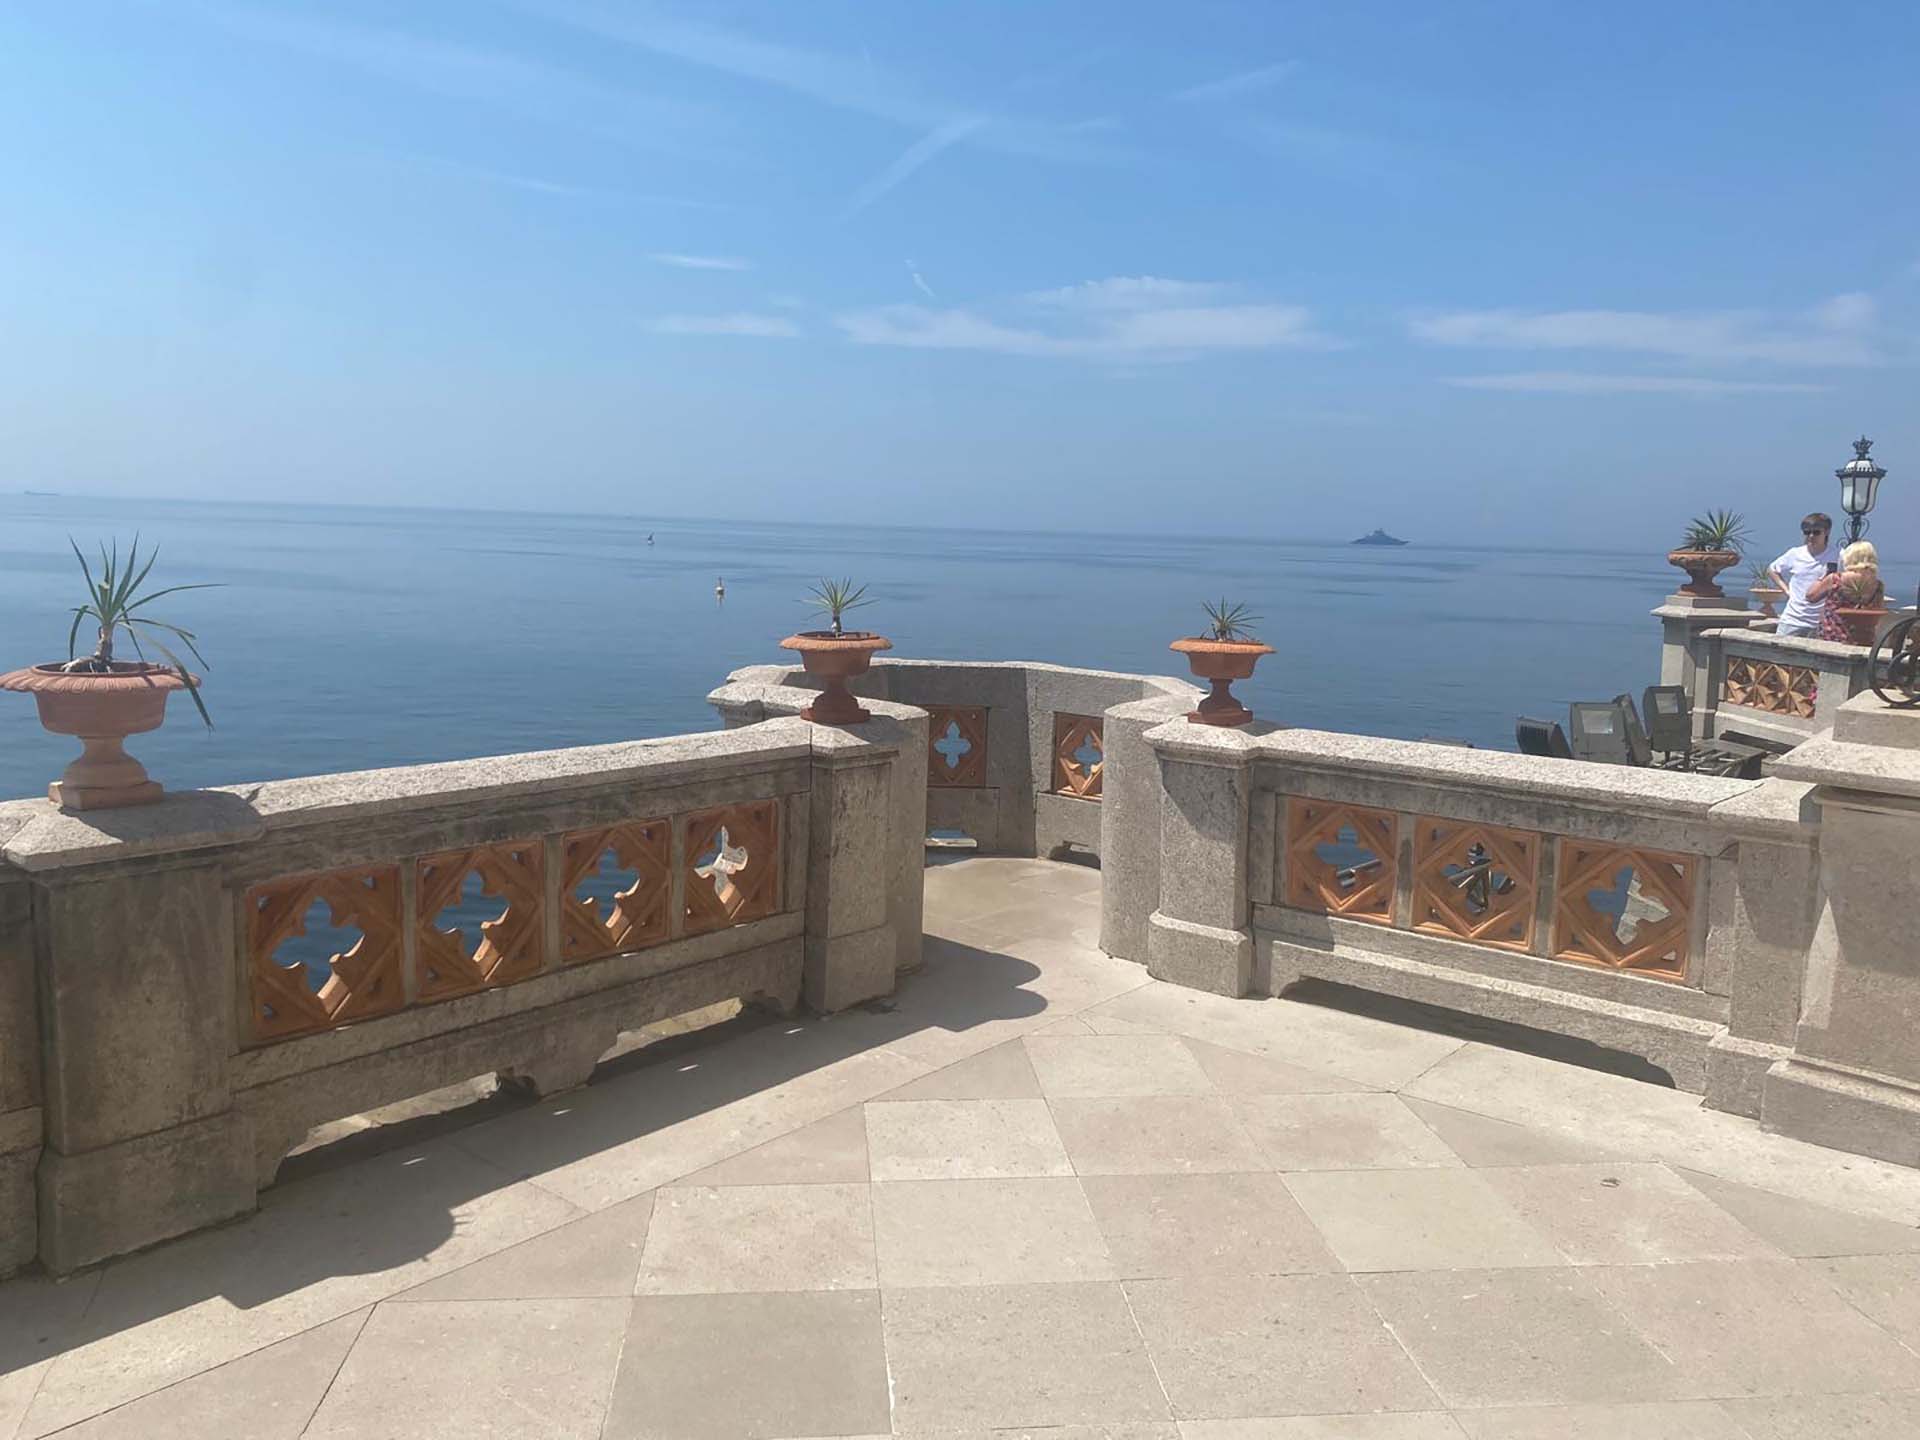
Photo 19 - Viewpoint and detail of railing
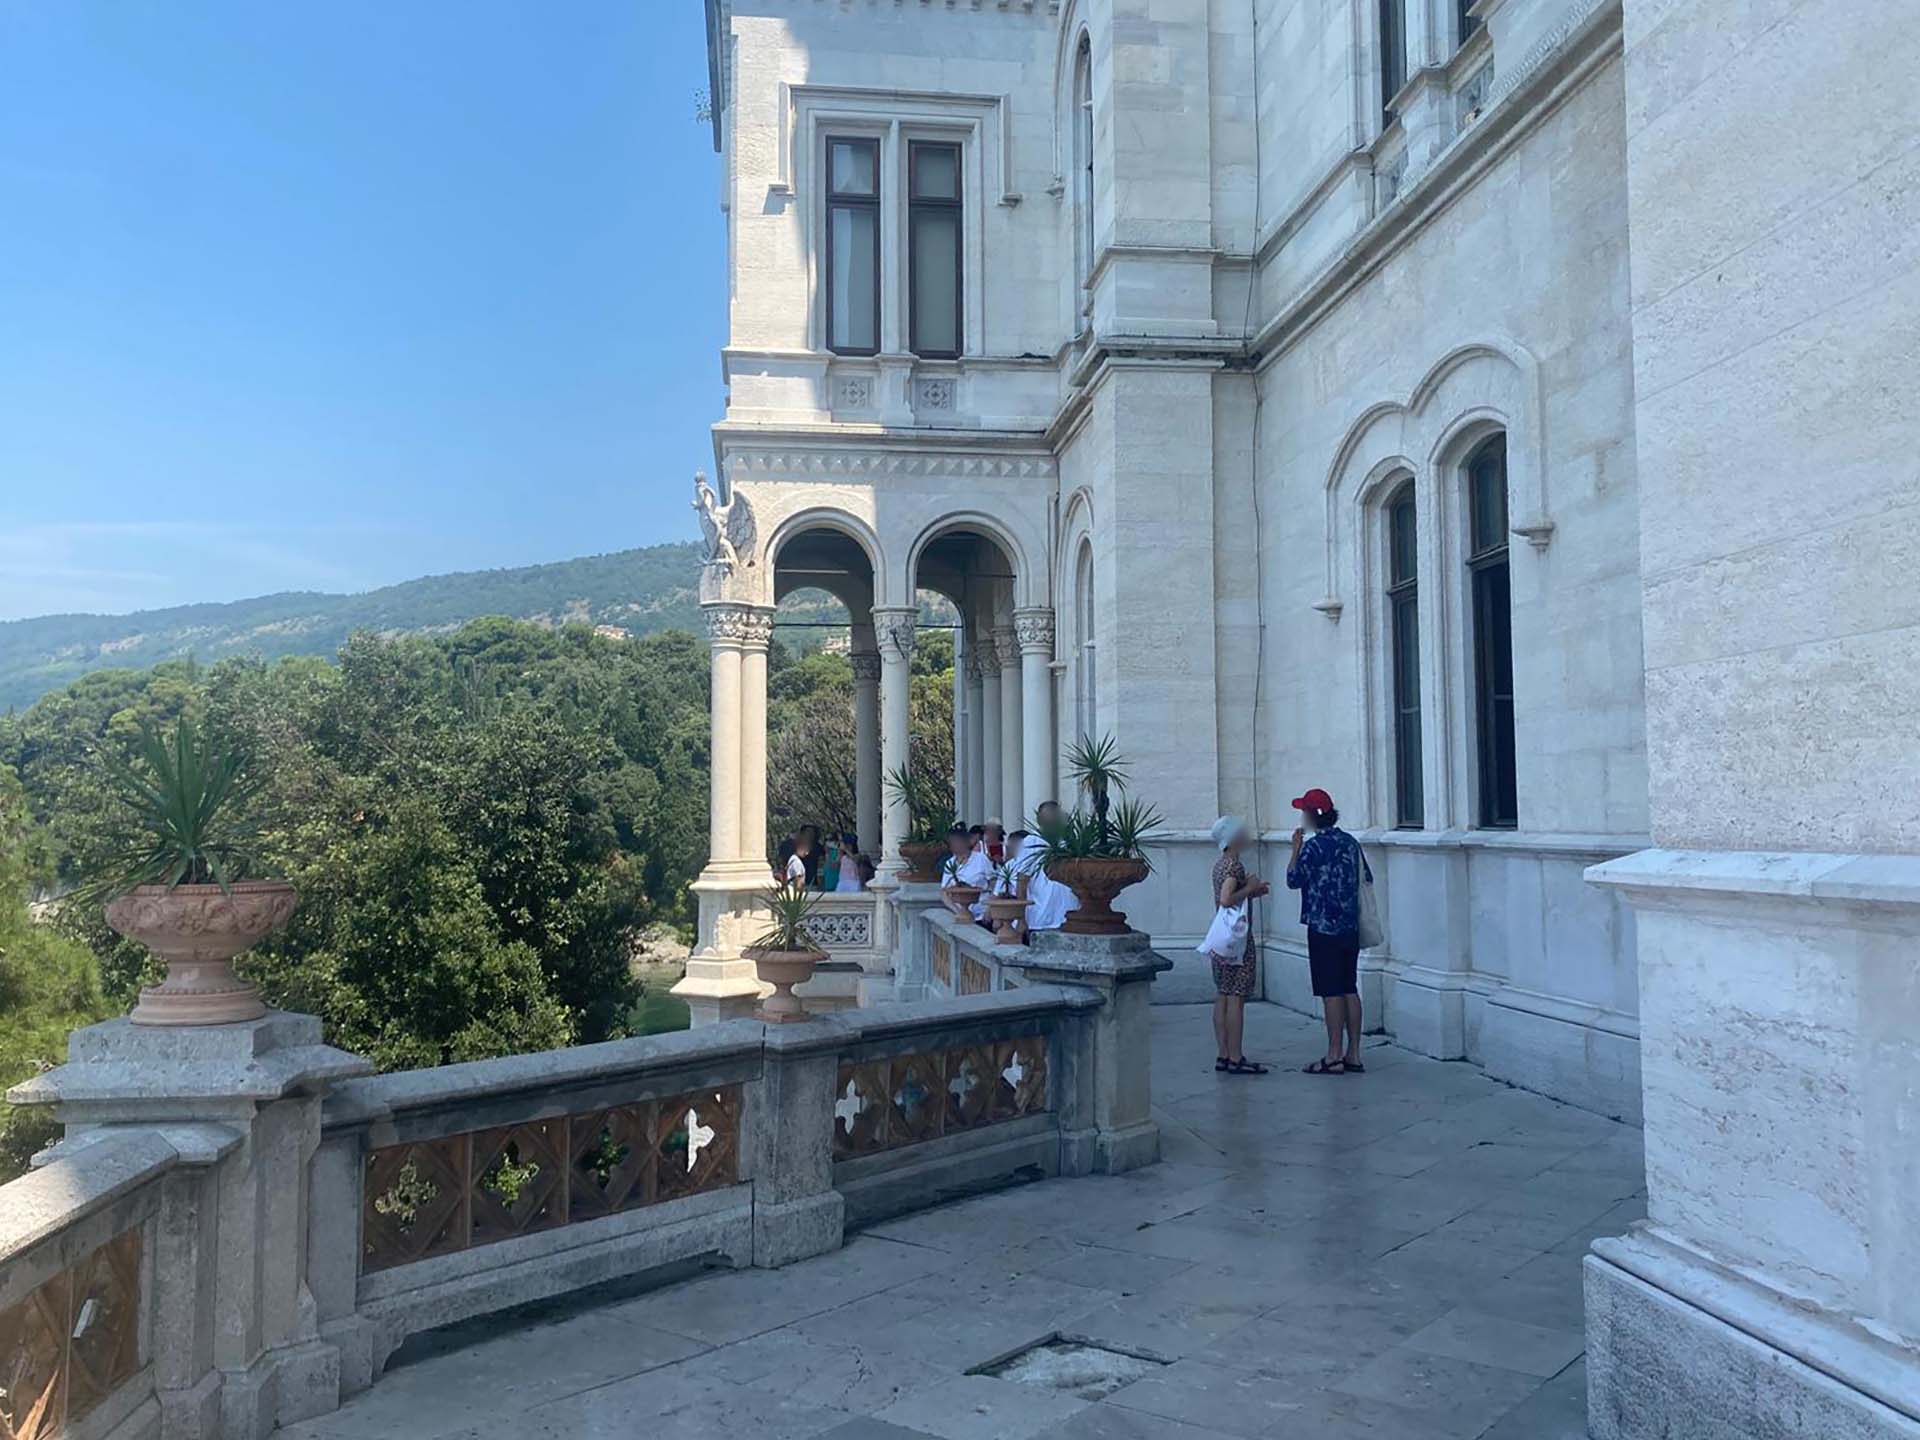
Photo 20 - View of porticoed area
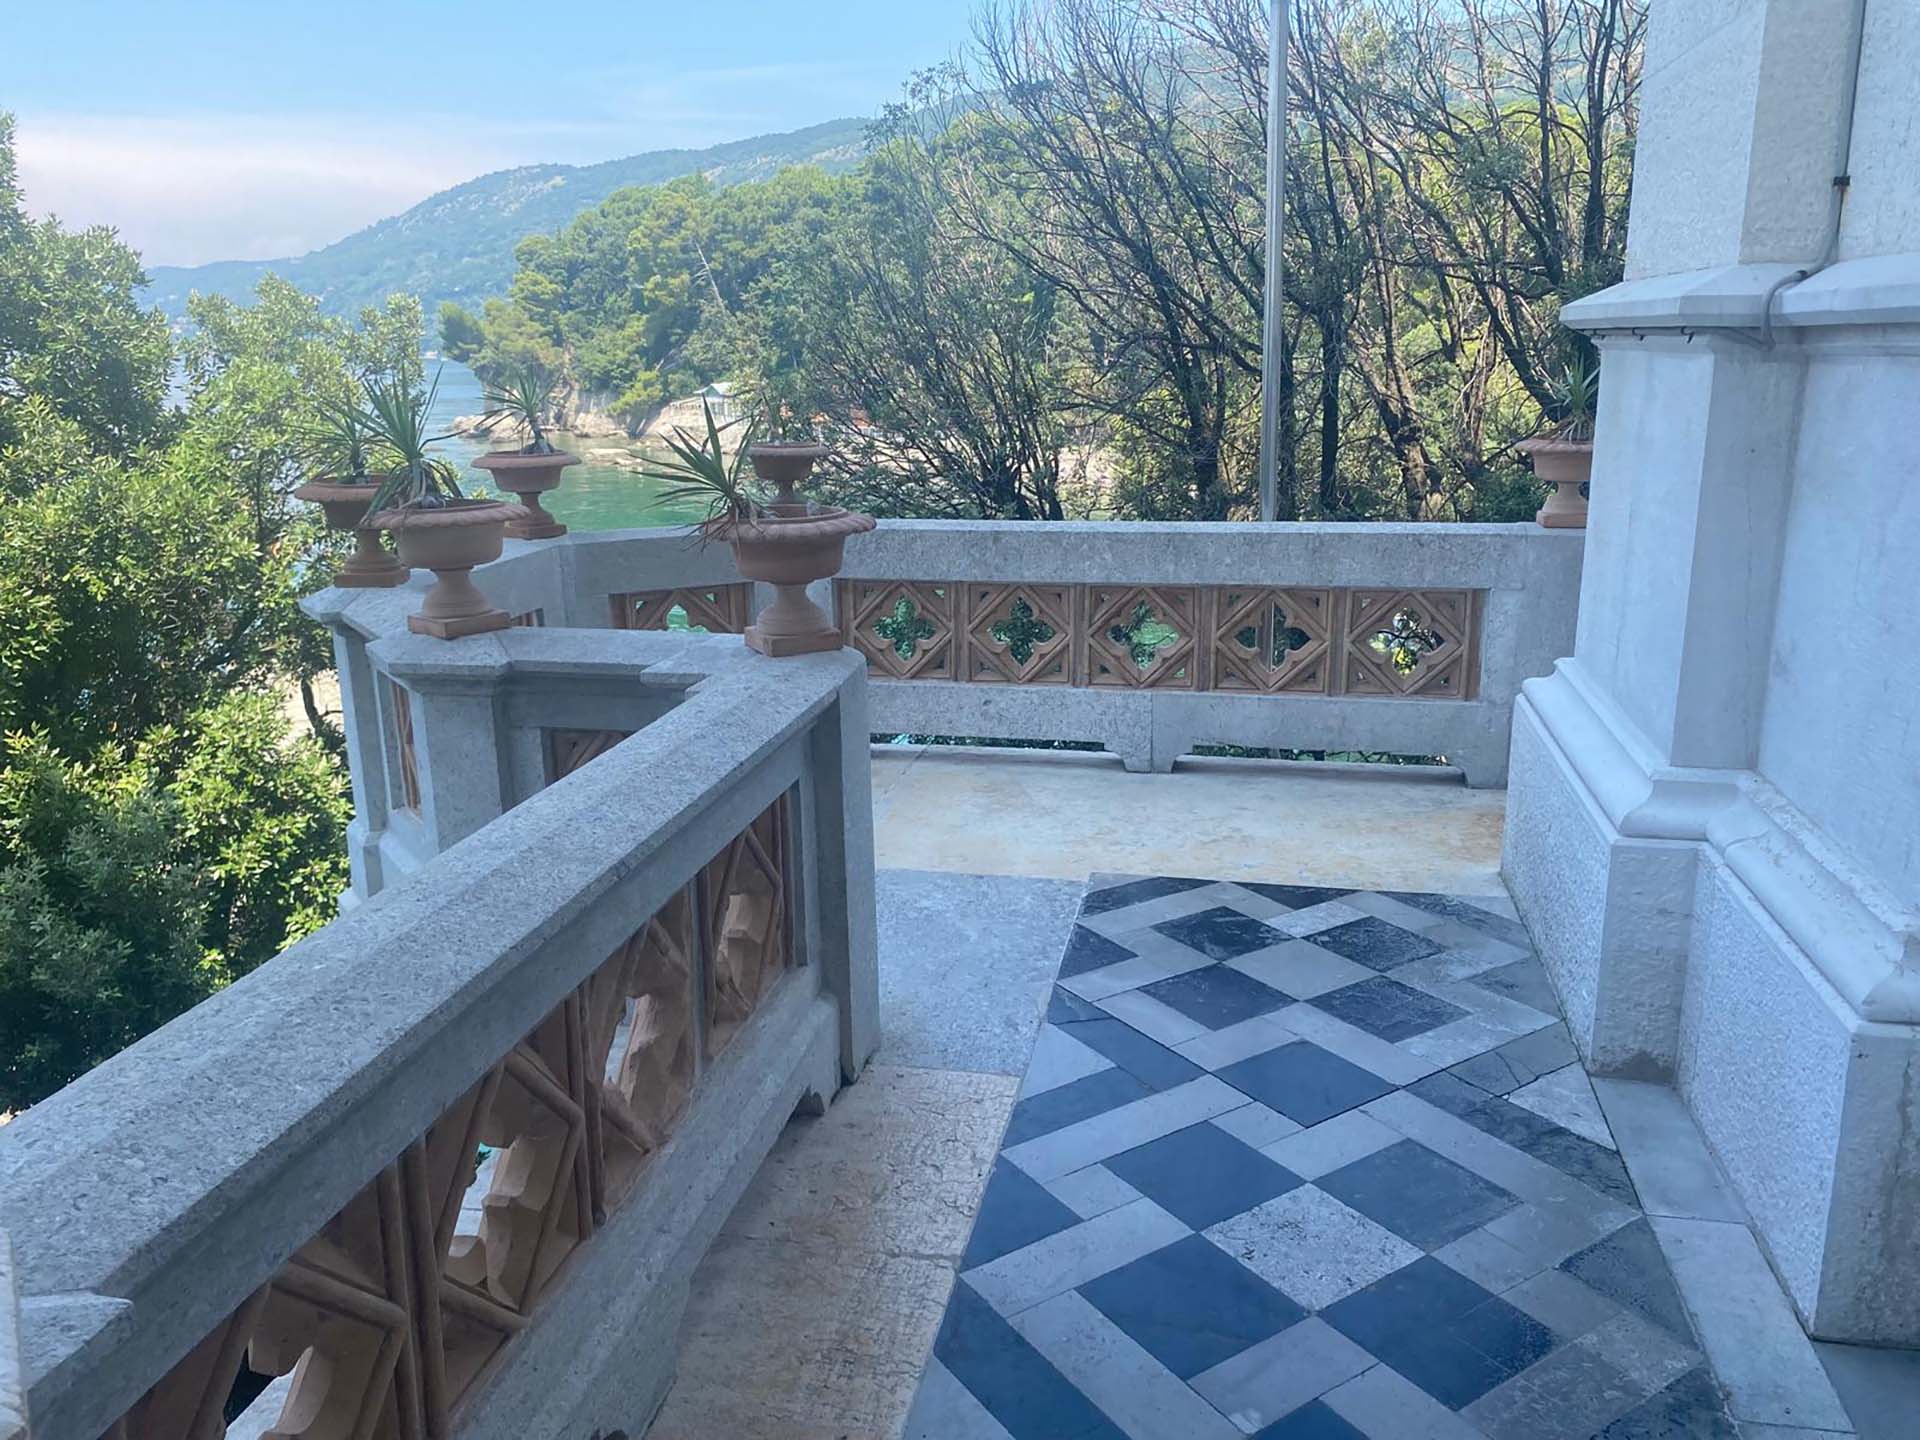
Photo 21 - Northwest corner
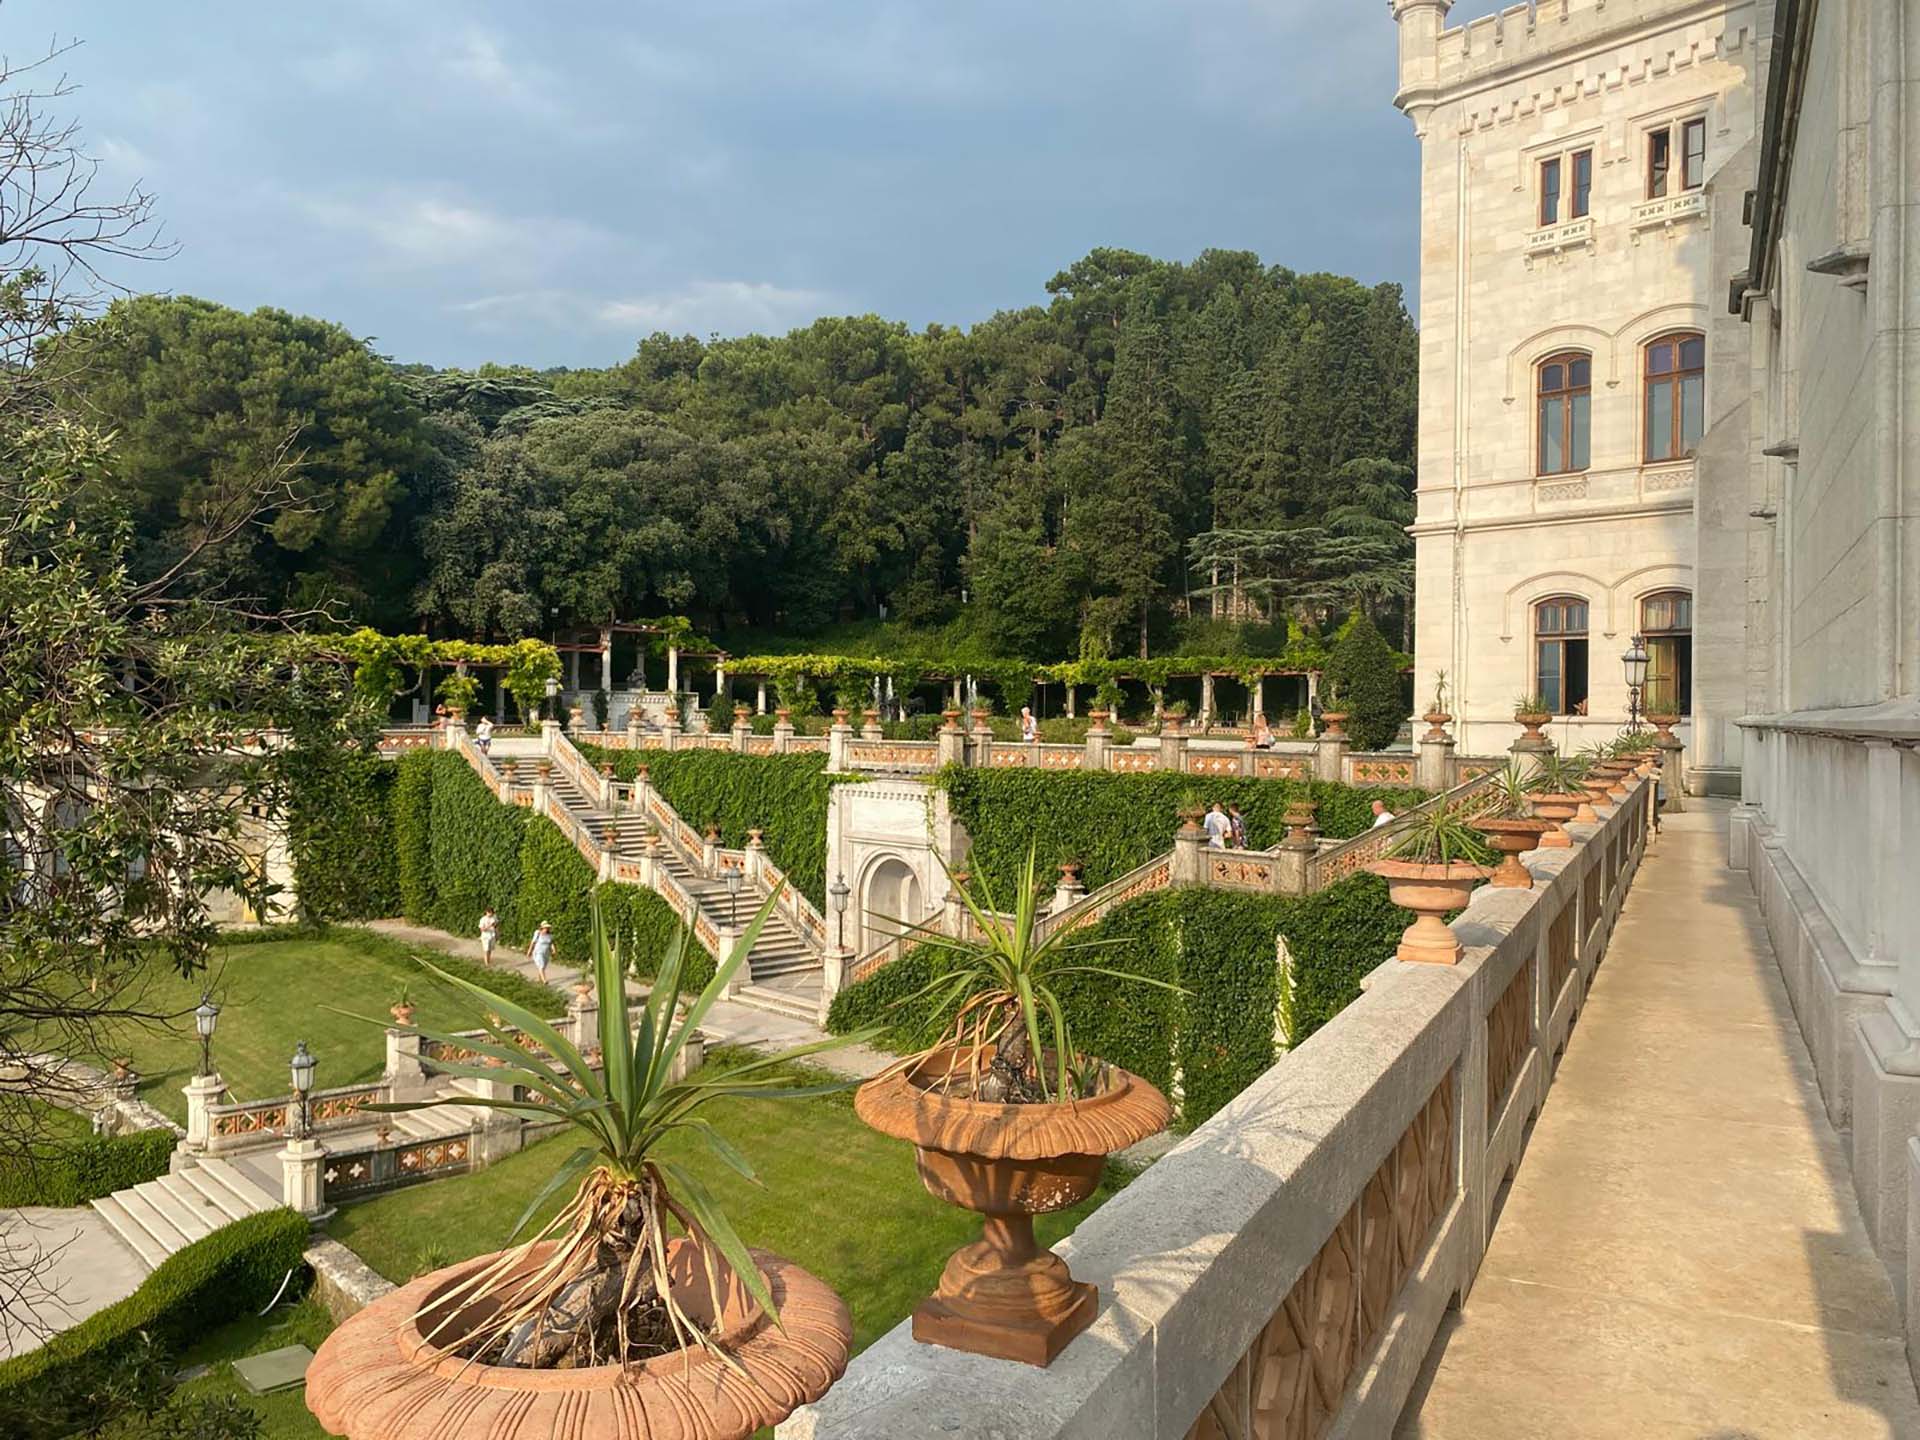
Photo 22 - View of inaccessible lower garden
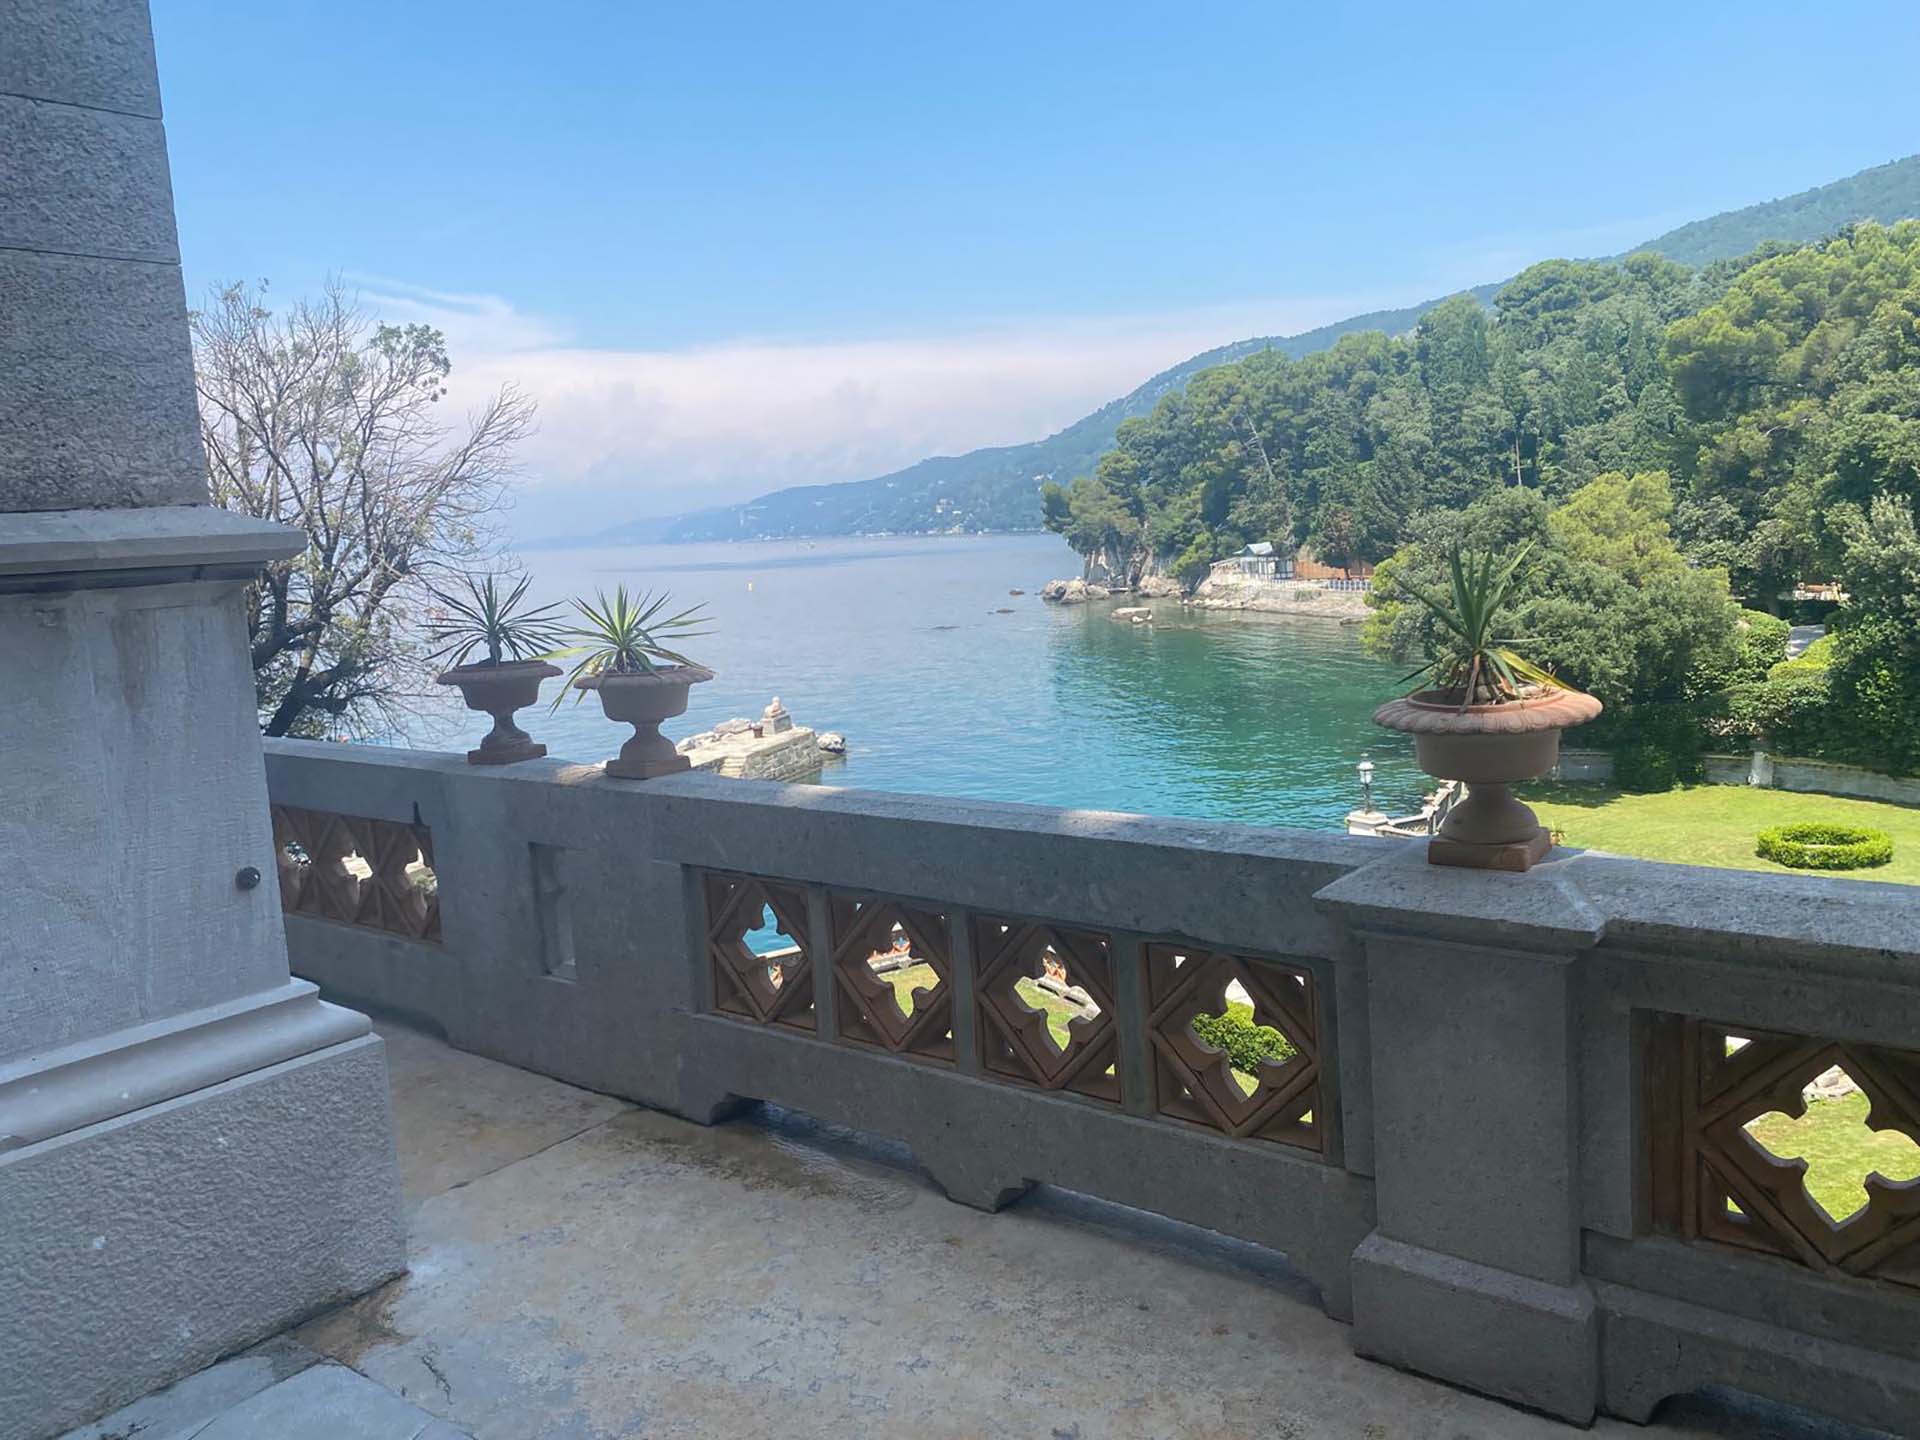
Photo 23 - View towards the sphinx
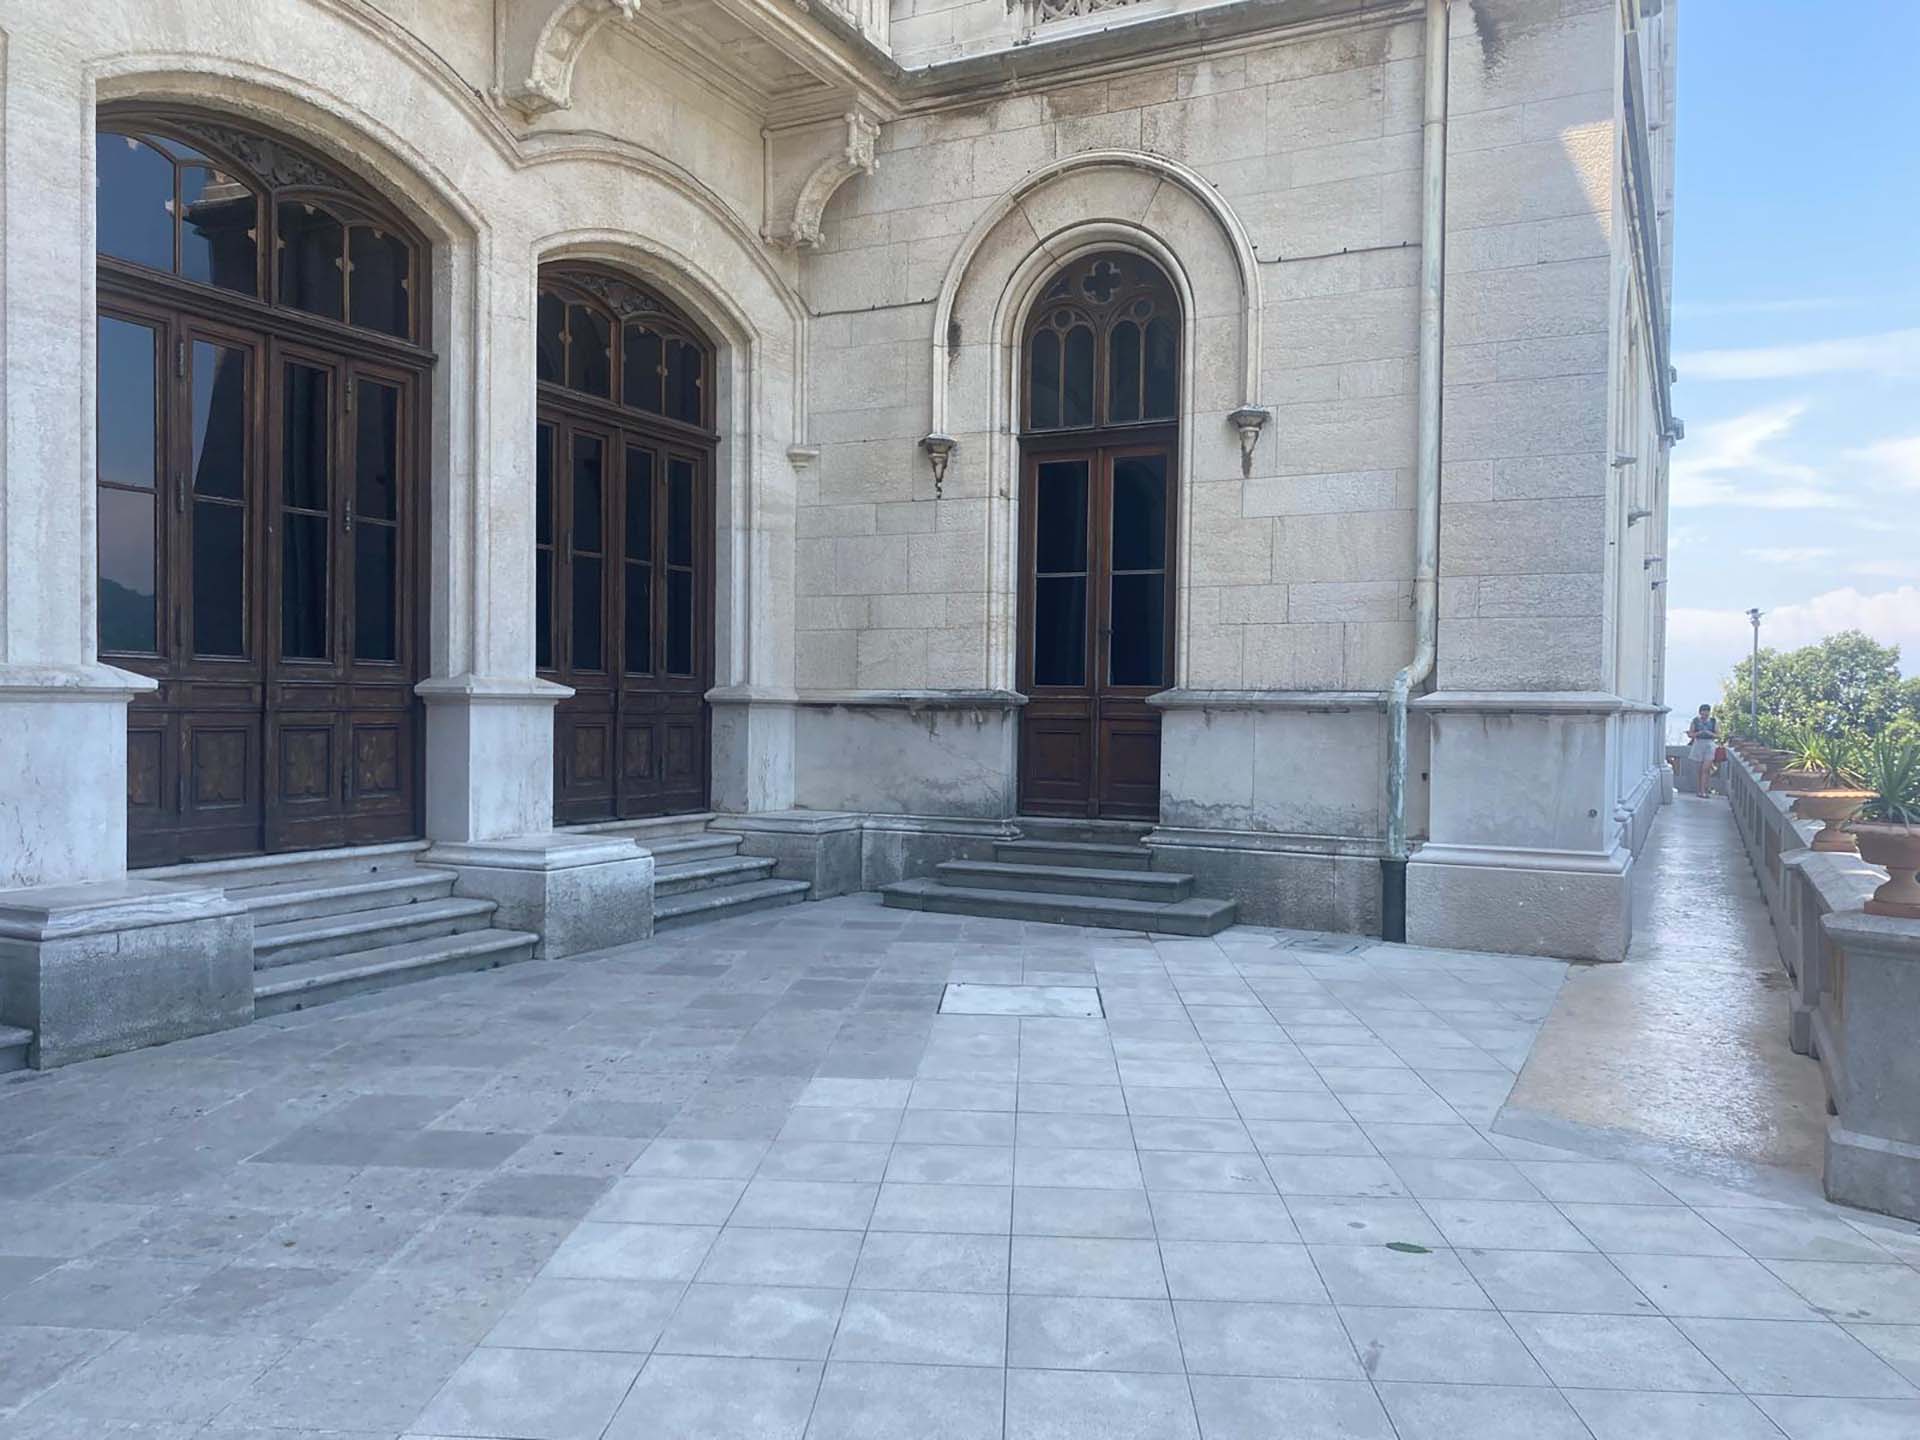
Photo 24 - Widening of path
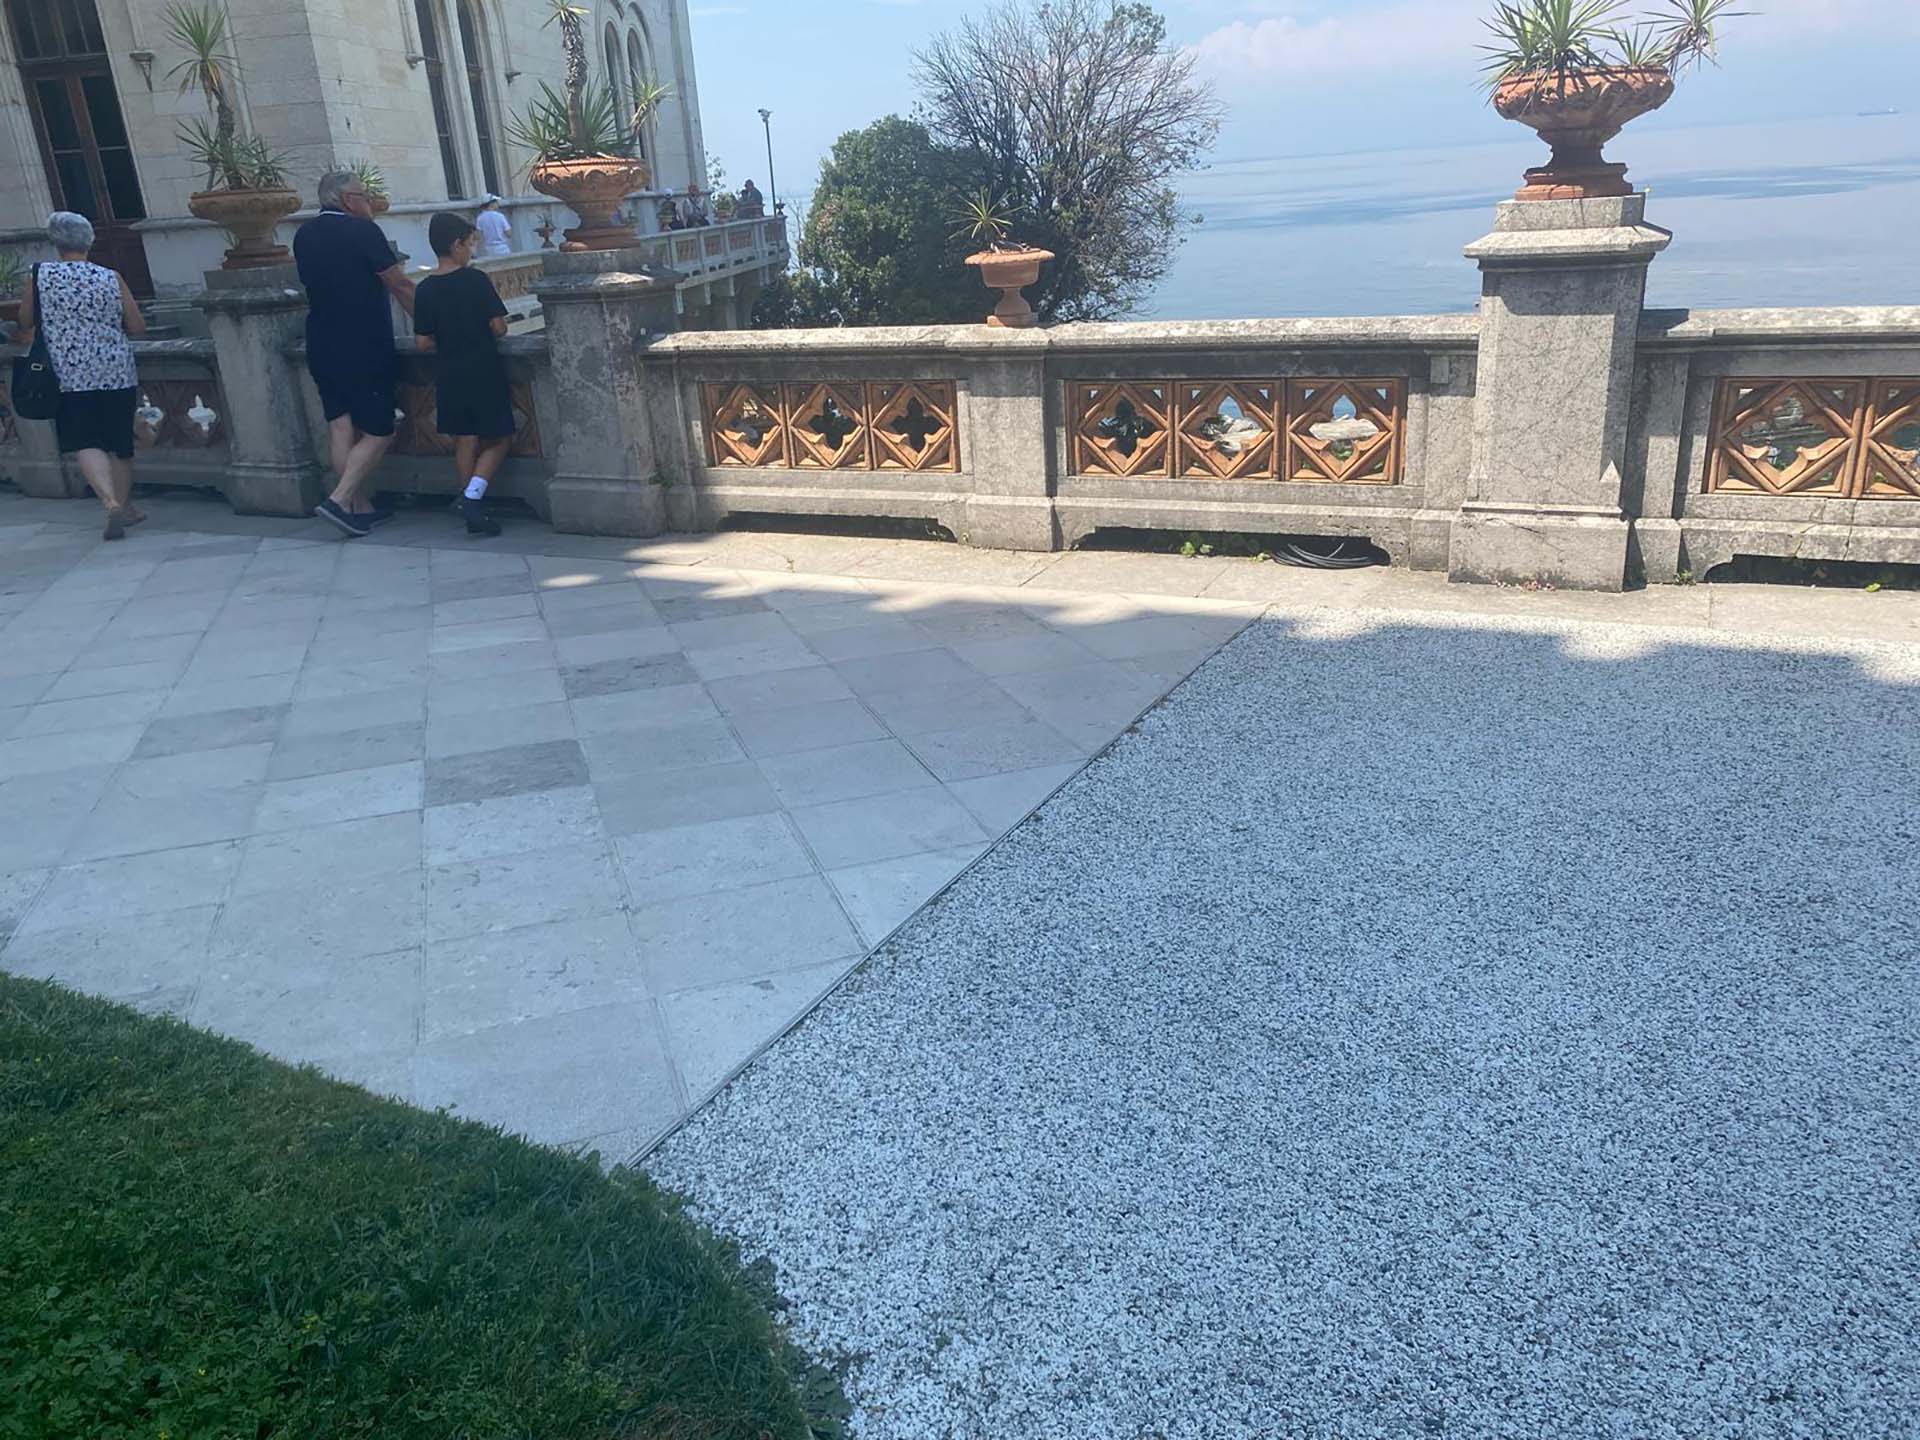
Photo 25 - End of section with pavement change
Section 4
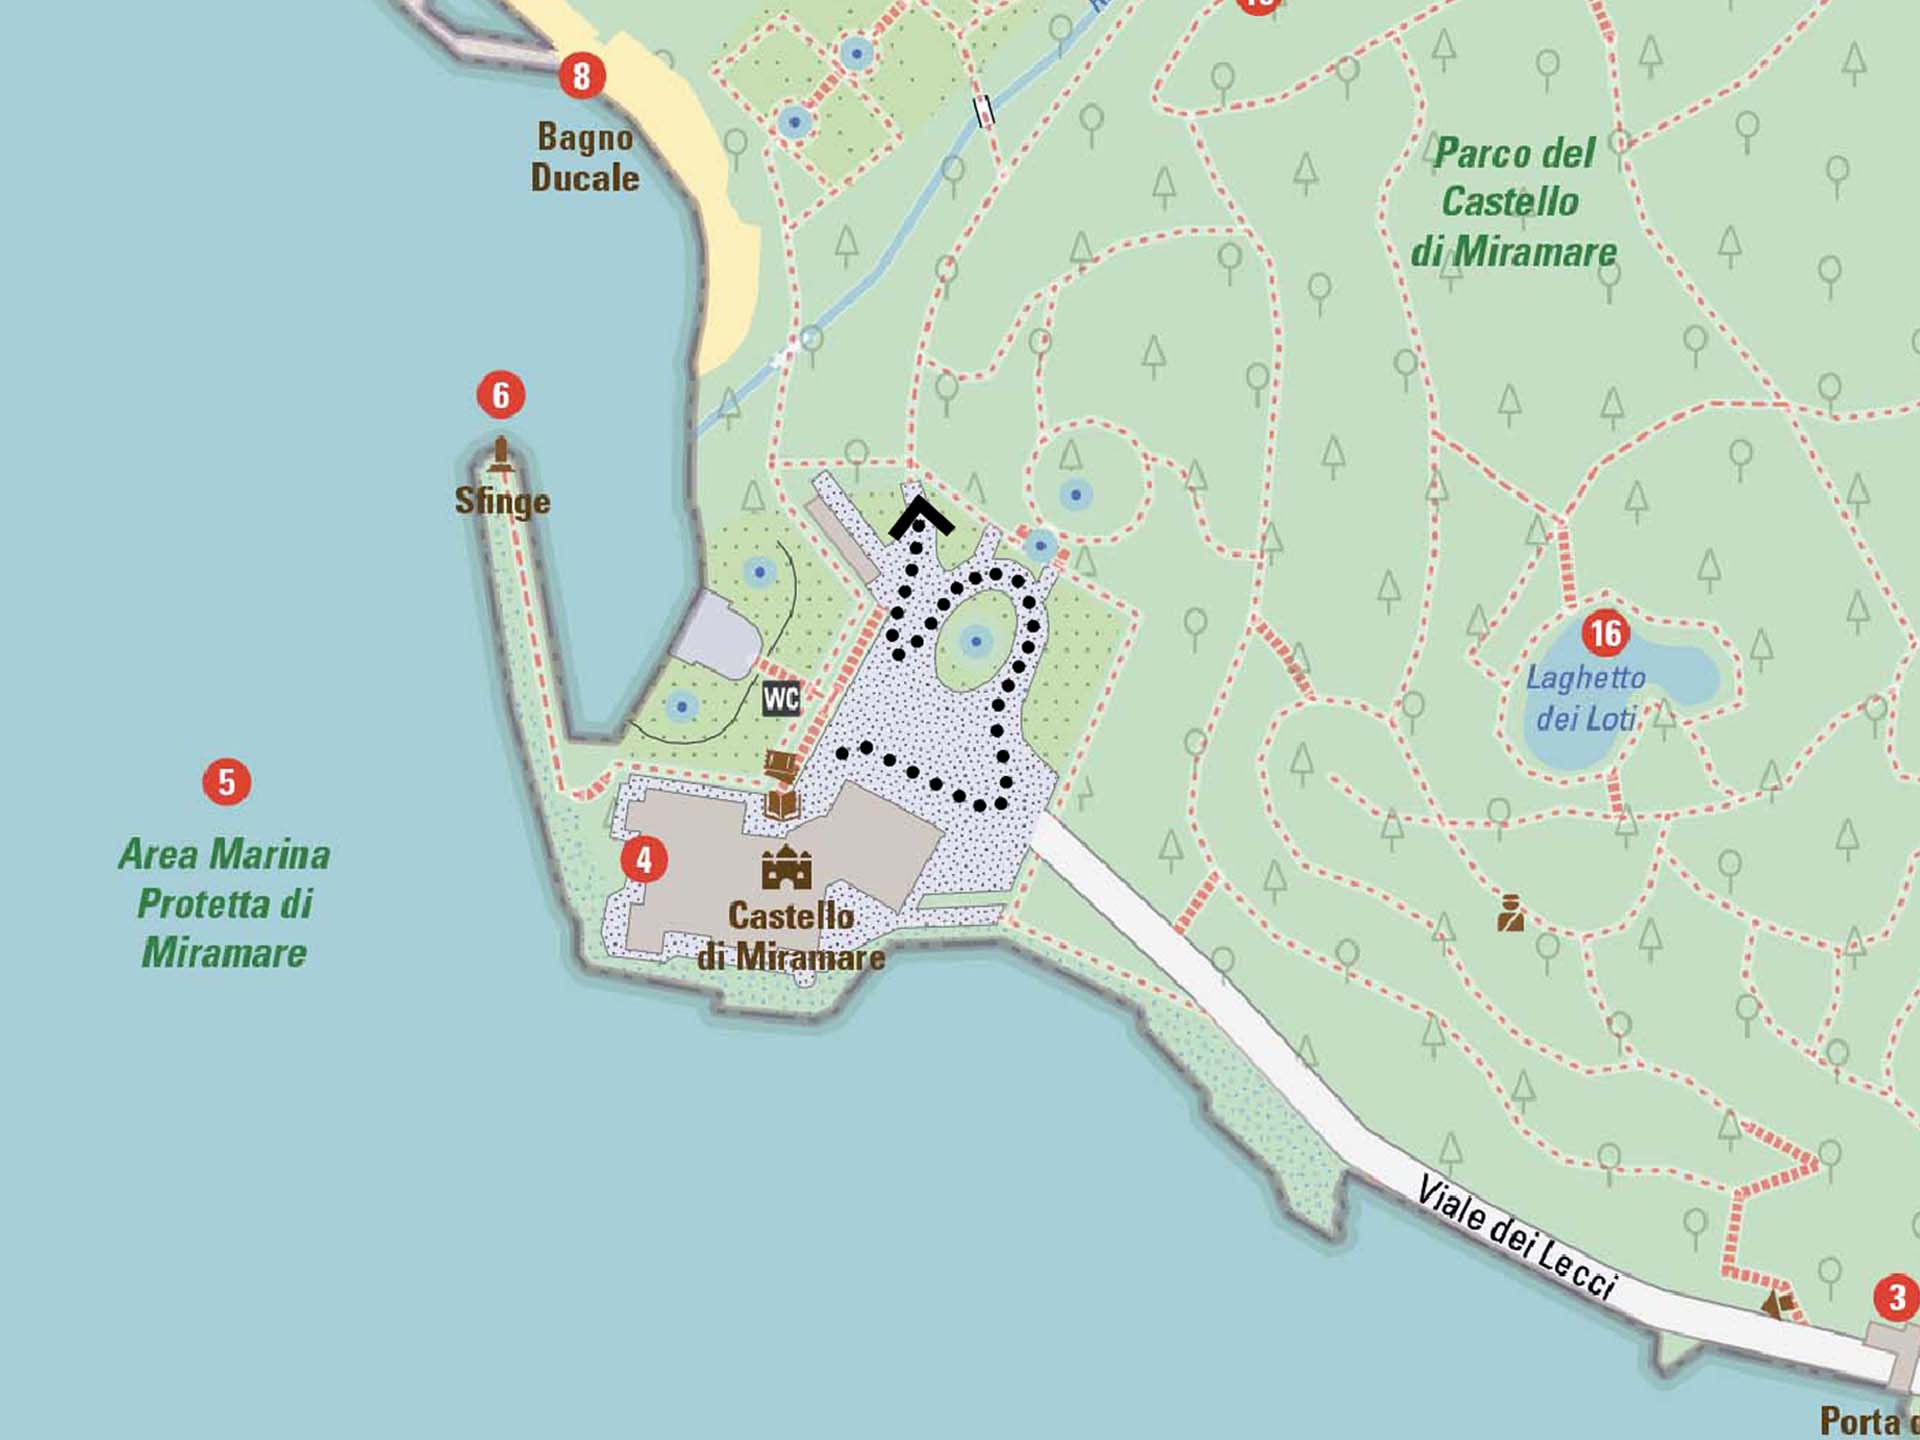
The square in front of the Castle, with stabilized gravel paving, has a fountain in the center and a path with benches covered by a pergola on the right side.
After completing section 3 around the castle, on the left there is a view of the lower gardens (photo 26) while on the right is the side entrance to the Castle (photo 27). After passing the main entrance to the Castle, we find ourselves at the end of Viale dei Lecci (photo 28), from which private mini bus tours depart to take visitors through the Miramare Park (photo 29). Alongside the central fountain, we see the Castle (photo 30) and in the background the pergola (photo 31), also with stabilized gravel paving (photo 32). Under the pergola, there is the possibility to sit and rest in the shade on the benches (photo 33). Continuing around the fountain, we return to the view towards the gardens and the sea; to continue the path, we turn right where the paving changes (photo 34).
Section 4
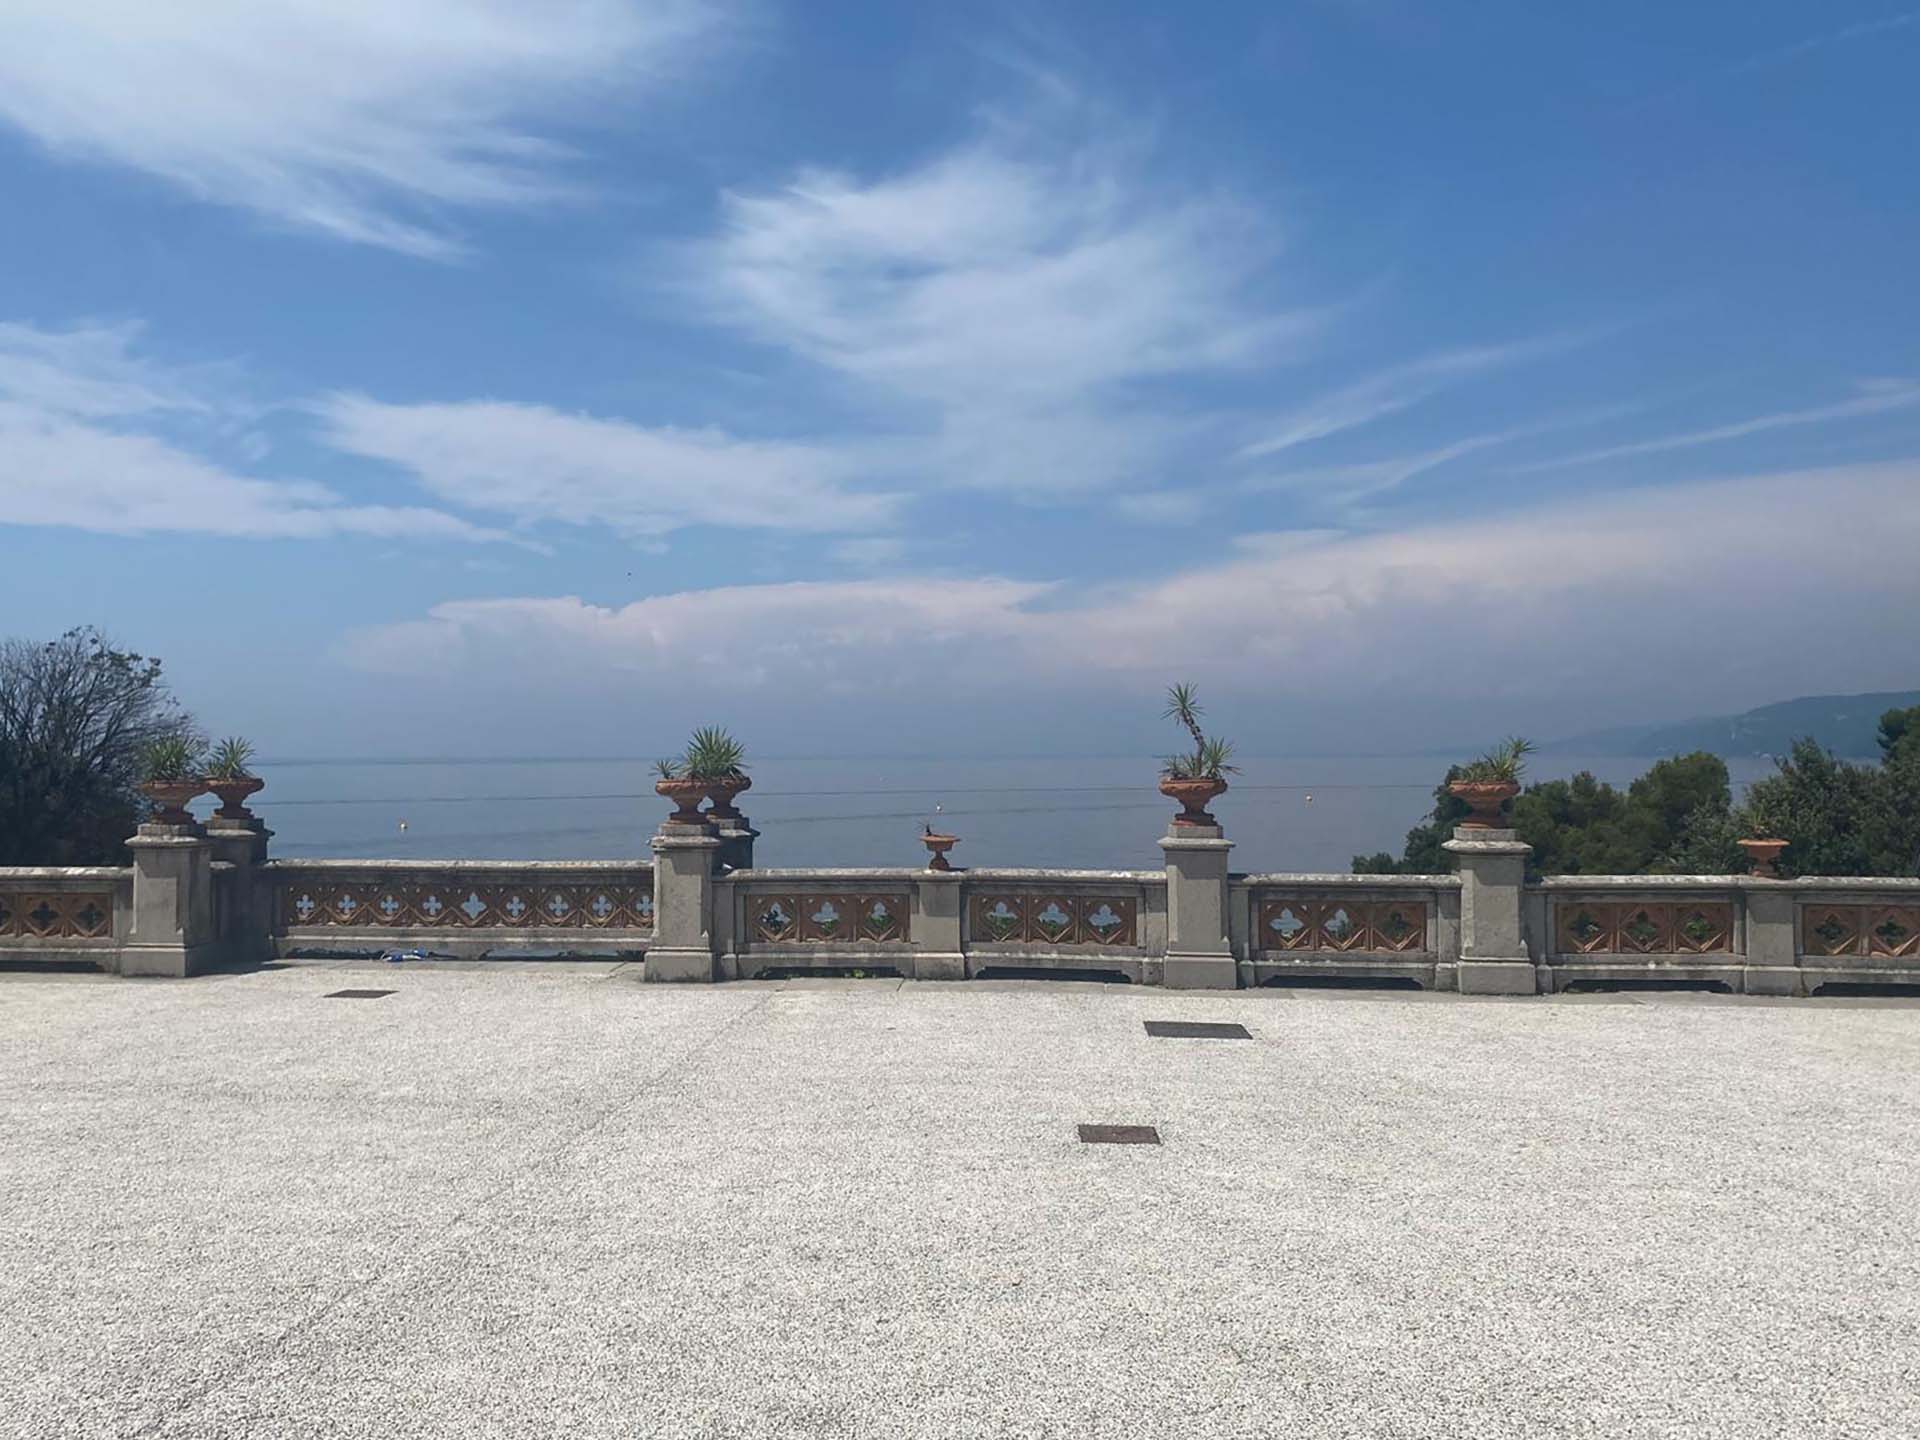
Photo 26 - Railing on inaccessible lower gardens
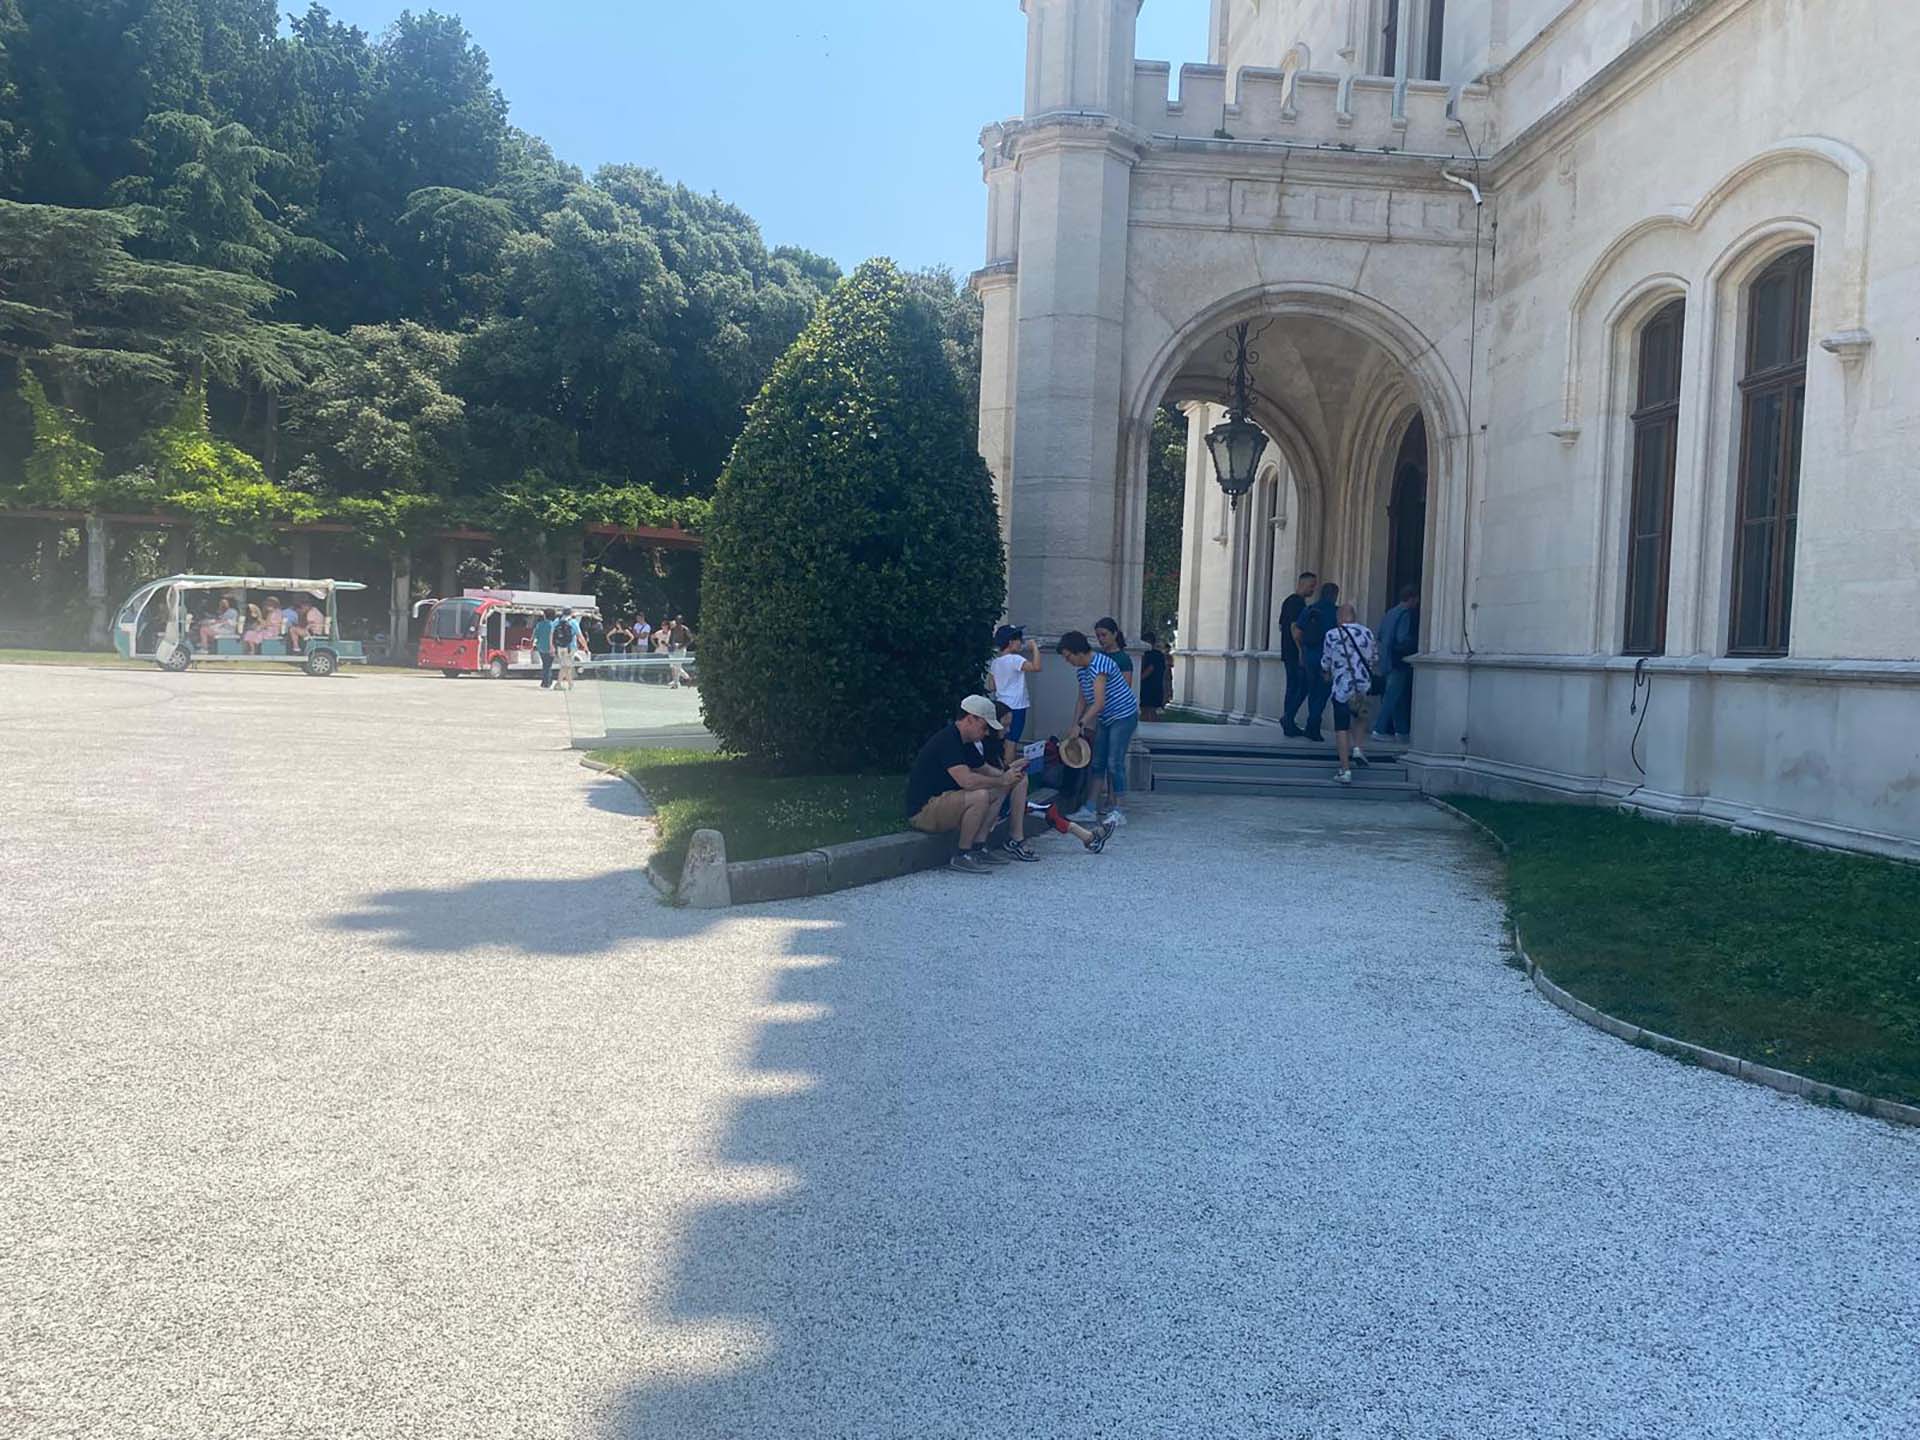
Photo 27 - Side entrance to the Castle
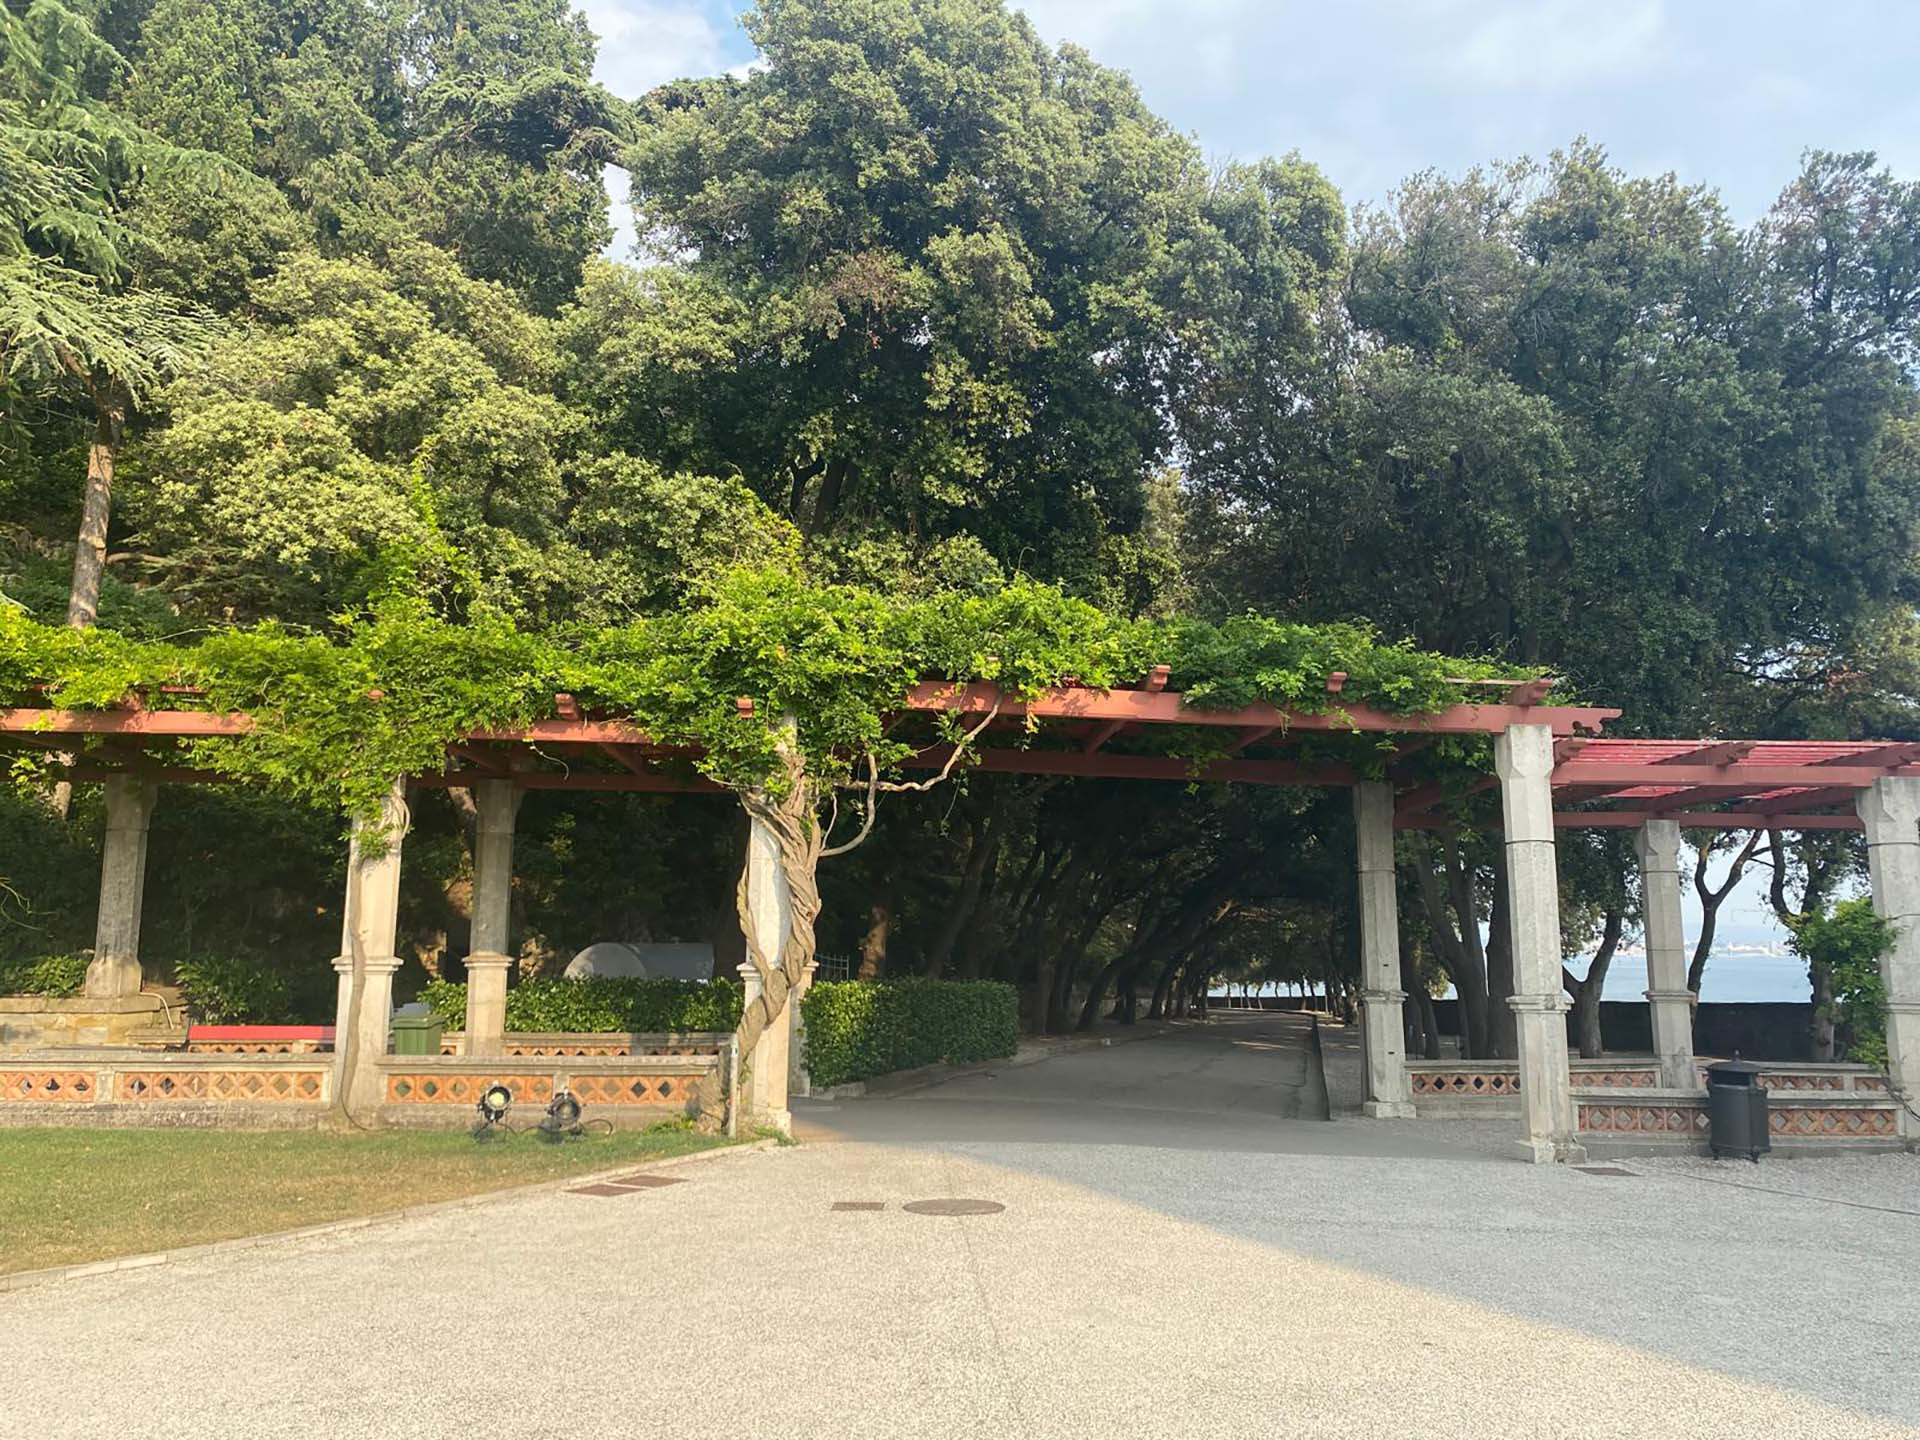
Photo 28 - End of section 2
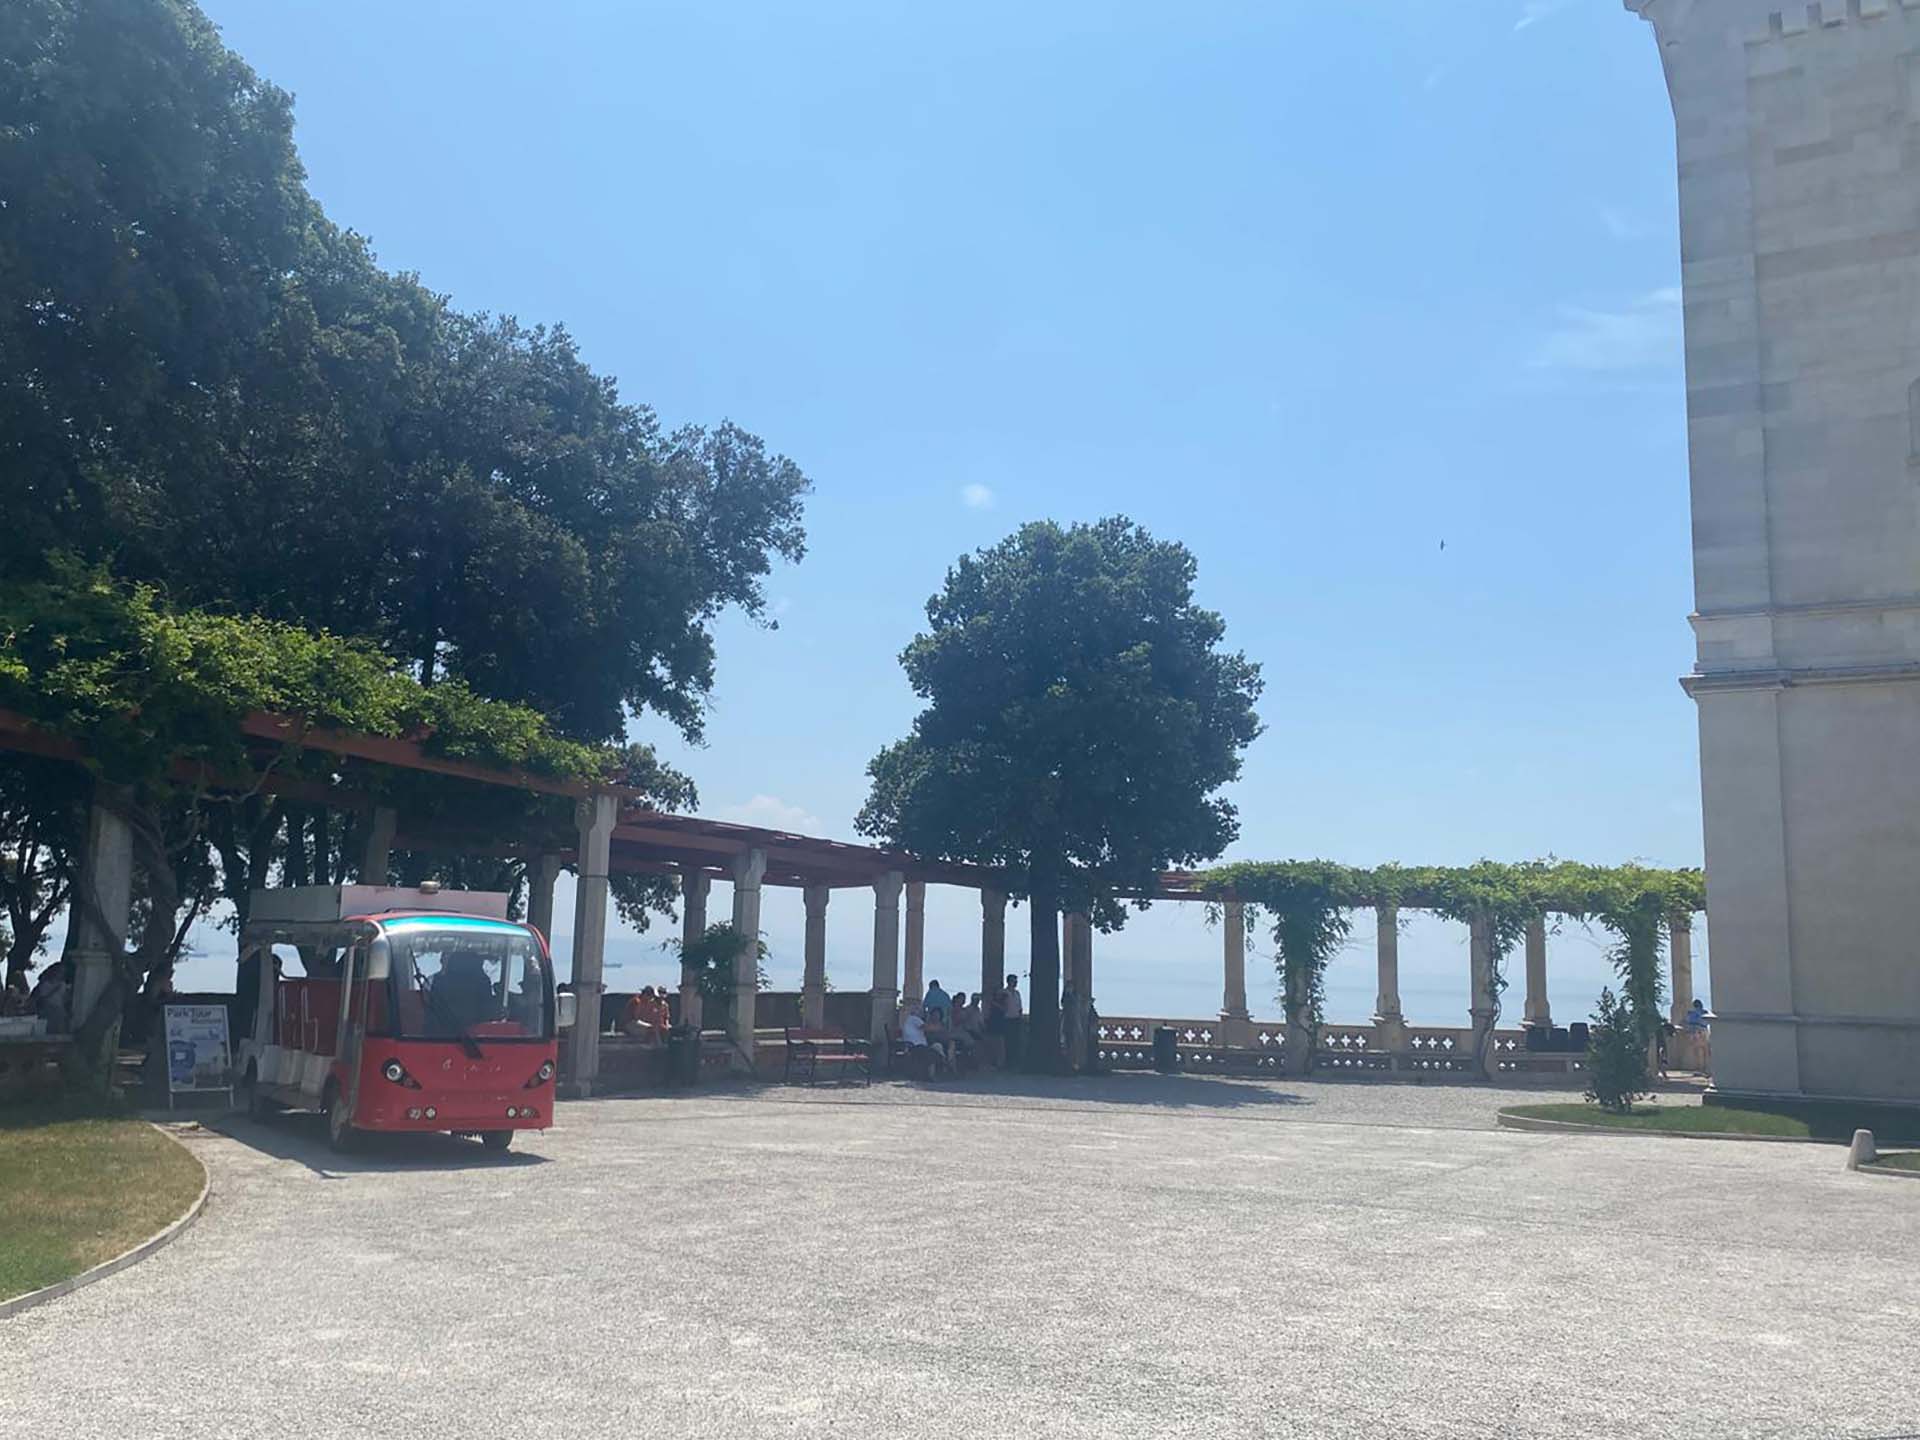
Photo 29 - Leachate
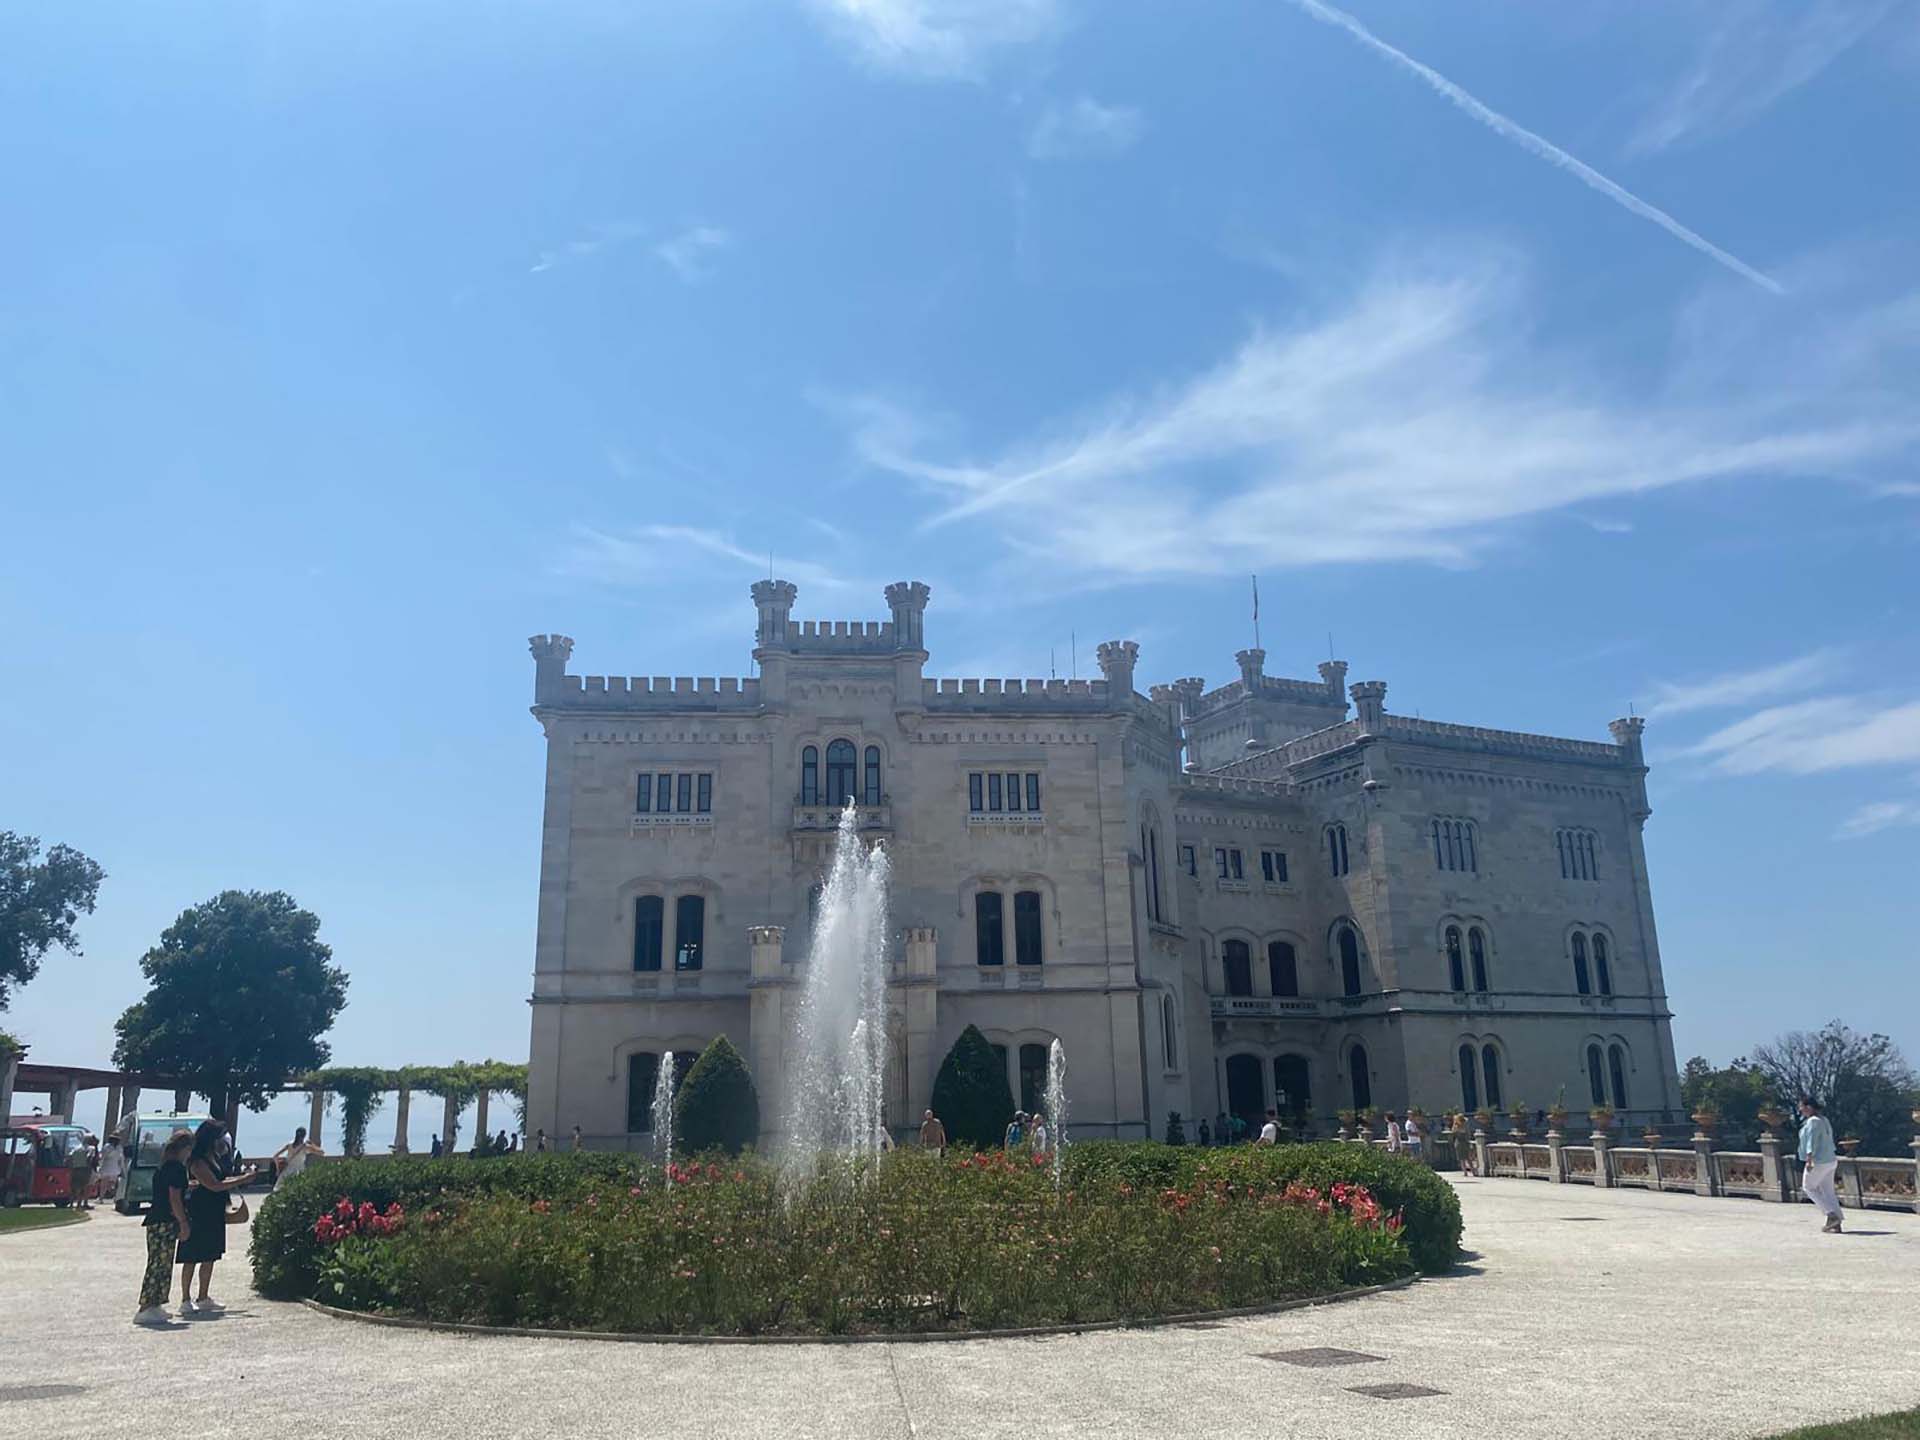
Photo 30 - Miramare Castle
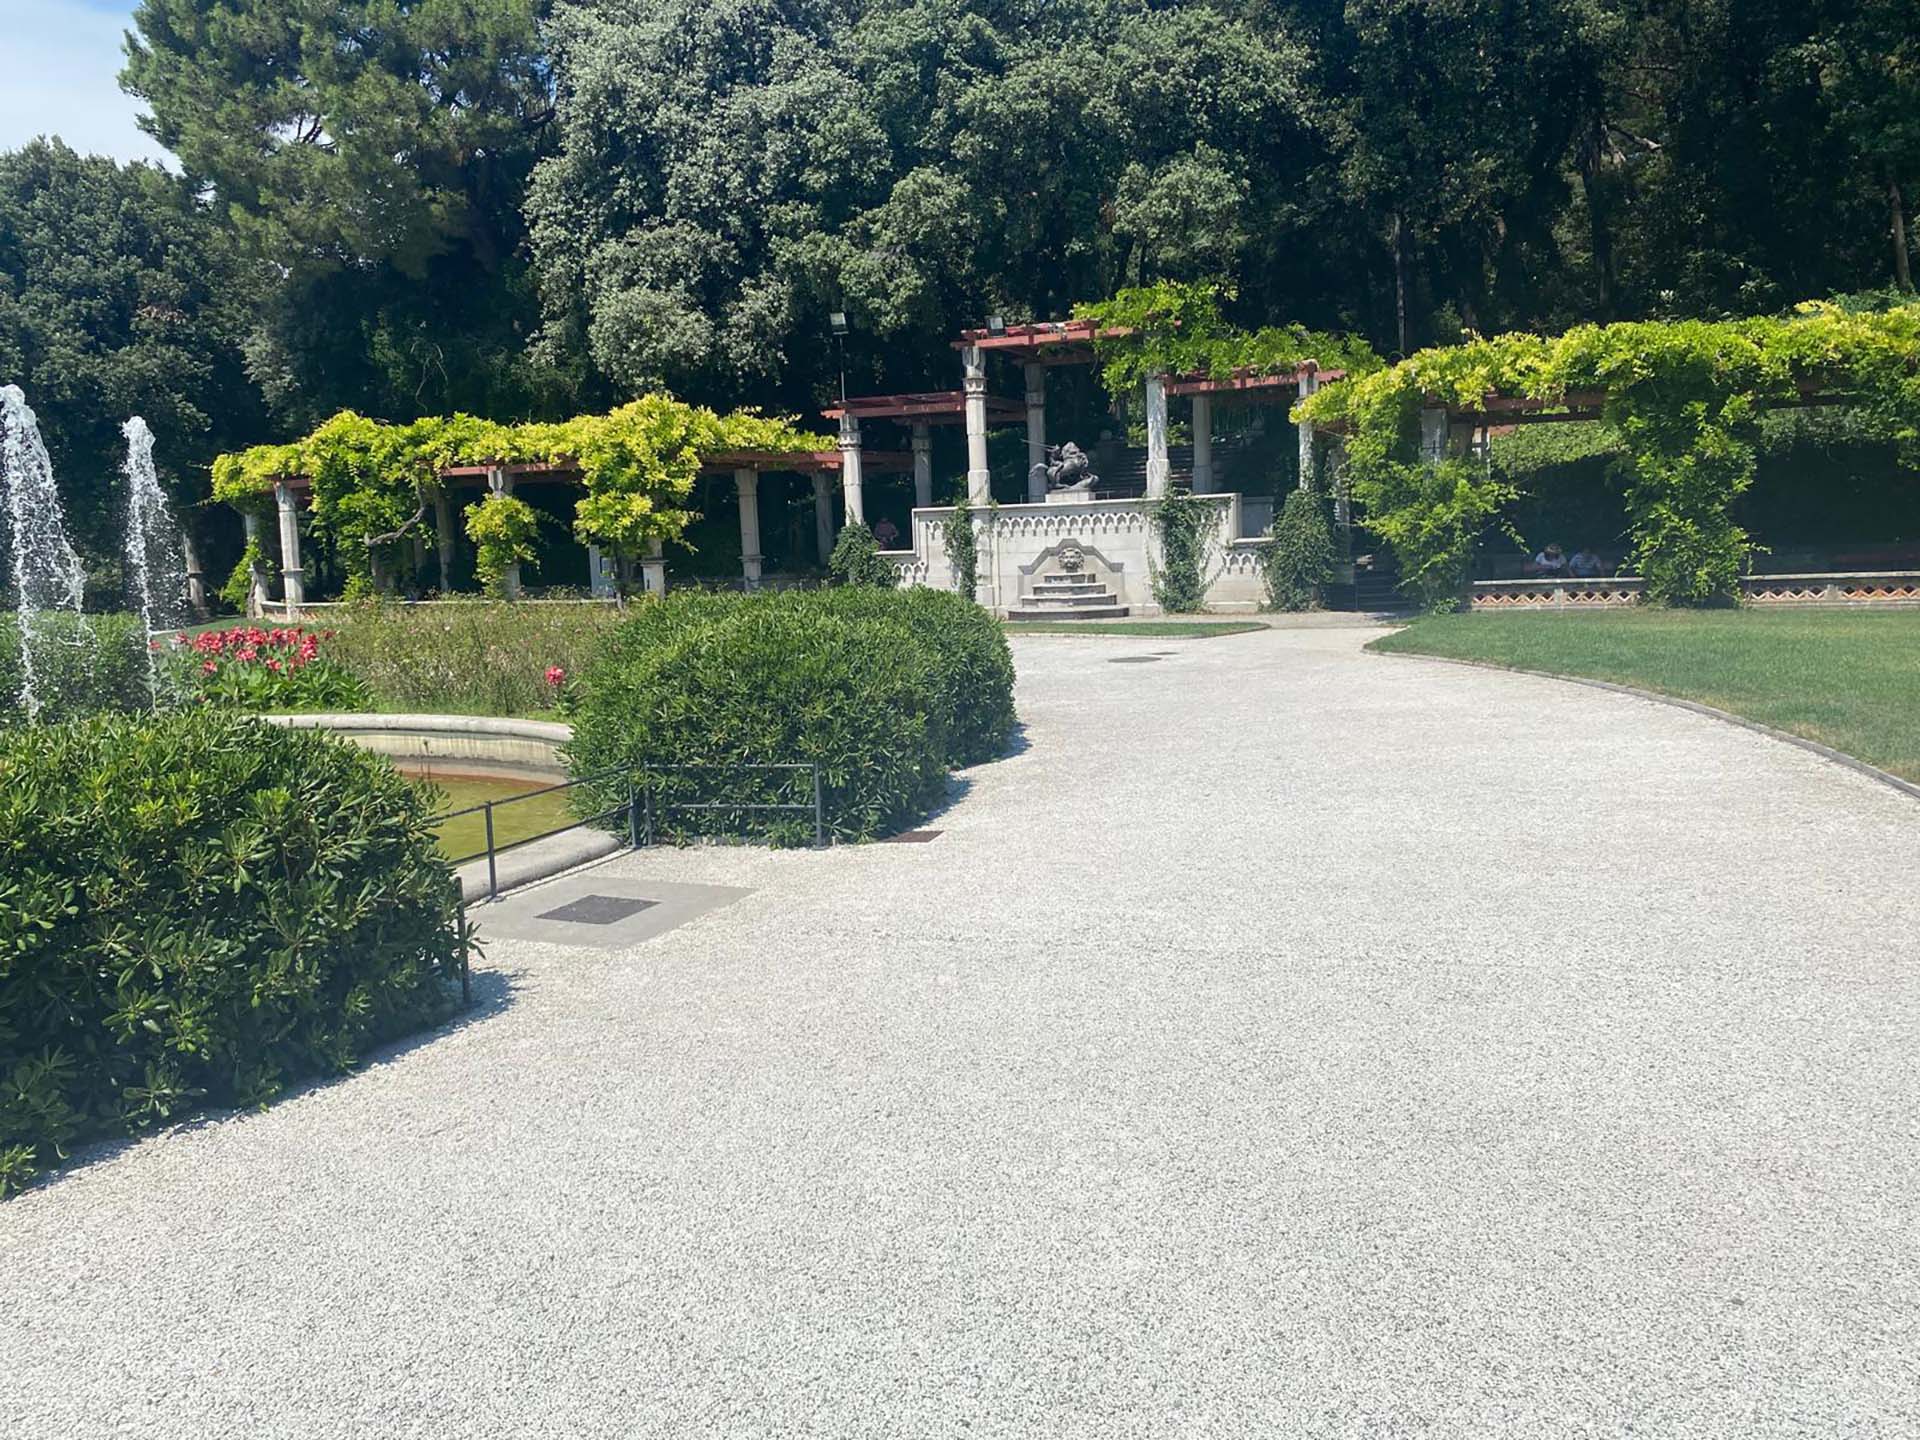
Photo 31 - Pergola in the background
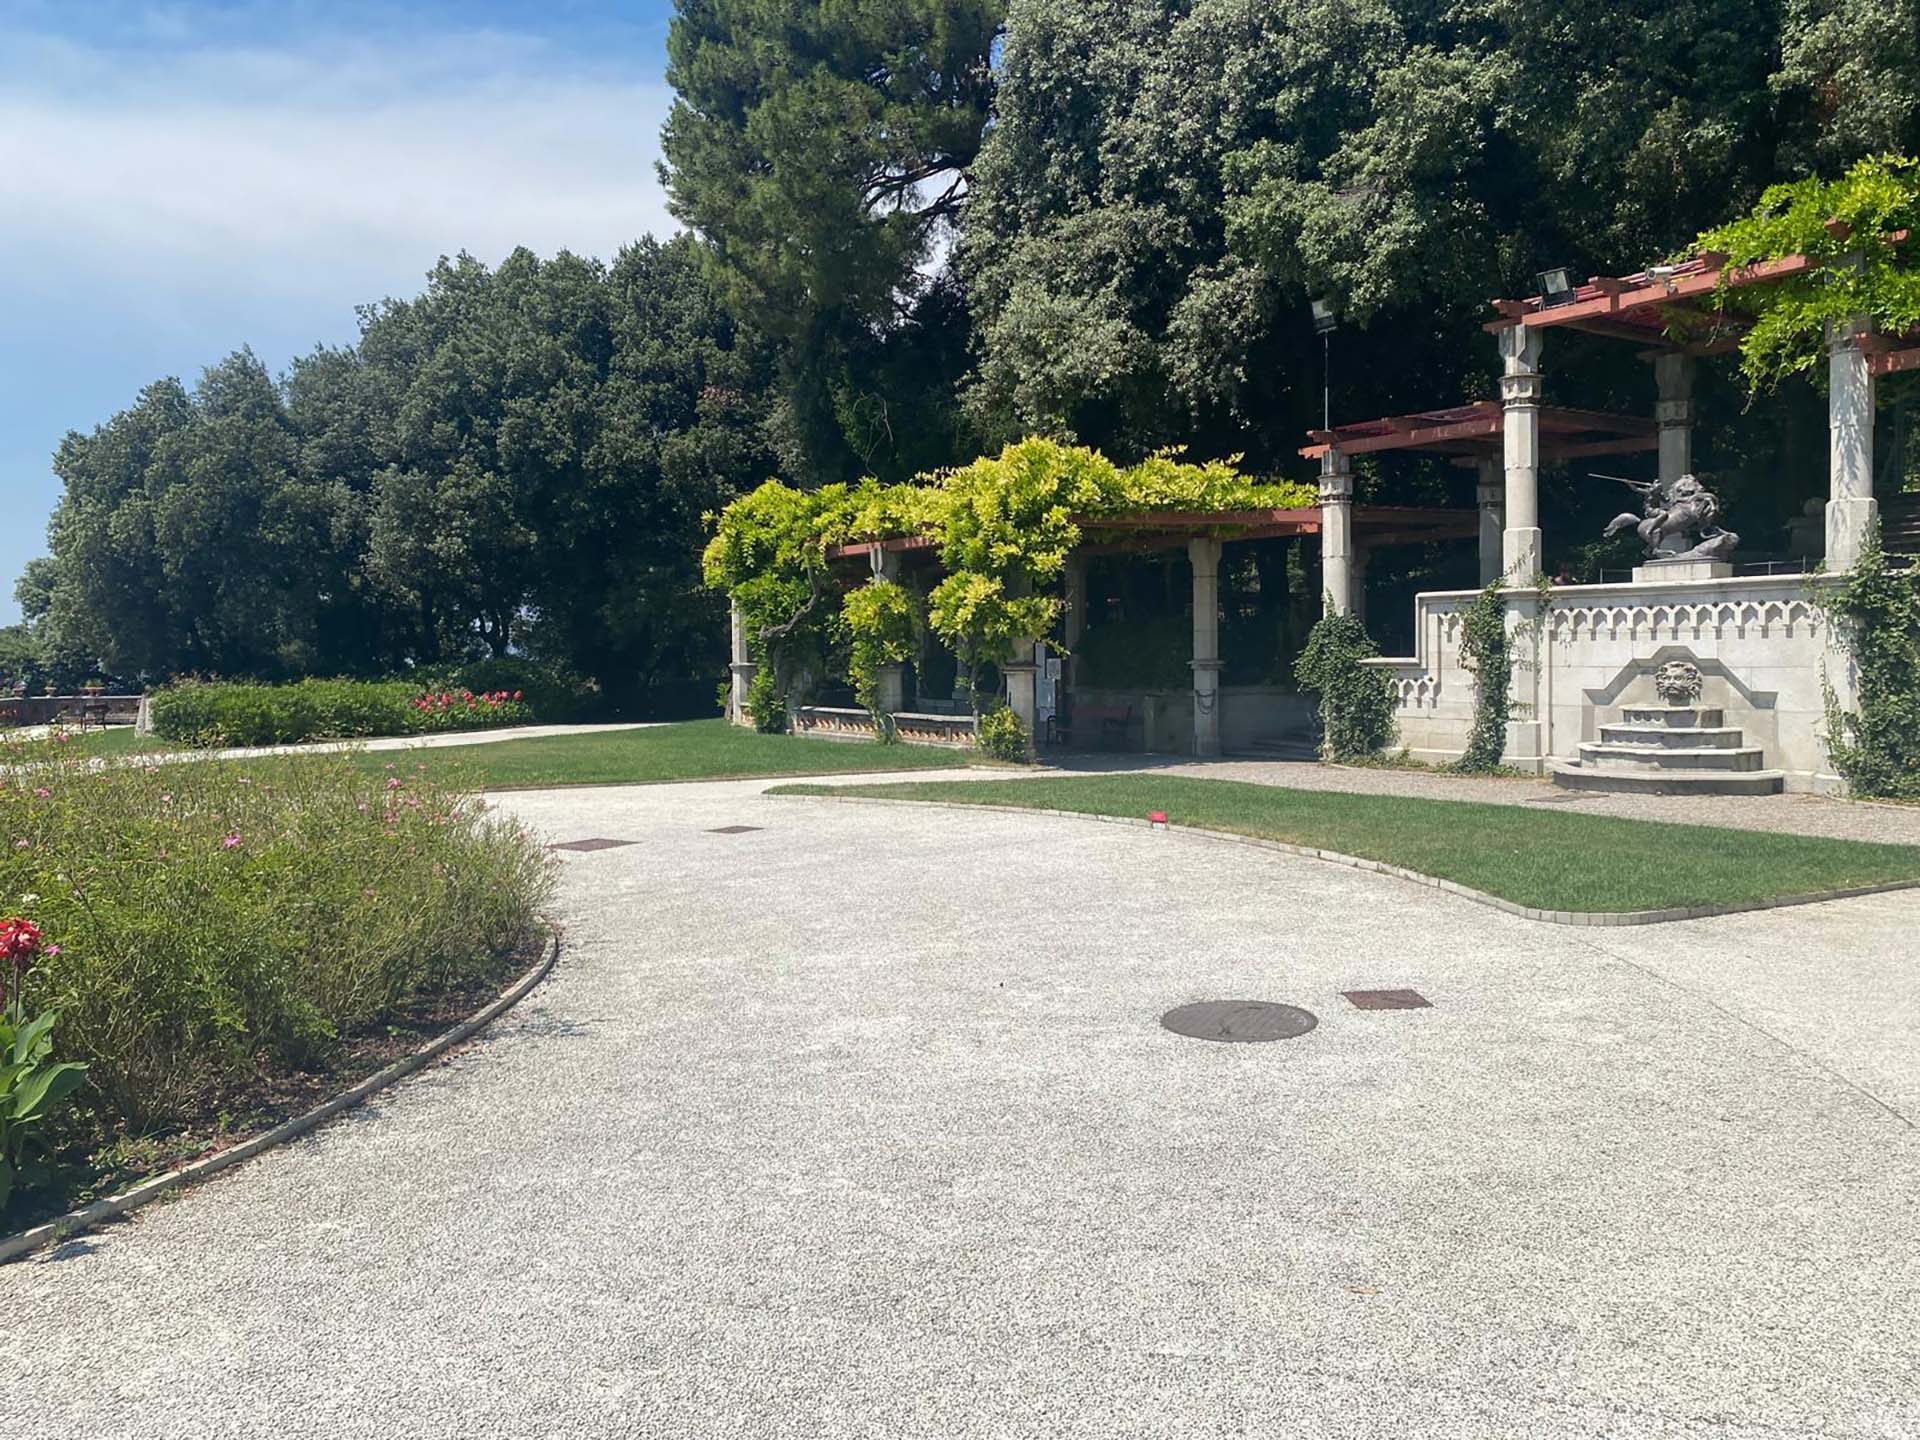
Photo 32 - Paving
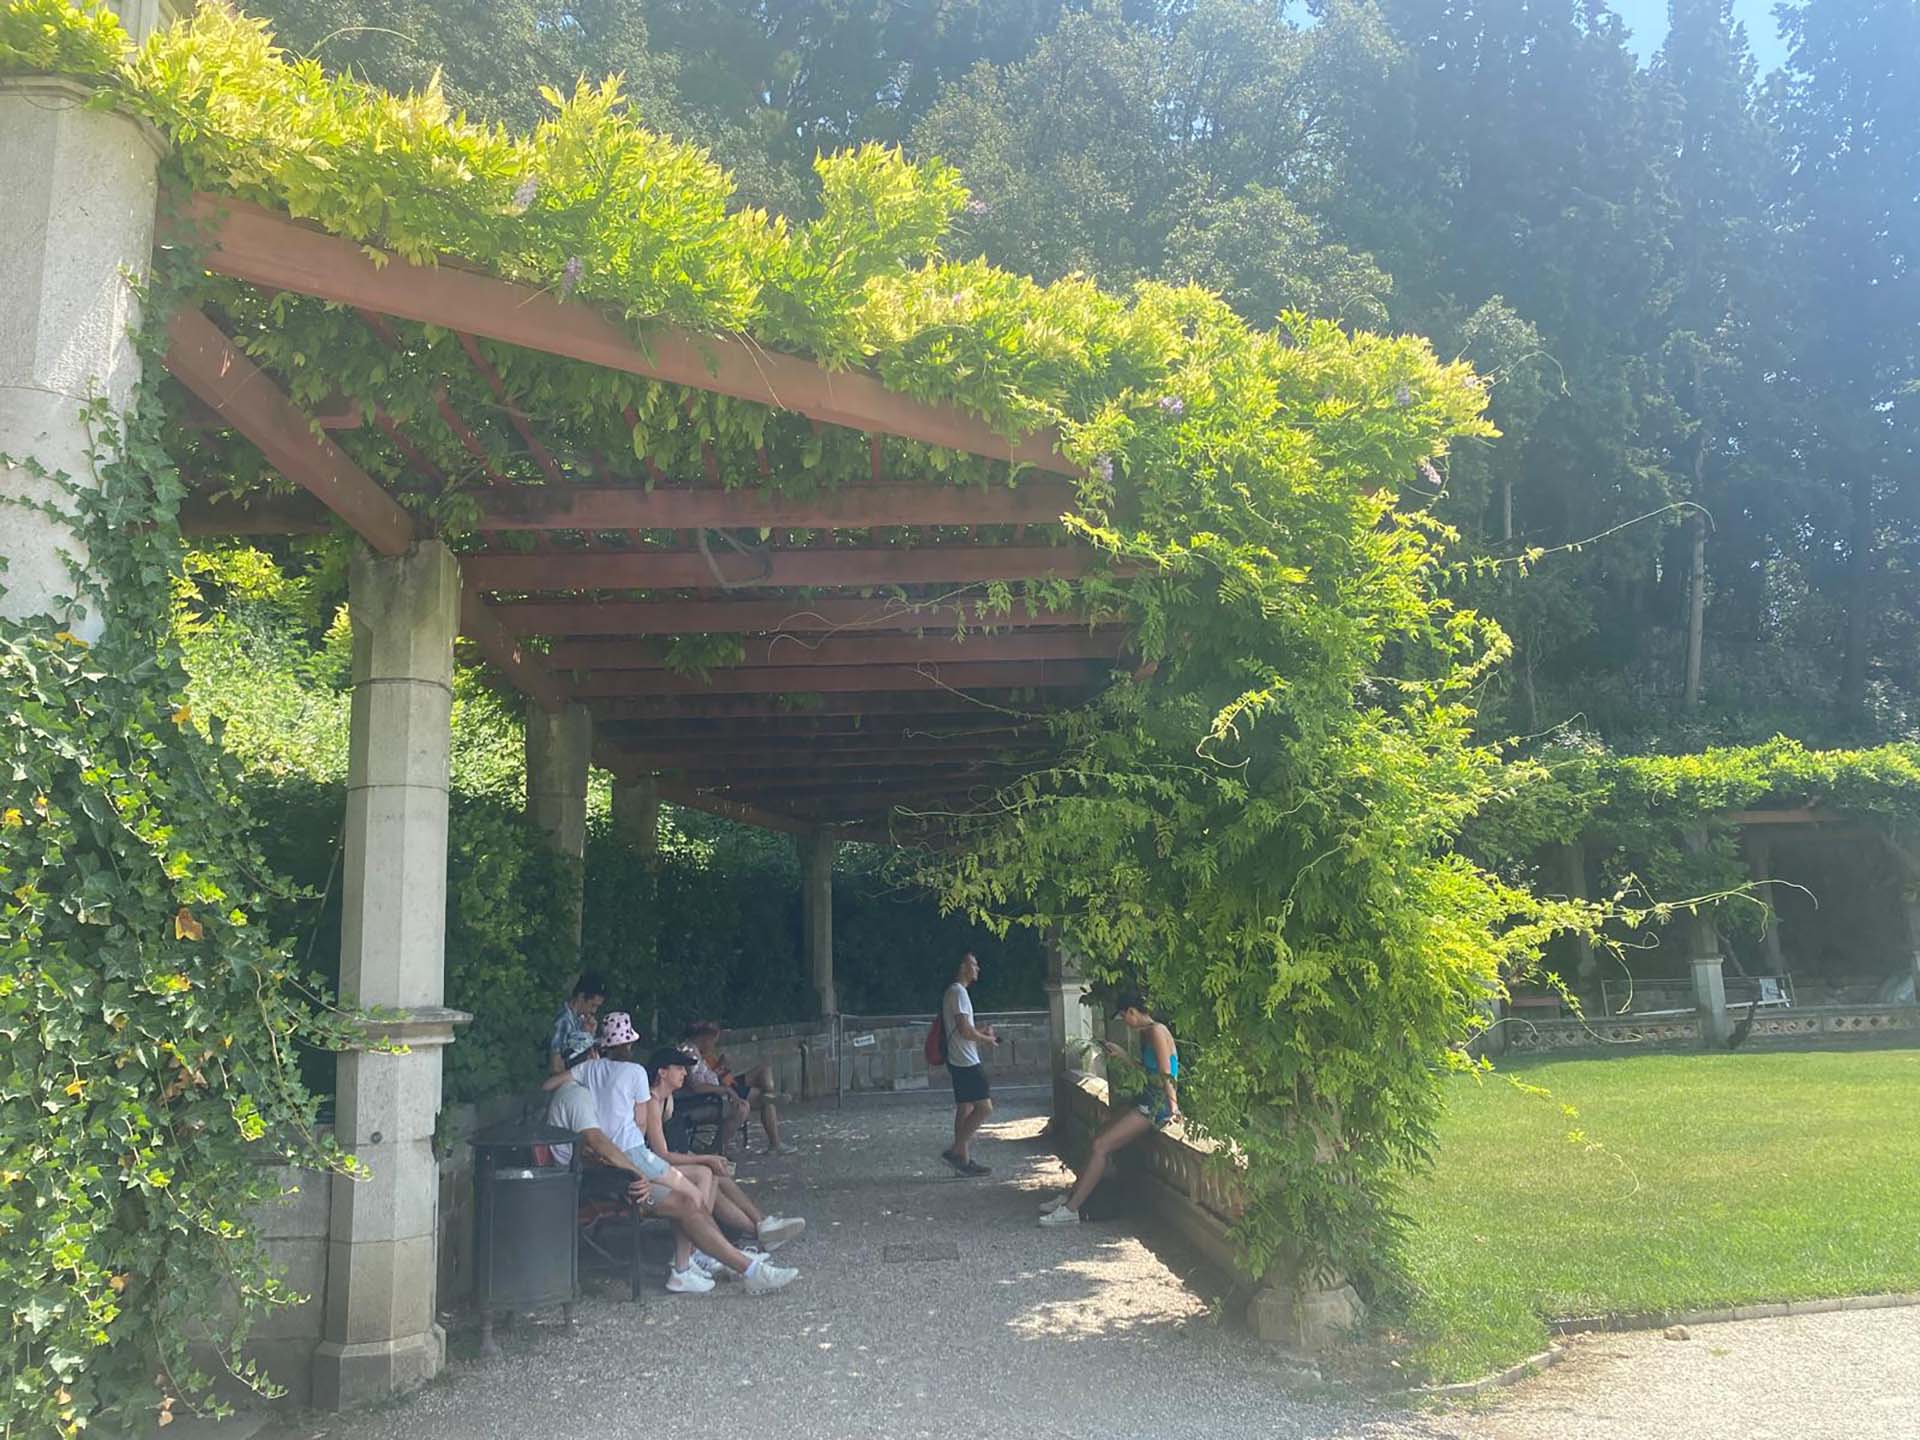
Photo 33 - Shaded area with seating
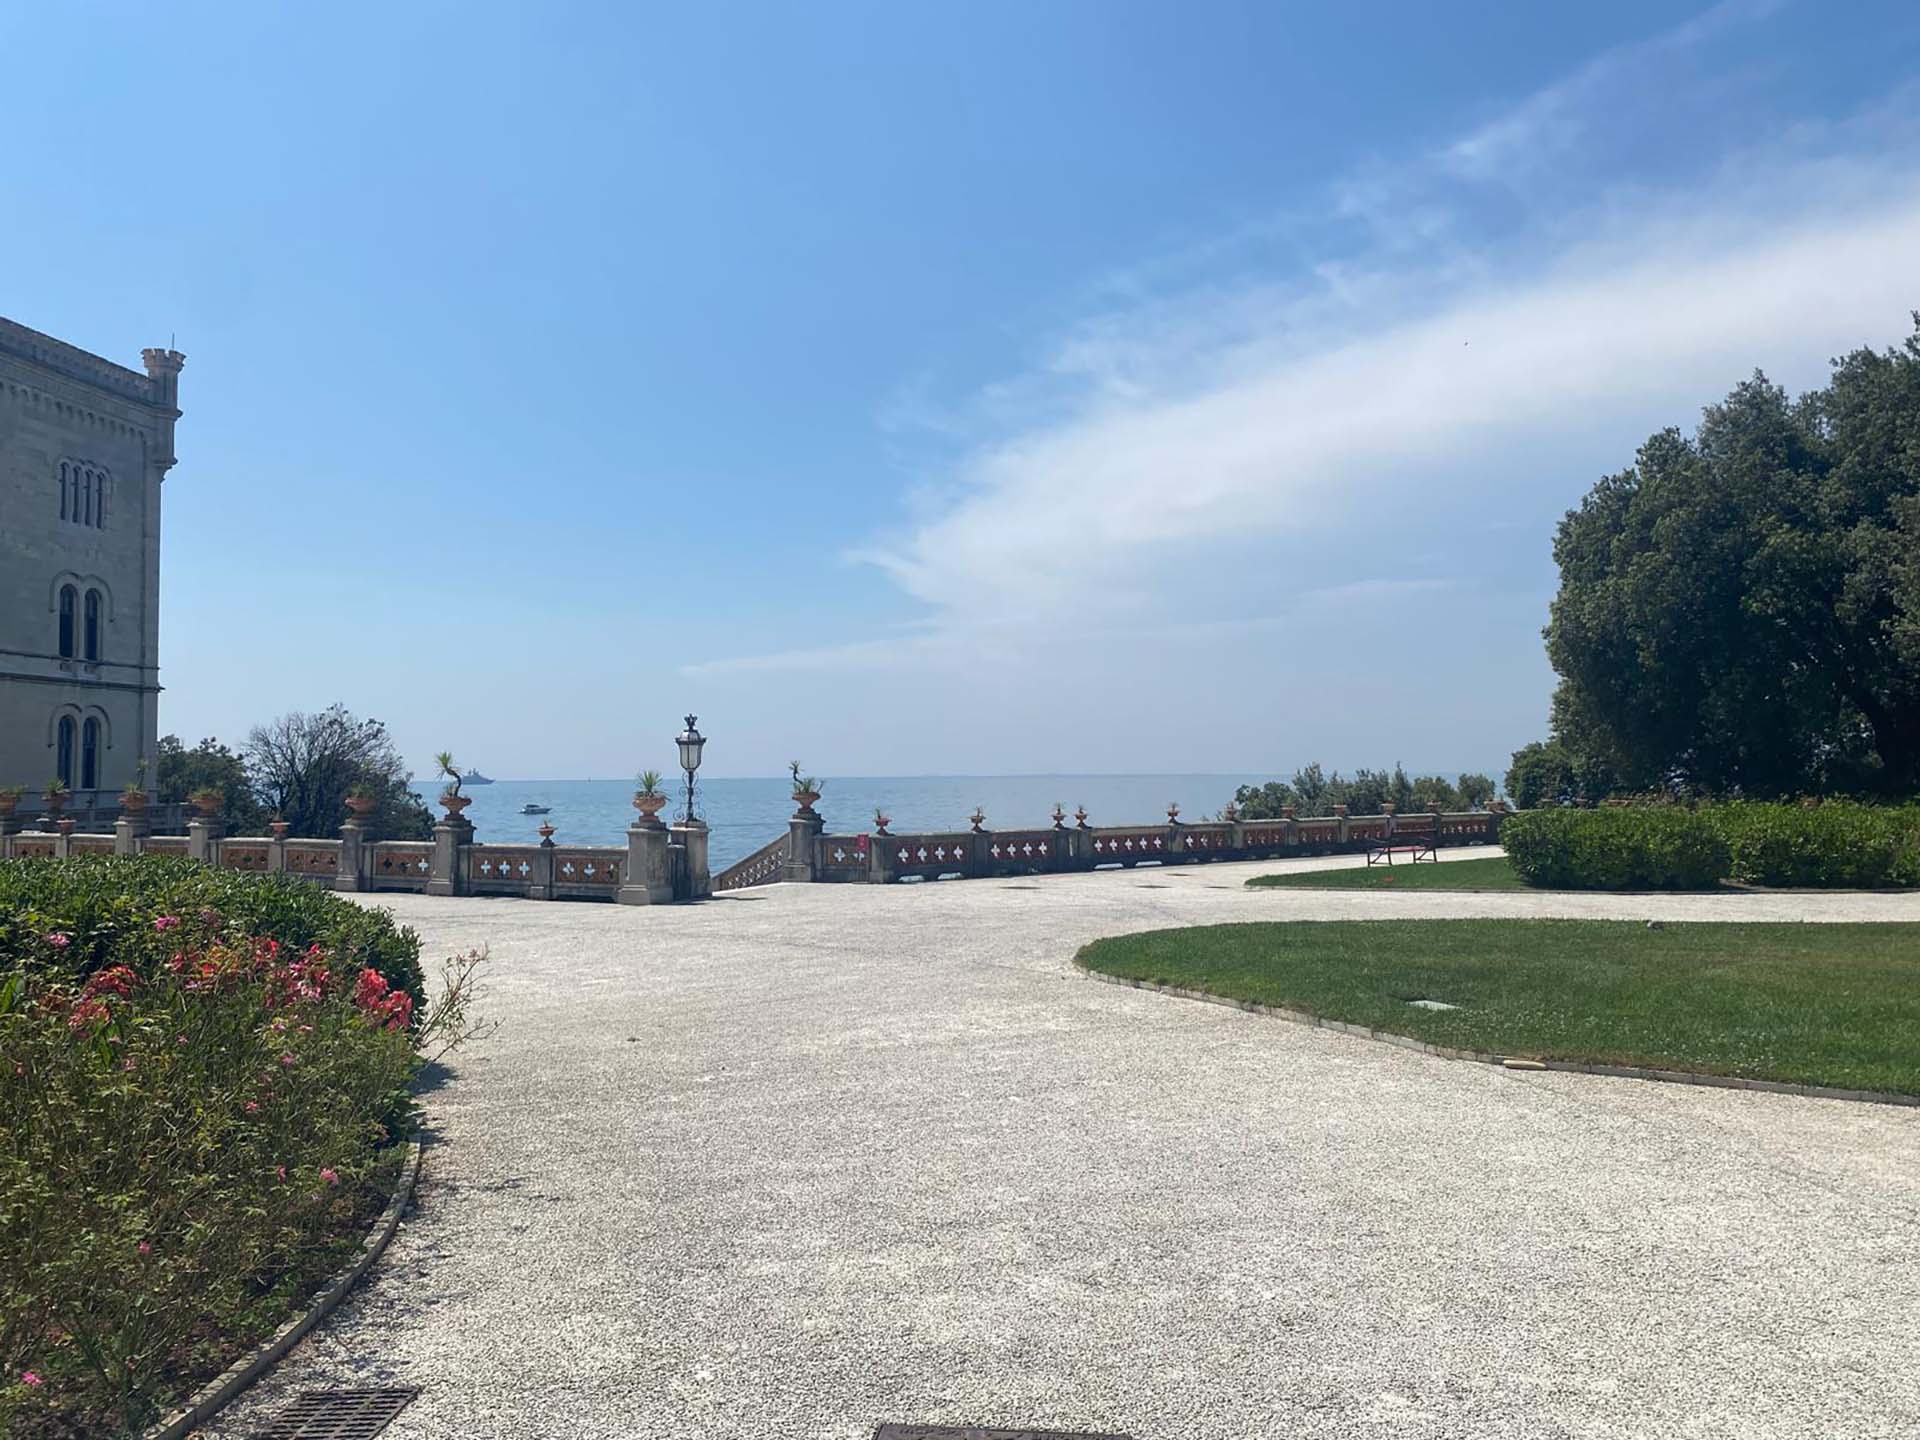
Photo 34 - View towards the sea
Section 5
This path with gravel pavement begins with a circular area covered by a pergola, surrounded by a low railing, equipped with benches for resting (photo 35). Continuing along the pergola path, on the left we find a hedge that serves as a railing over a watercourse, and on the right there are trees (photo 36).
After about 50 meters at the fork, turn left and cross a short bridge with non-slip metal pavement and railings (photos 37 and 38).
After the bridge, we find informational totems (photo 39). After passing the flowerbeds located in front of the café, the path becomes asphalted and uphill (photo 40), in some places the asphalt has irregularities (photo 41) but is always shaded by the presence of tall trees. Along the edges, there are low hedges and some benches (photo 42).
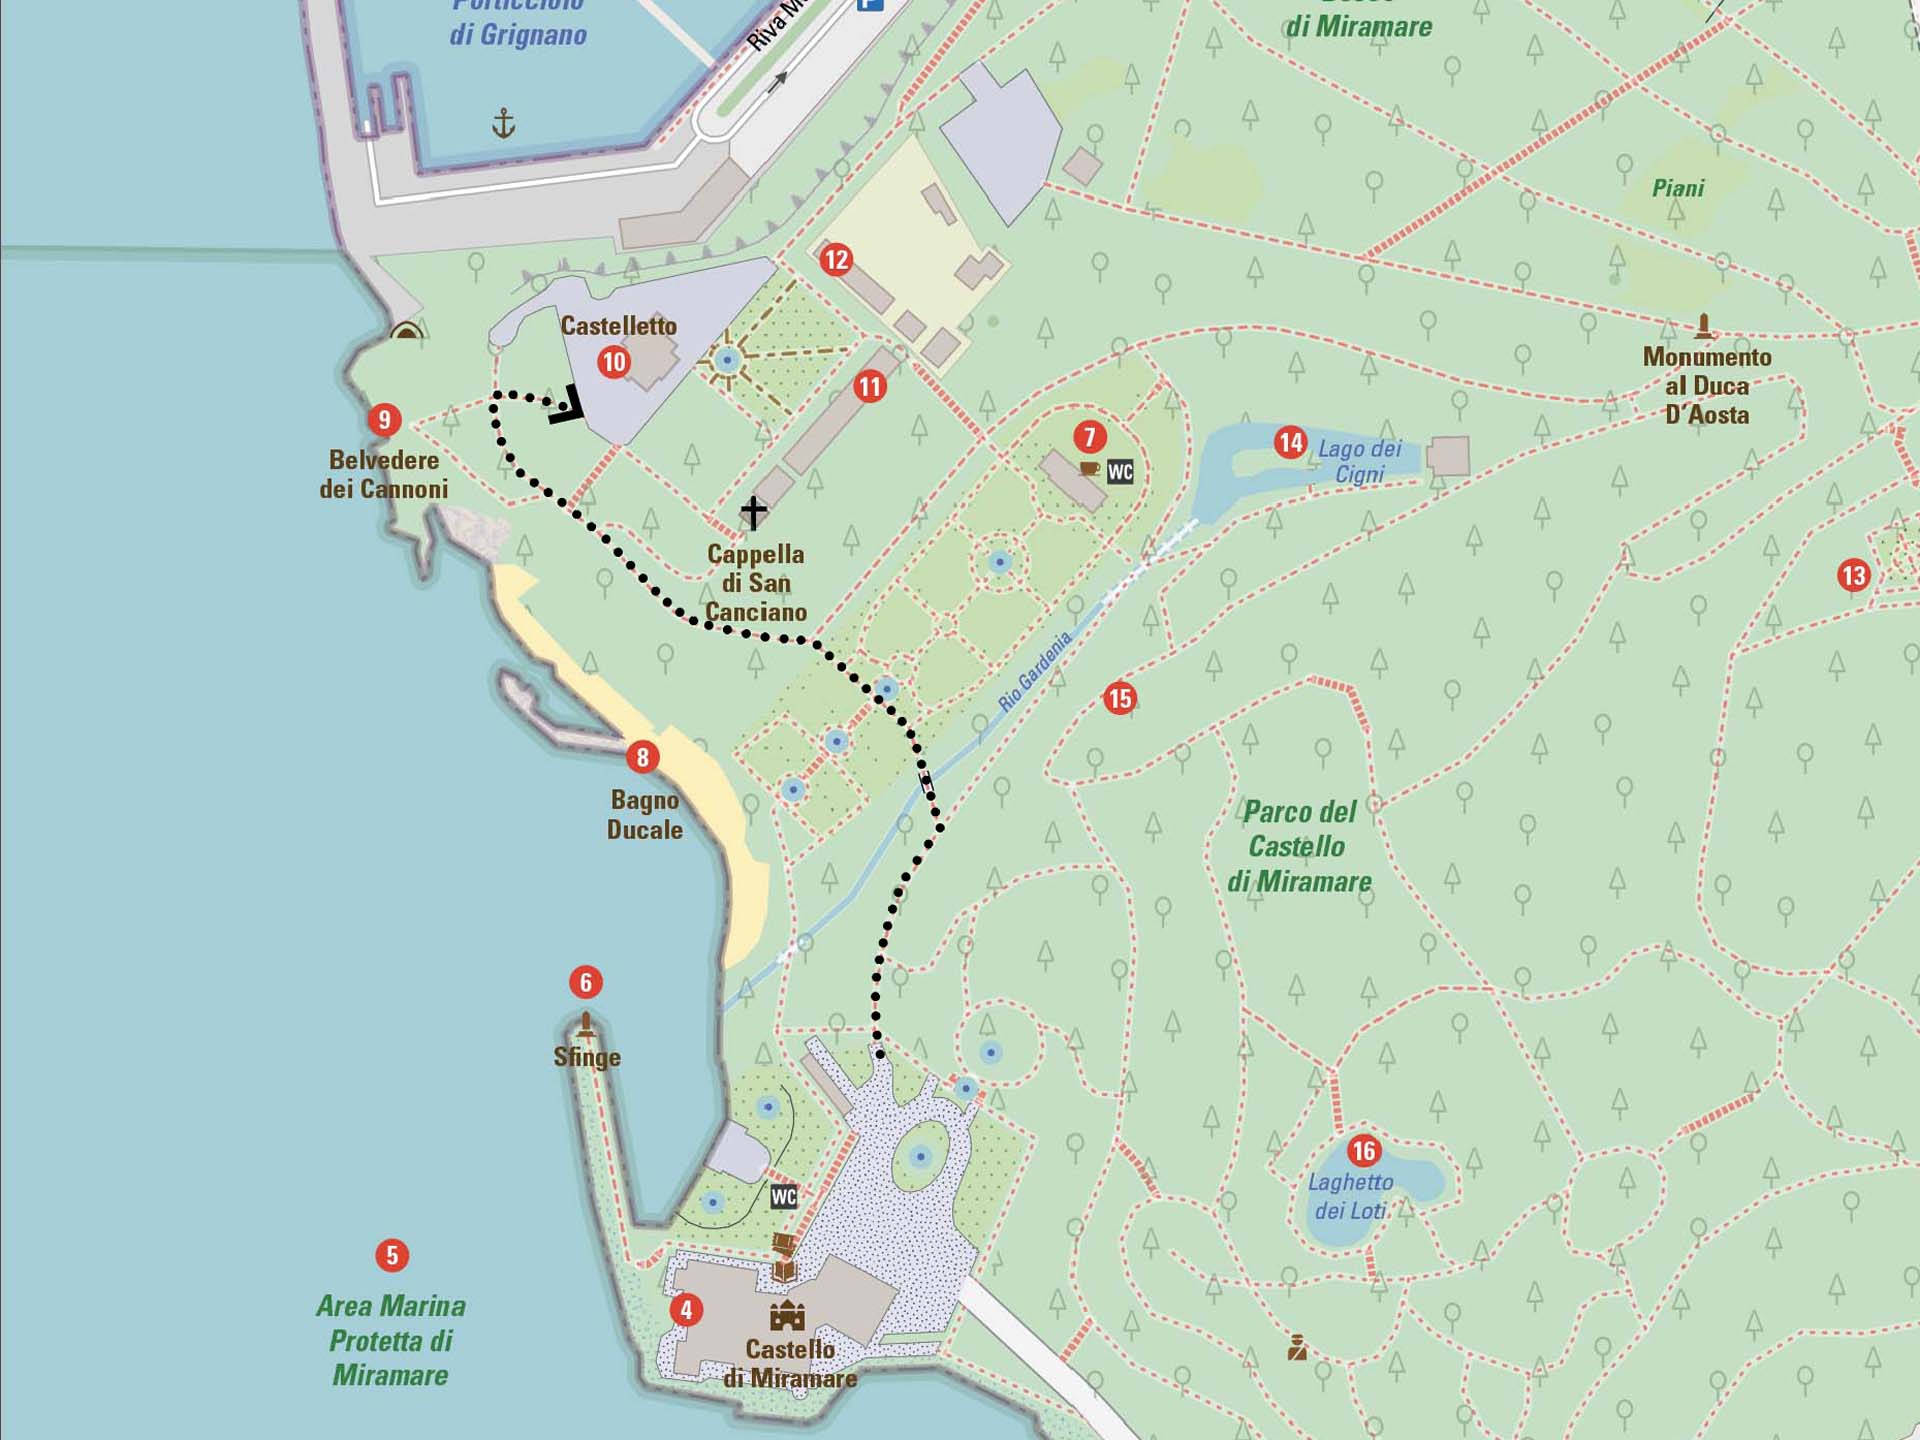
Section 5
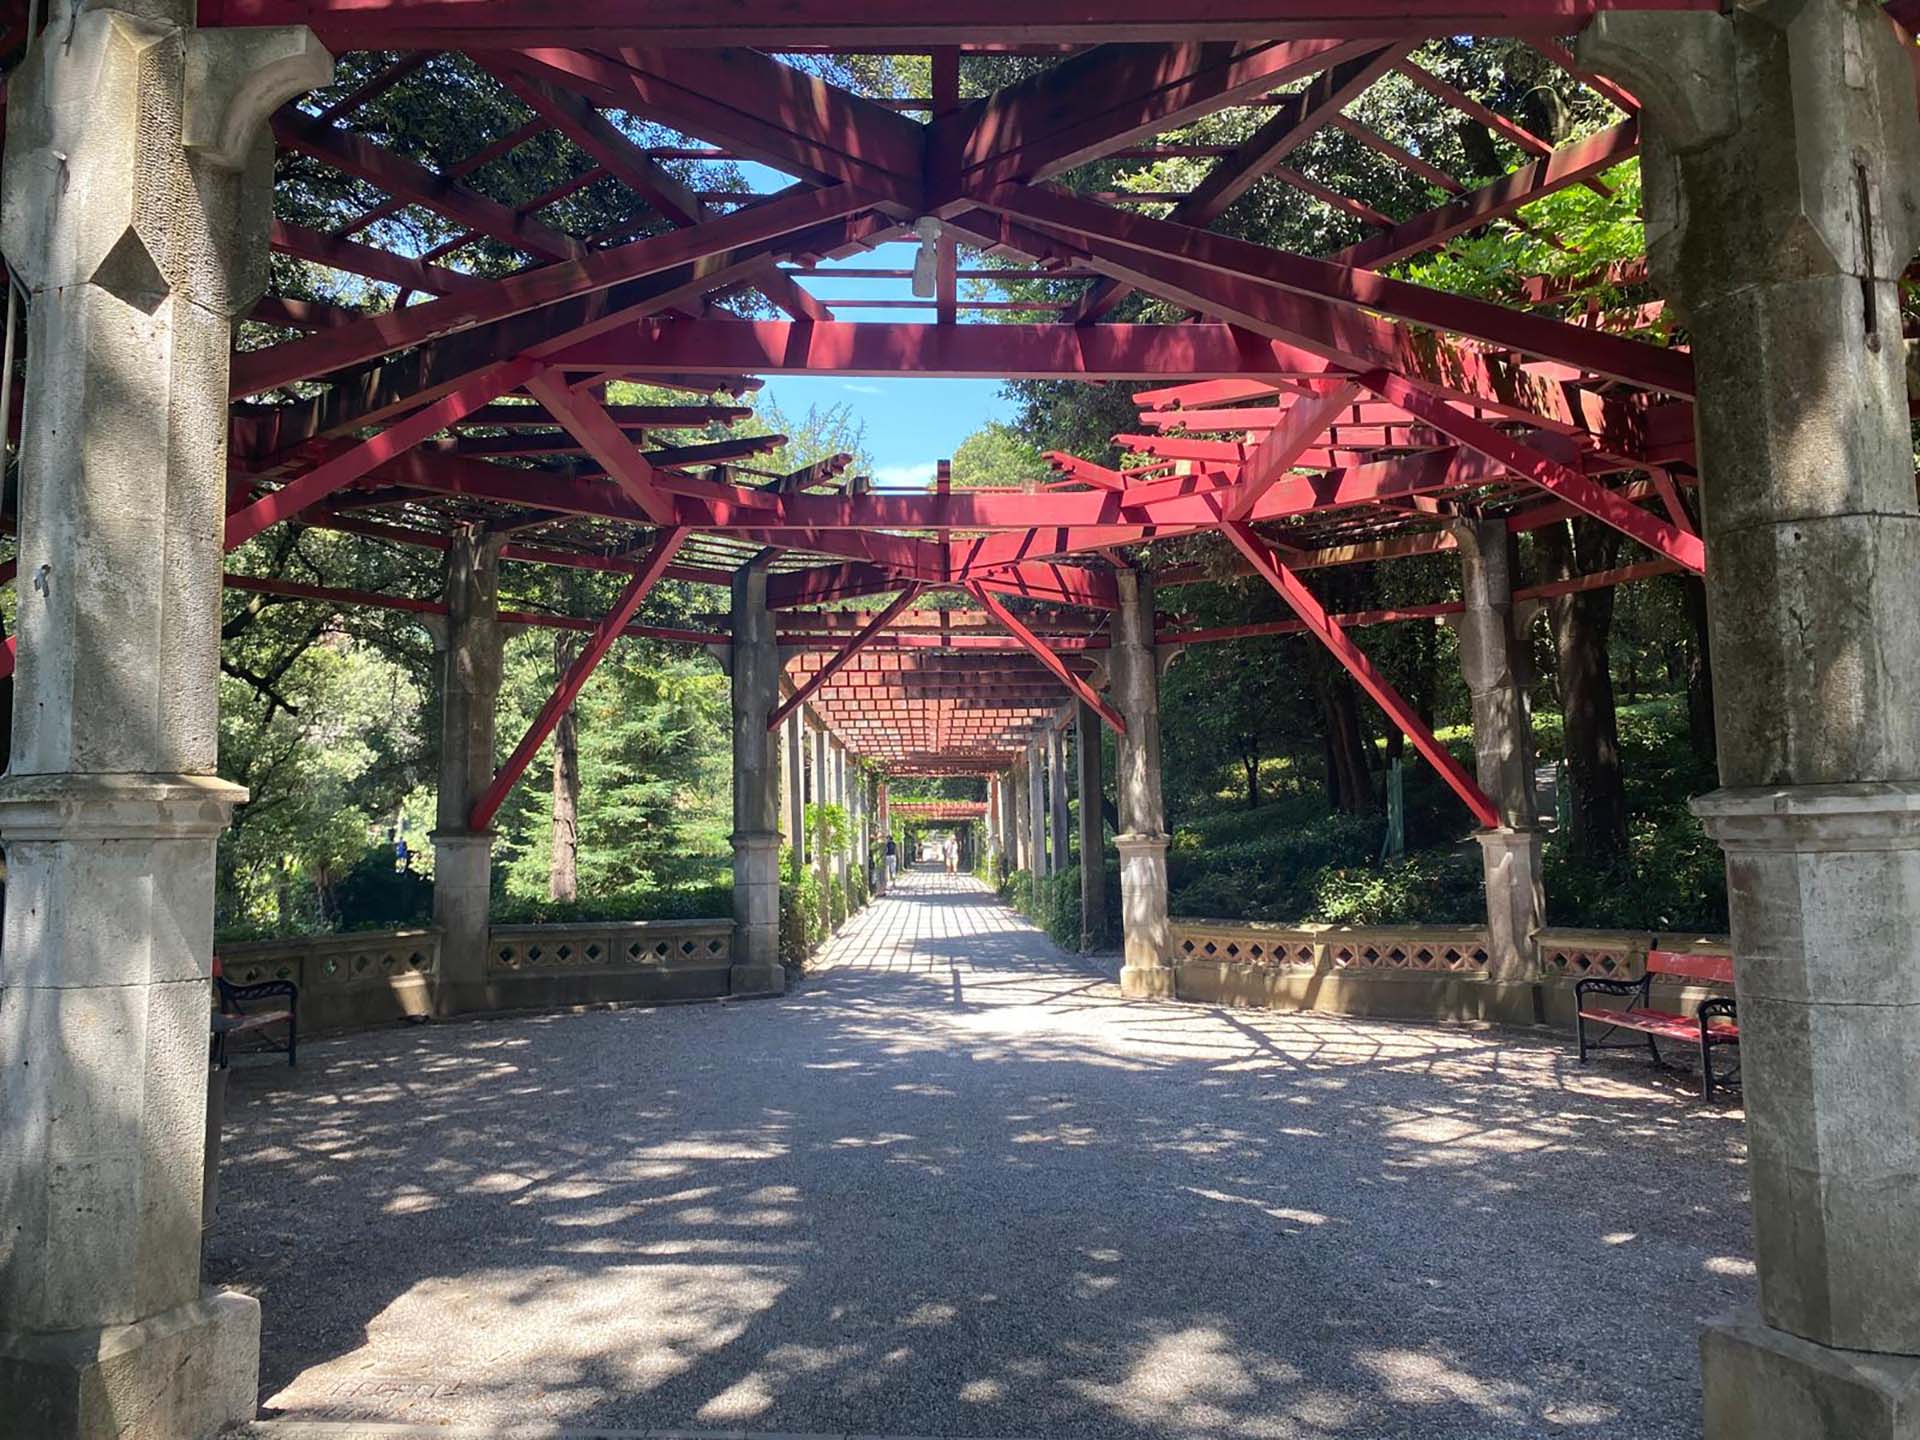
Photo 35 - Beginning of the section with circular pergola space
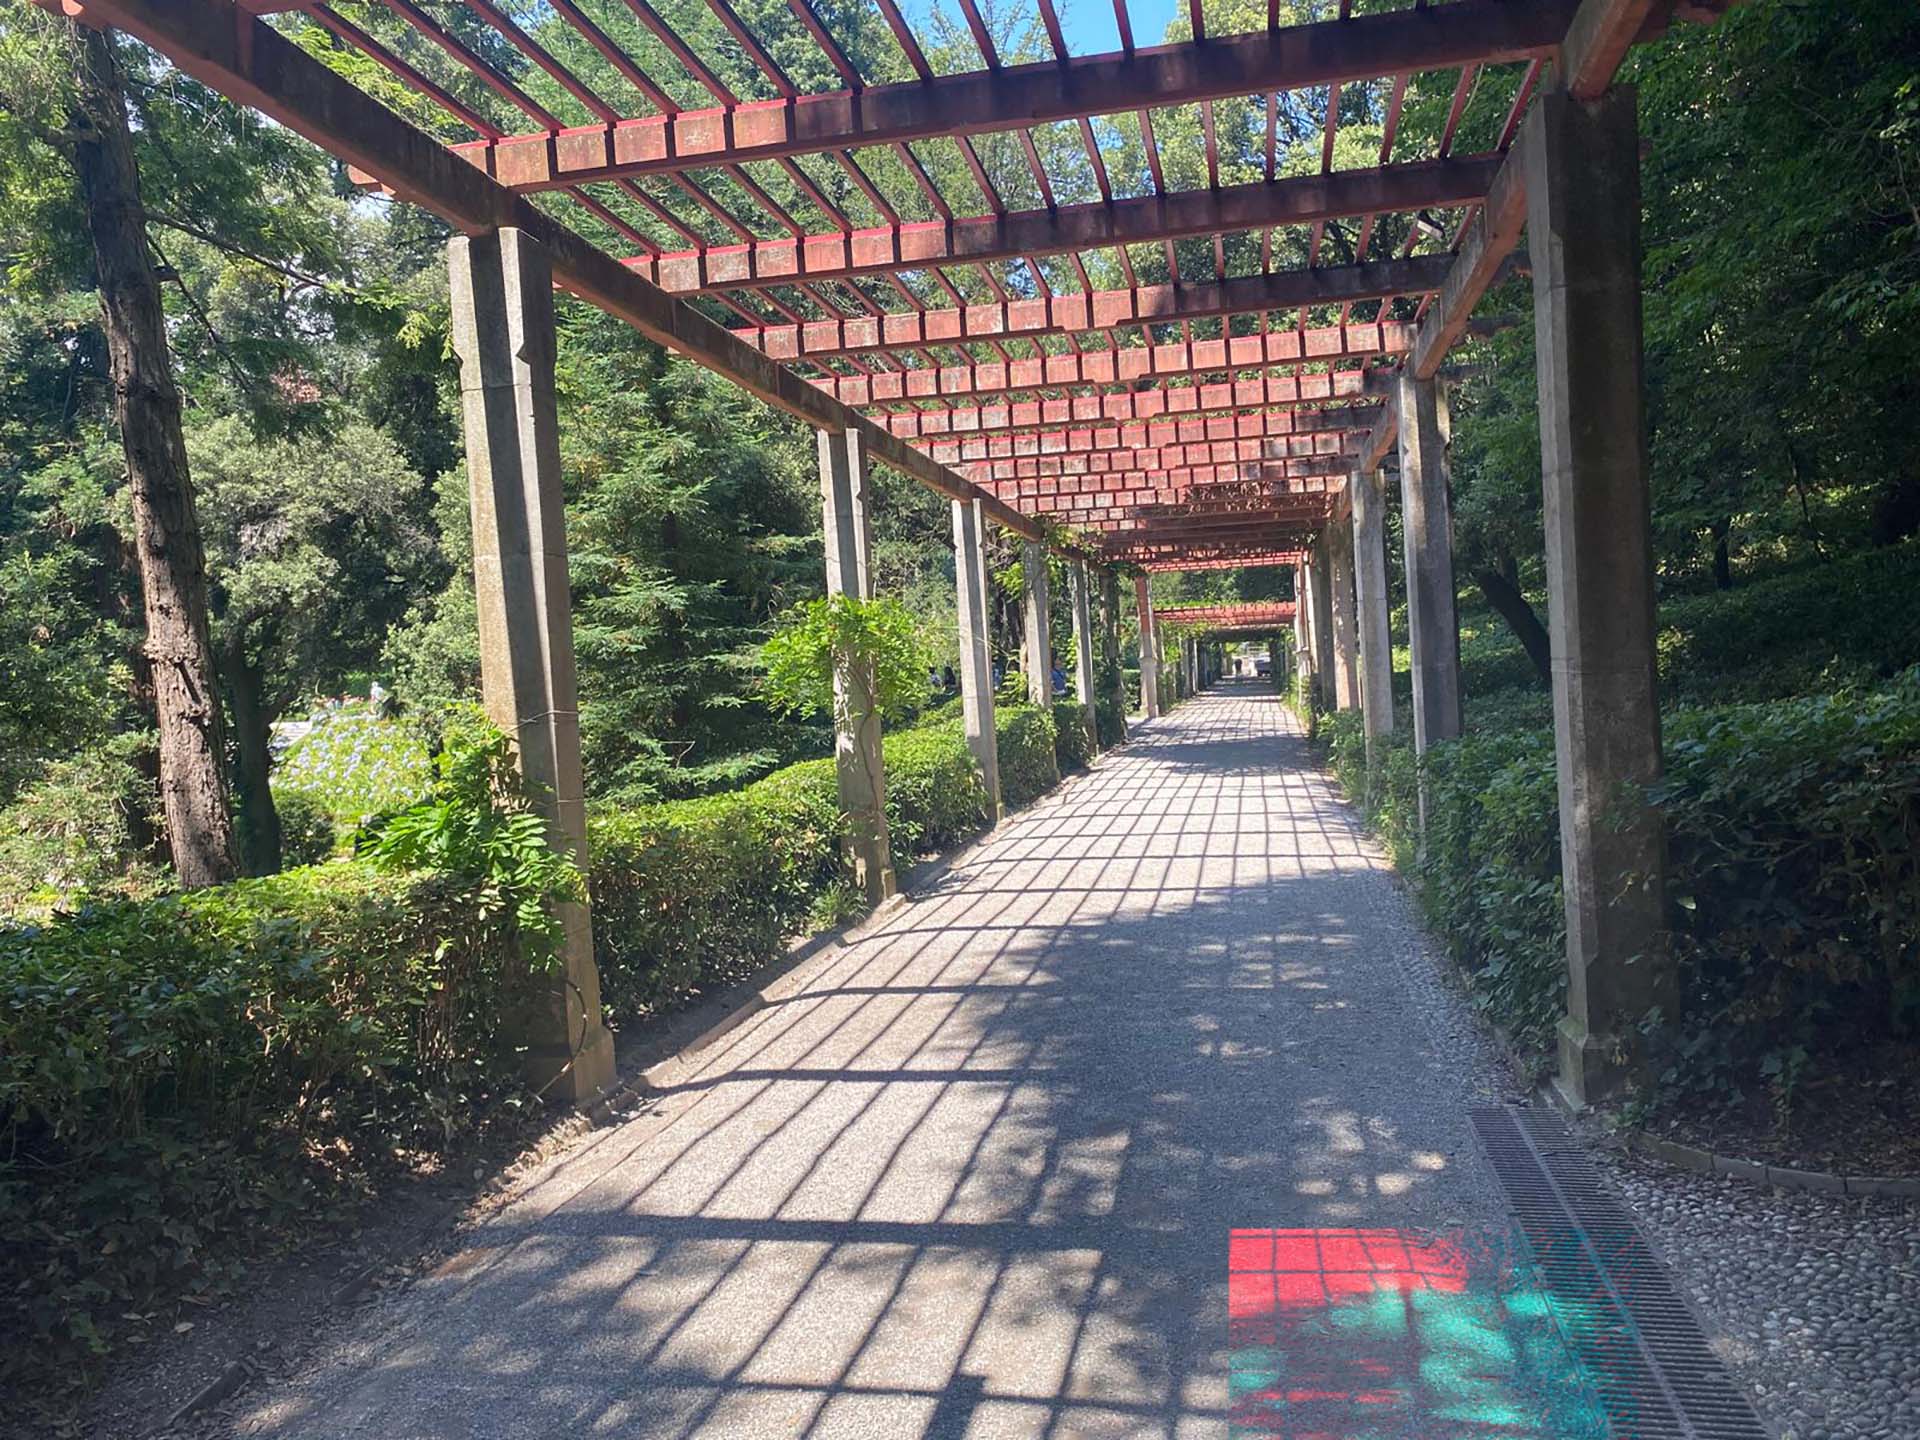
Photo 36 - Pergola path
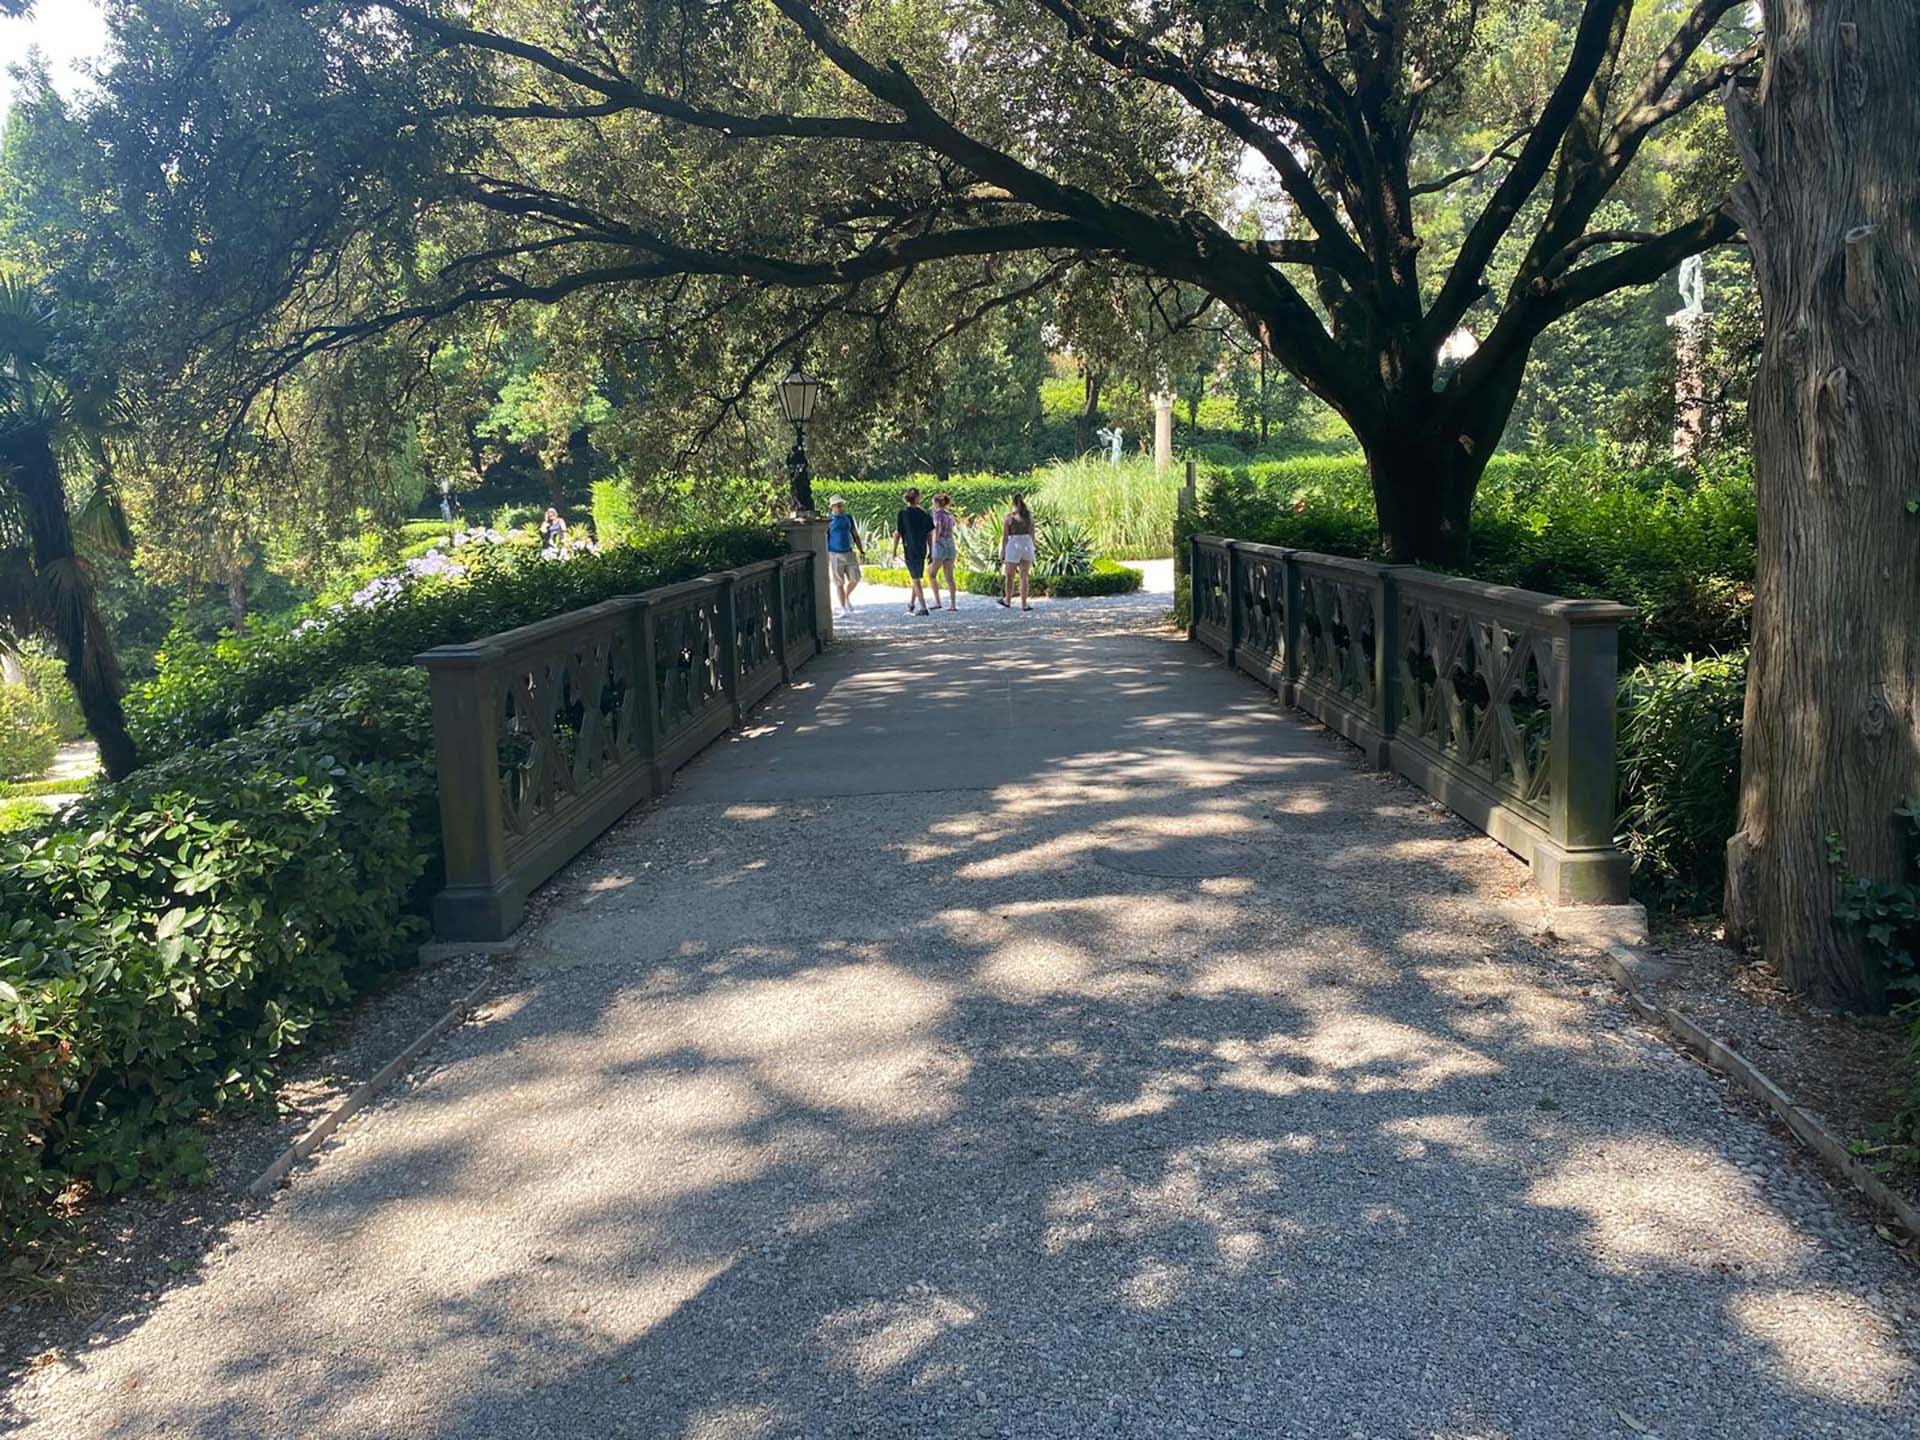
Photo 37 - Bridge
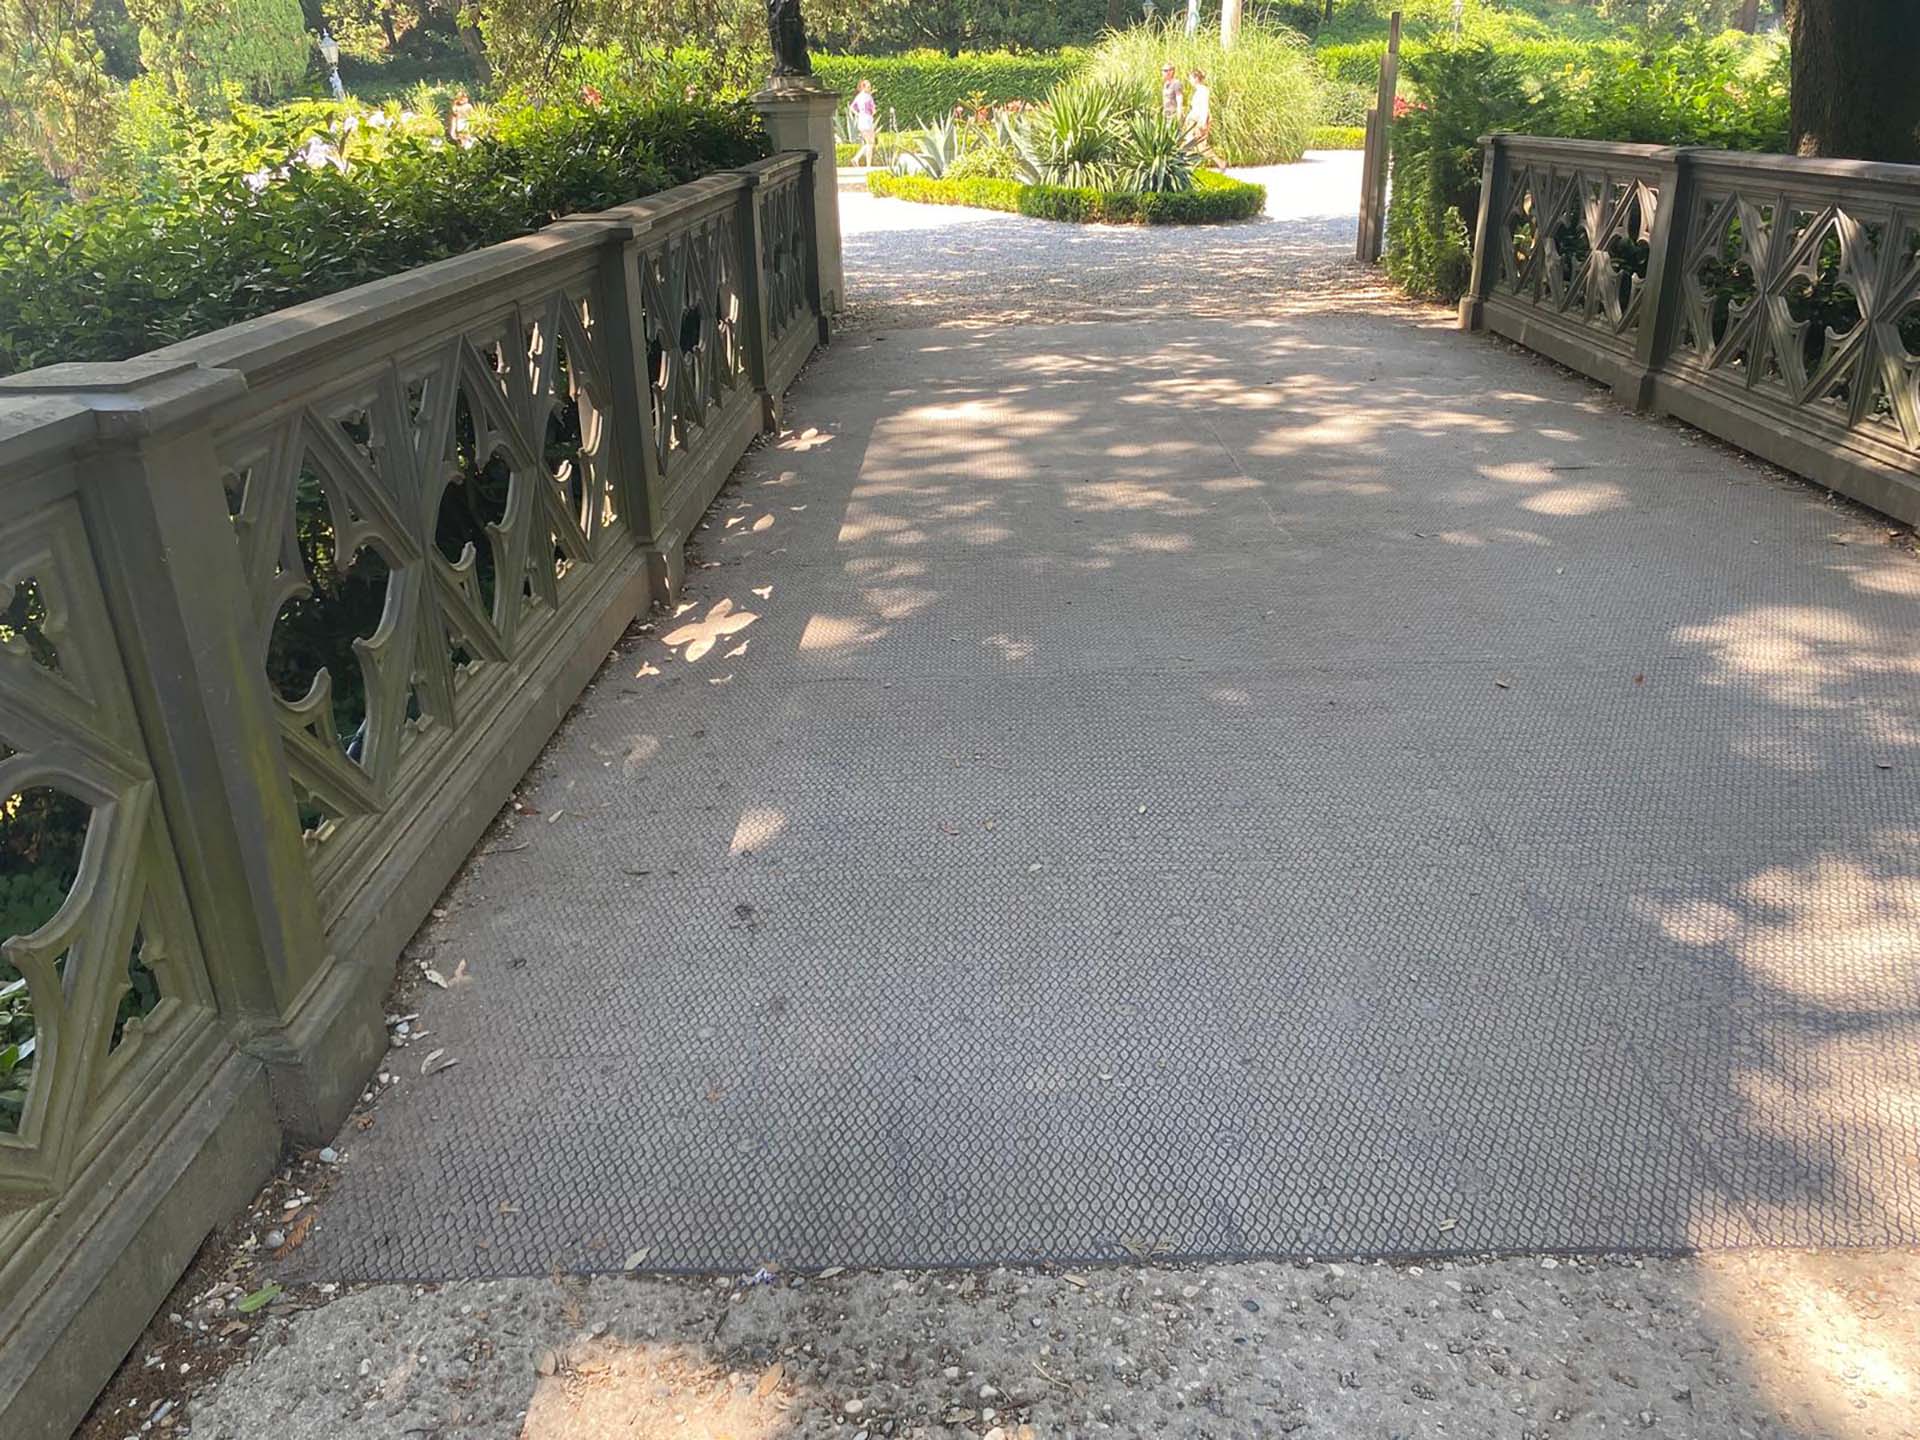
Photo 38 - Detail of bridge pavement
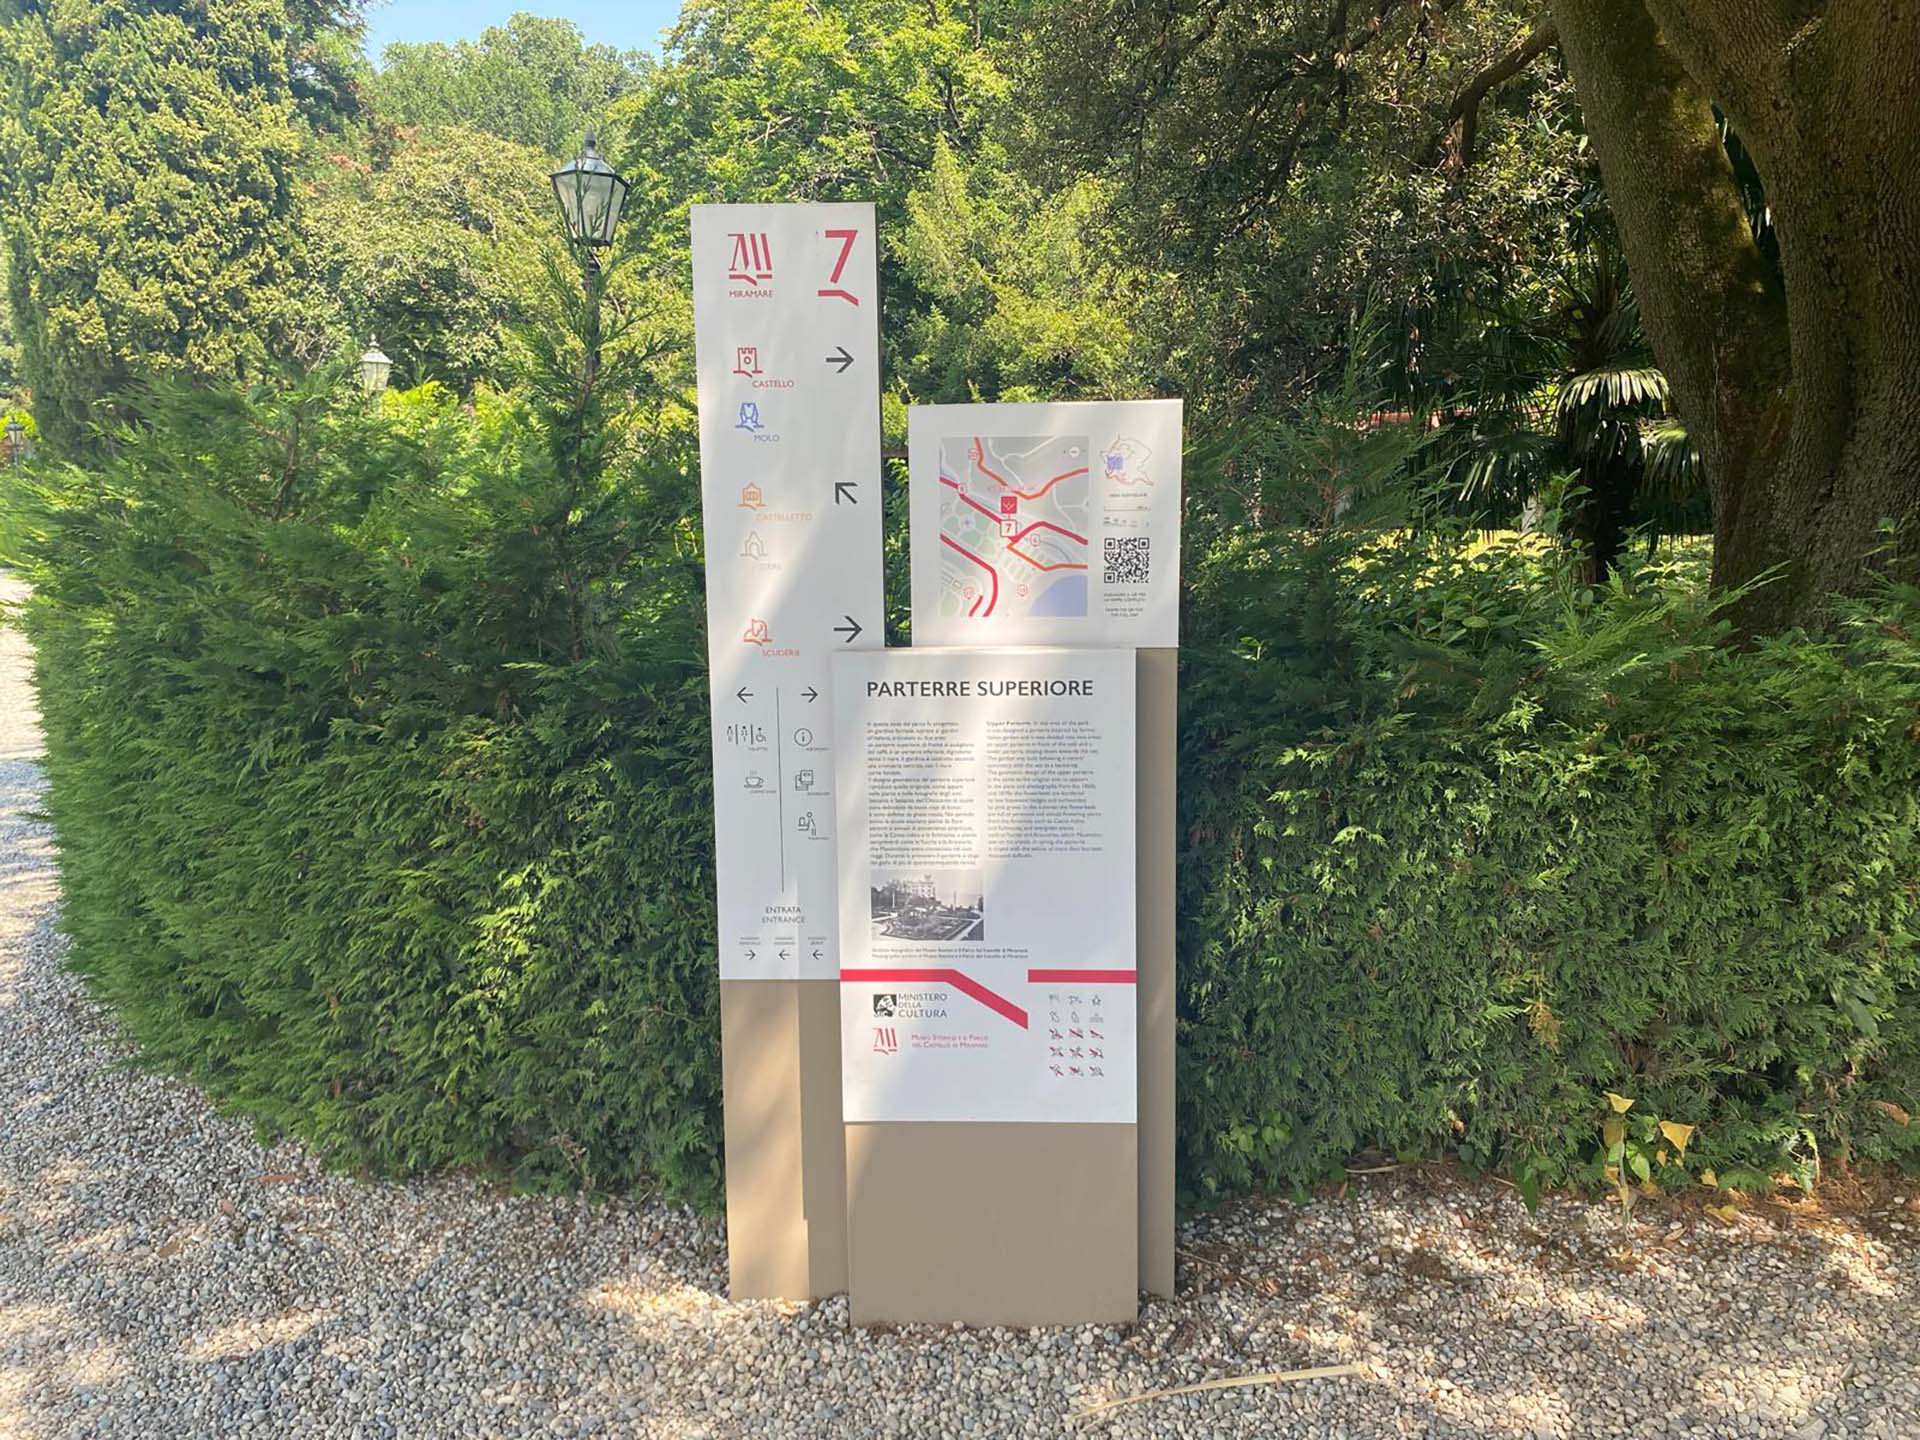
Photo 39 - Informative totems
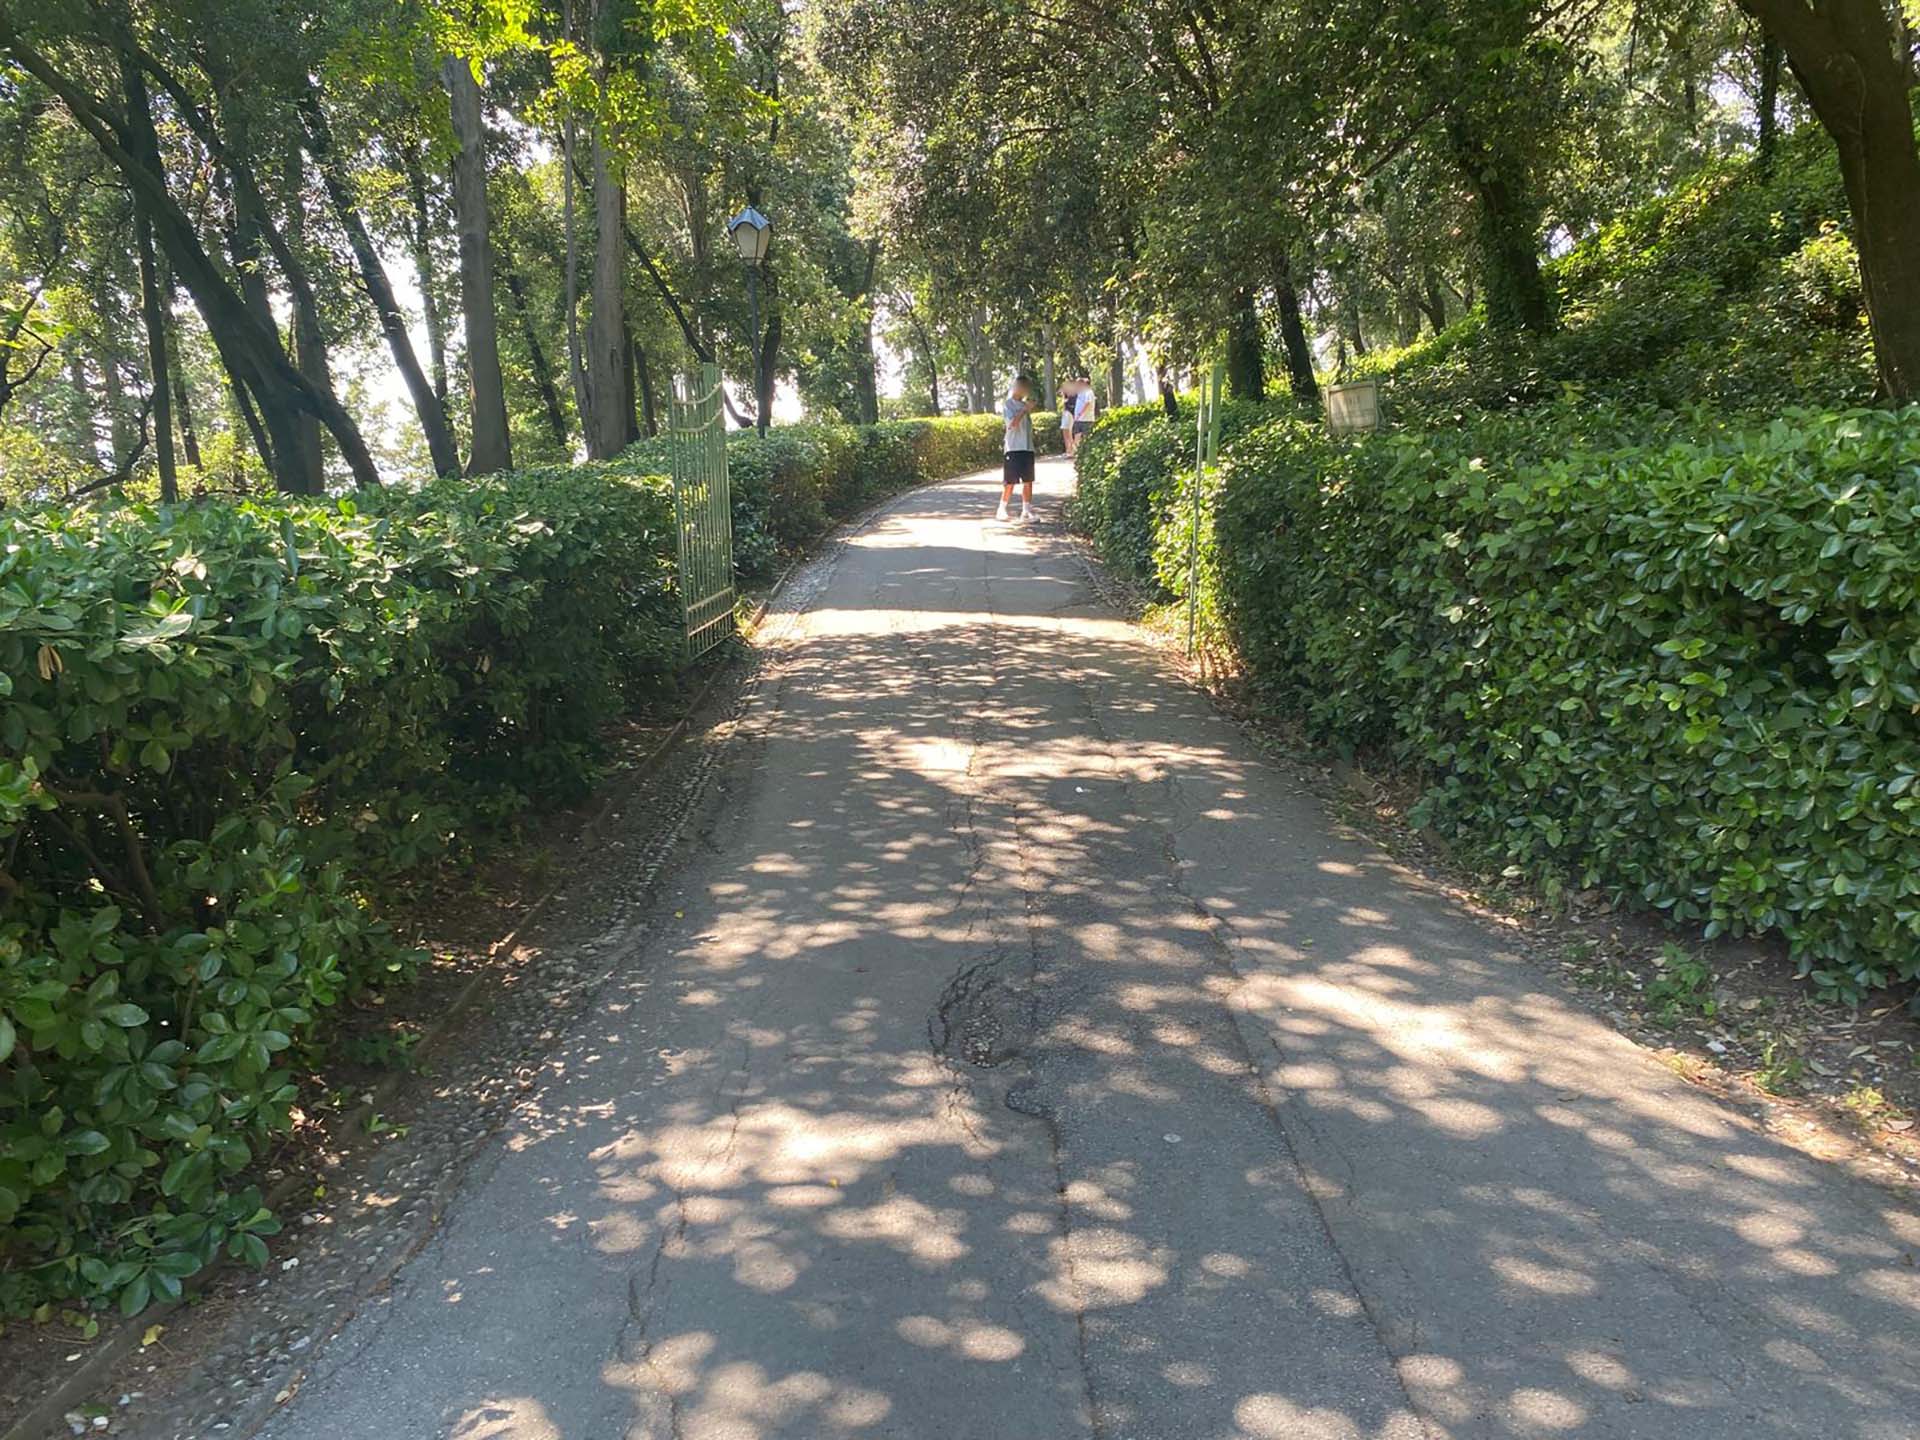
Photo 40 - Uphill path
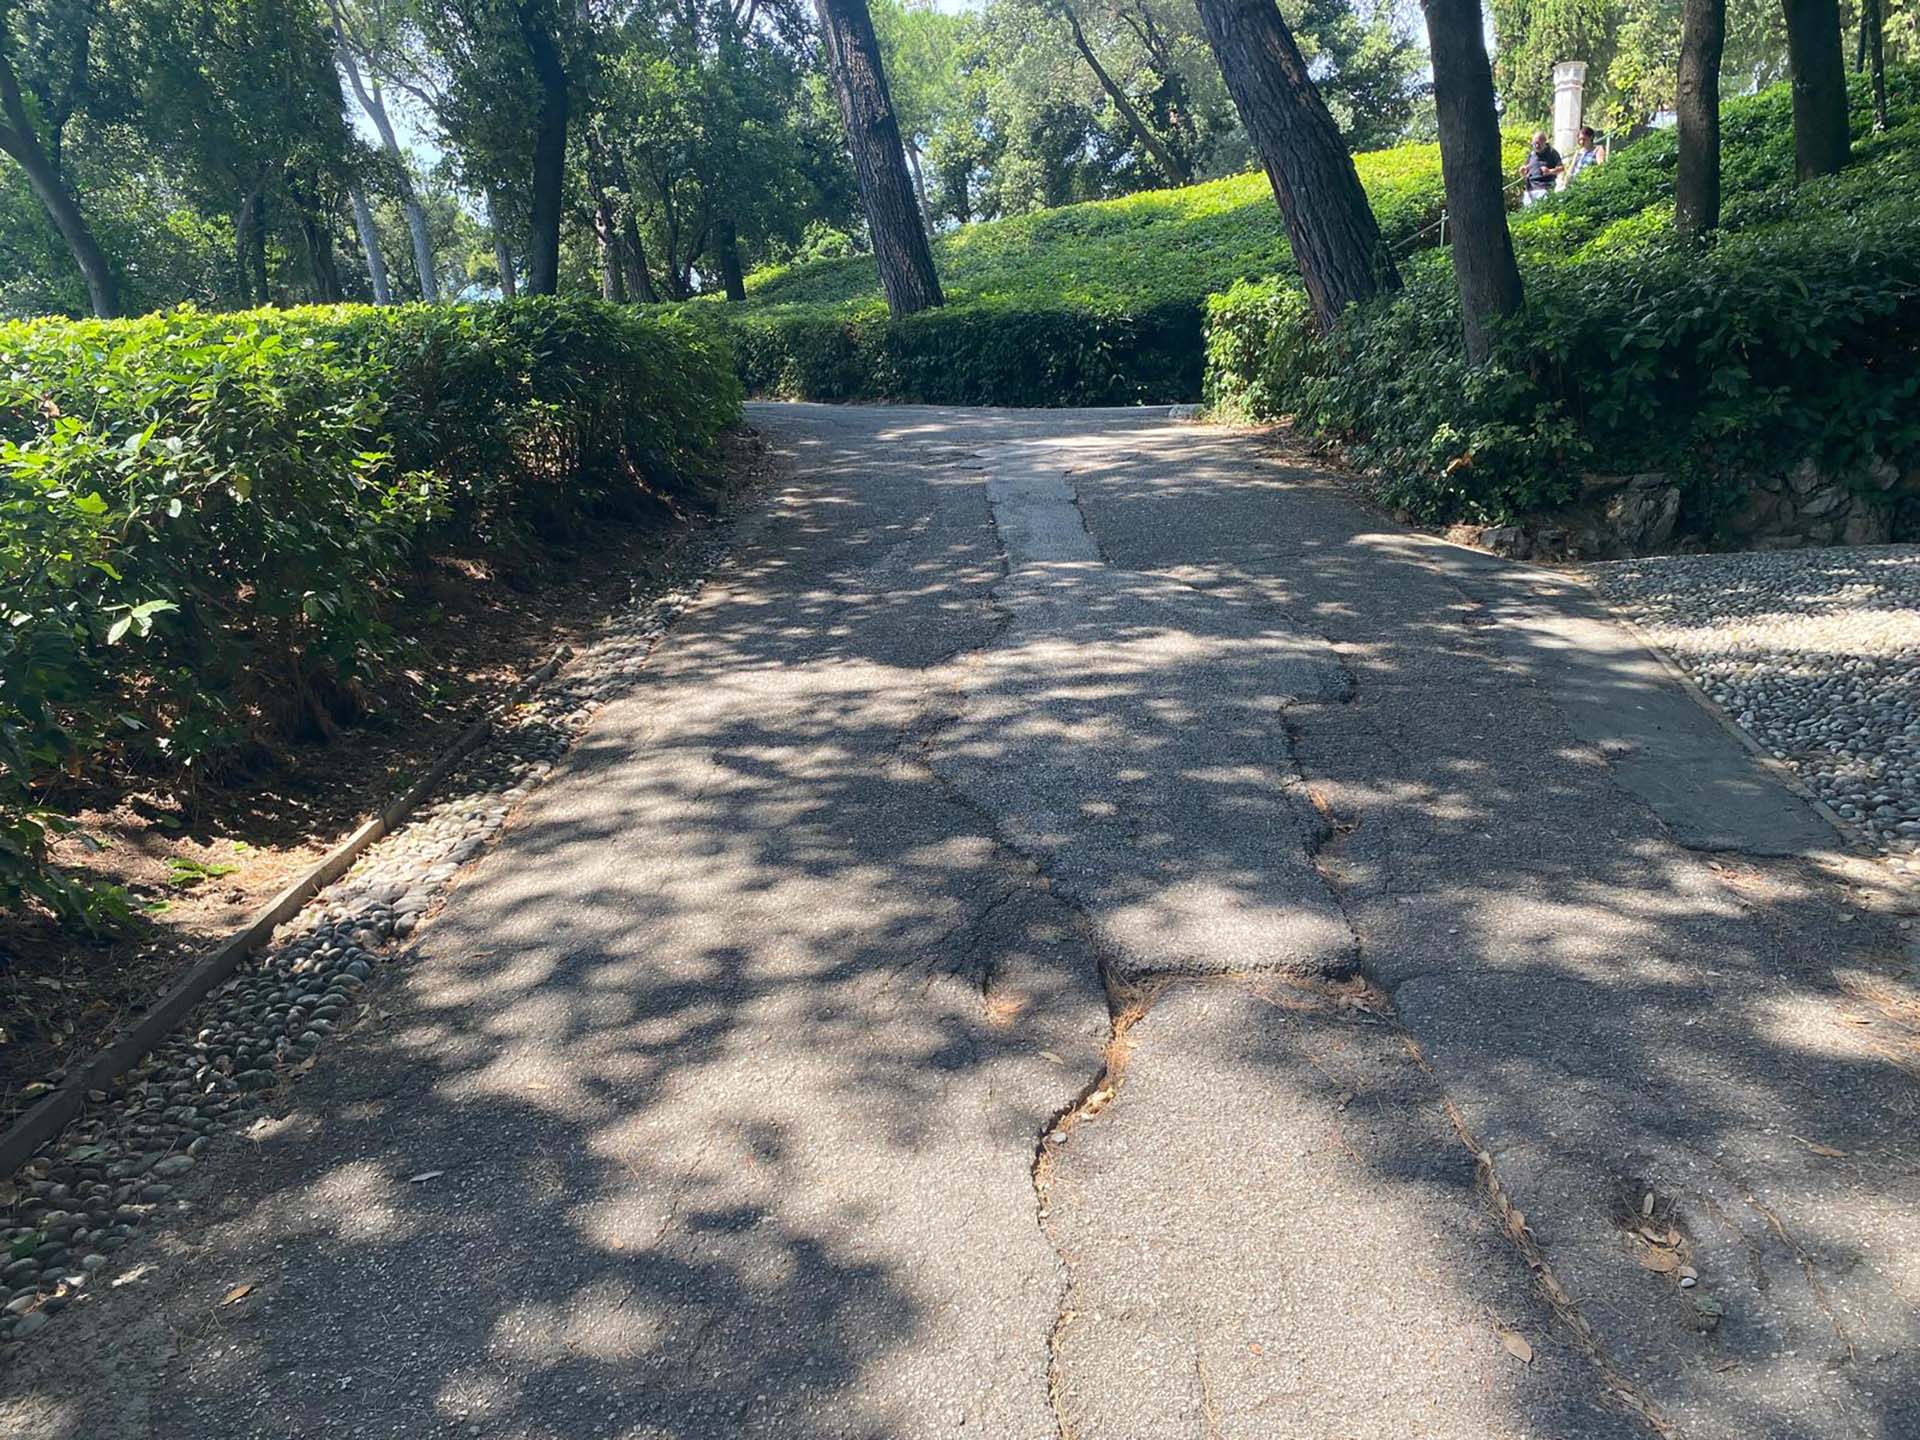
Photo 41 - Path with asphalt irregularities
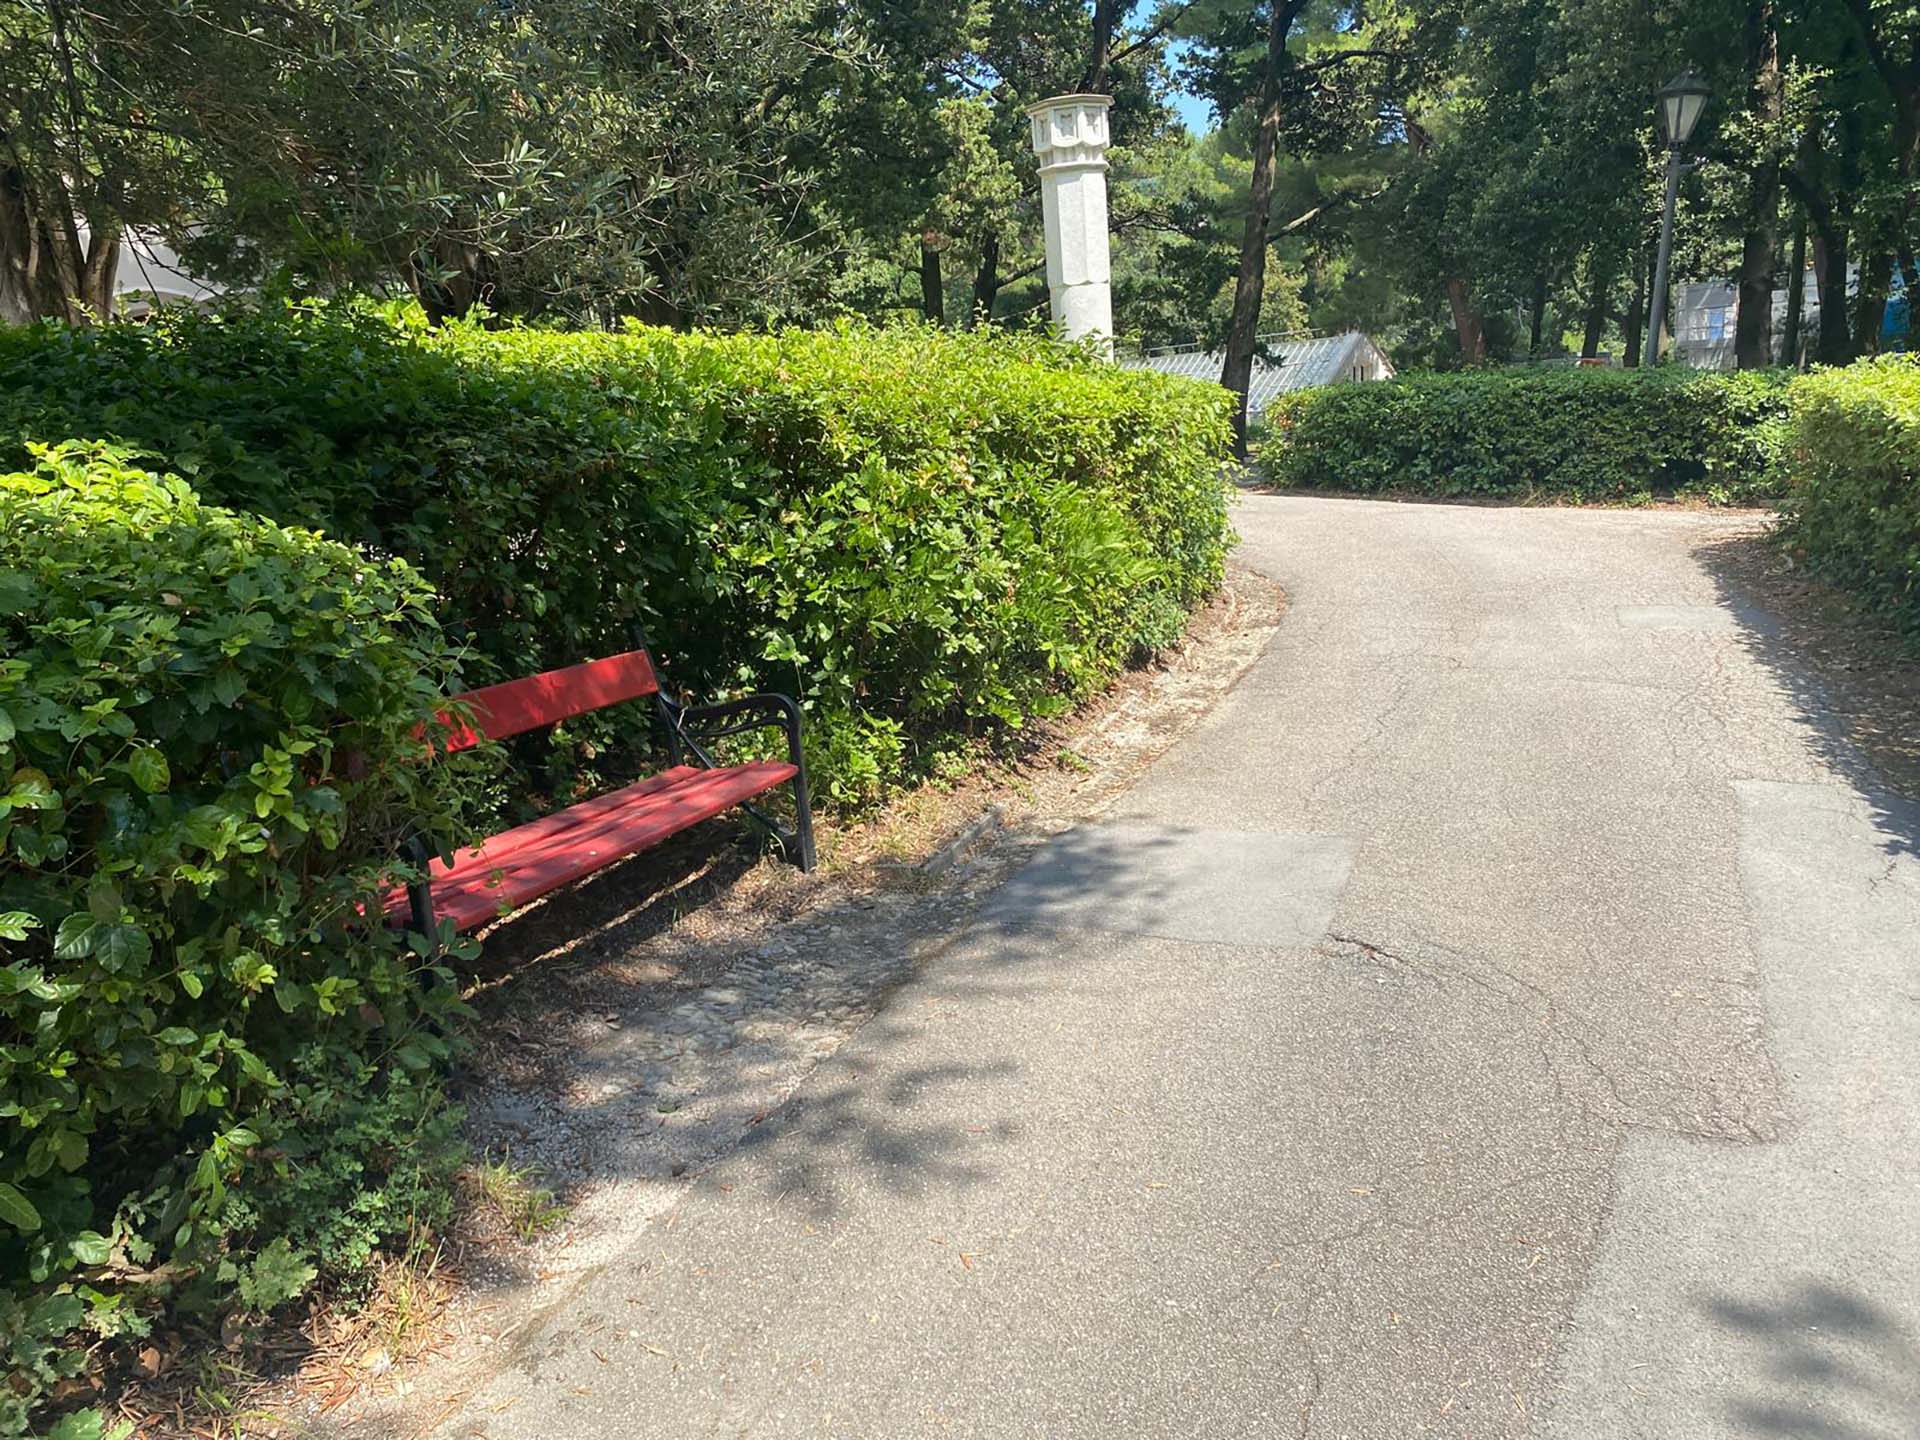
Photo 42 - Seating
Section 6
After completing the uphill path of the previous section, you arrive in the area surrounding the Castelletto with a panoramic zone and benches in the shade (photo 43). Continuing around the Castelletto, you will find the accessible entrance at the back (photo 44), and as you proceed, you will notice that the gravel gives way to a stabilized pavement in front of the building, with the two surfaces separated by a slightly lowered strip made of pebbles (photo 45). On the opposite side of the Castelletto, we find the greenhouse area and an Italian garden with explanatory information signs (photo 46).
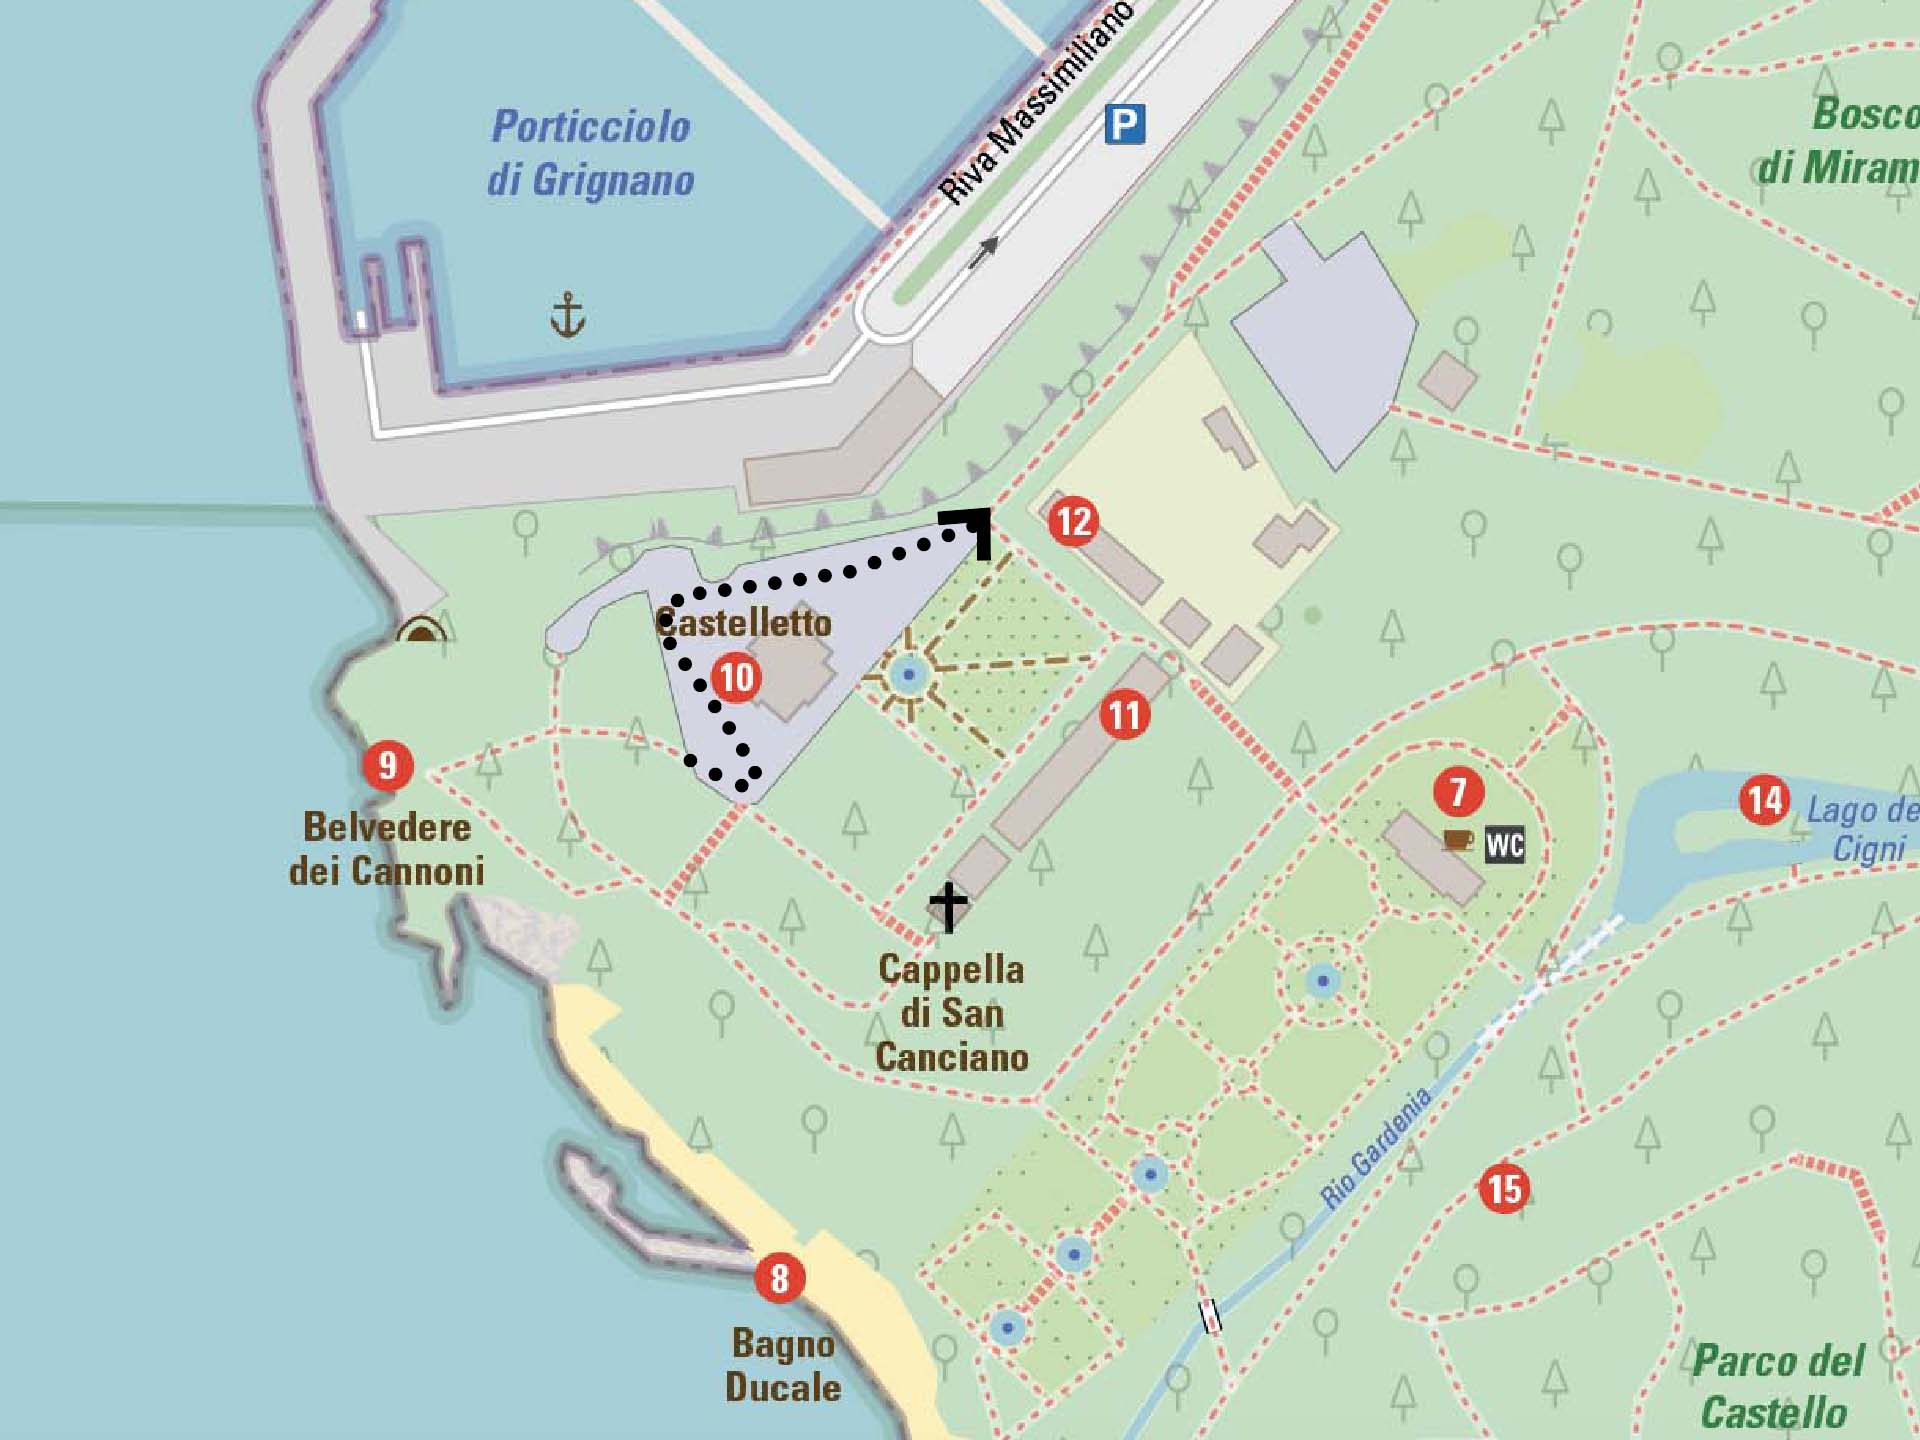
Section 6
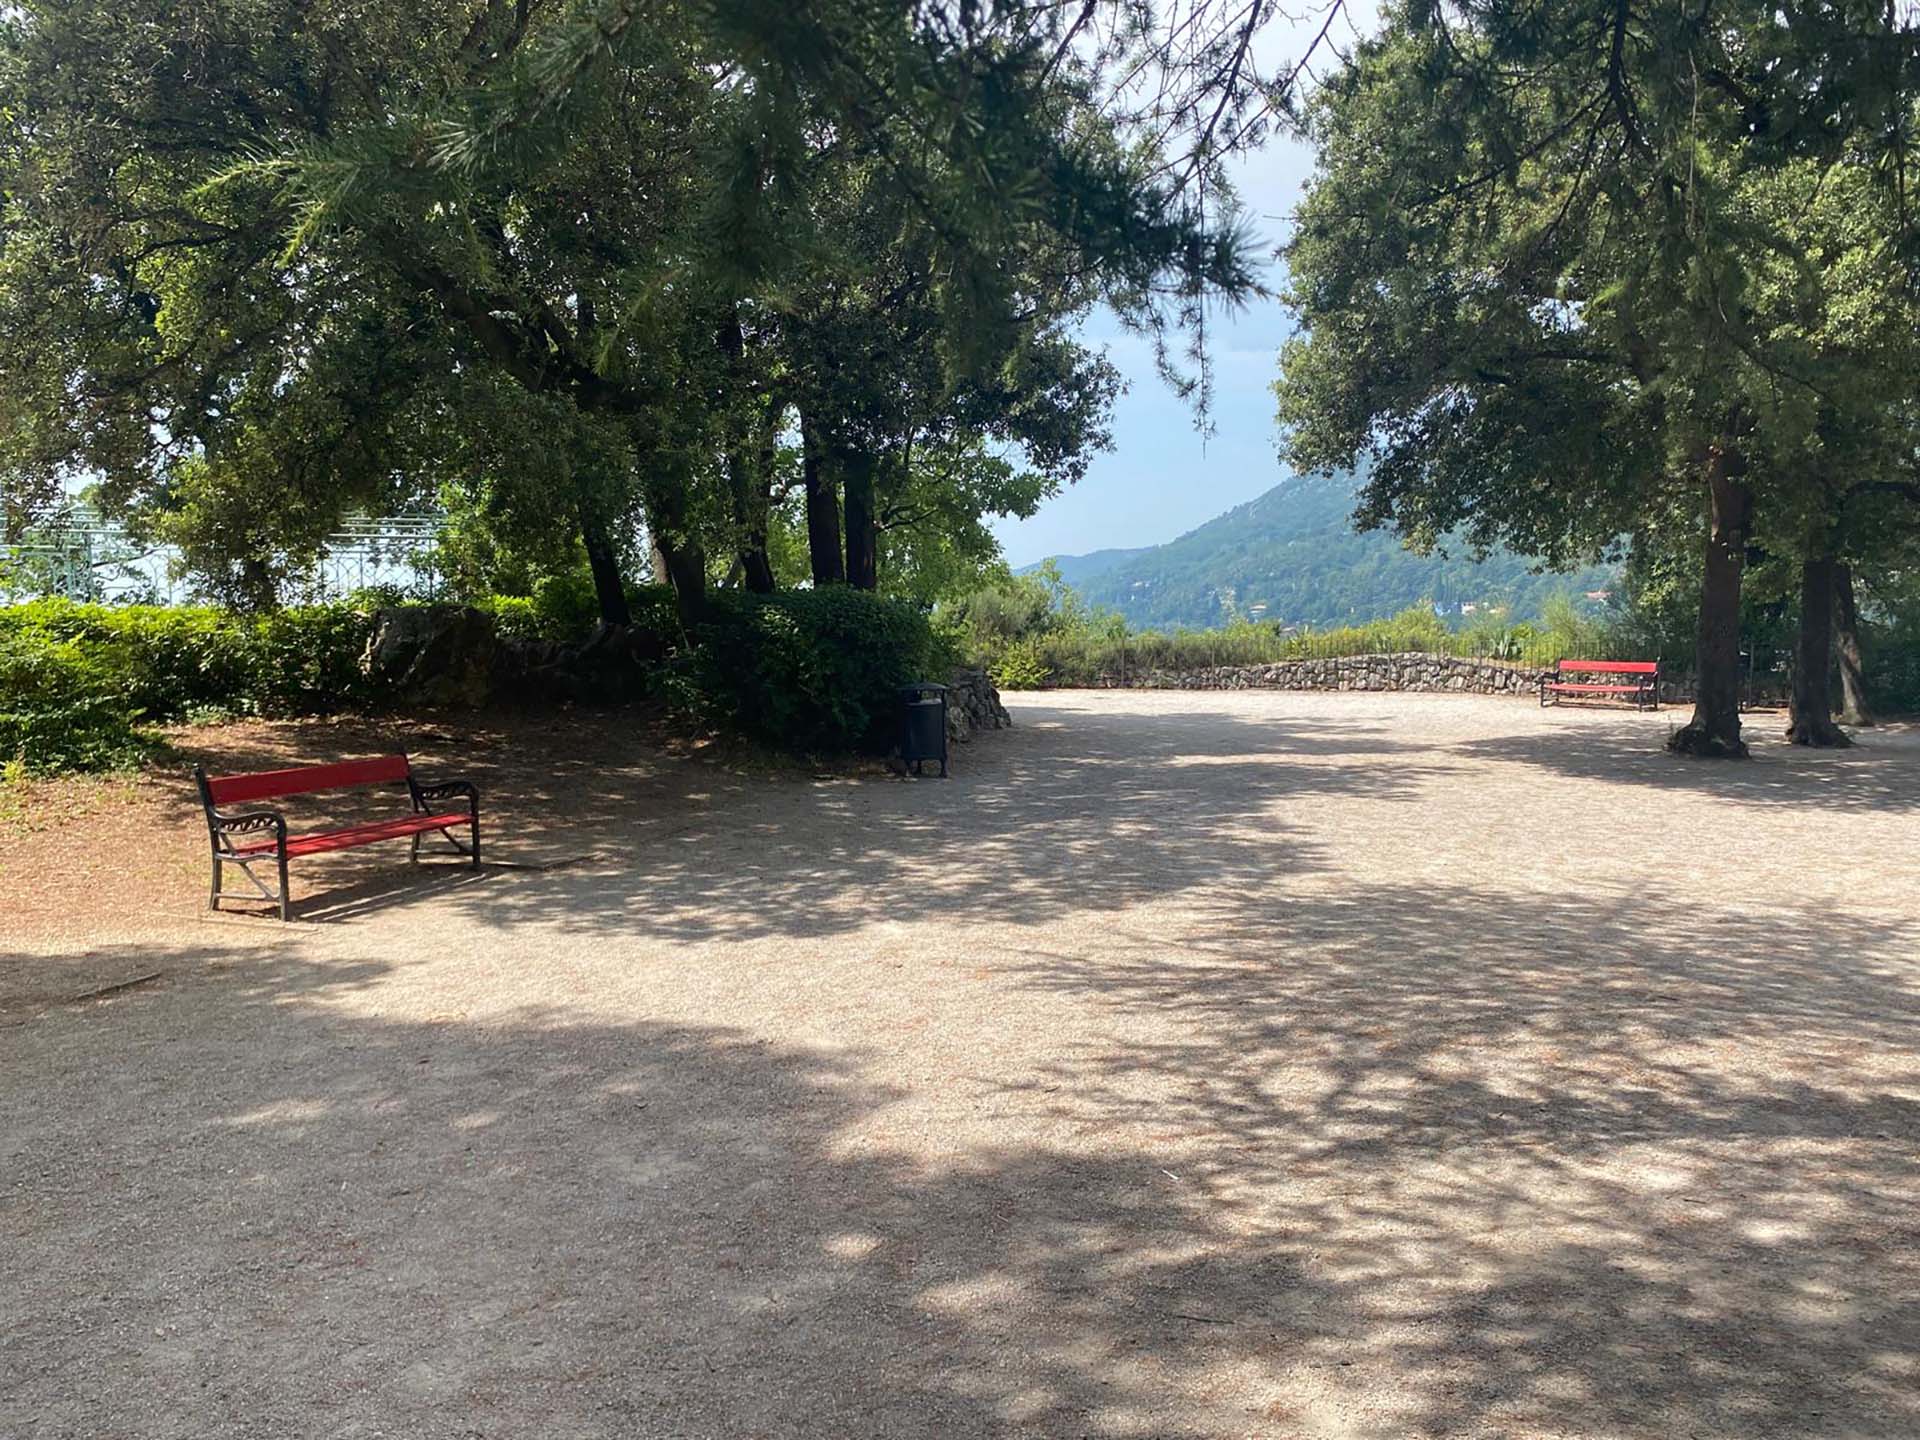
Photo 43 - Scenic area
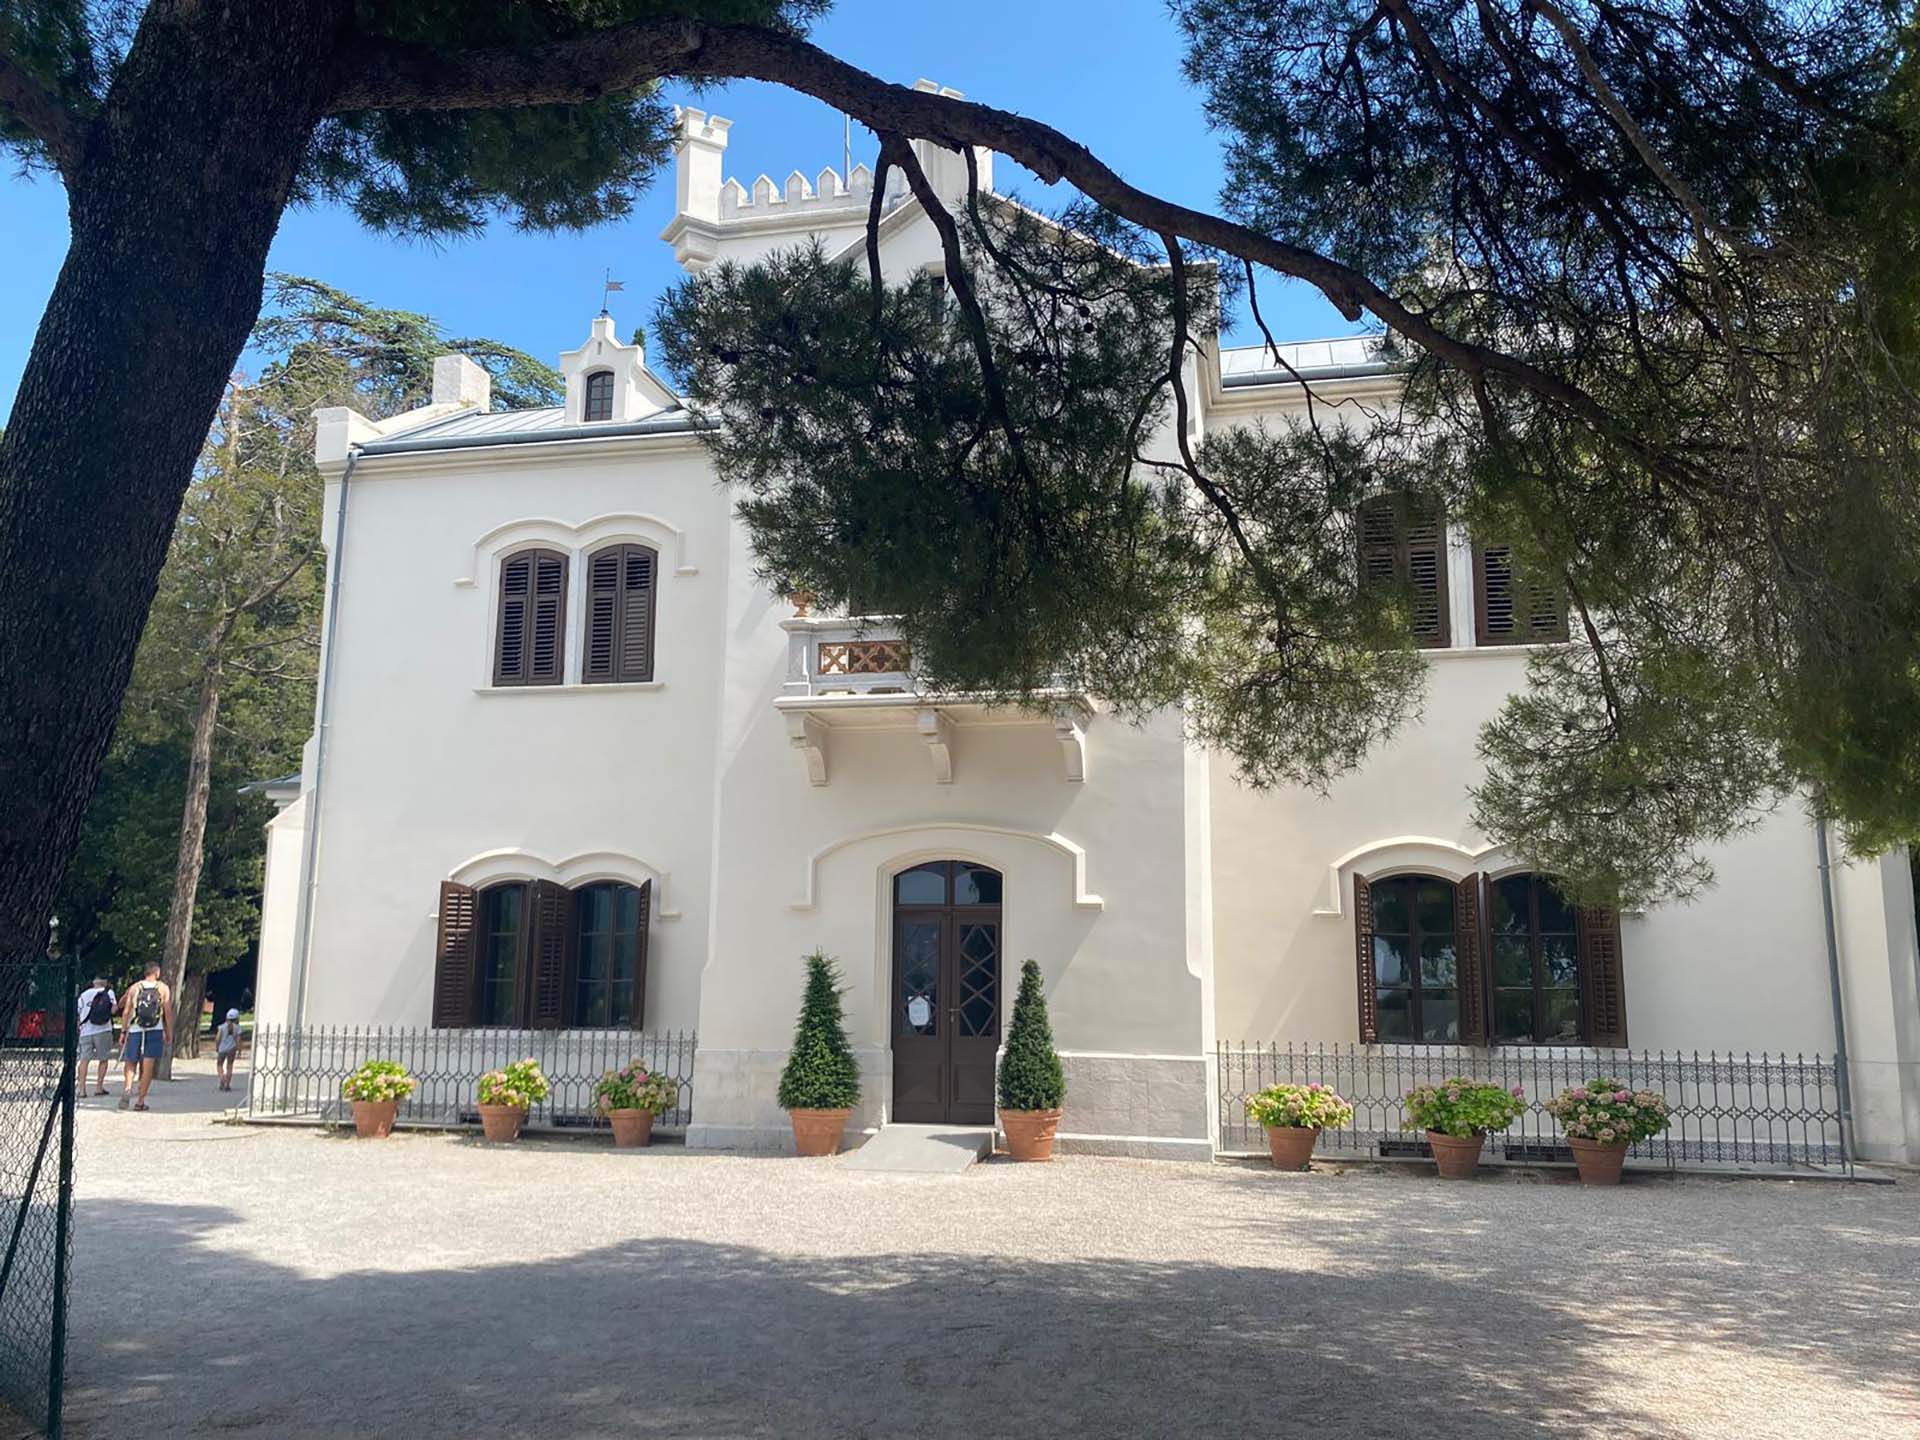
Photo 44 - Accessible entrance at the back of Castelletto
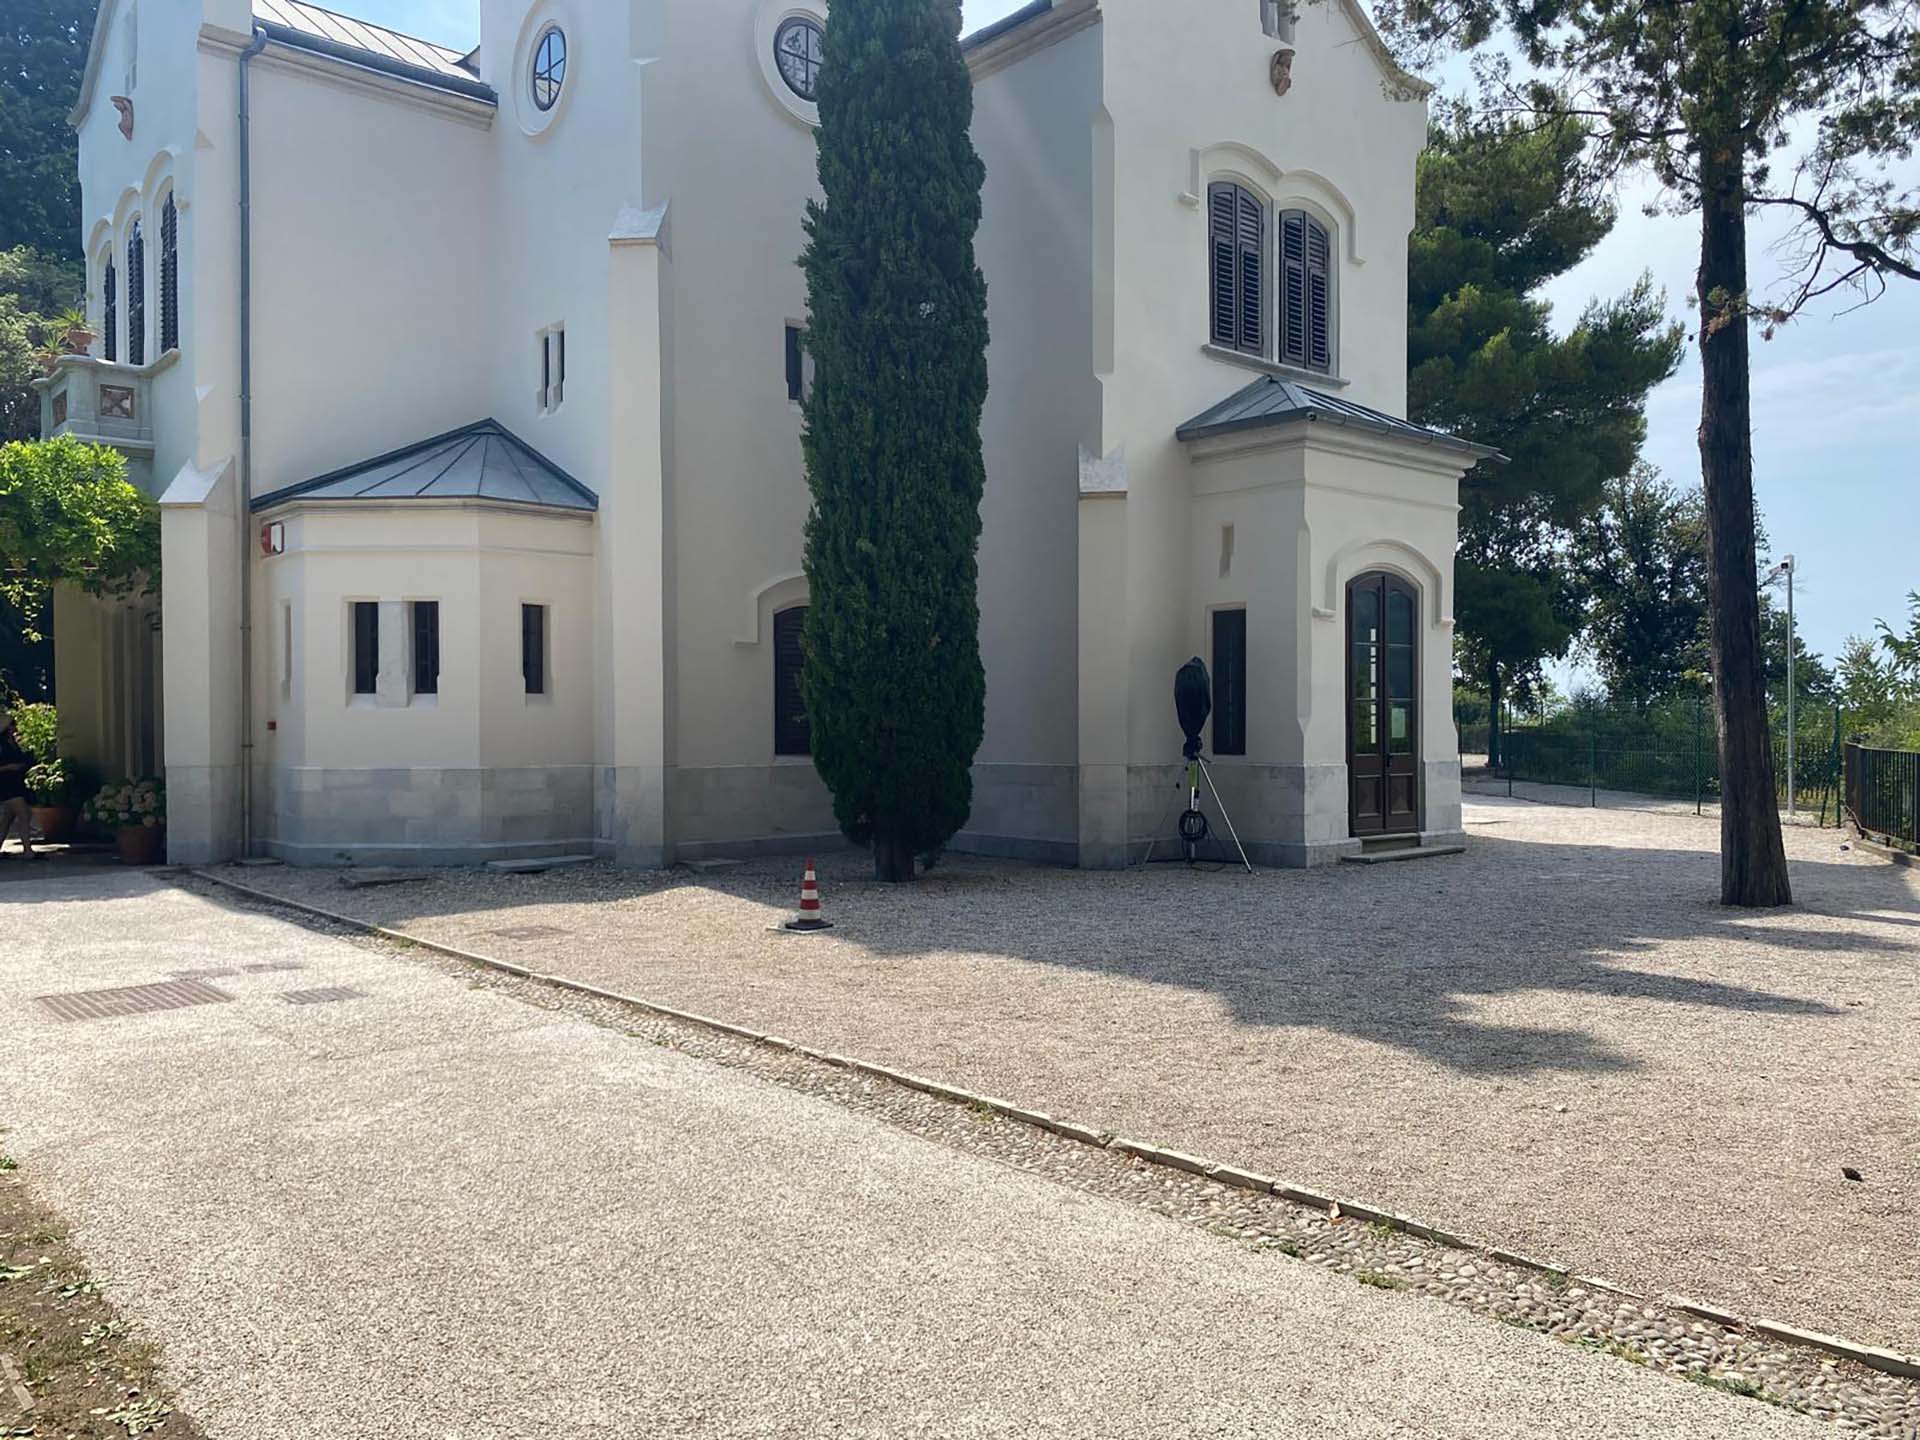
Photo 45 - Castelletto, side view
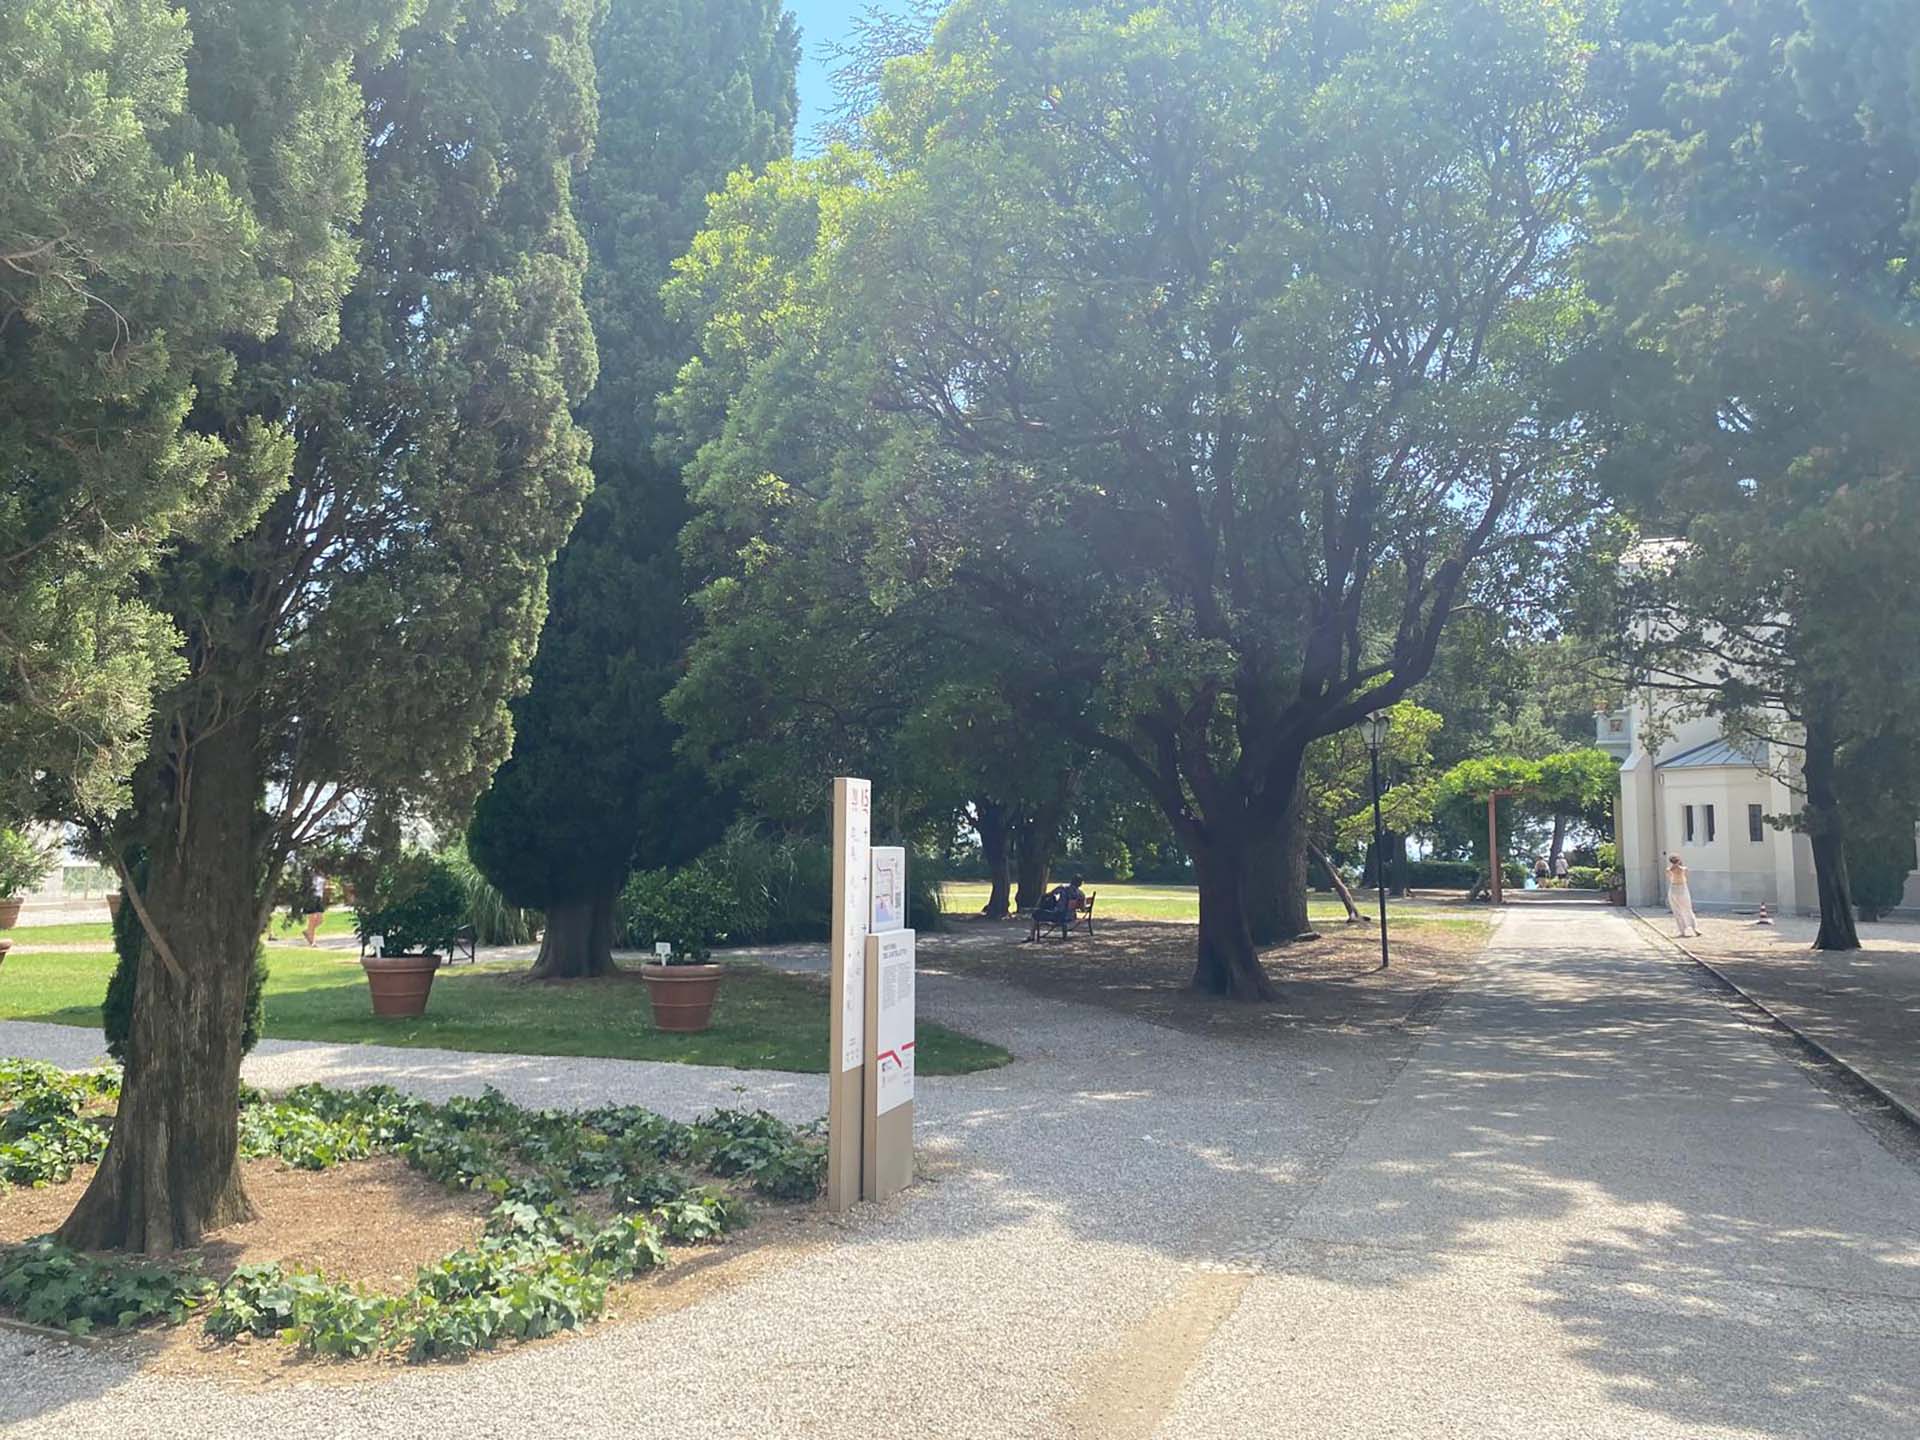
Photo 46 - Informative totems and path (reverse view)
Section 7
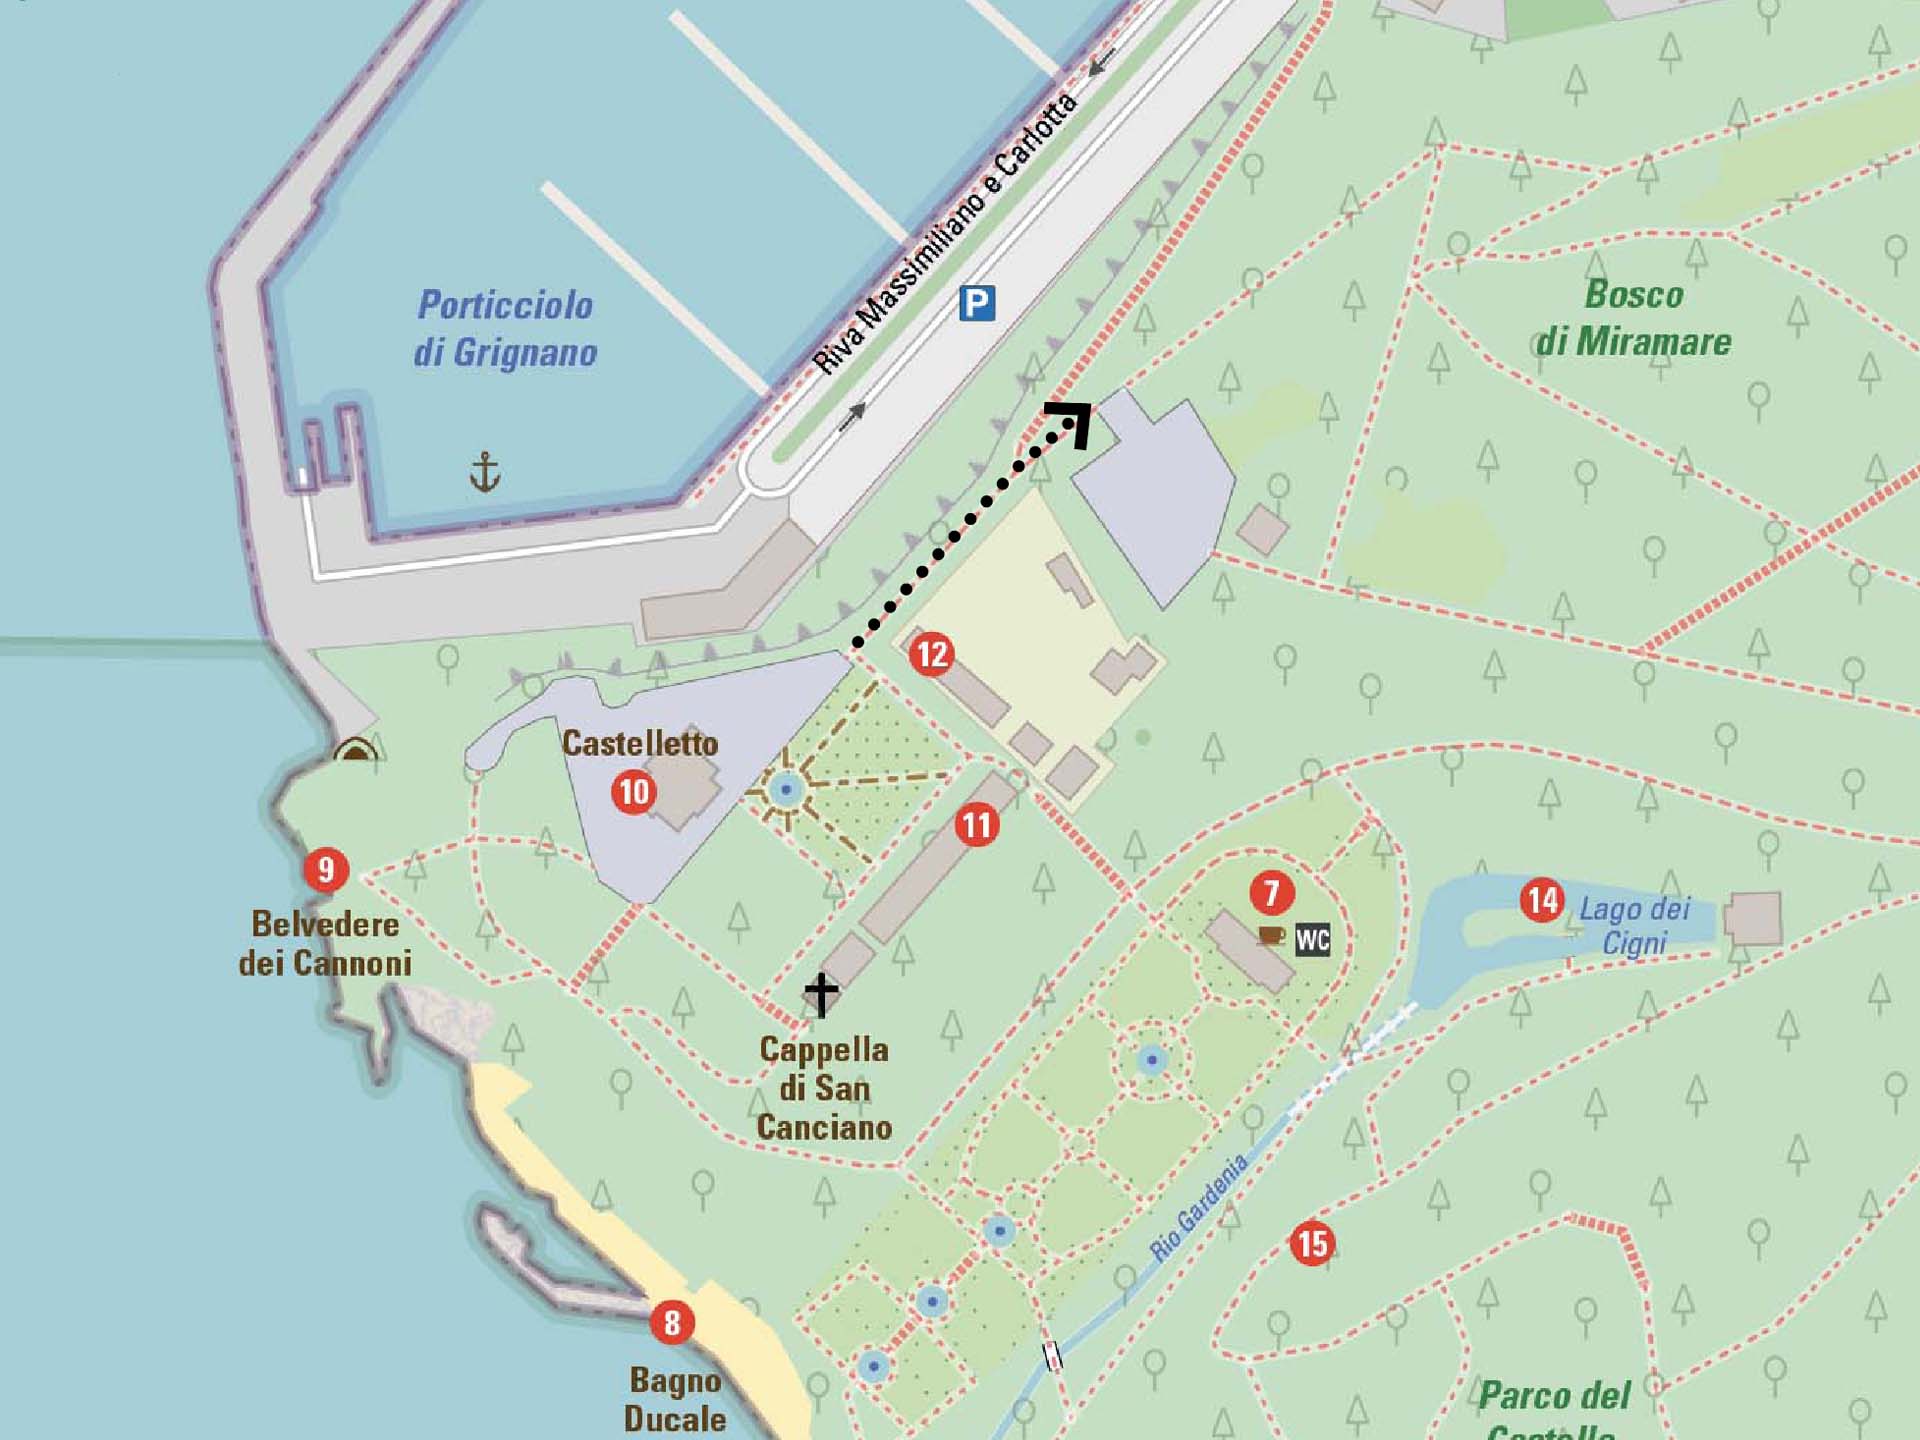
After the area of Castelletto, turn left and continue past the gate, secondary entrance with steps overlooking the bay of Grignano on the left, we arrive at a portal (photo 47). After passing through it, we find on the right the entrance to the new greenhouses of MiraLab, educational laboratories mainly aimed at schools and young people (photo 48).
Section 7
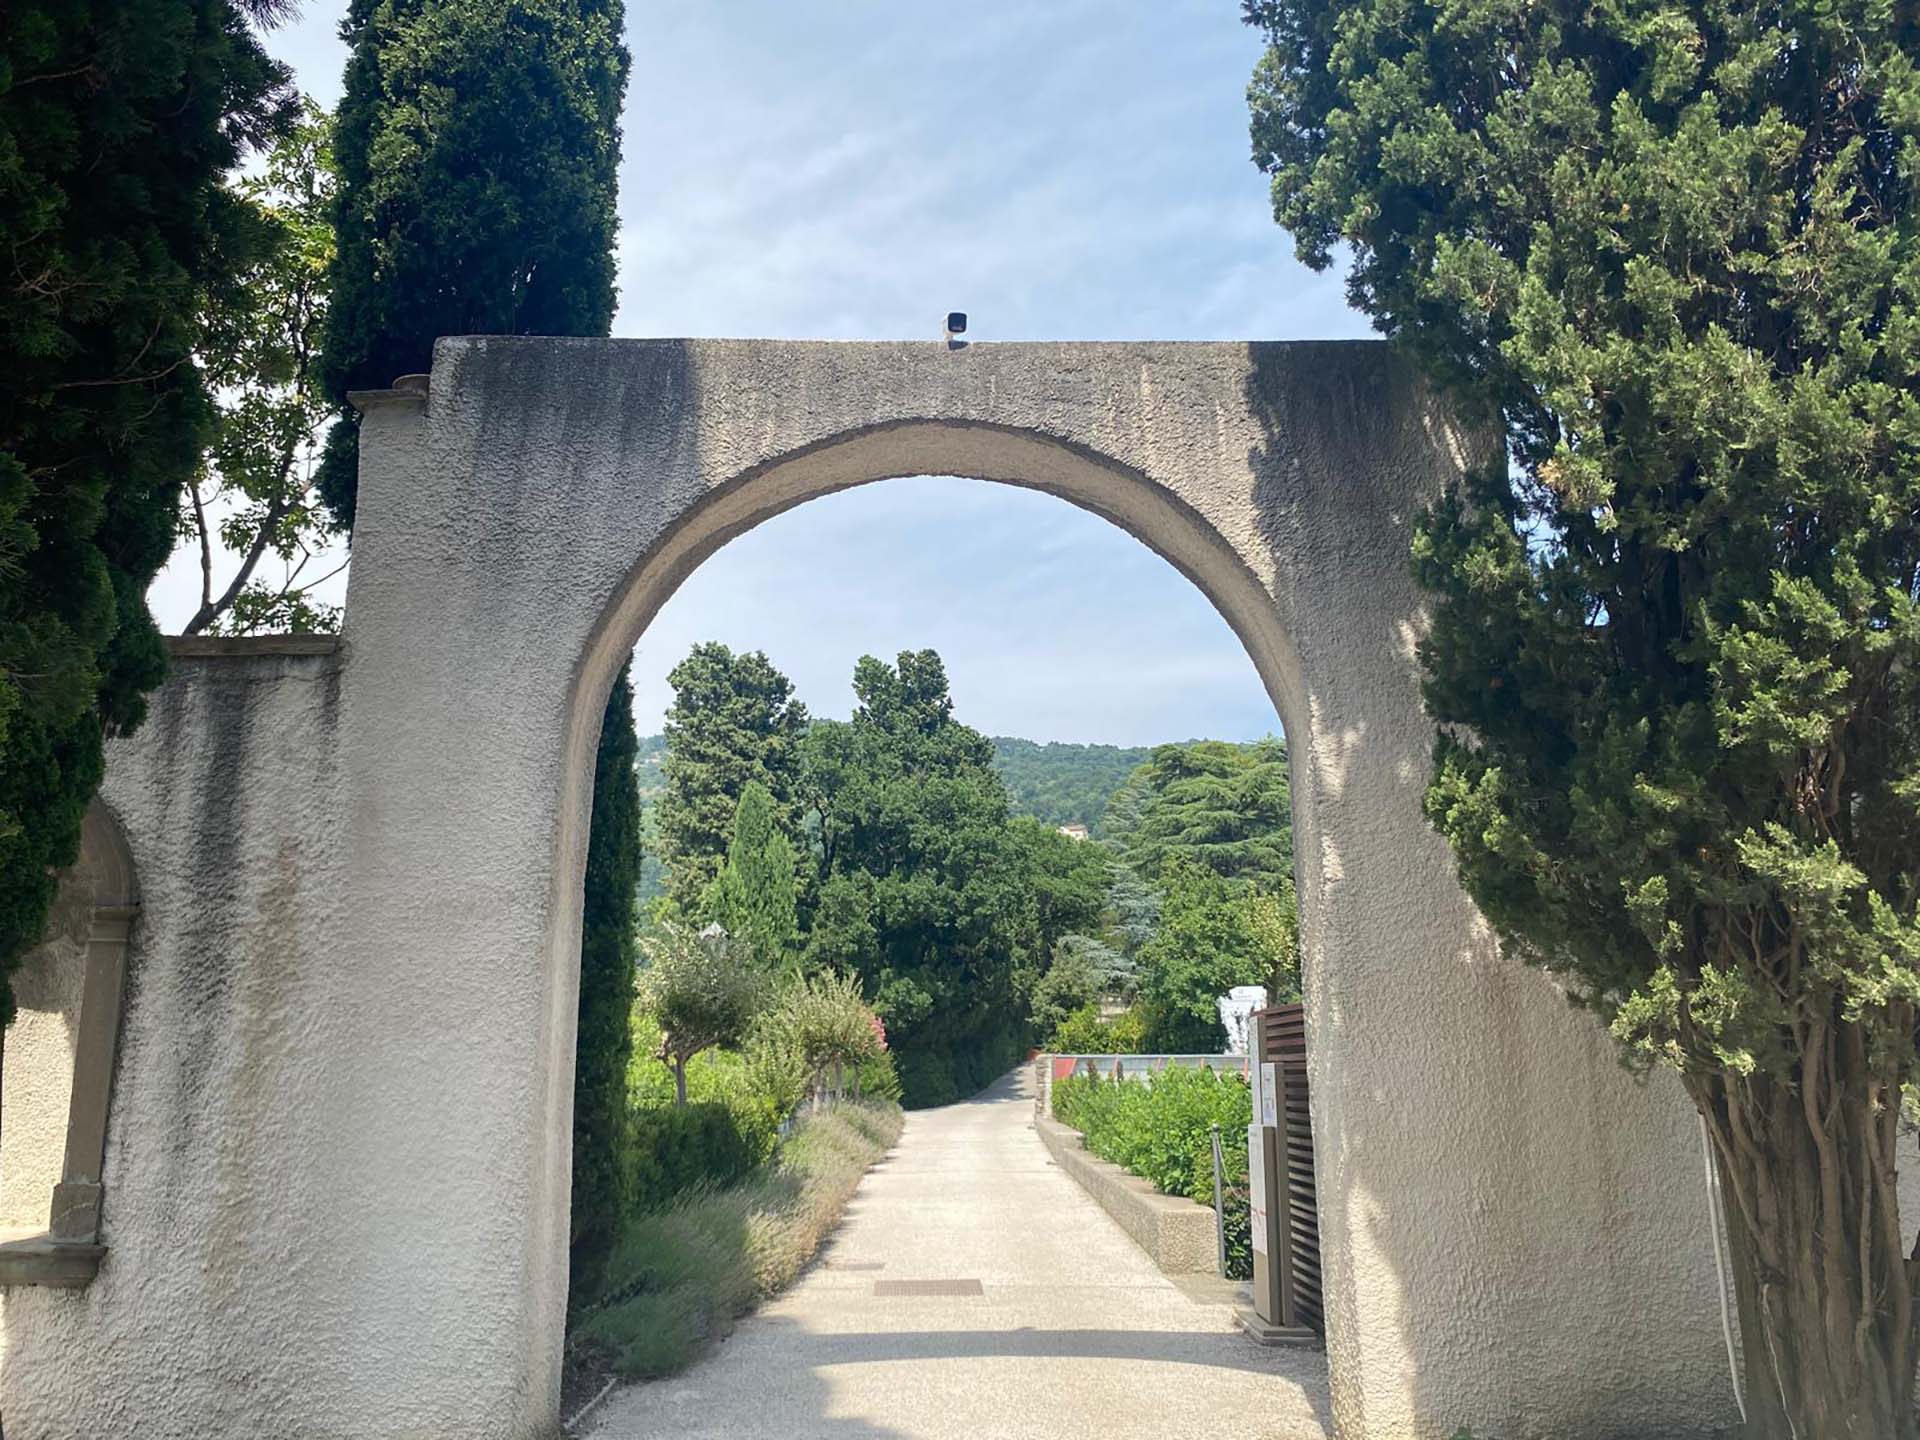
Photo 47 - Portal
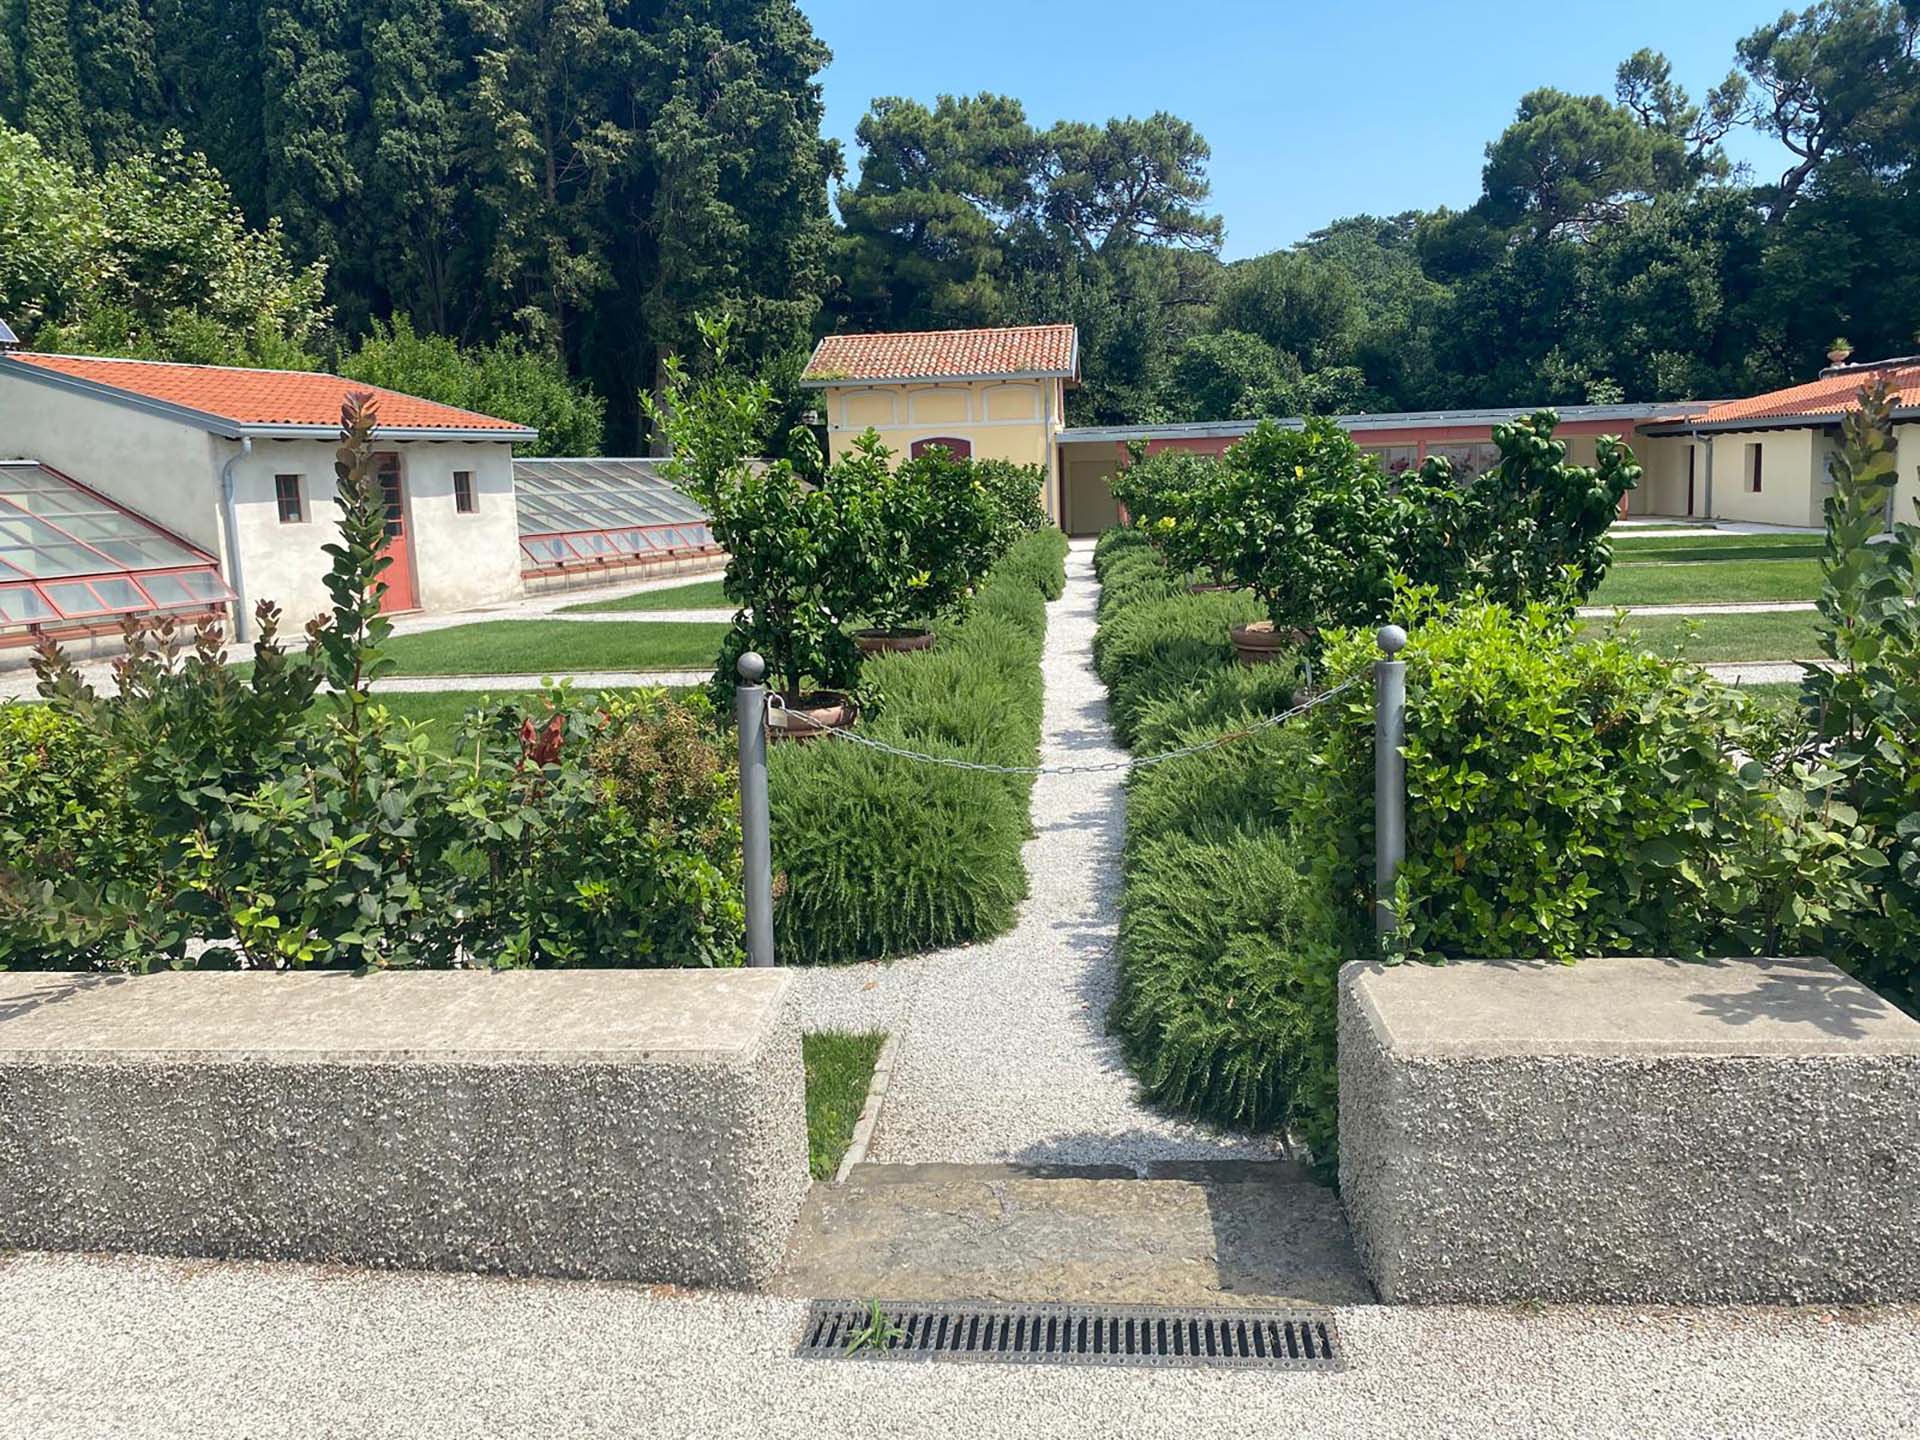
Photo 48 - View of greenhouses and laboratories
Section 8
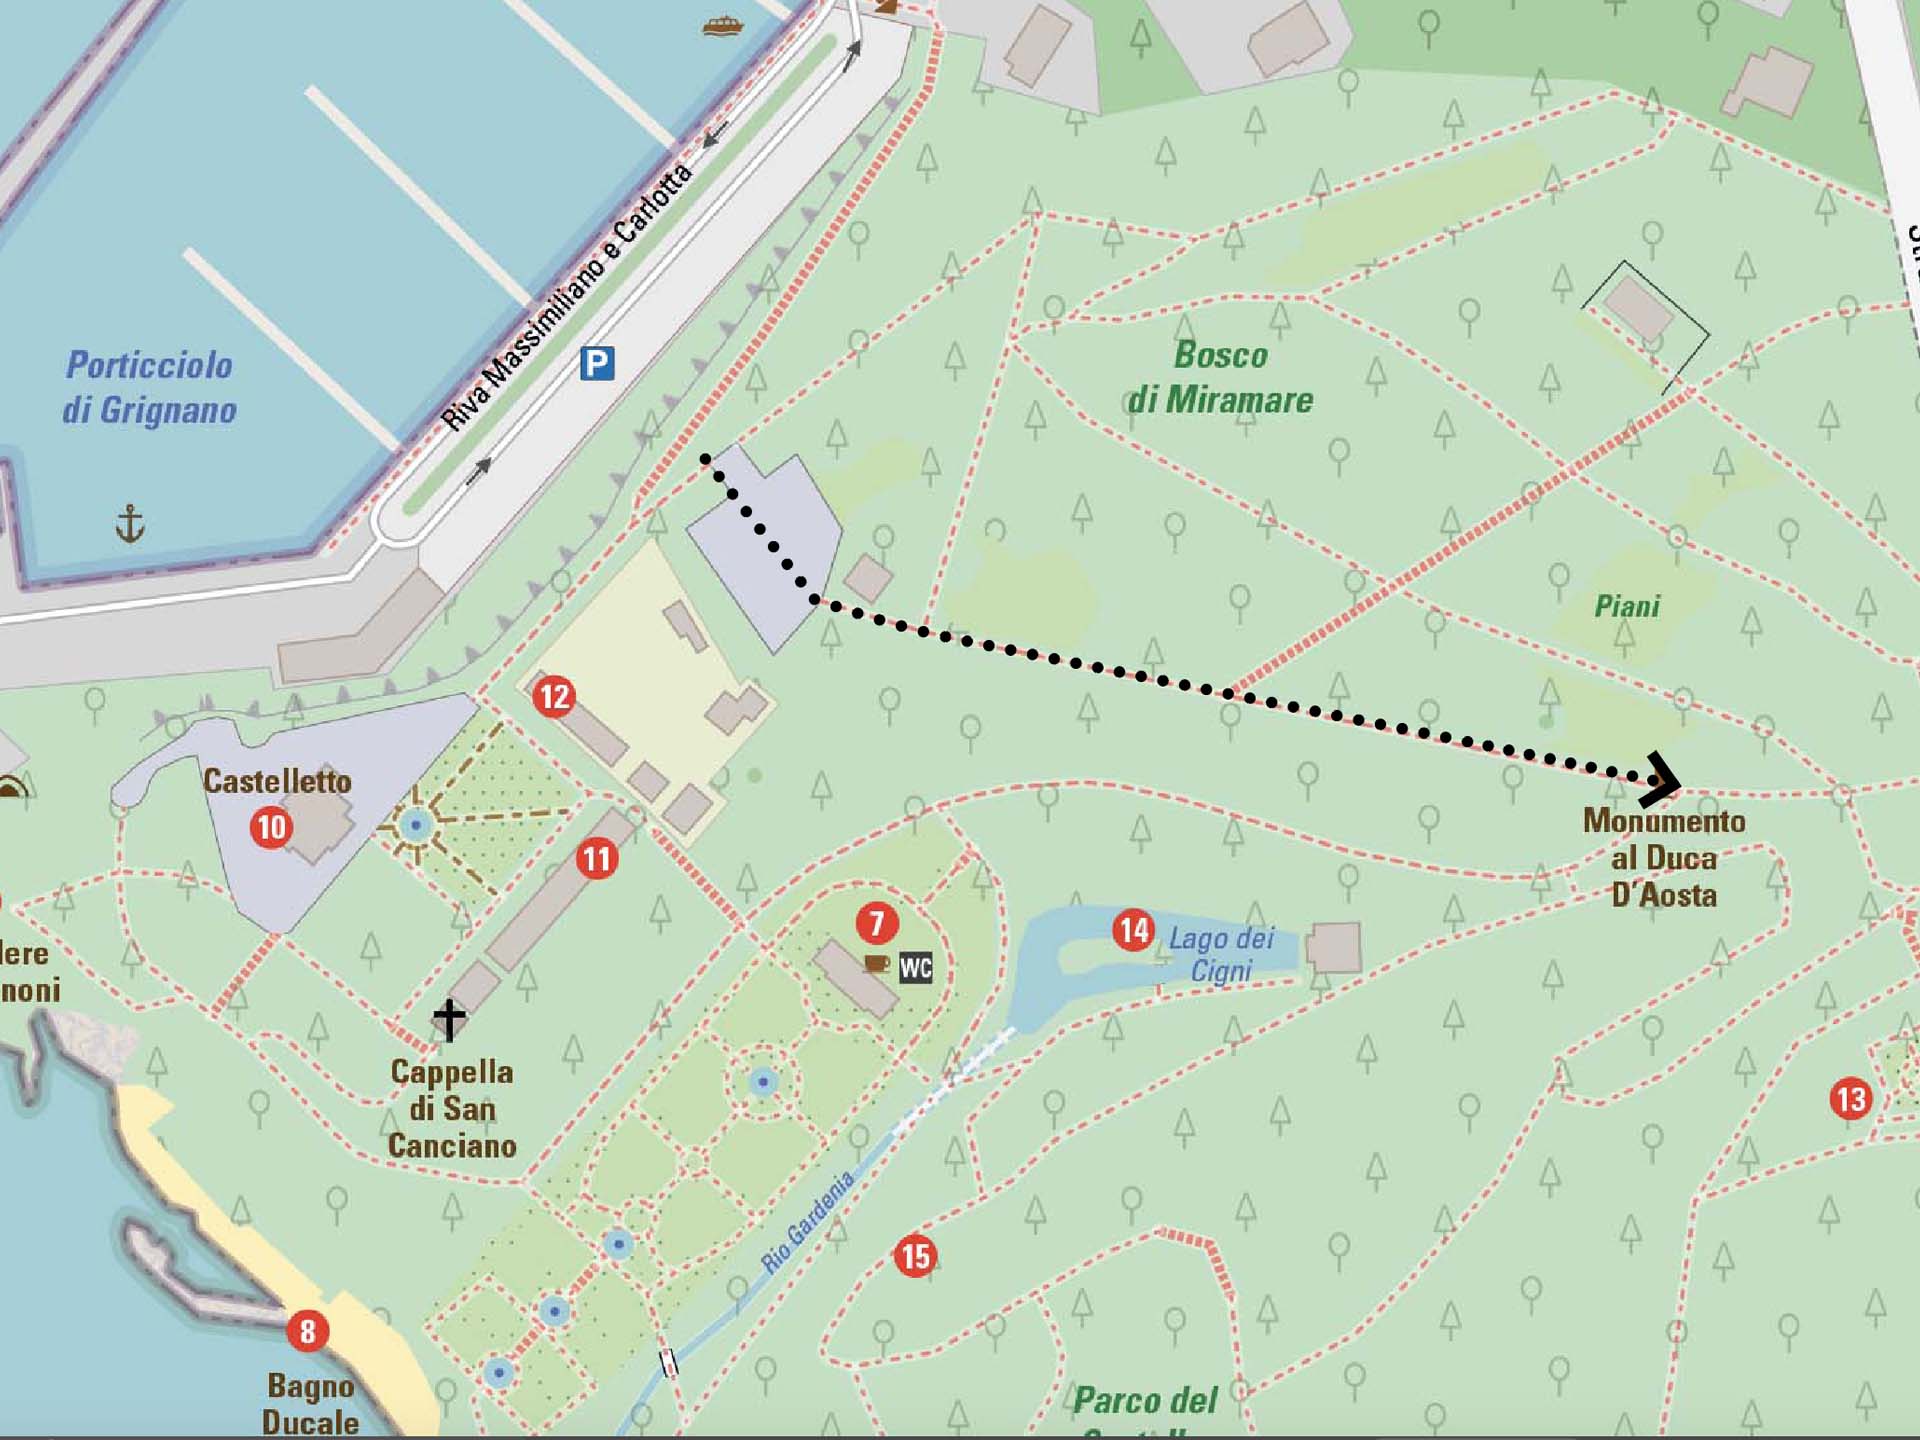
At the end of the path next to the greenhouses, turn right, cross a square with benches for resting (photo 49), and continue on an asphalt surface with a slight slope (photo 50). On the right, we find red benches approximately every two hundred meters (photos 51 and 52), then we continue until we reach the statue of Duke Amedeo d'Aosta with its explanatory totem on the left (photo 53).
Section 8
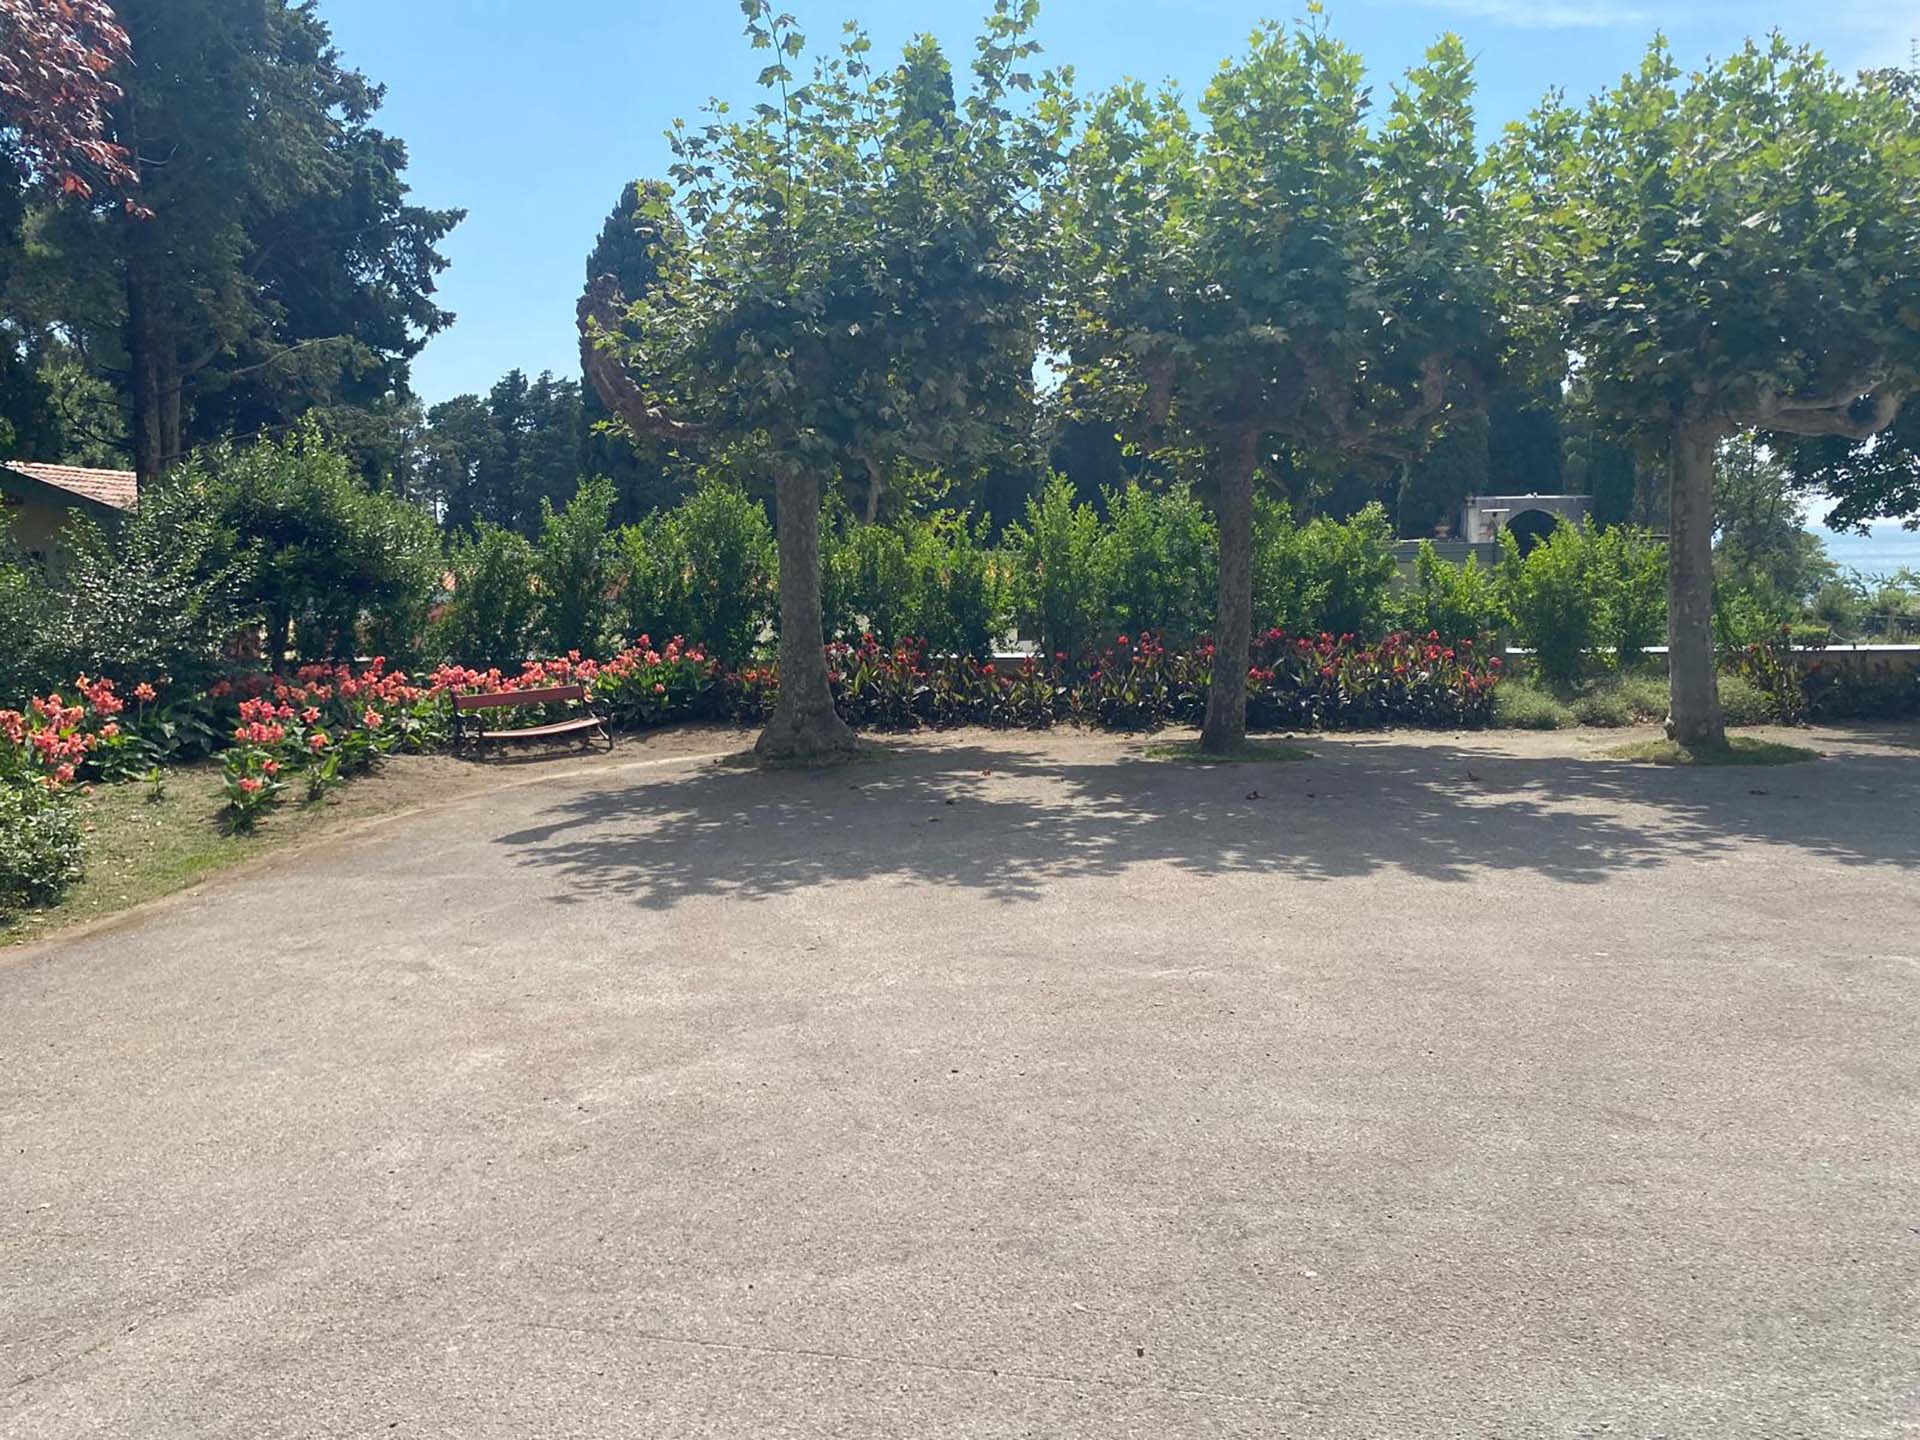
Photo 49 -
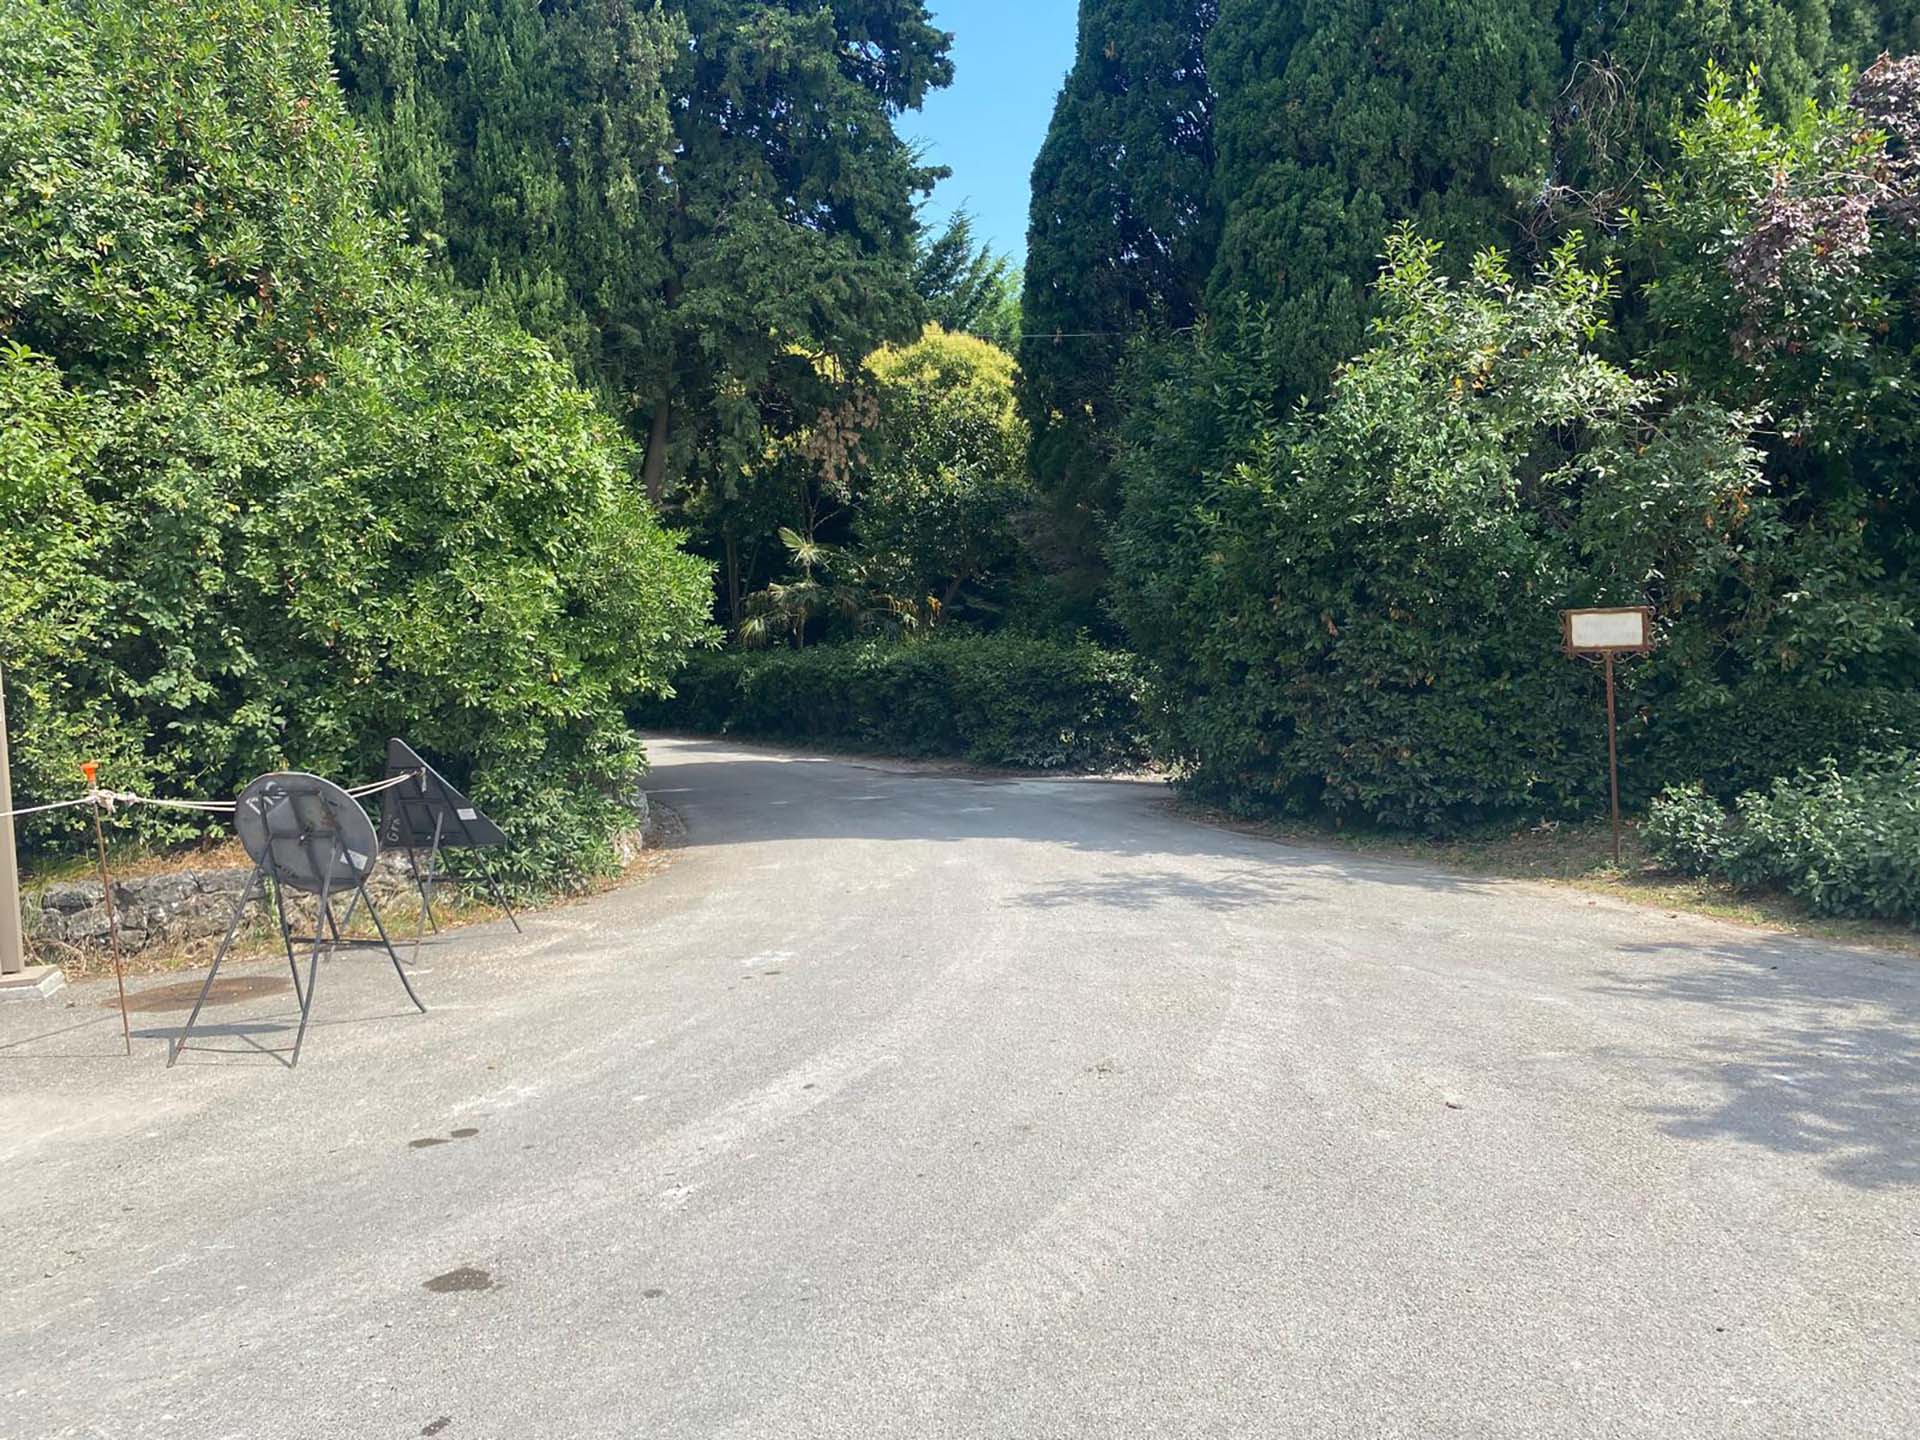
Photo 50 -
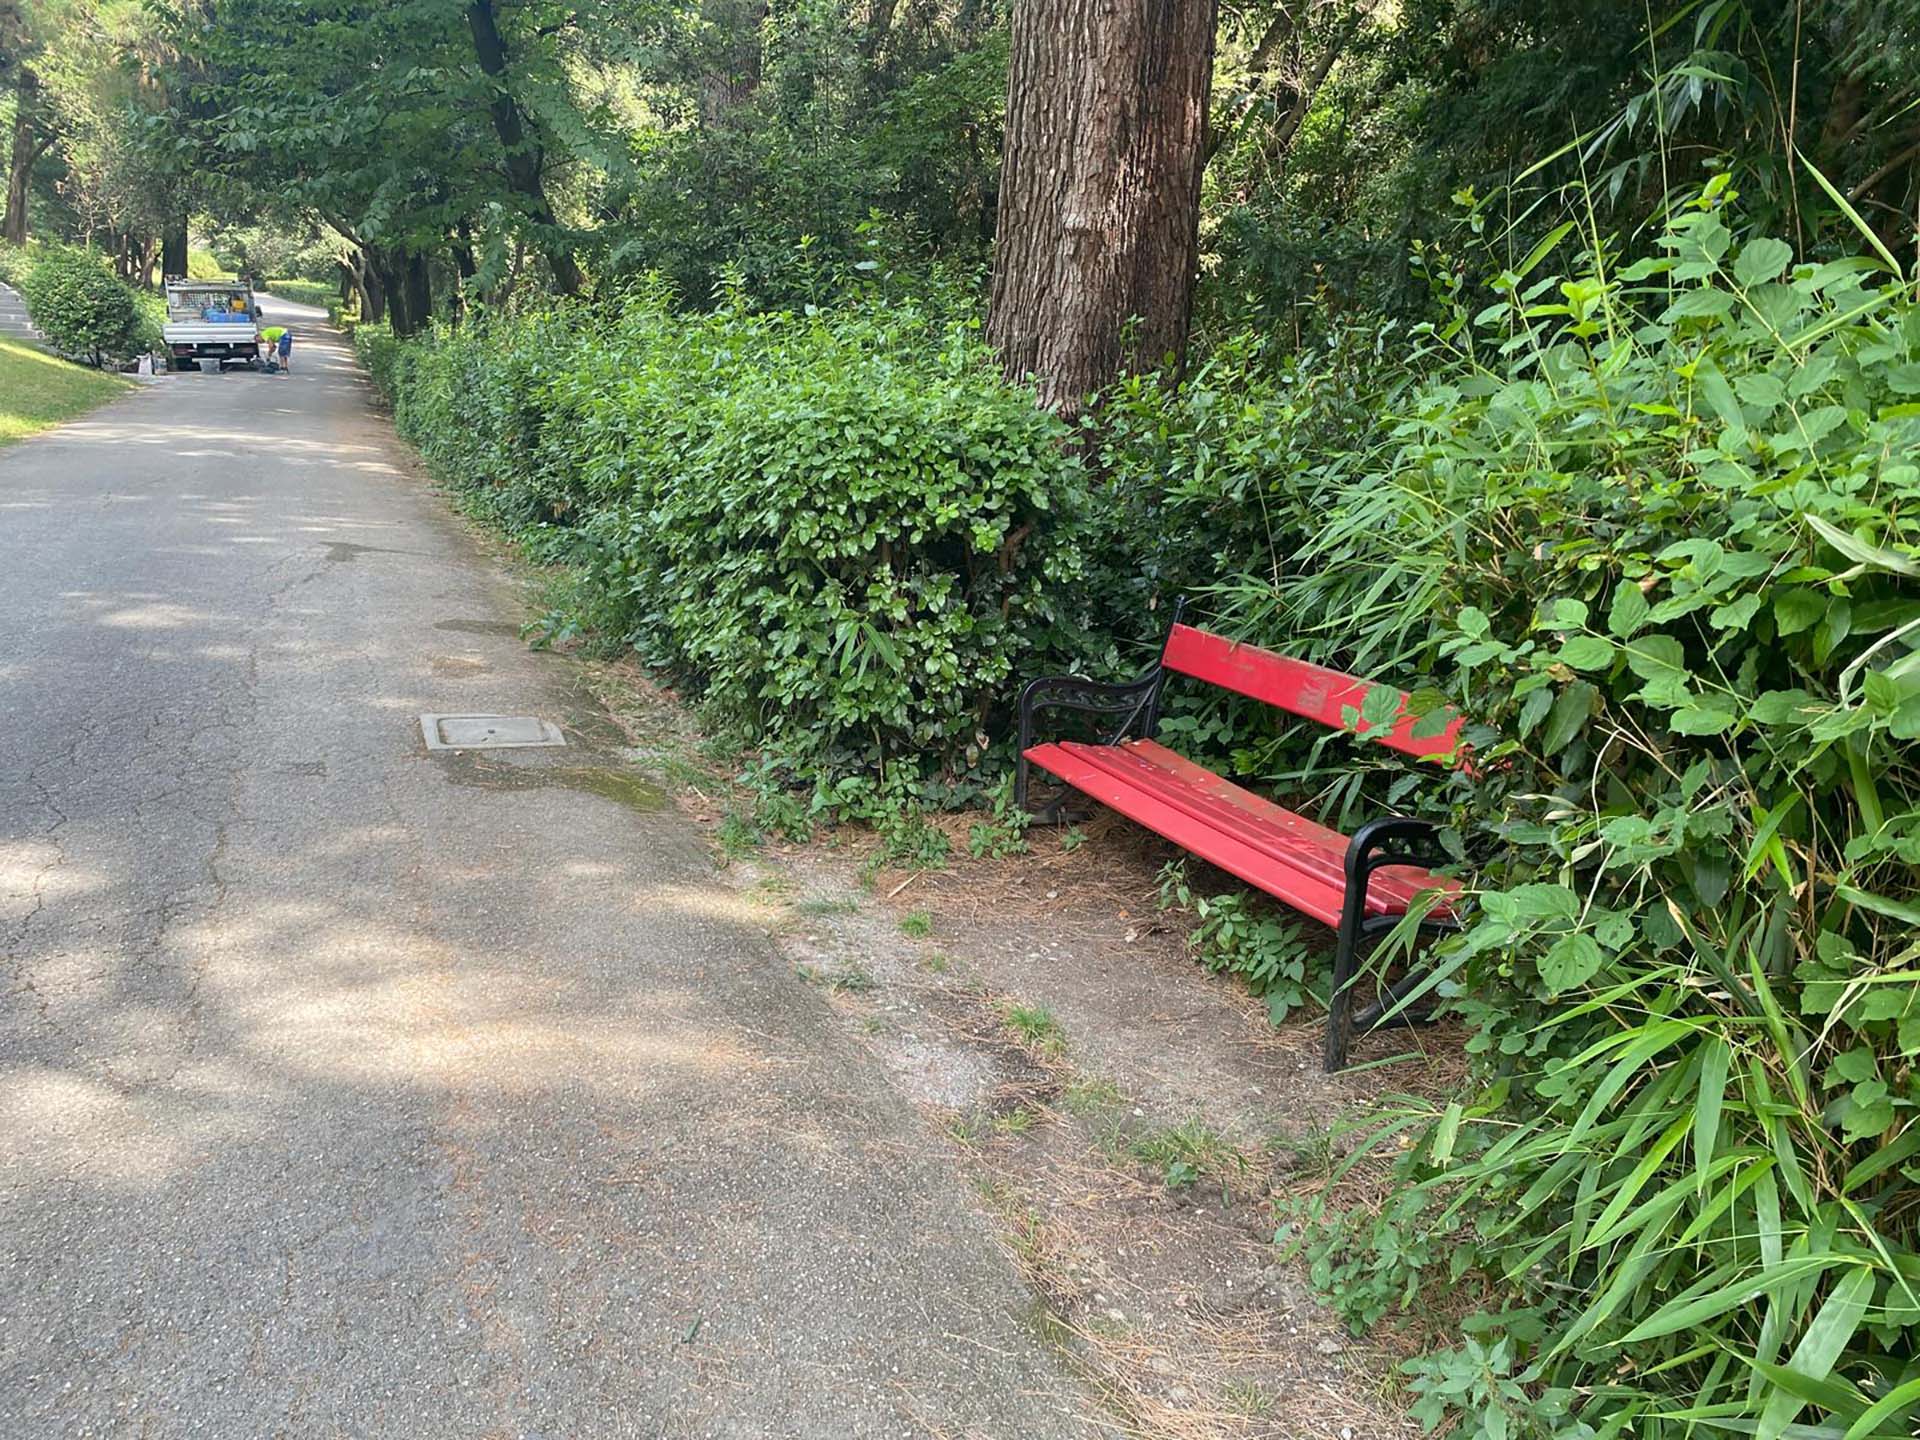
Photo 51 - Seating along the path
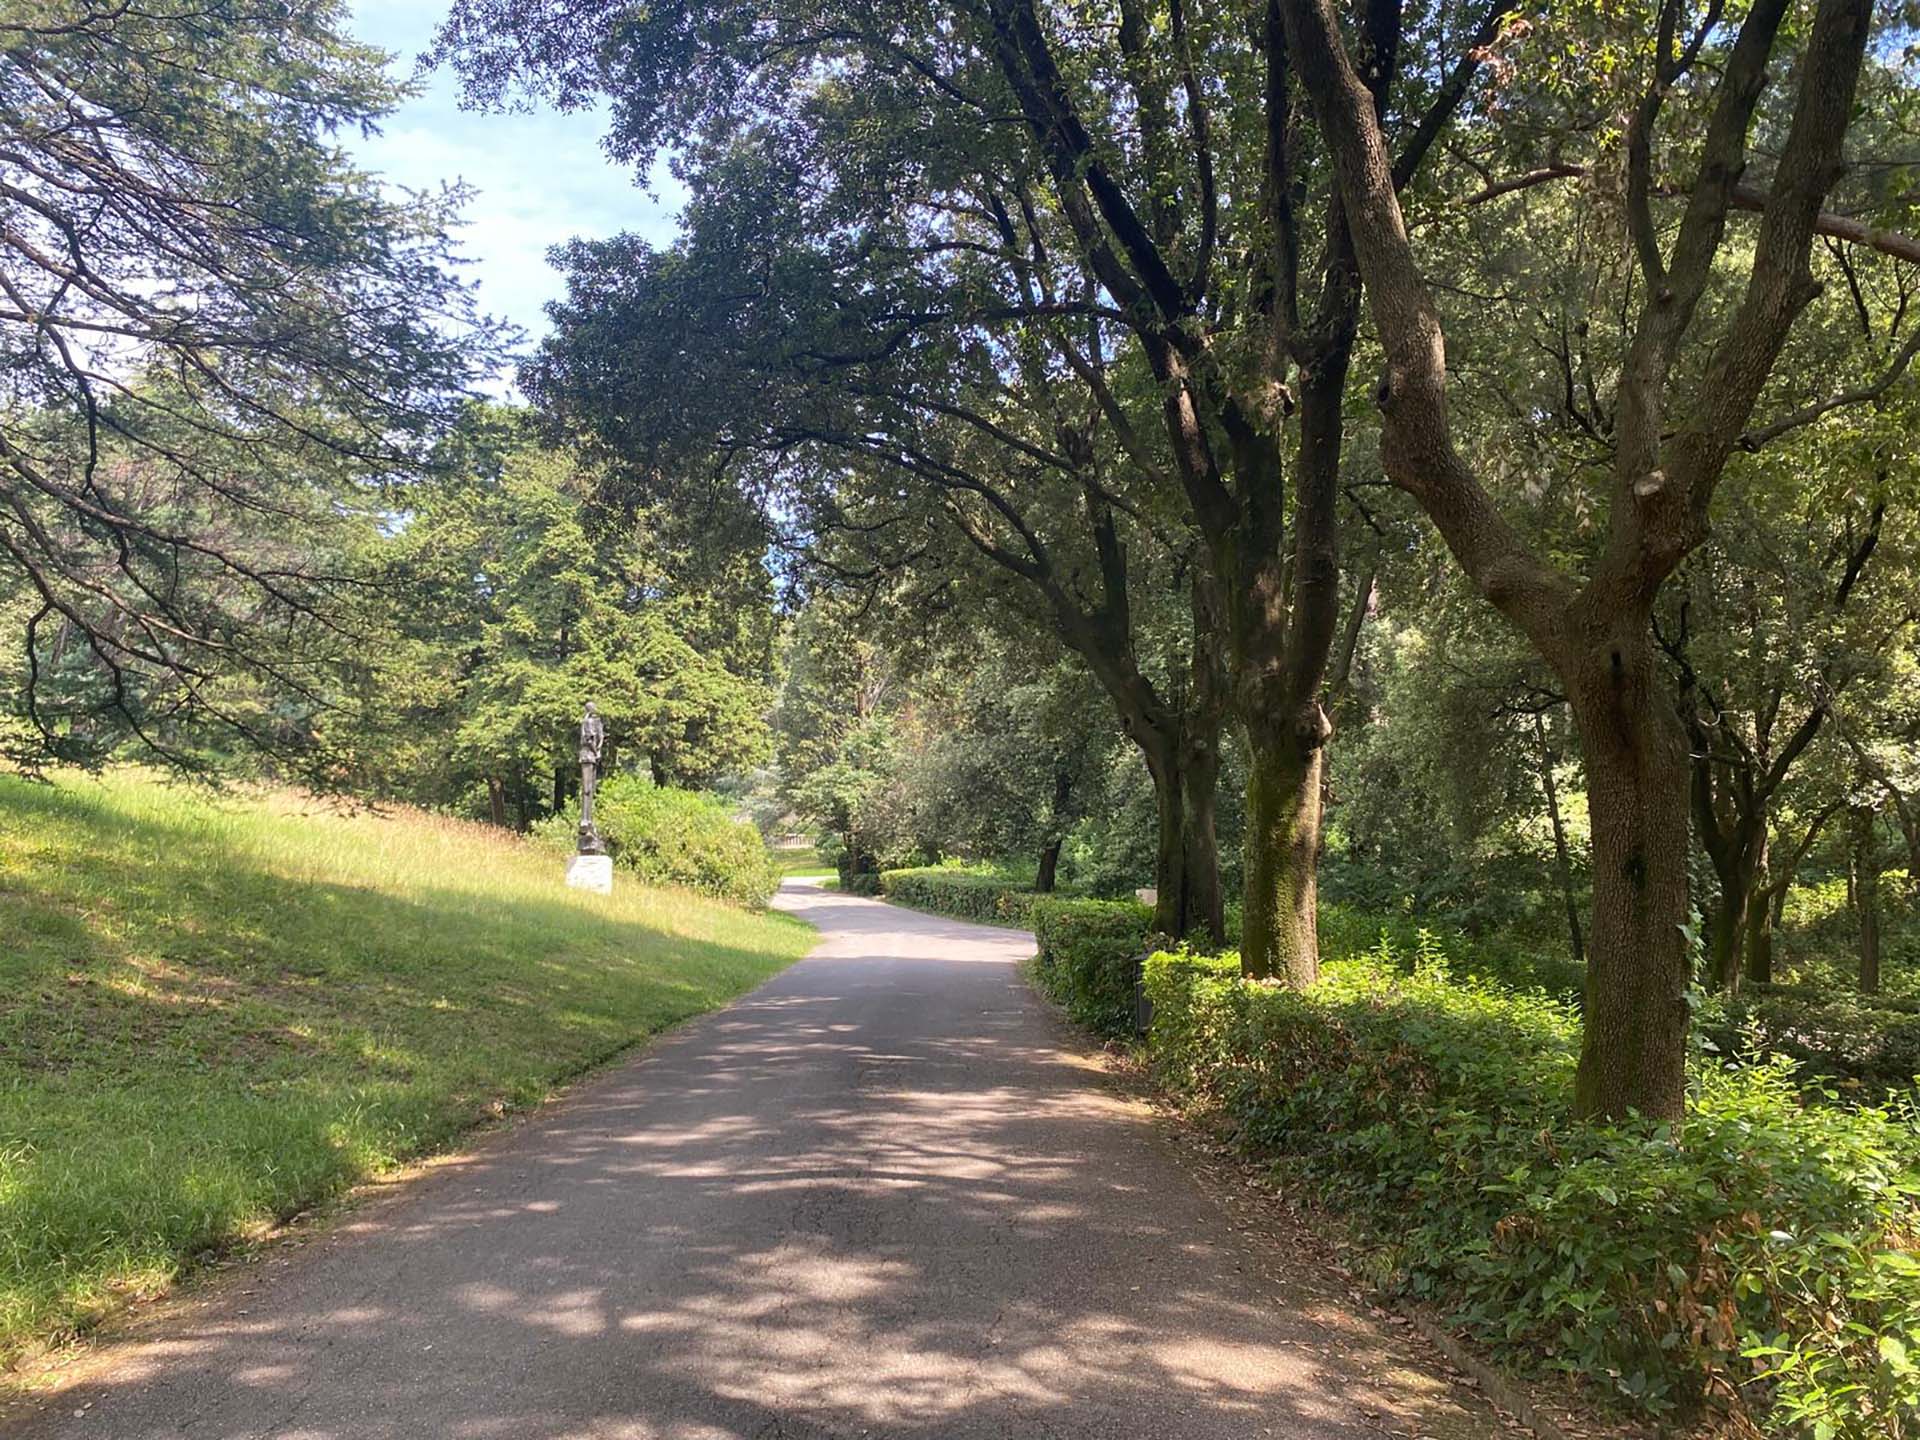
Photo 52 - Shaded path
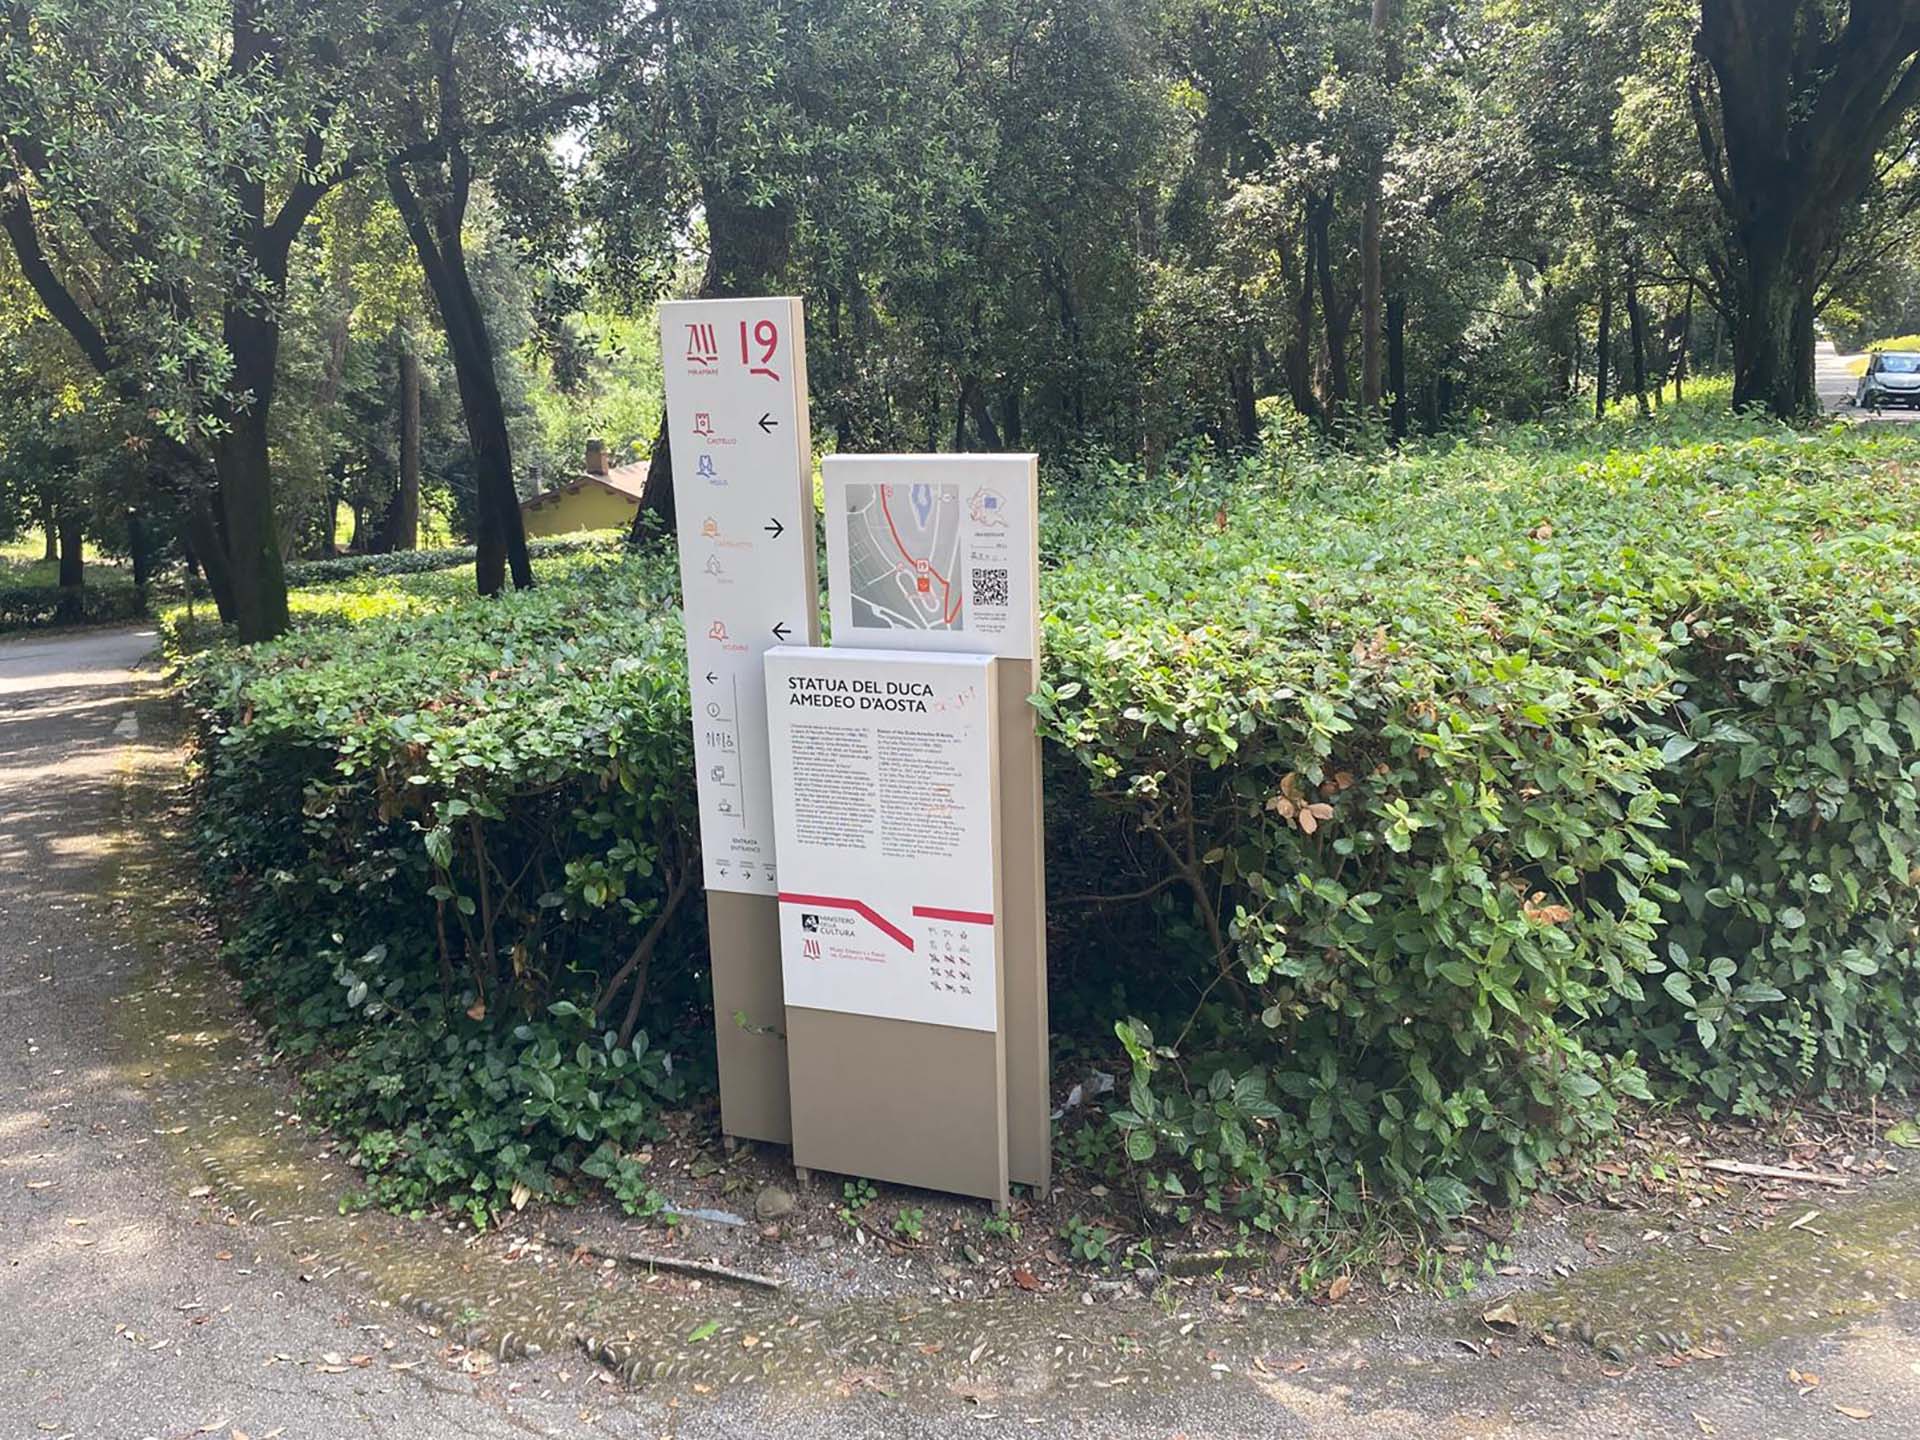
Photo 53 - Informative totems
Section 9
After the monument, turn right, being careful because the section is not only sloped but also has several deep potholes in the asphalt (photo 54, 55, 56). Upon reaching the intersection with the path to the pond, turn left (photo 57).
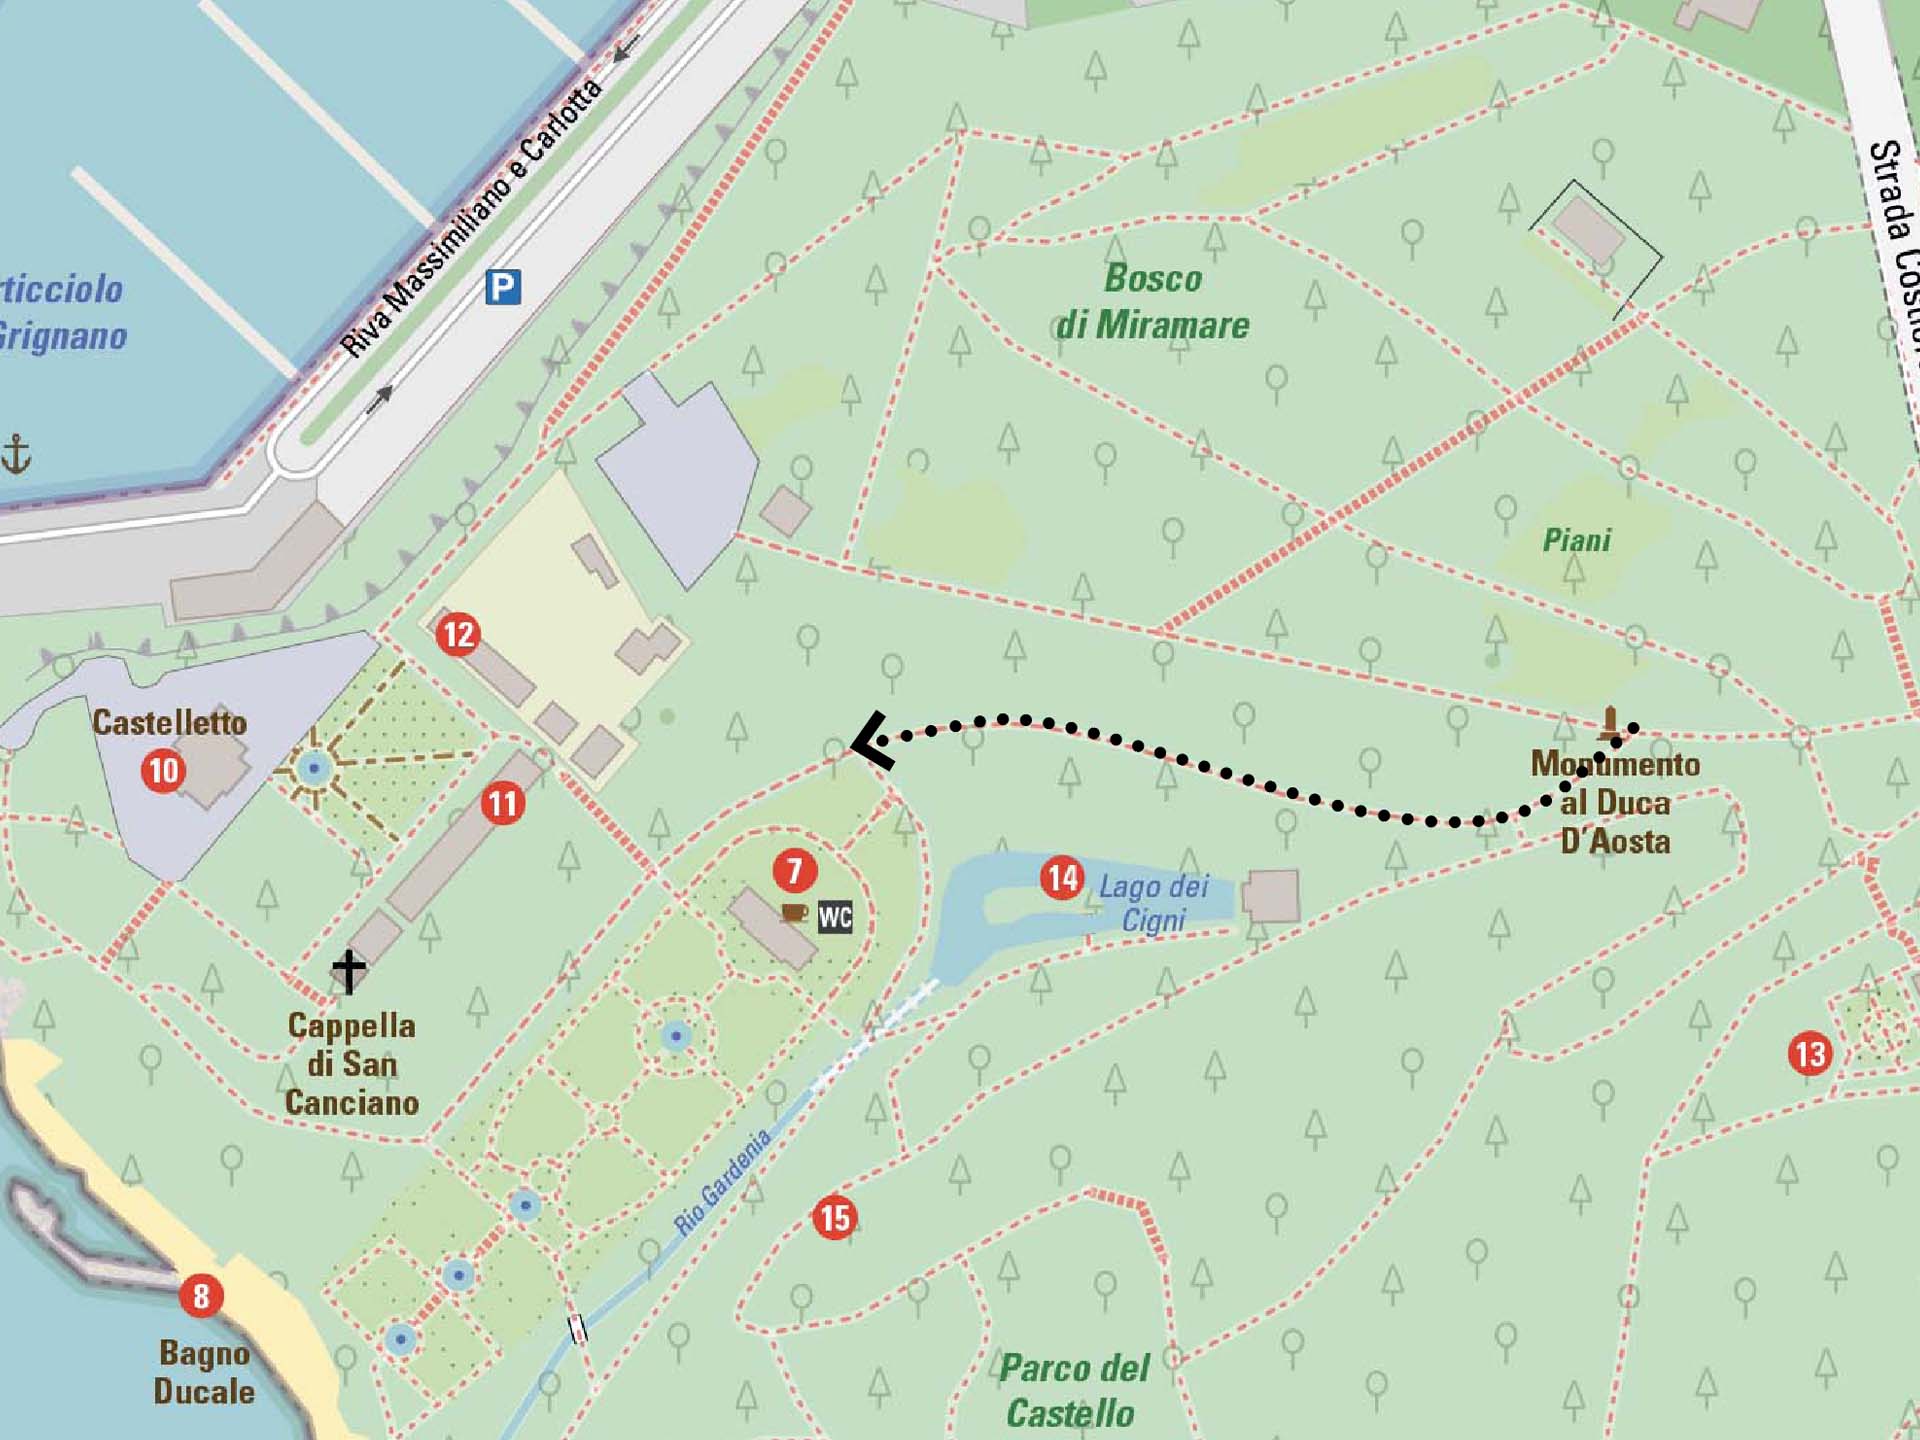
Section 9
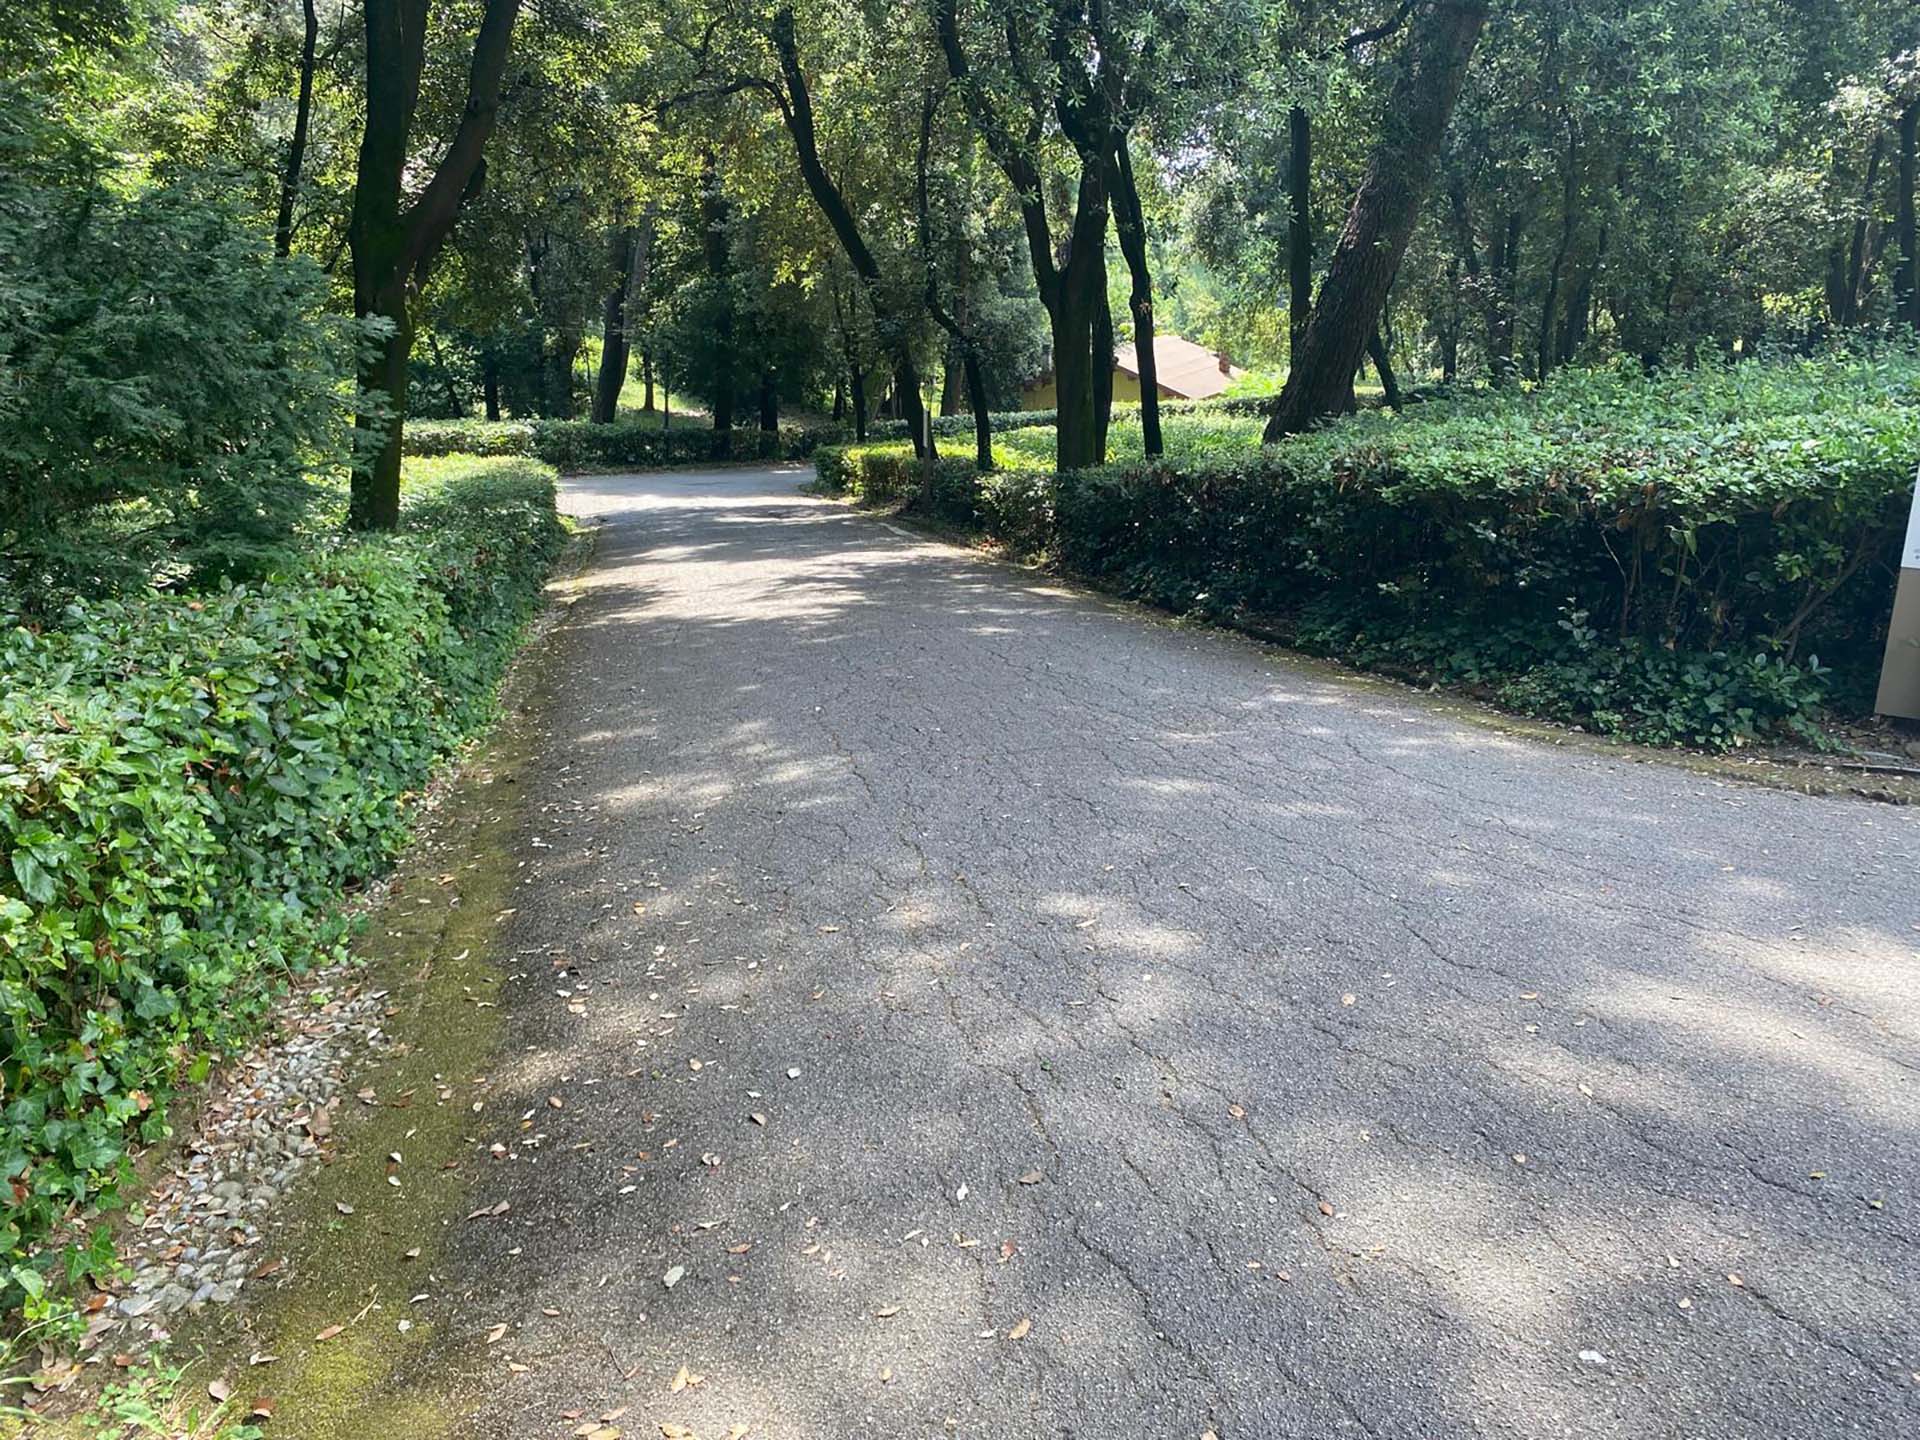
Photo 54 - Start of paved section
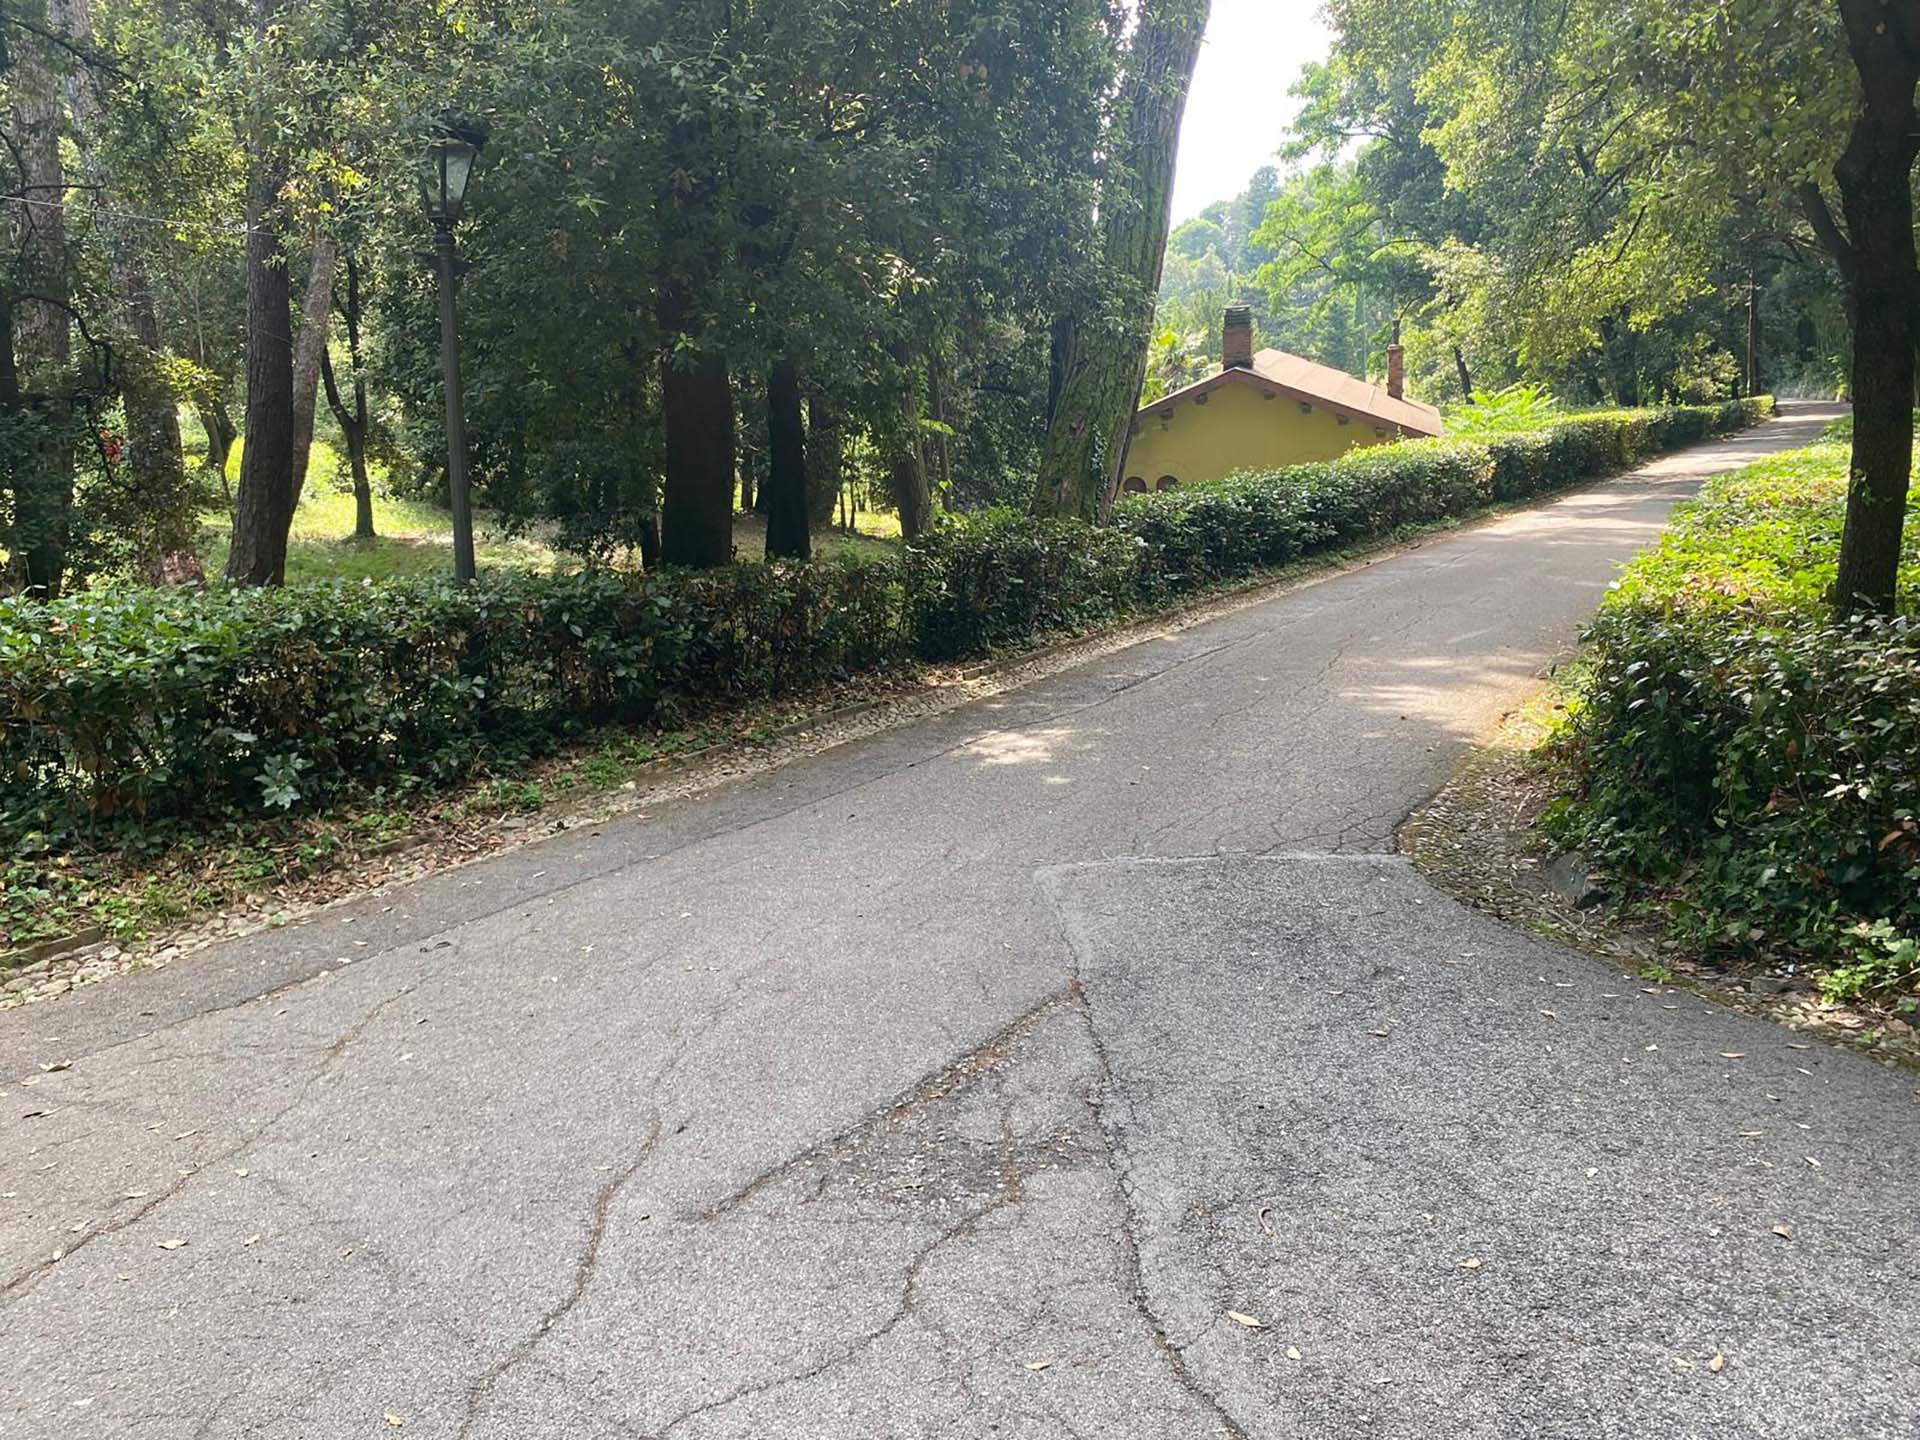
Photo 55 - Curve
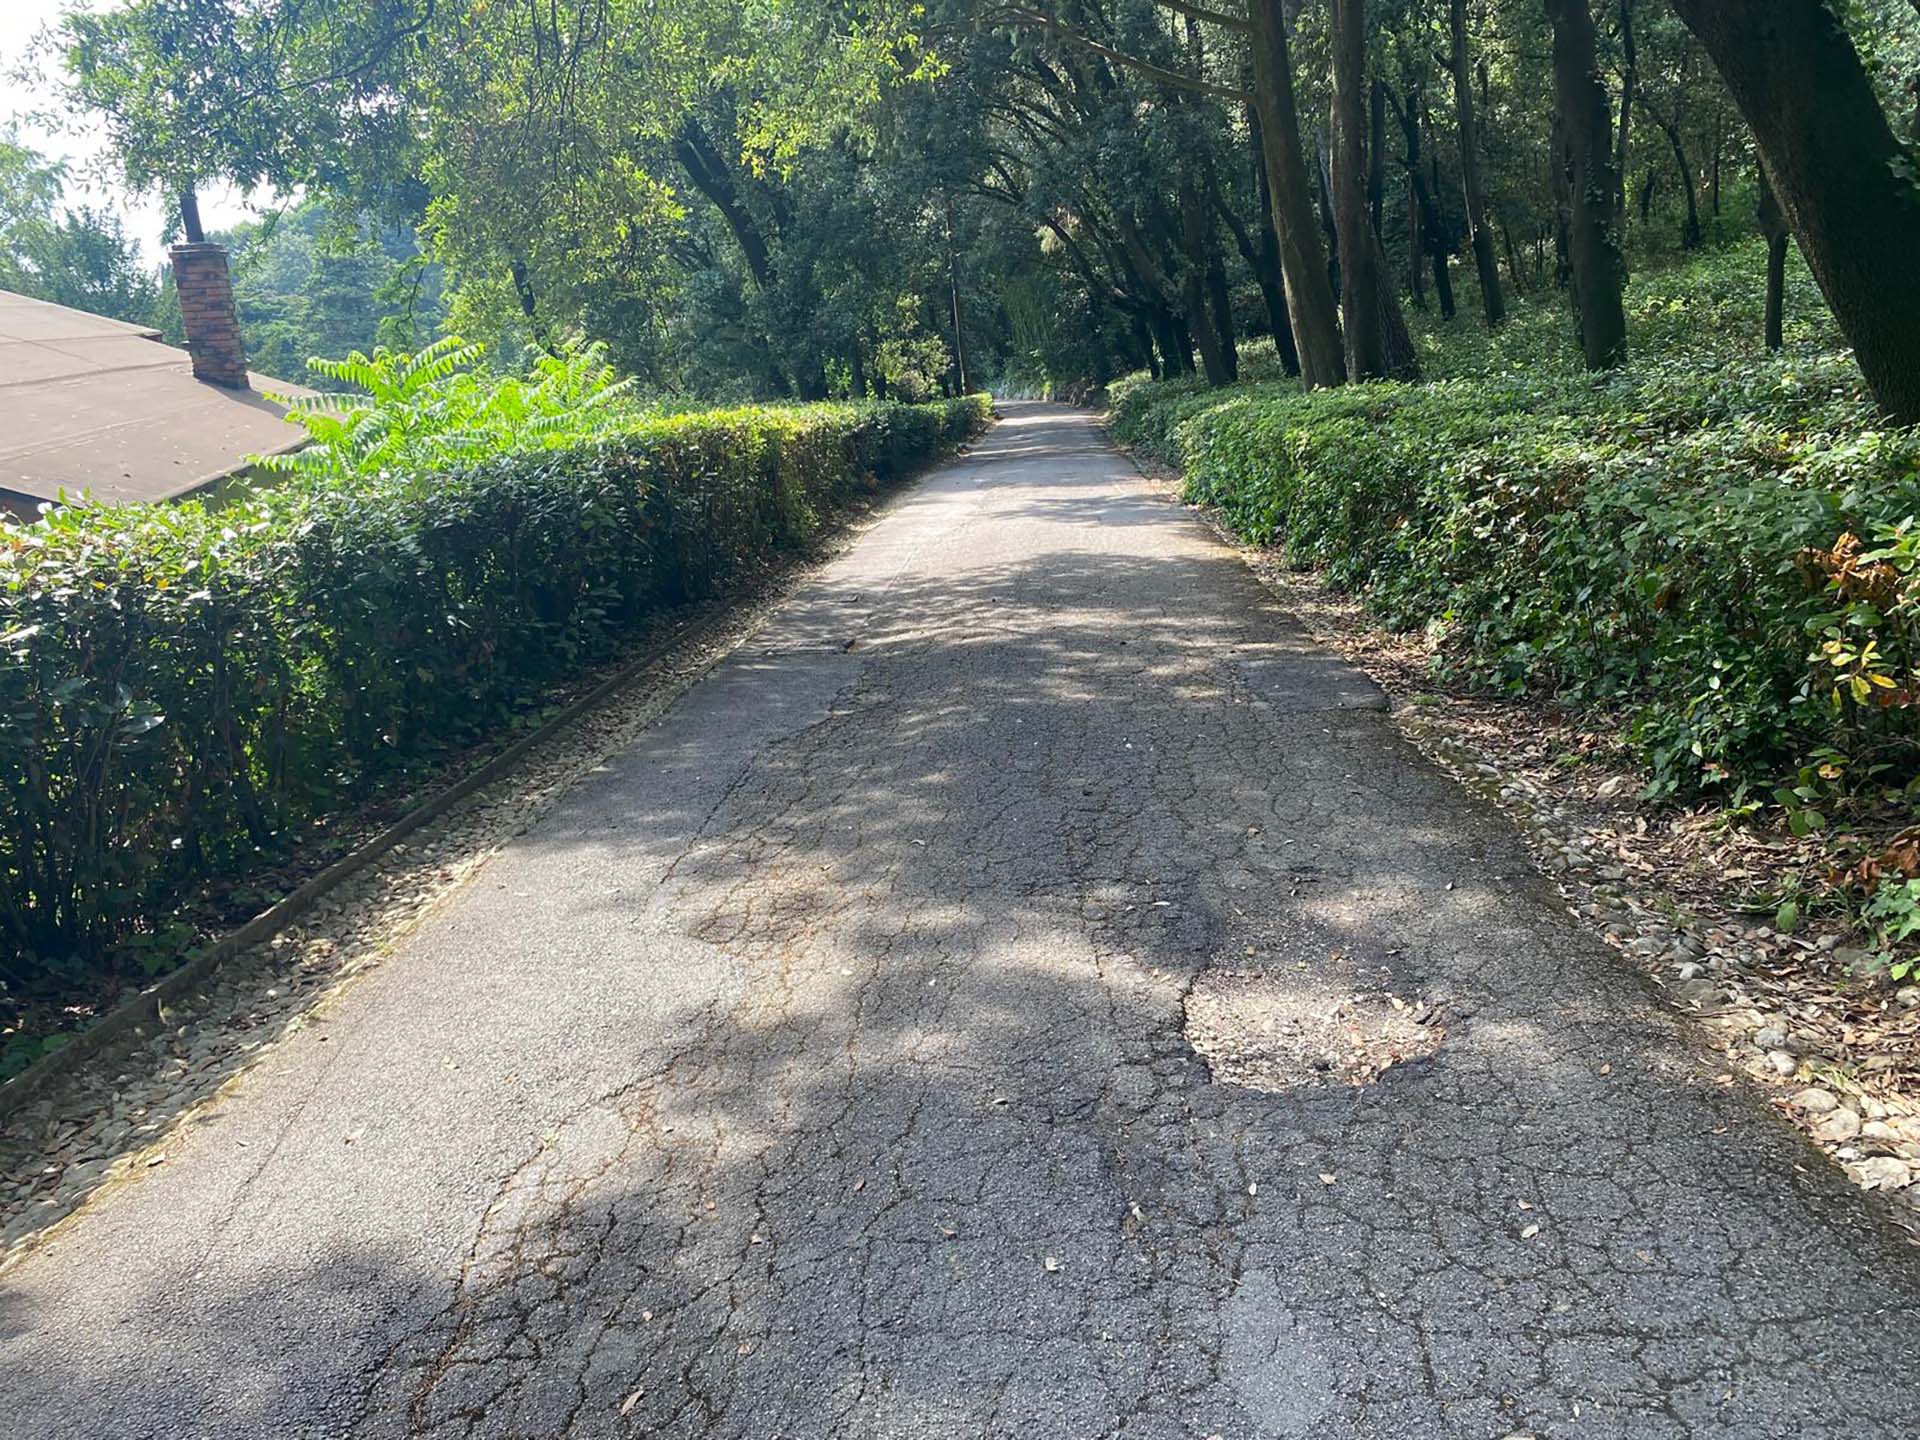
Photo 56 - Downhill path
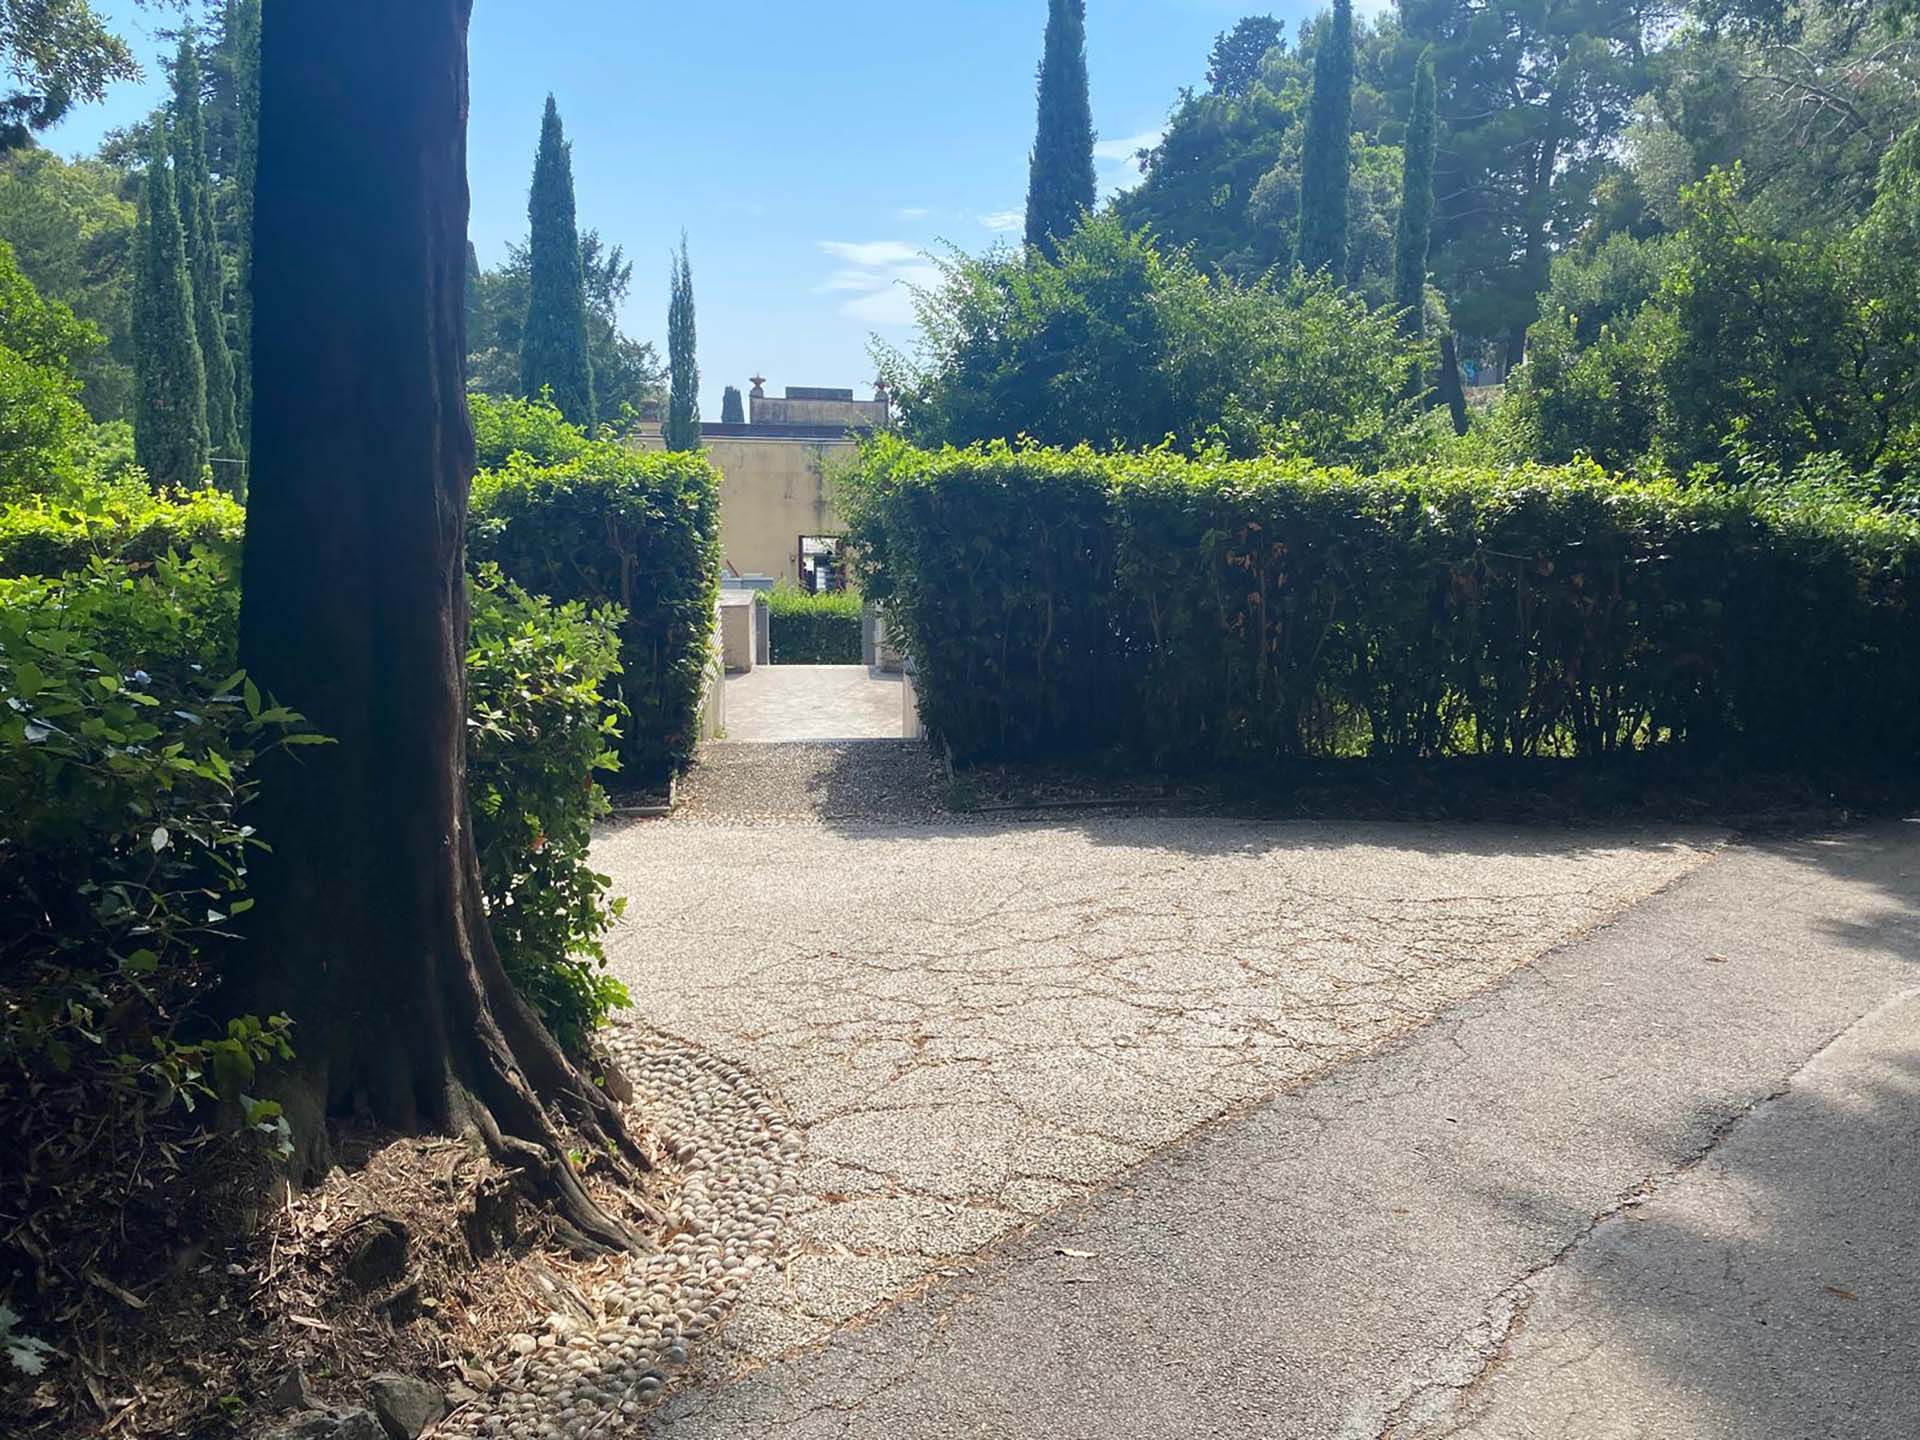
Photo 57 - End of section
Section 10
The first part of the section is downhill, has hedges on both sides and has asphalt with slight irregularities (photo 58), as you move forward the pavement improves. After the curve, the path is made of compacted gravel and on the sides of the path there are two lowered strips of pebbles for rainwater drainage. In front of the swan lake, on the left, the hedge breaks to make way for a wooden railing, on the opposite side there is a bench positioned in a niche carved into the hedge (photo 59). The view from the bench is unobstructed, only hindered by the railing, and you can admire the lake with the islet in the center (photo 60).
The section leads to a circular pergola space that, turning right, leads to the café (photo 61), the same path that continues back to the Castle.
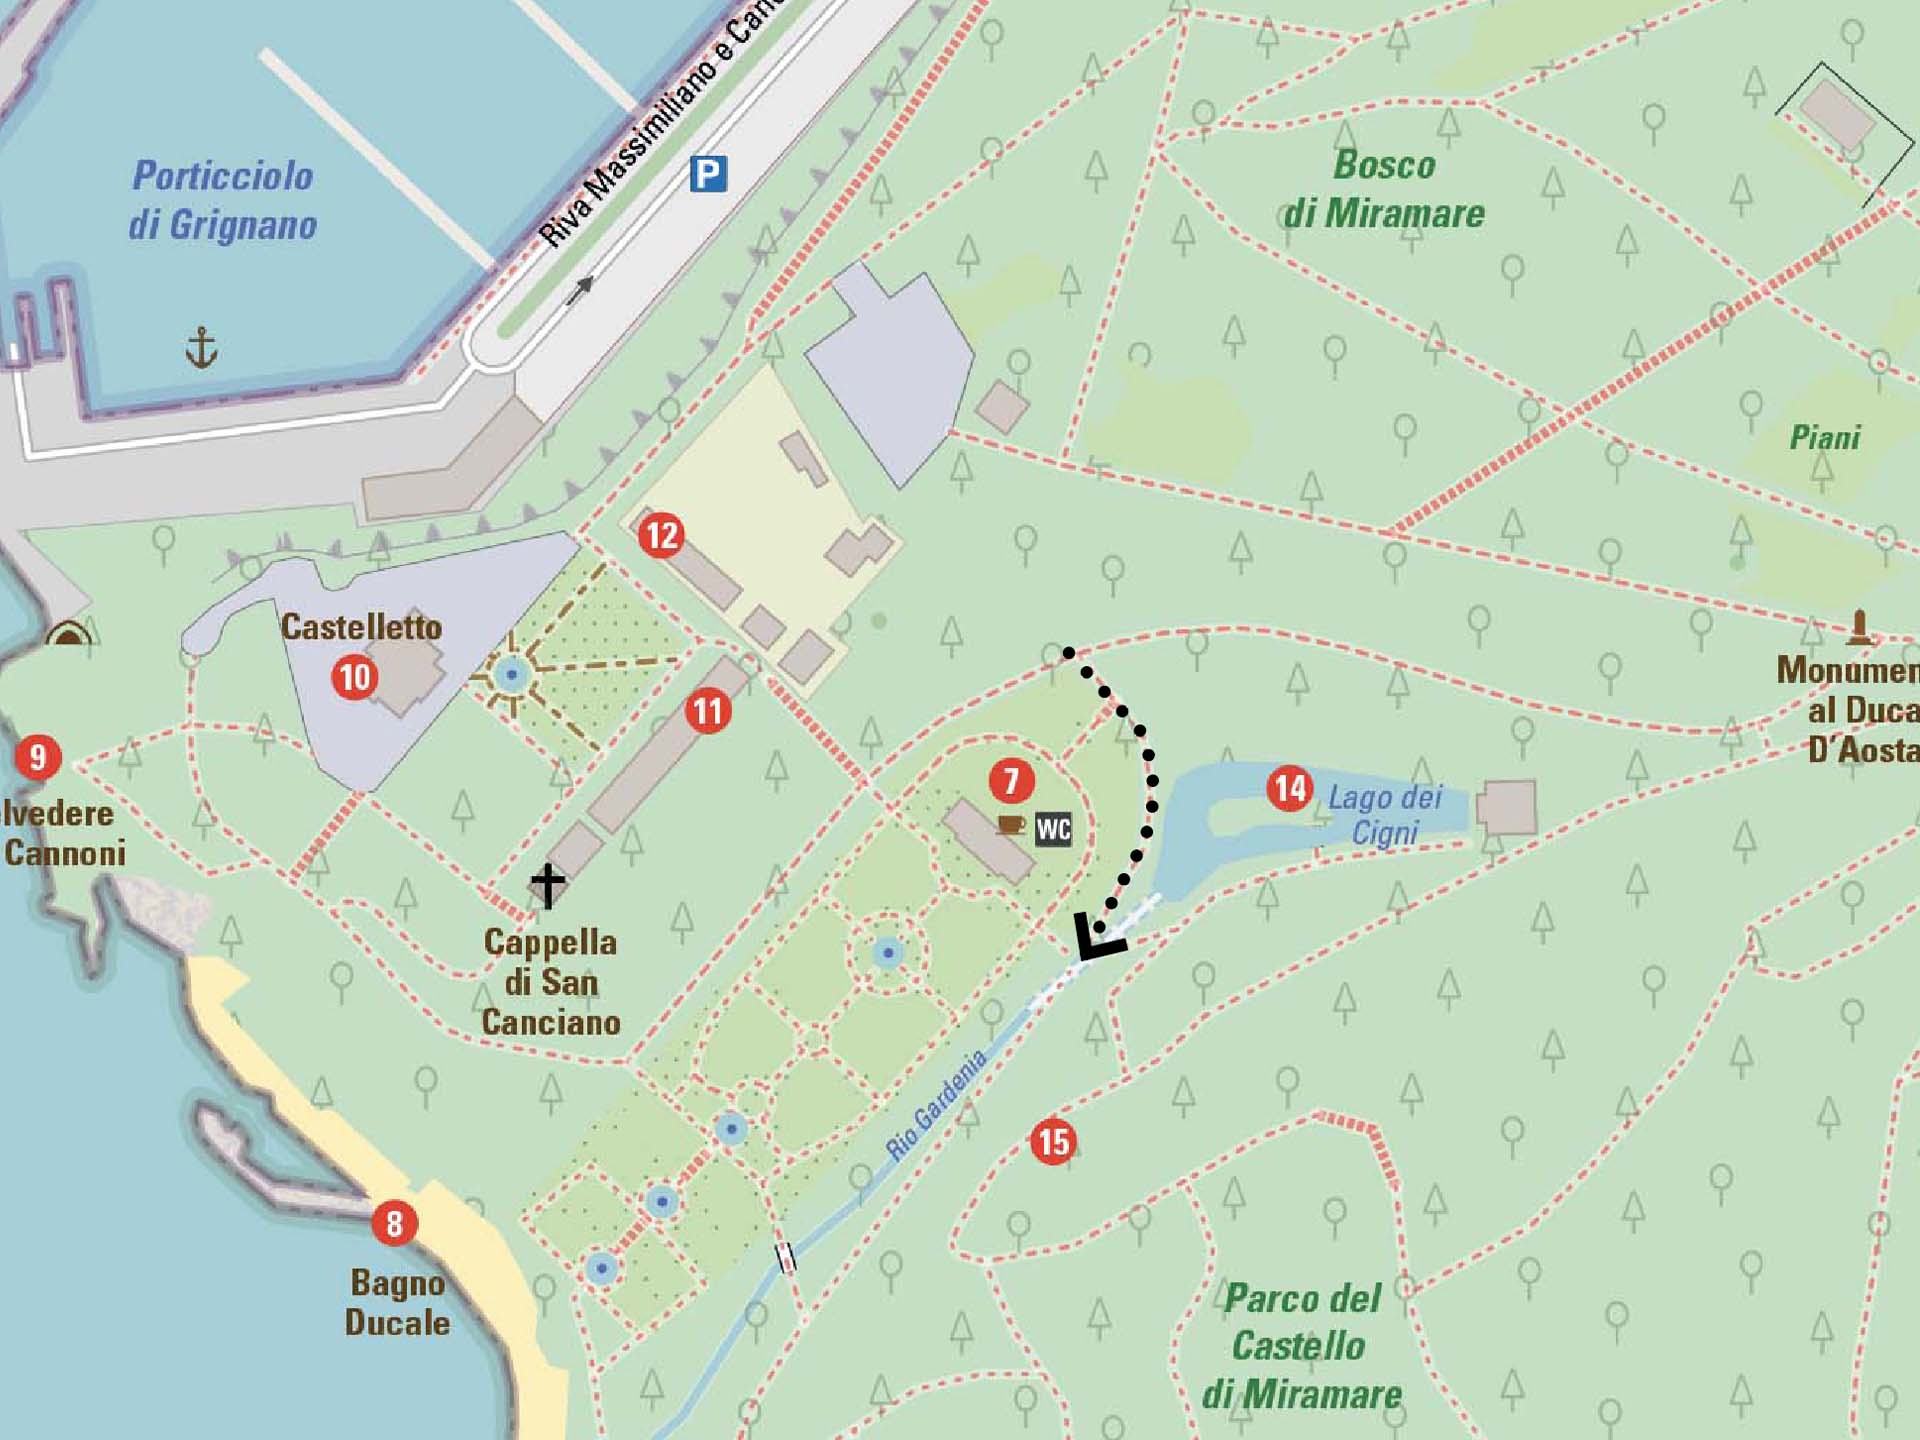
Section 10
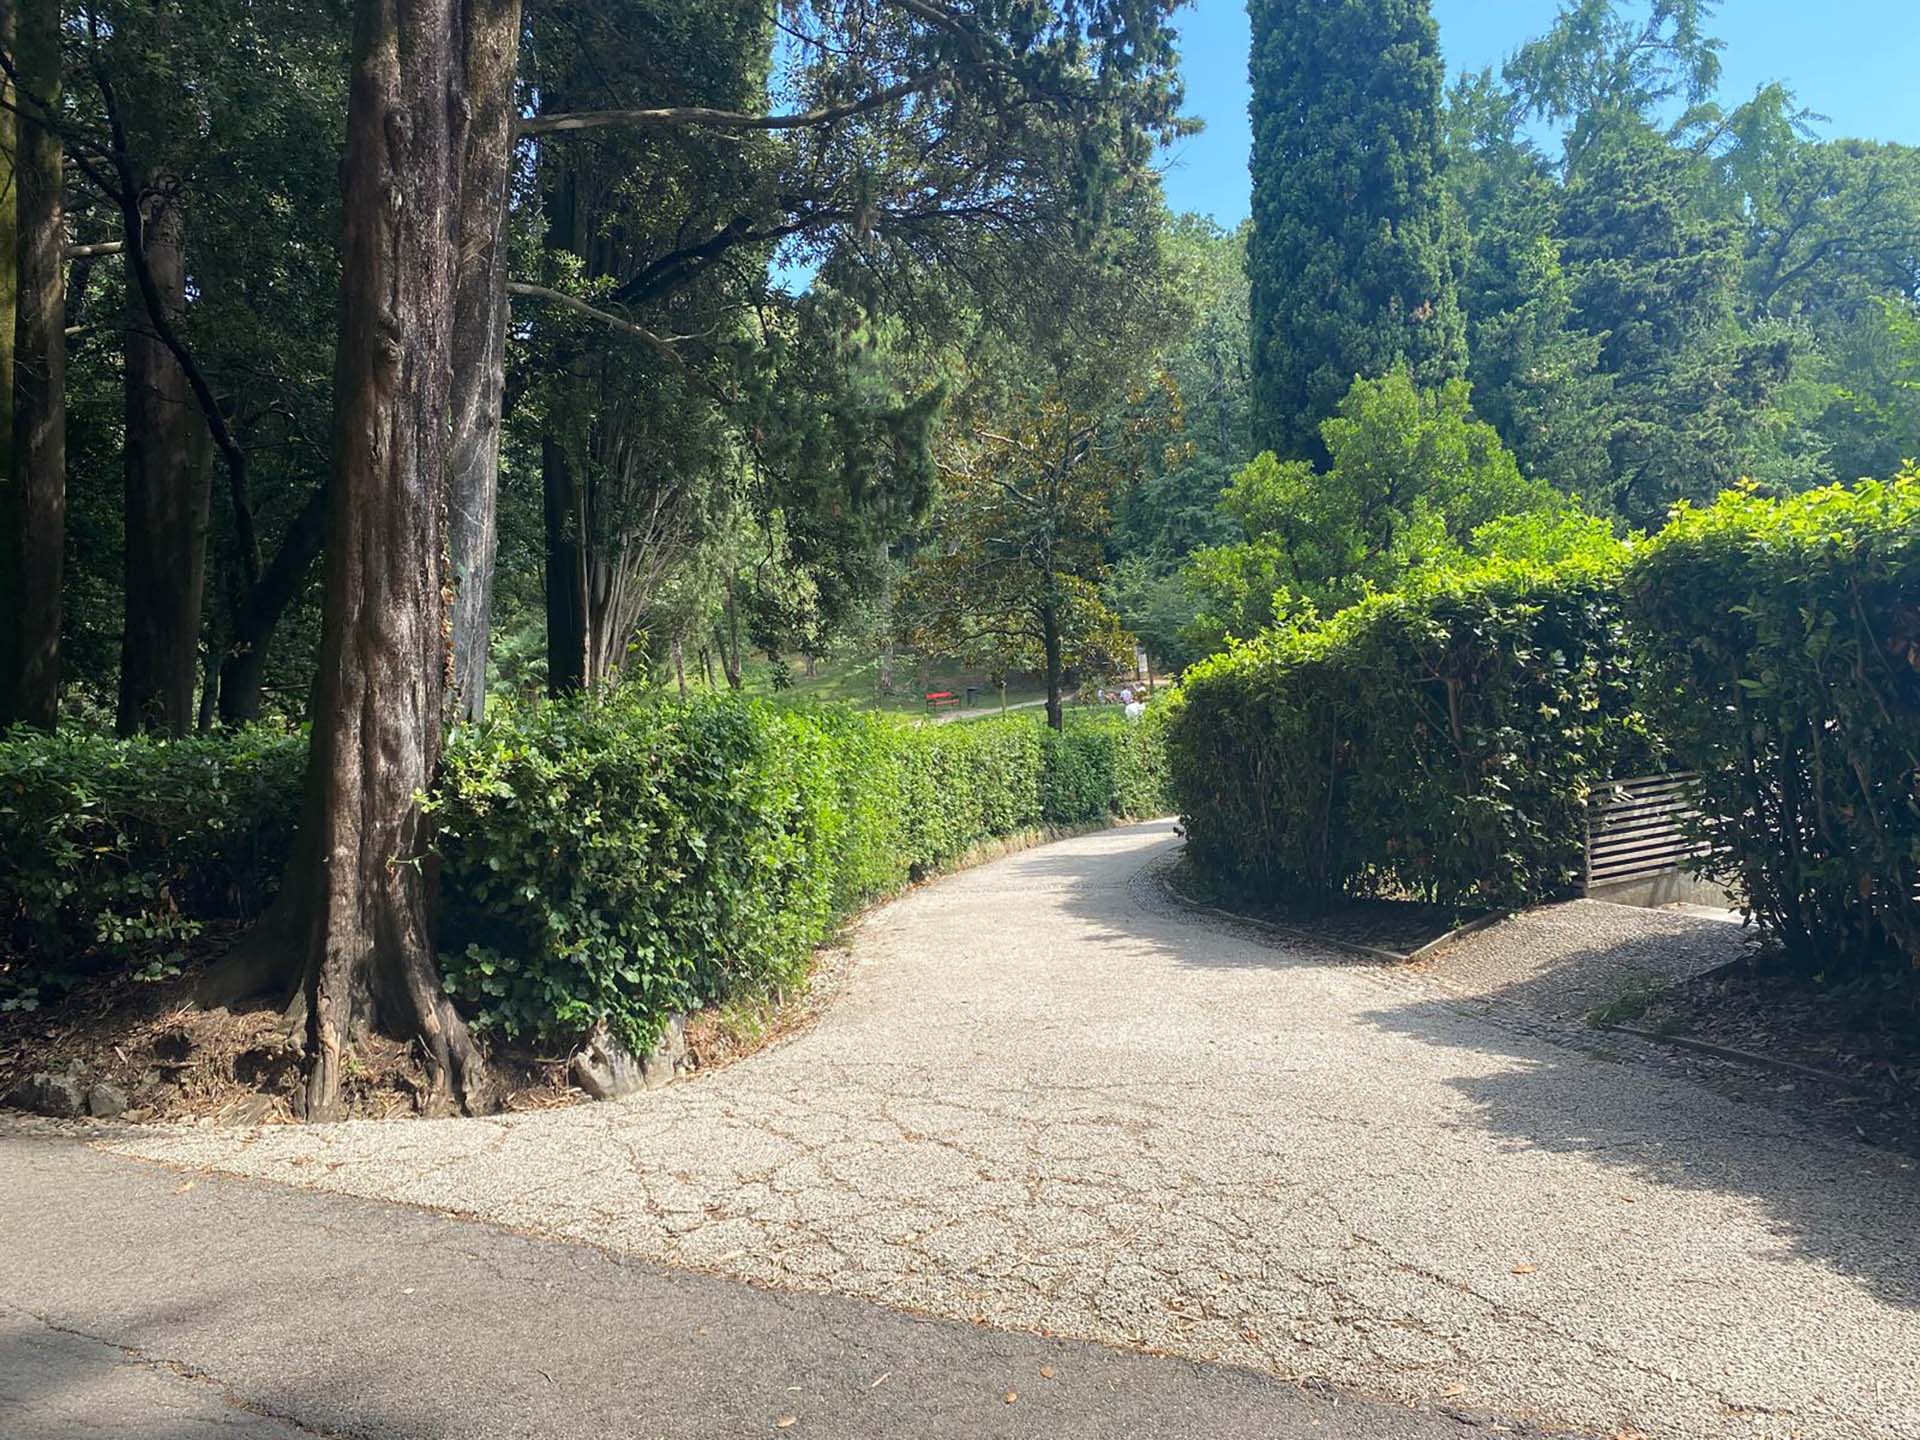
Photo 58 - Start of the downhill section
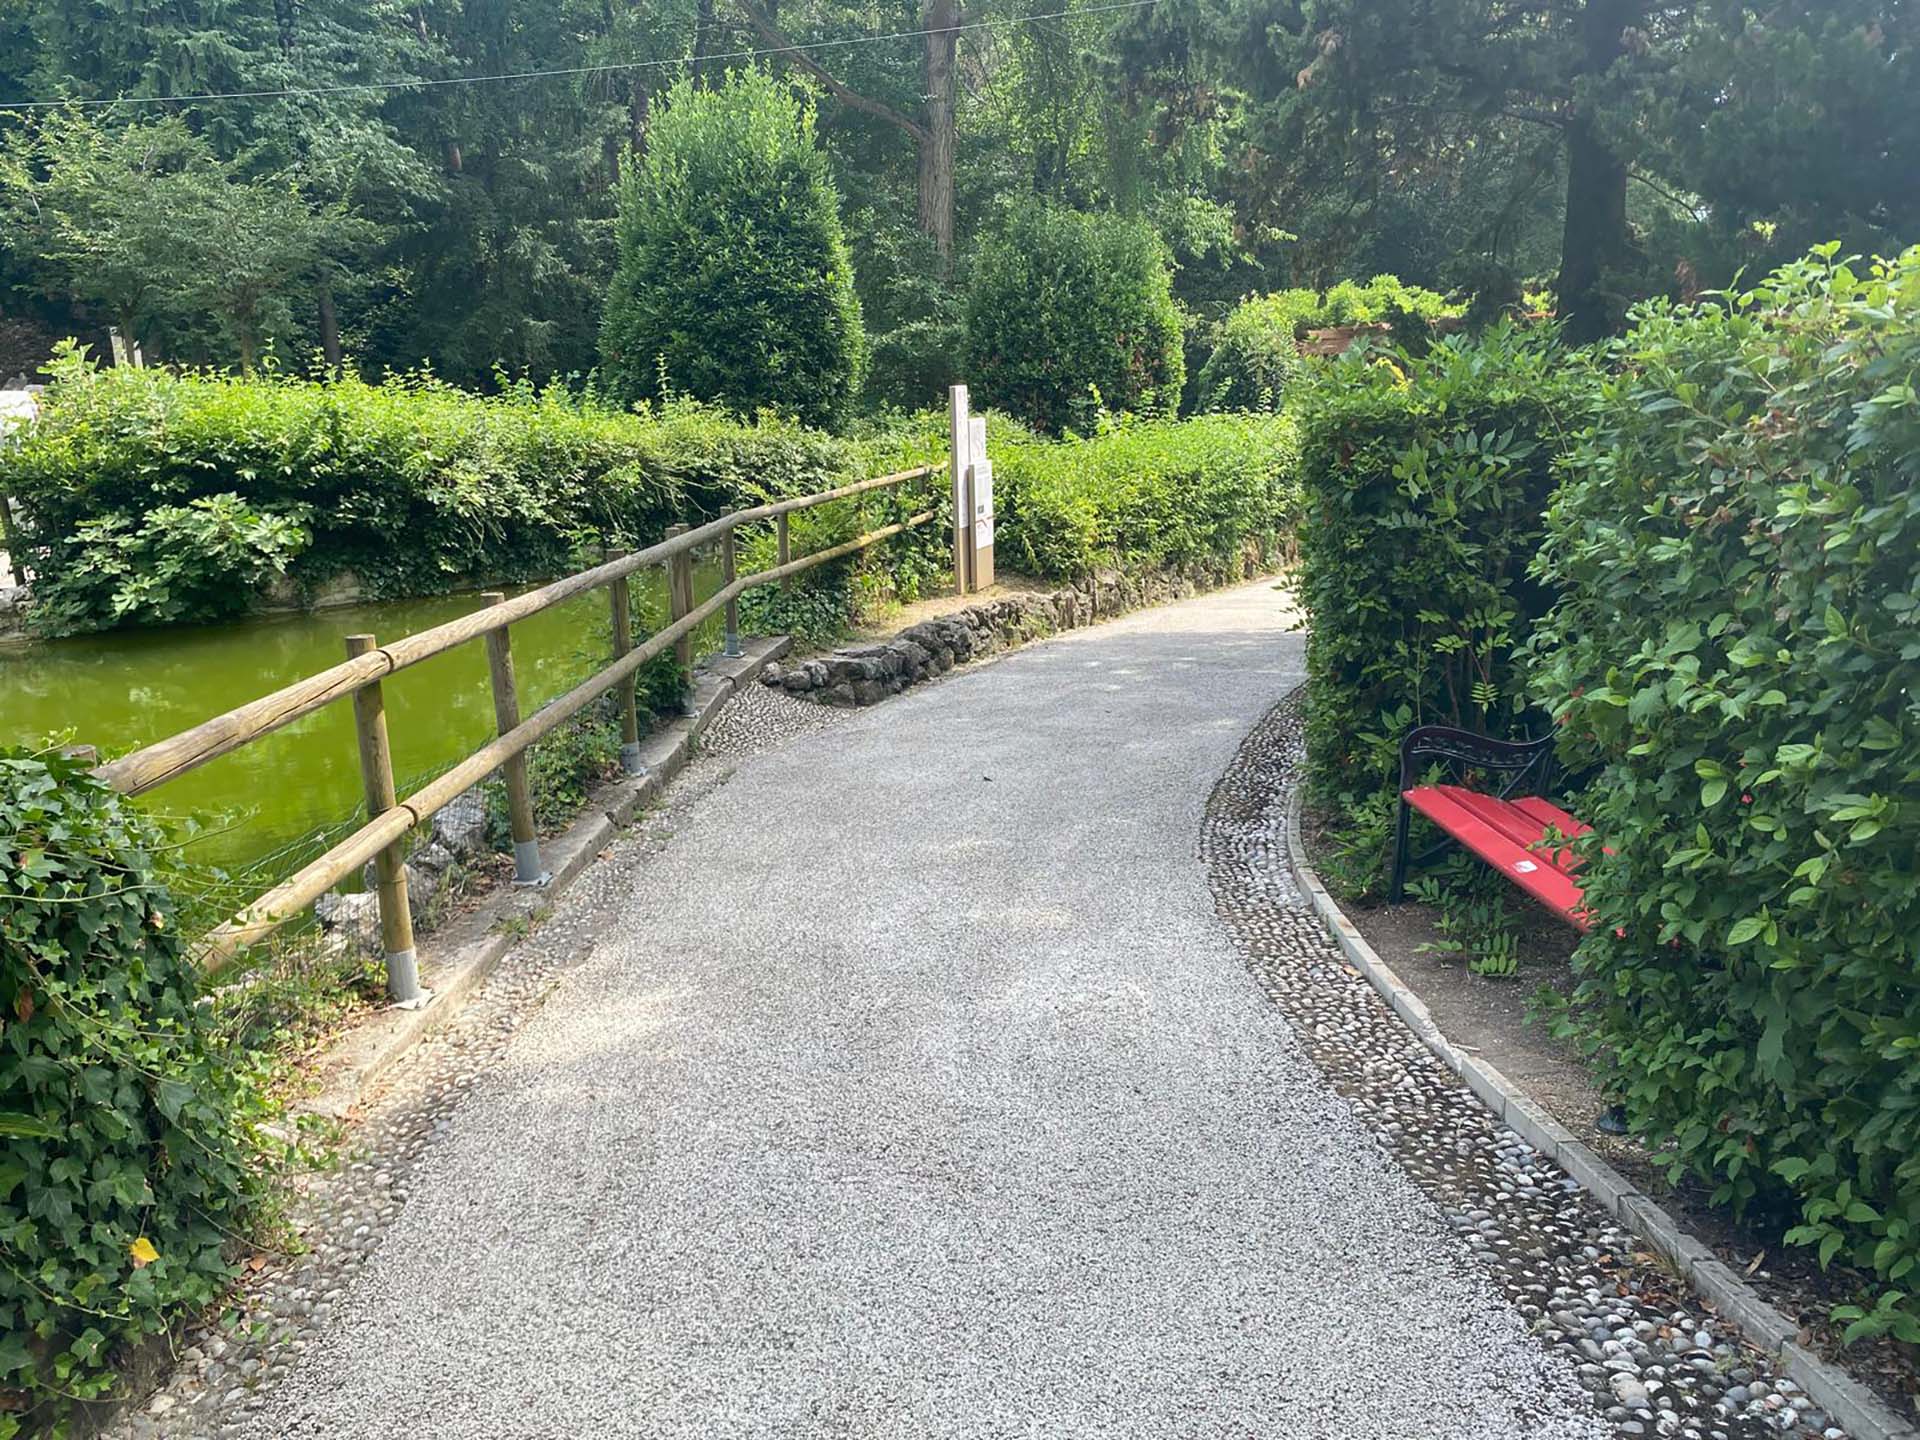
Photo 59 - Path and bench by the swan lake
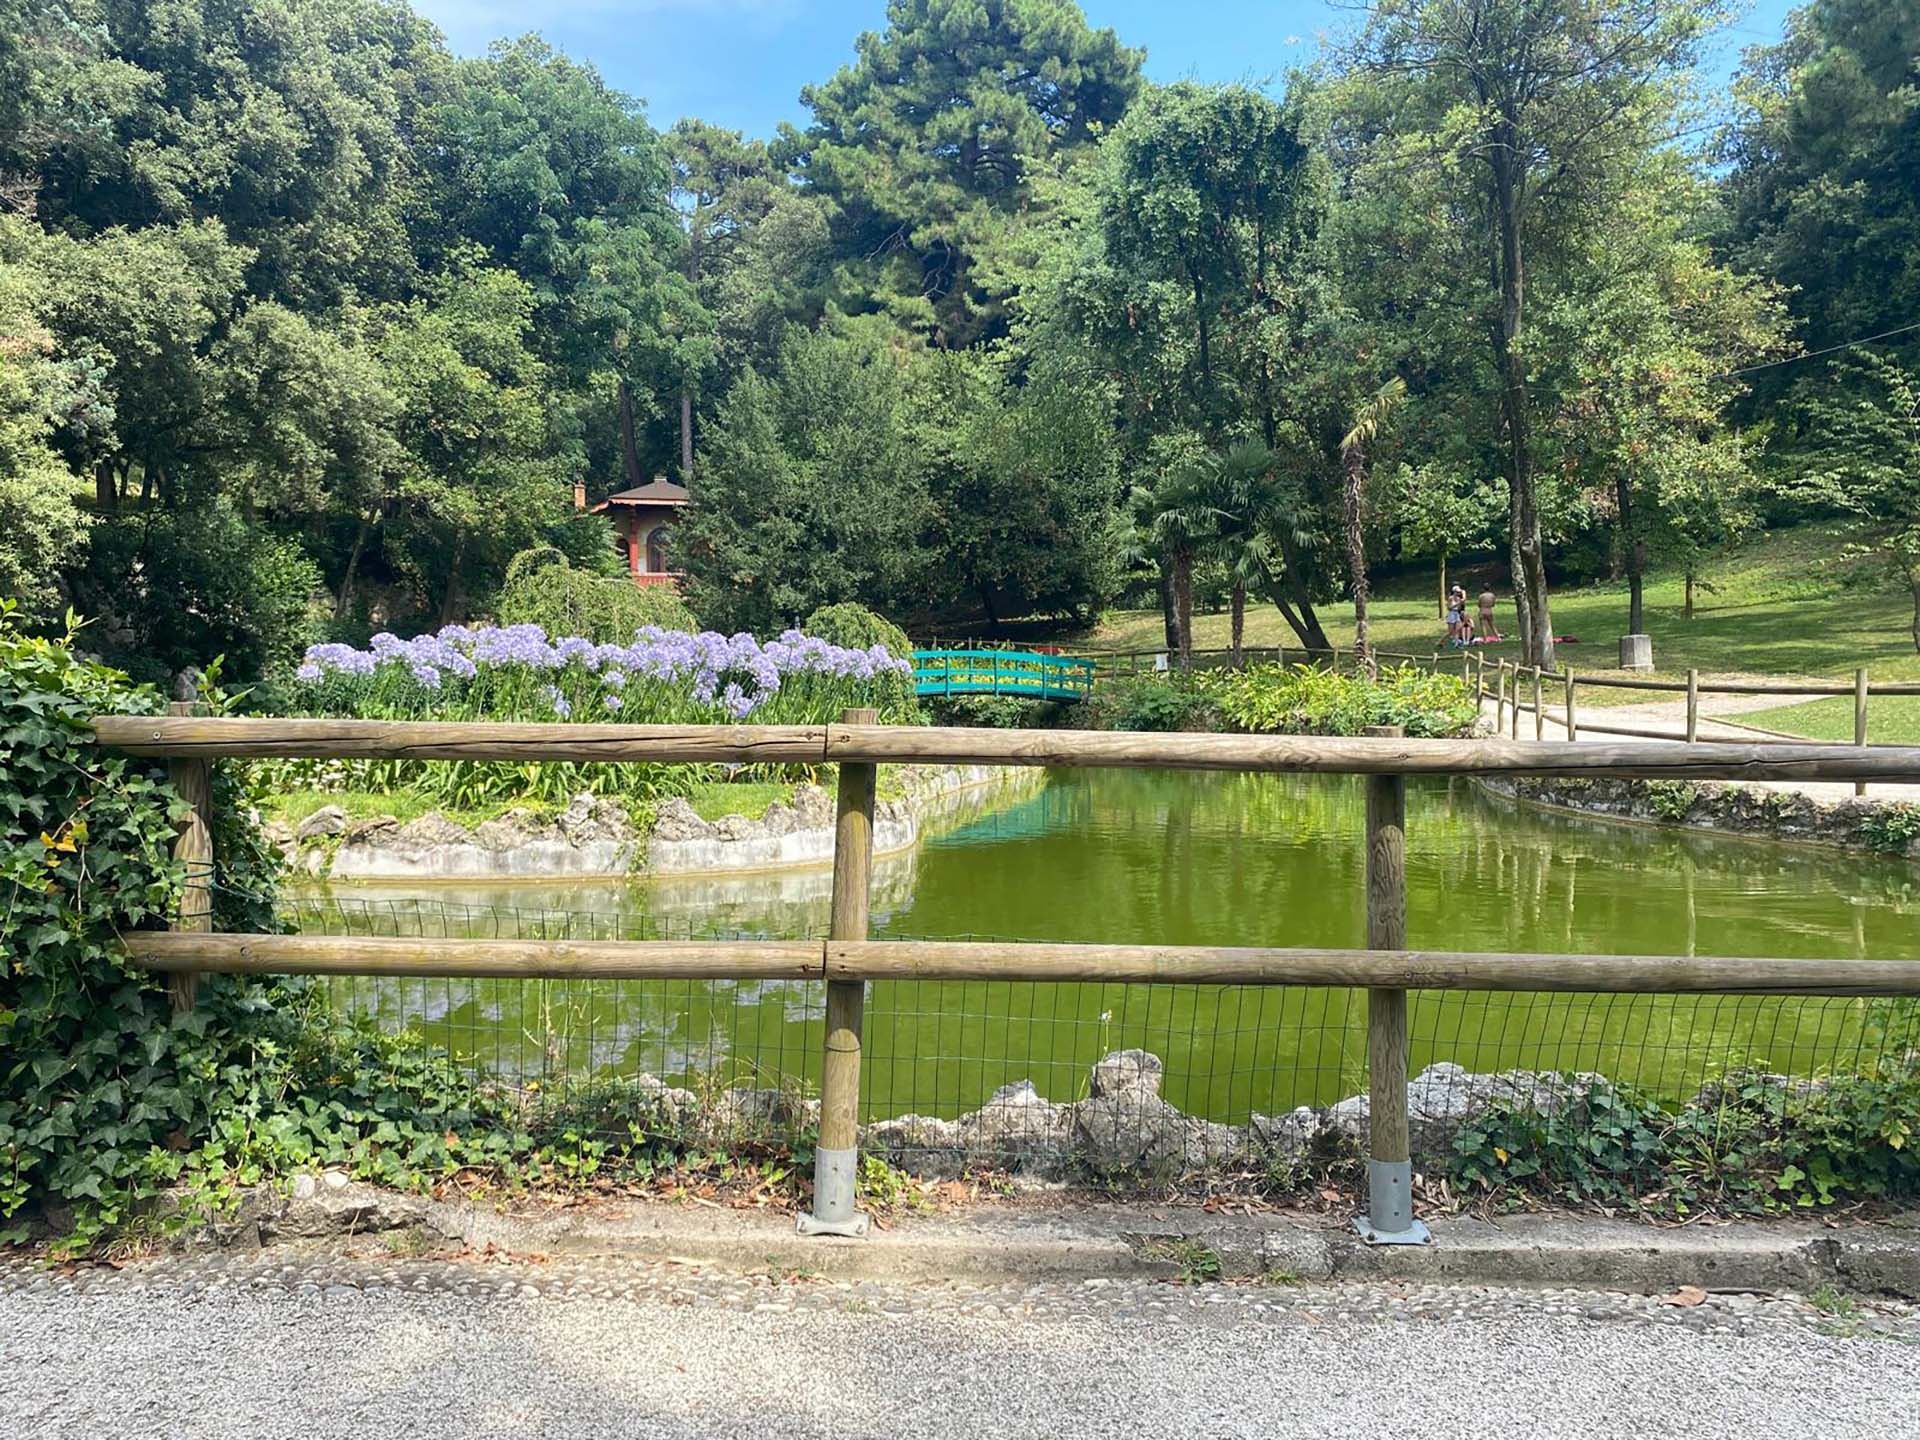
Photo 60 - Wooden railing and swan lake
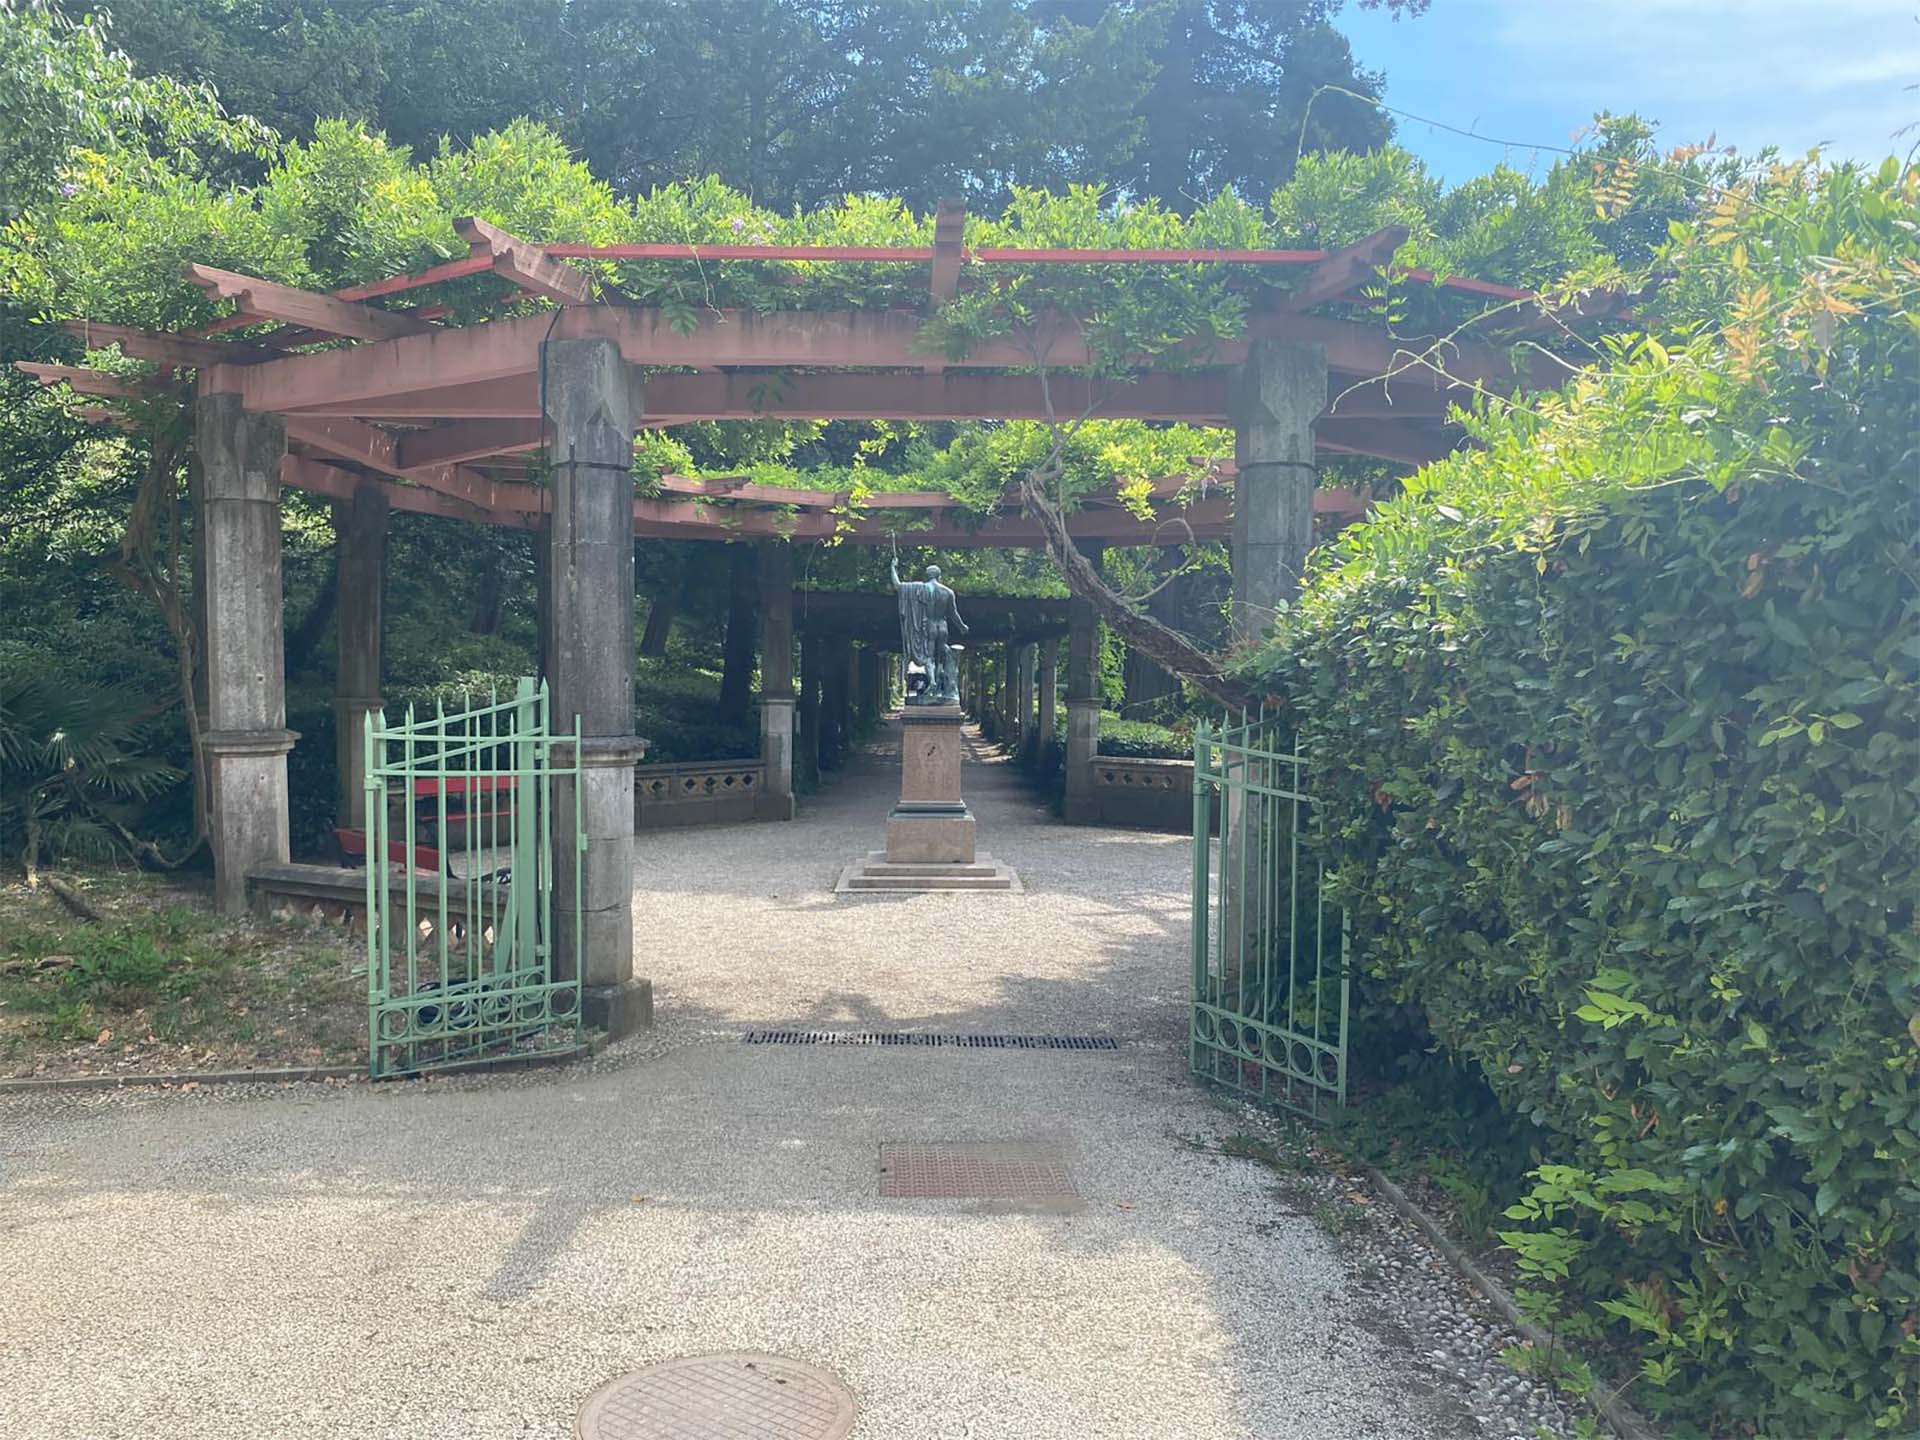
61 - Circular pergola section
Section 11
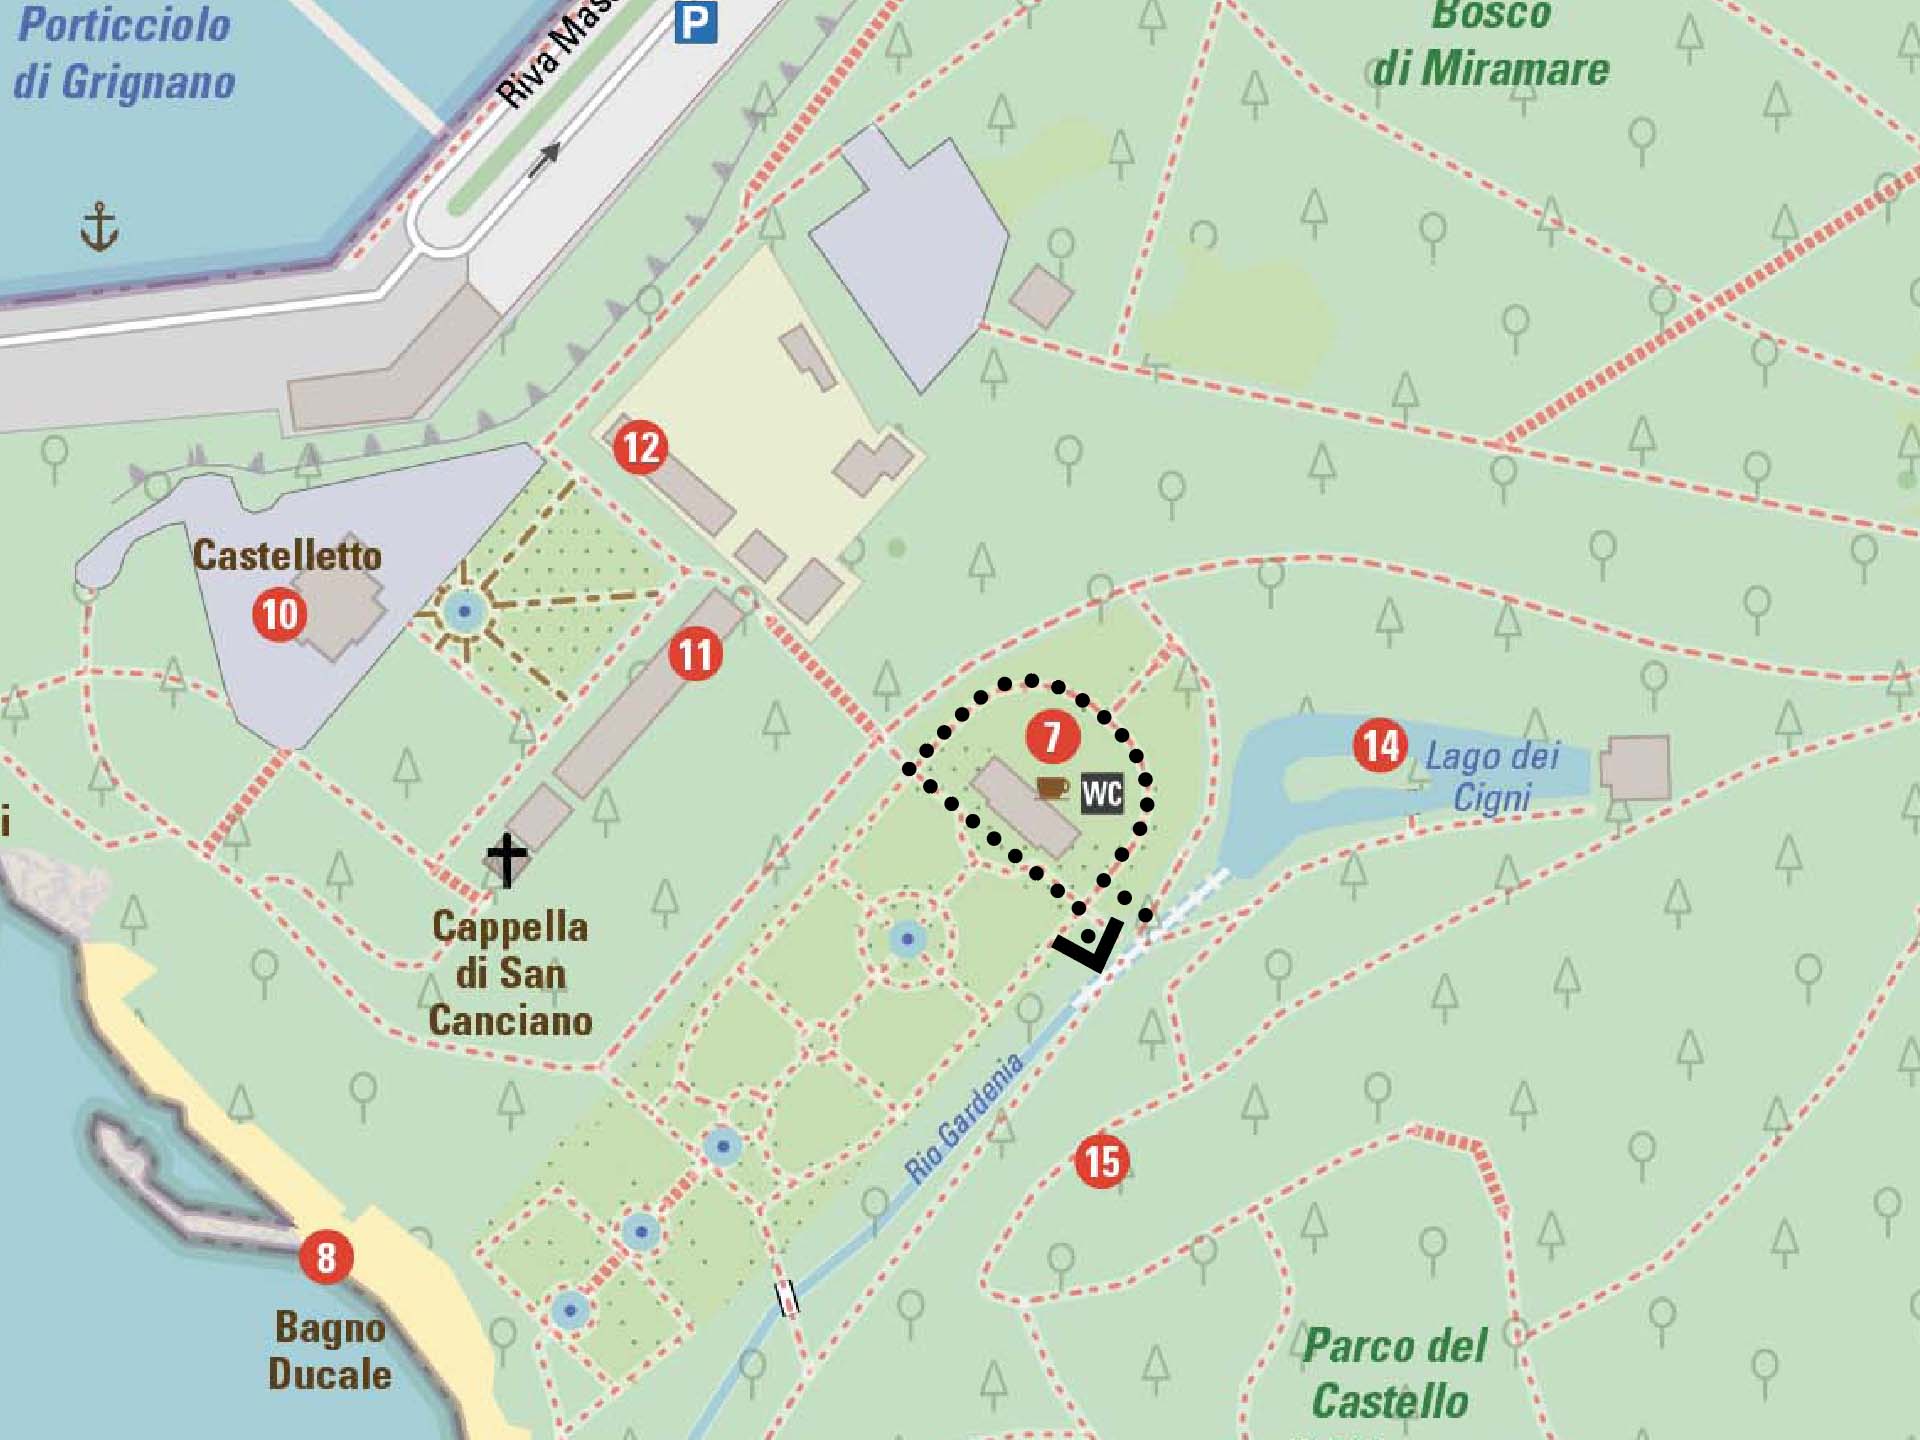
After turning right towards the café, we find a vertical red information panel indicating the presence of accessible restrooms (photo 62).
After the totem, the path becomes paved with basins on the sides containing hedges and low vegetation (photo 63). In the middle of the arched paved path, there is a covered entrance to the restrooms (photo 64). At the end of the semicircular path, we turn left and return to the outdoor space of the bar with tables and chairs (photo 65). Continuing in front of the café (photo 66), we return to the path towards the Castle.
Section 11
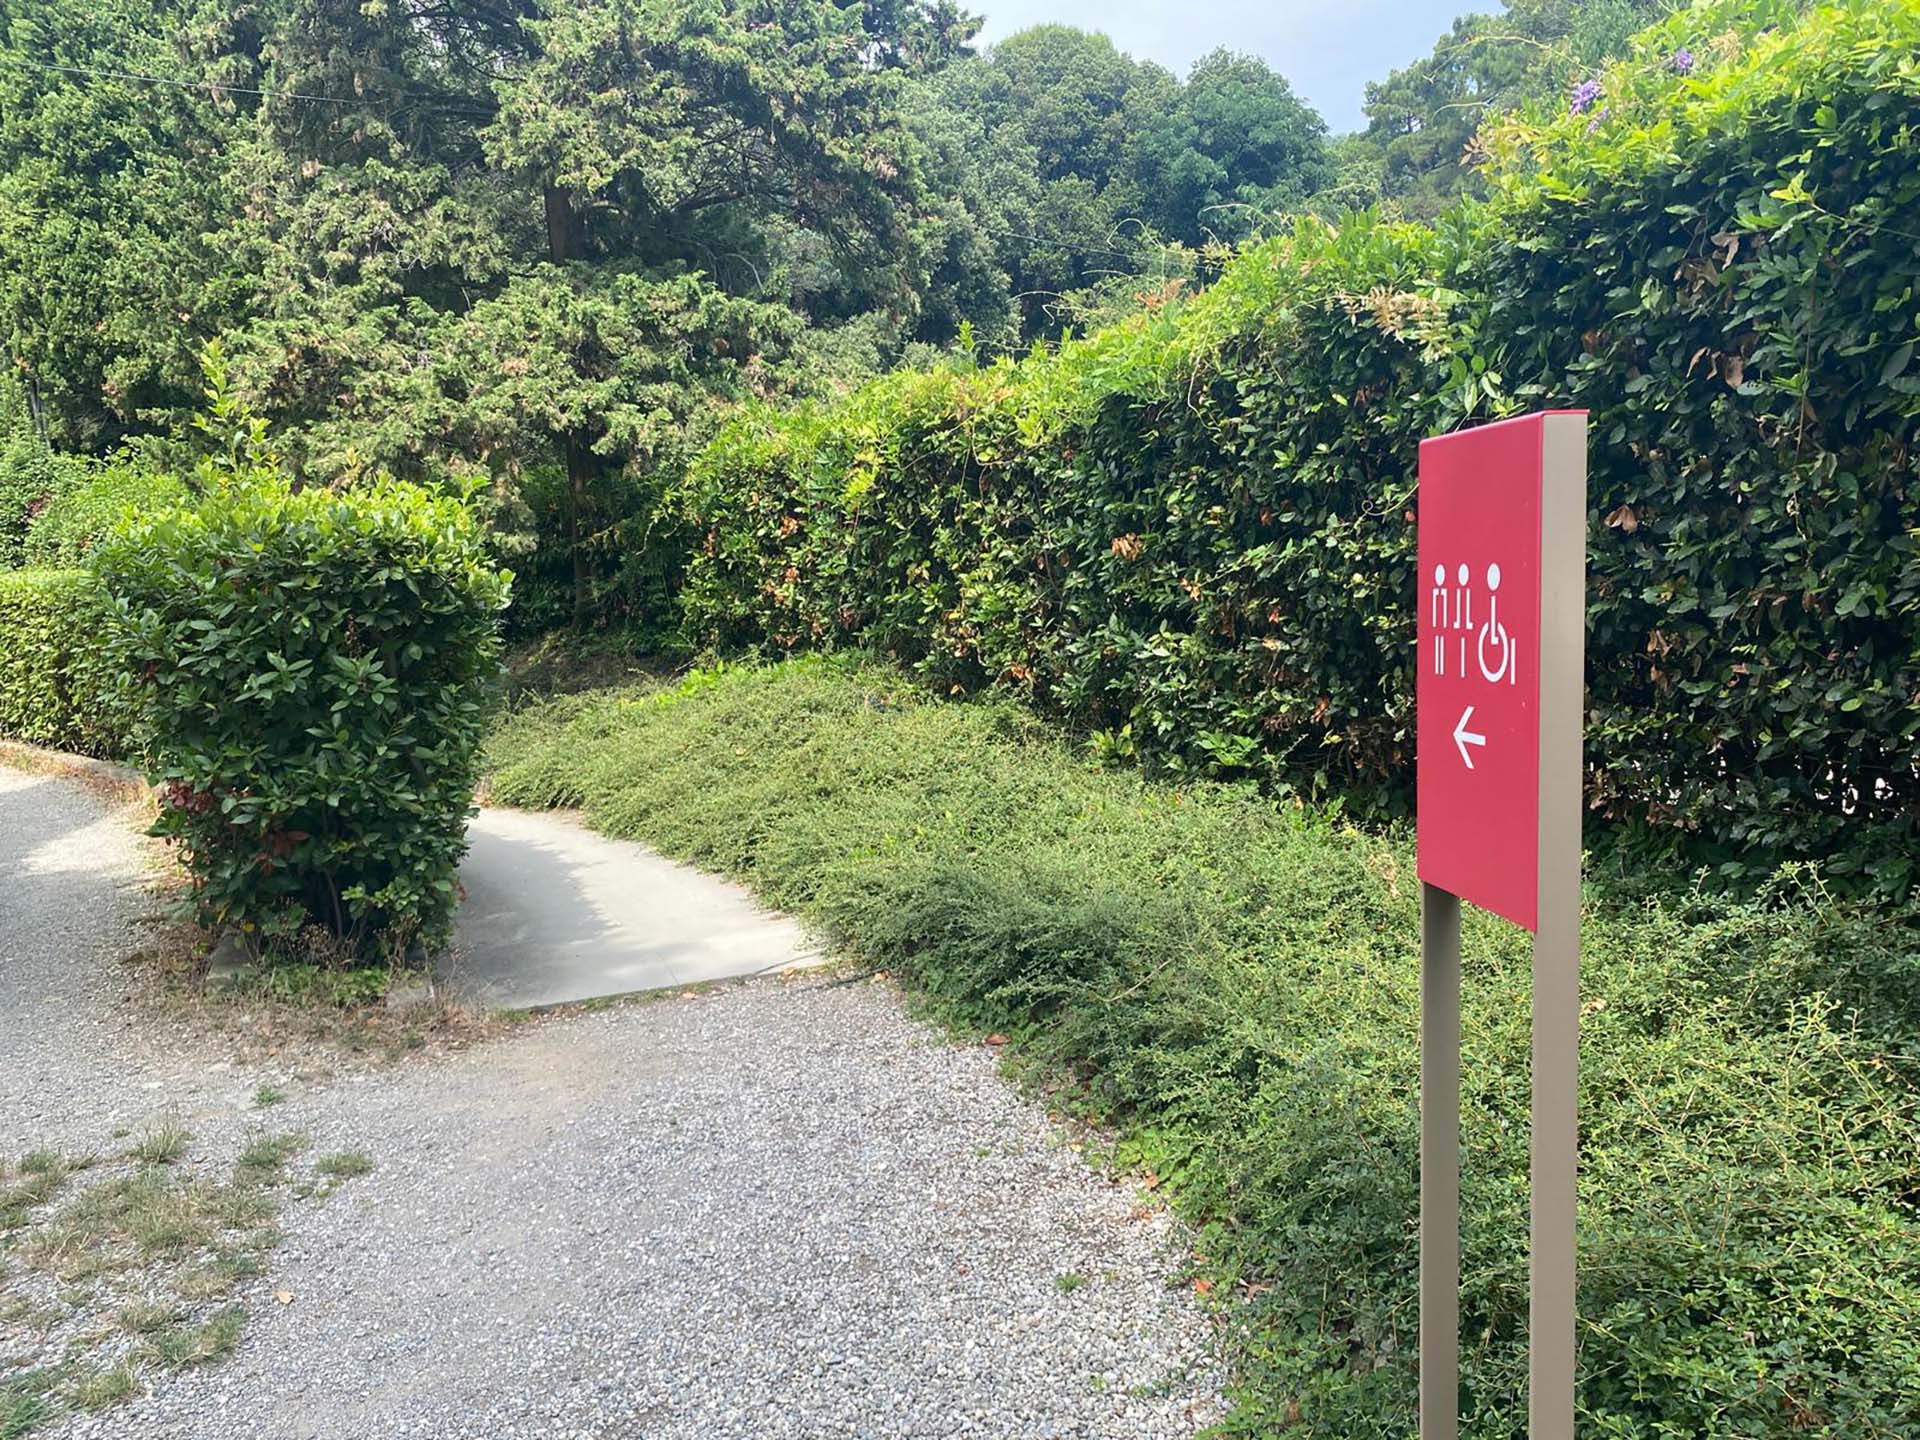
Photo 62 - Bathroom signs
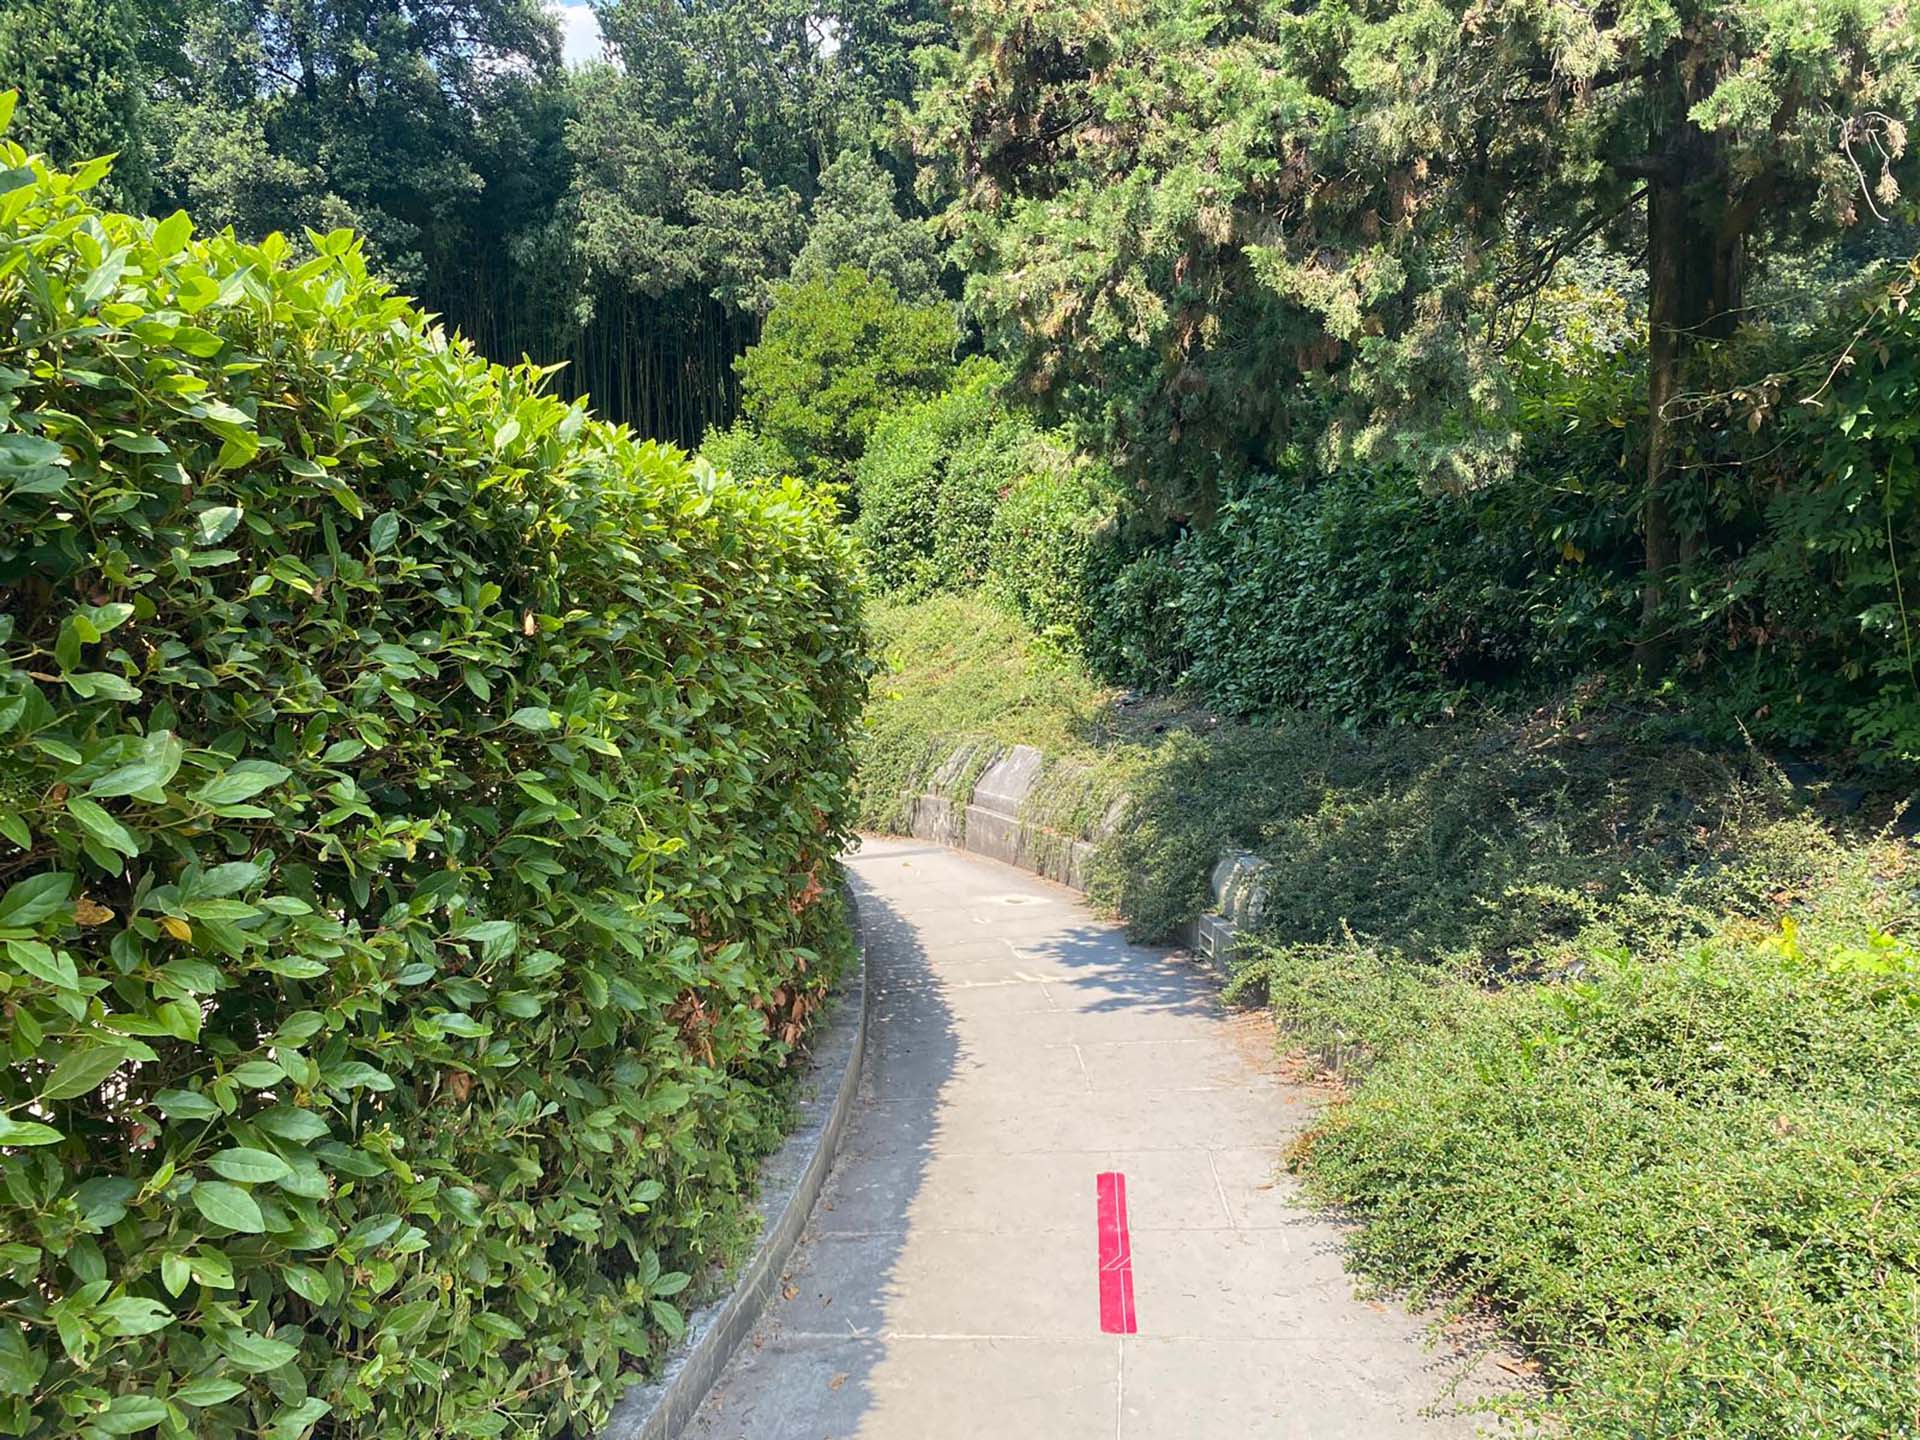
Photo 63 - Path to bathrooms
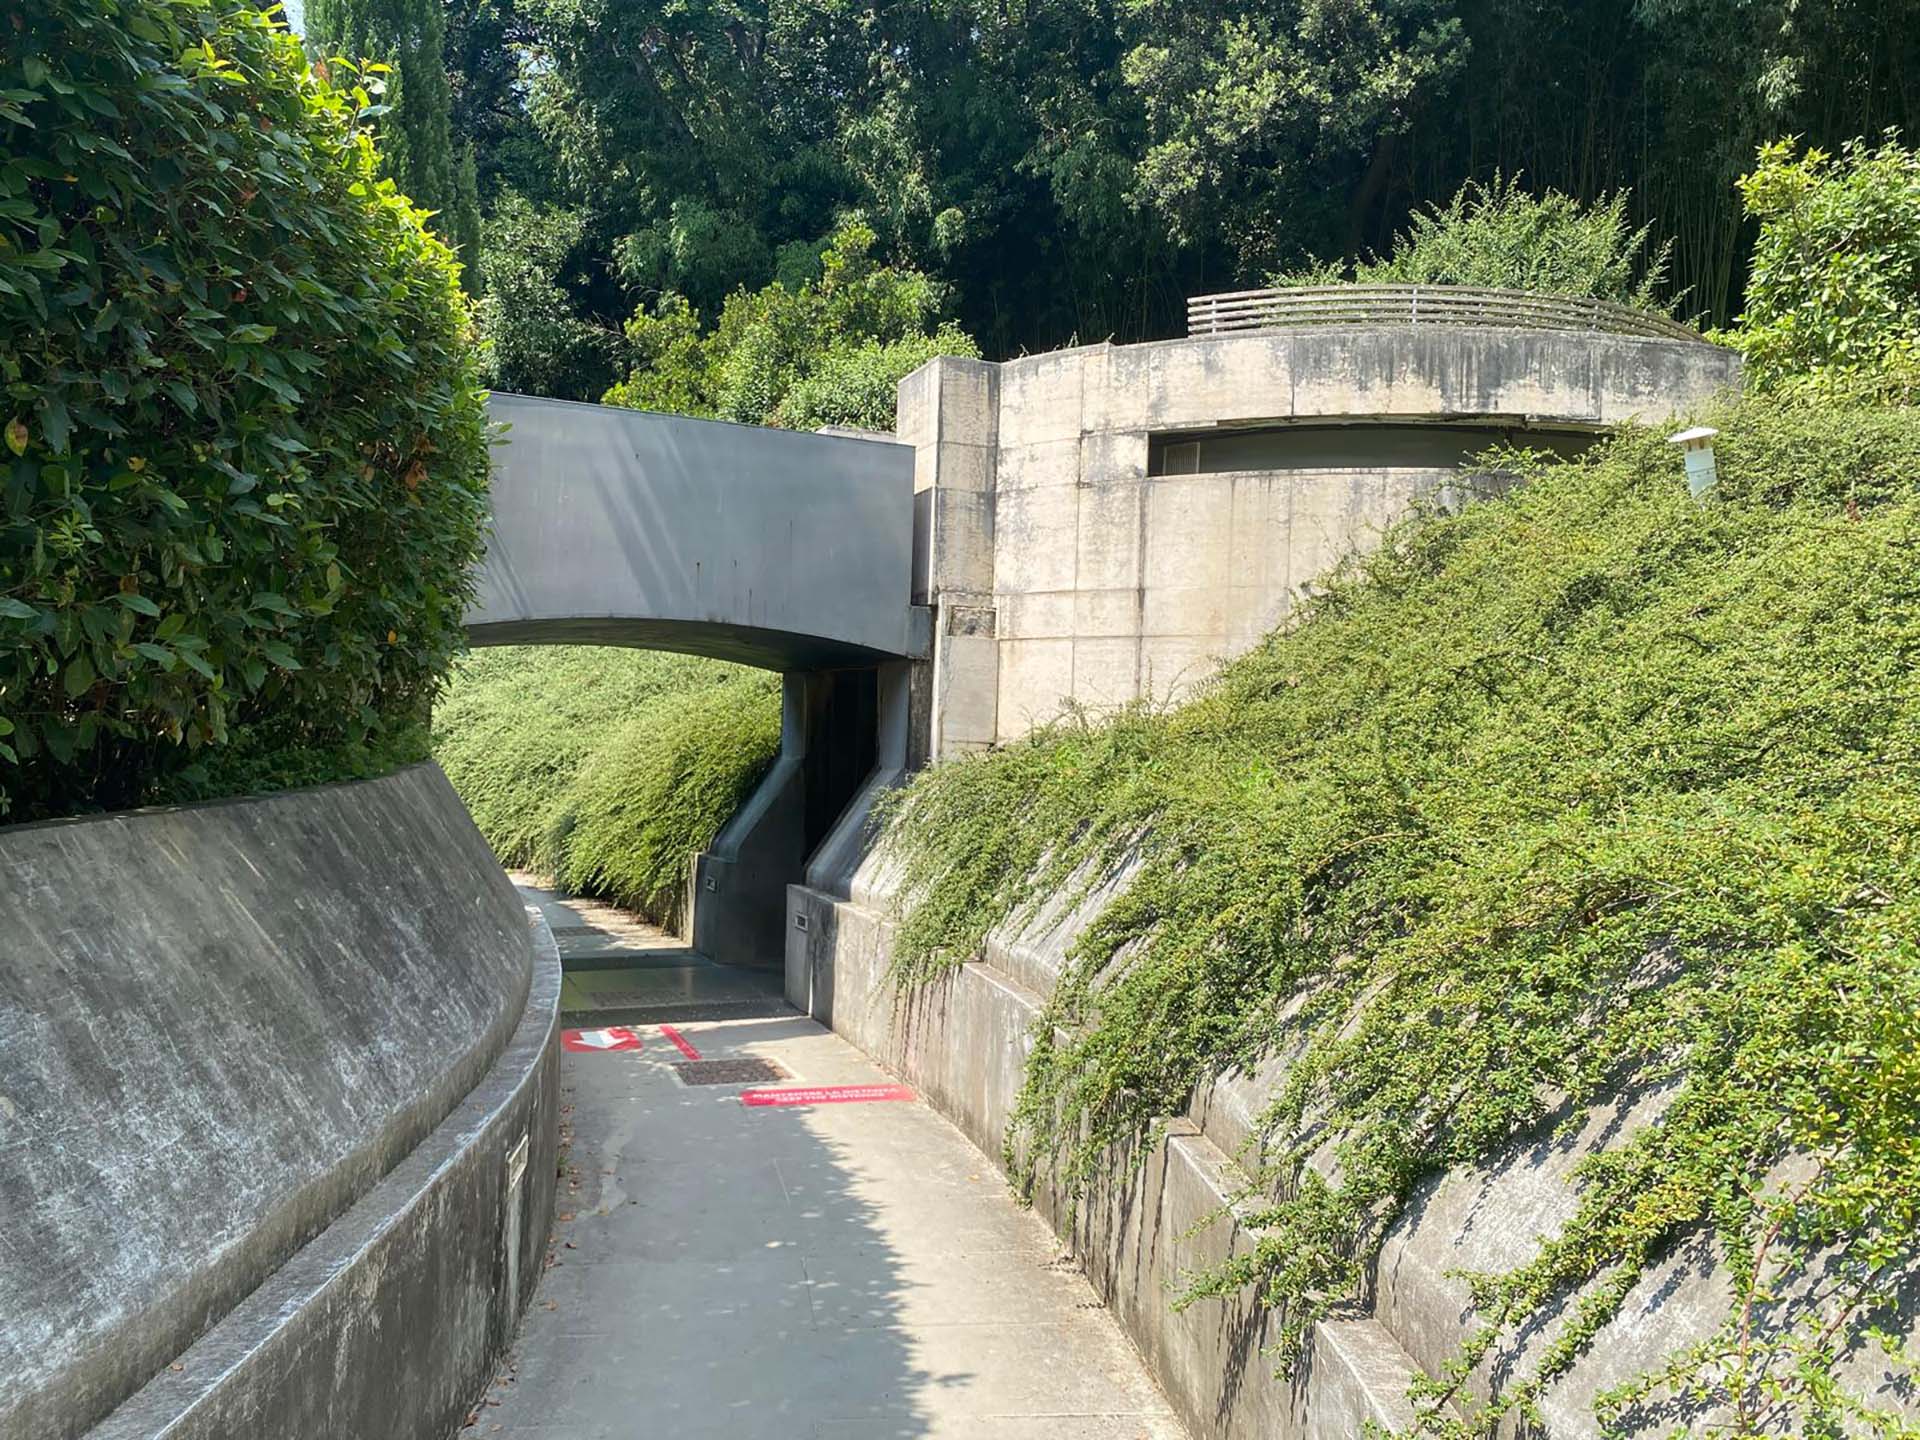
Photo 64 - Bathroom entrance
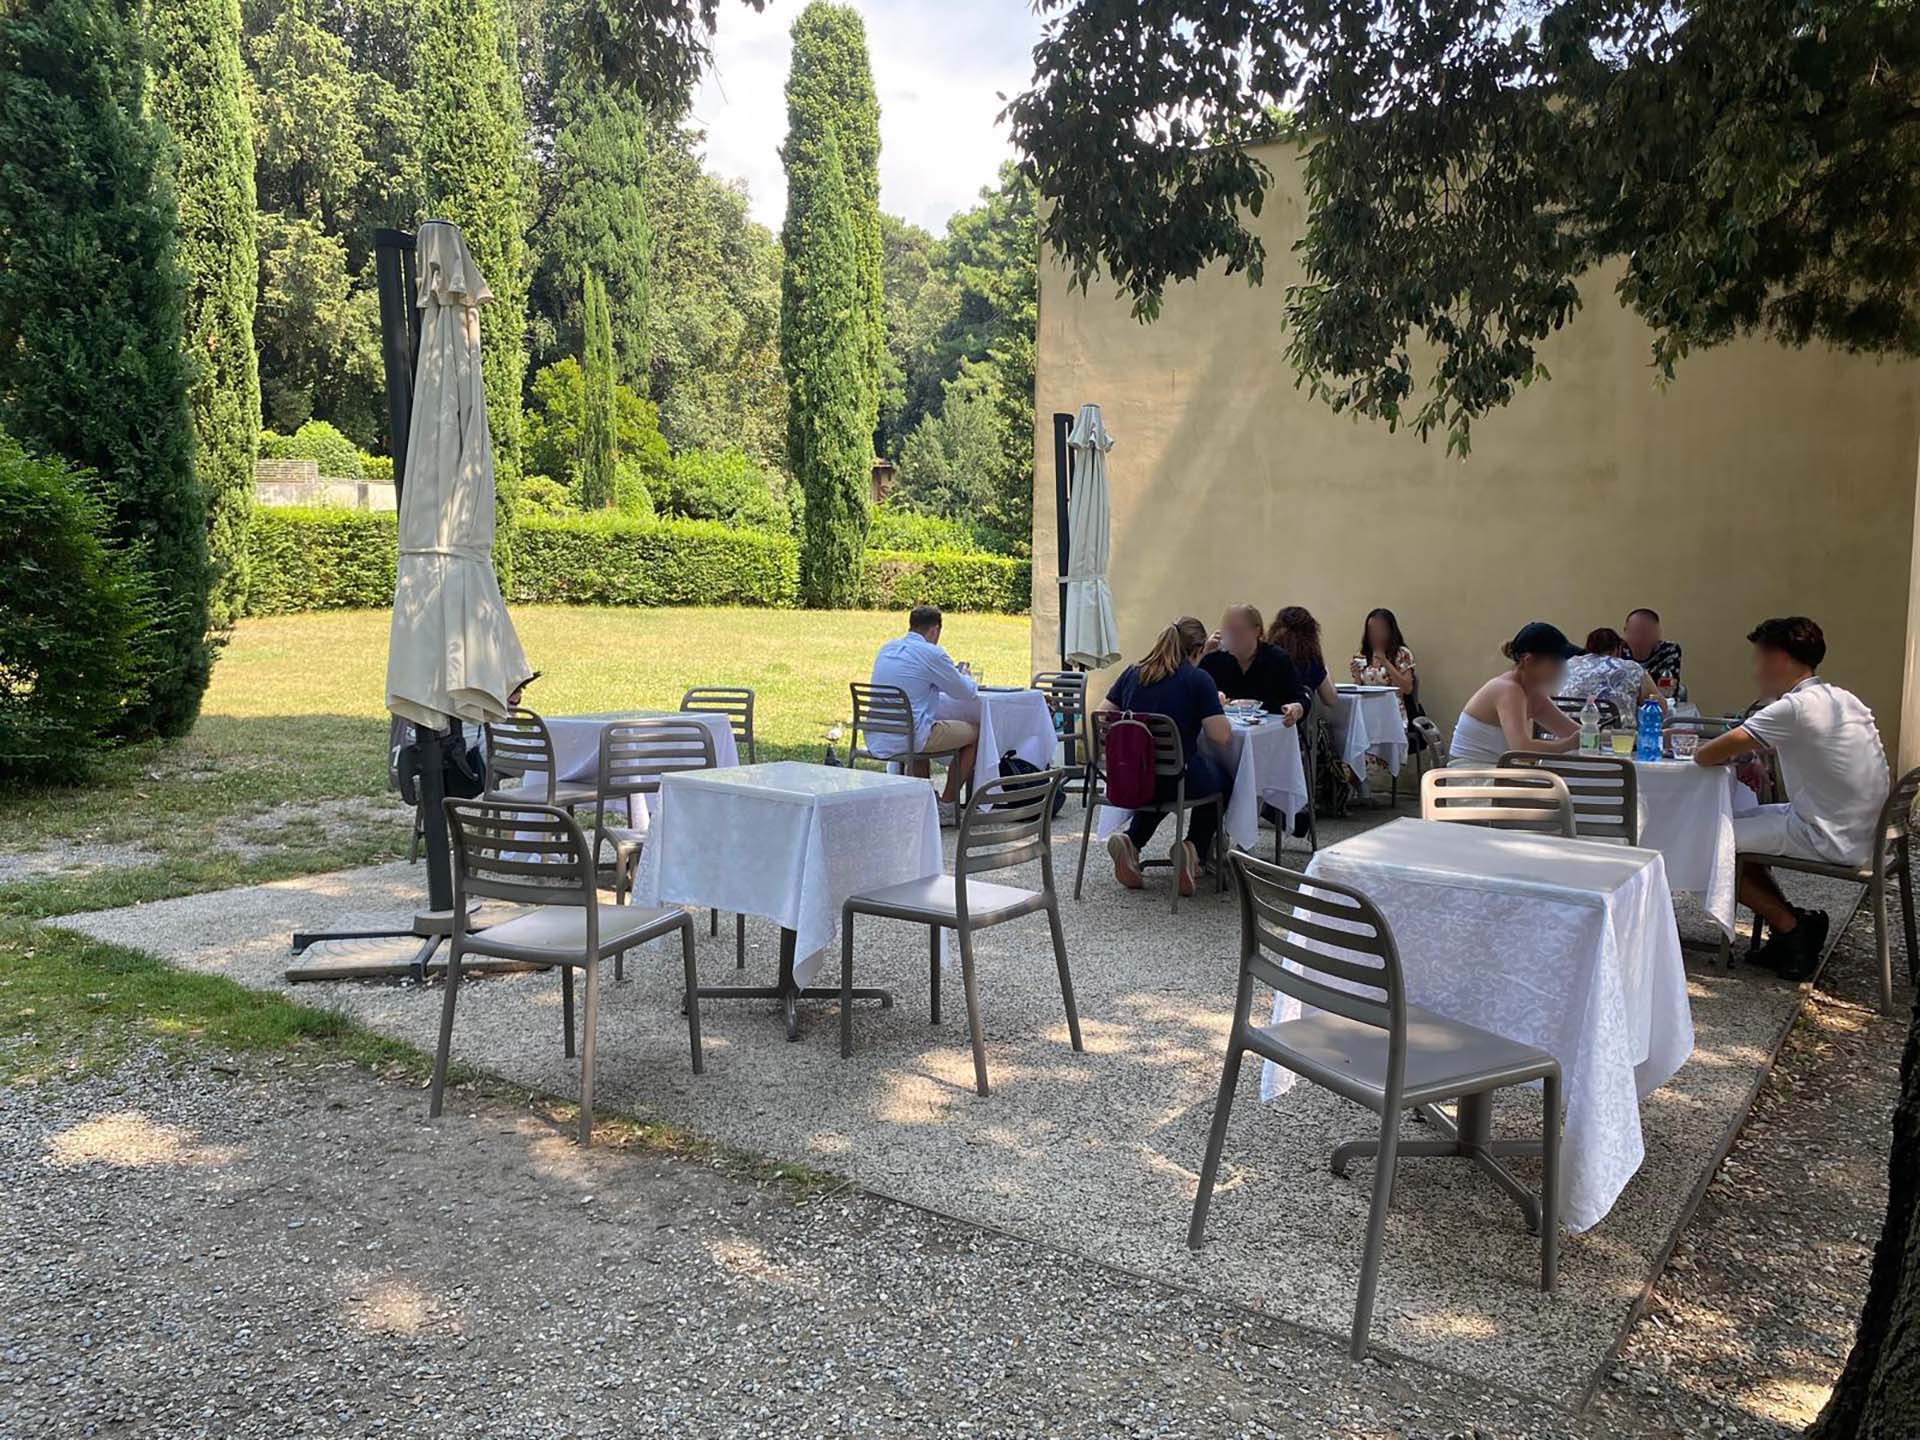
Photo 65 - Outdoor bar area
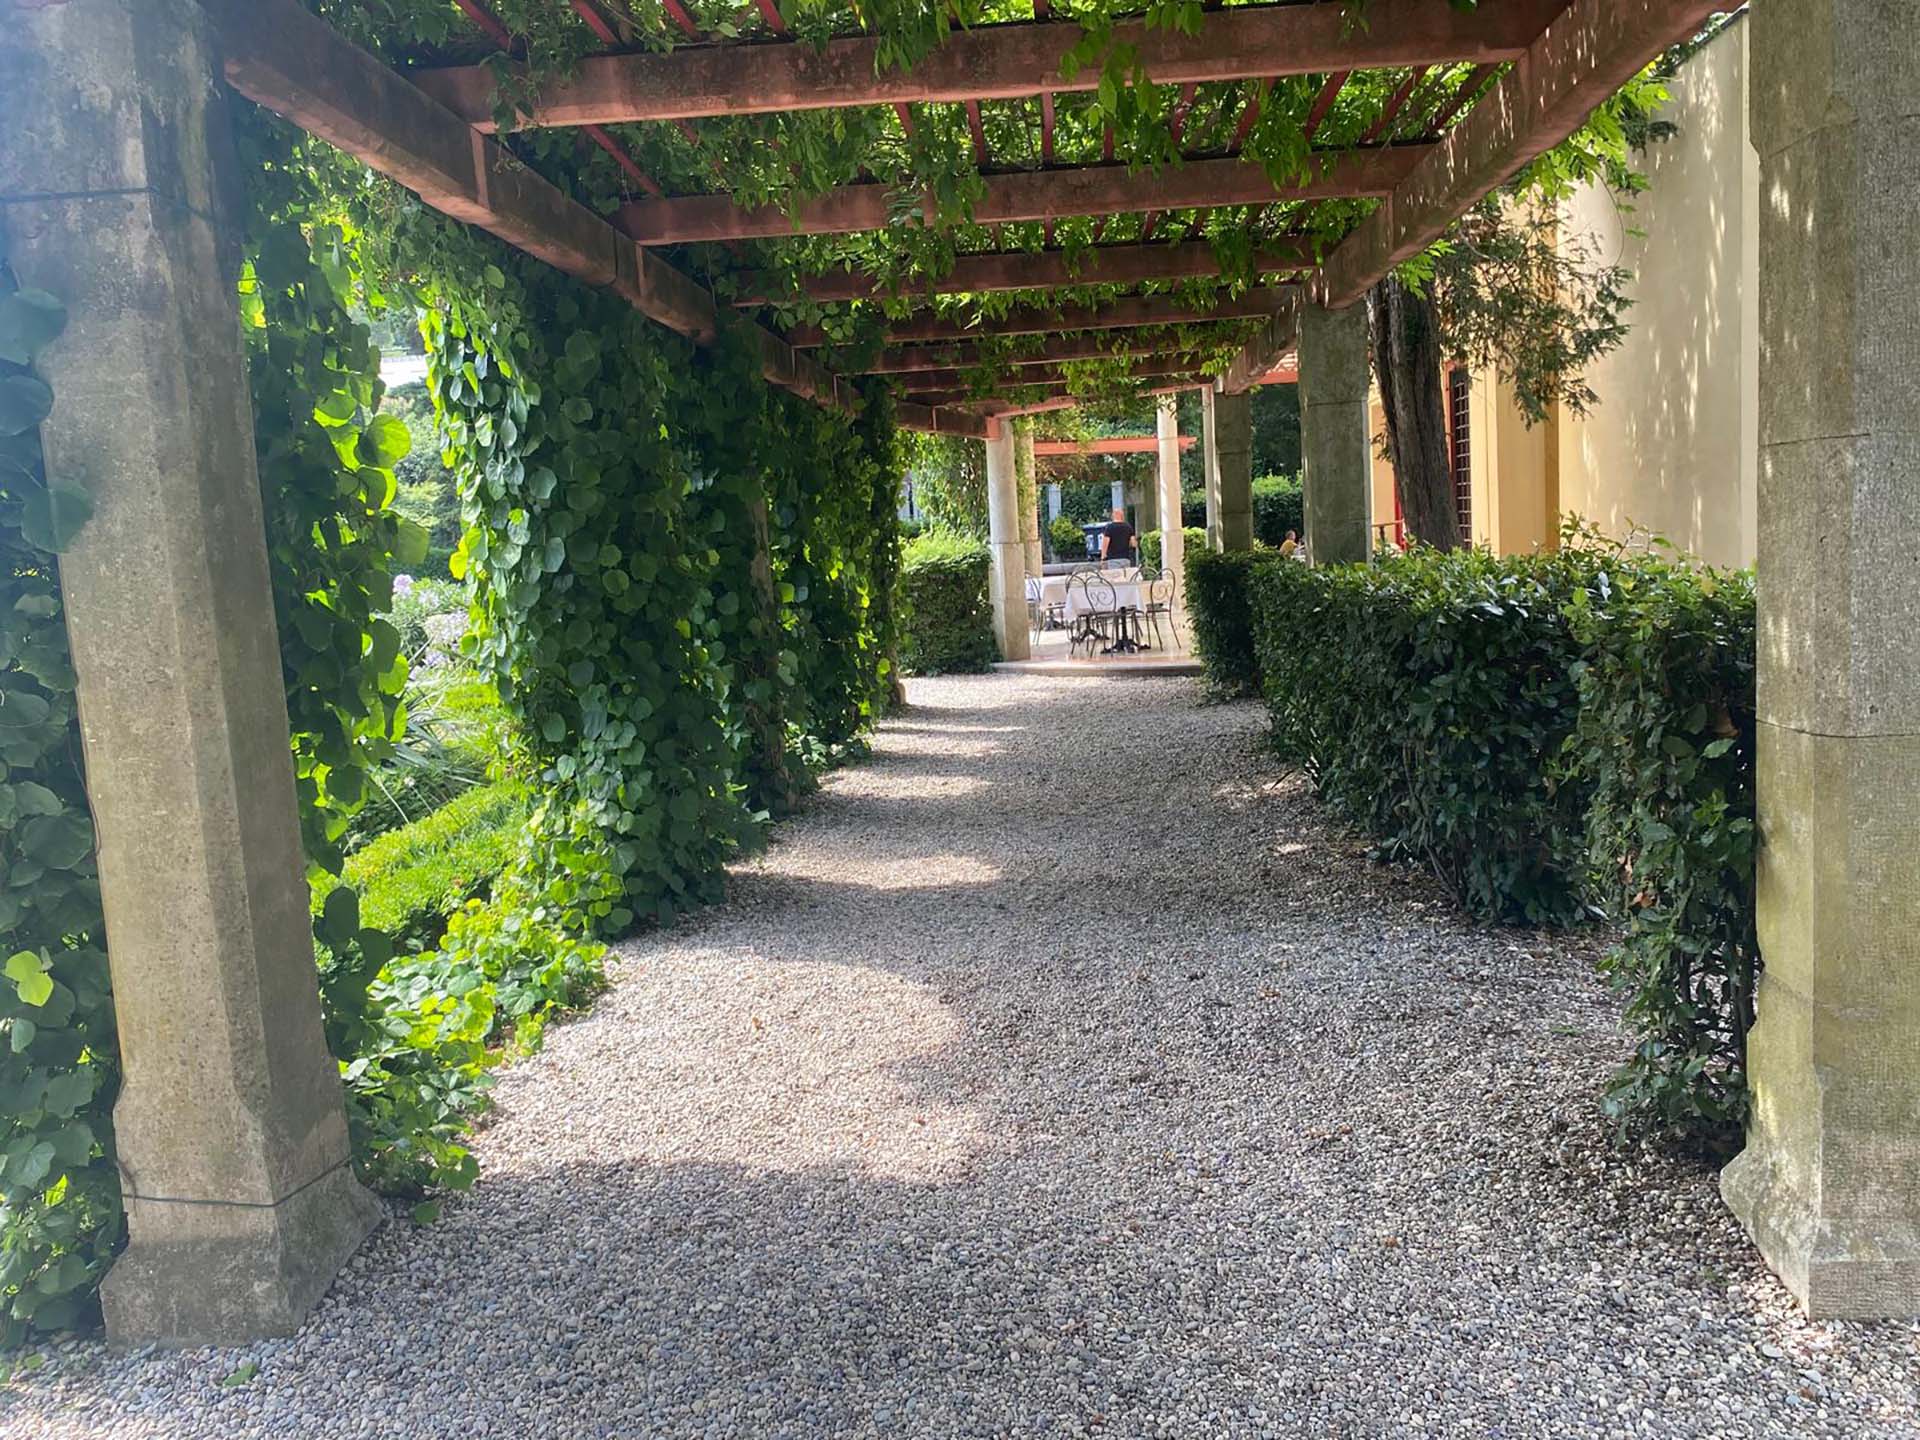
Photo 66 - Path in front of the bar
Section 12
After finishing the pergola path in front of the café, you encounter a circular gravel area with a statue in the middle (photo 67), then you continue straight towards the Castle. On the sides of the gravel pergola path, there are low hedges and on the left, informational panels (photo 68). Further ahead on the right, you can see the small bridge described in section 5 (photo 69), thus the path reconnects with the beginning of section 5 (photo 70) to return to the square in front of the Castle described in section 4.
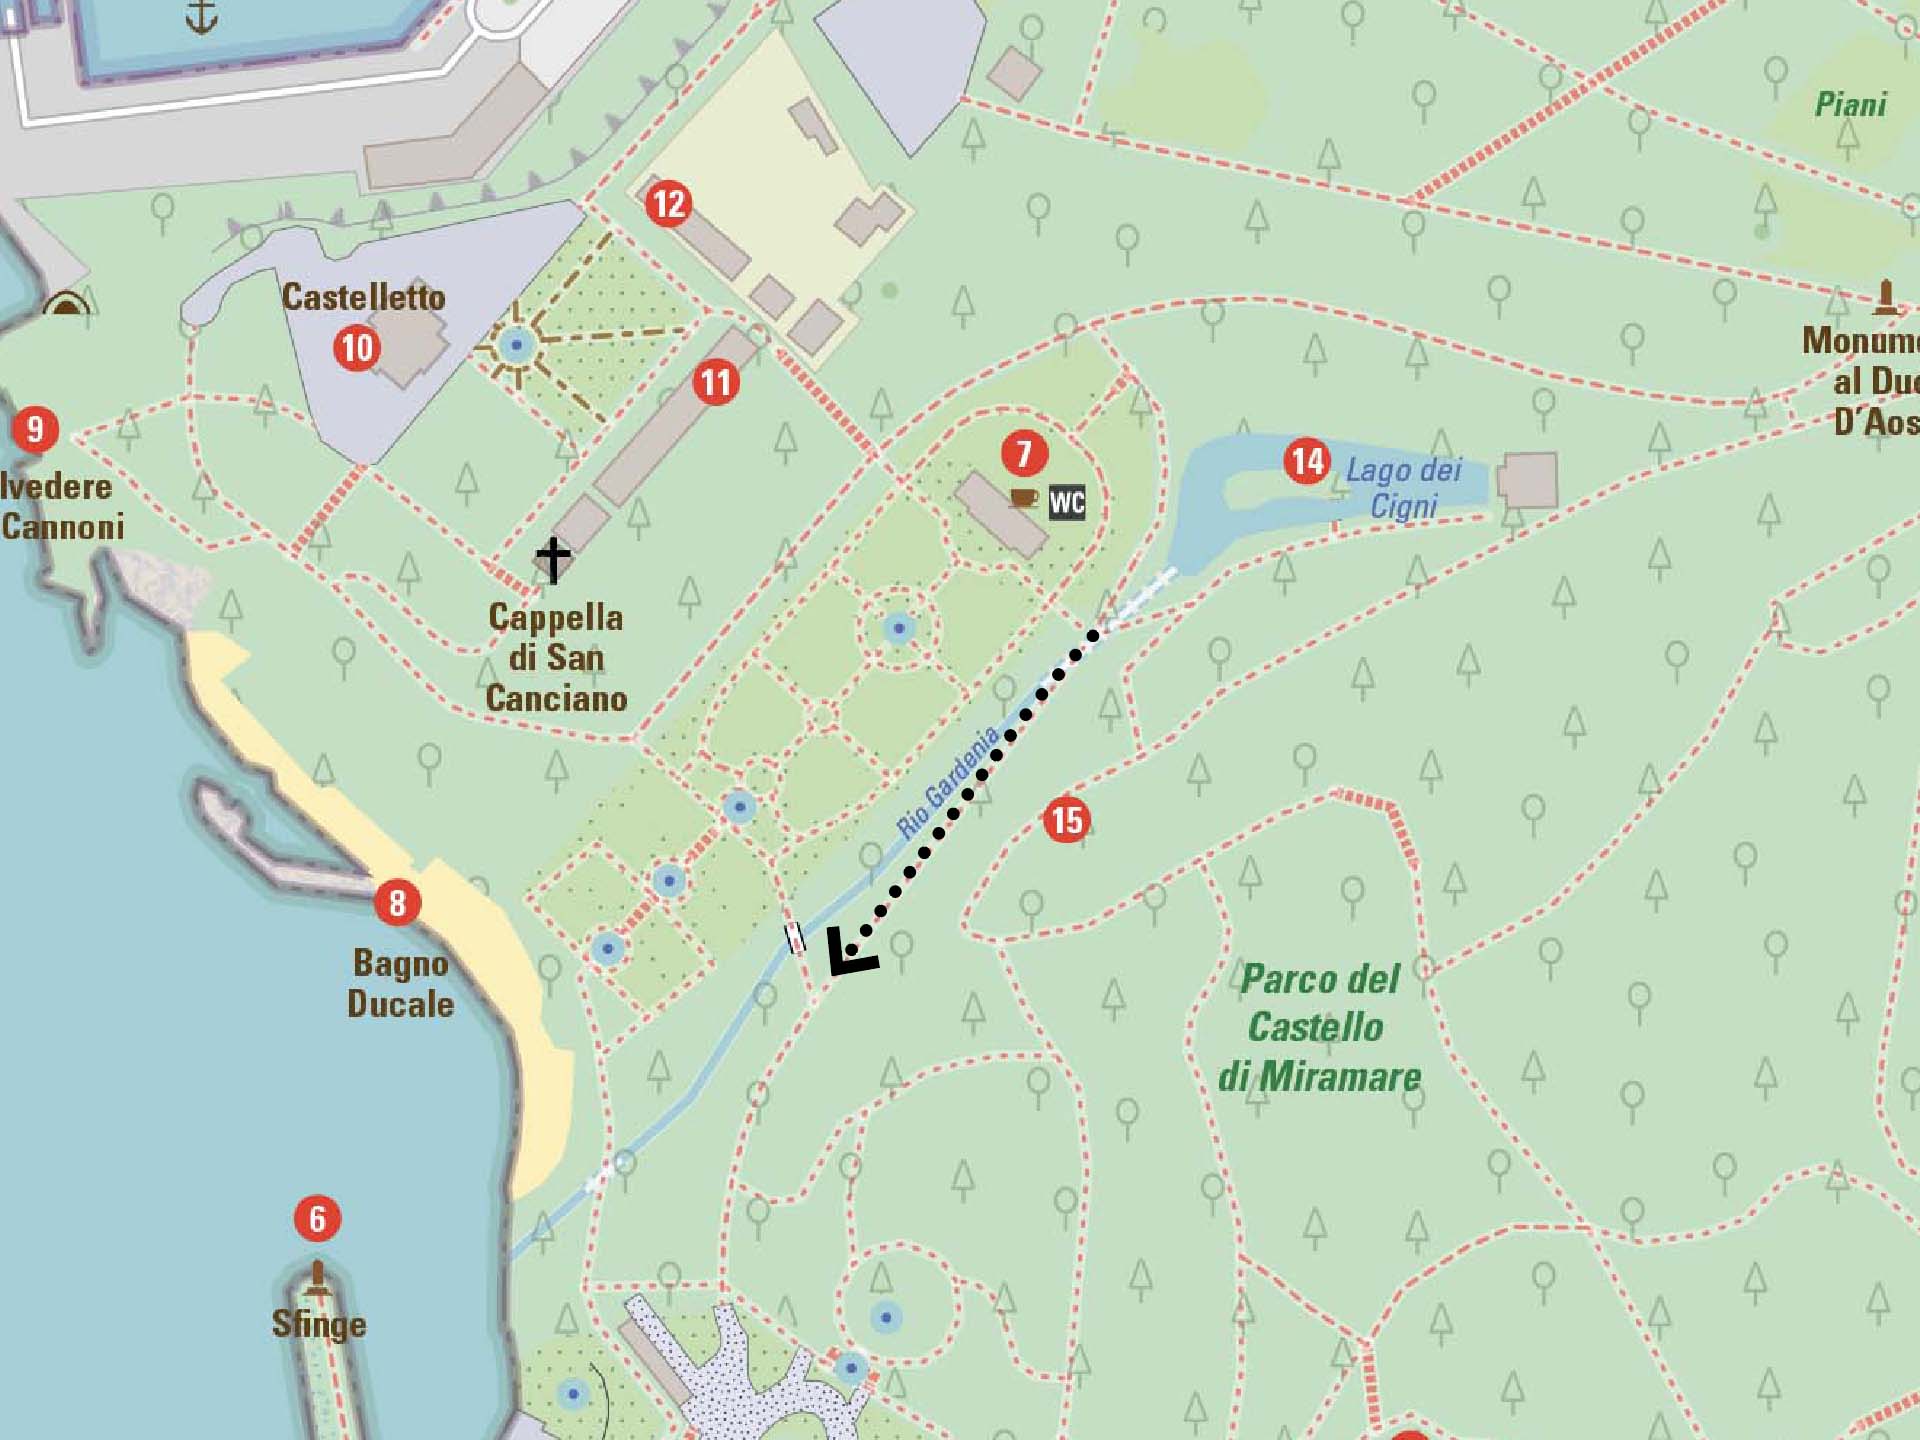
Section 12
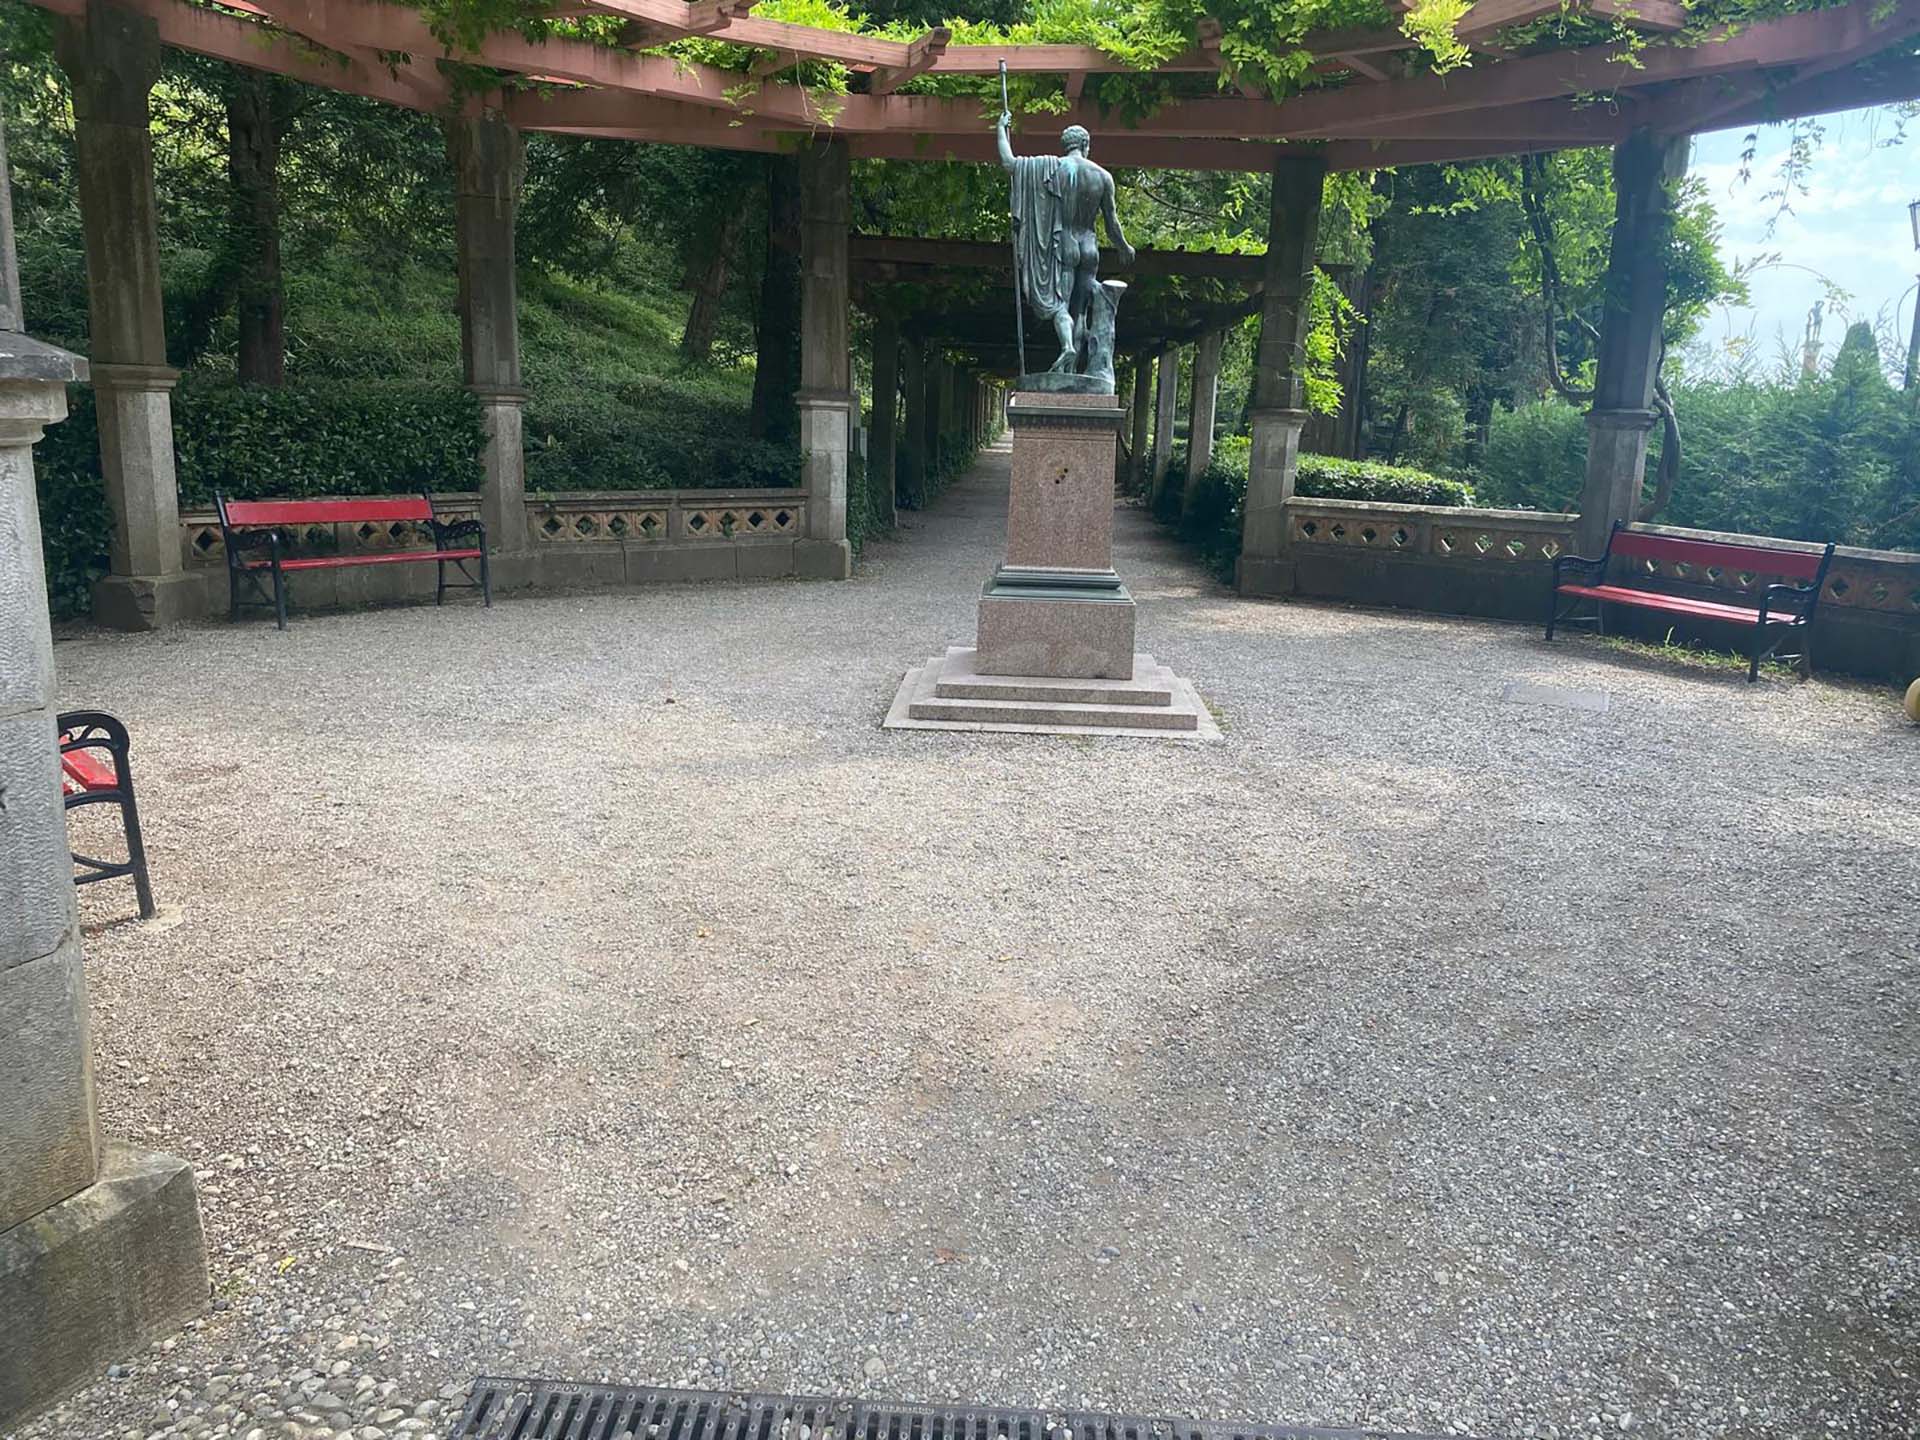
Photo 67 - Pergola with statue in the center
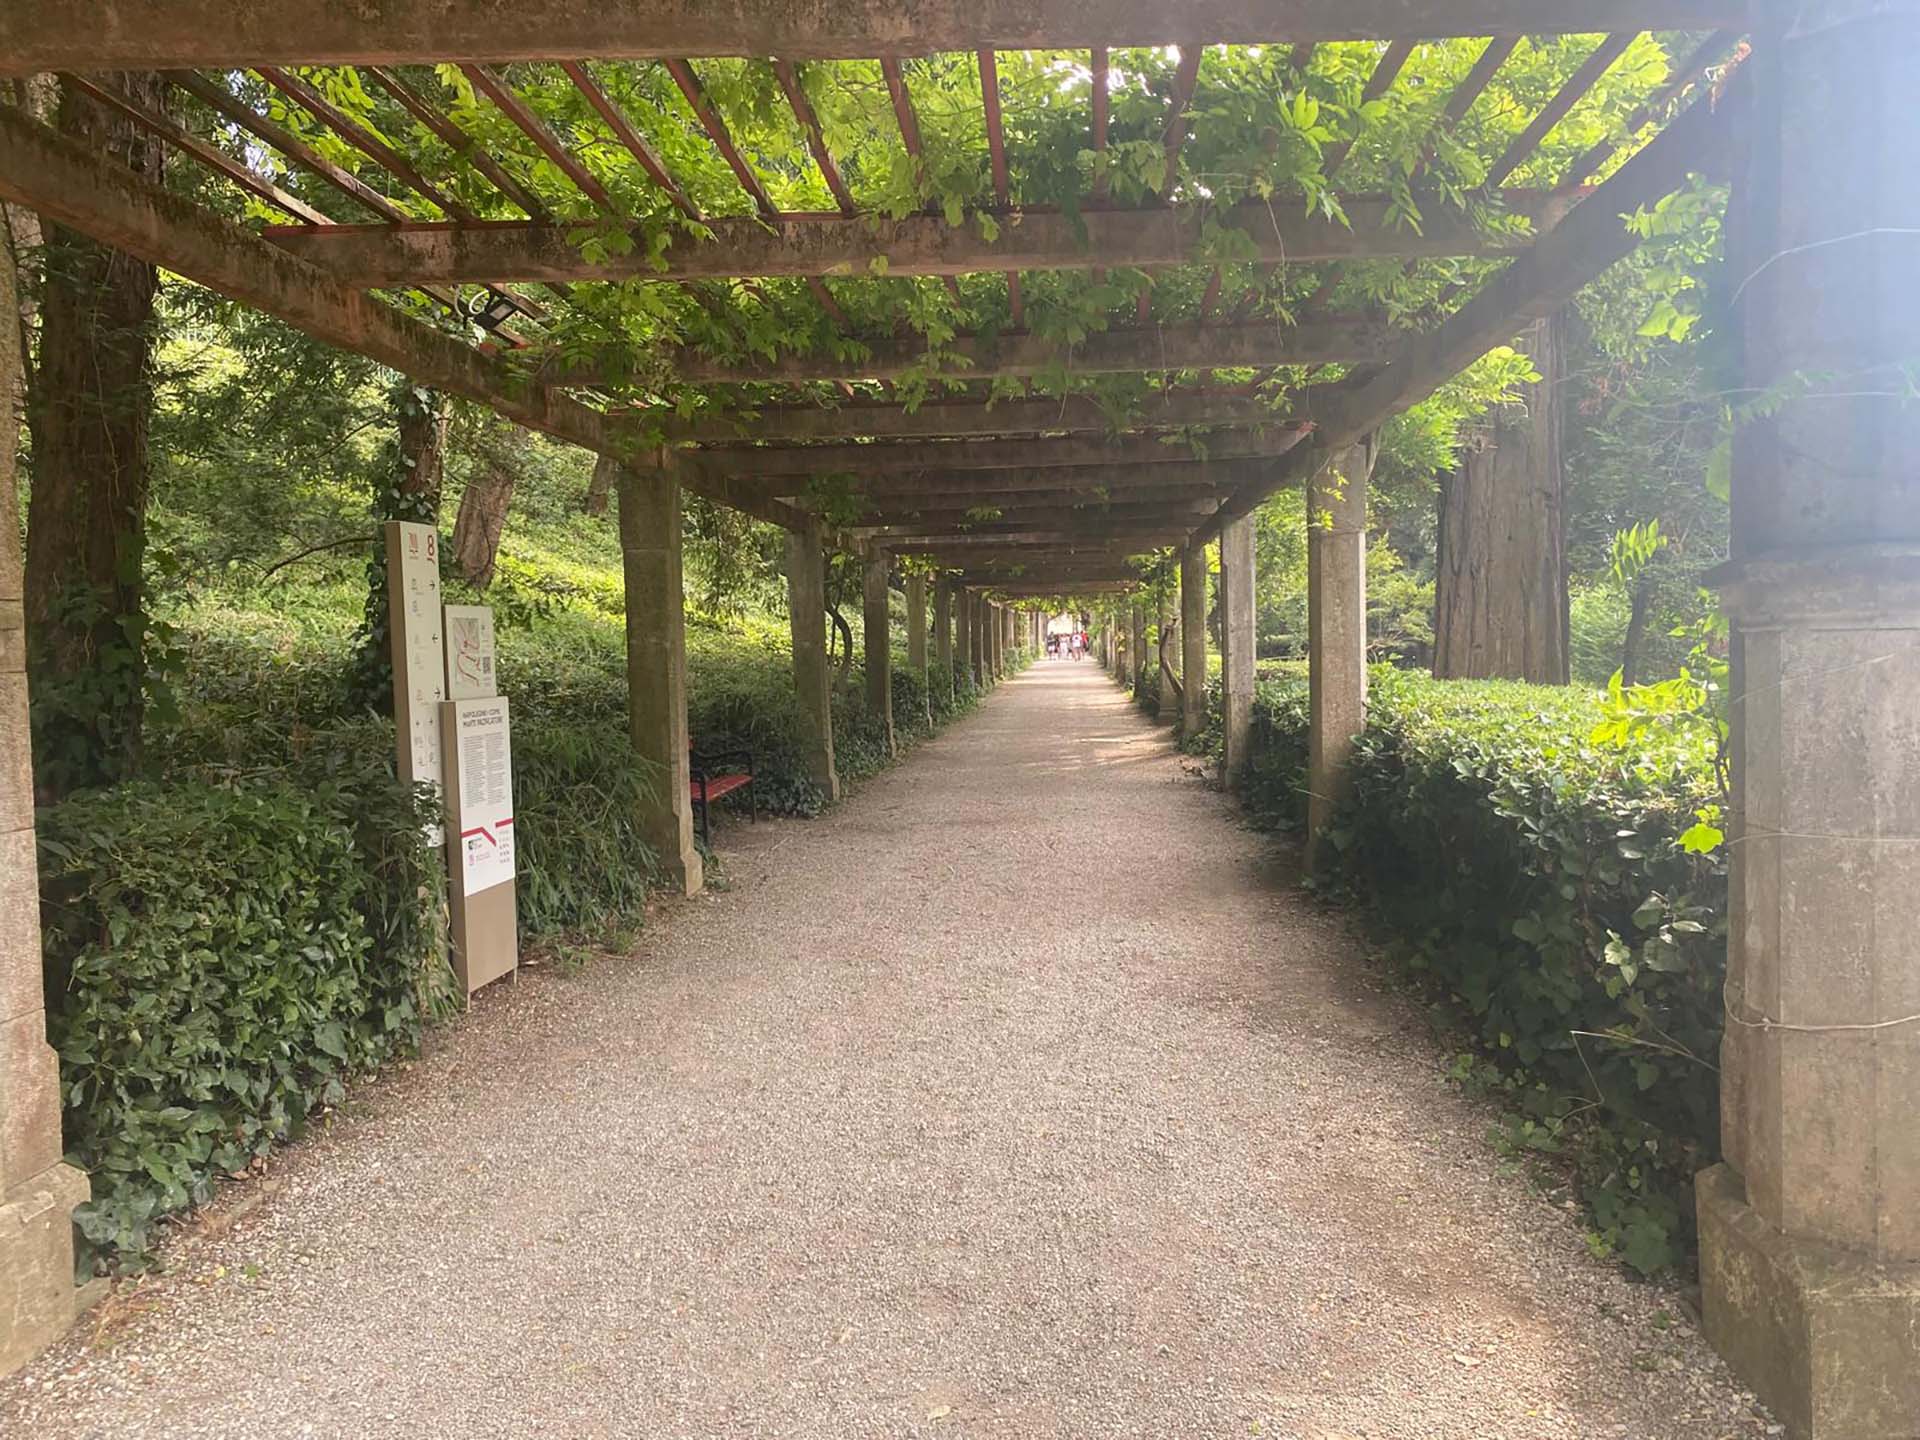
Photo 68 - Pergola path
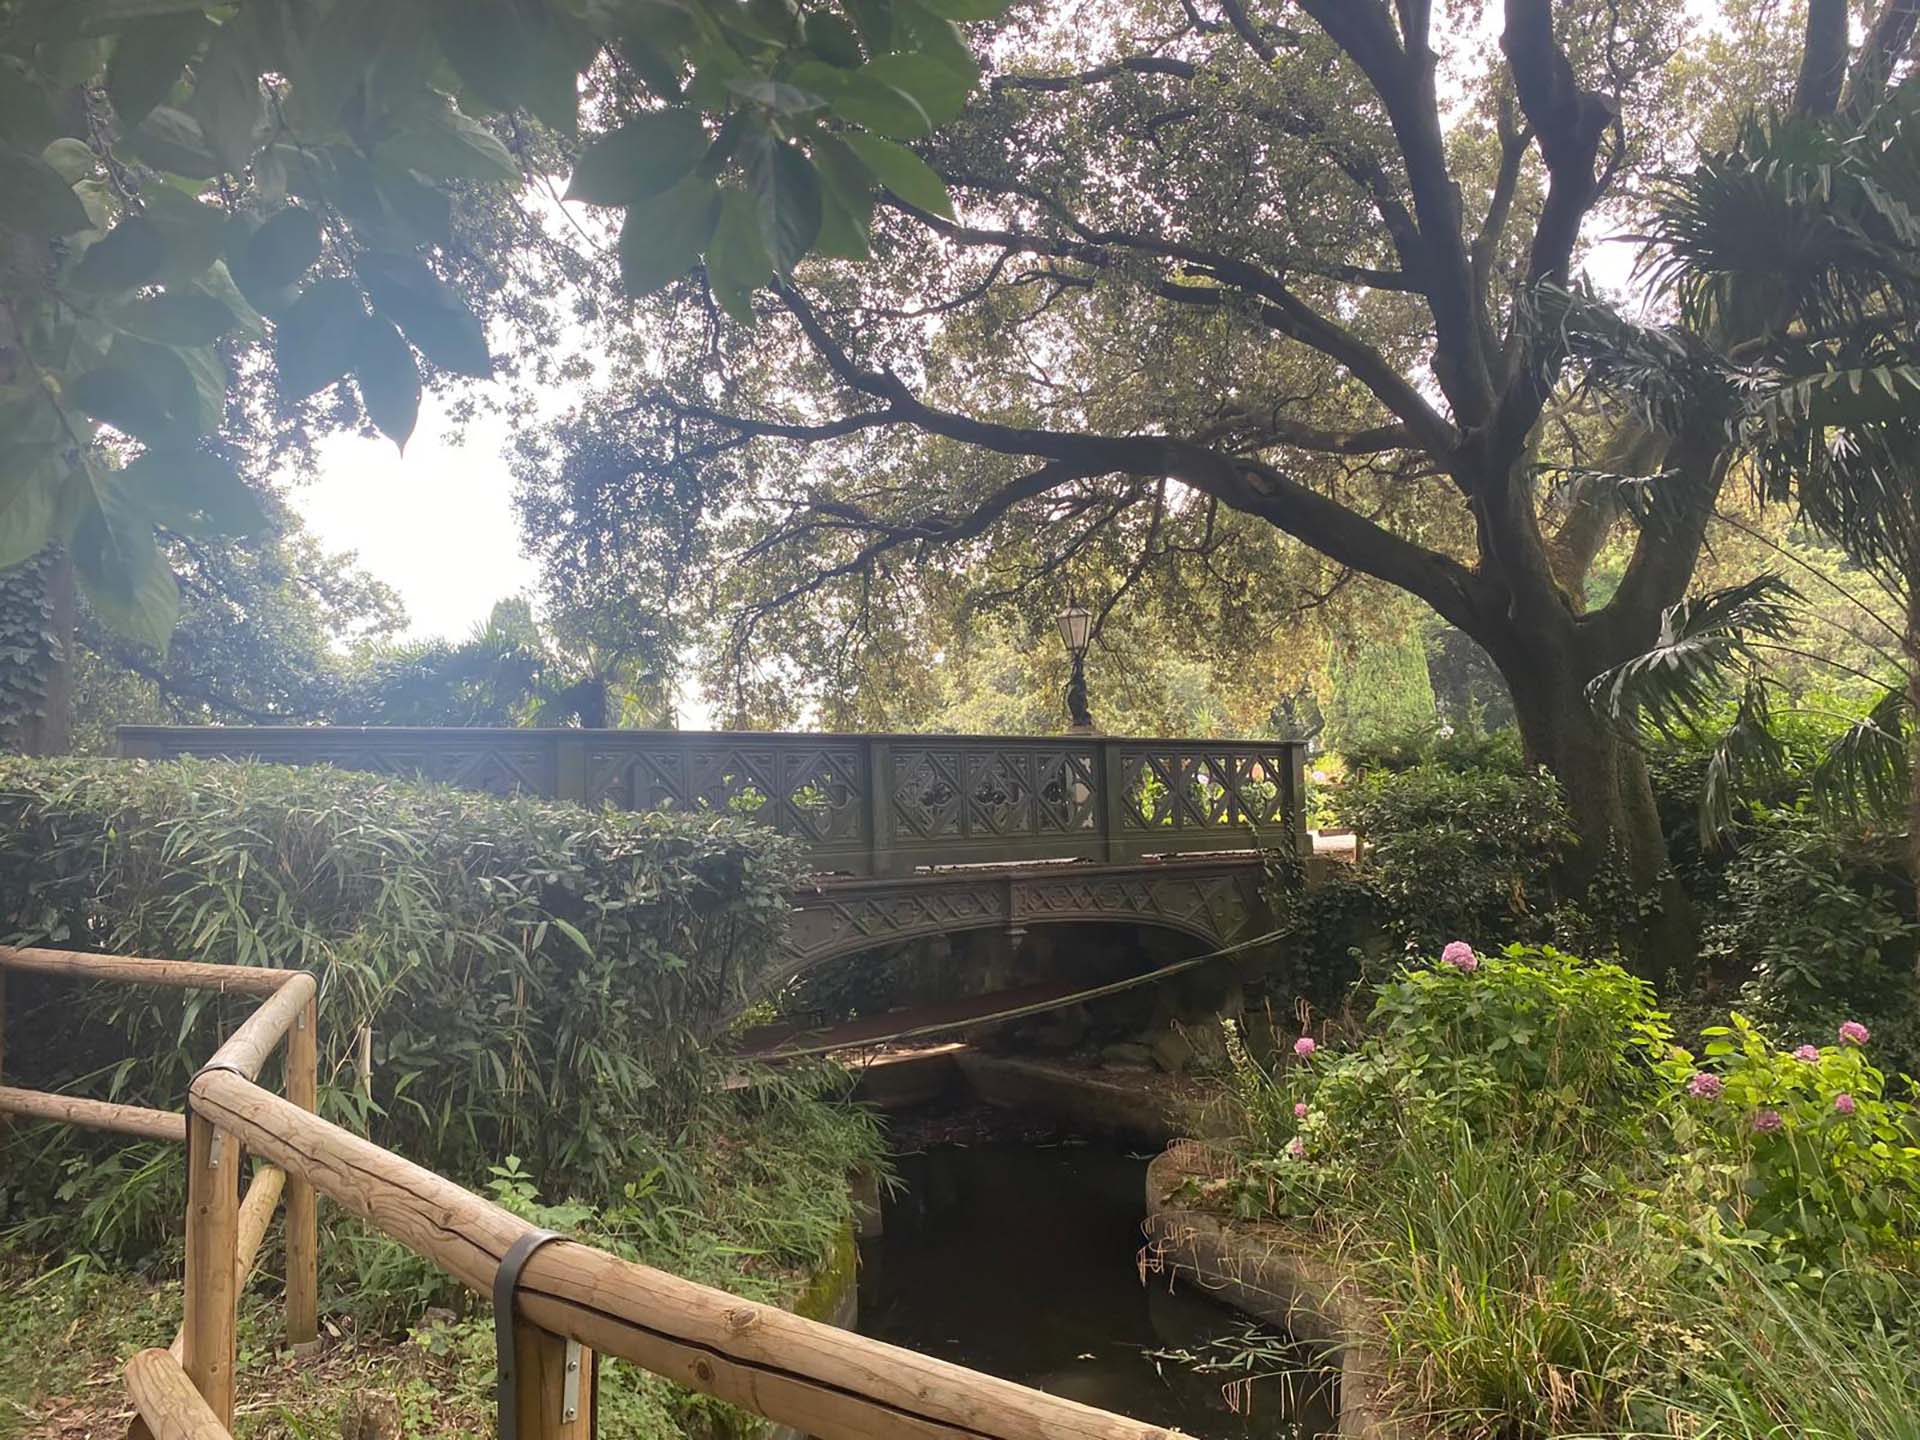
Photo 69 - View of the footbridge
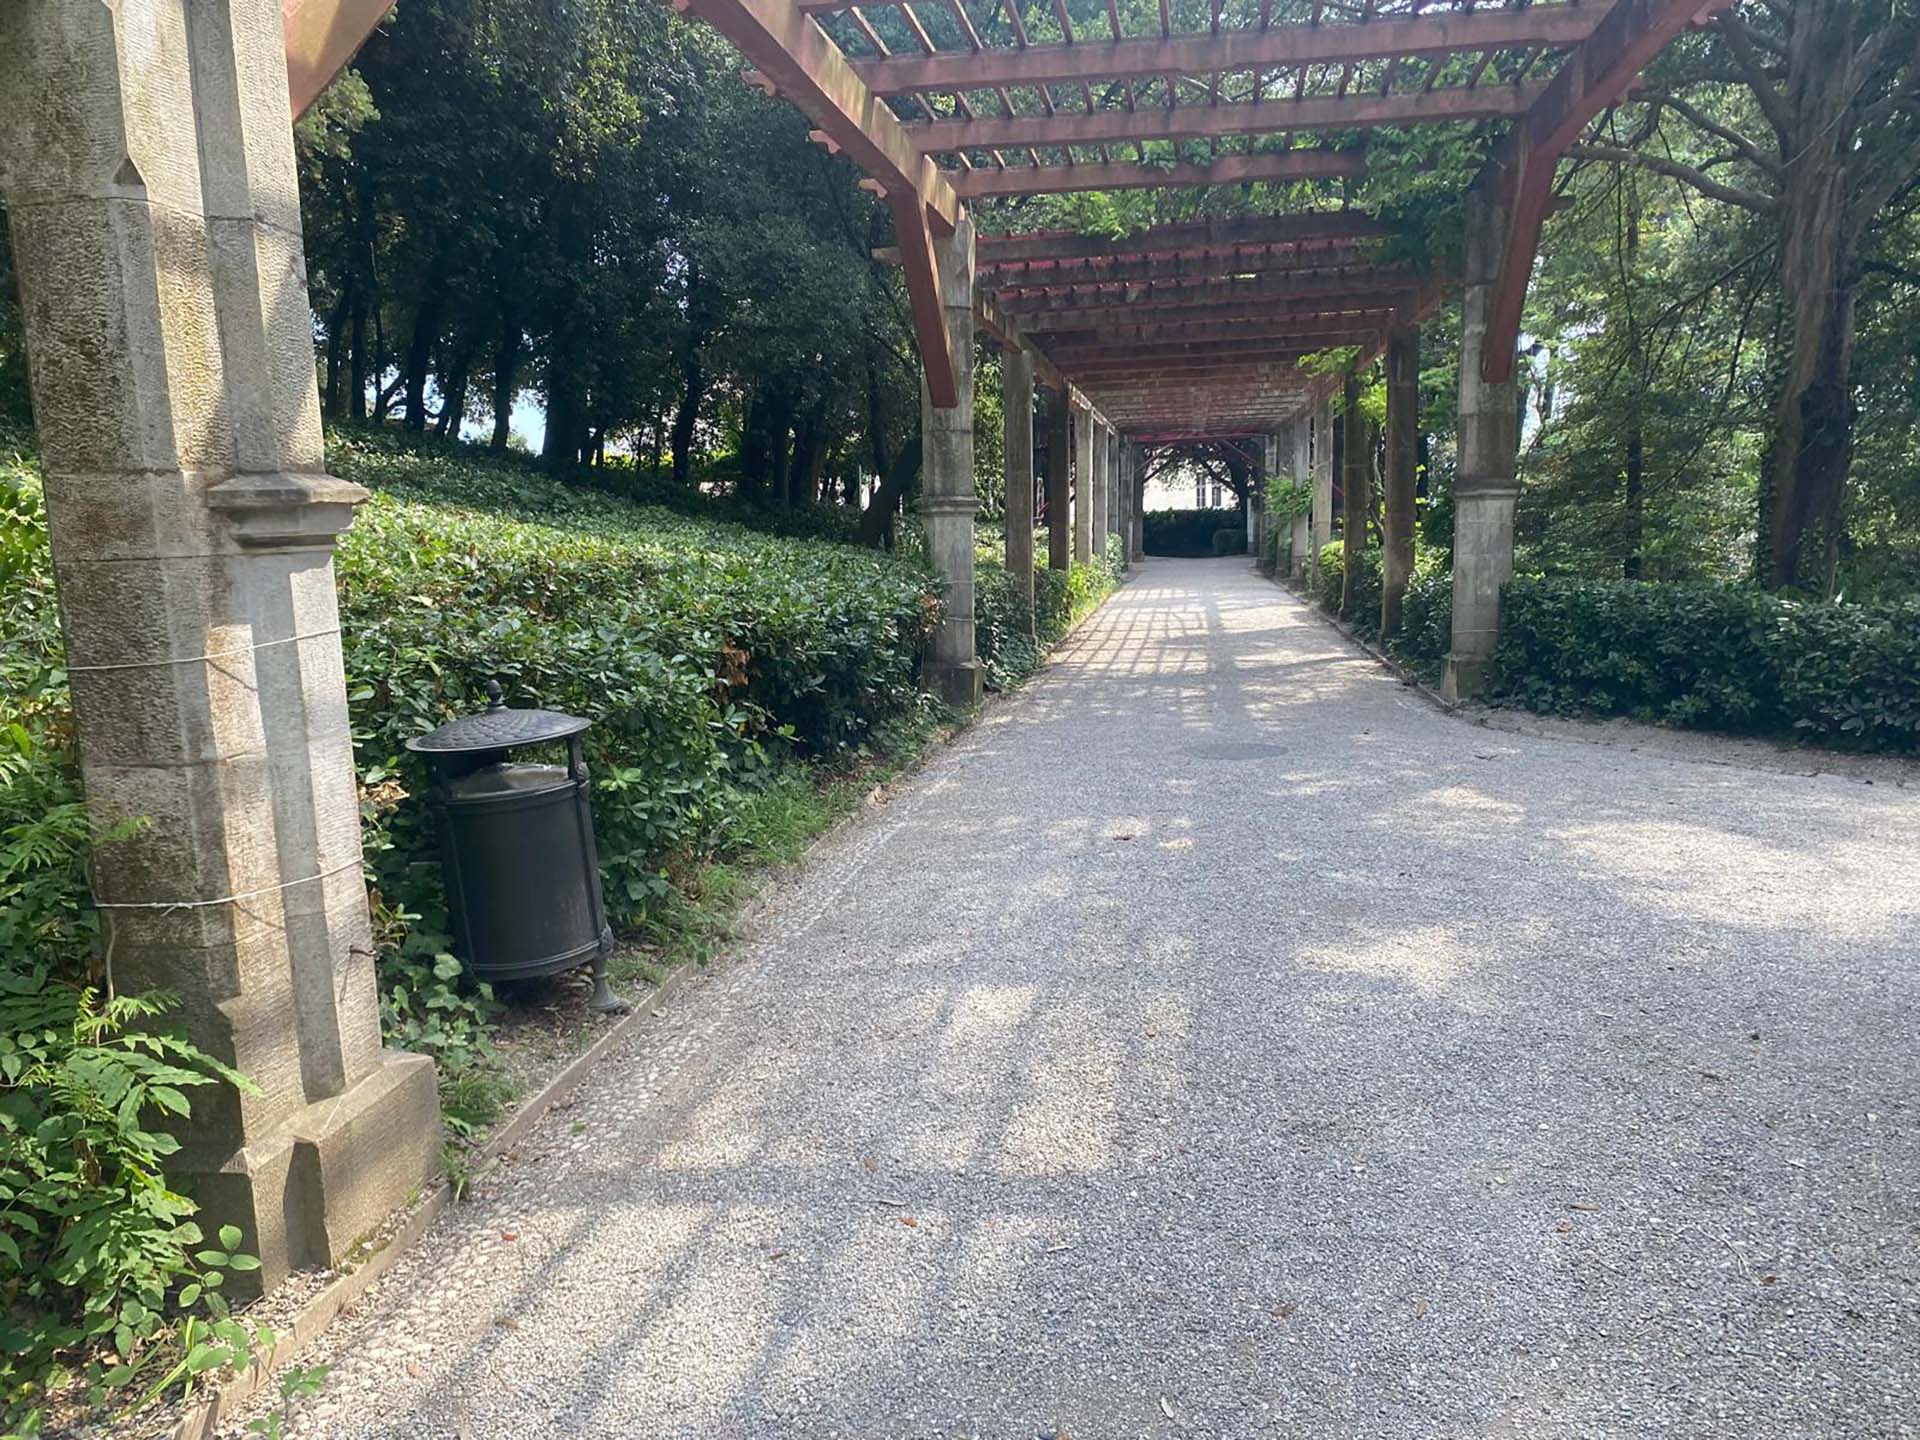
Photo 70 - junction of the path towards the square in front of the Castle
3
/3
2.4
/3
2.4
/3
2.4
/3
2.8
/3
2.5
/3
2.2
/3
2.1
/3