Mortegliano - FVG in motion 10 thousand steps of health

Plain
GENERAL INFORMATION
LAST INSPECTION DATE
06/02/2023
PLANNED ITINERARY
Mortegliano - FVG in motion 10 thousand steps of health
LENGTH
8800 meters
DEPARTURE
Via Tomba
The path begins on Via Tomba, near the area dedicated to village festivals, where the explanatory sign with the route indications is located. (Photo 1)
On the sides of the roadway, there is a large number of parking spaces; however, there are no parking spots reserved for people with disabilities (Photo 2). From the parking spaces, it is possible to access the sidewalk through some ramps, even for wheelchairs. The sidewalk has a width of about 150 cm.
Continuing on Via Tomba, at the first intersection with a secondary road, there are no pedestrian crossings that allow safe crossing (Photo 3); there is also no ramp to get back onto the sidewalk after crossing the intersection (Photo 4).
At the end of Via Tomba, to cross Via Lavoredo and enter the first unpaved section of the path, there are neither pedestrian crossings nor ramps on the sidewalks (Photo 5).
The unpaved path that runs alongside the terminal part of the Roggia di Udine has a surface of compacted earth and gravel in this first section about 3.5 m wide. To indicate the route of the 10,000 steps of health, the conventional sign is present (Photo 6).
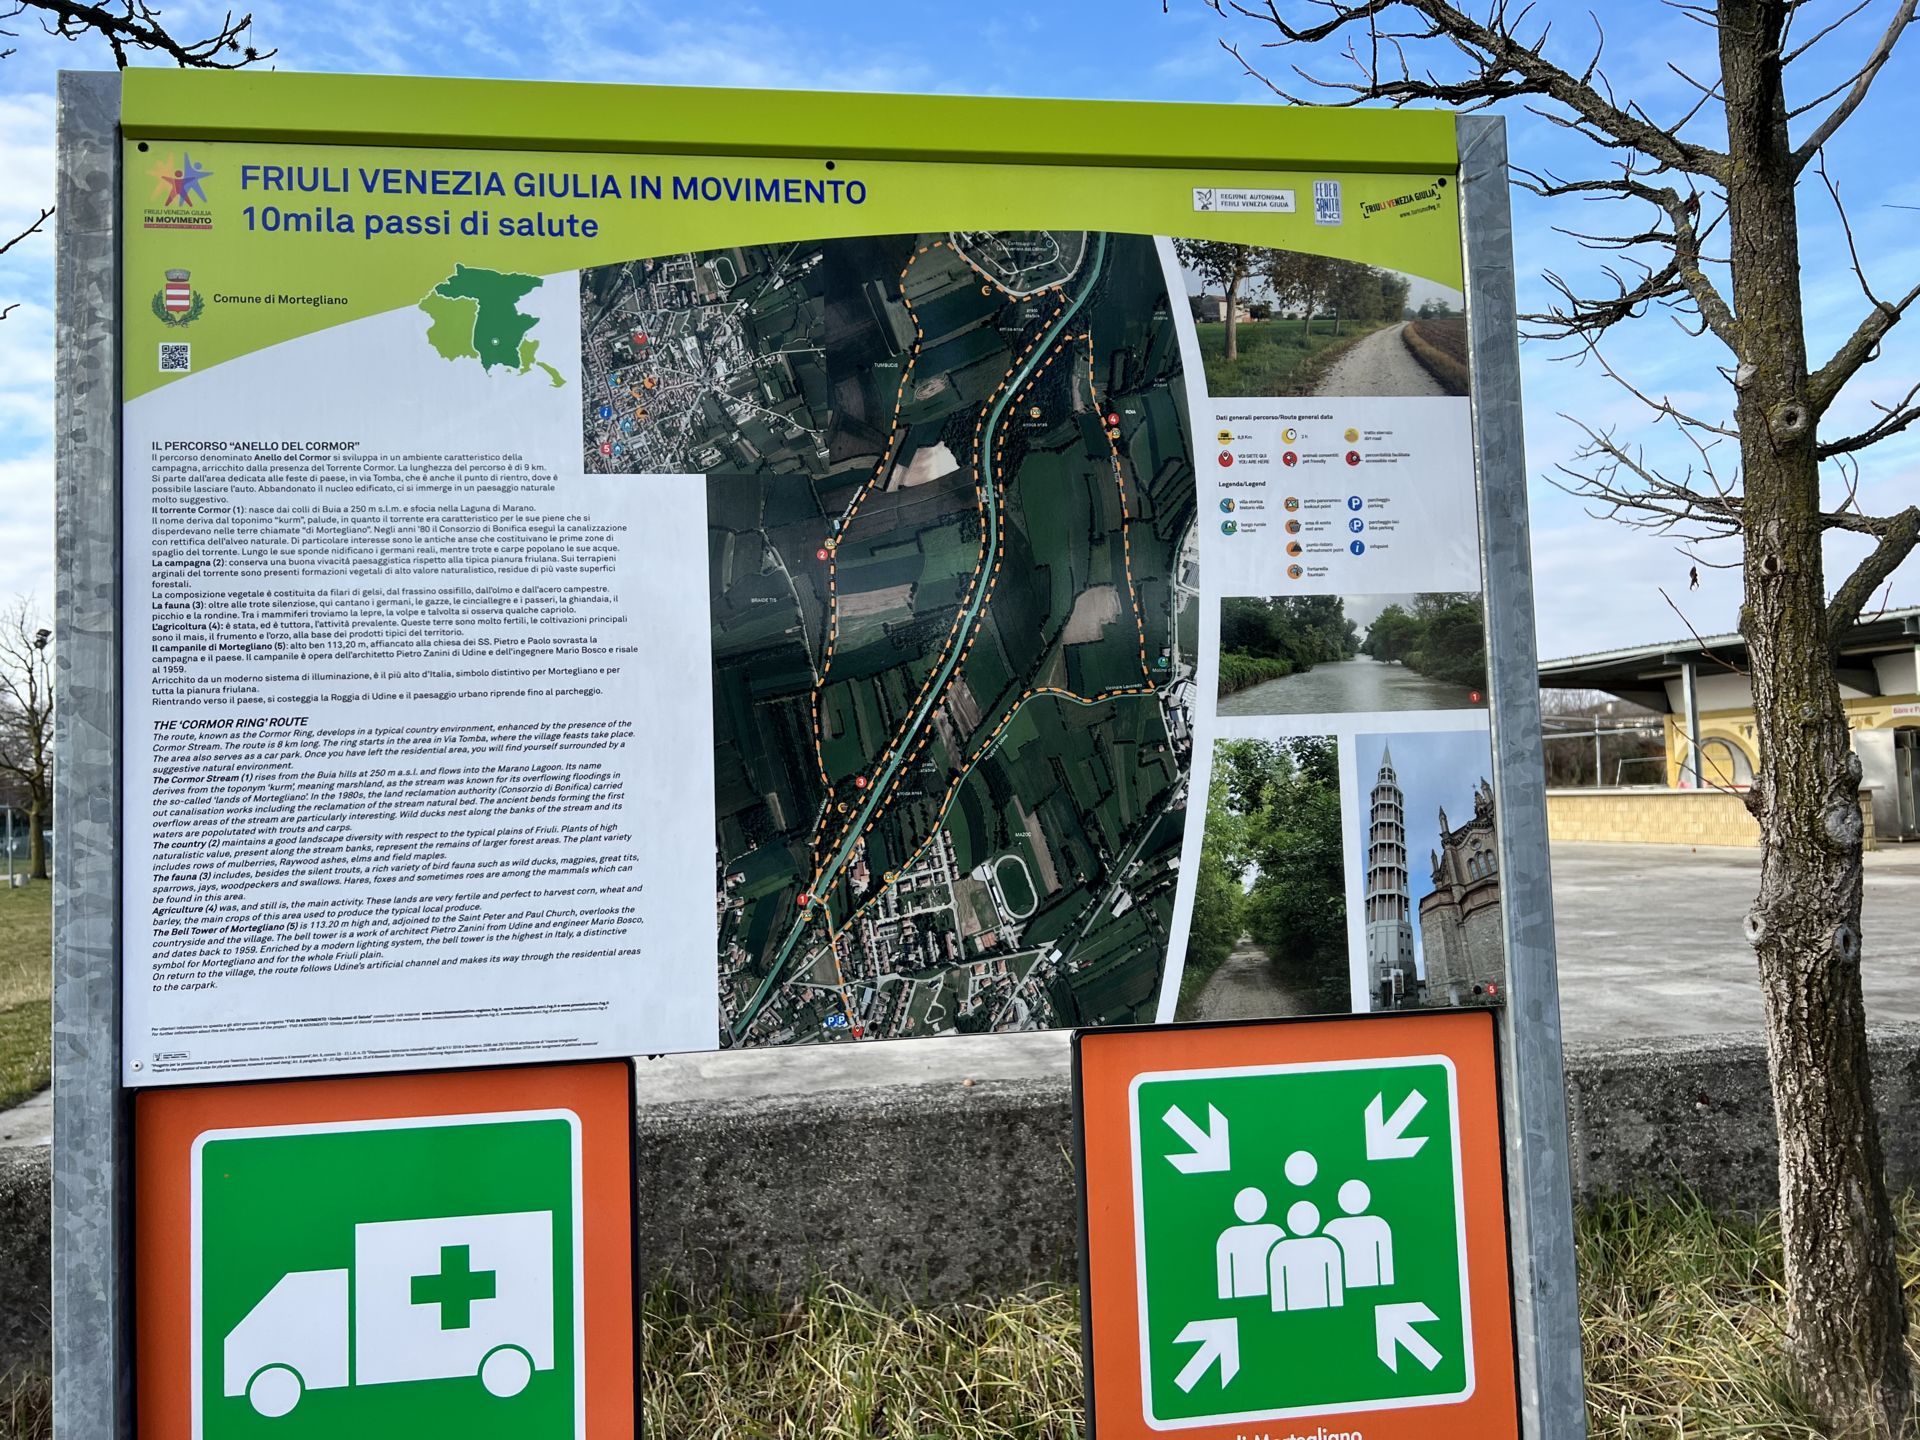
Photo 1 - Information panel

Photo 2 - Road with parking spaces
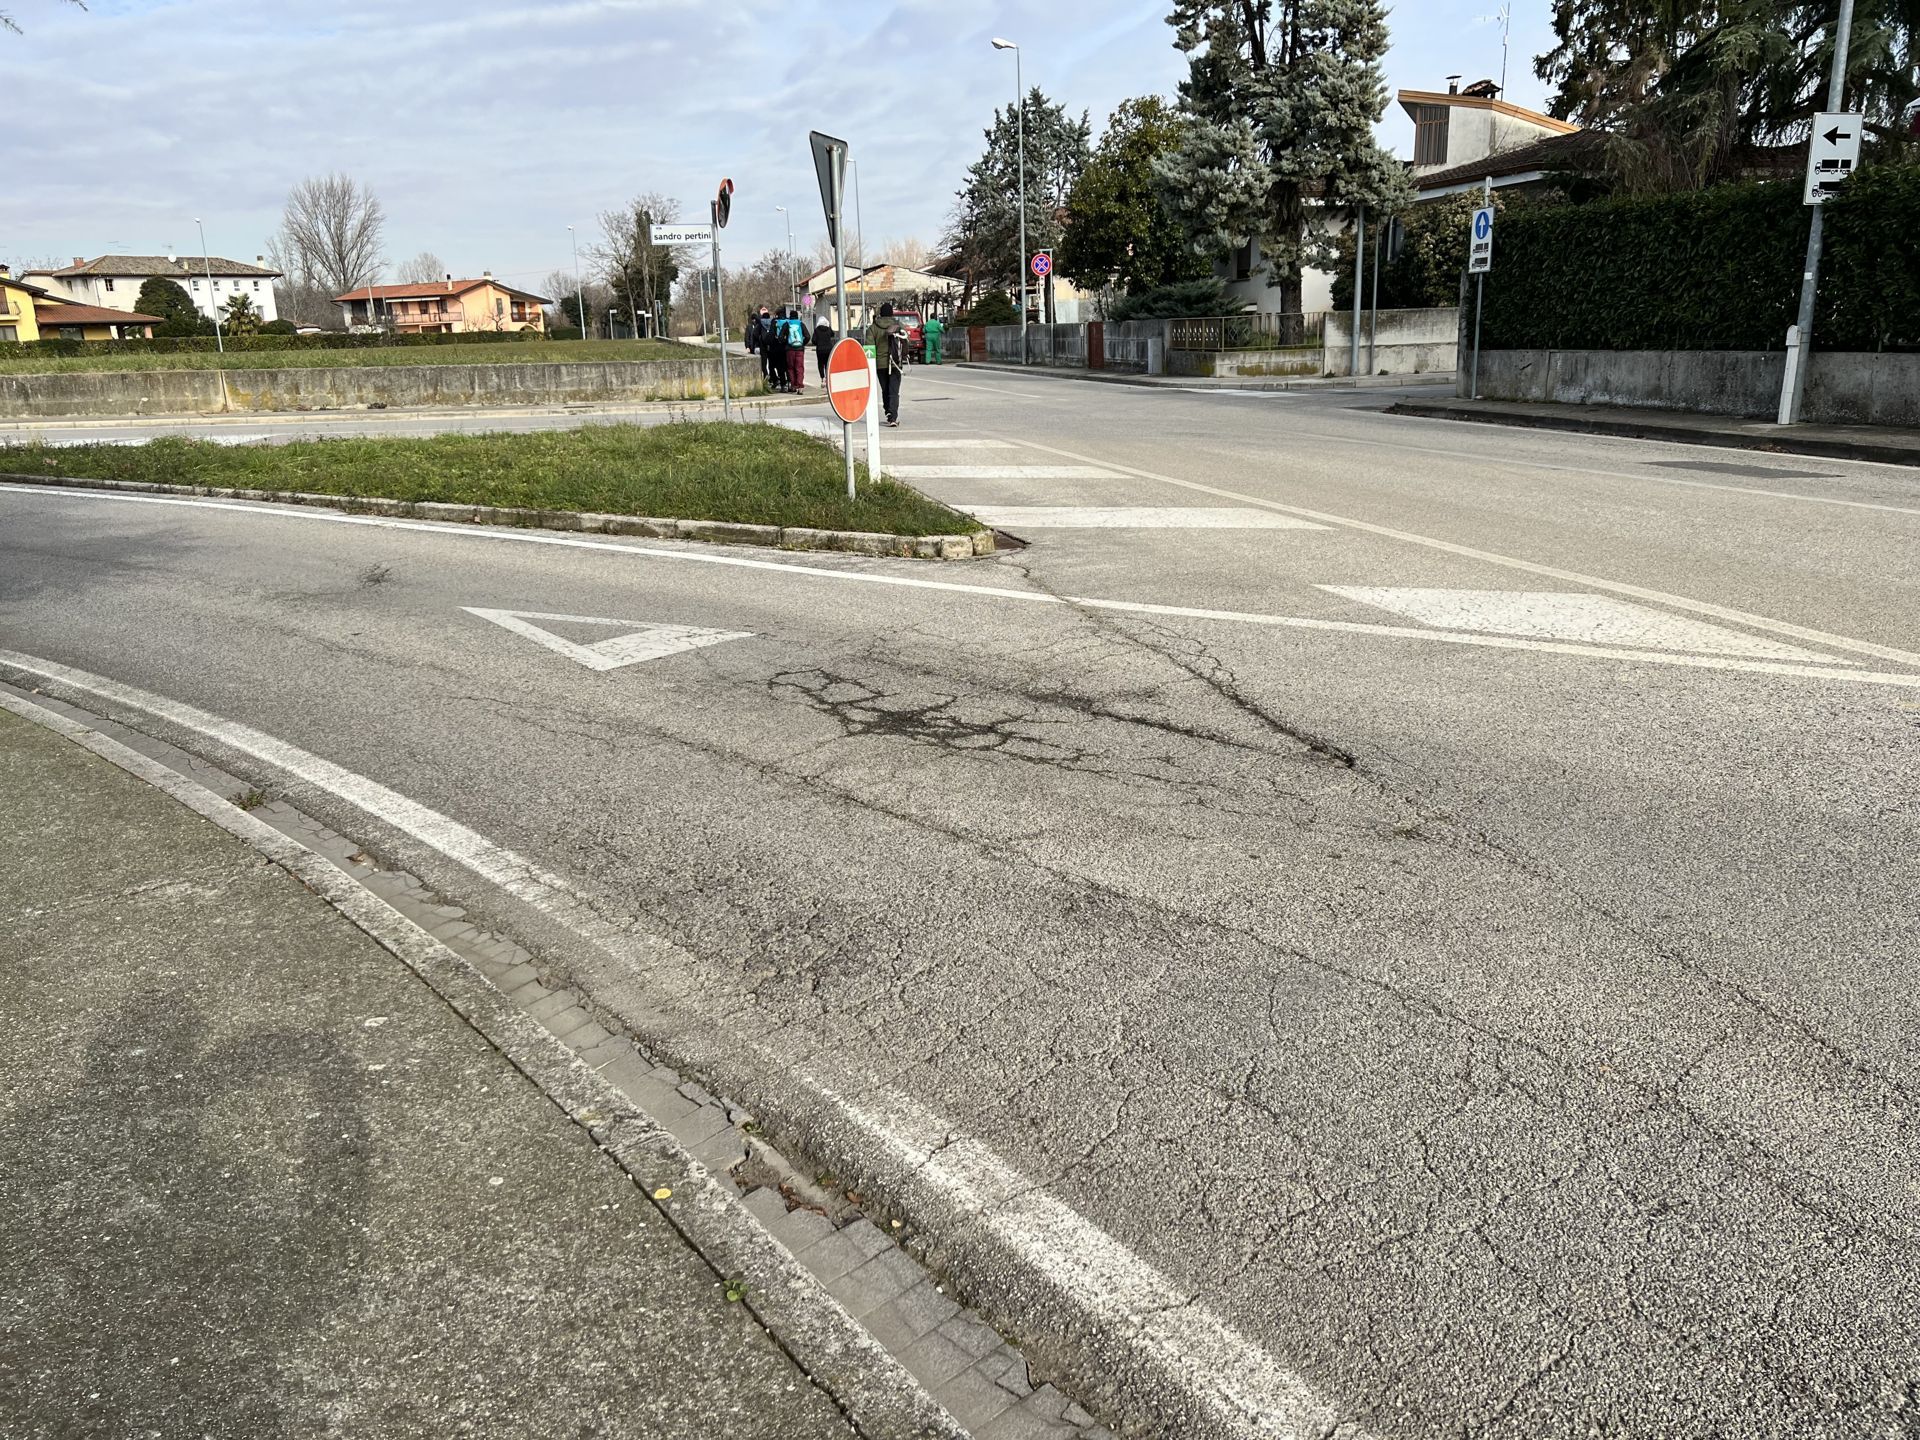
Photo 3 - Tomba street intersection without pedestrian crossings
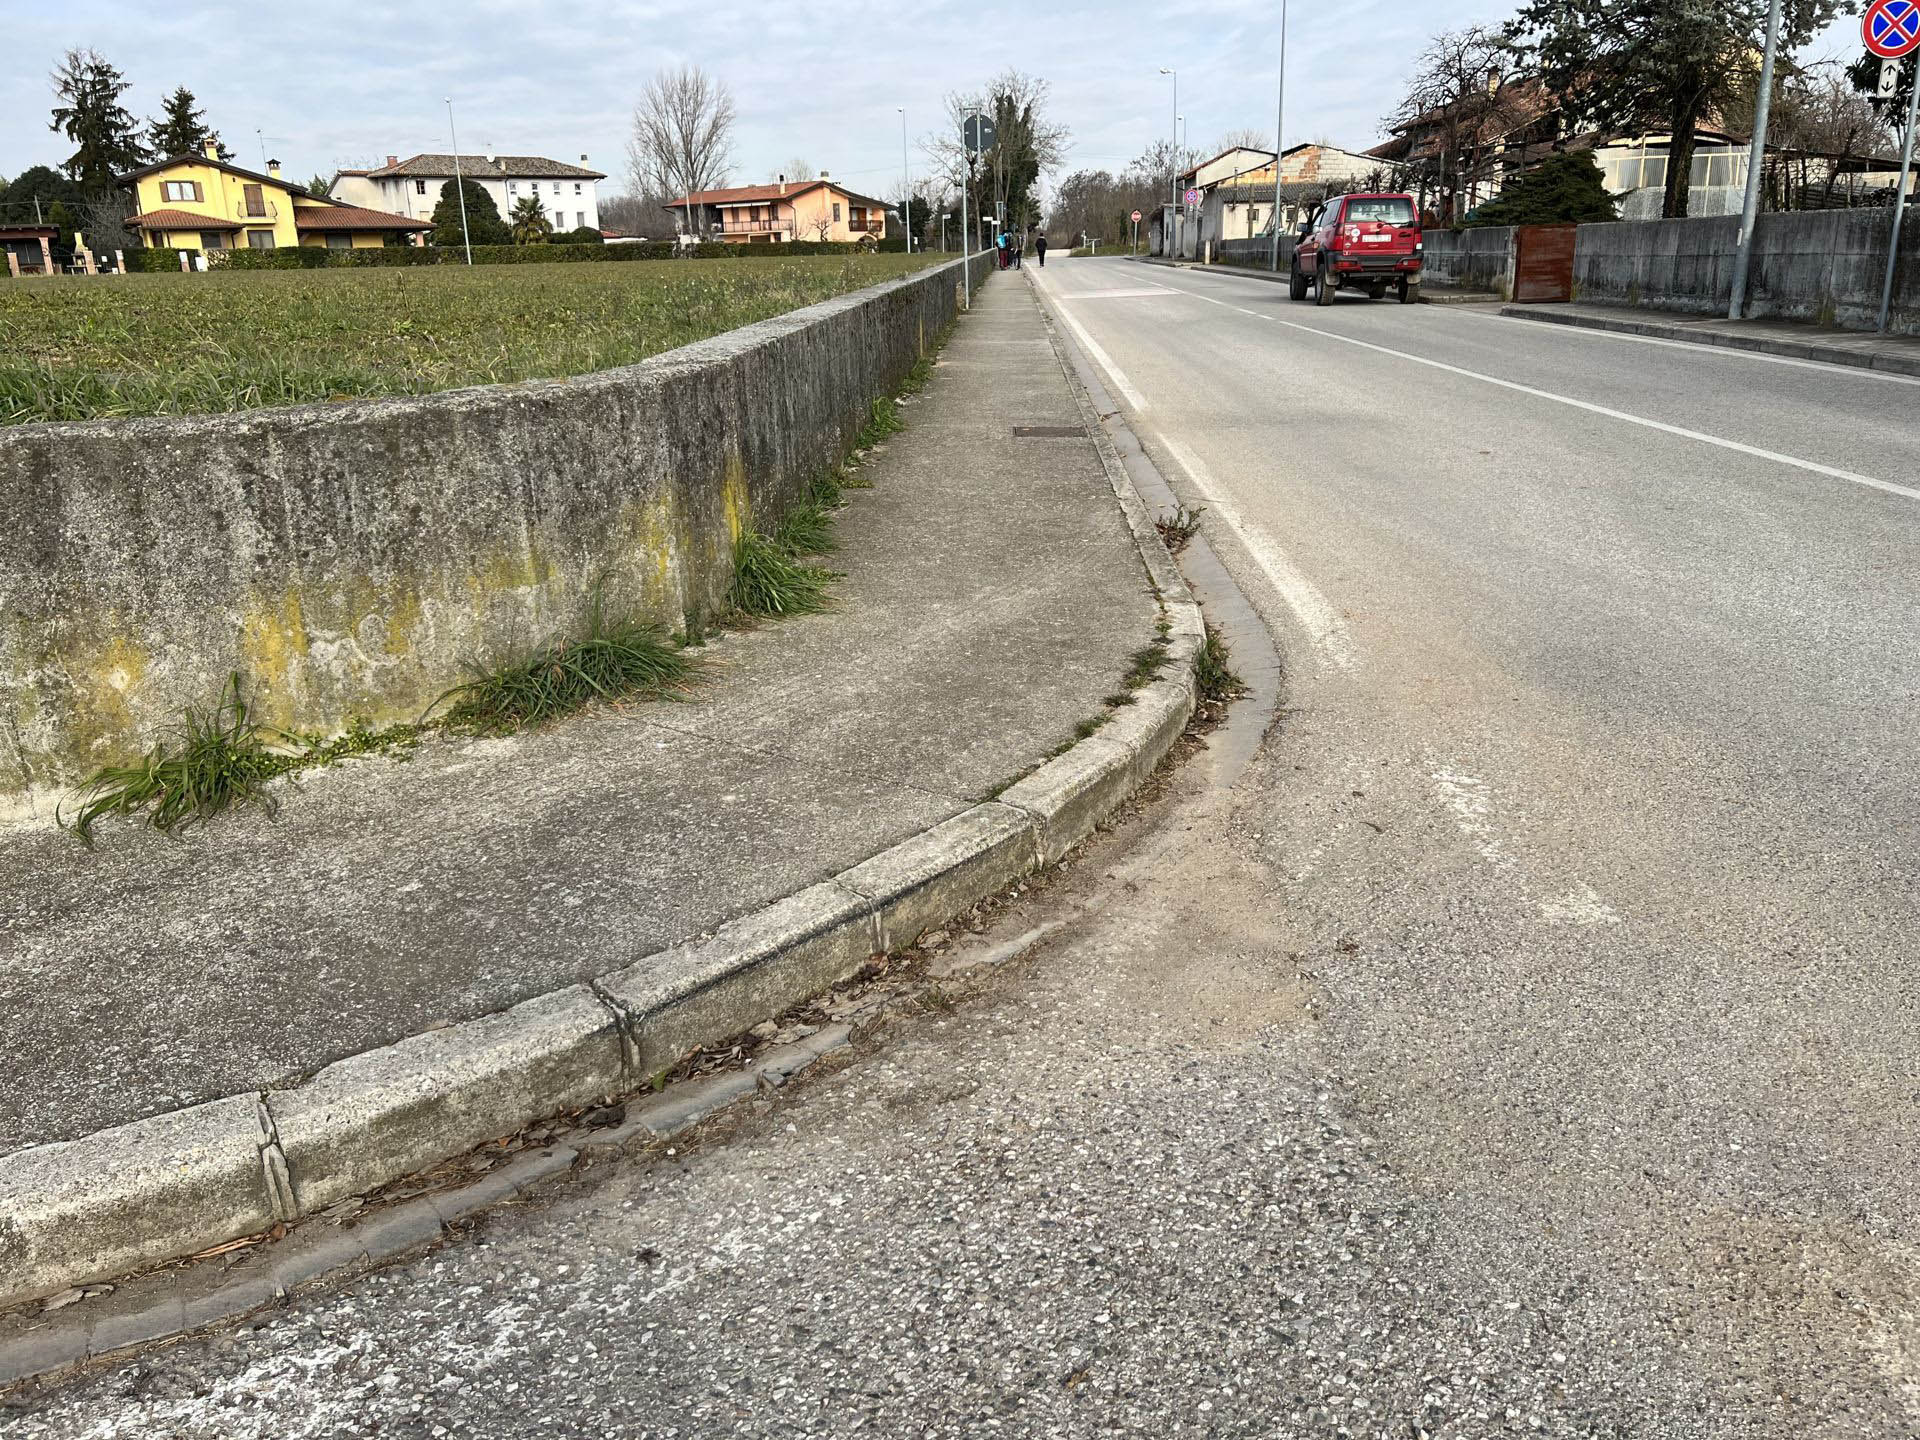
Photo 4 - Sidewalk without ramp
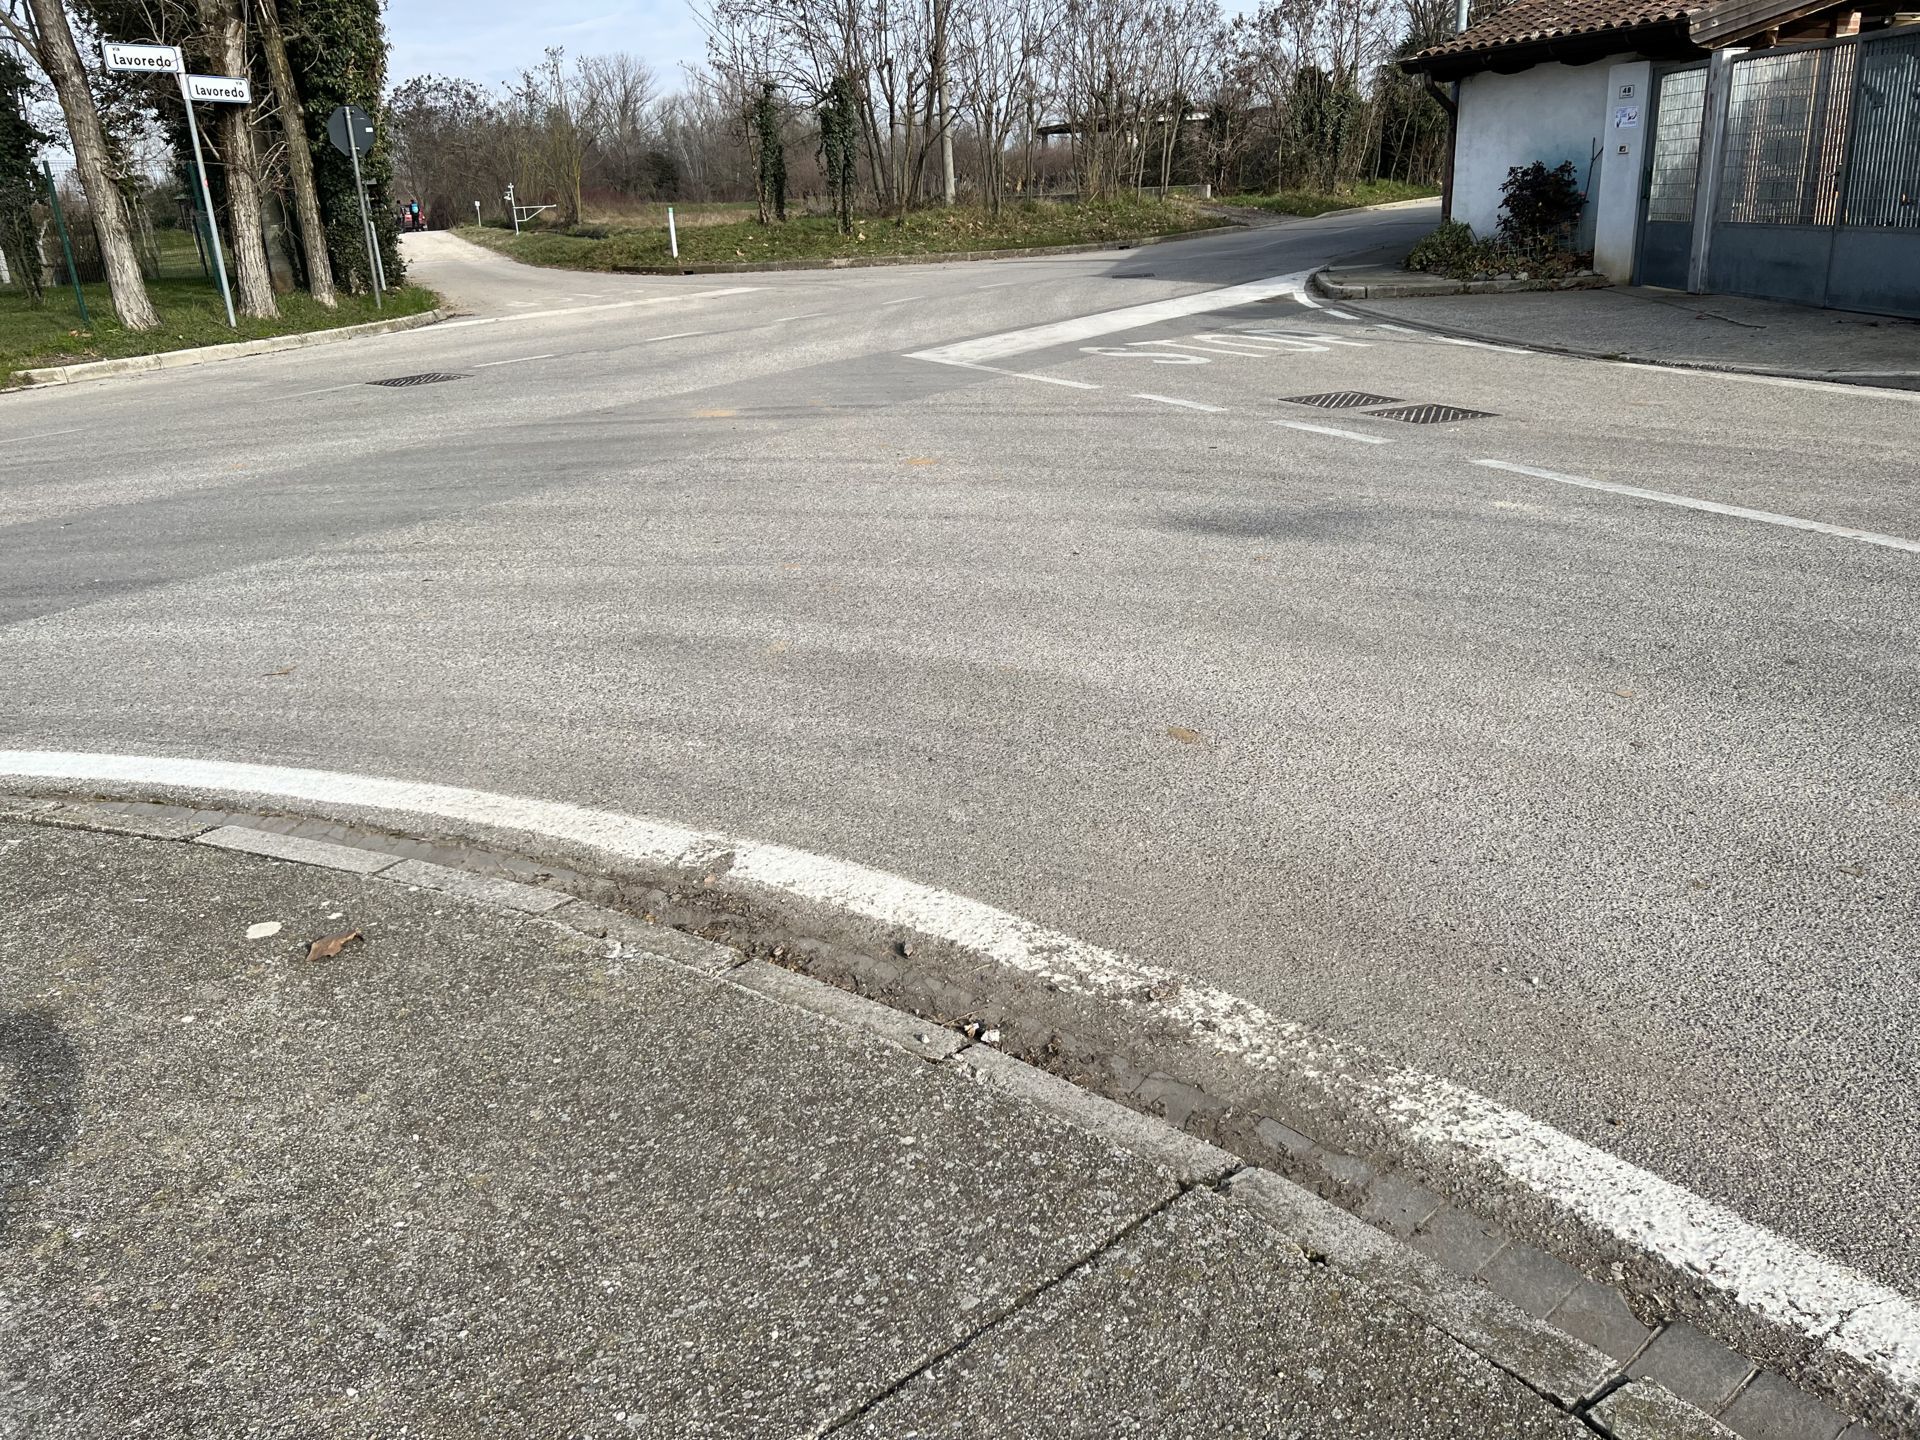
Photo 5 - Road without pedestrian crossings and sidewalk without ramp

Photo 6 - Start of dirt and gravel path
A couple of curves, with negligible elevation change, lead to the cement bridge that allows crossing the Cormor canal (Photo 7 and 8) and you continue again on a dirt path.
About ten meters further on, you reach a first junction that represents both the beginning and the end of the first of the two loops that make up the route; here there is an explanatory sign showing the map of the itinerary (Photo 9). It is necessary to rely on it to continue in the correct direction (to the left), as the canonical indication with the green arrow is absent.
It is worth noting that the route is also open to the passage of horses and agricultural vehicles.
After about a kilometer from the first junction, you arrive at a second junction; in this case, there is an indication that directs us in the correct direction (Photo 10); you always travel on a dirt road that is about 2 meters wide.
After about a hundred meters from the second junction, you reach a third junction; here too, the correct direction is indicated by a specific sign (Photo 11). The ground now has depressions that, in case of rain, can create puddles.
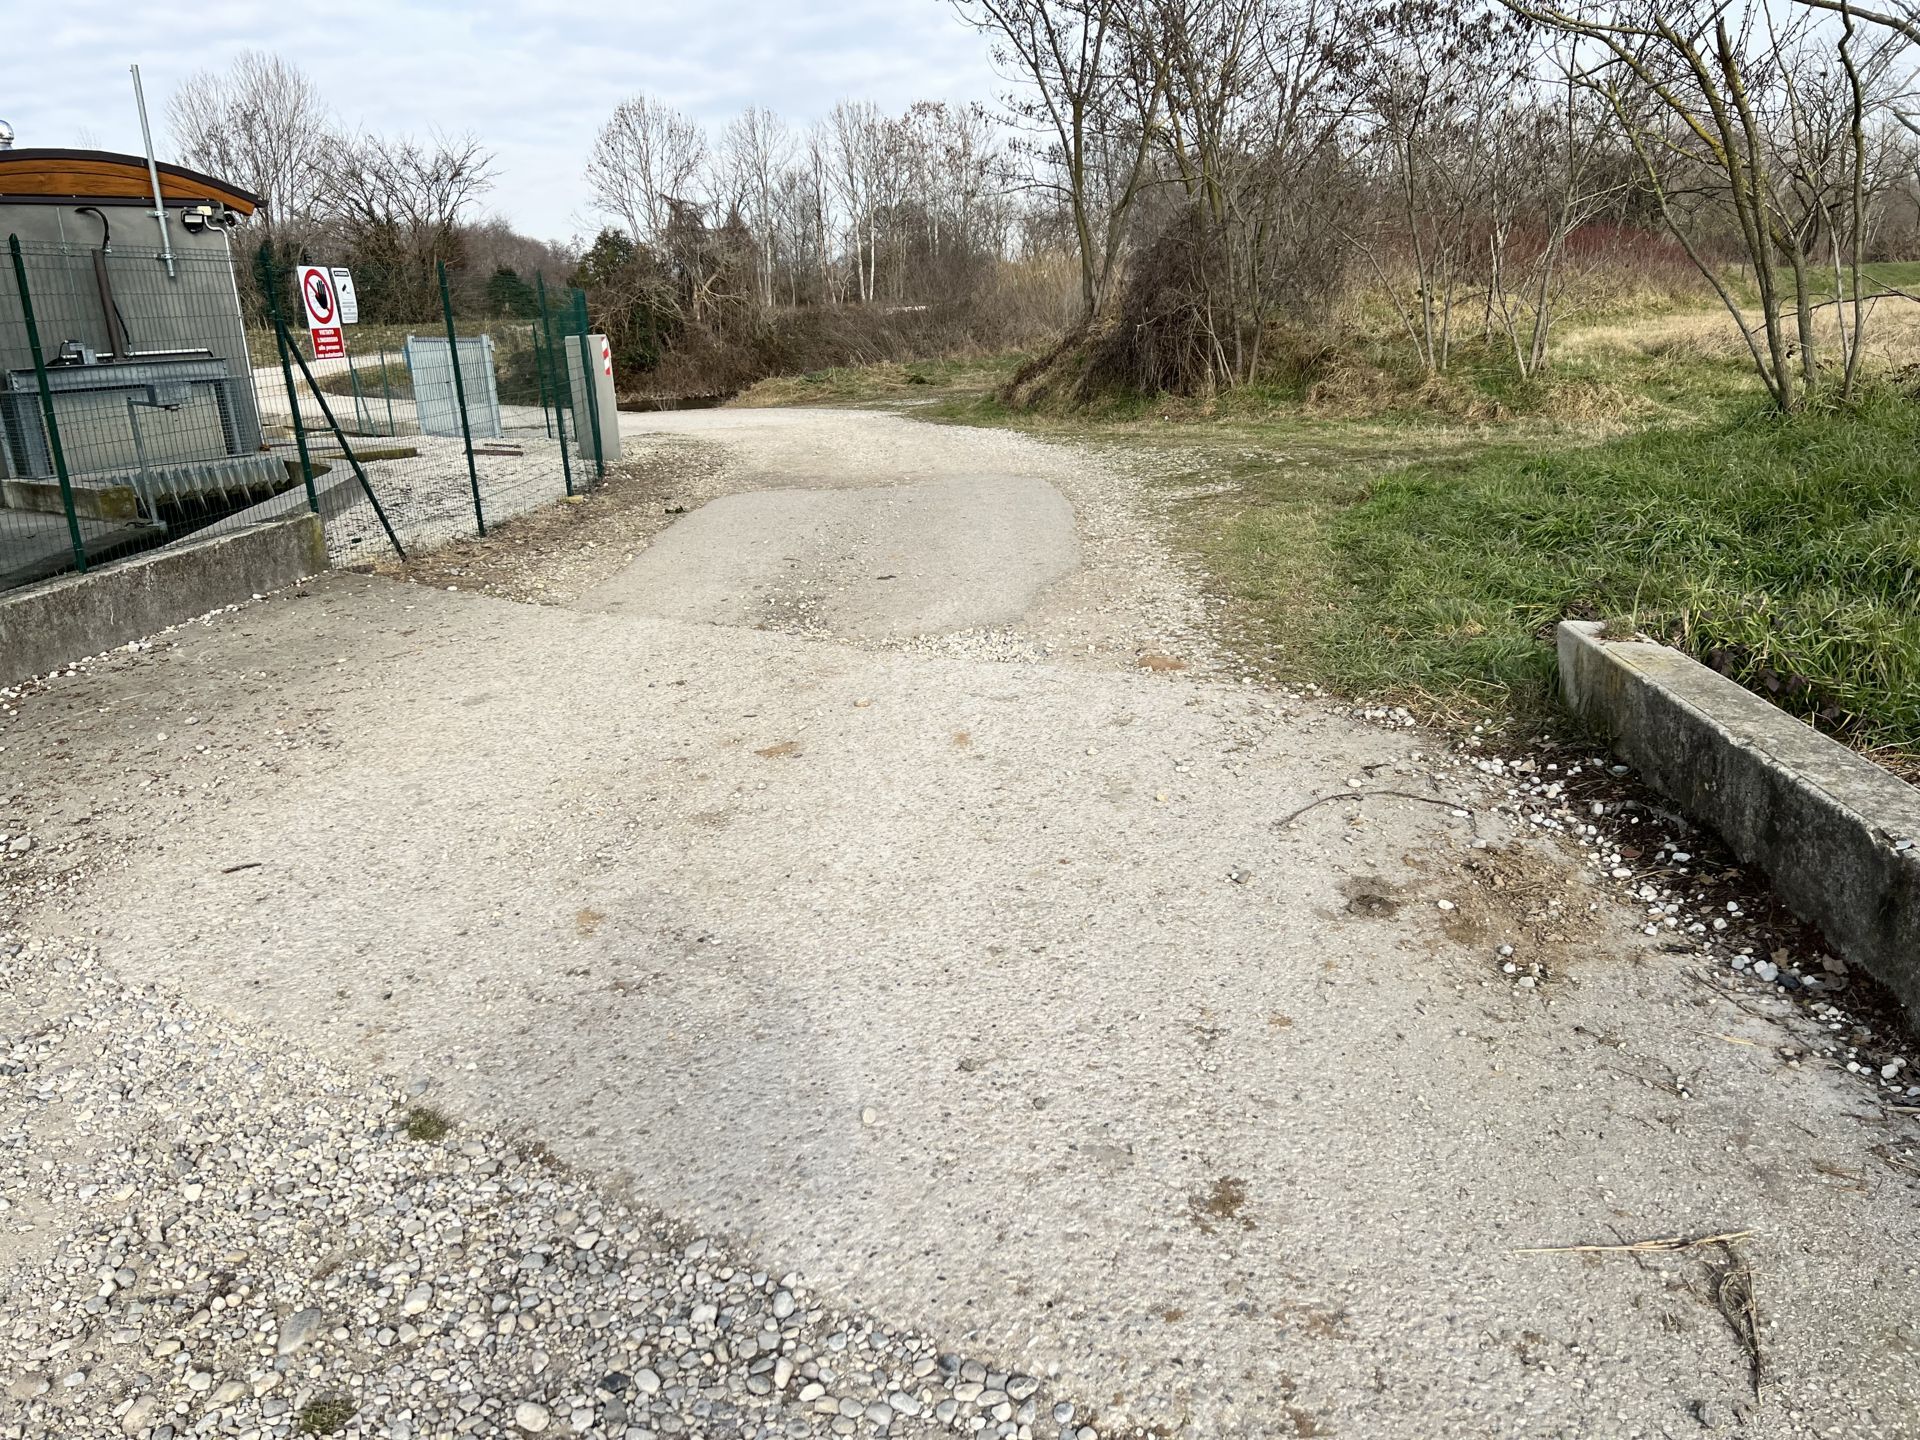
Photo 7 - Road leading to the cement bridge
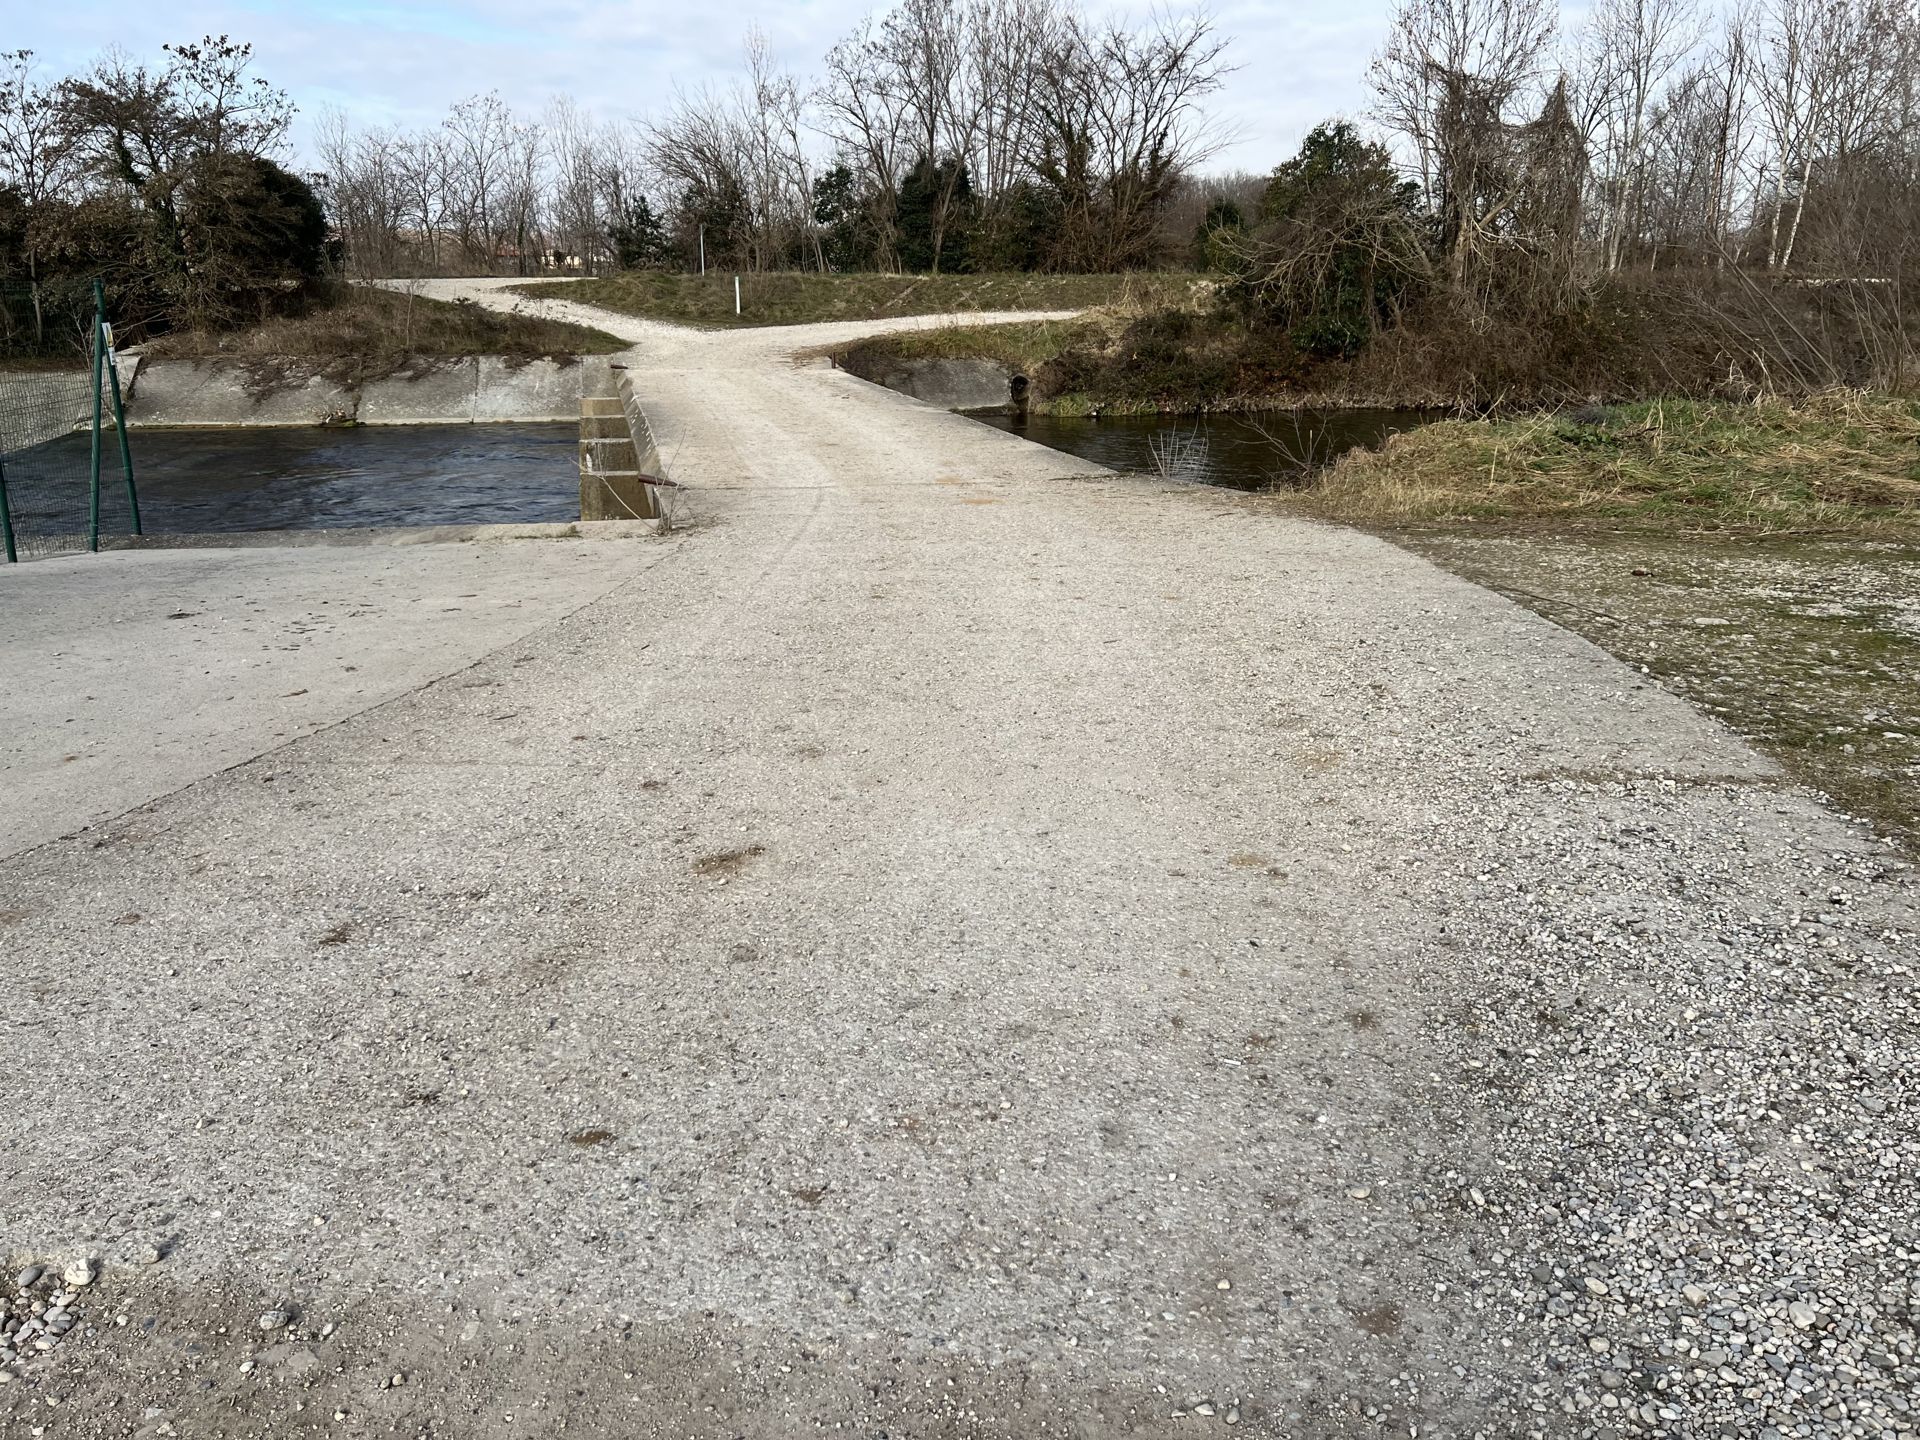
Photo 8 - Cement bridge over the Cormor canal
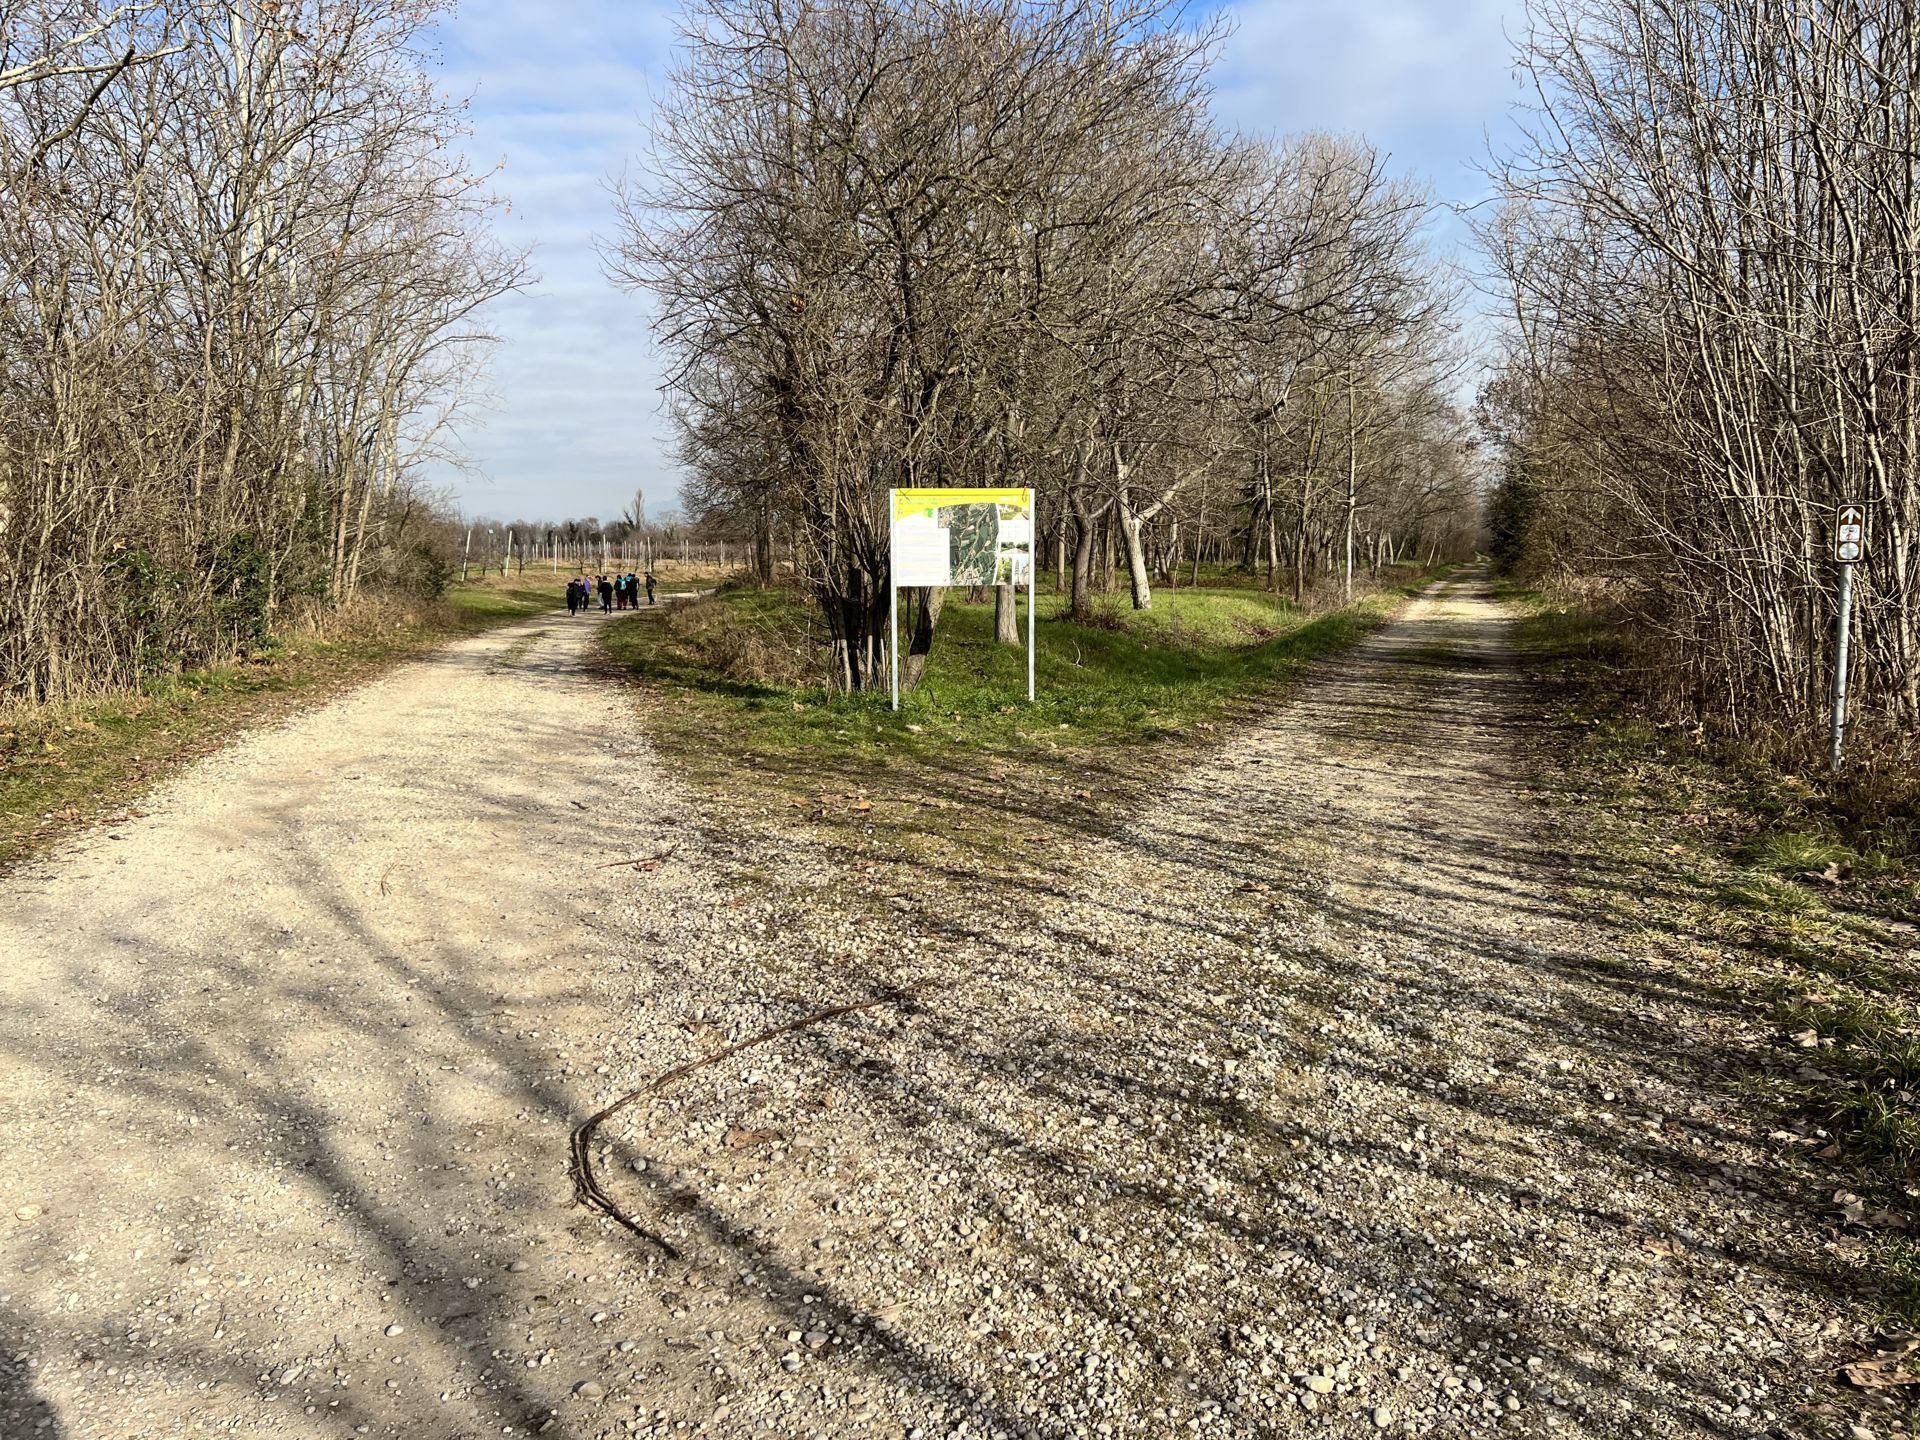
Photo 9 - Fork with explanatory sign (the path continues to the left)
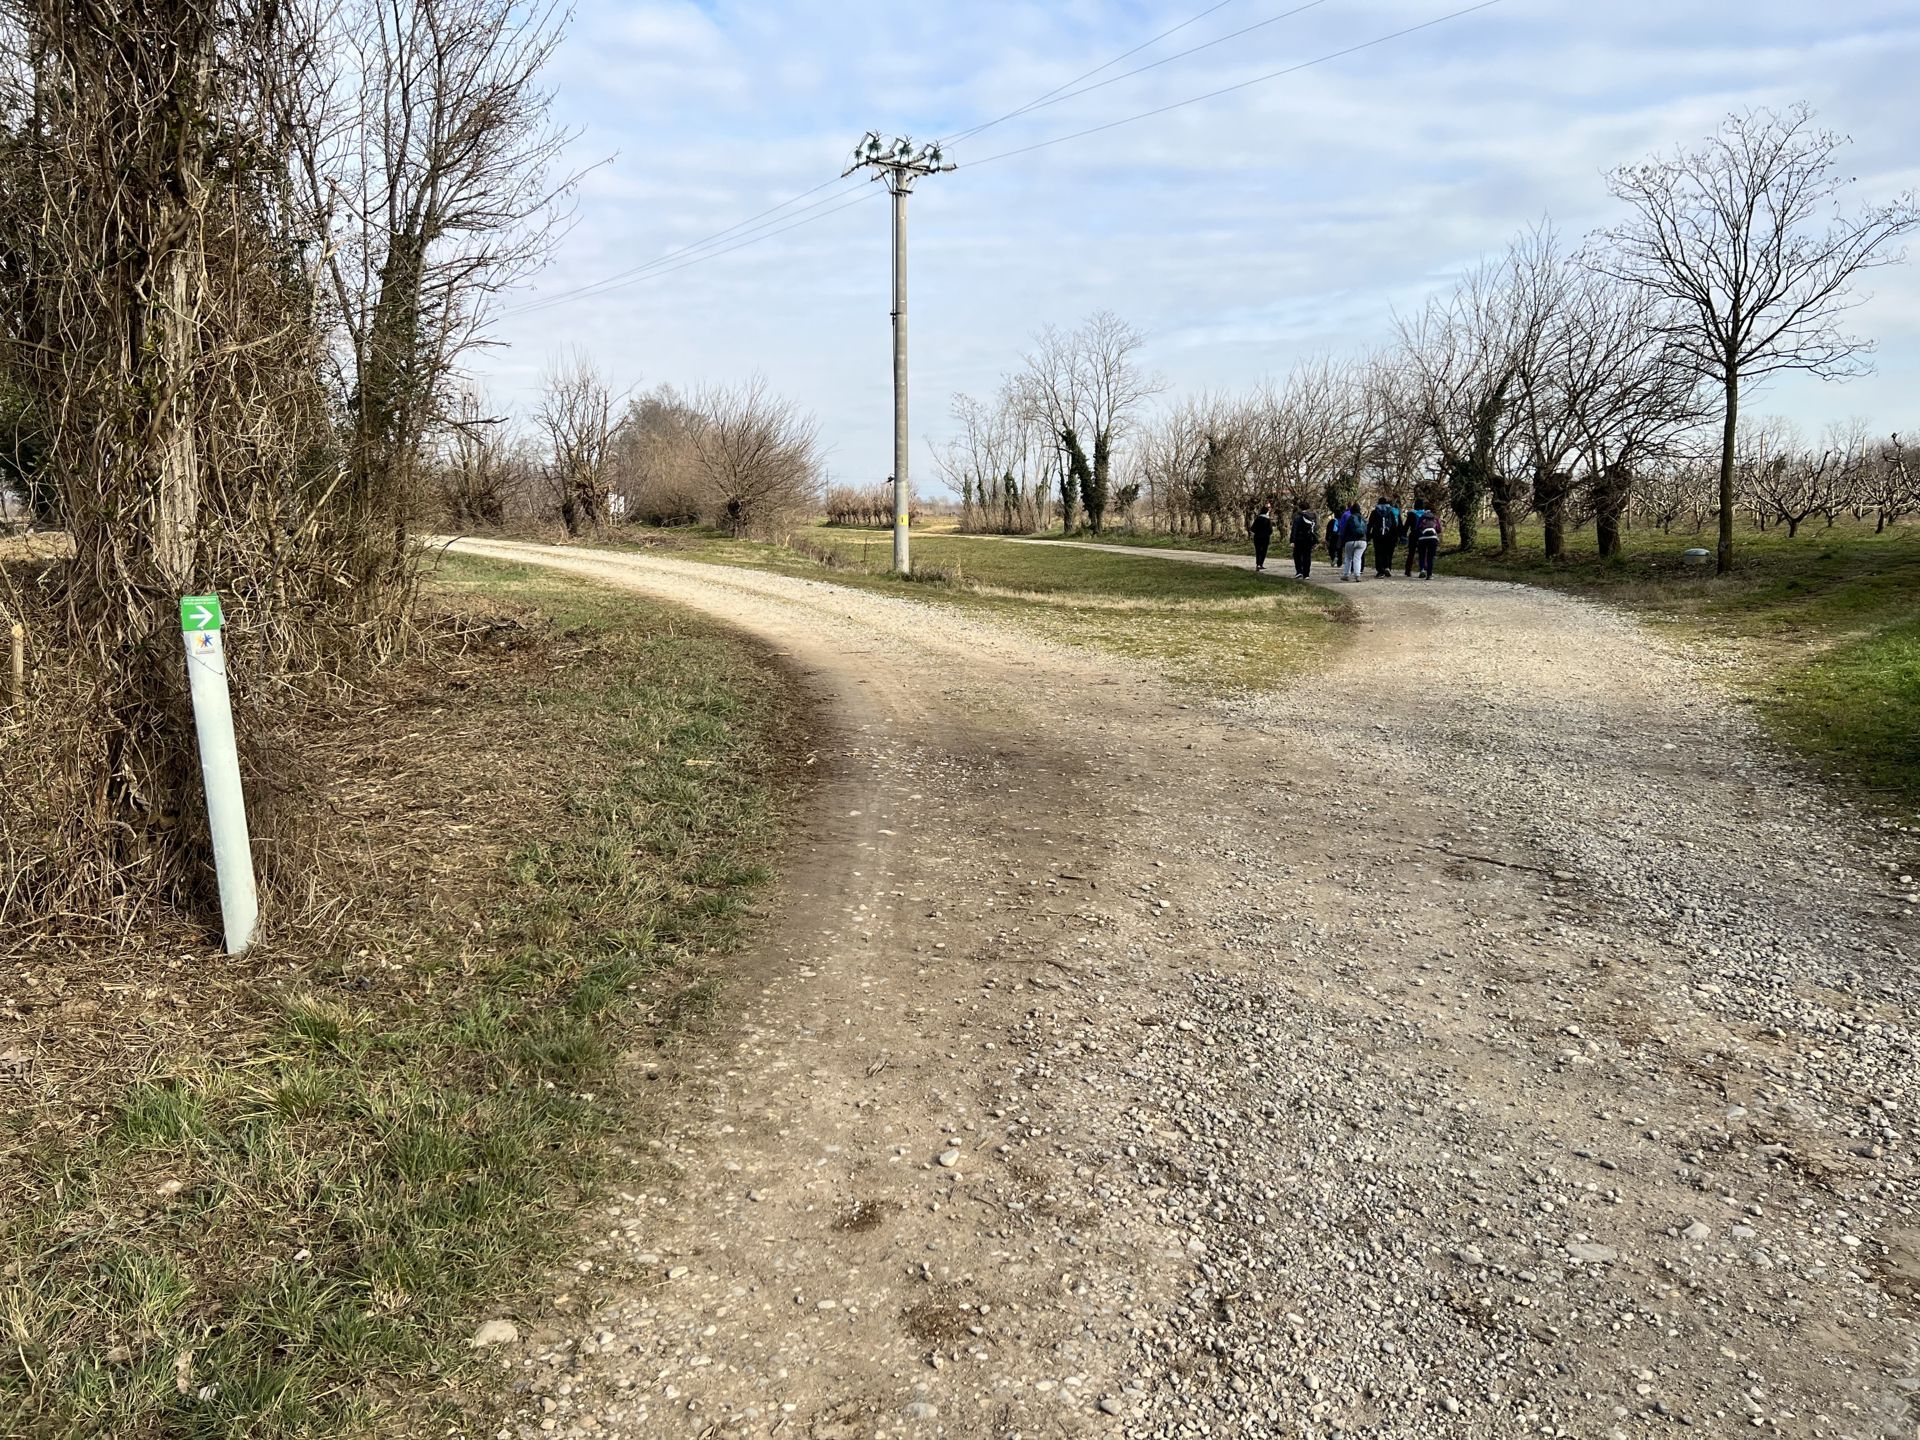
Photo 10 - Second fork with direction indication to follow
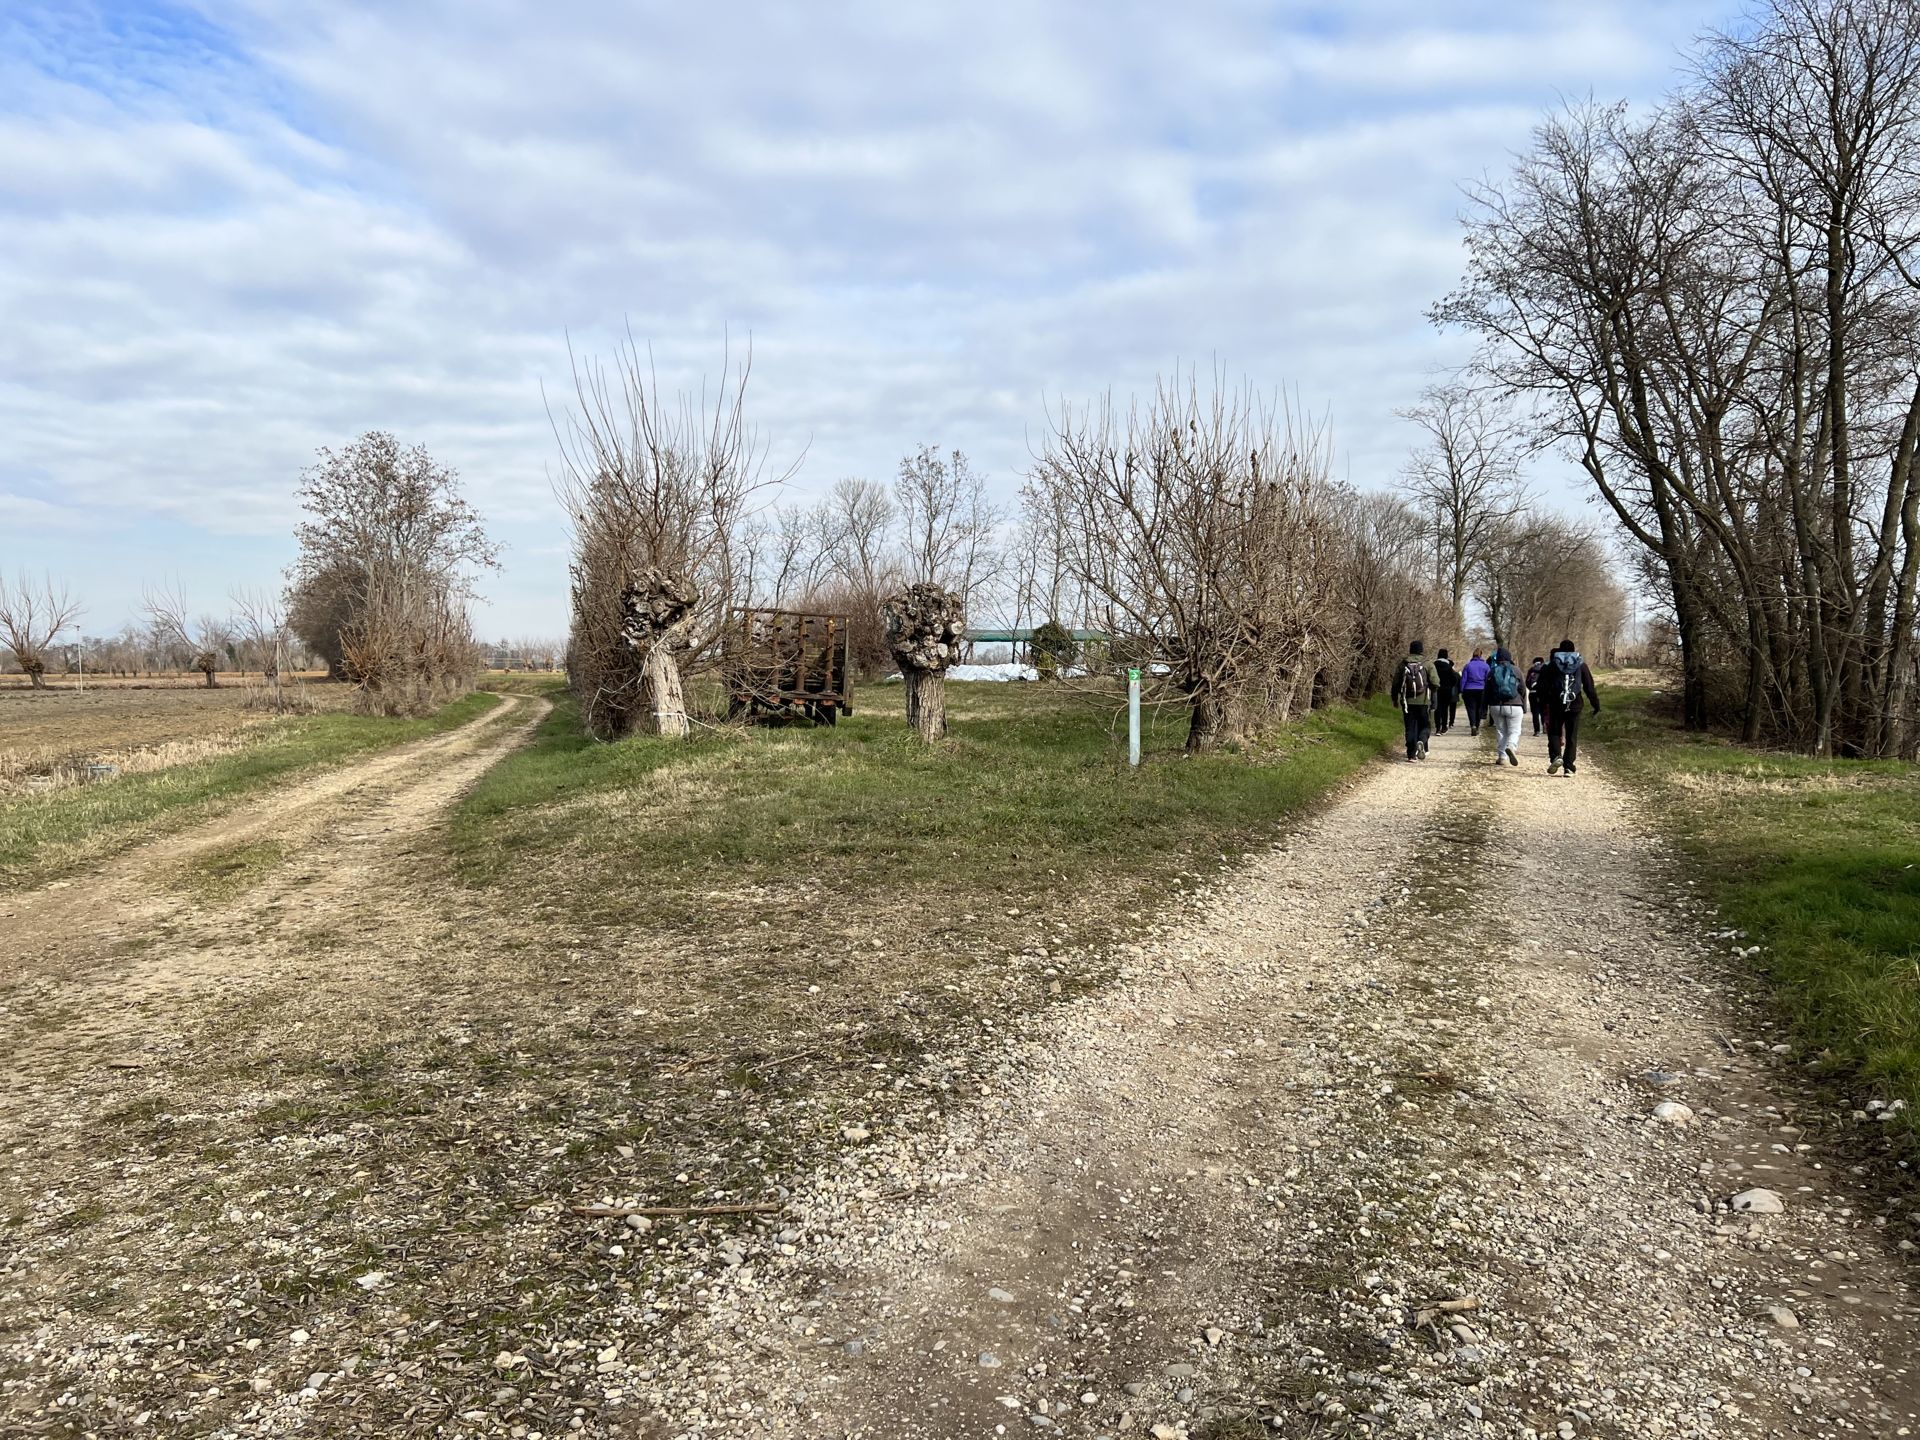
Photo 11 - Third fork with direction indication to follow
At the second kilometer of the route, the road surface changes from gravelly dirt to muddy dirt (Photo 12) and grassy (Photo 13).
Walking along the grassy section, a hundred meters further on, the 10,000 steps sign appears, inviting to turn right, with a horse breeding farm's fence on the left (Photo 14).
After passing the riding school, before entering a small grove, there is a very uneven stretch of path, with large stones and deep ruts presumably left by tractors; the downhill slope is about 15 degrees (Photo 15).
Exiting the uneven stretch and the grassy path, one comes to a fork; here the direction sign indicates a right turn. (Photo 16).
After a couple of kilometers of dirt road, with no difficulties to report, the first loop is completed; one finds themselves again at the point where there is the explanatory sign with the route indication (Photo 17).
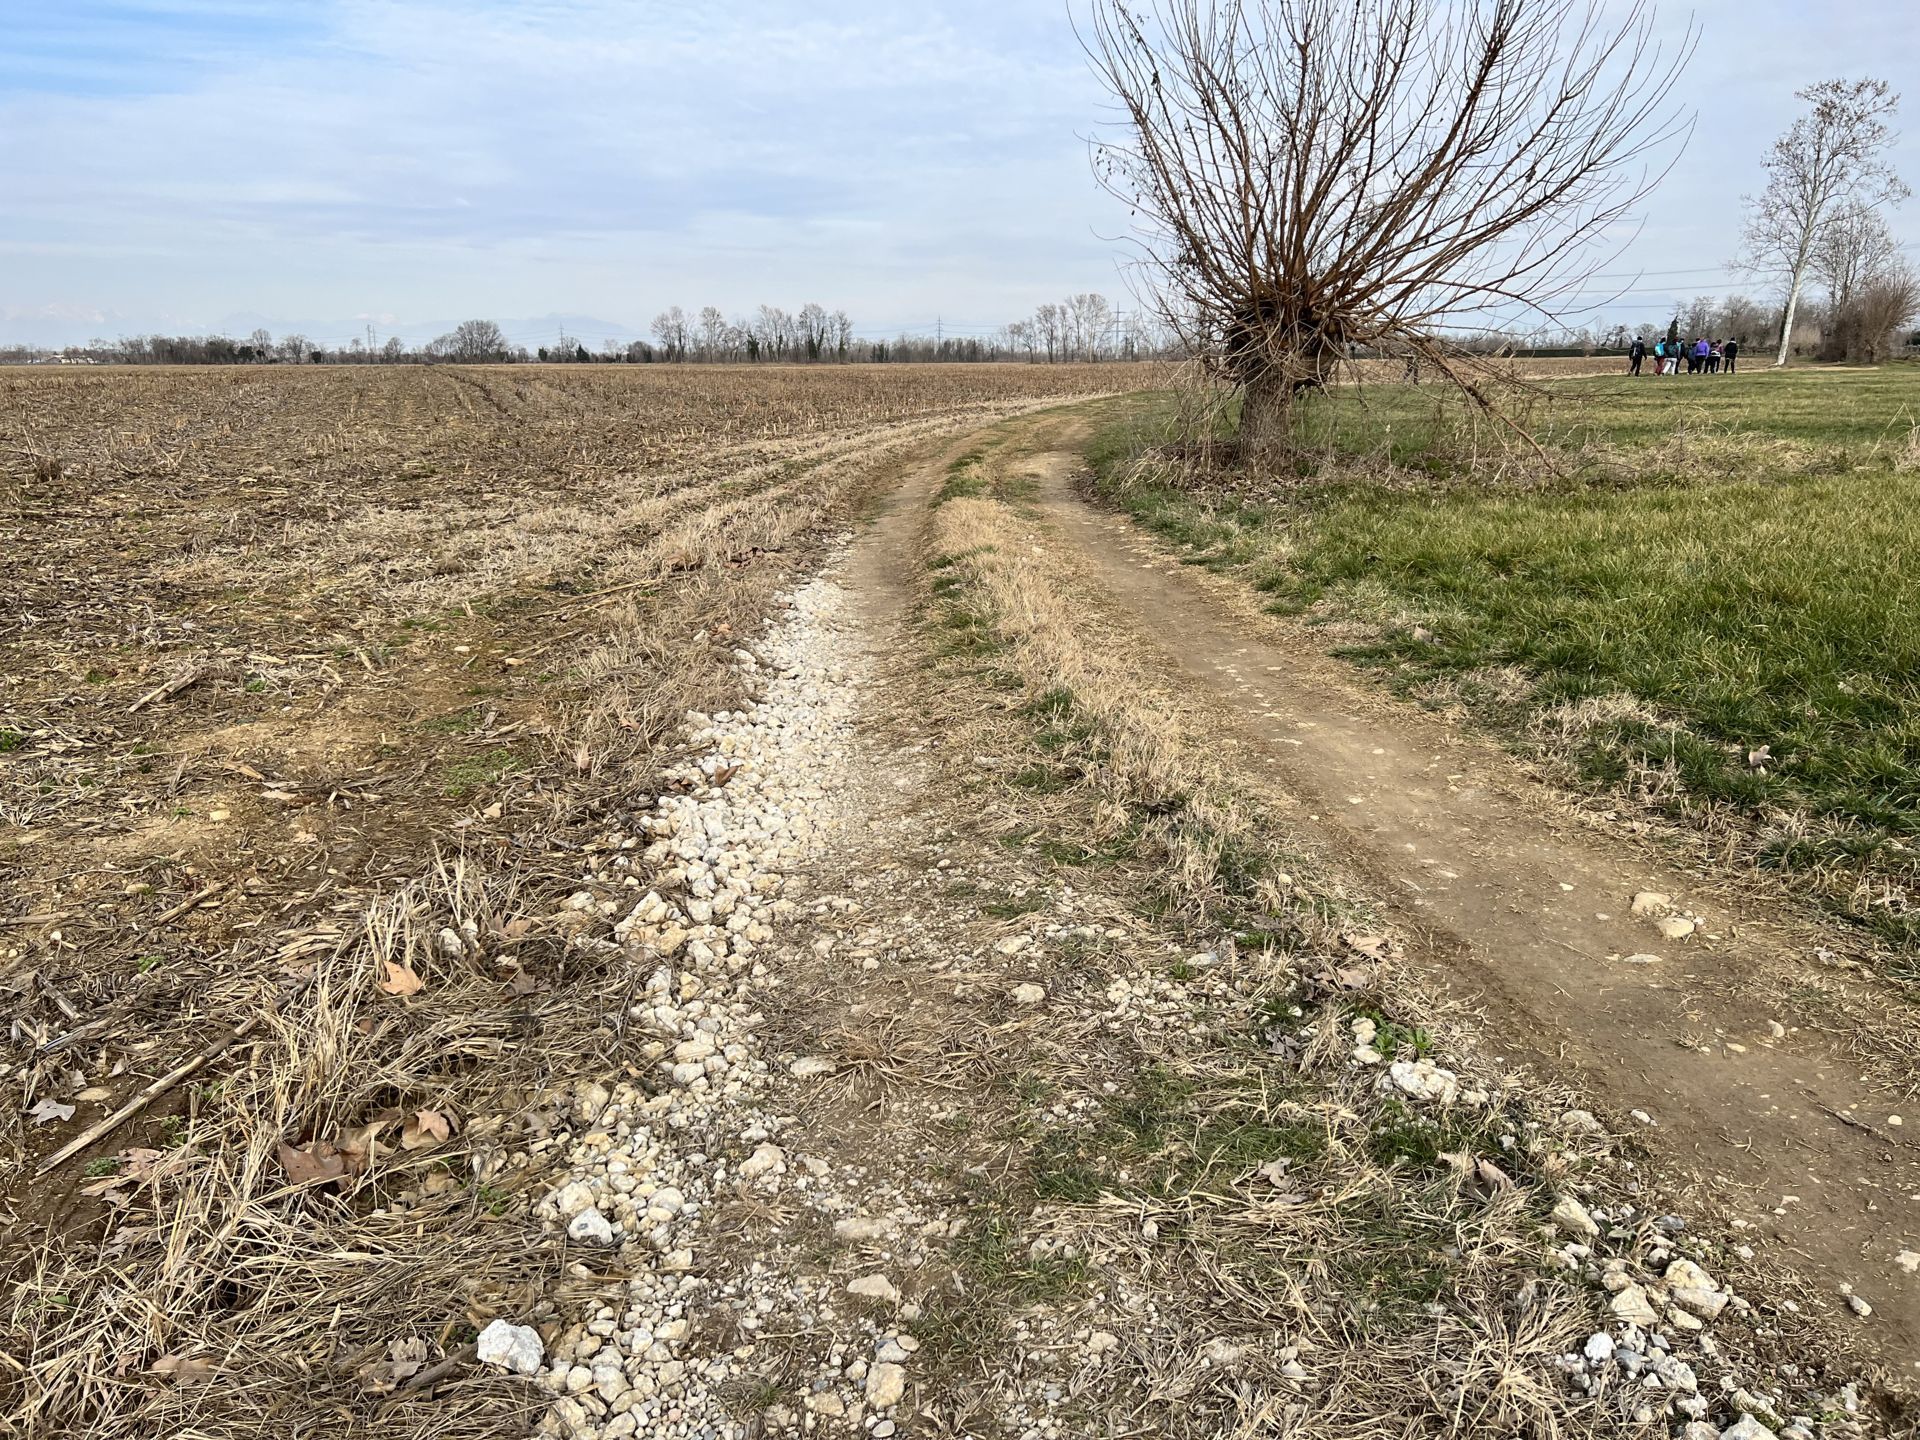
Photo 12 - Muddy dirt path with bumps
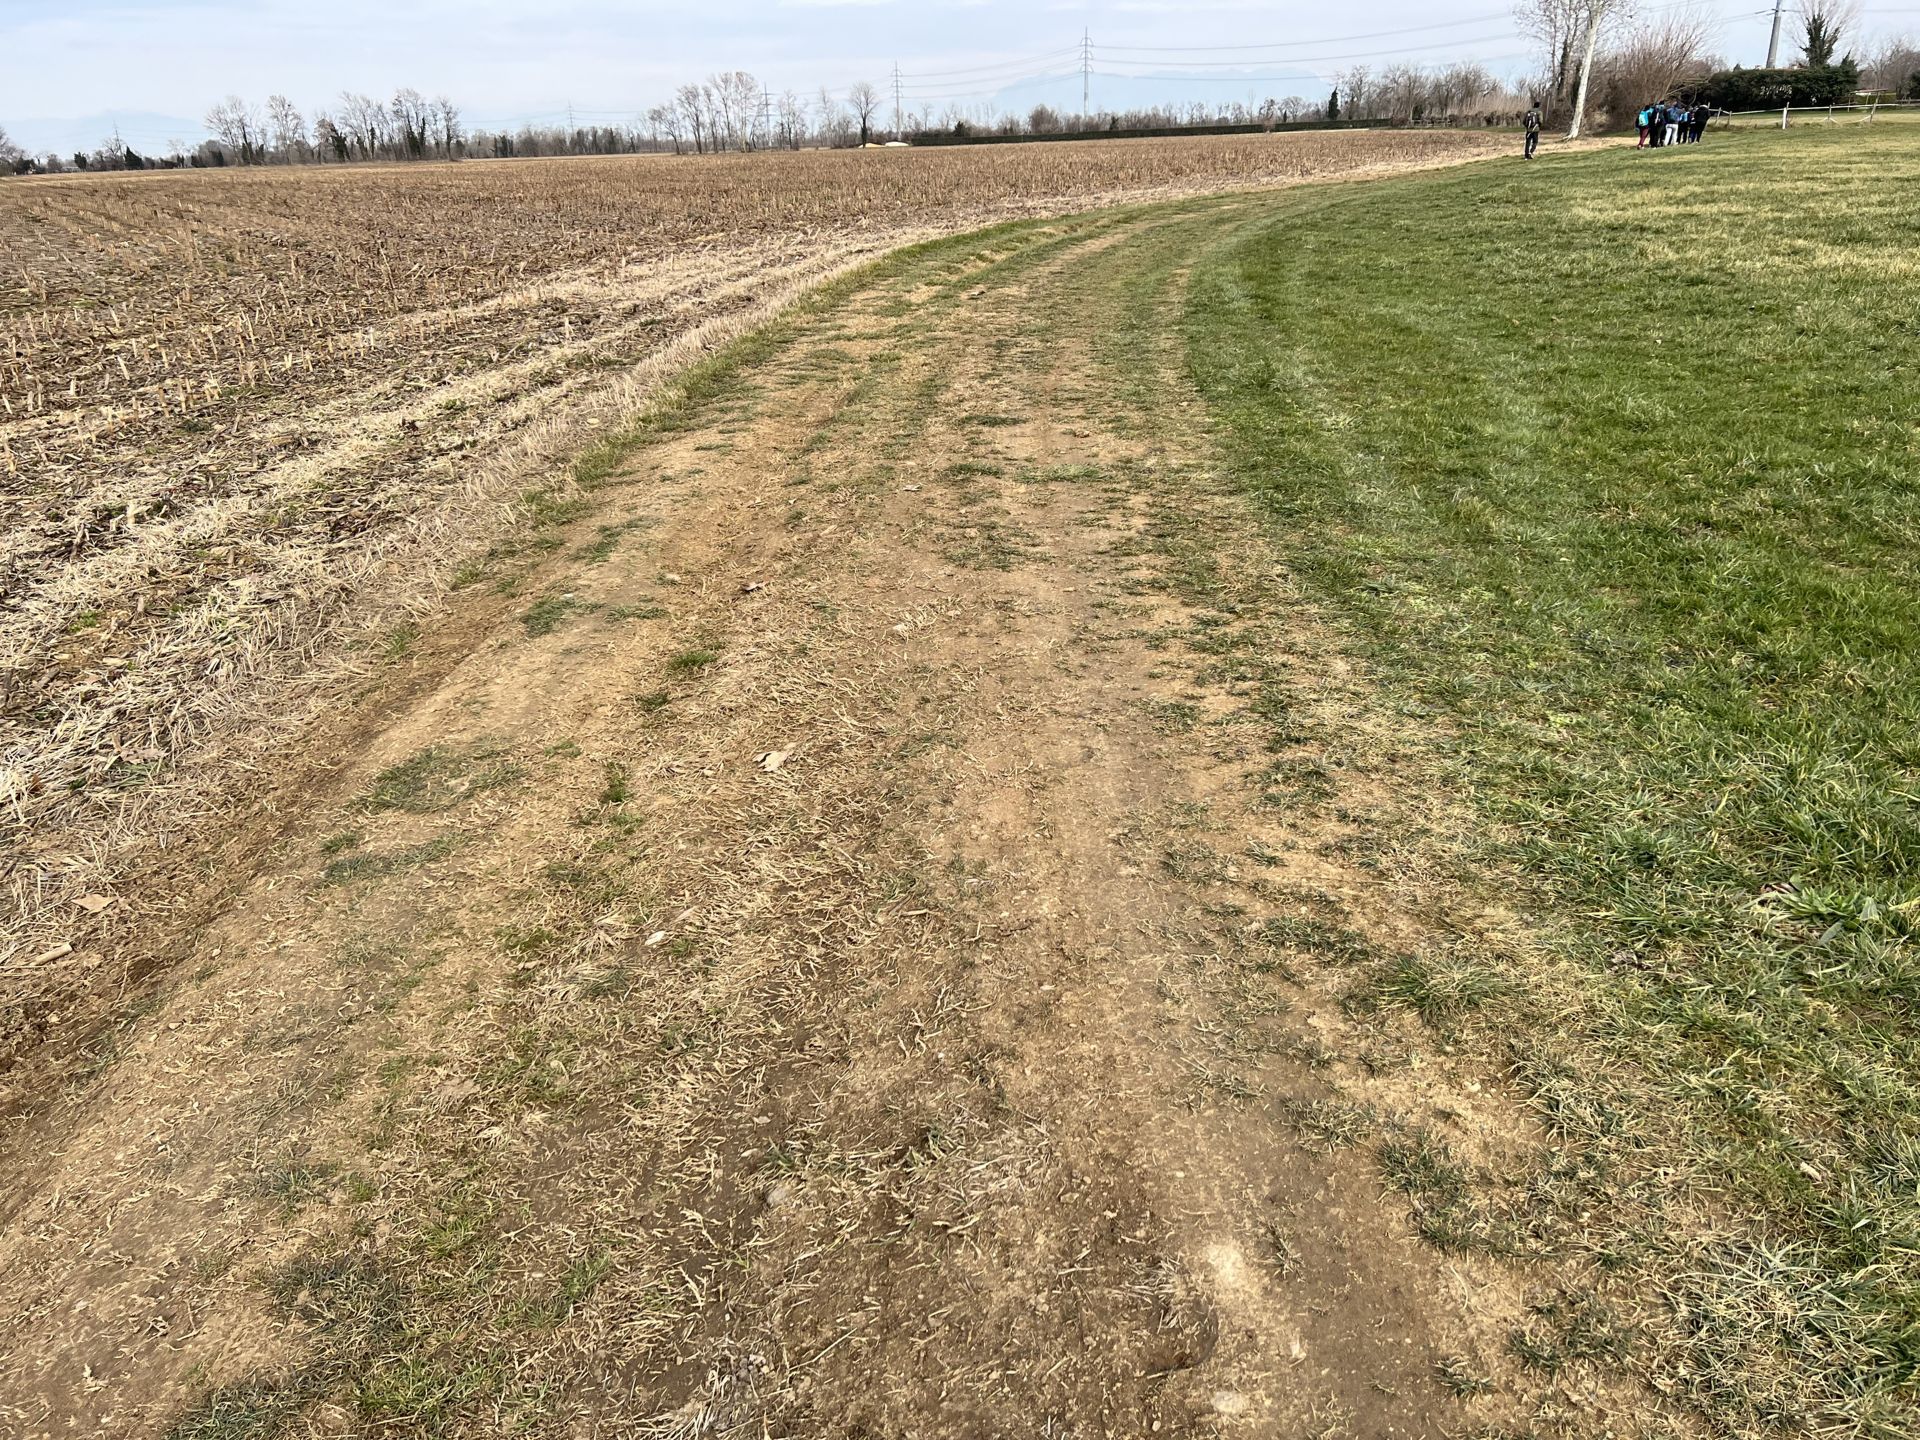
Photo 13 - Muddy and grassy dirt path
Photo 14 - Grassy path with direction indication

Photo 15 - Very uneven downhill section with large stones and deep ruts
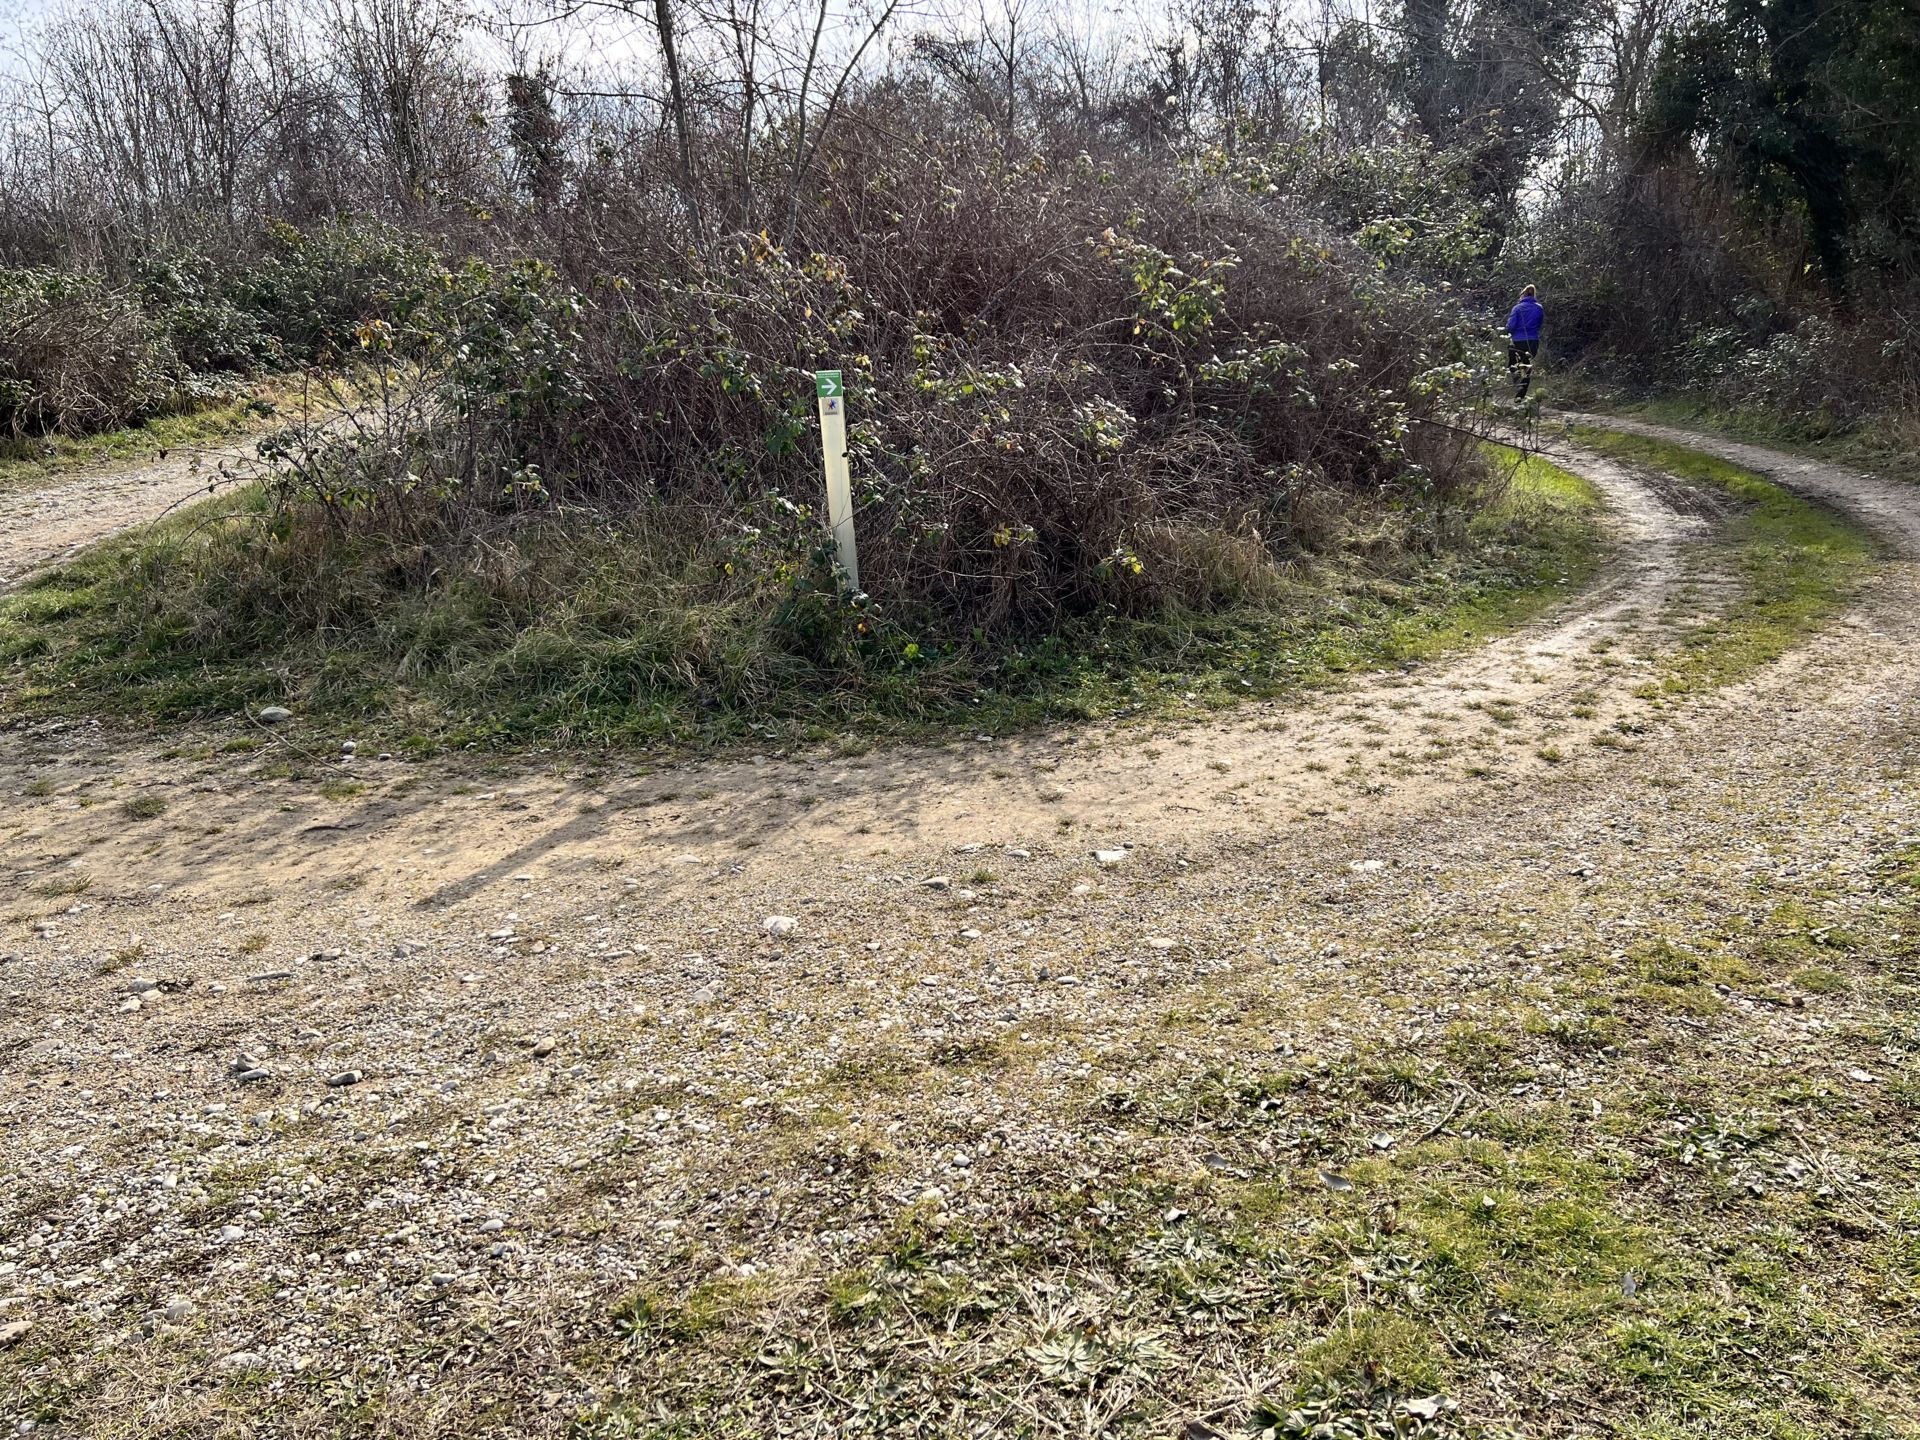
Photo 16 - Fork with direction indication
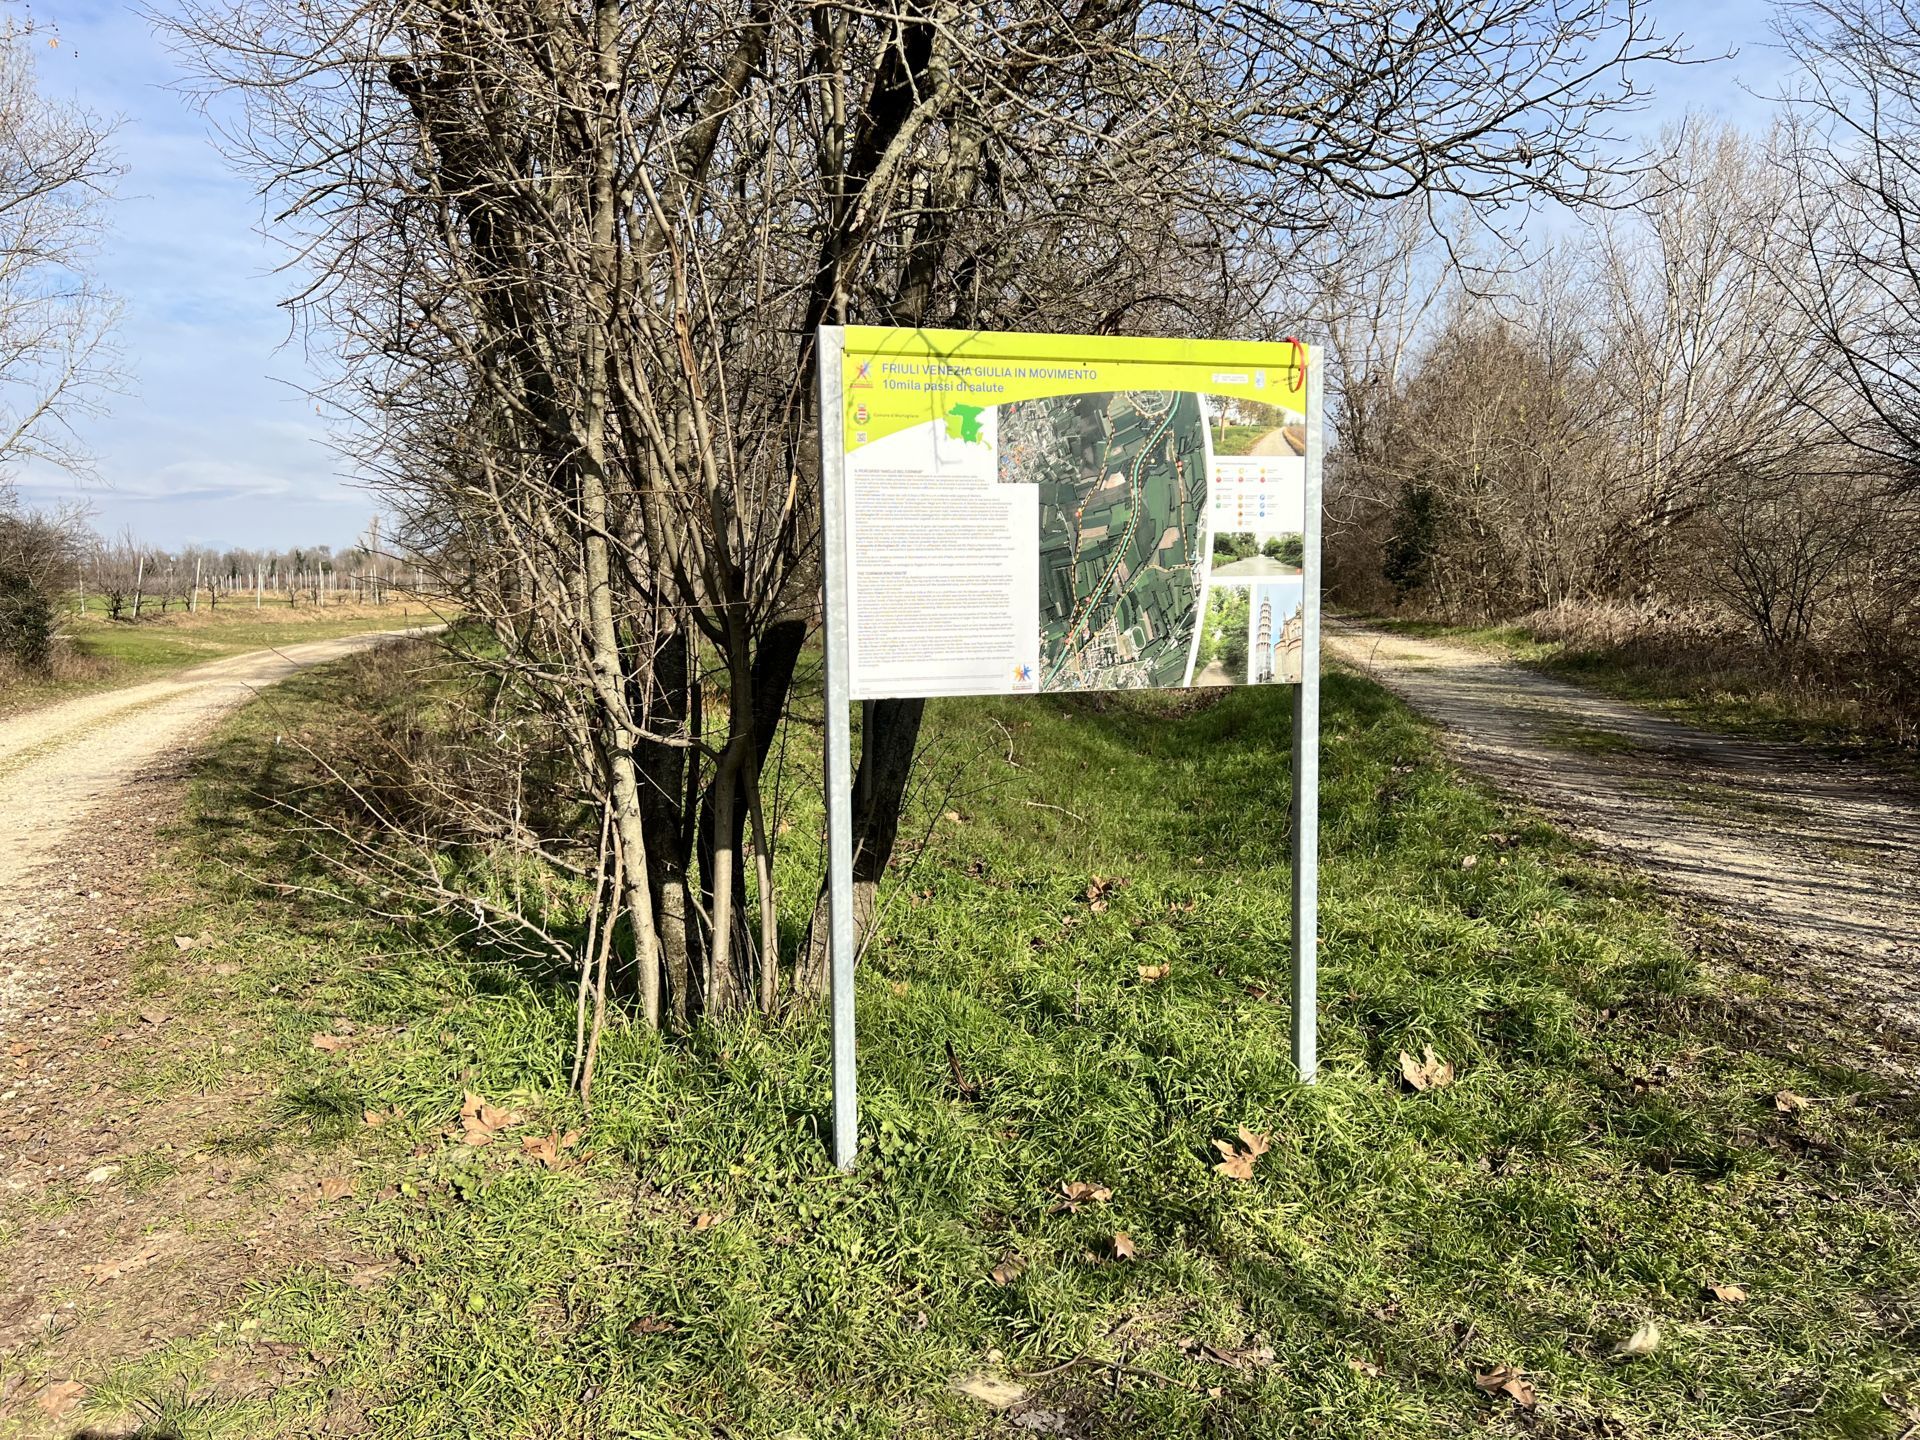
Photo 17 - End of the first loop of the path, information sign
The path is resumed to explore the second loop. To do this, it is necessary to cross the Cormor canal again, using the concrete bridge (Photo 18).
After the bridge, there is the conventional signage for 10,000 steps that directs us towards a road 3 to 4 meters wide, with a grassy and gravelly surface (Photo 19).
At times, the path becomes muddy and has deep ruts where passage is still possible. On the left, the Cormor canal flows, and there are no protective barriers along the bank (Photo 20)
During the walk, it is possible to encounter flocks of sheep (Photo 21)
After about 2 kilometers from the start of the second loop, the grassy stretch along the Cormor canal ends, and we re-enter a dirt path with gravel; there is signage indicating the correct direction, but it is covered by brambles and not easily visible in this case.
We continue on the dirt road for about a kilometer, until the path makes a sharp turn with a partially asphalted surface; the correct direction is indicated by a specific sign (Photo 22).
From this point, there is only one kilometer of dirt road left to complete the second loop. This final stretch runs alongside the Roggia di Udine (on the left) (Photo 23), towards which there are no protective barriers.
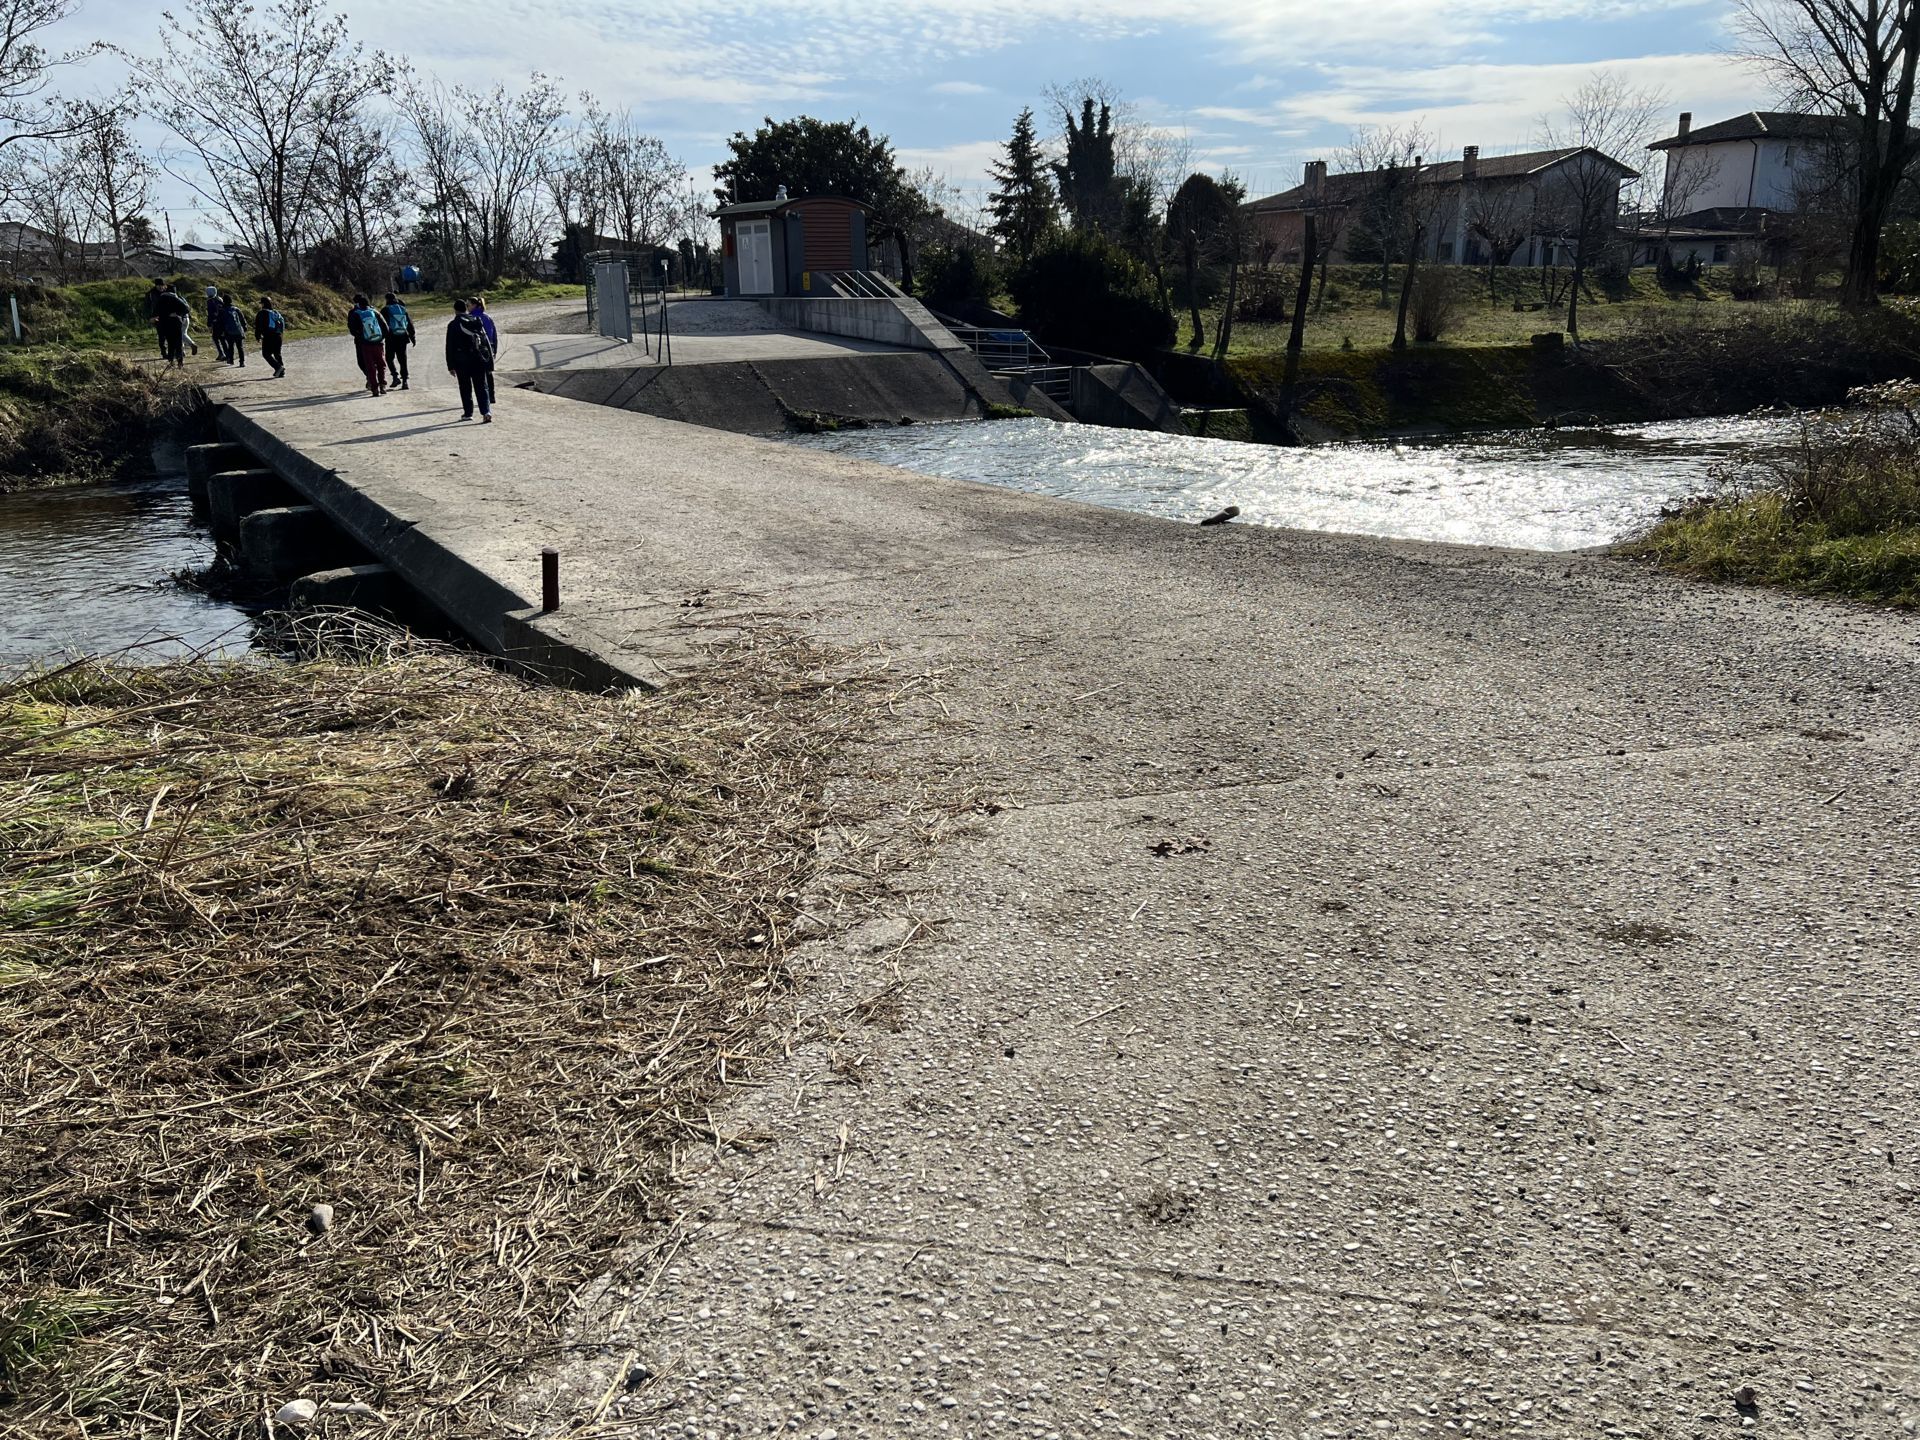
Photo 18 - Beginning of the second loop of the path, concrete bridge over the Cormor canal
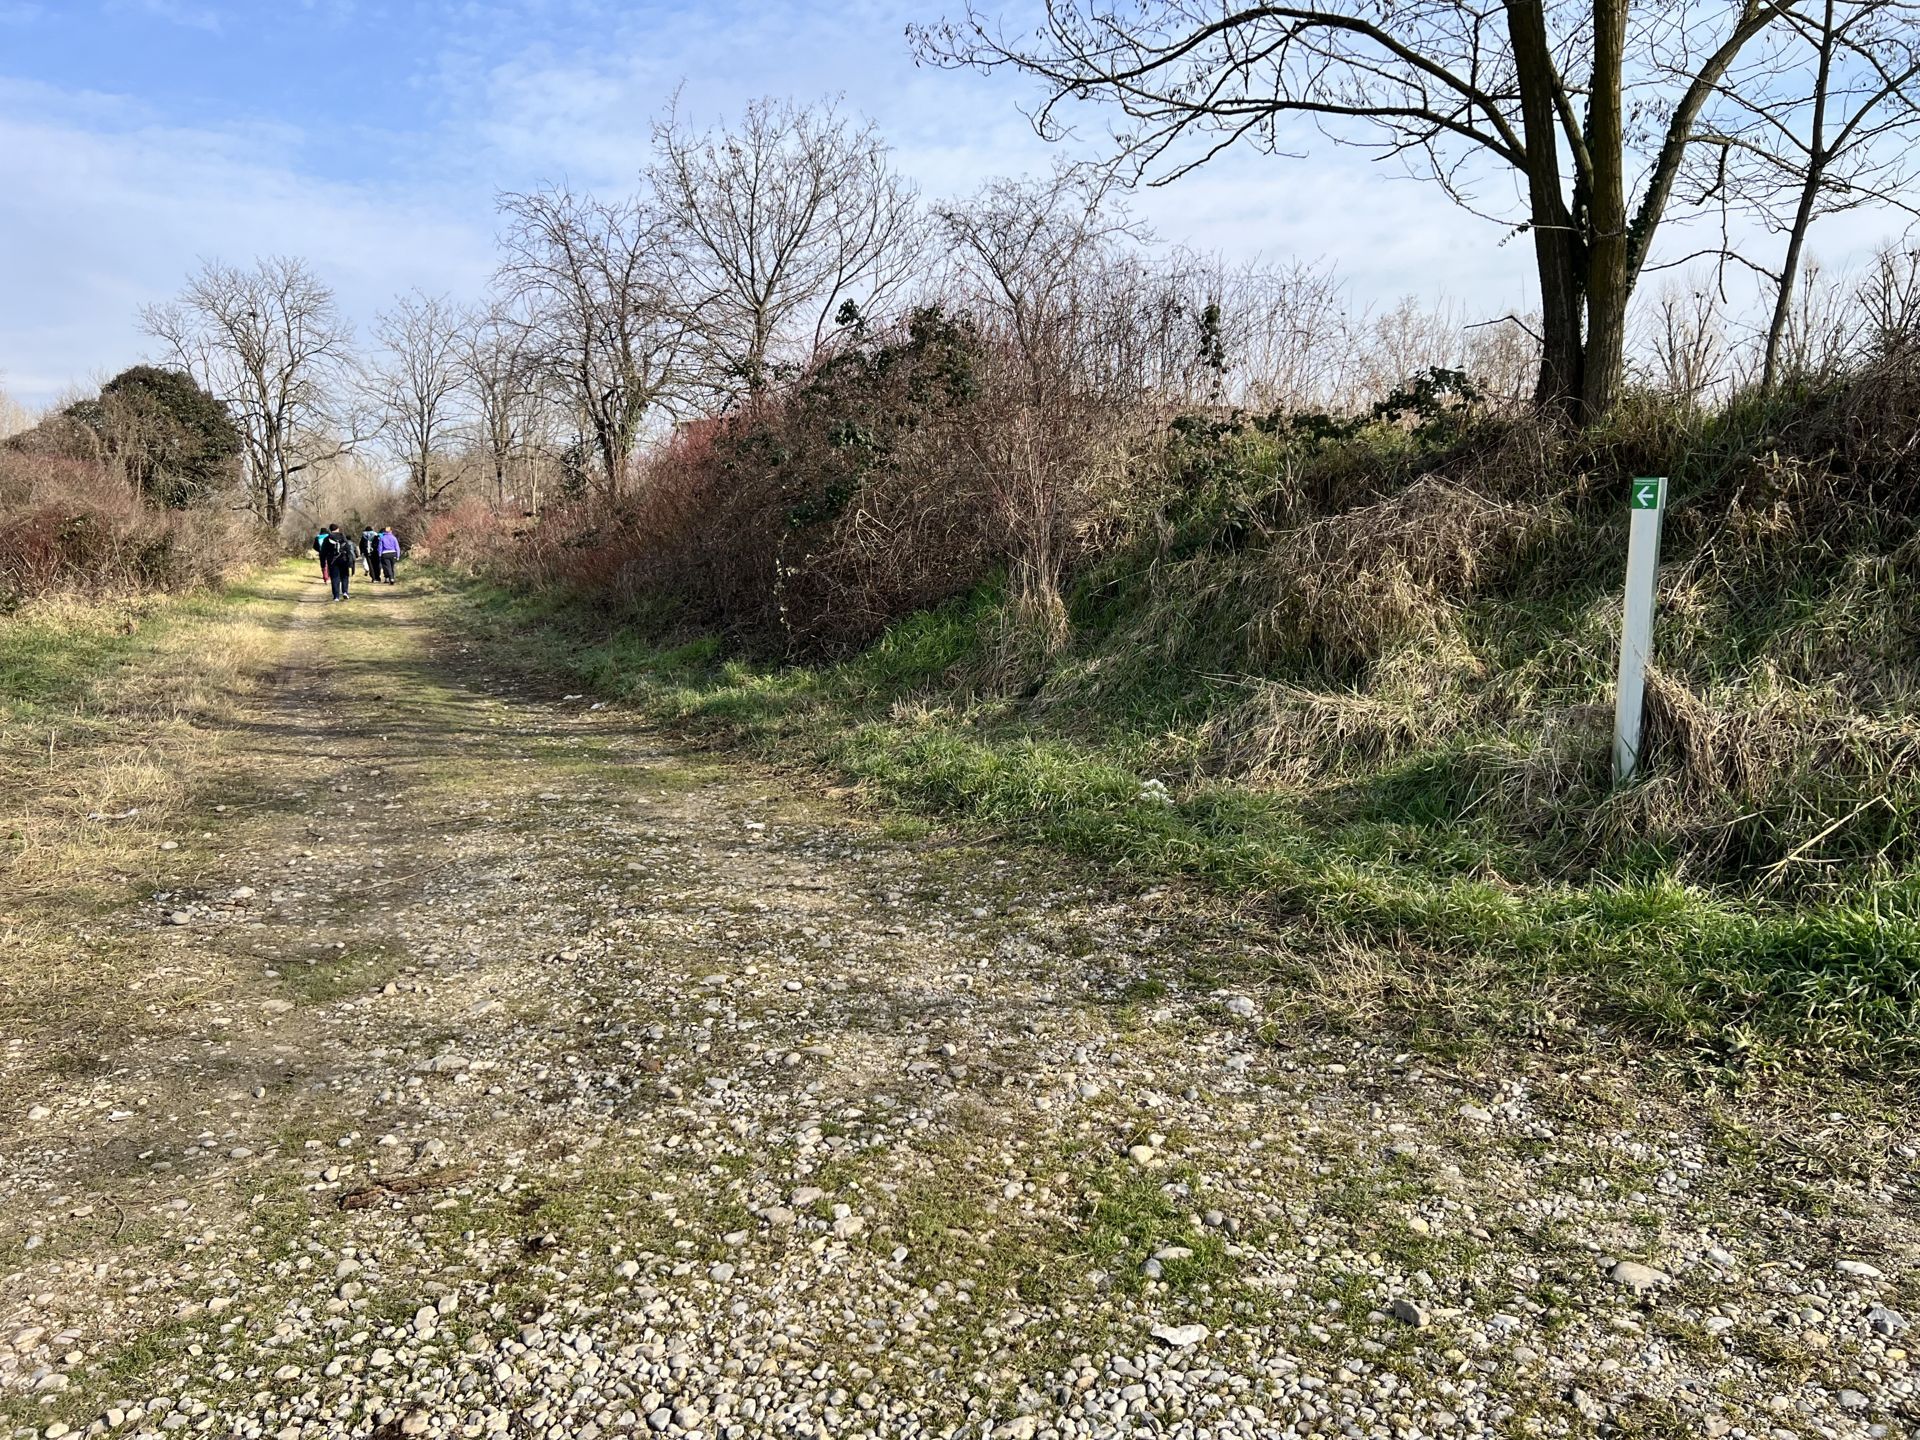
Photo 19 - Wide road with grassy and gravelly surface
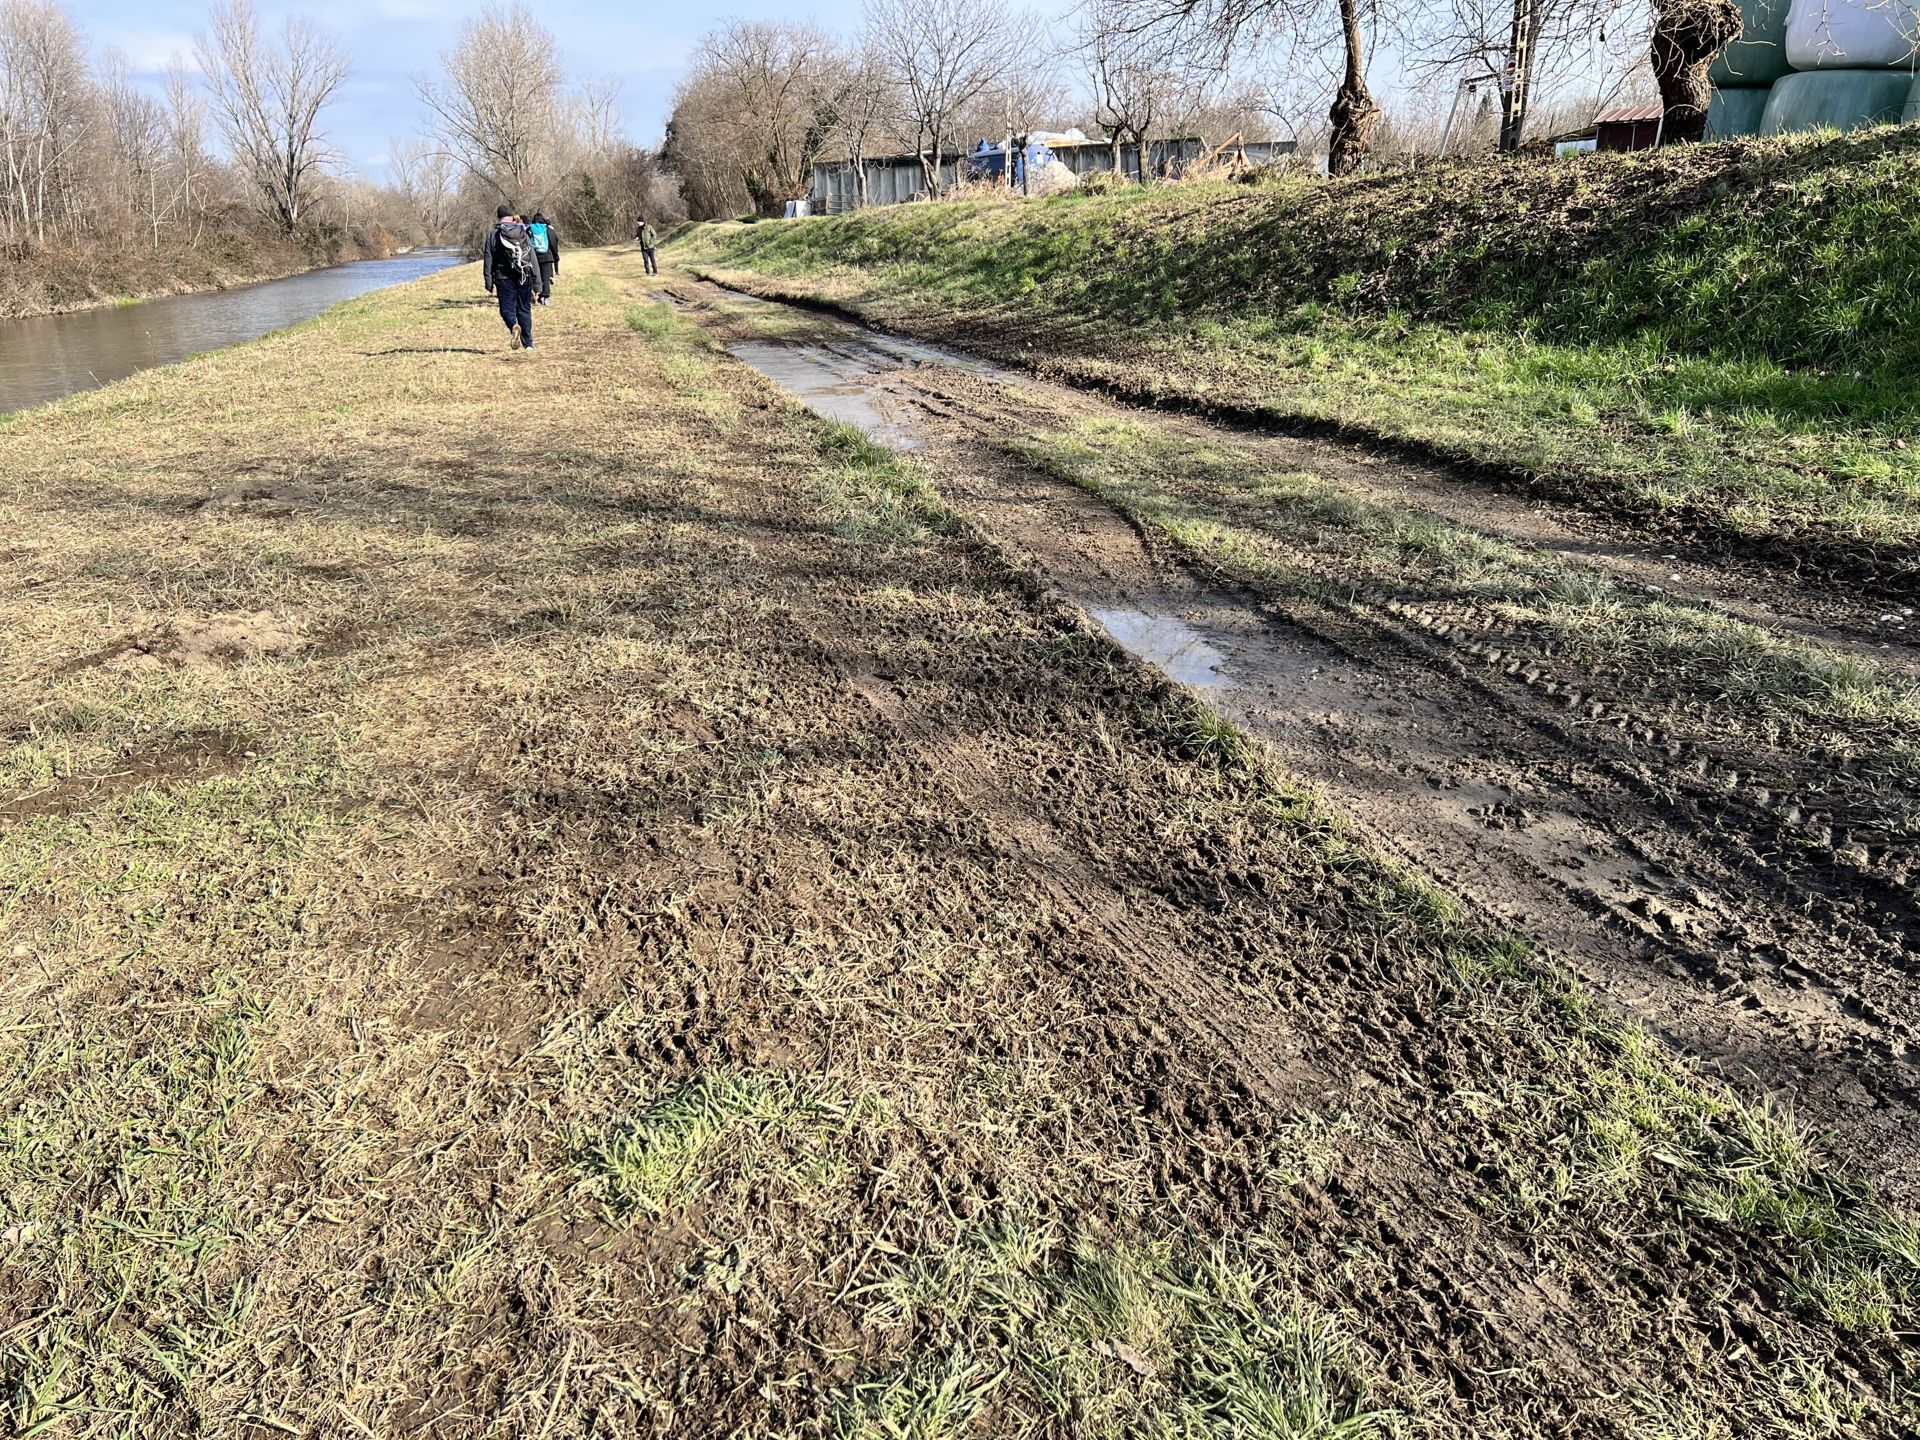
Photo 20 - Muddy road with deep ruts along the bank of the canal
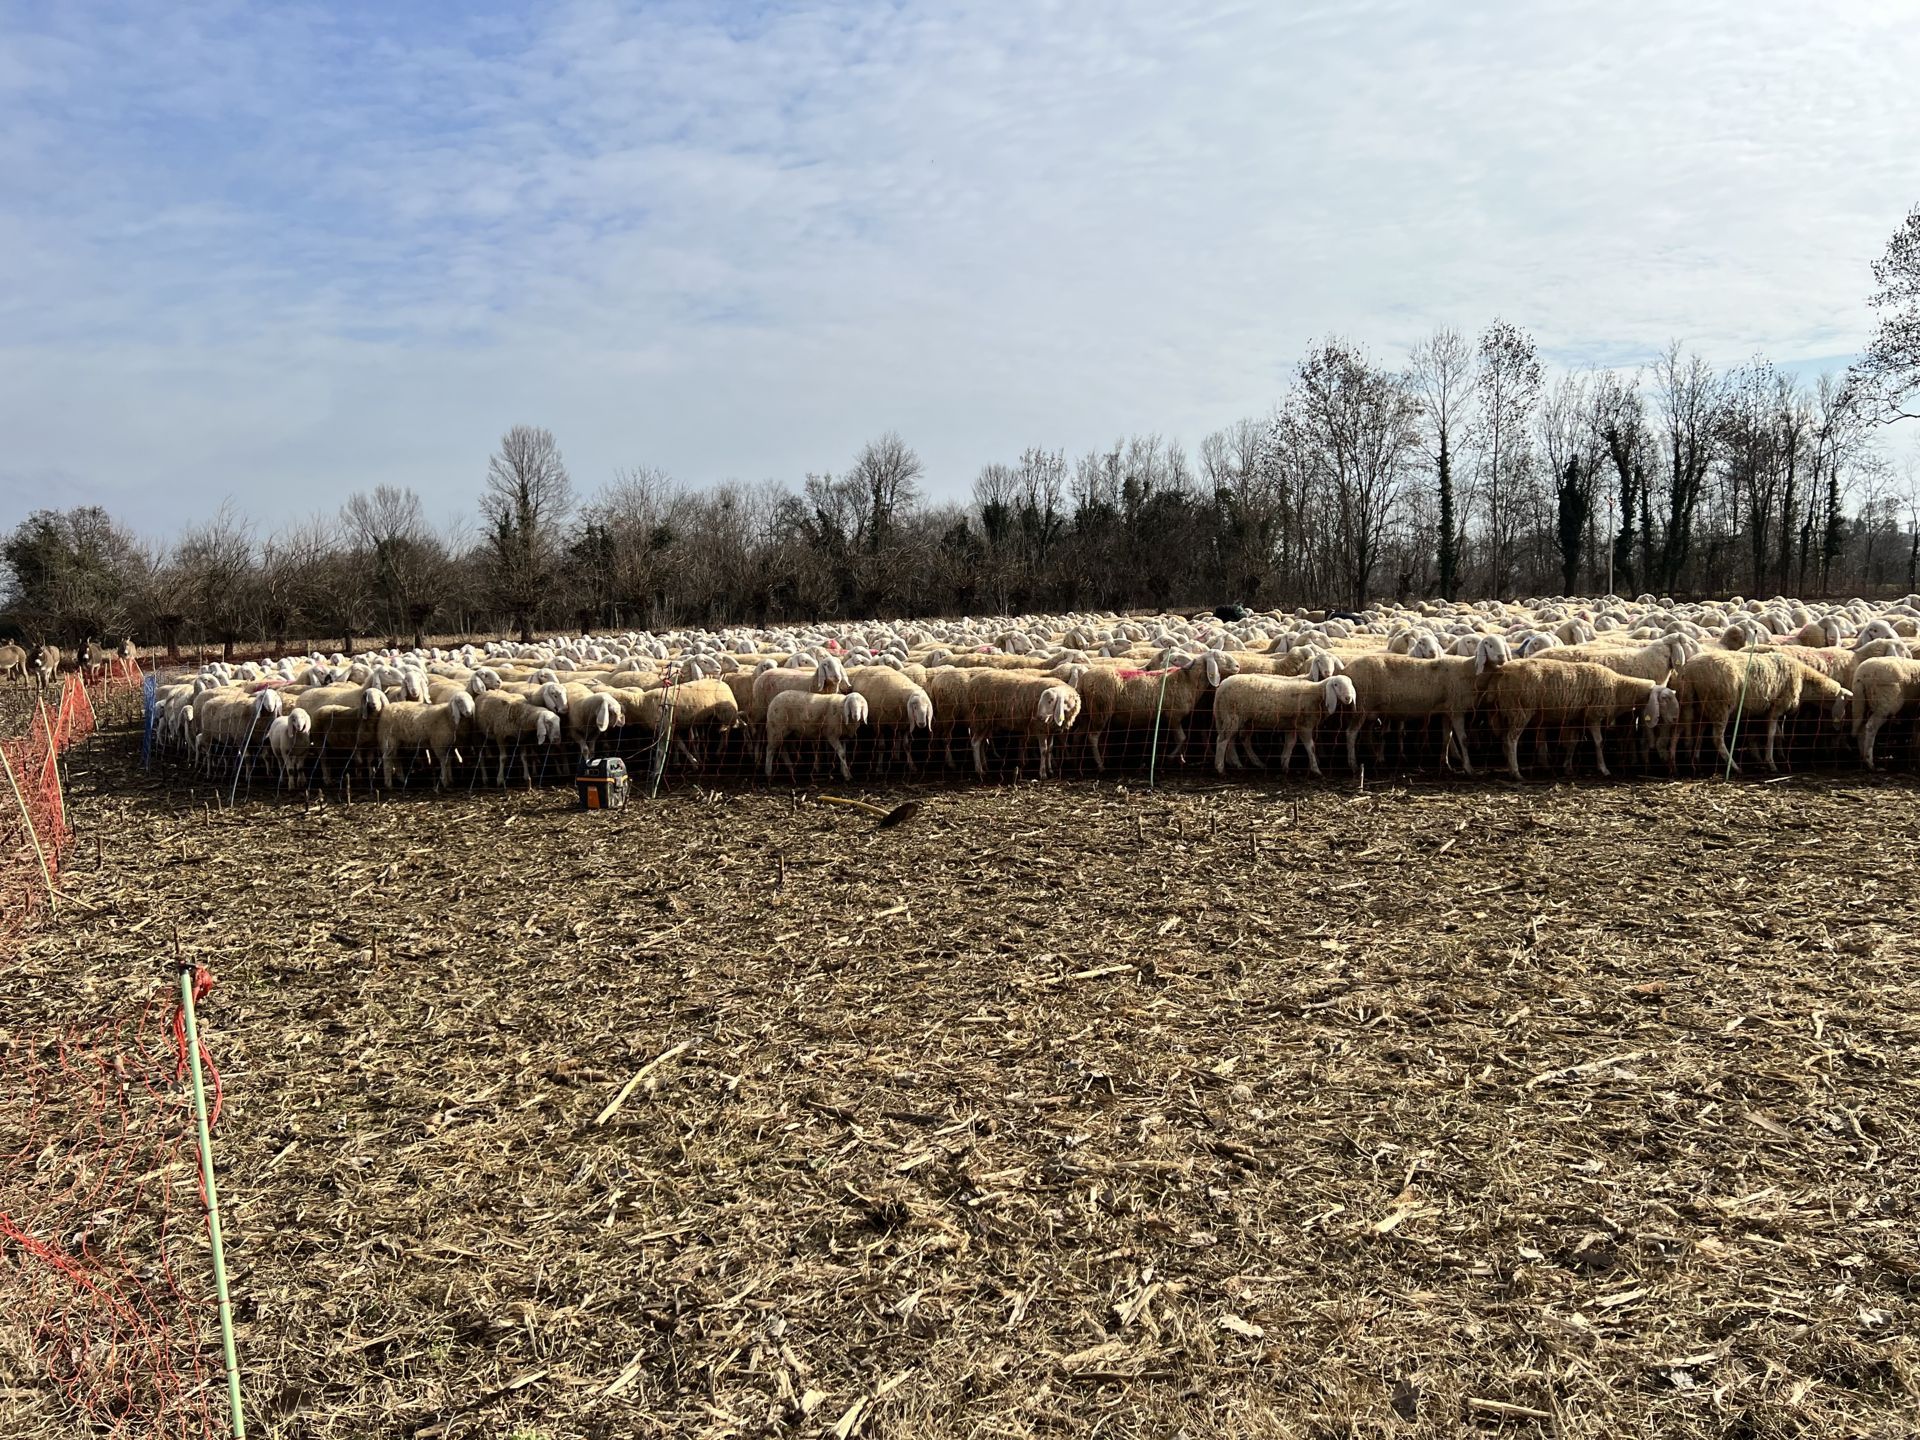
Photo 21 - Possible passage of sheep herds
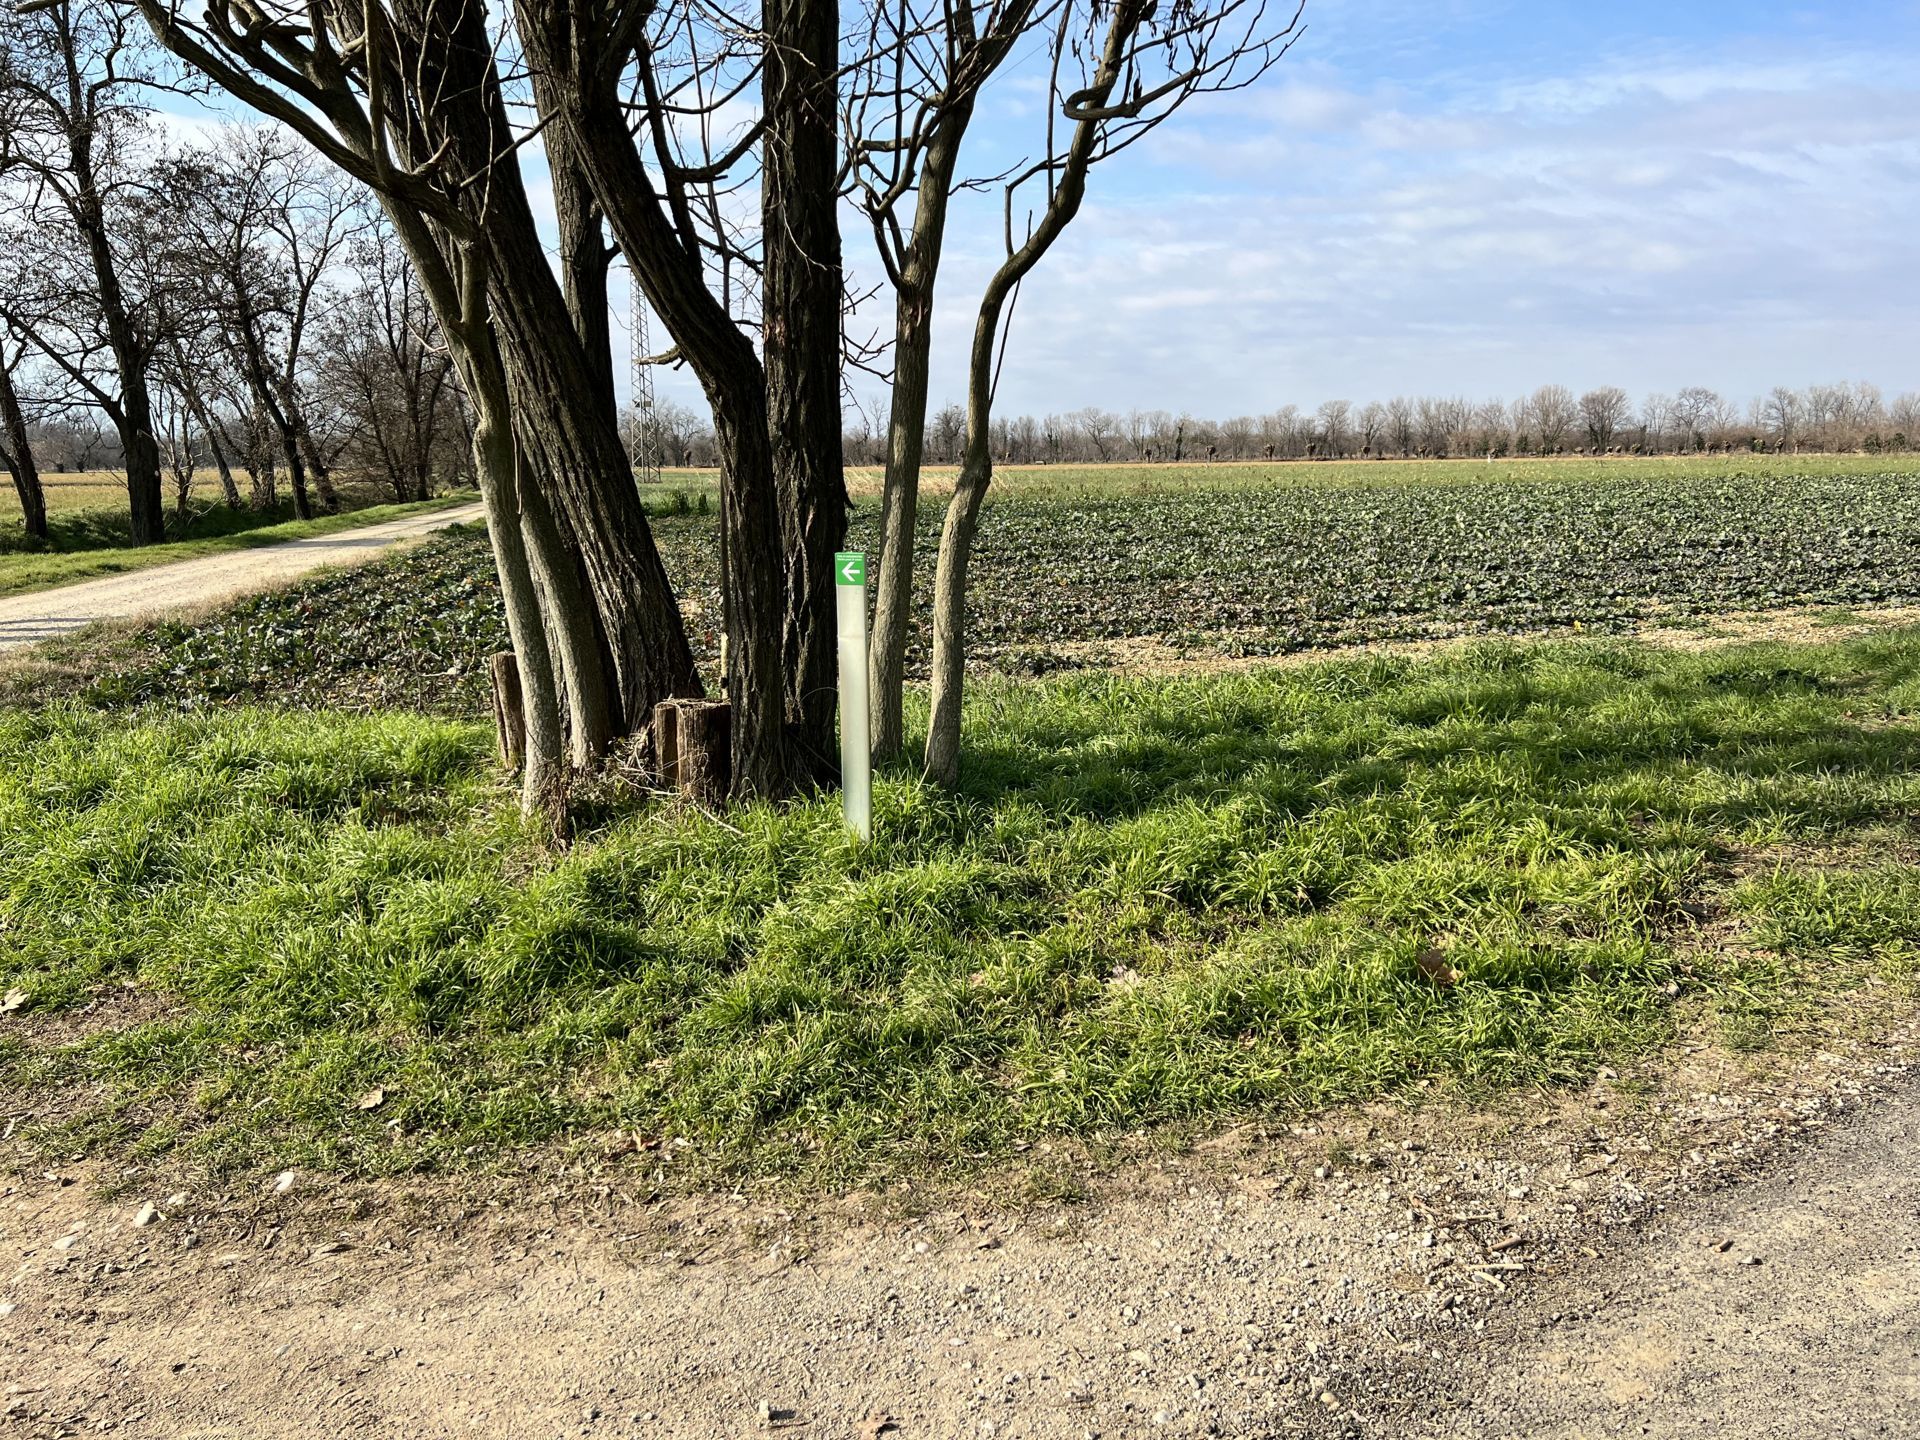
Photo 22 - Path with indication of the correct direction
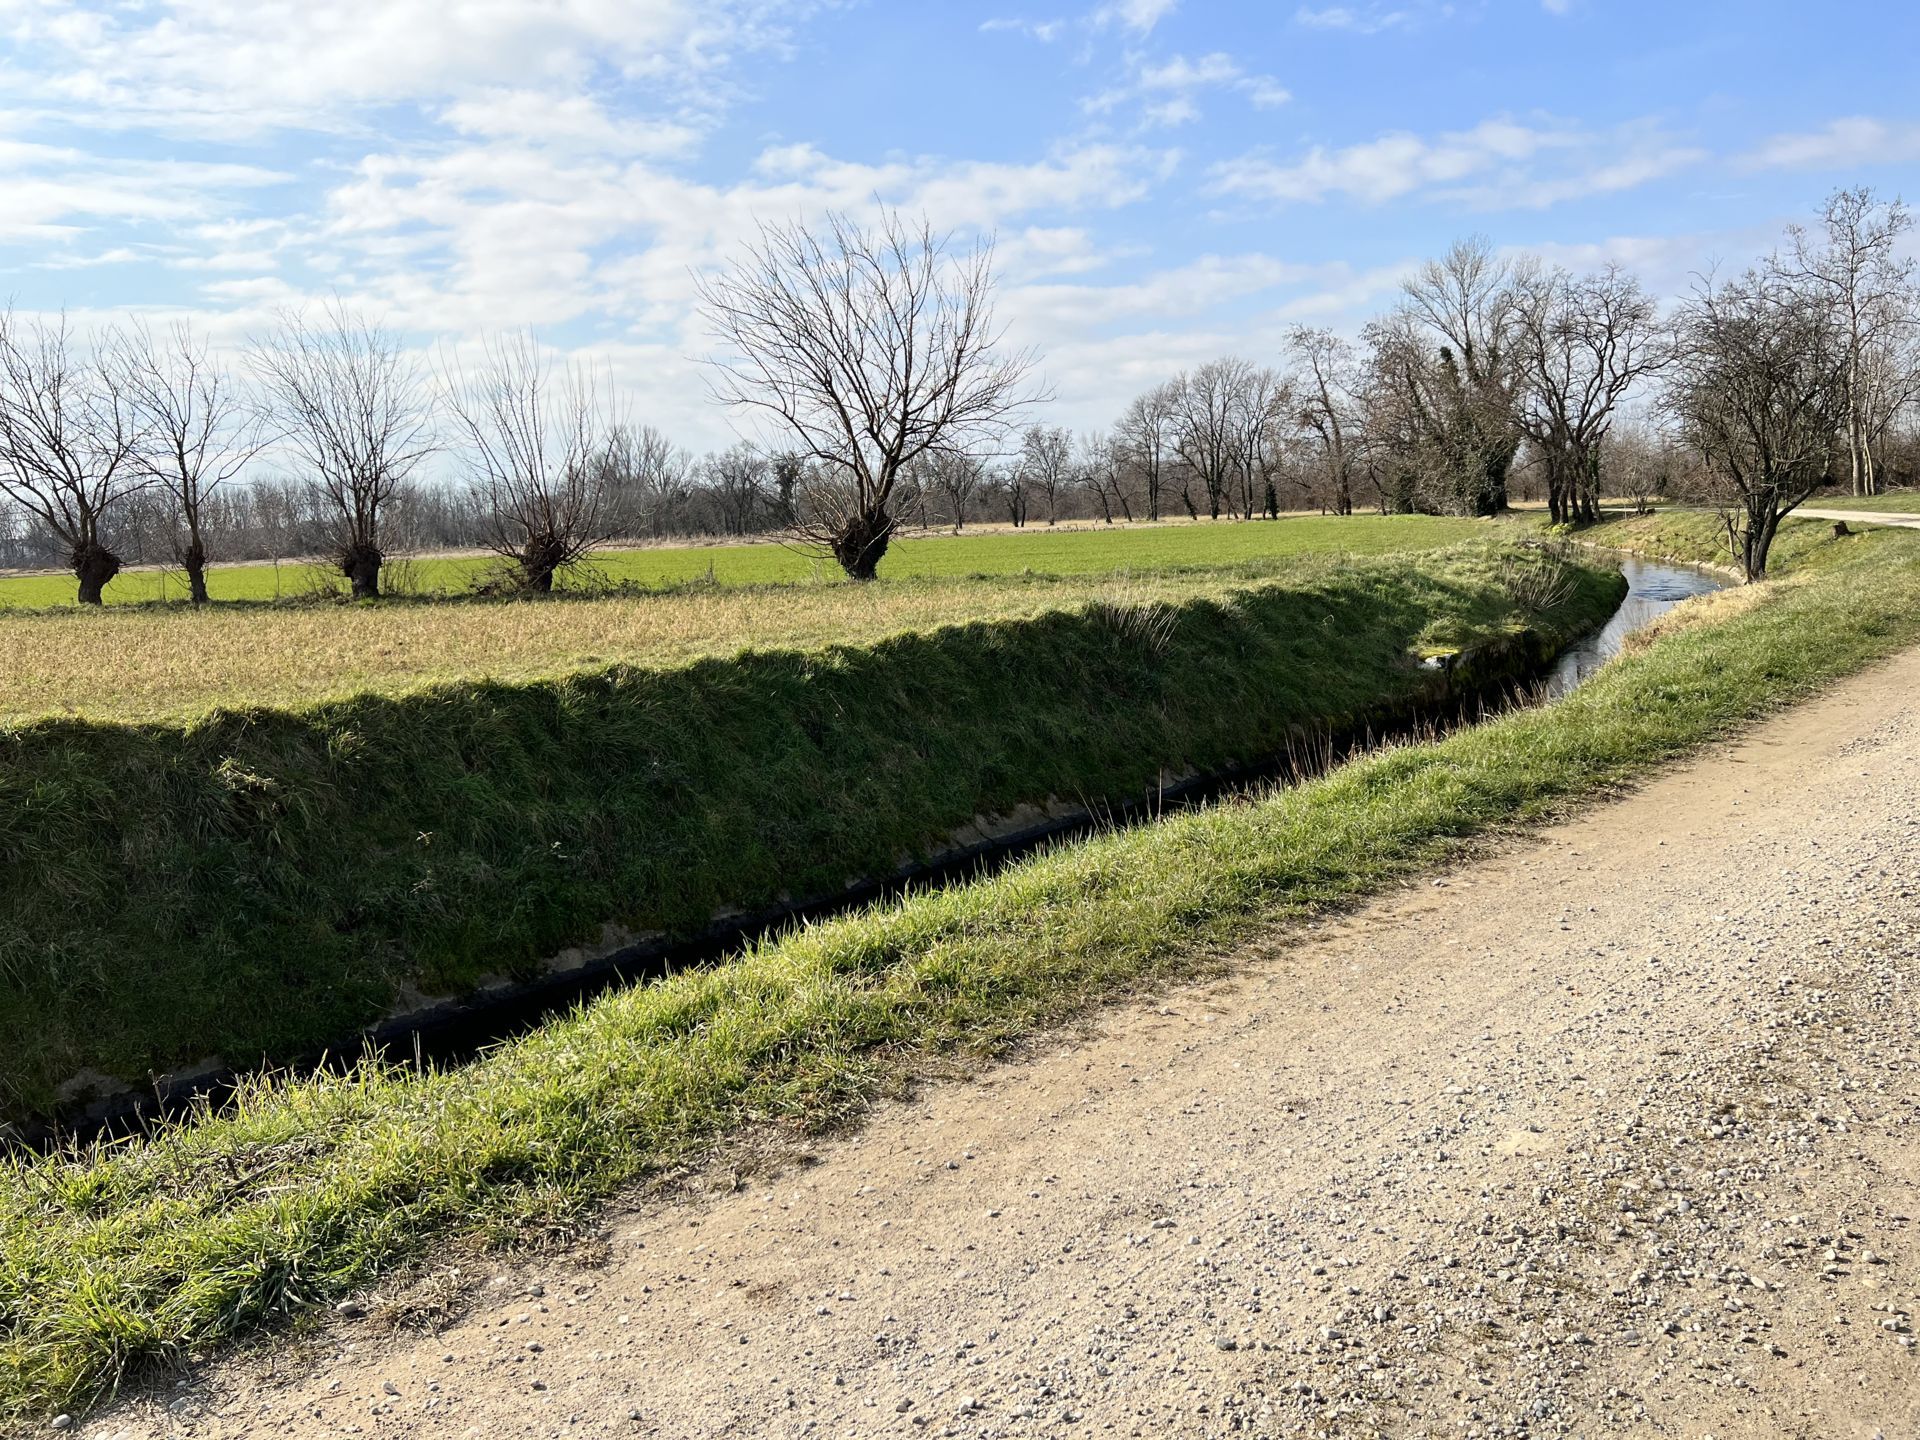
Photo 23 - Dirt road that runs alongside the Roggia di Udine
On Via Arborea, the unpaved and gravel section ends and continues on a paved road, open to vehicular traffic (Photo 24).
The sidewalk, about 130 cm wide, is only present on the left side of the roadway (Photo 25); it is interrupted by some side streets where there are no ramps for descent (Photo 26) and by some driveways of residences, where low curbs are present.
After the junction of Via Arborea onto Via 25 Aprile, the sidewalk on the left side also disappears (Photo 26); pedestrian transit can only occur on the roadway.
After about 500 meters from the end of the unpaved section of Via 25 Aprile, it merges onto Via Lavoredo, finding itself at the initial intersection of the route, without marked pedestrian crossings (Photo 27).
Retracing Via Tomba for a few hundred meters, the route is completed with the arrival at the starting parking area (Photo 28).
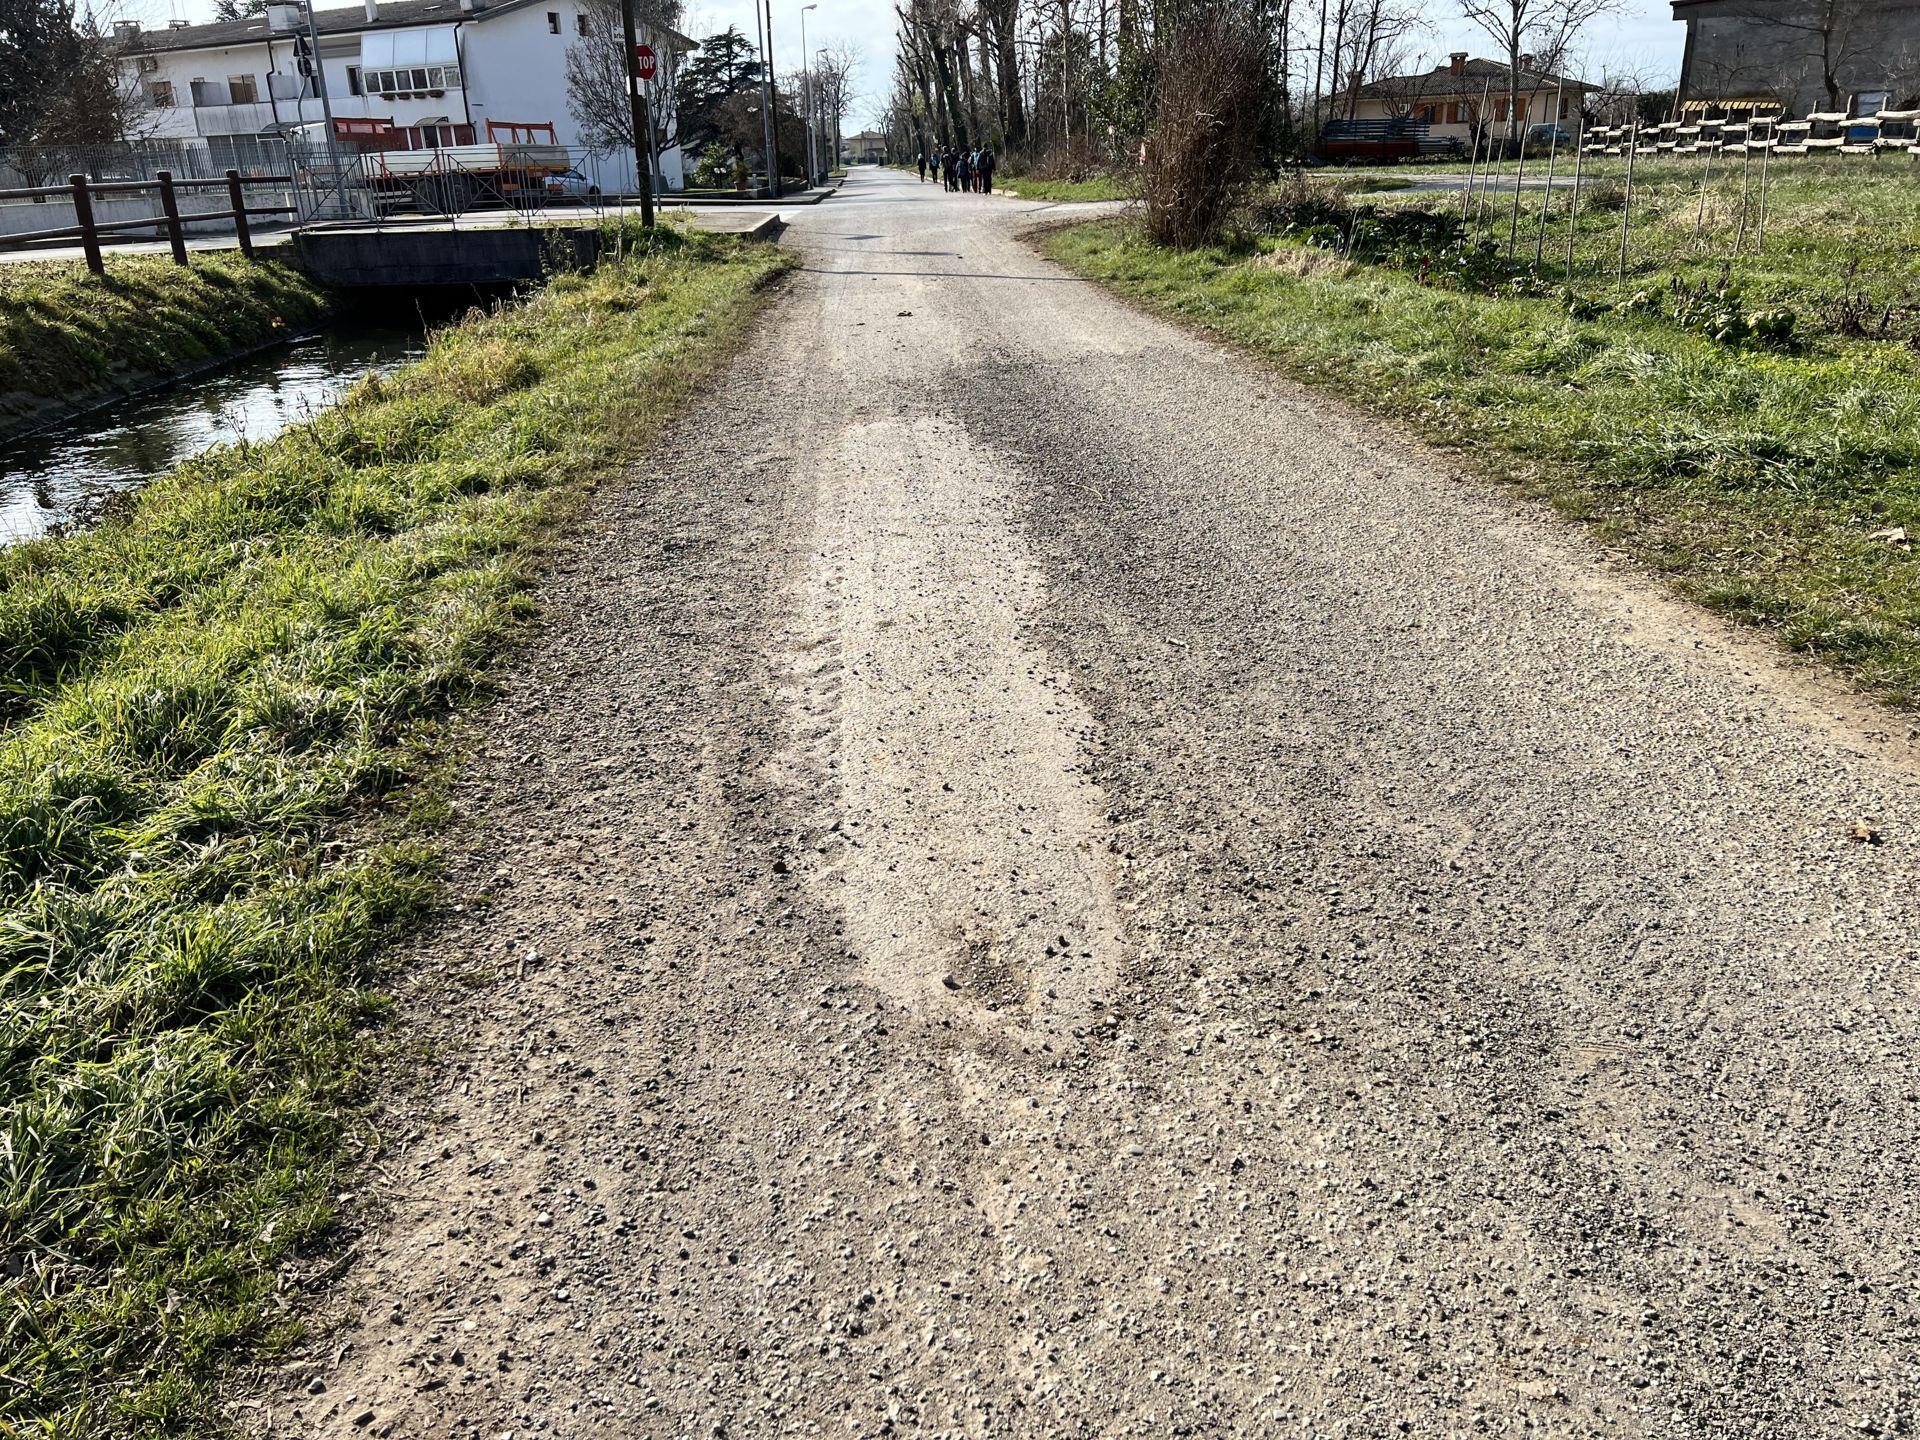
Photo 24 - Via Arborea, end of the unpaved section and beginning of the drivable asphalt road
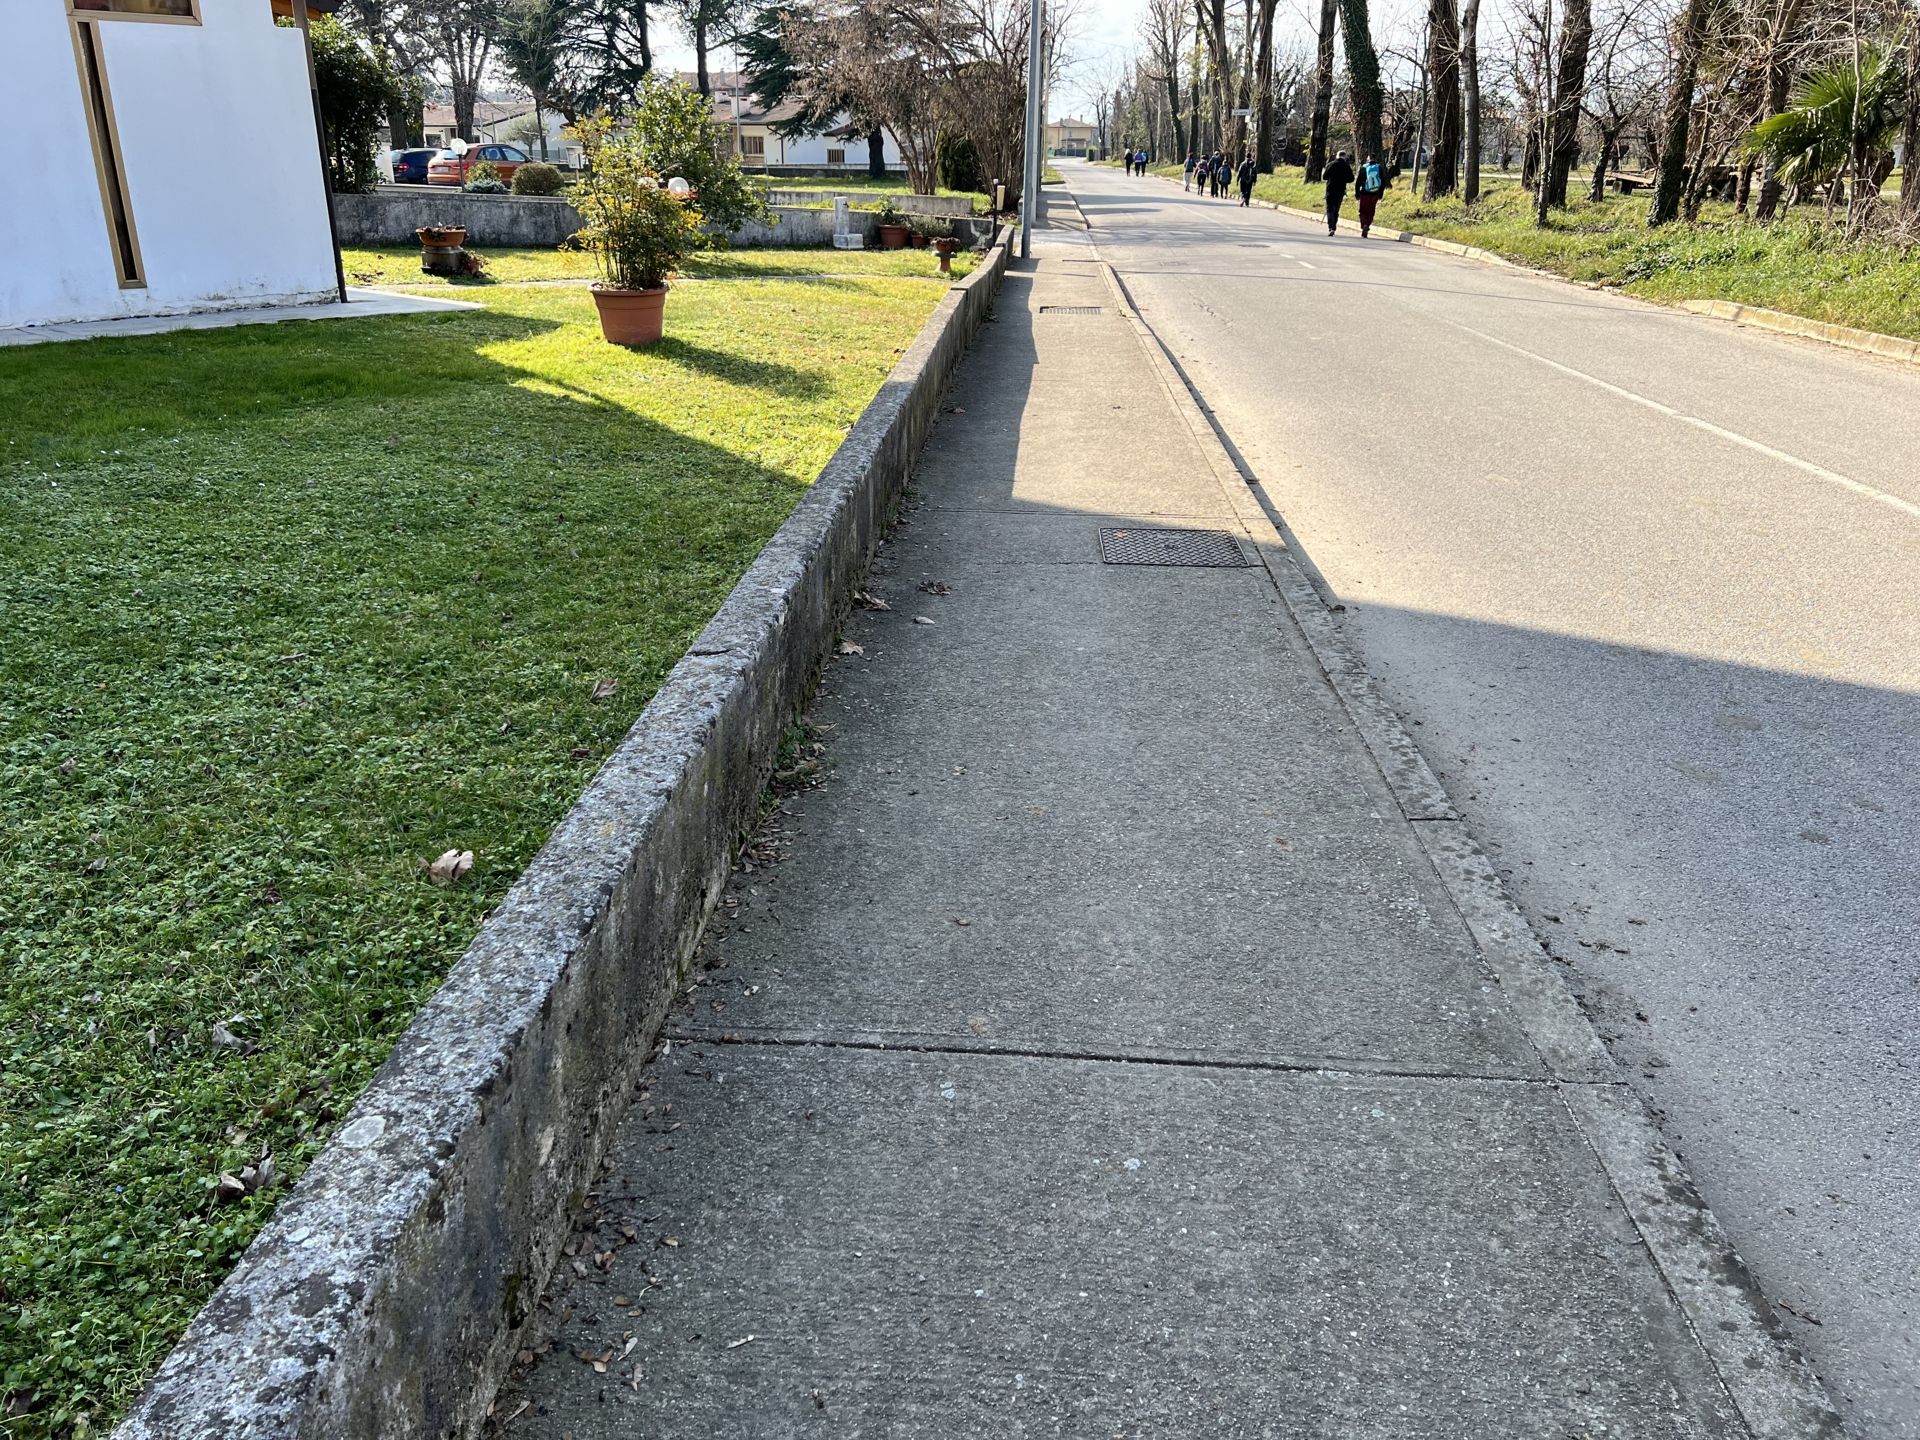
Photo 25 - Sidewalk interrupted by side streets and lacking ramps for descent
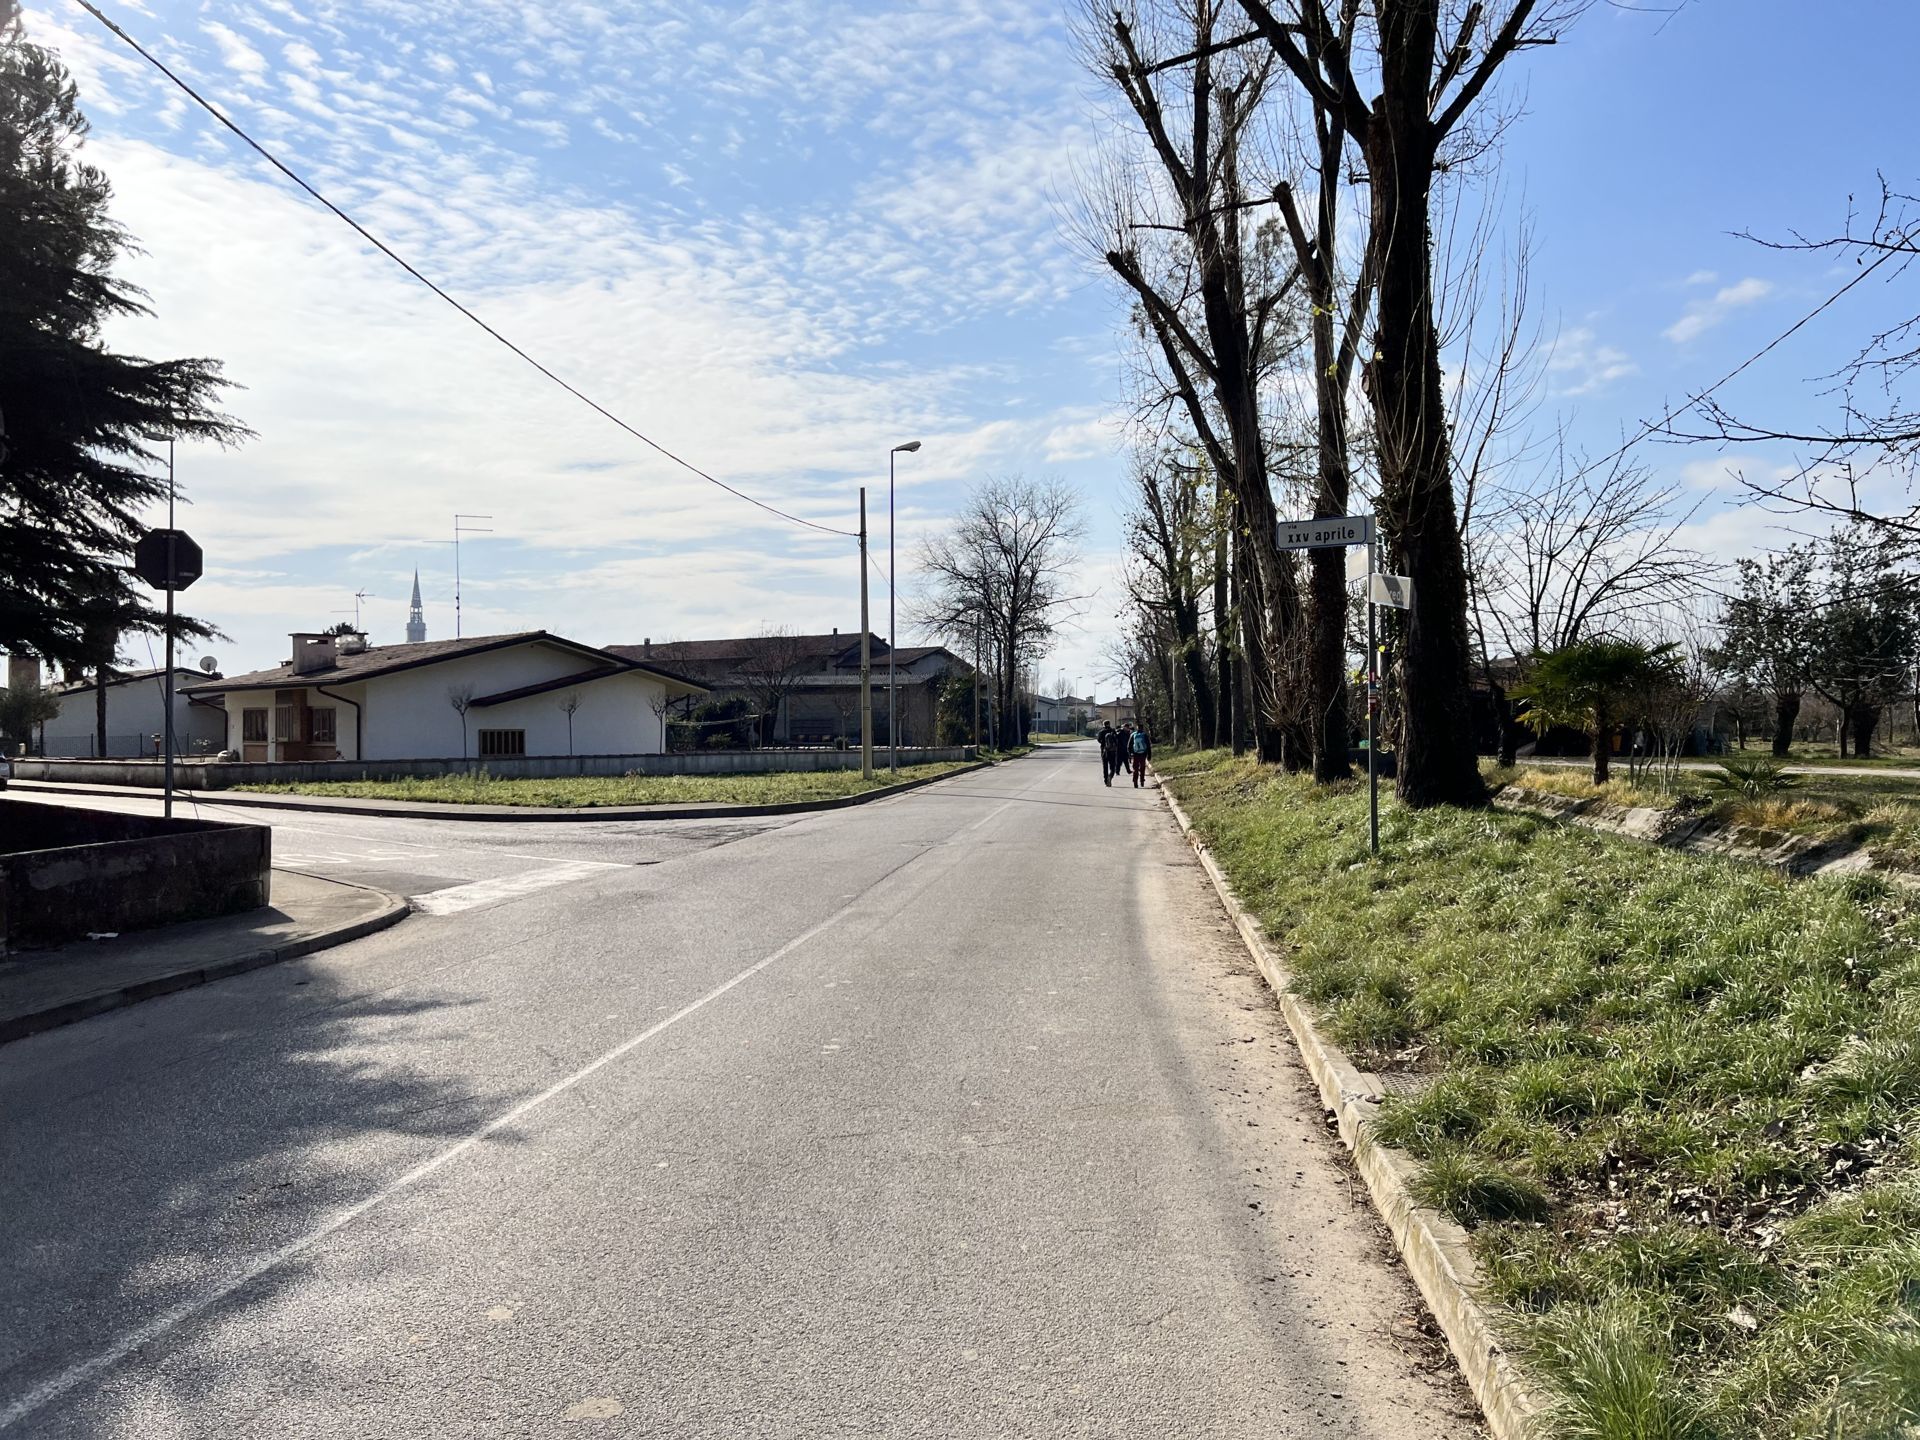
Photo 26 - Via 25 Aprile, section of road without a sidewalk

Photo 27 - Via Lavoredo, intersection without marked pedestrian crossings
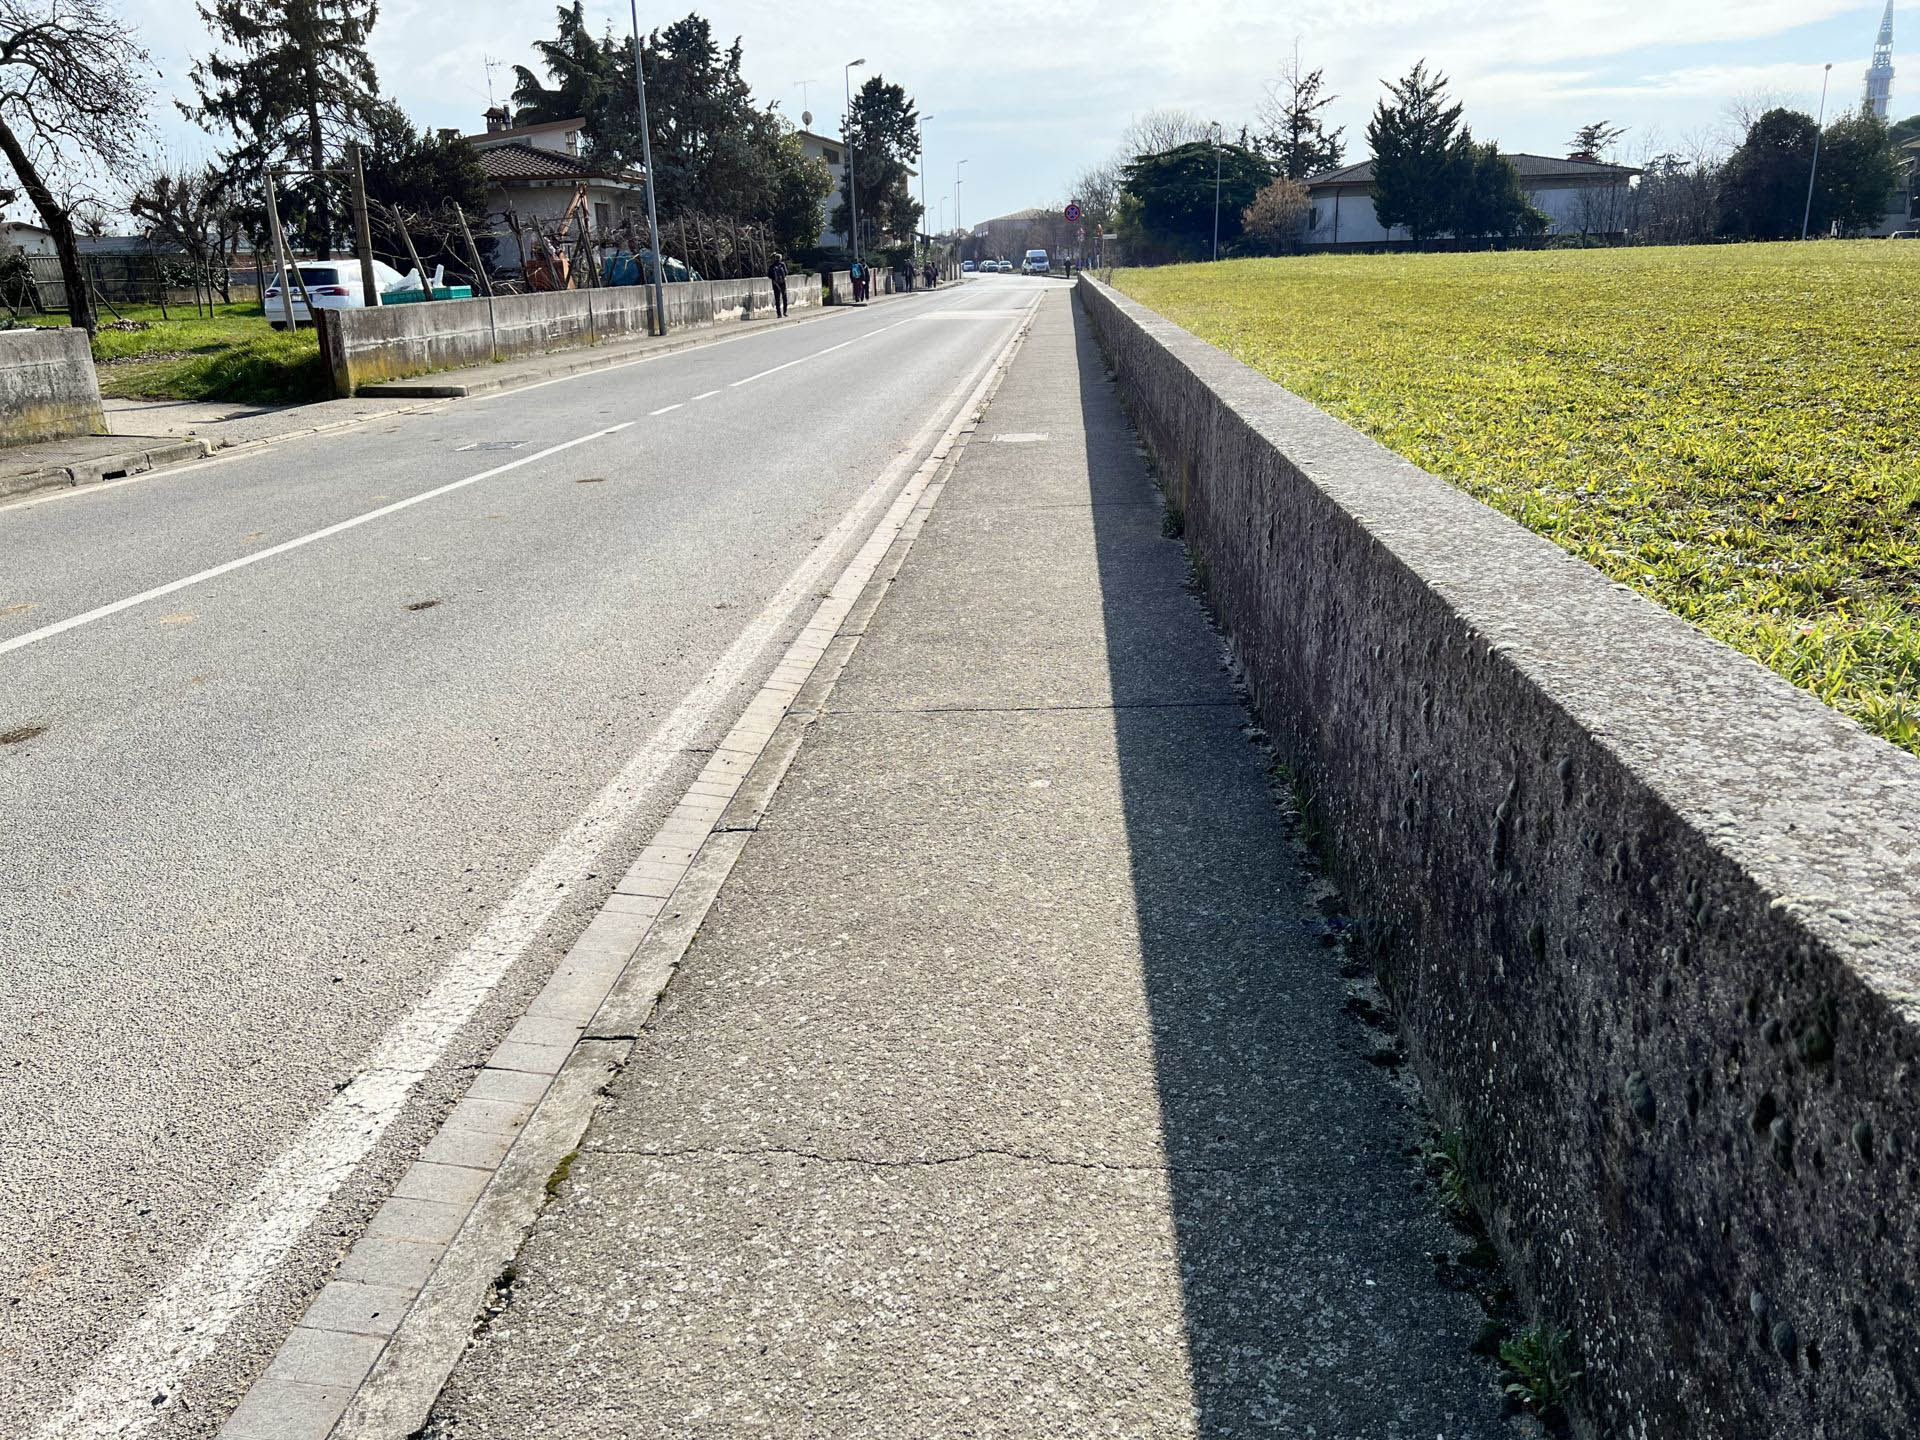
Photo 28 - Via Tomba, end of the route with arrival at the starting parking area