Muggia - Archaeological Park of Muggia Vecchia

Sea
GENERAL INFORMATION
LAST INSPECTION DATE
09/02/2024
PLANNED ITINERARY
Muggia - Archaeological Park of Muggia Vecchia
LENGTH
842 meters
DEPARTURE
Parking of Muggia Vecchia
The hill of Muggia Vecchia è is a place of great emotional impact, where the view embraces a panorama that stretches from the coastal area to the inland. The hill rises 170 meters above sea level, on the summit of a wide plateau bordered by steep slopes on three sides, at the southern tip of the province of Trieste, near the border with Slovenia.
The path winds through the Archaeological Park of Muggia Vecchia, whose testimonies range from the Iron Age to the Roman period, up to the medieval period, when the village faded in favor of the current coastal settlement. The educational panels placed throughout the park help those exploring the site independently to understand its importance and evolution. Only part of the path è is accessible to people with motor disabilities as the numerous elevation changes are connected by stairs and steps.
In detail, the path starts from the parking lot of Muggia Vecchia which has two reserved stalls near the paved stone sidewalk, connected to the asphalt with a small elevation change not exceeding 2.5 cm (Photo 1)
FROM THE PARKING LOT TO THE VIEWPOINT OVER THE GULF OF TRIESTE
A first explanatory sign (Photo 2), on the right side of the path, informs us about the Medieval Castrum (the panel is located 98 cm from the ground, the higher texts are at 189 cm from the ground). The panel è is positioned on grassy ground but readable from the adjacent pedestrian path, made of irregular stone slabs with joints greater than 1 cm that borders the perimeter of the lawn leading to an area with four wooden benches, without backrests and armrests, with a seat height of 48 cm from the ground placed on grassy ground about 50 cm from the paved path (Photo 3).
Continuing along the path towards the cemetery (transverse slope 2.9%), we arrive at the fork. To the right, one reaches the Basilica of Santa Maria Assunta and the South Area of the Archaeological Park, while to the left, the gaze is captured by the splendid view of the Gulf of Trieste (Photo 4). Following this instinct, we turn left: the ground is paved with irregular stone slabs with joints of about 2 cm for a total width of 114 cm and a length of 12 meters until reaching the first viewpoint.
Here there are two benches for resting with backrests and seats at 445 cm from the ground (Photo 5). The parapet is made of stone and metal railing and allows for a view even while seated. It is 94 cm high and the space between the vertical bars of the railing is 12 cm.
A large explanatory sign (Photo 6) describes the Gulf of Trieste and the mountains visible from the point where one is located; the panel is placed on an area of fine crushed stone at a minimum height from the ground of 82 cm, a maximum of 184 cm and is translated into four languages (Italian, English, Slovenian, German) with black characters on a white background.
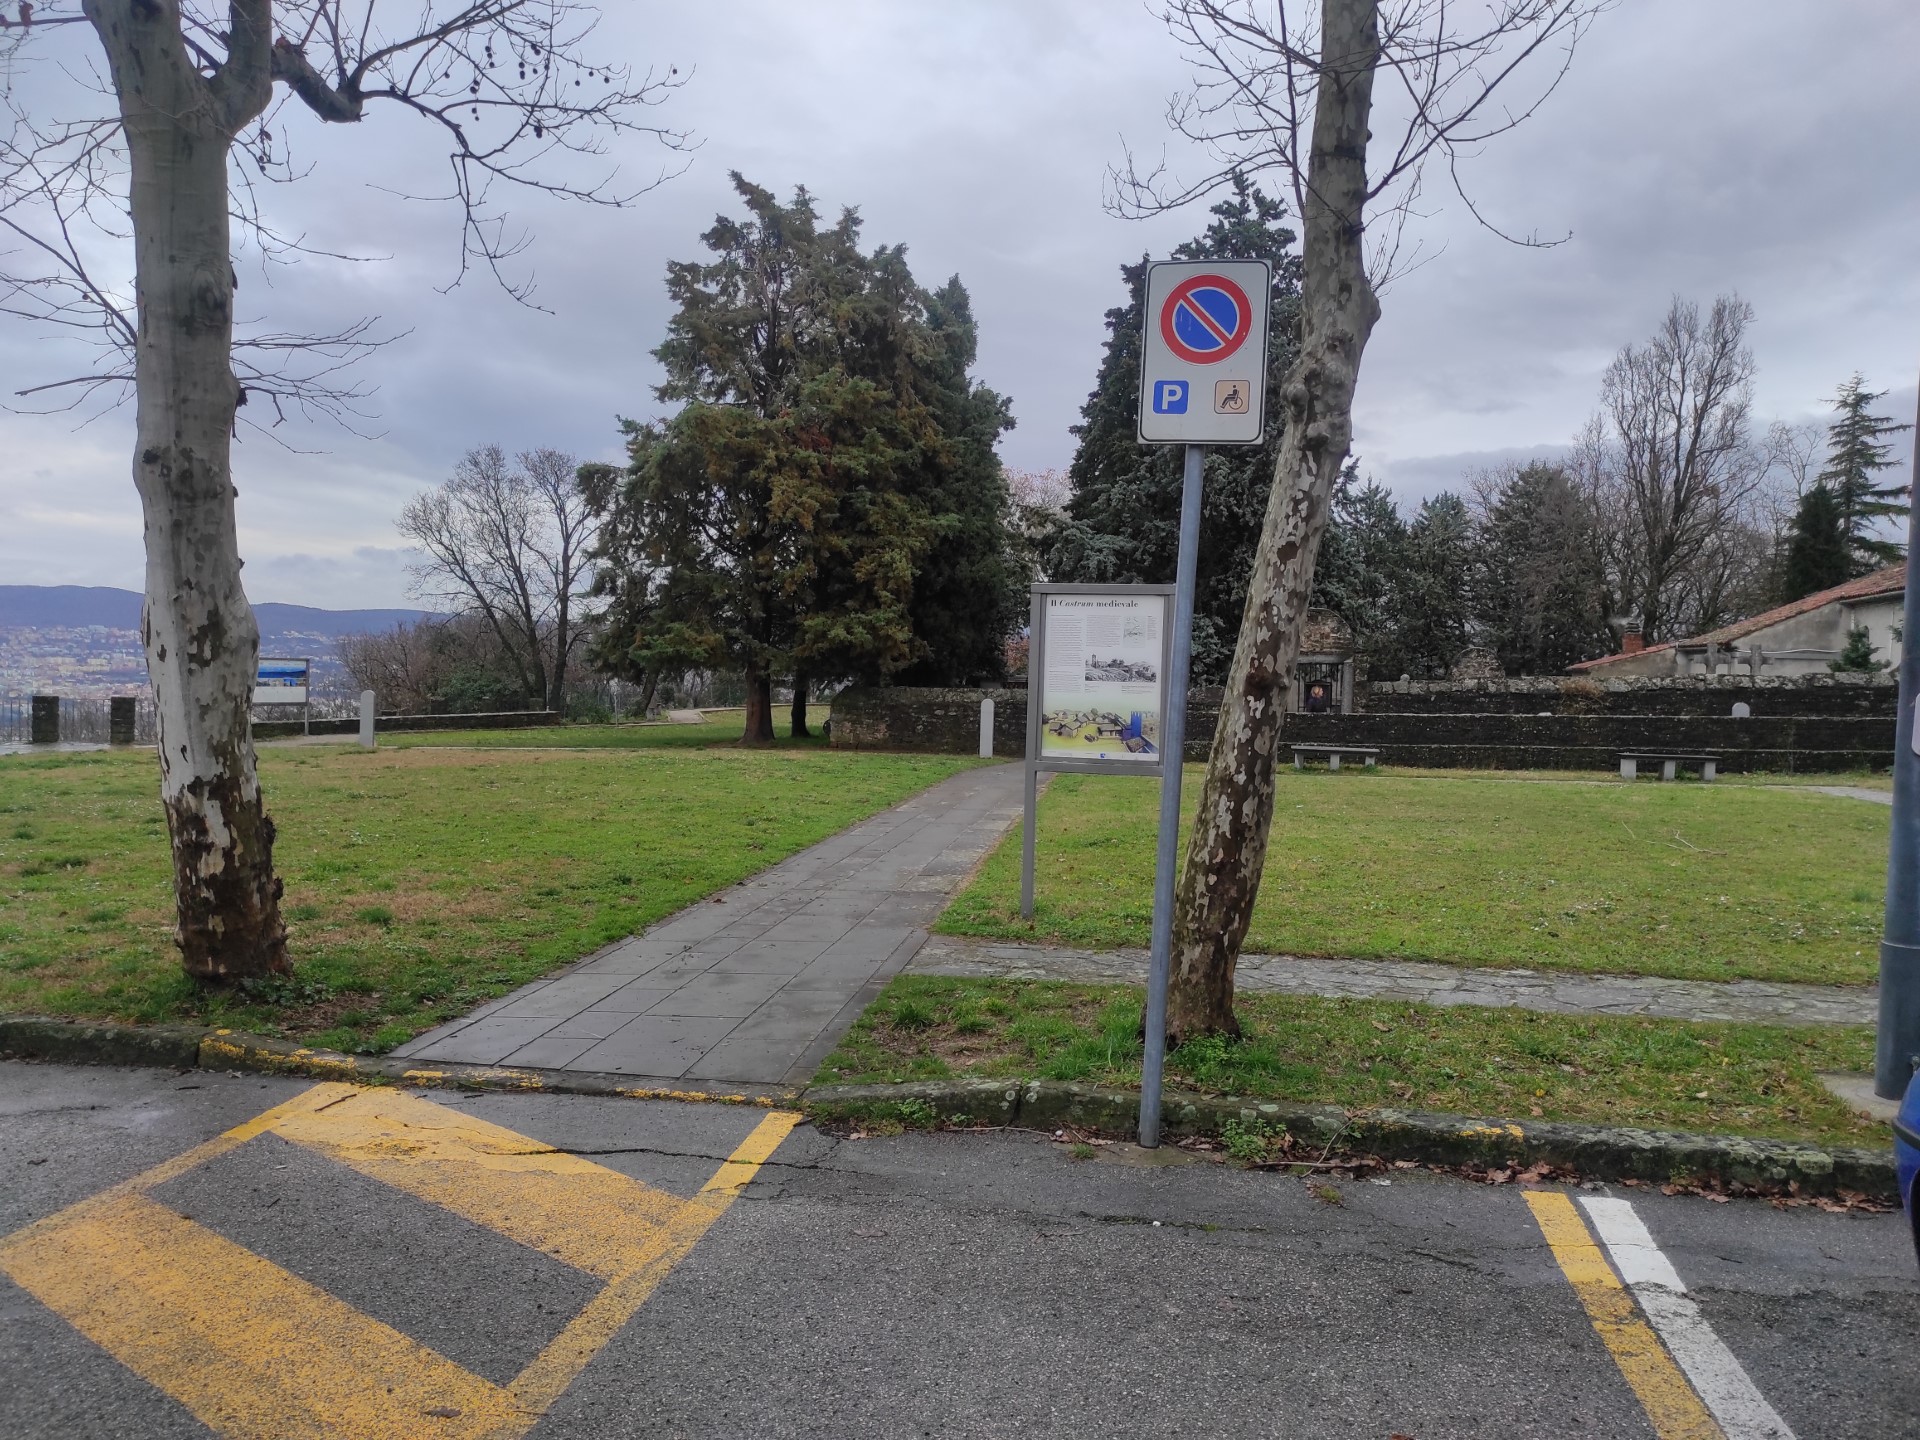
Photo 1

Photo 2
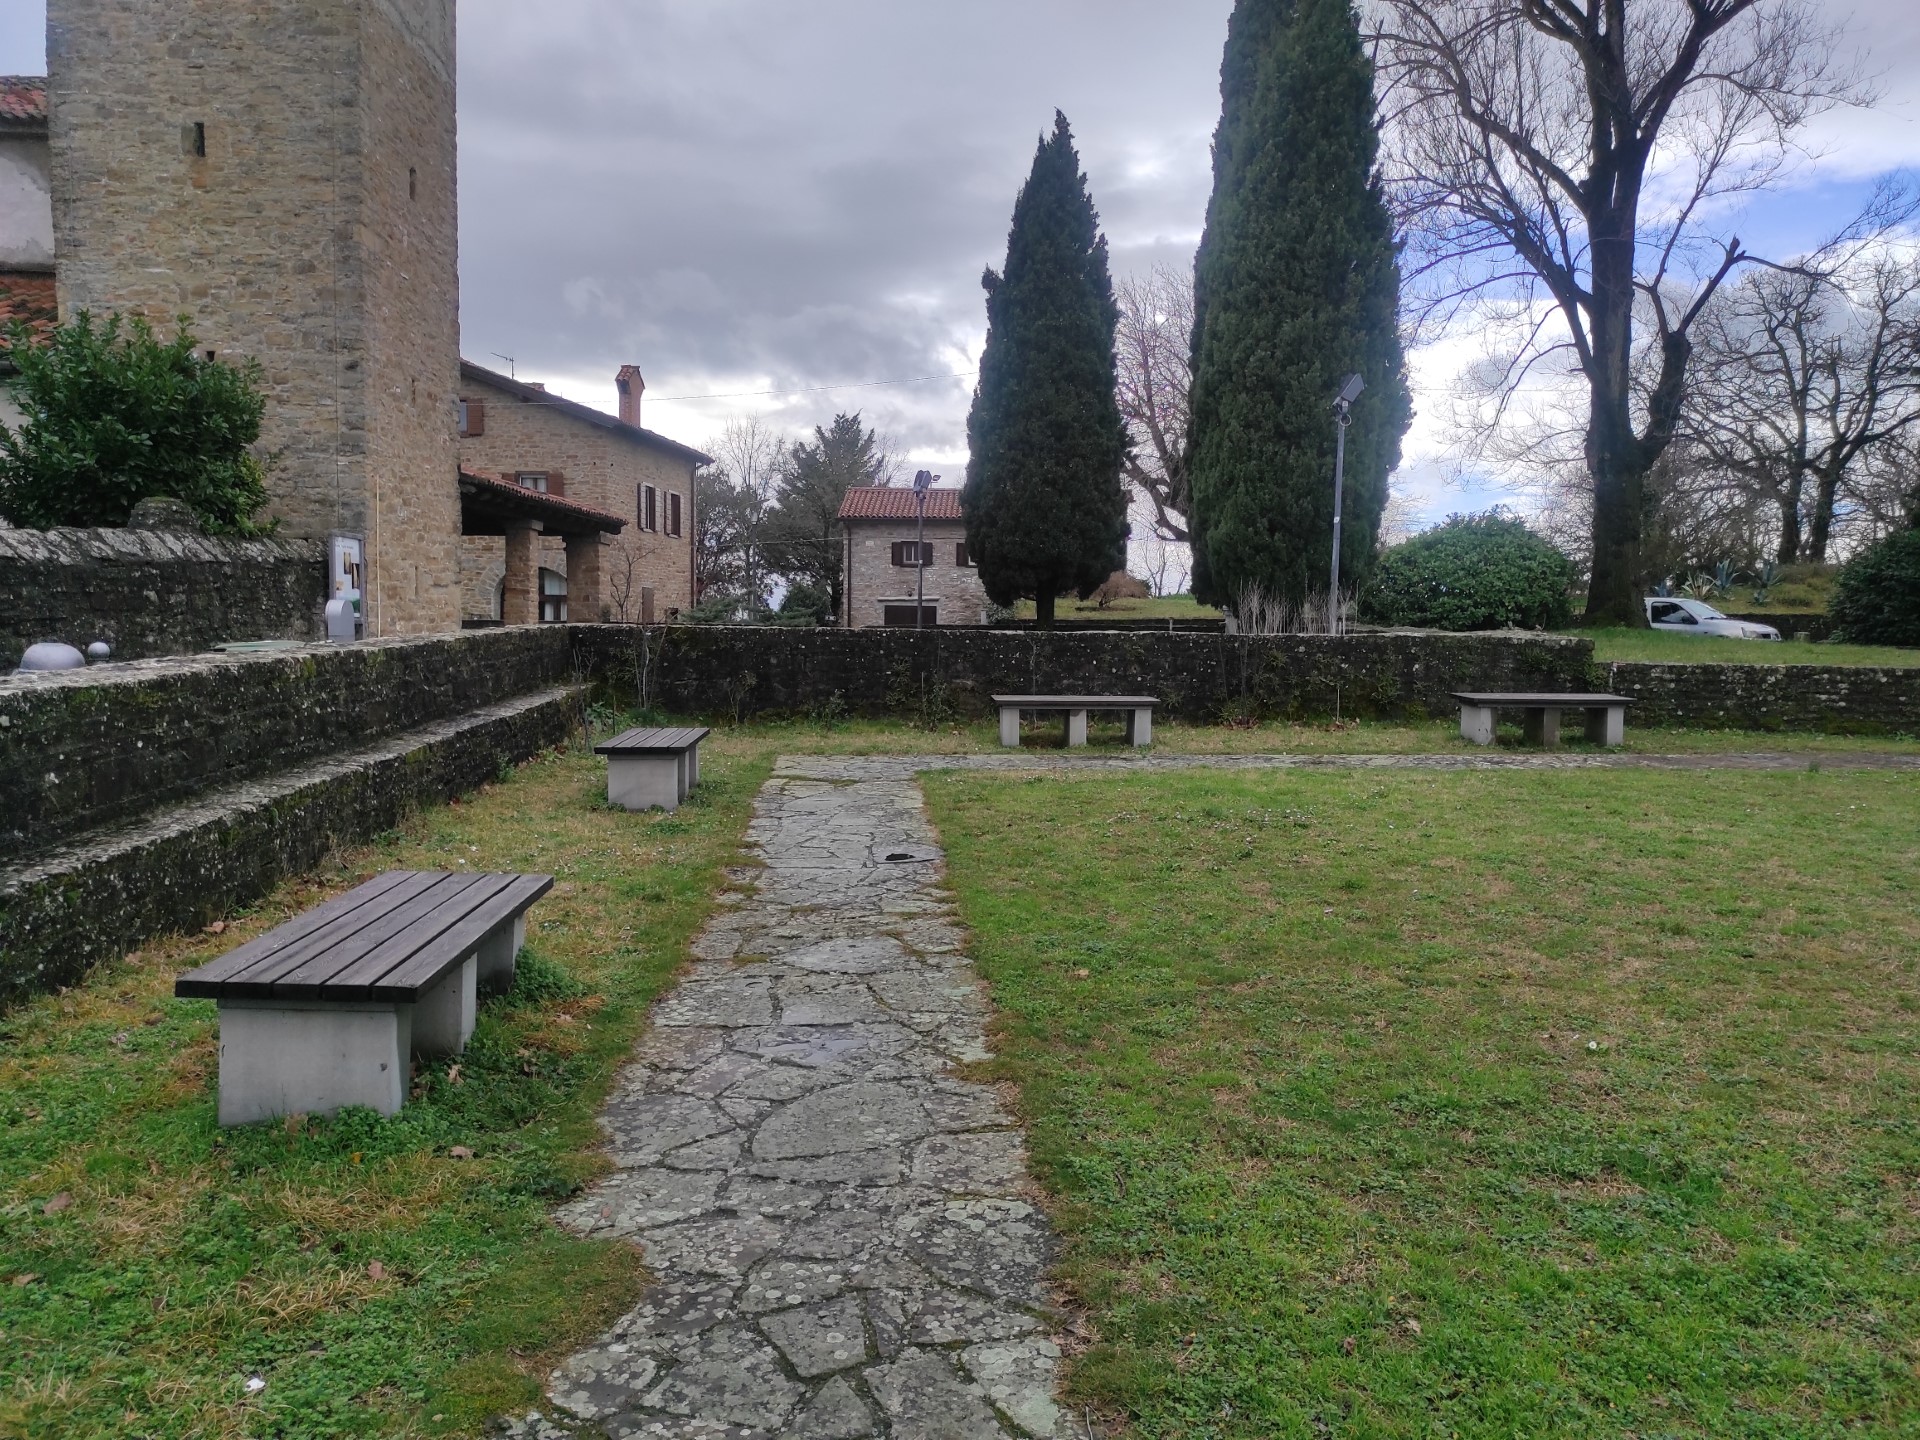
Photo 3
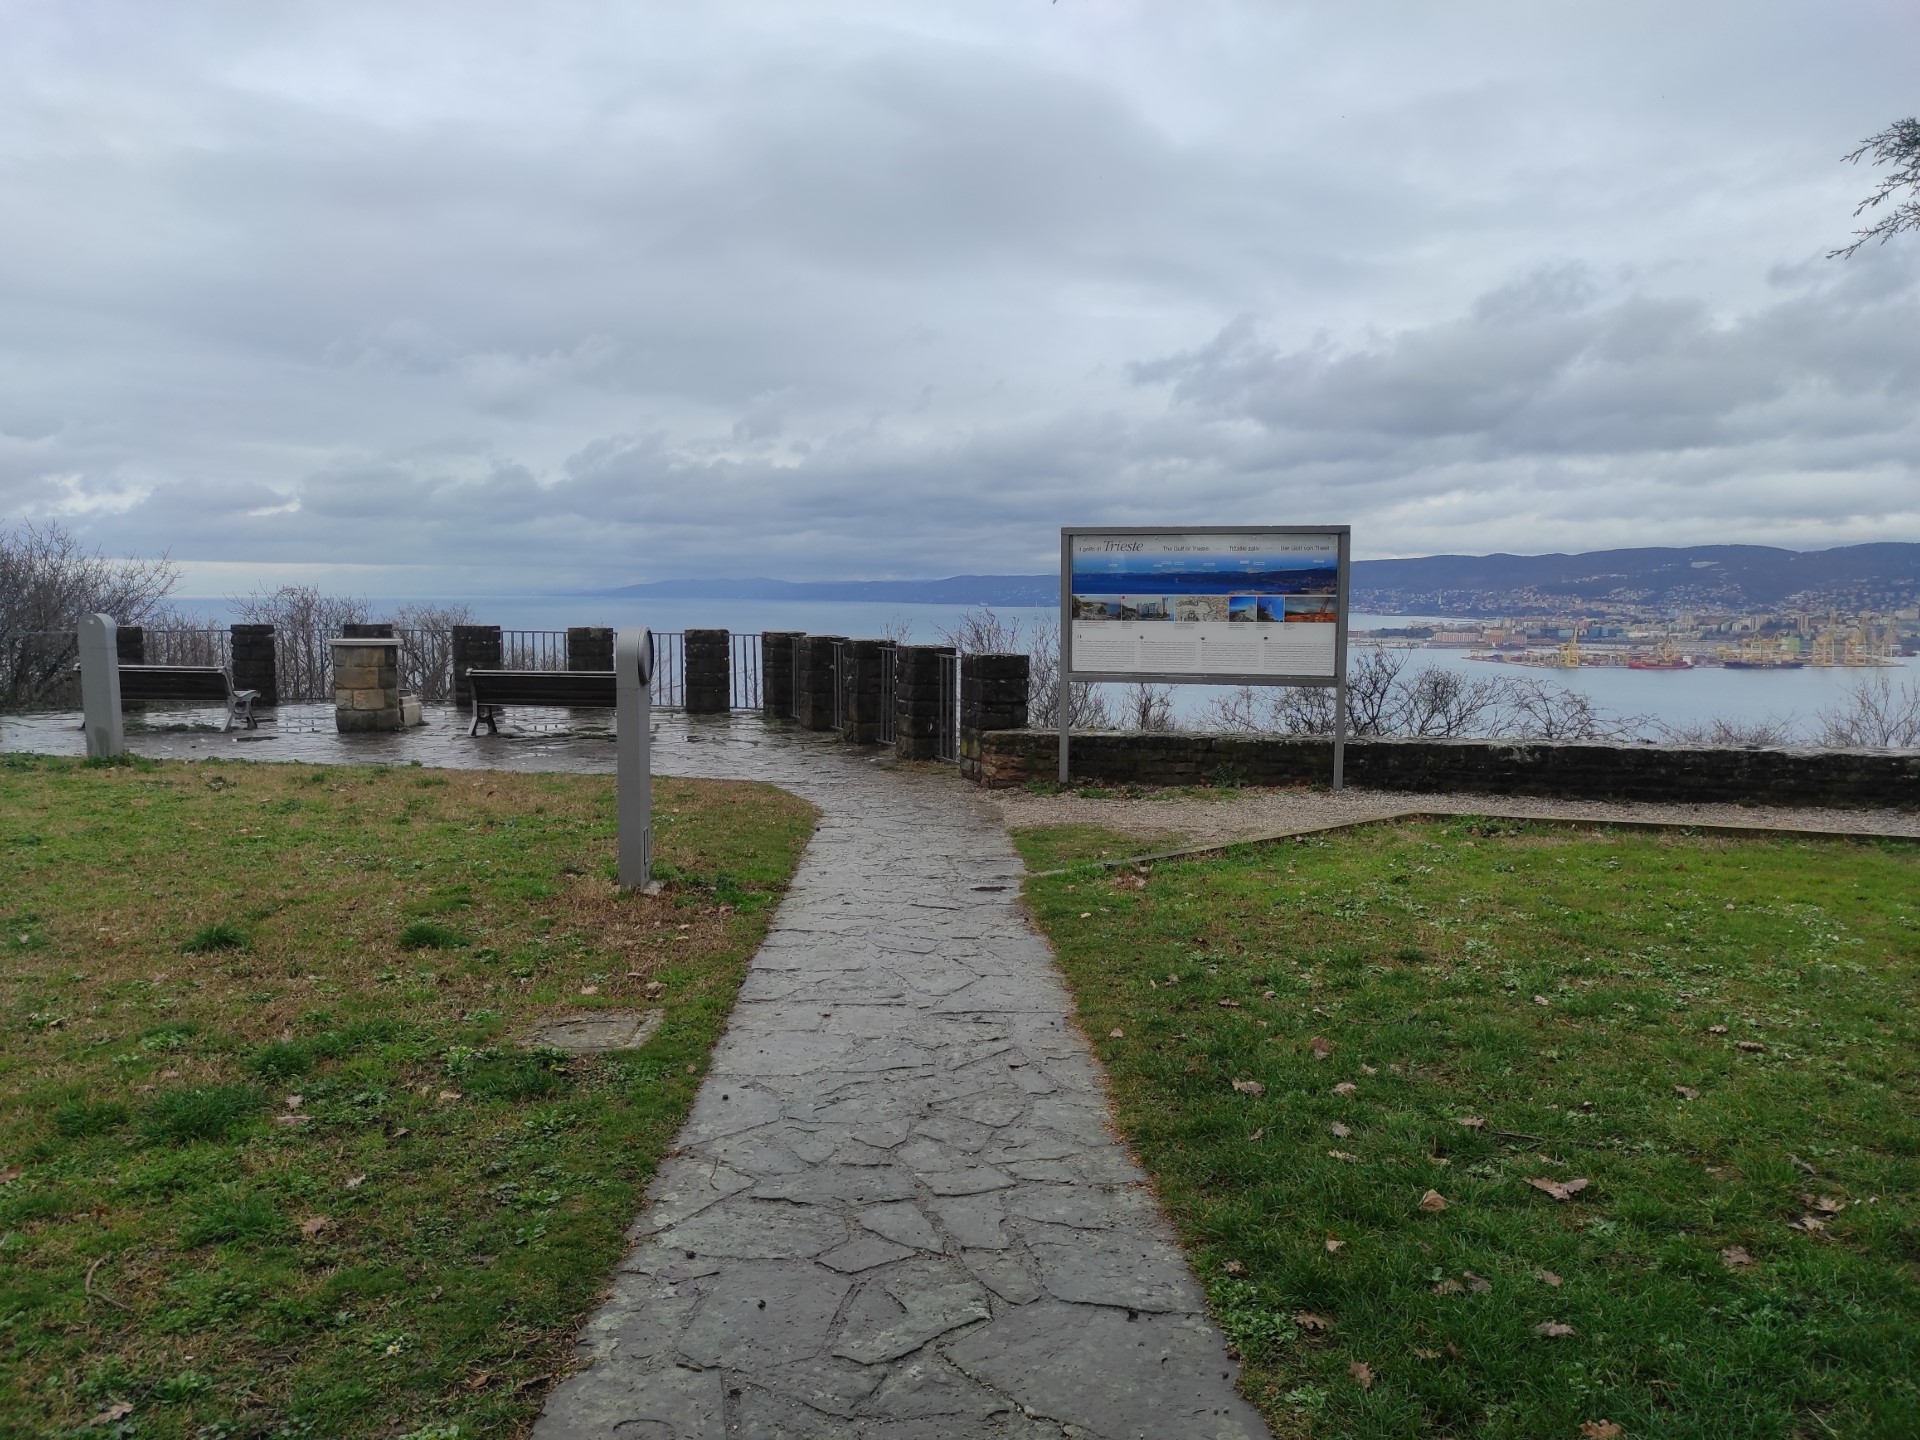
Photo 4
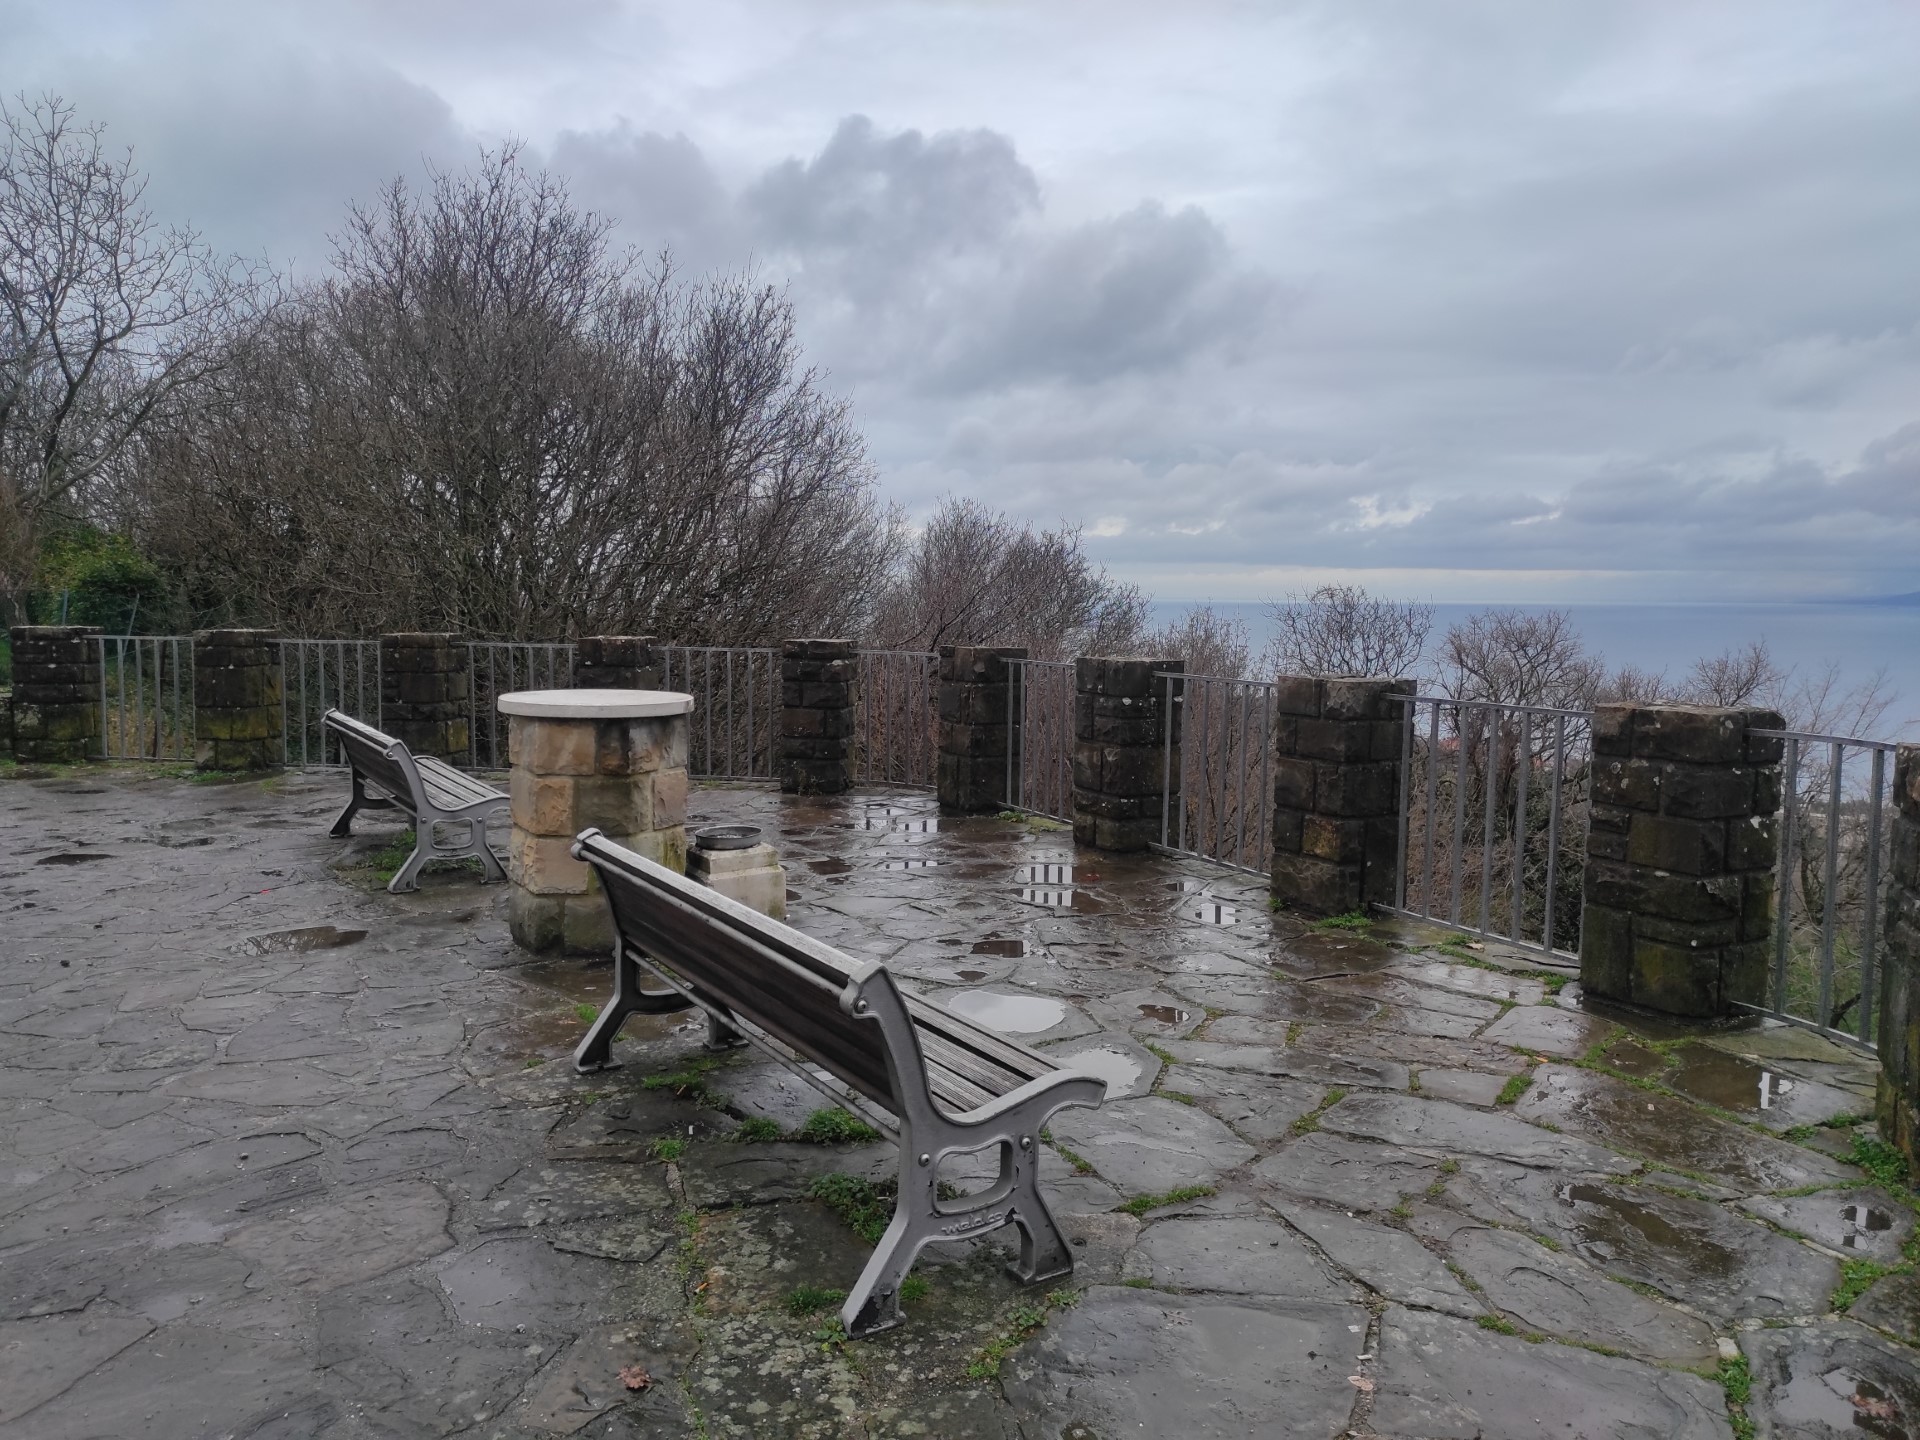
Photo 5

Photo 6
FROM THE BELVEDERE TO THE NORTHEAST ARCHAEOLOGICAL AREA
The visit path continues towards the Northeast archaeological area. The path, about 140 cm wide, is made of compact fine gravel - only in some places deeper - contained by slightly protruding 8 cm concrete curbs, which separate the path from the lawn.
After about 30 meters, the path rises with a series of four stone steps spaced about 5 meters apart. The height of each step is on average 14 cm.
The path reaches the highest point from which to admire the Northeast Archaeological Area; there is also a resting area with a bench without a backrest and armrests, with a seat made of wooden planks at 43 cm from the ground and a depth of 55 cm.
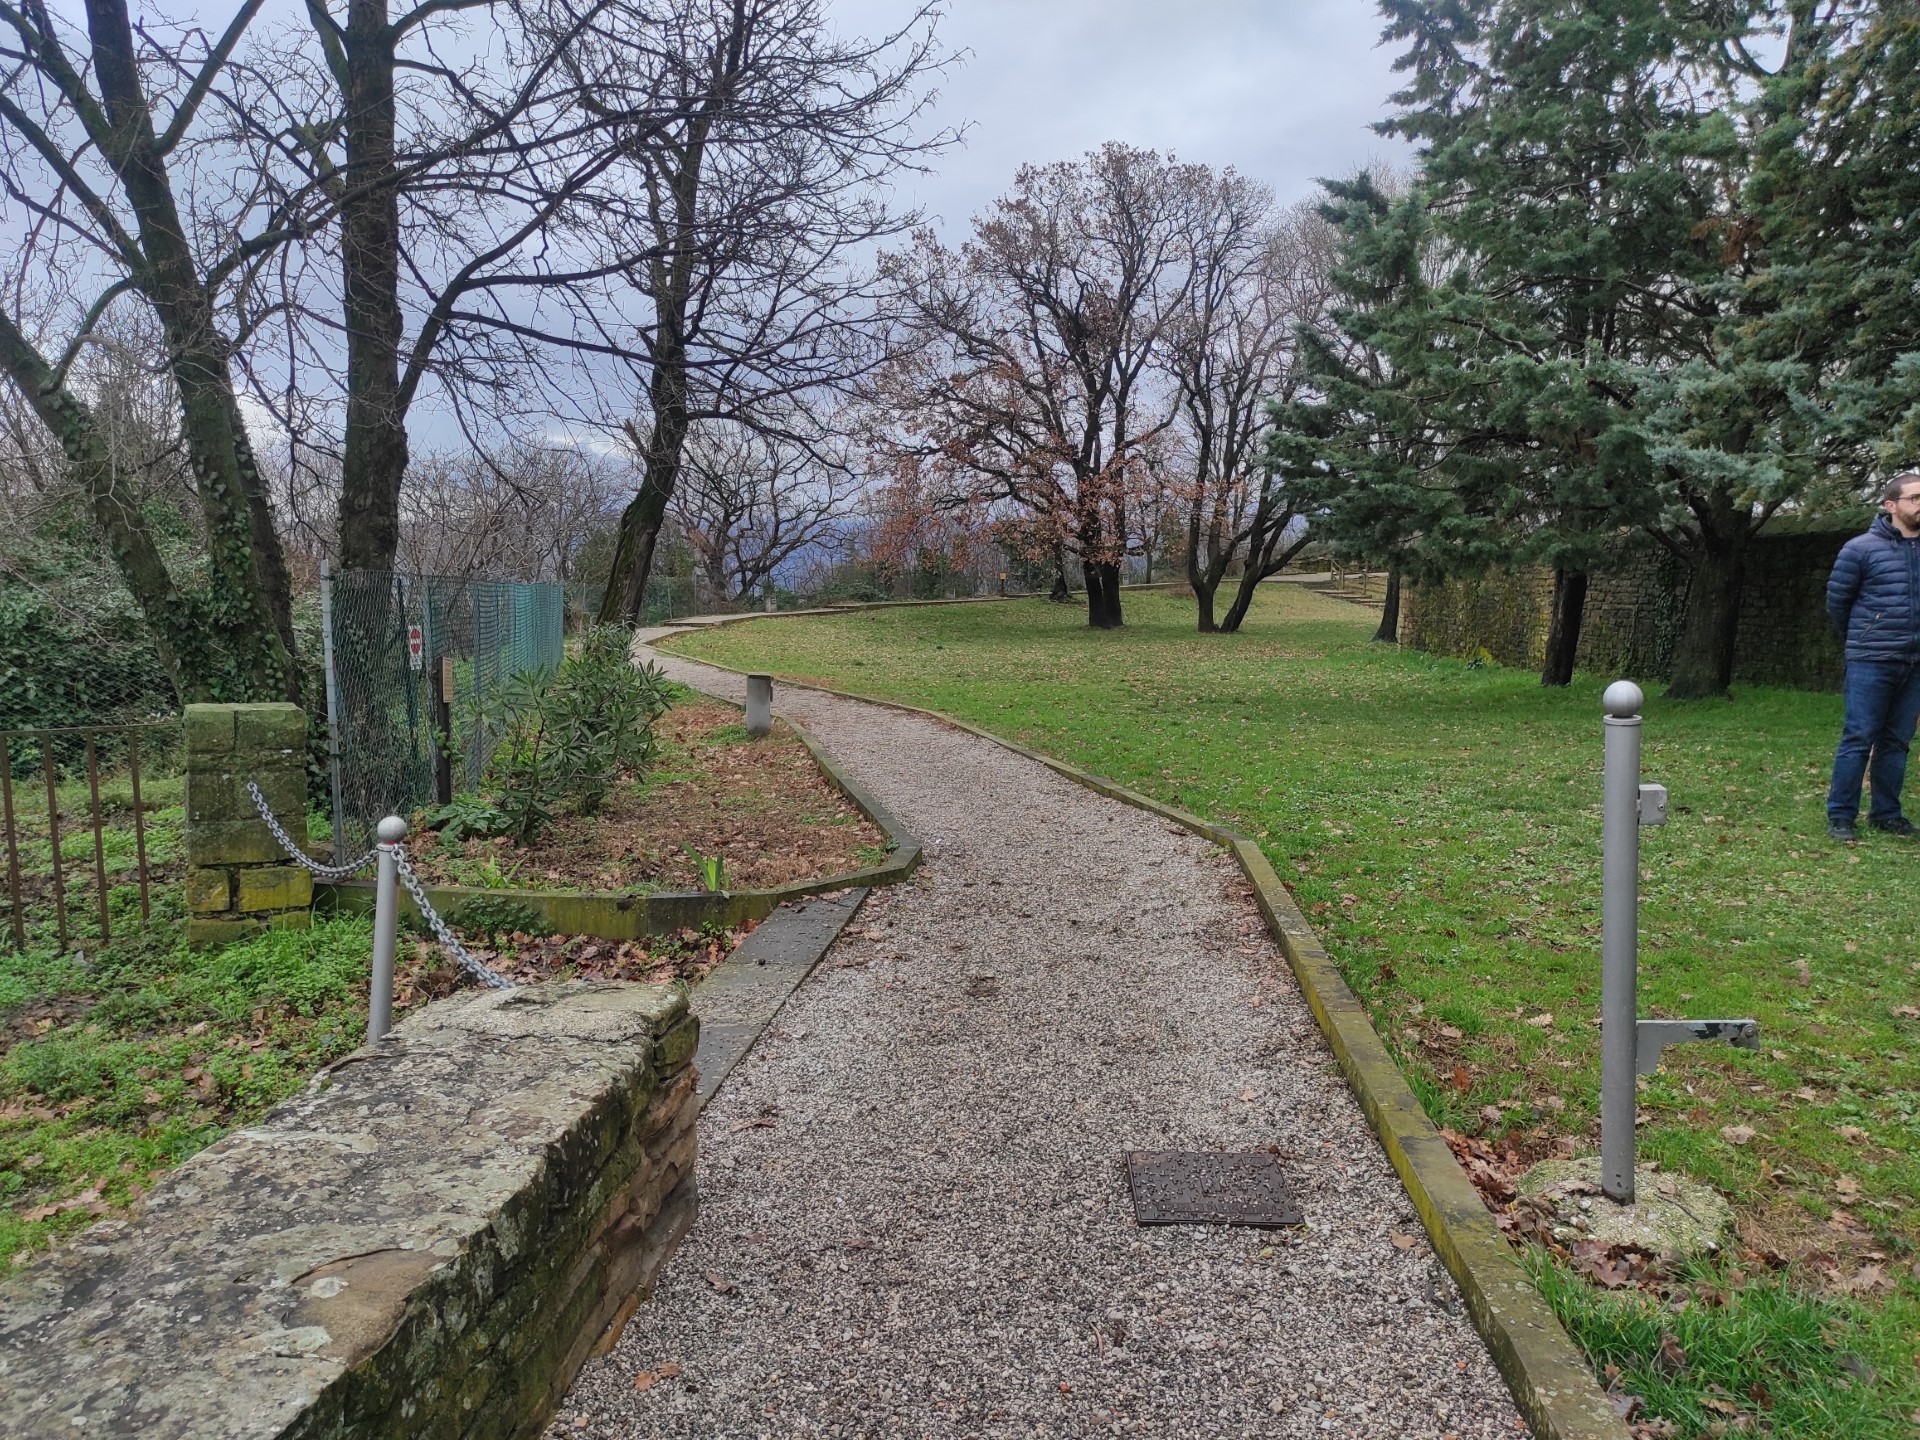
Photo 7

Photo 8
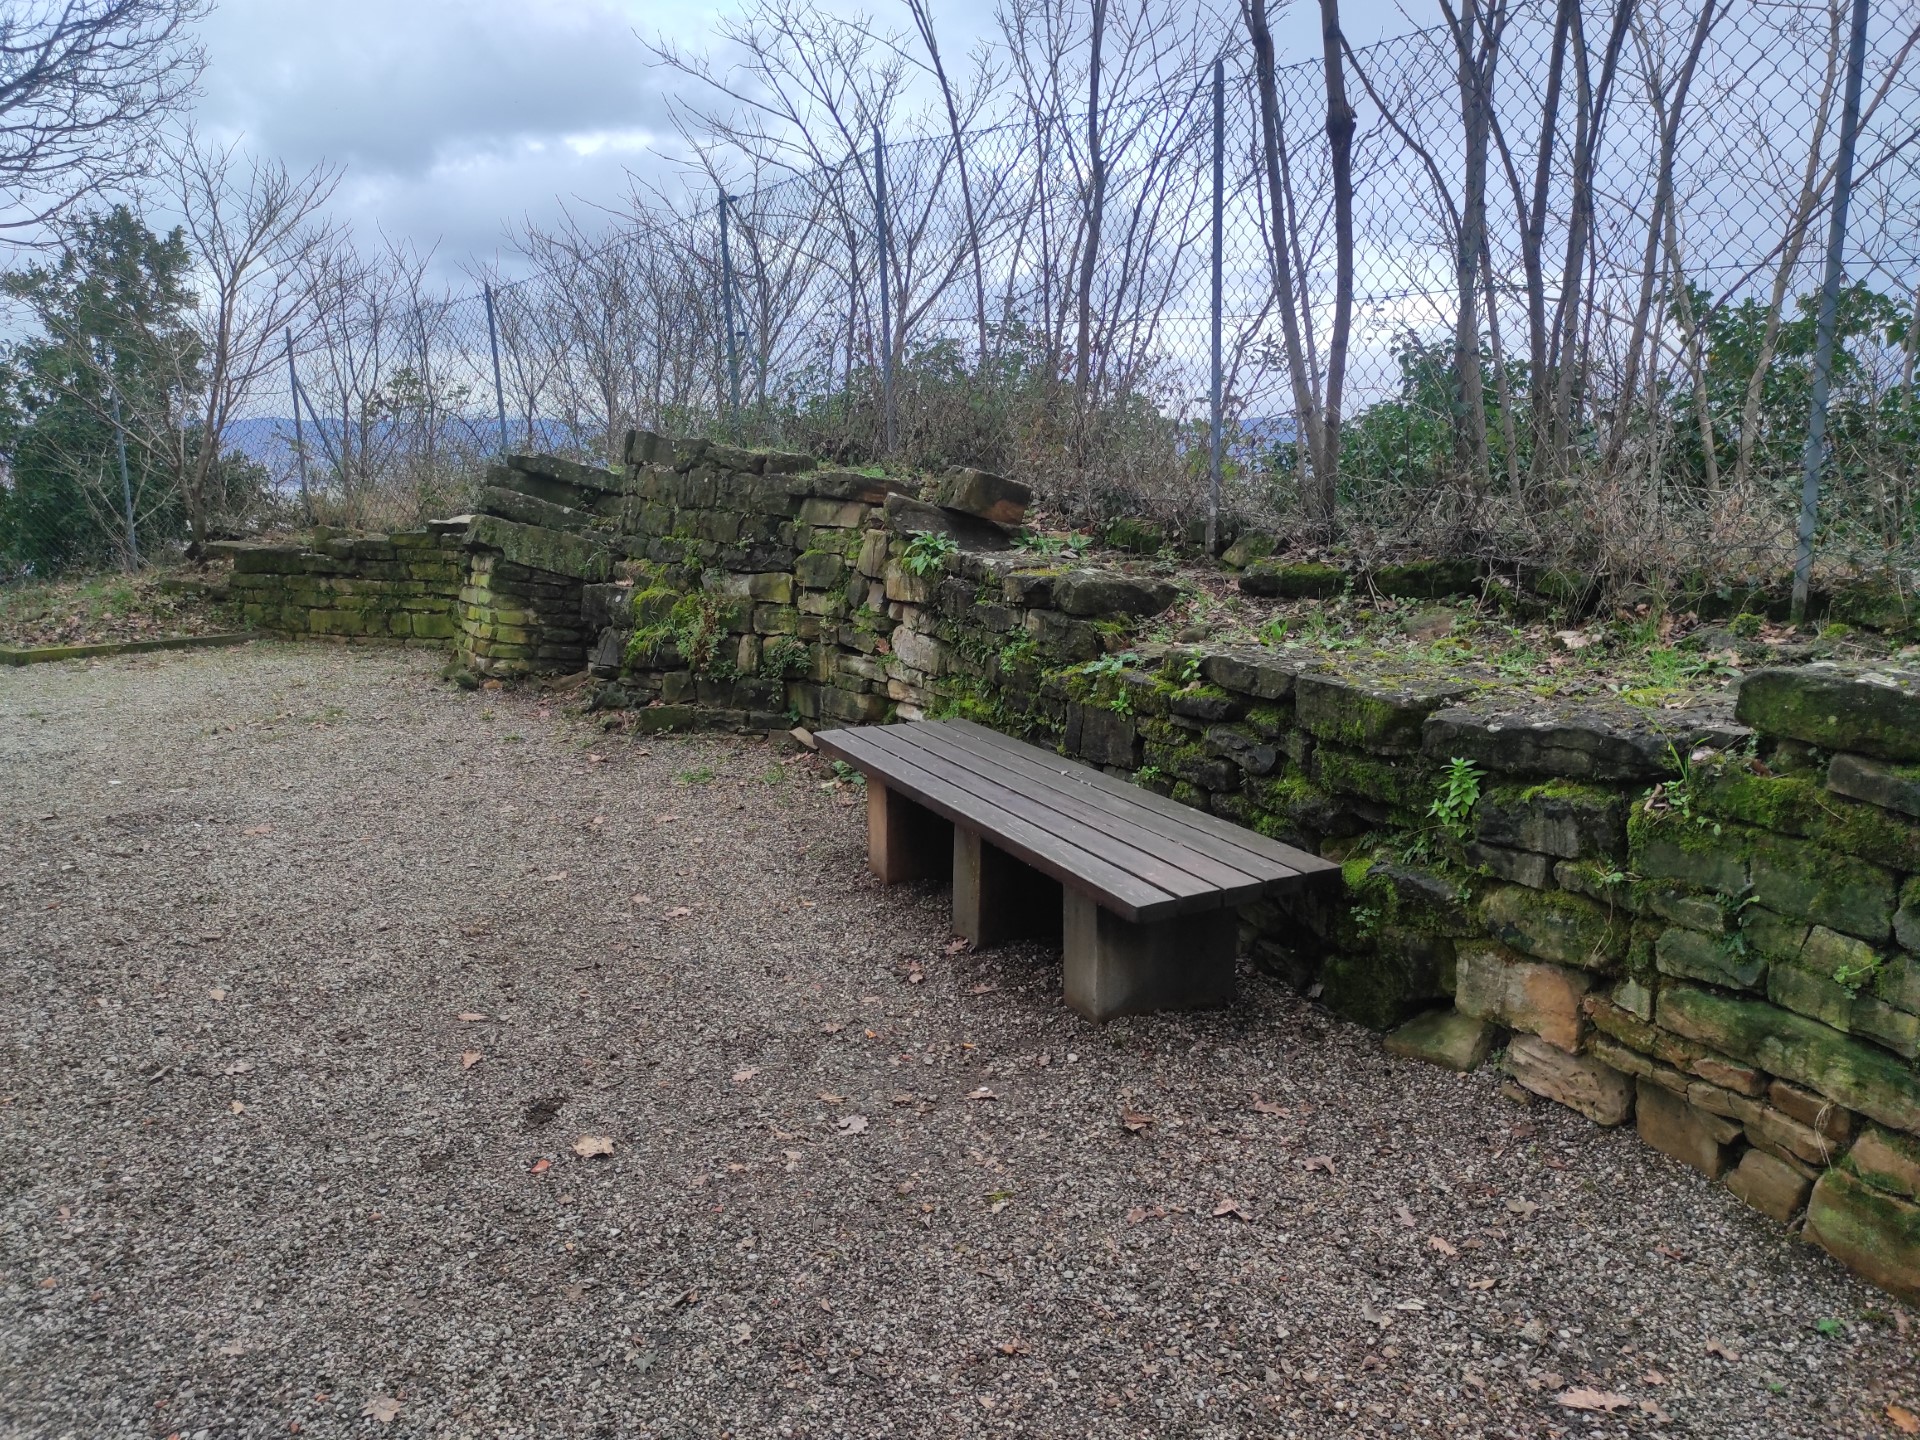
Photo 9
The North-East Archaeological Area, also visible from the high point of the path, è surrounded by the path that descends with 8 concrete steps, width 150 and landings in gravel, and runs along its entire perimeter before ascending to the opposite side (Photo 10, 11).
The area è surrounded by a wooden railing with a height of 107 cm and by a concrete curb that serves as a natural guide. Before ascending, there is an explanatory panel (minimum height from the ground 84 cm, maximum 180 cm) with the general map of the Park (Photo 12) which is difficult to read due to the presence of the railing in front. A staircase with the same characteristics as the previous one leads back up with 9 steps of slightly variable rise (max 16.5 cm).
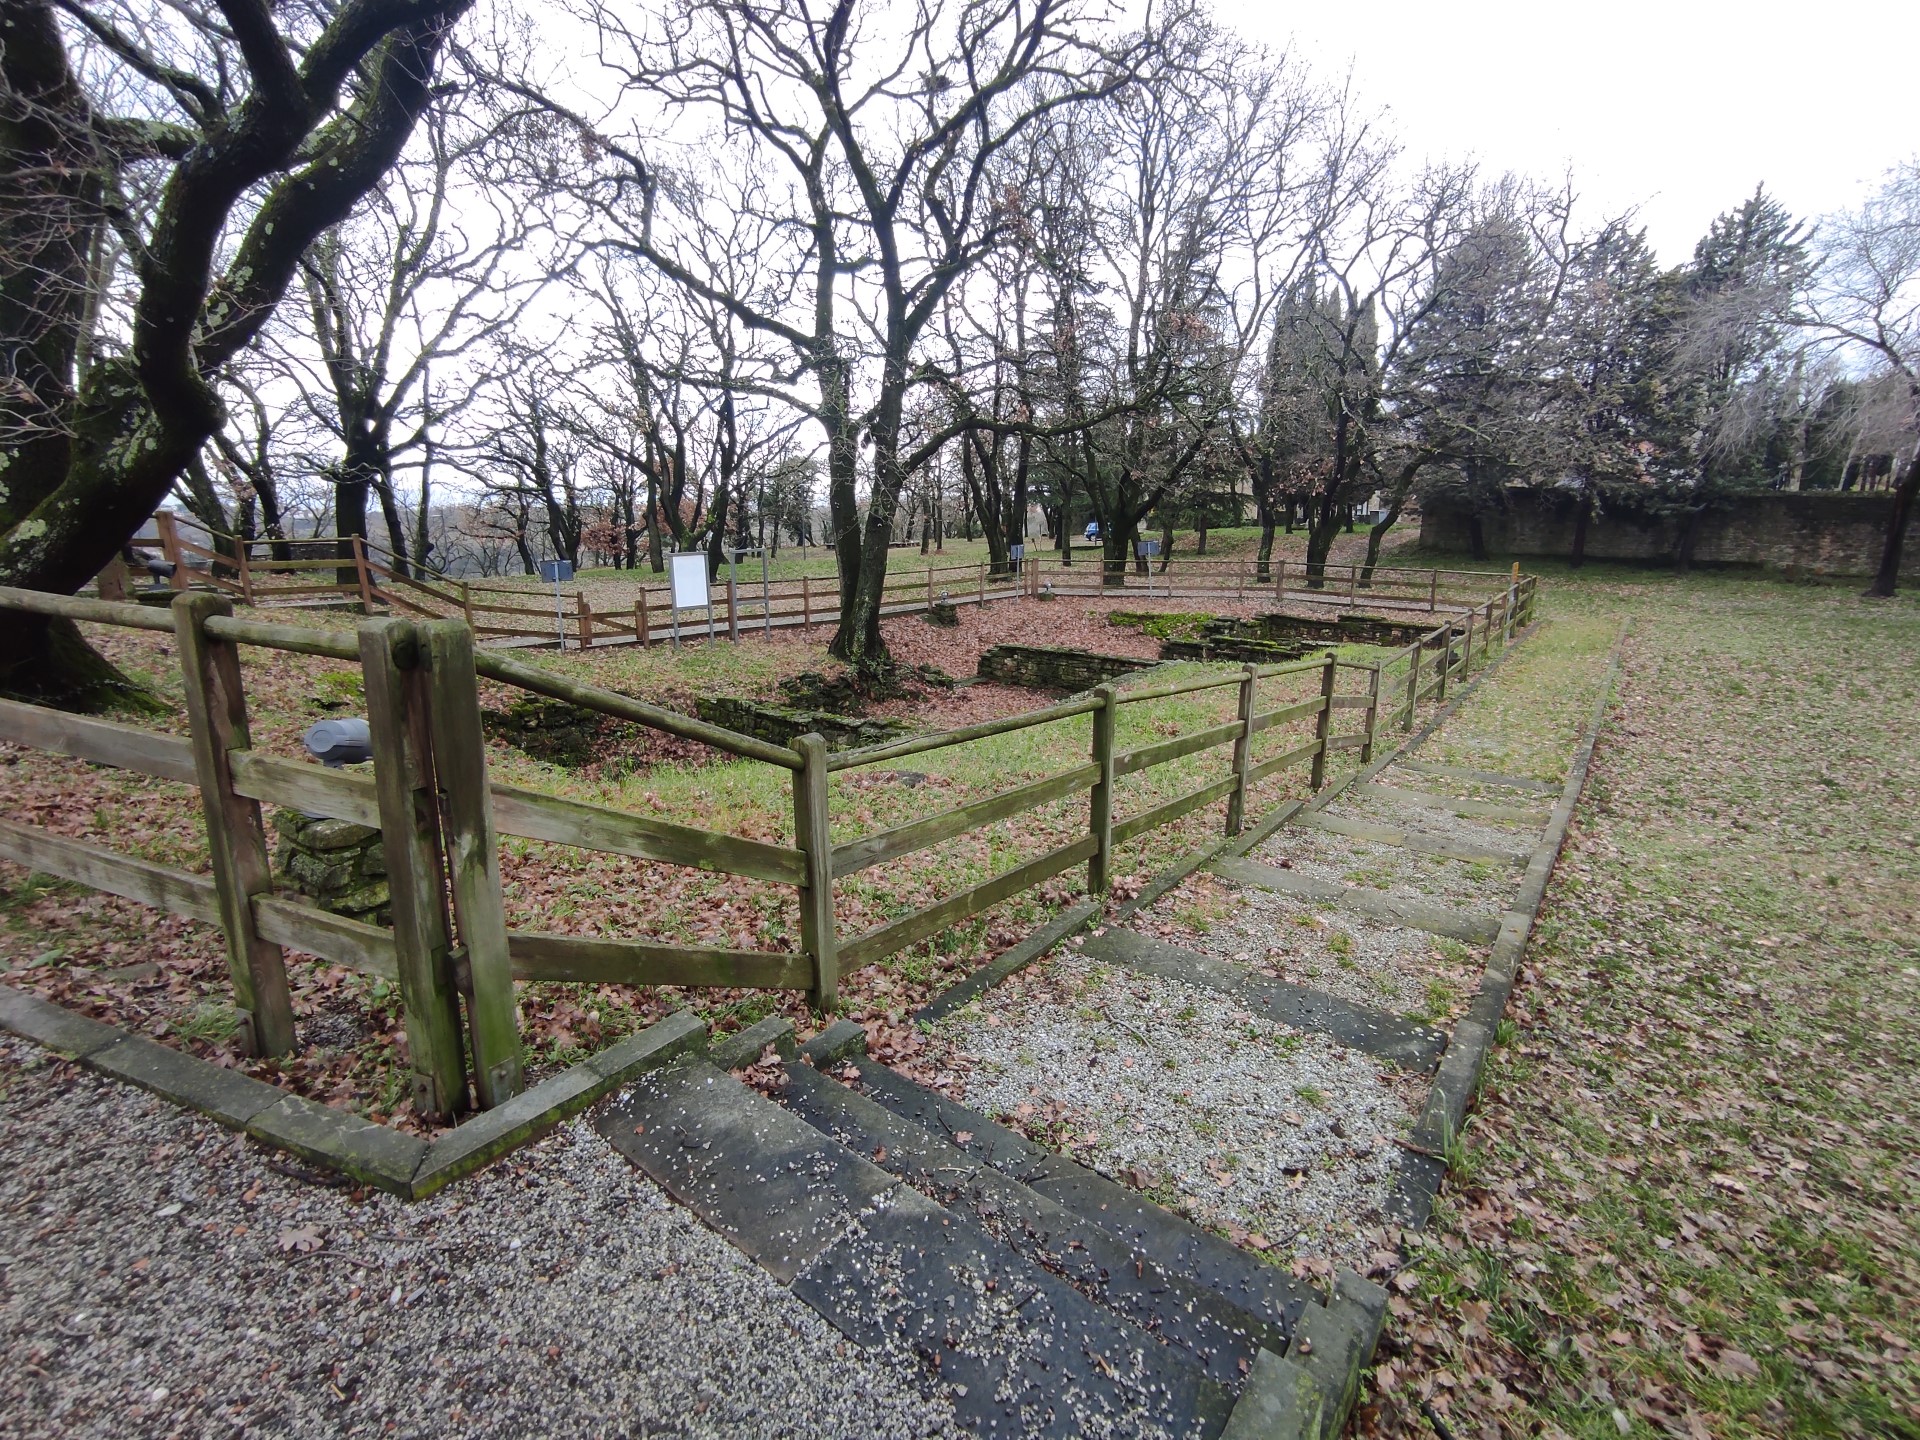
Photo 10
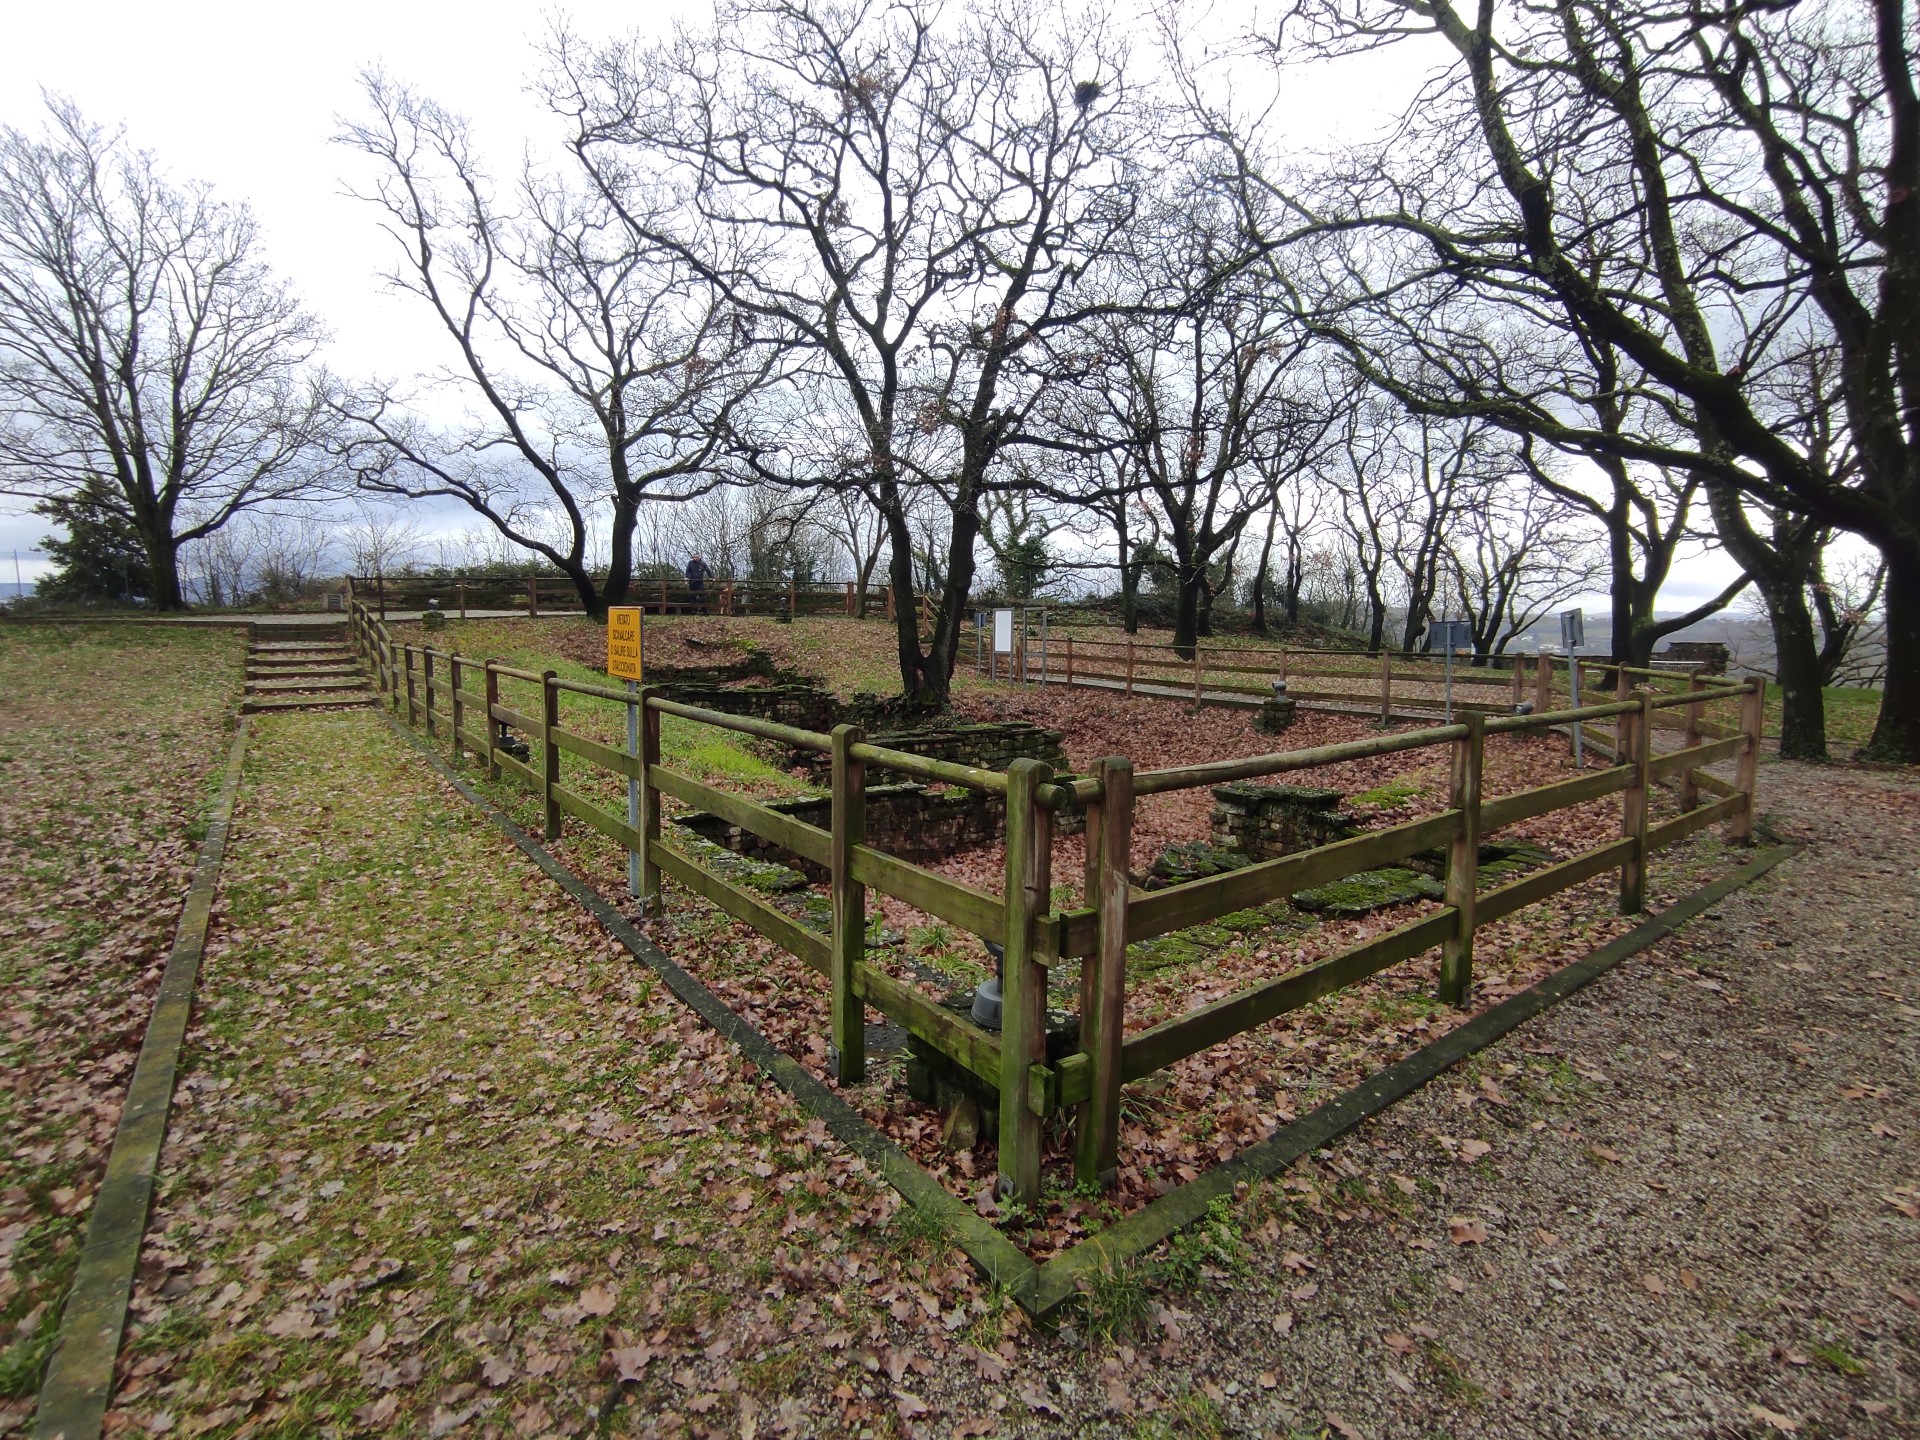
Photo 11
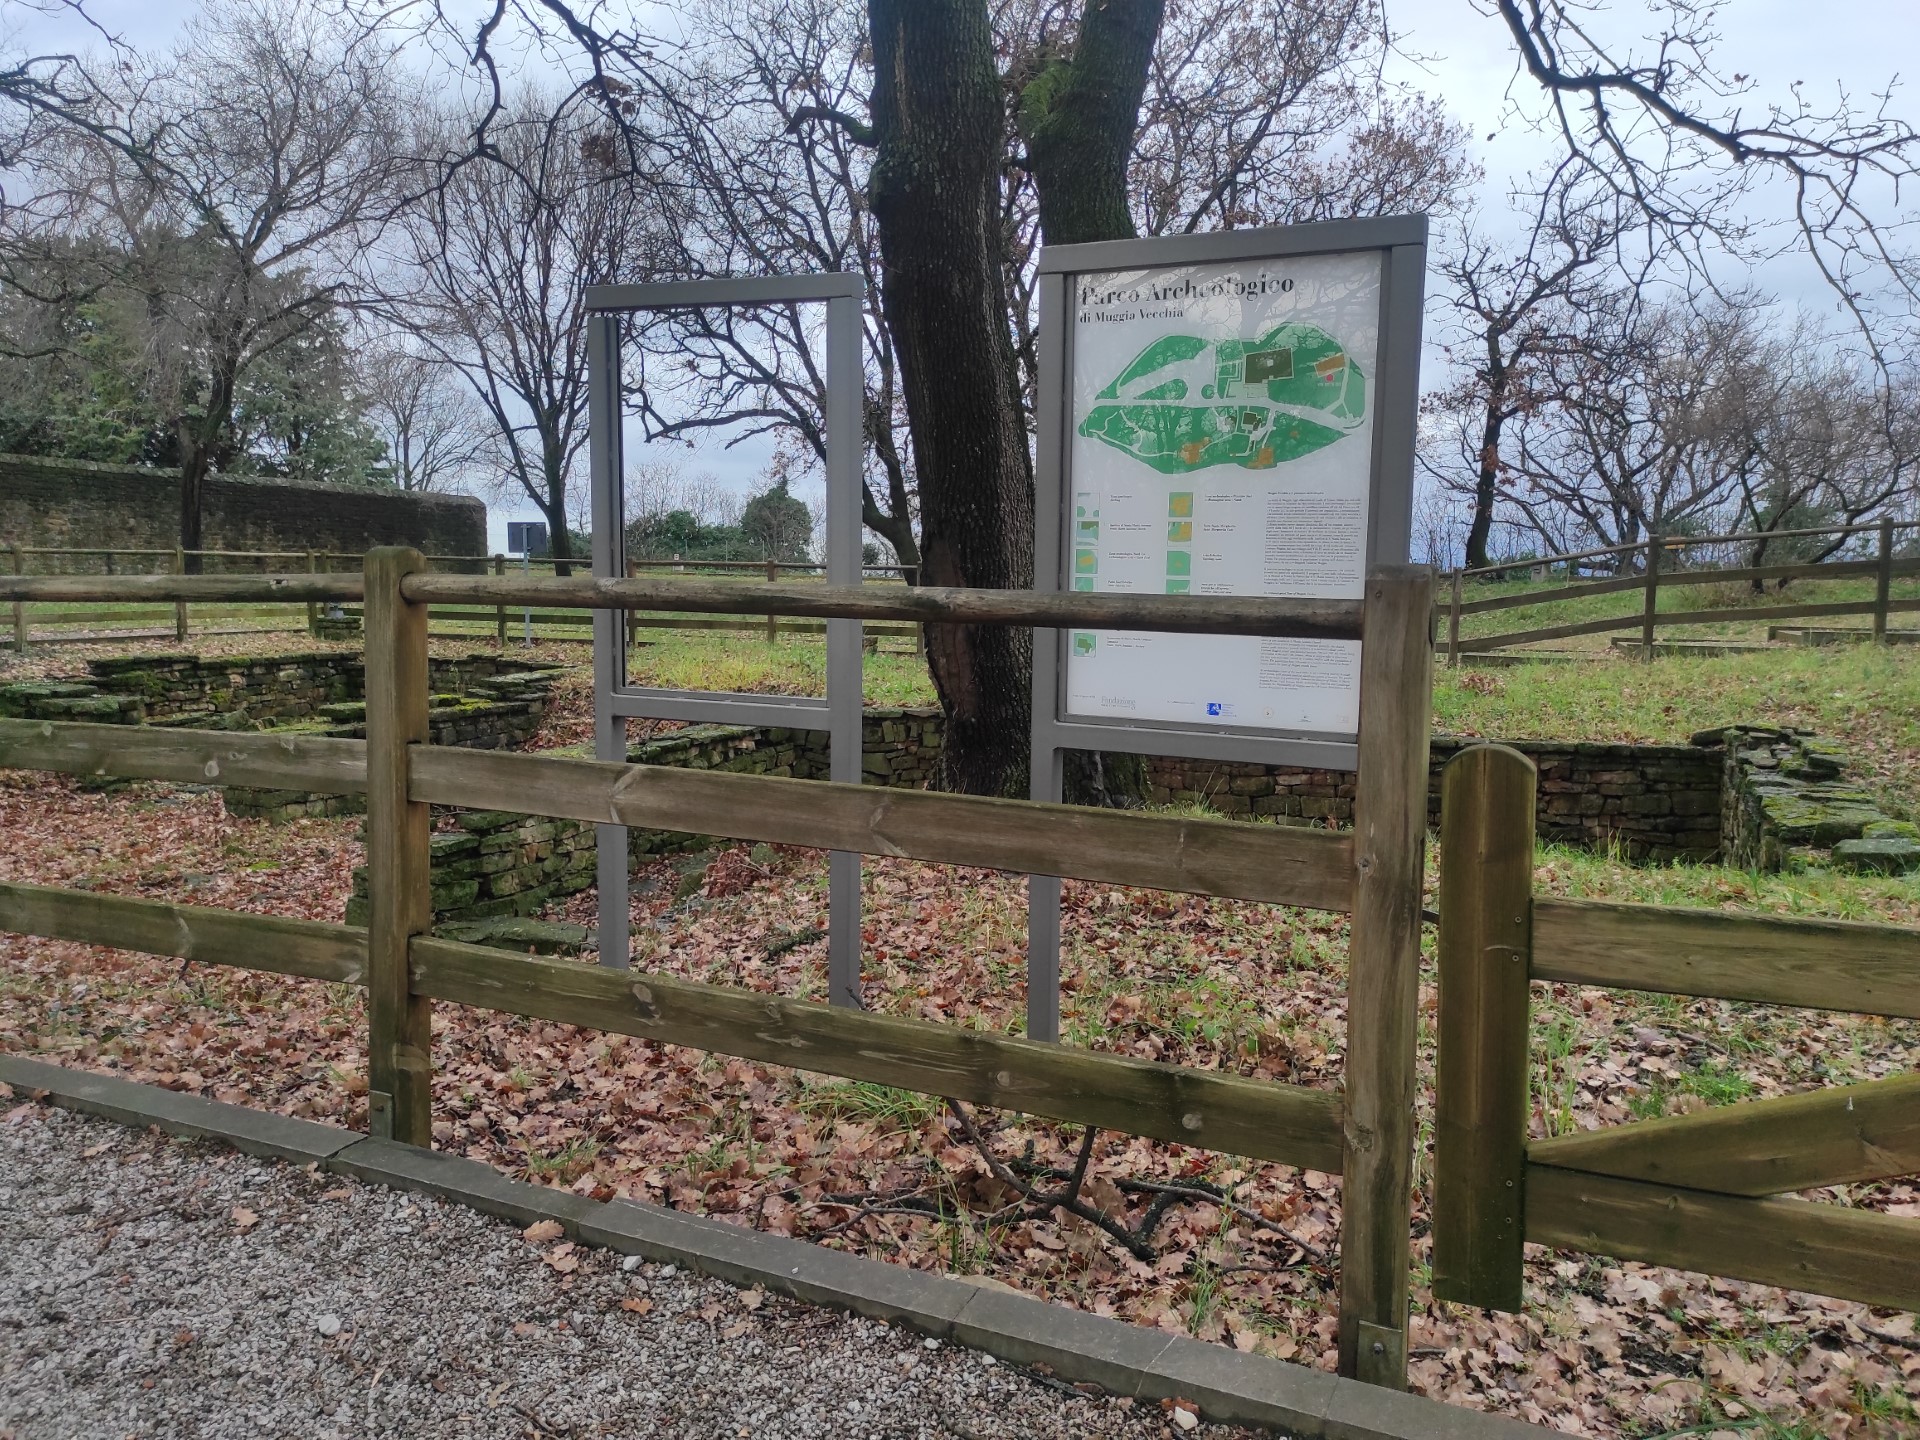
Photo 12
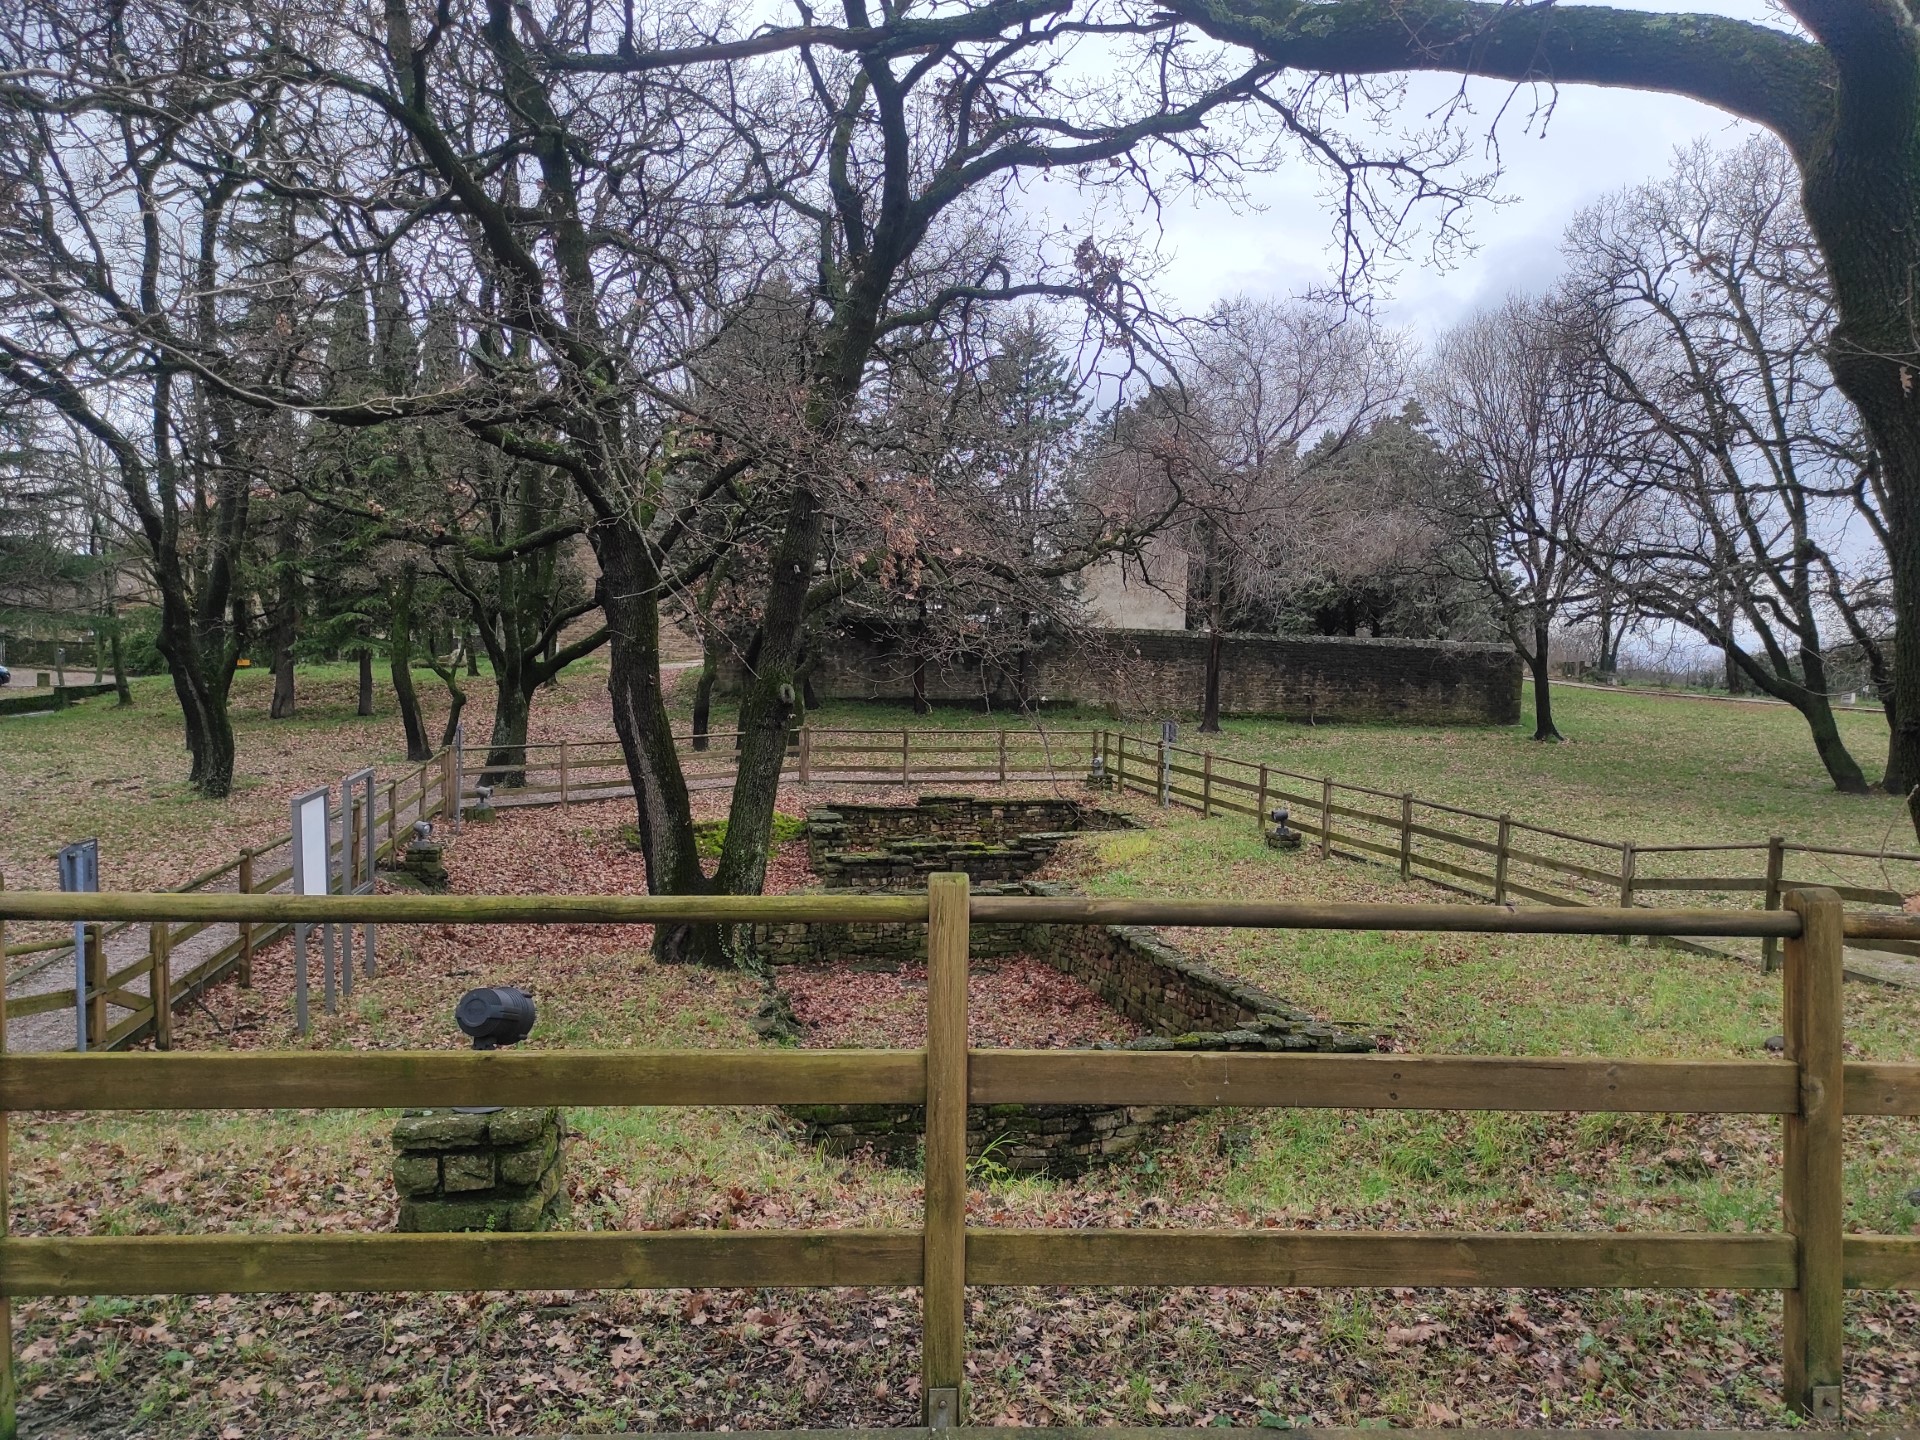
Photo 13
FROM THE NORTHEAST ARCHAEOLOGICAL AREA TO THE SANT'ODORICO GATE
The path continues on compact fine gravel with a width of about 330 cm. After a few dozen meters, before a staircase, there is a manhole protruding from the path level (Photo 14).
The staircase (Photo 15) descends to a lower level with 9 steps, each with a rise of 14 cm, leading to the area of the Sant'Odorico Gate, which constitutes the second Belvedere (Photo 16). The area is paved with gray stone slabs, and the perimeter towards the view is marked by white stone (Photo 17). The remains of the ancient Gate form the parapet of the Belvedere (h 112 cm), except for a small portion protected by a metal railing with the same characteristics as the previous one. The area is equipped with a bench for resting, similar to the previous ones, and a bin.
The two explanatory panels (Photo 18) located on the left indicate the overall map of the Park and historical notes about the Sant'Odorico Gate (minimum height 96 cm, maximum height 190 cm) with characters about 5 mm high in black on a white background, accompanied by diagrams, drawings, and photographs.
From this point, it is necessary to go back for about ten meters to find on the left a stone staircase (Photo 20) that descends towards the roadway with 14 steps of irregular rise.
The path can be managed freely; therefore, from here it is possible to descend along the stairs and then follow the road, which initially has adequate space for pedestrian passage but then narrows to allow only cars (Photo 21, 22); alternatively, it is possible to return to the parking lot and from this point start exploring the southern area (recommended).
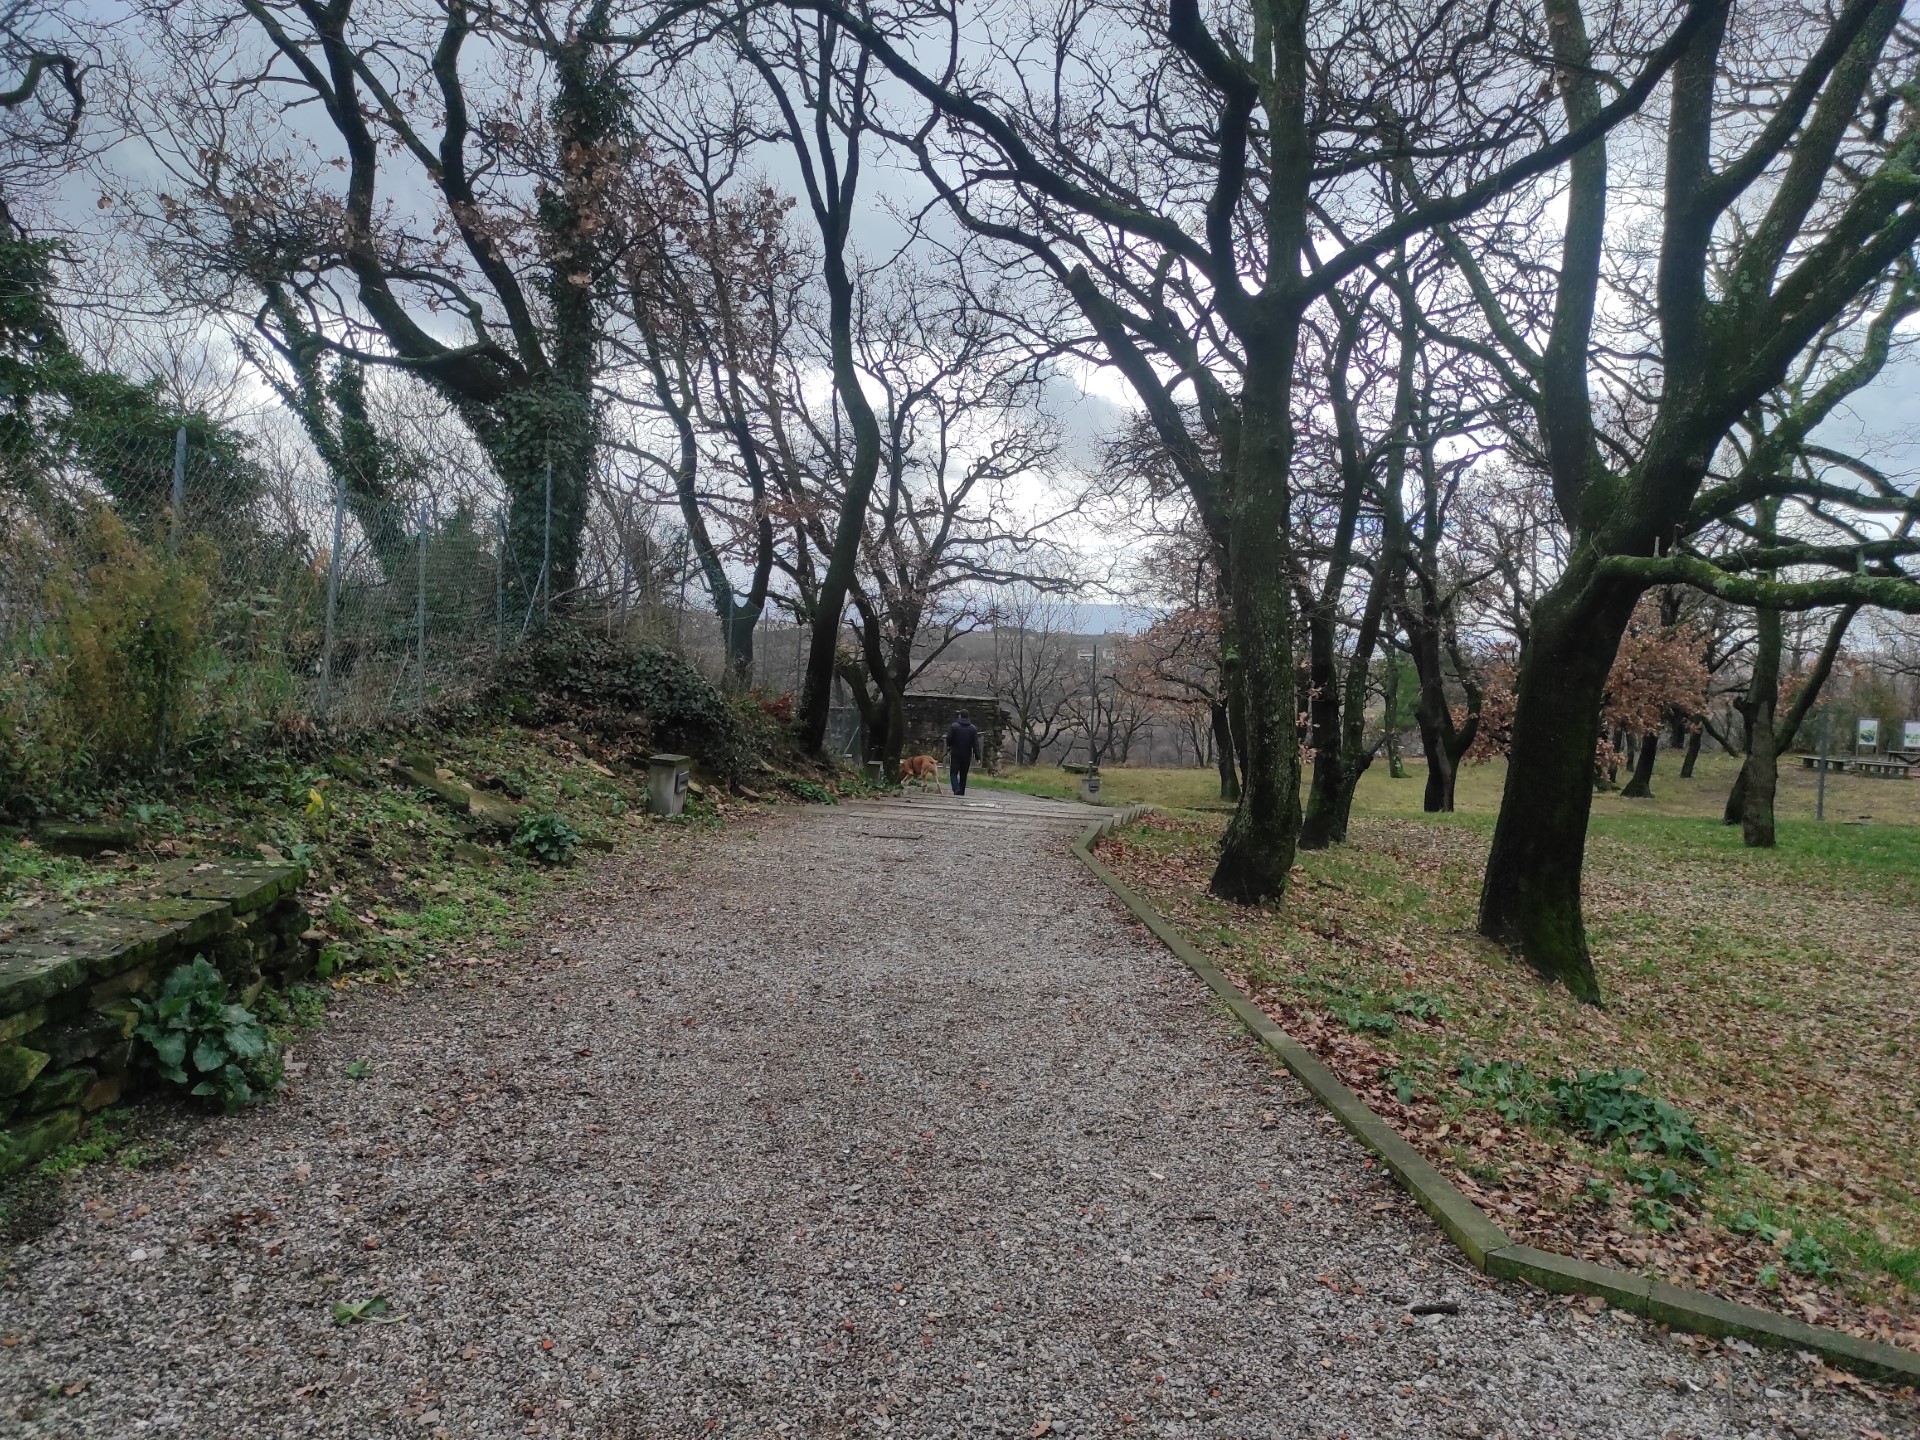
Photo 14
Photo 15
Photo 16

Photo 17
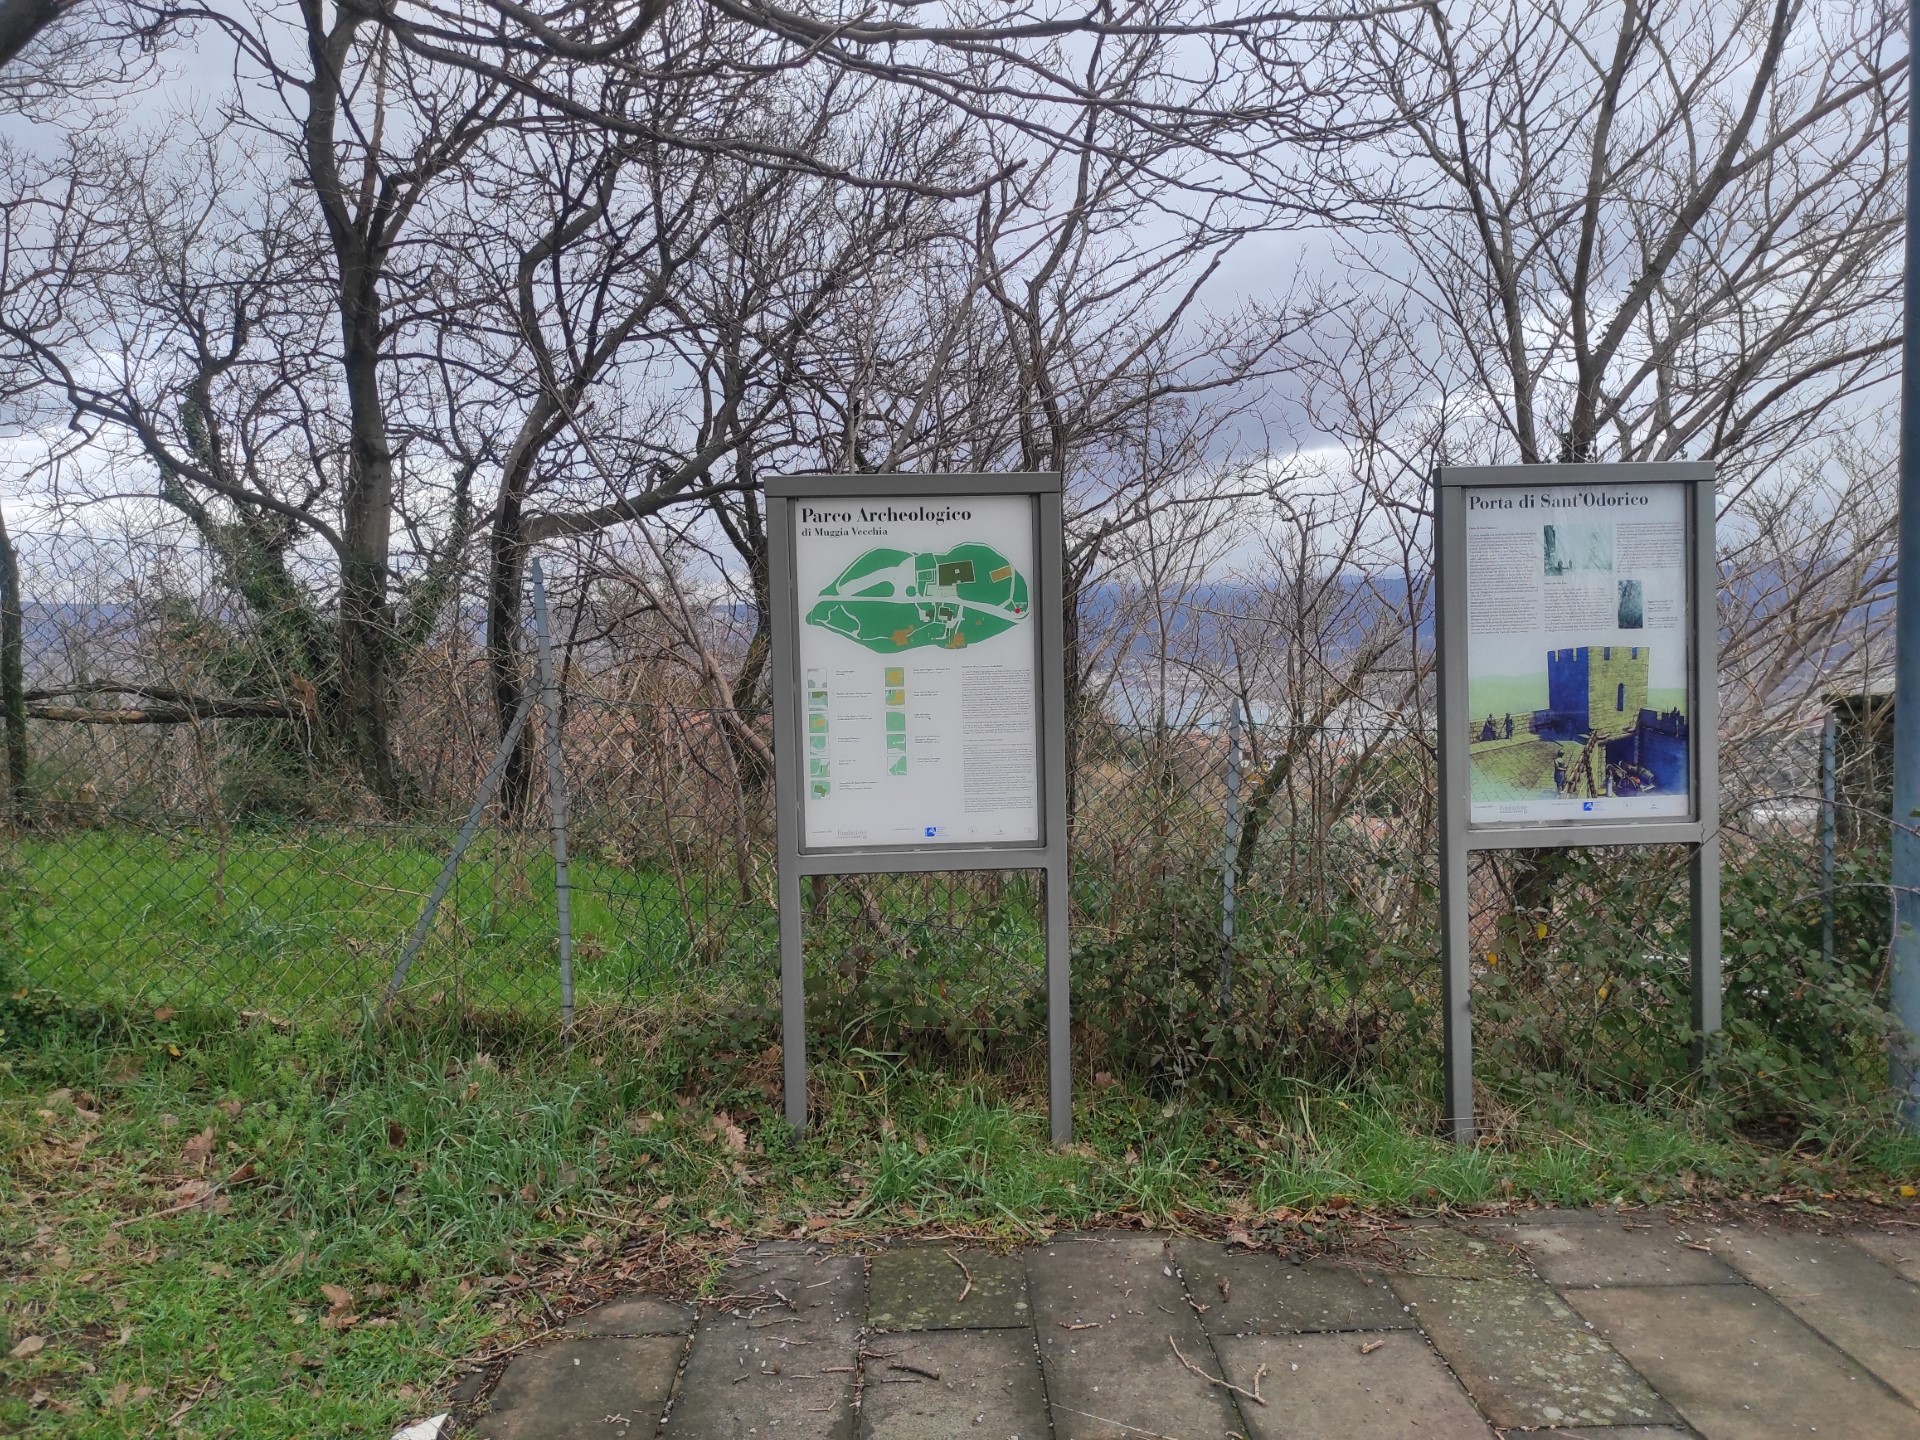
Photo 18

Photo 19
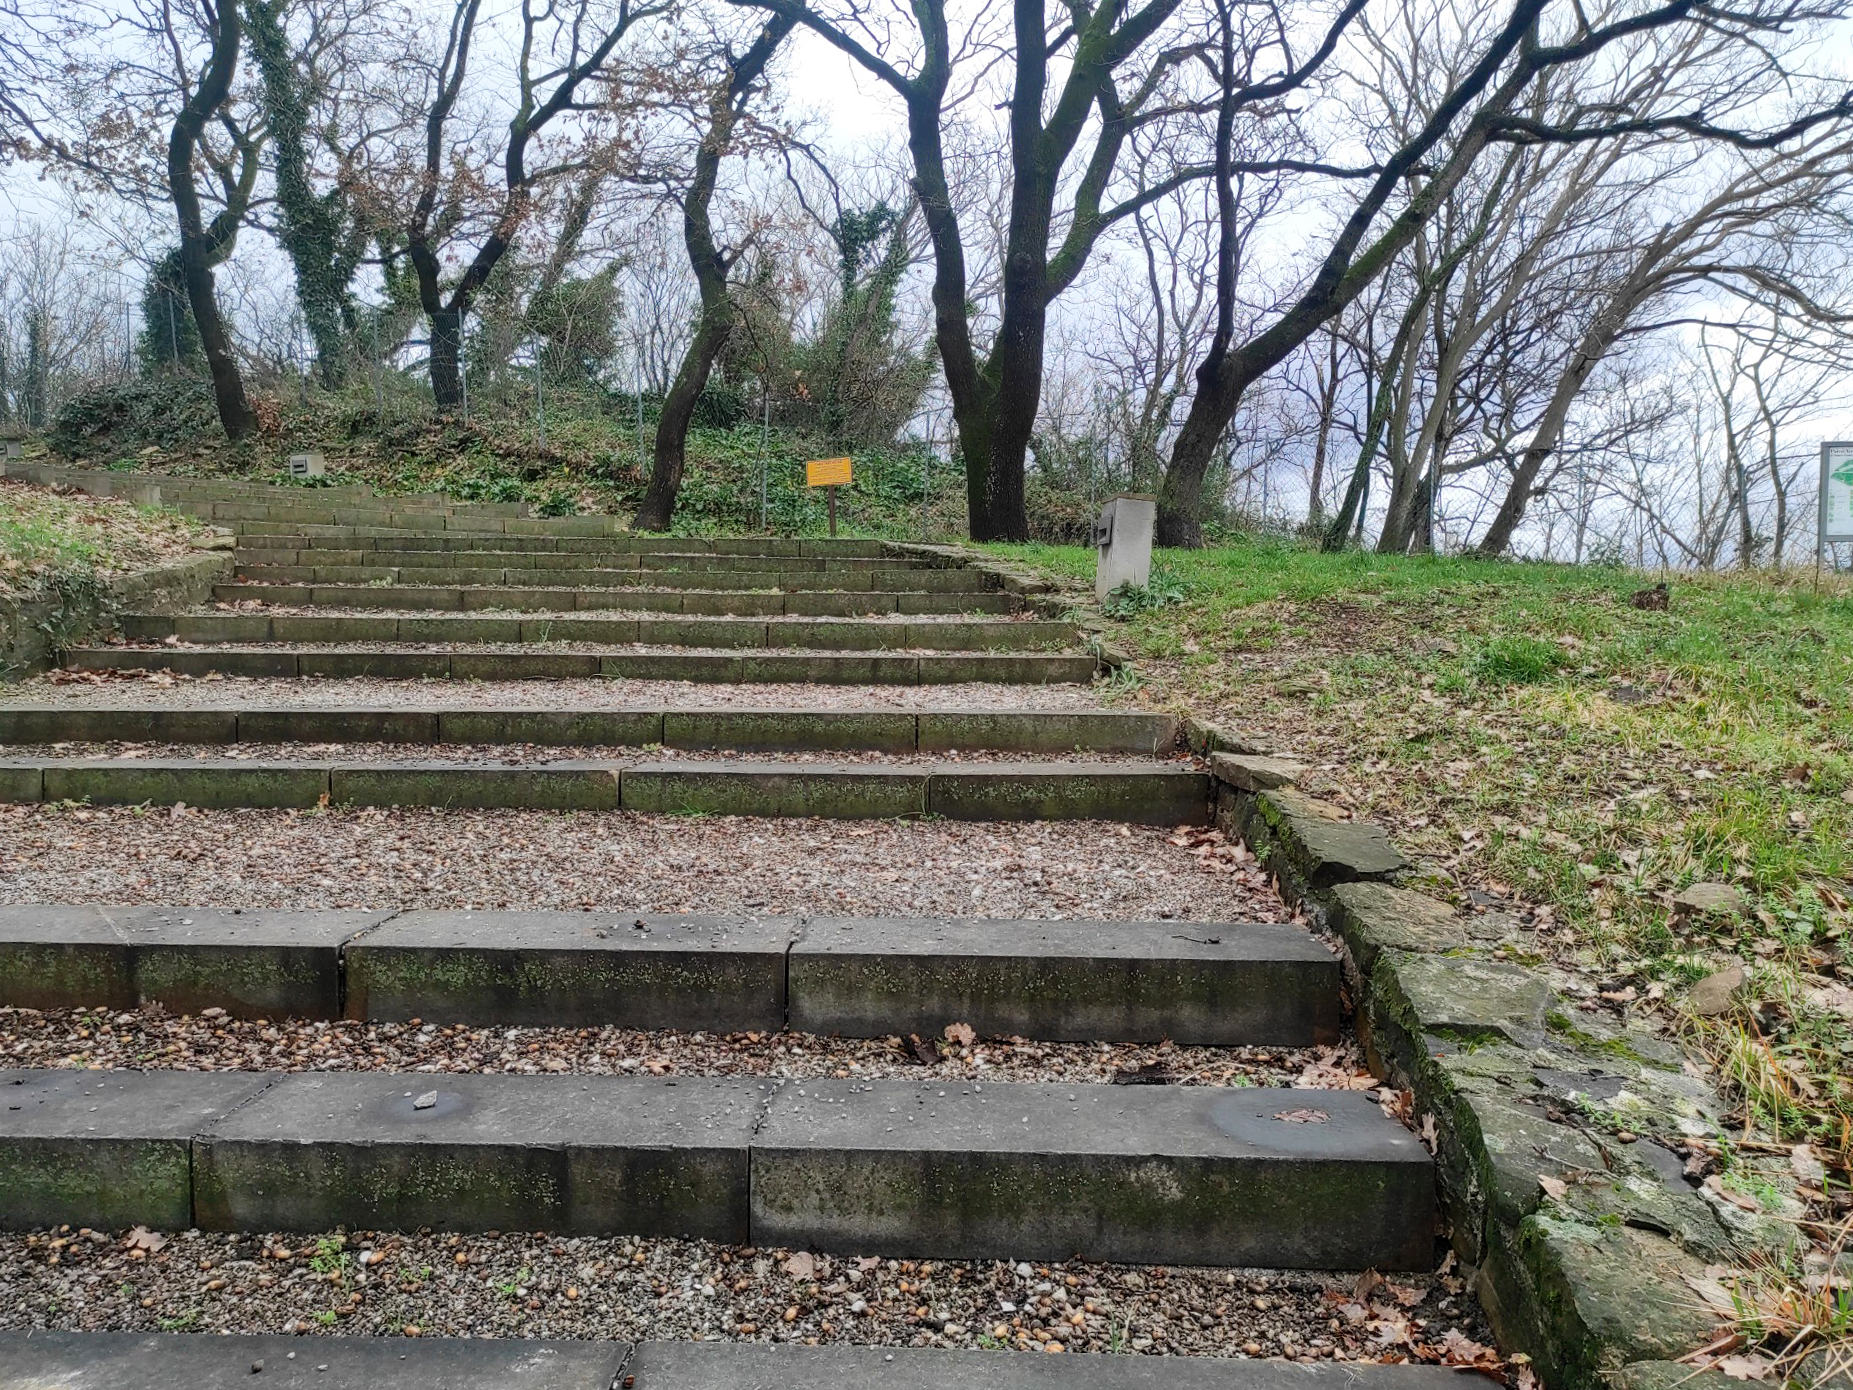
Photo 20
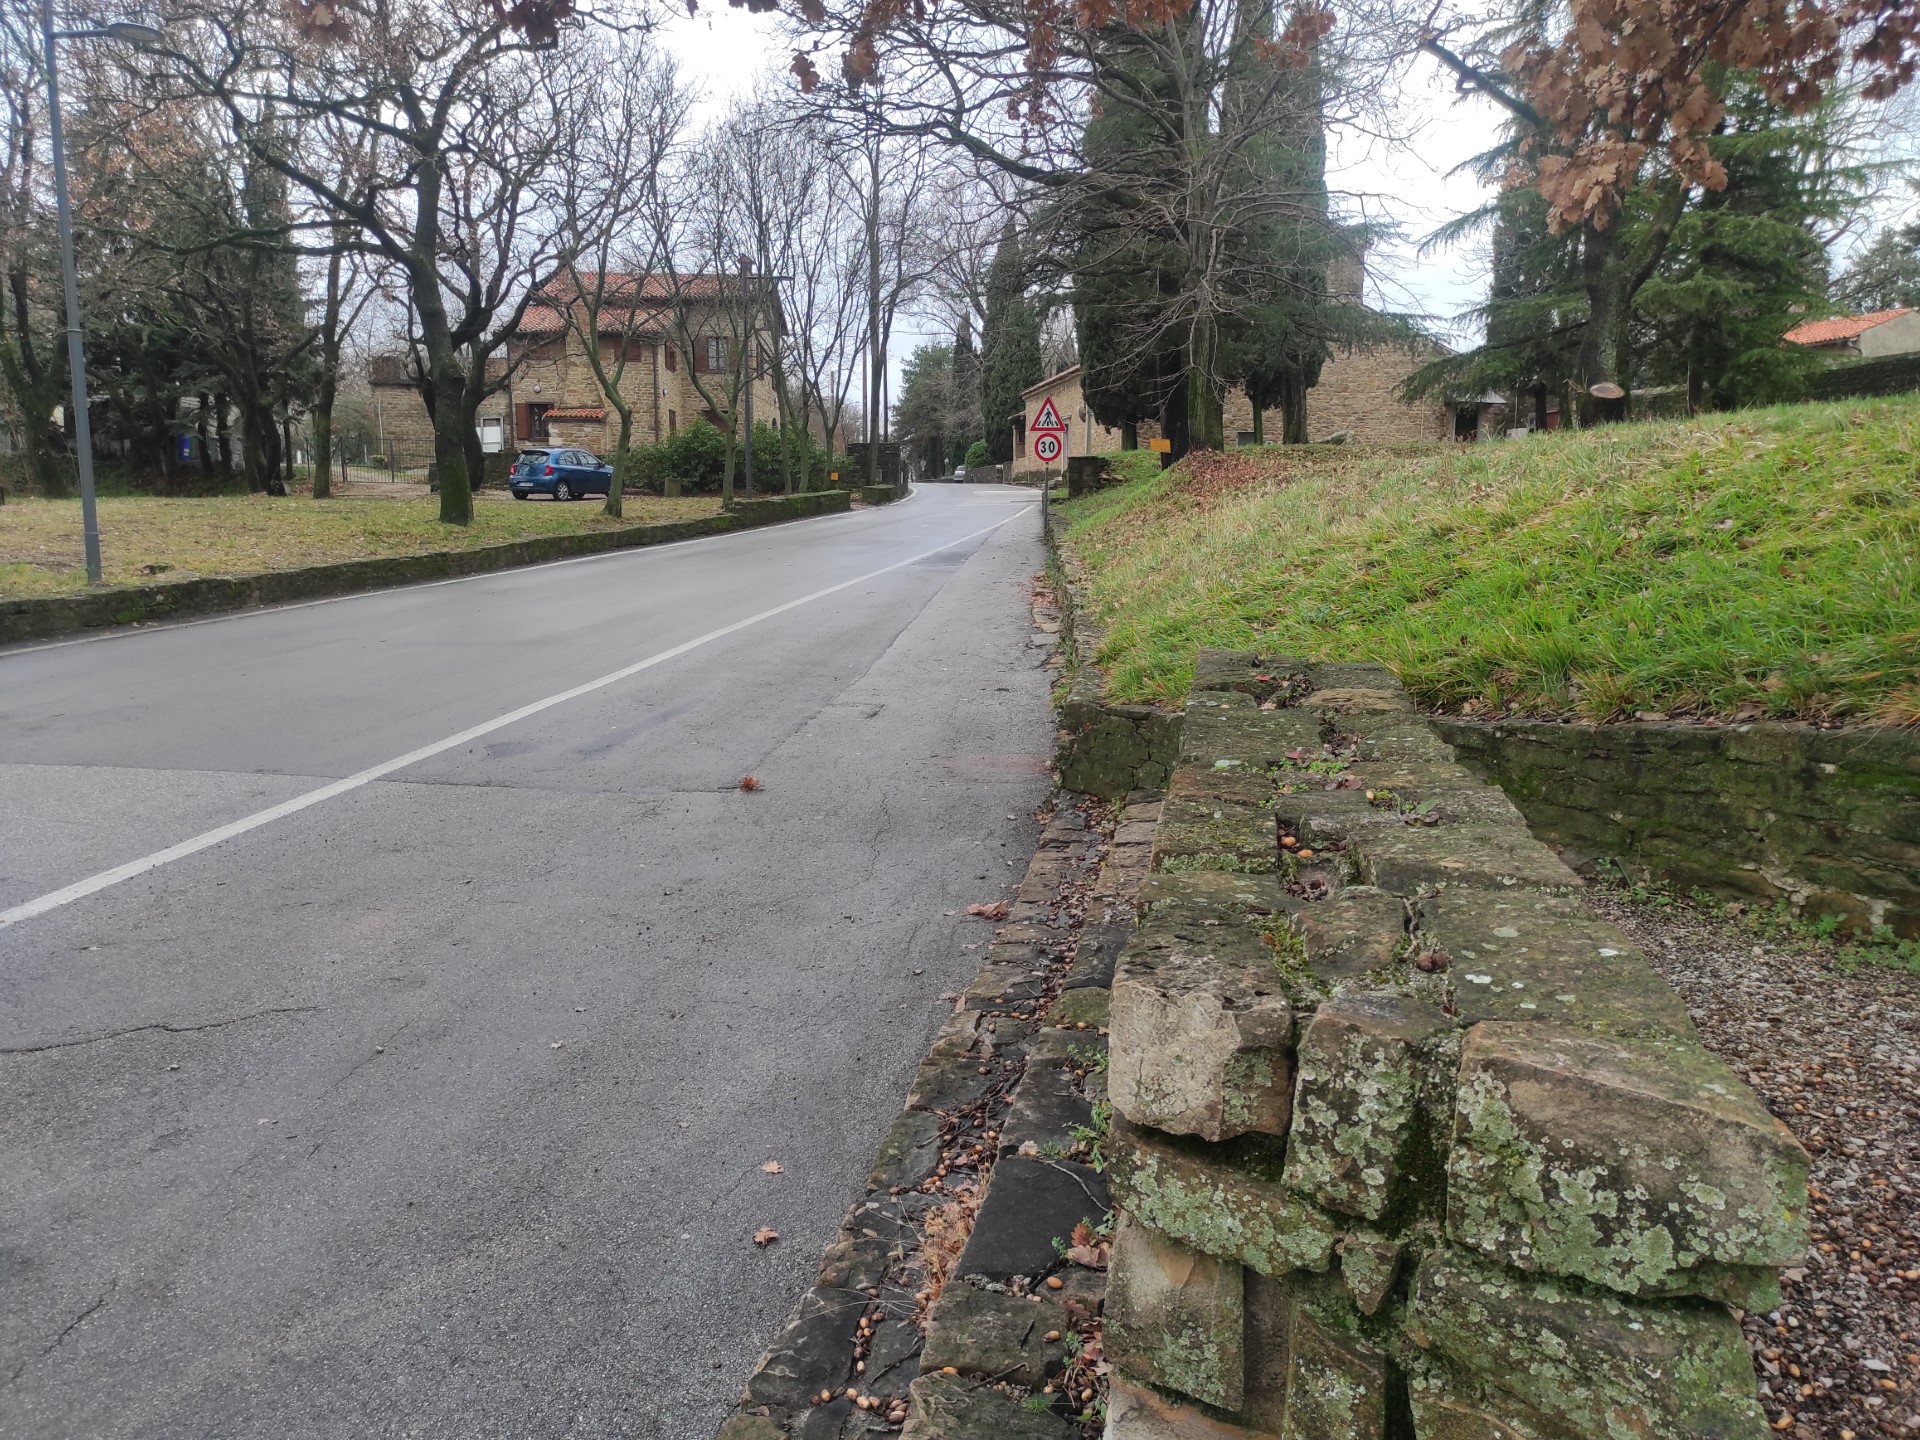
Photo 21
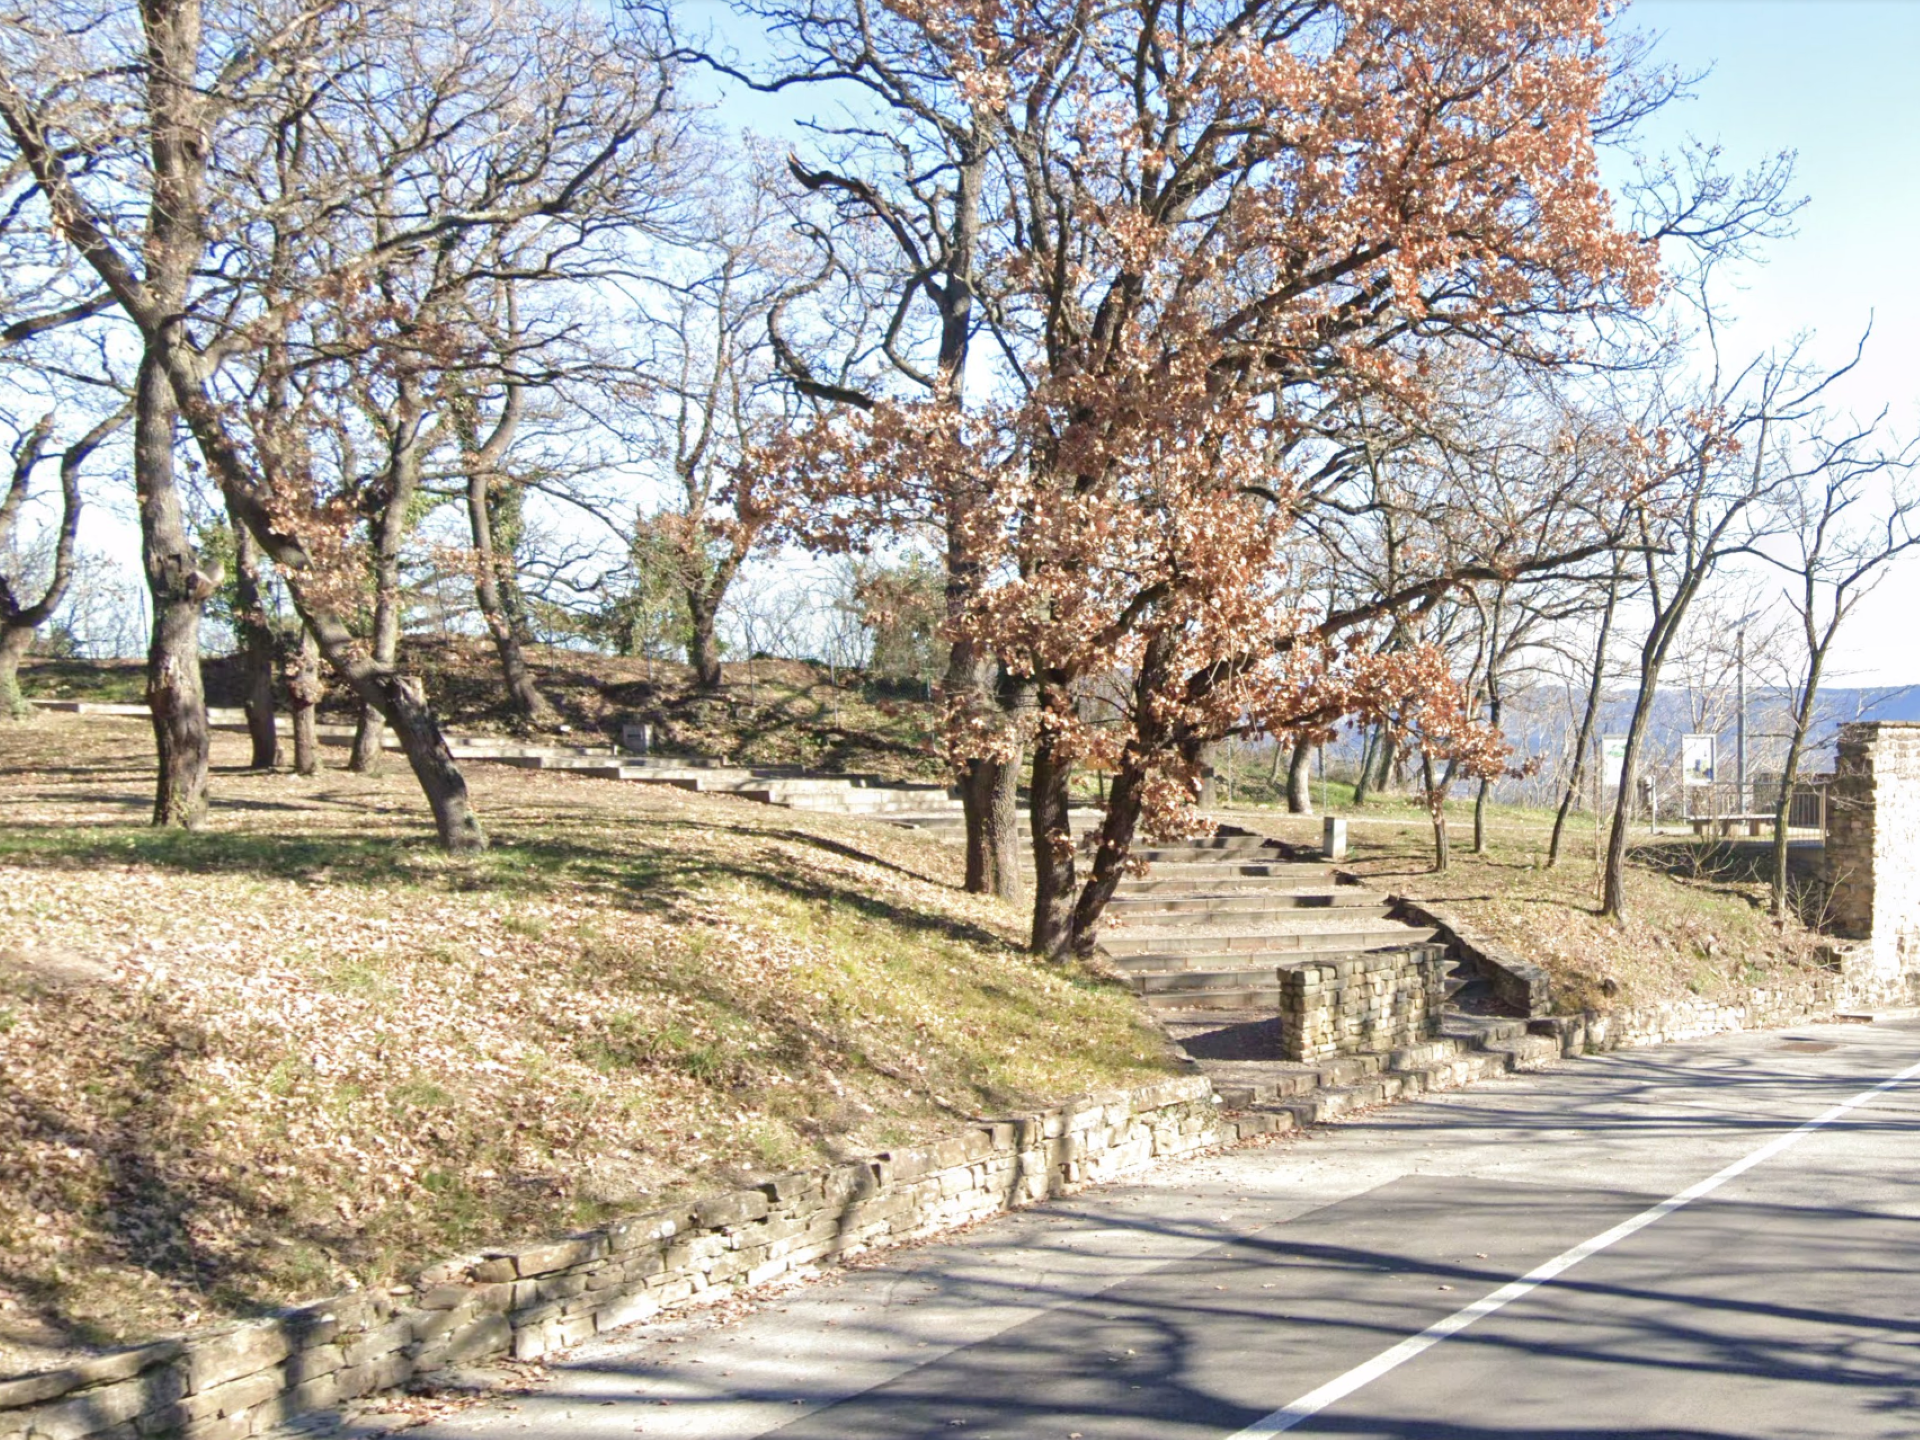
Photo 22
FROM THE PARKING TO THE ENTRANCE OF THE SOUTH ARCHAEOLOGICAL AREA
Returning to the starting point, near the cemetery, it is necessary to head towards the Basilica along the paved pedestrian path made of flat stone slabs until reaching the sacred area (Photo 23, 24); the entrance to the South Archaeological Area can be reached by crossing the roadway at the diagonal pedestrian crossing about 6 meters long (Photo 26). The latter is not equipped with tactile-plantar signage and has a certain transverse slope to the left. The entrance gate, sliding, with a width of 300 cm is located just after the crossing and is always open or semi-open.
From here the path, 120 cm wide, leads between the rectory and the Pilgrim's House (Photo 26); there is a large general map of the Park indicating the location where one is. Continuing straight, we find a fork (Photo 27) with an explanatory panel illustrating the characteristics of the medieval age and the artifacts found in this area (translated into English, German, and Slovenian): to the right, one continues towards Porta Santa Margherita and the restrooms (Photo 28), to the left towards the South Archaeological Area.
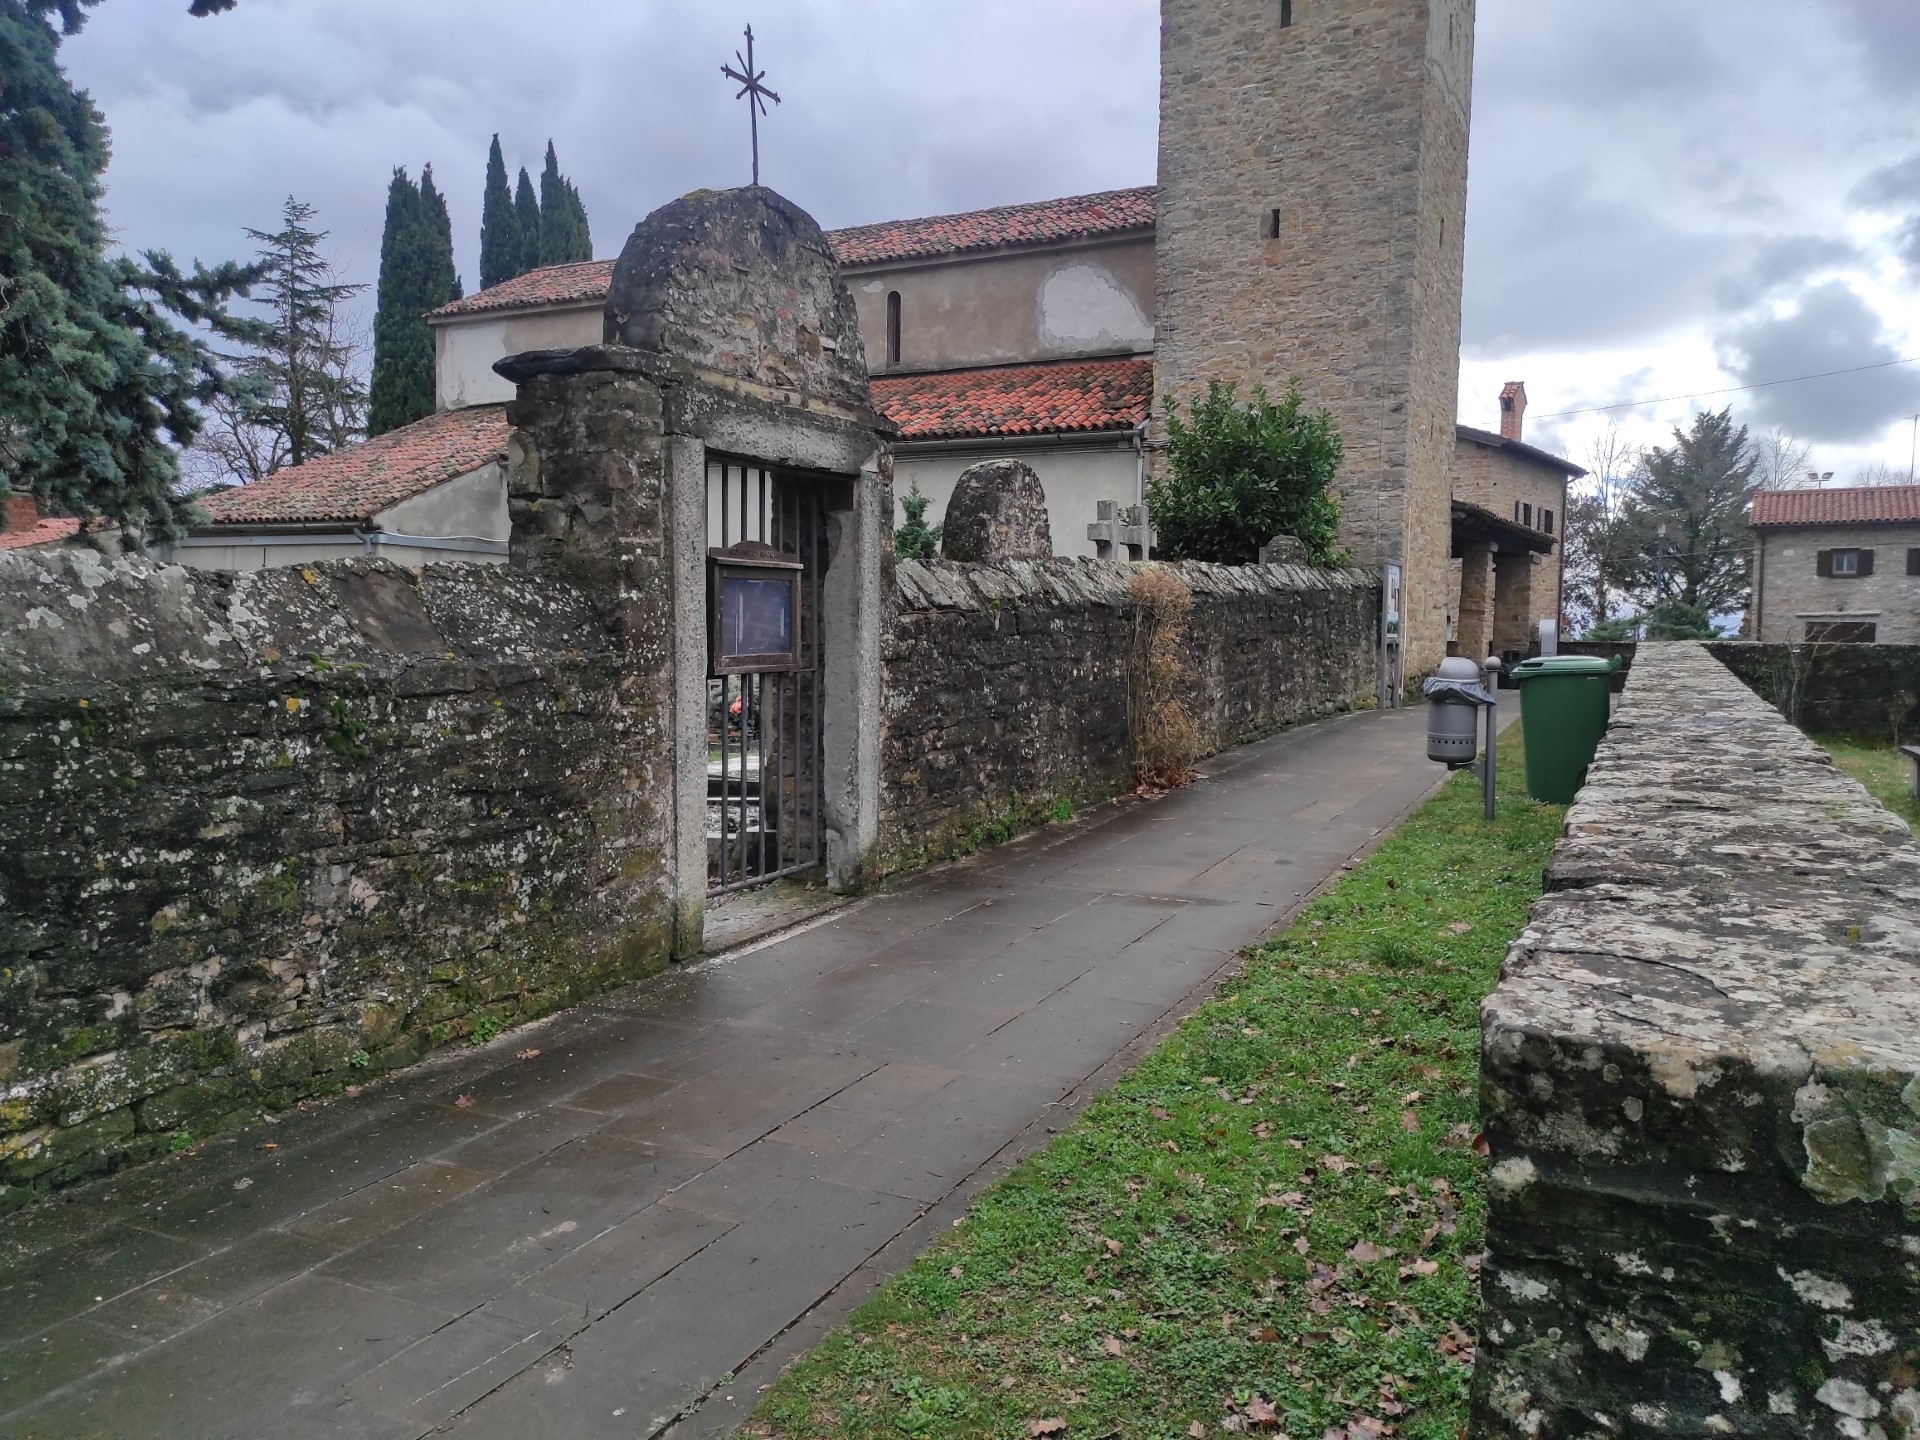
Photo 23
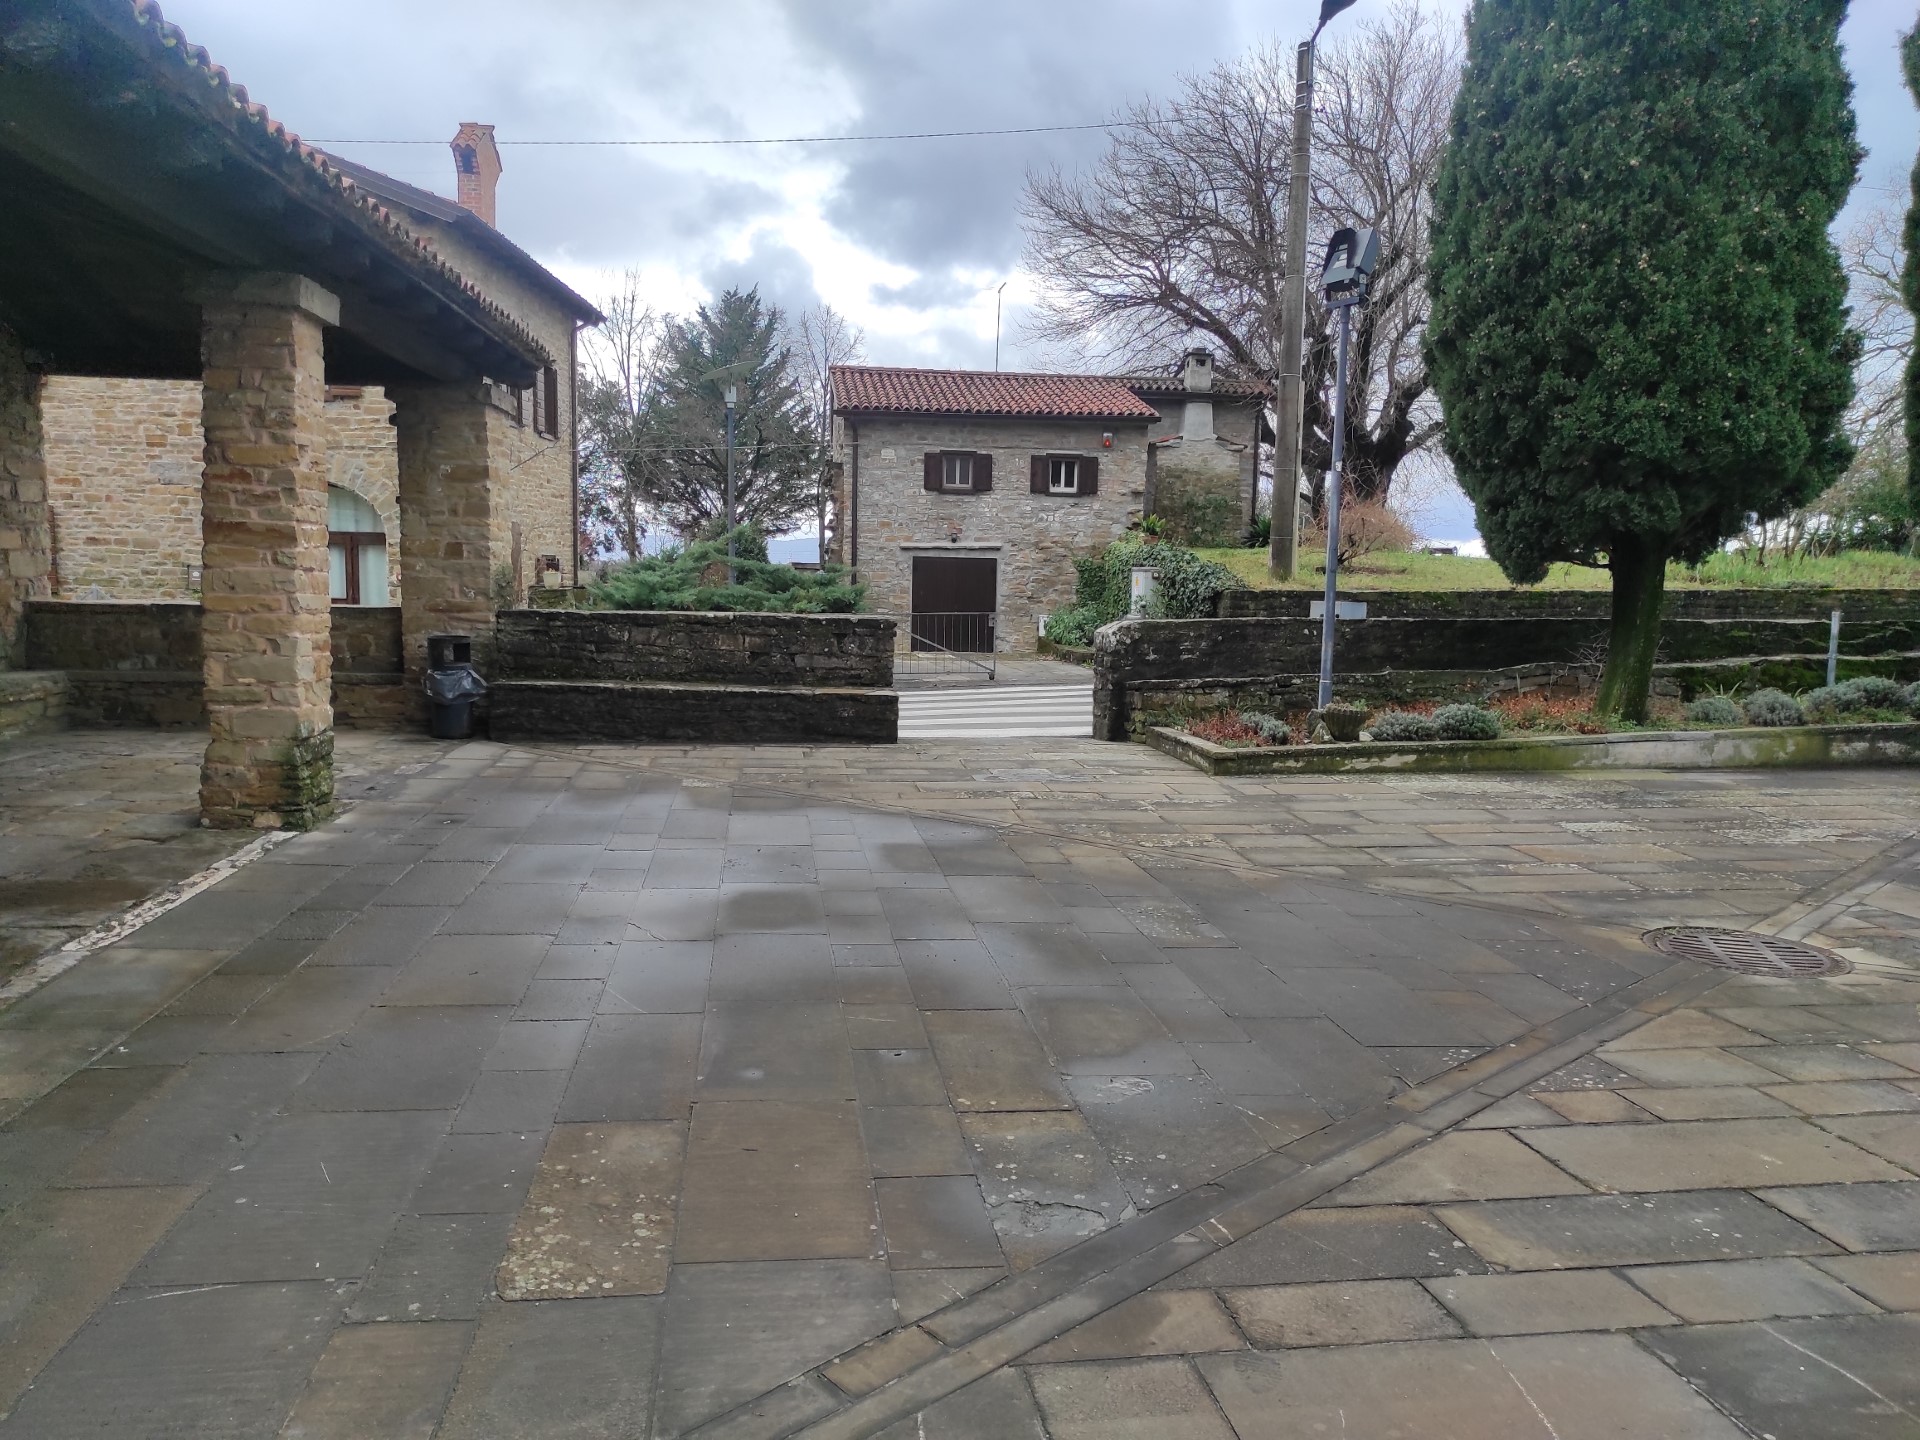
Photo 24
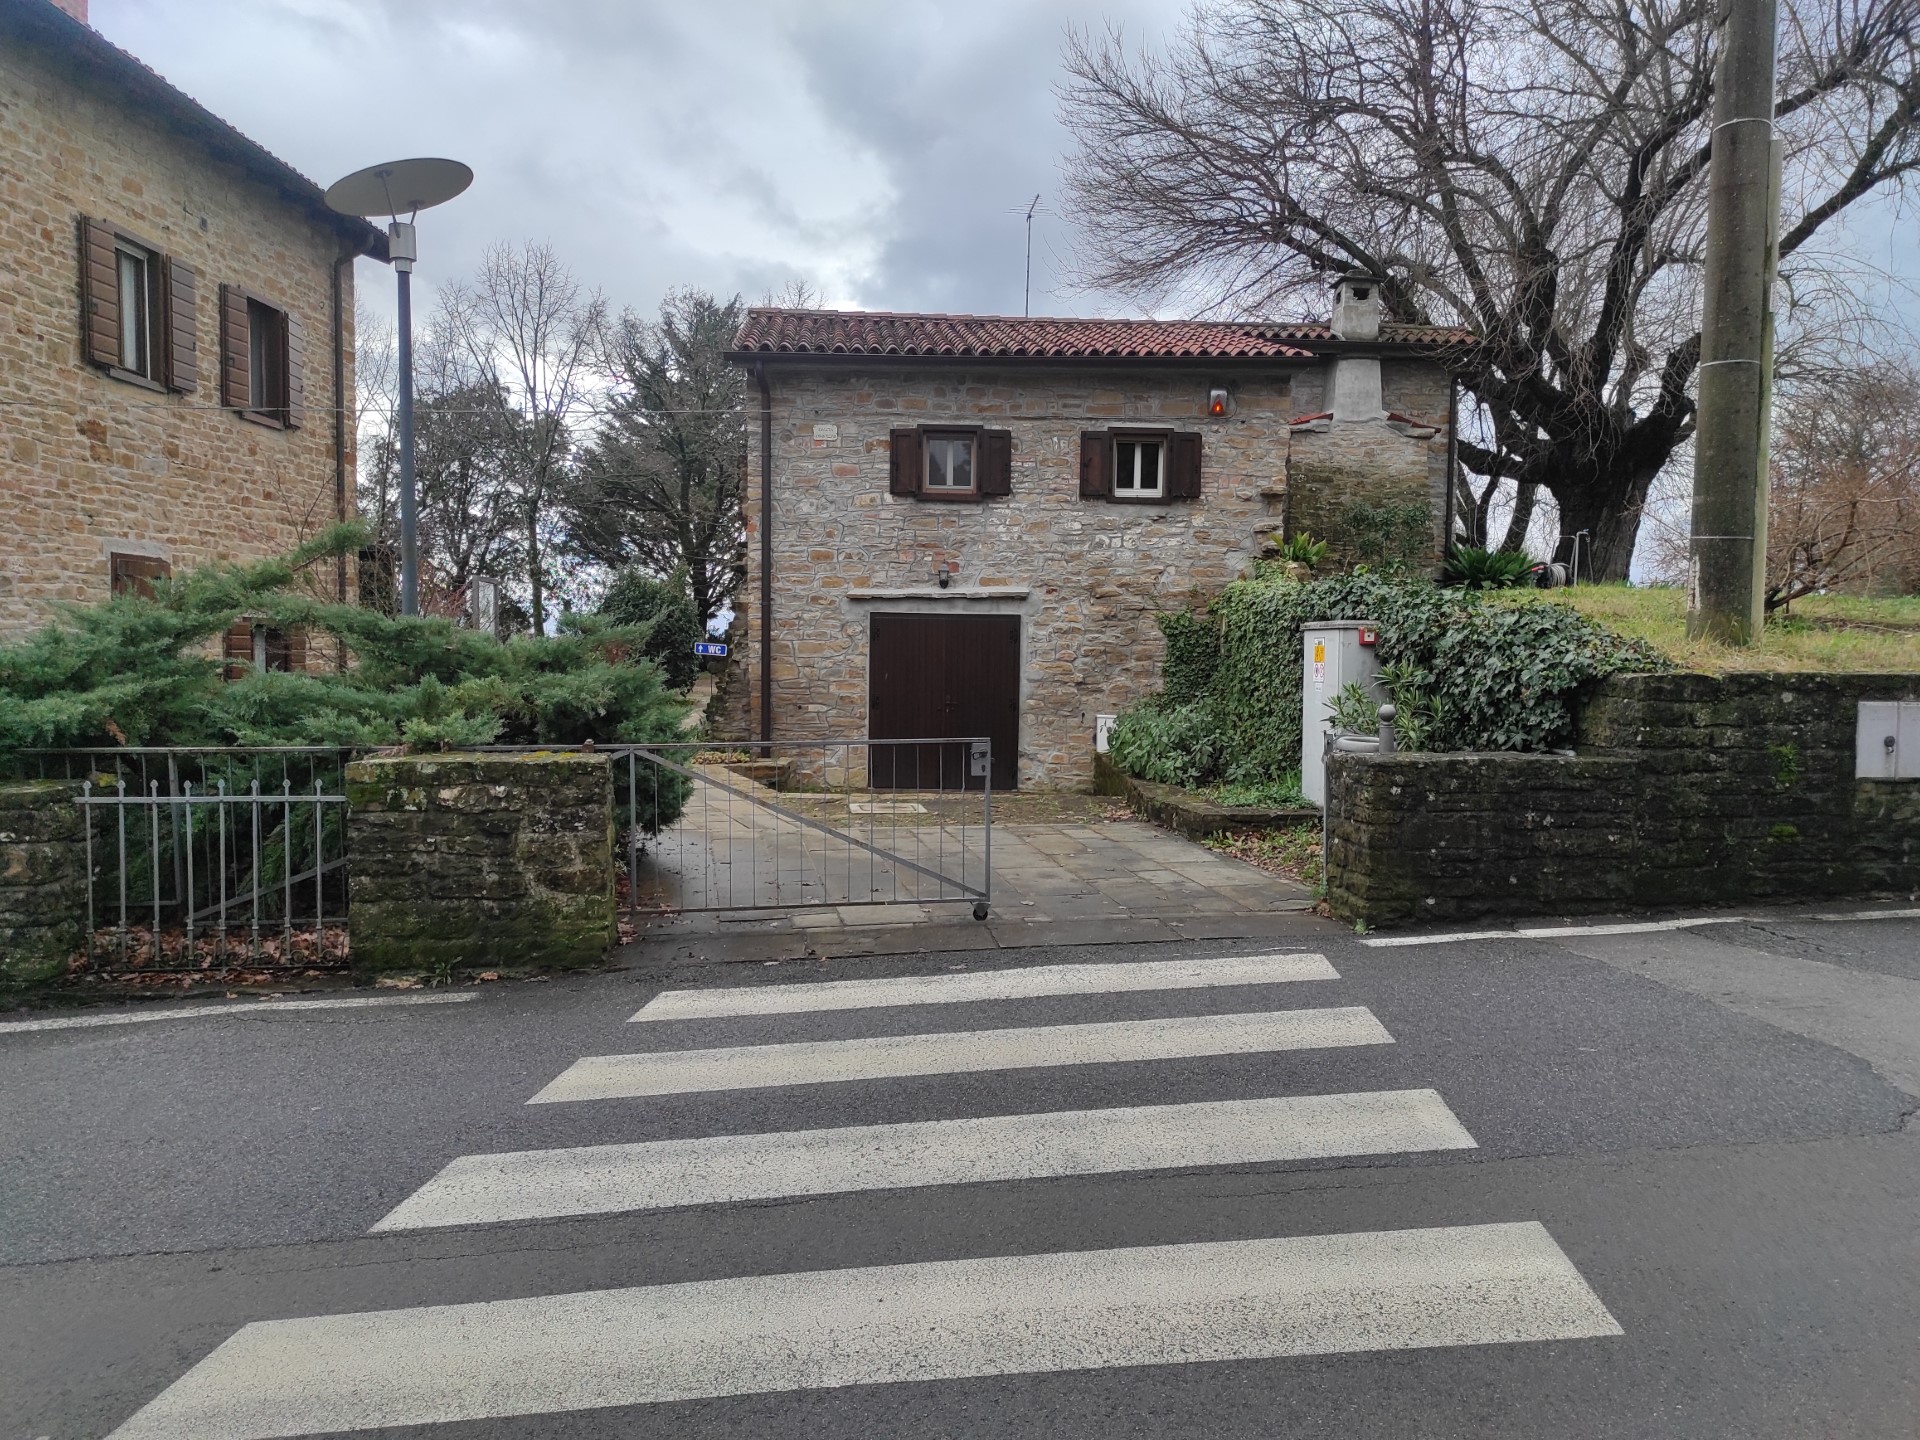
Photo 25
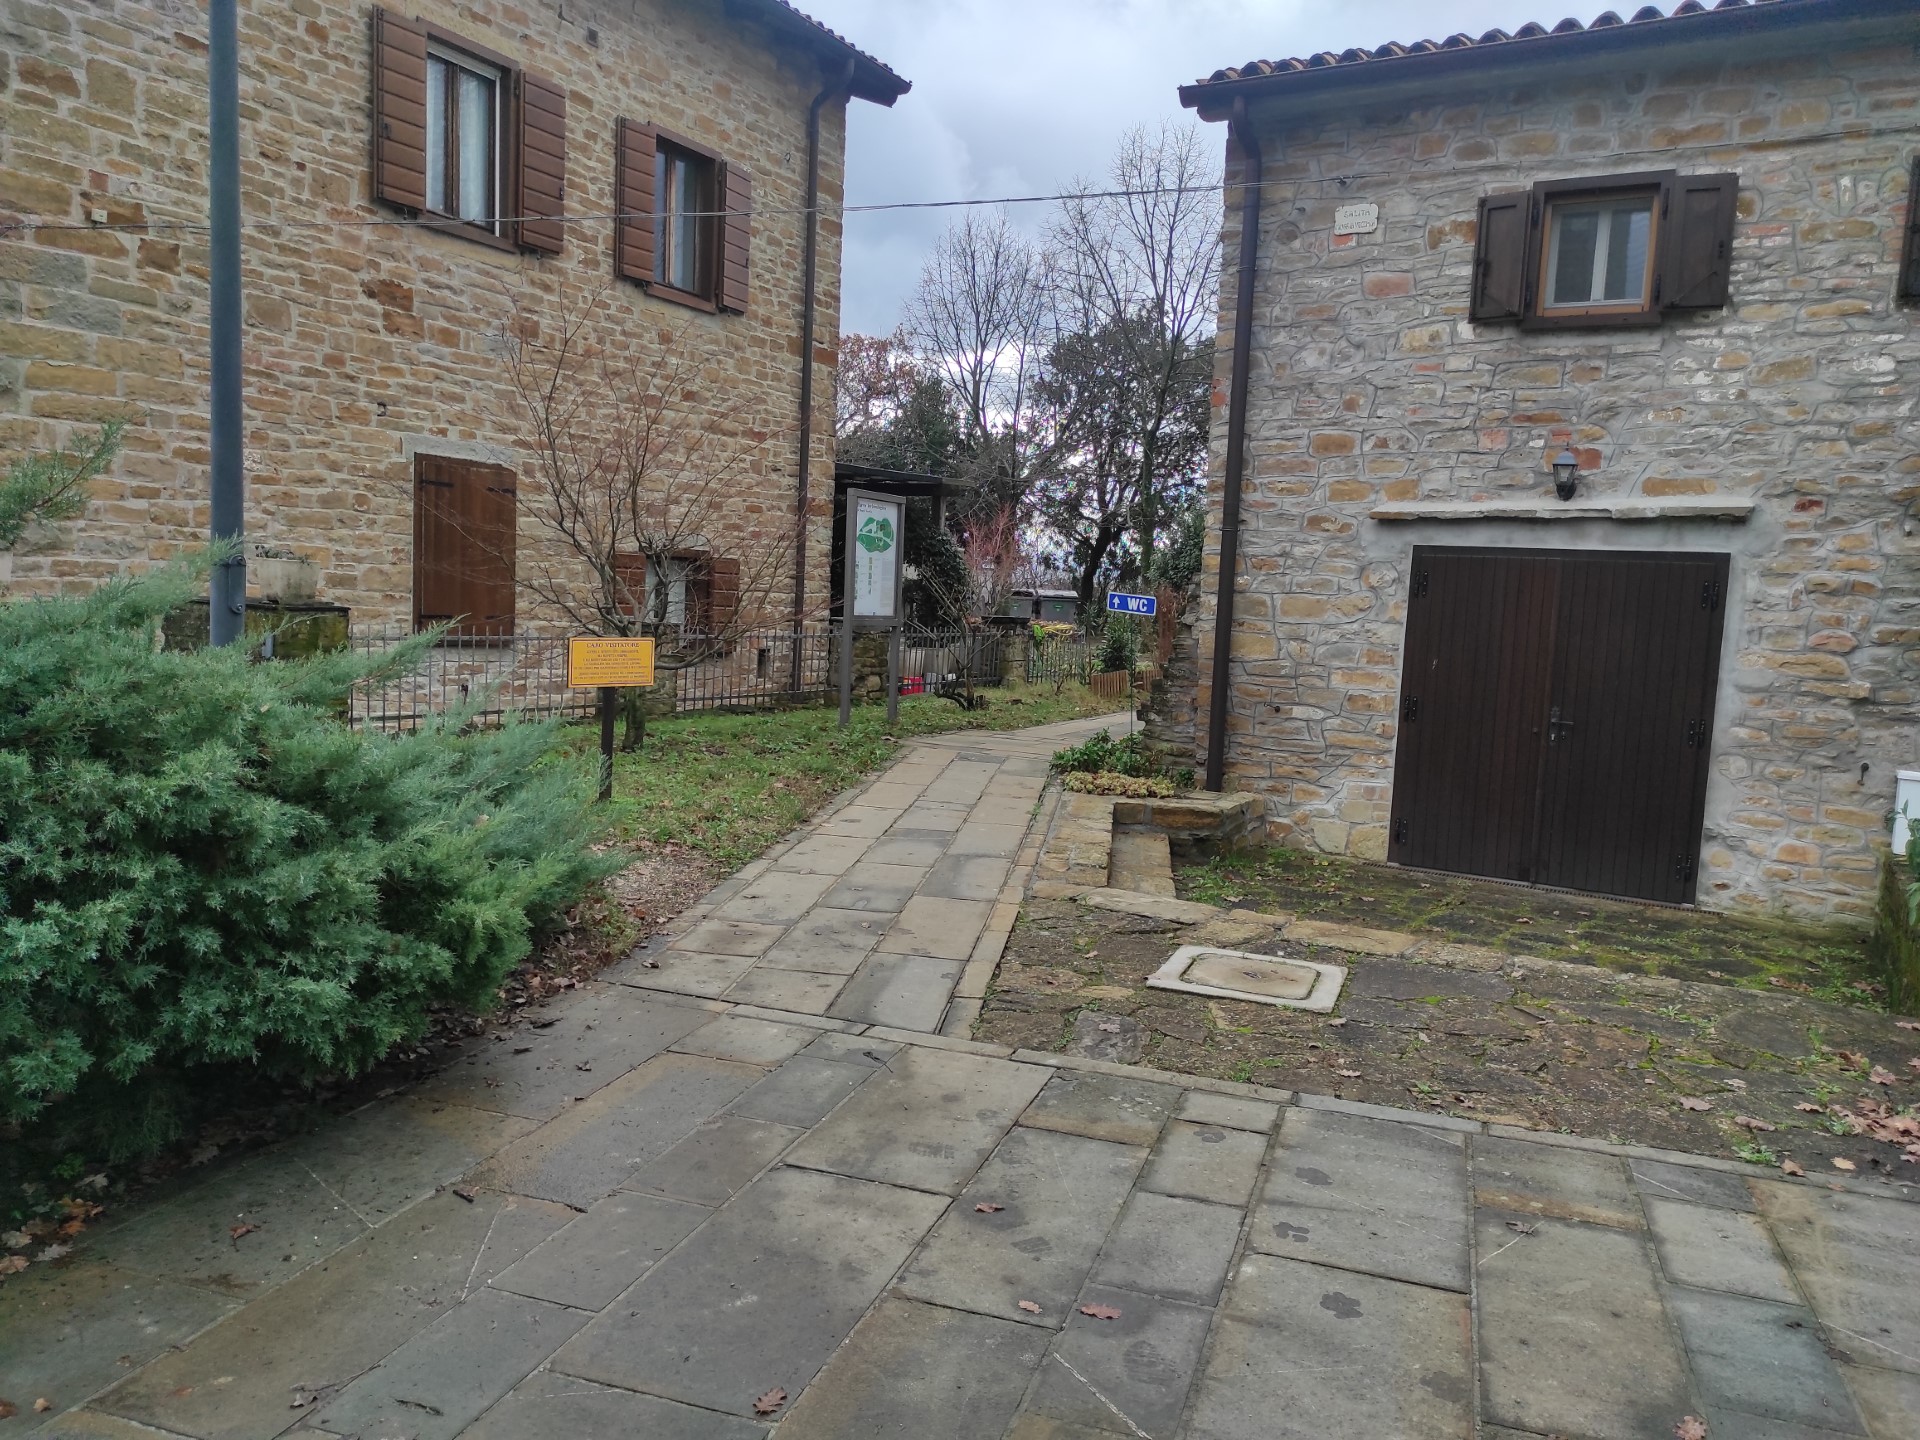
Photo 26
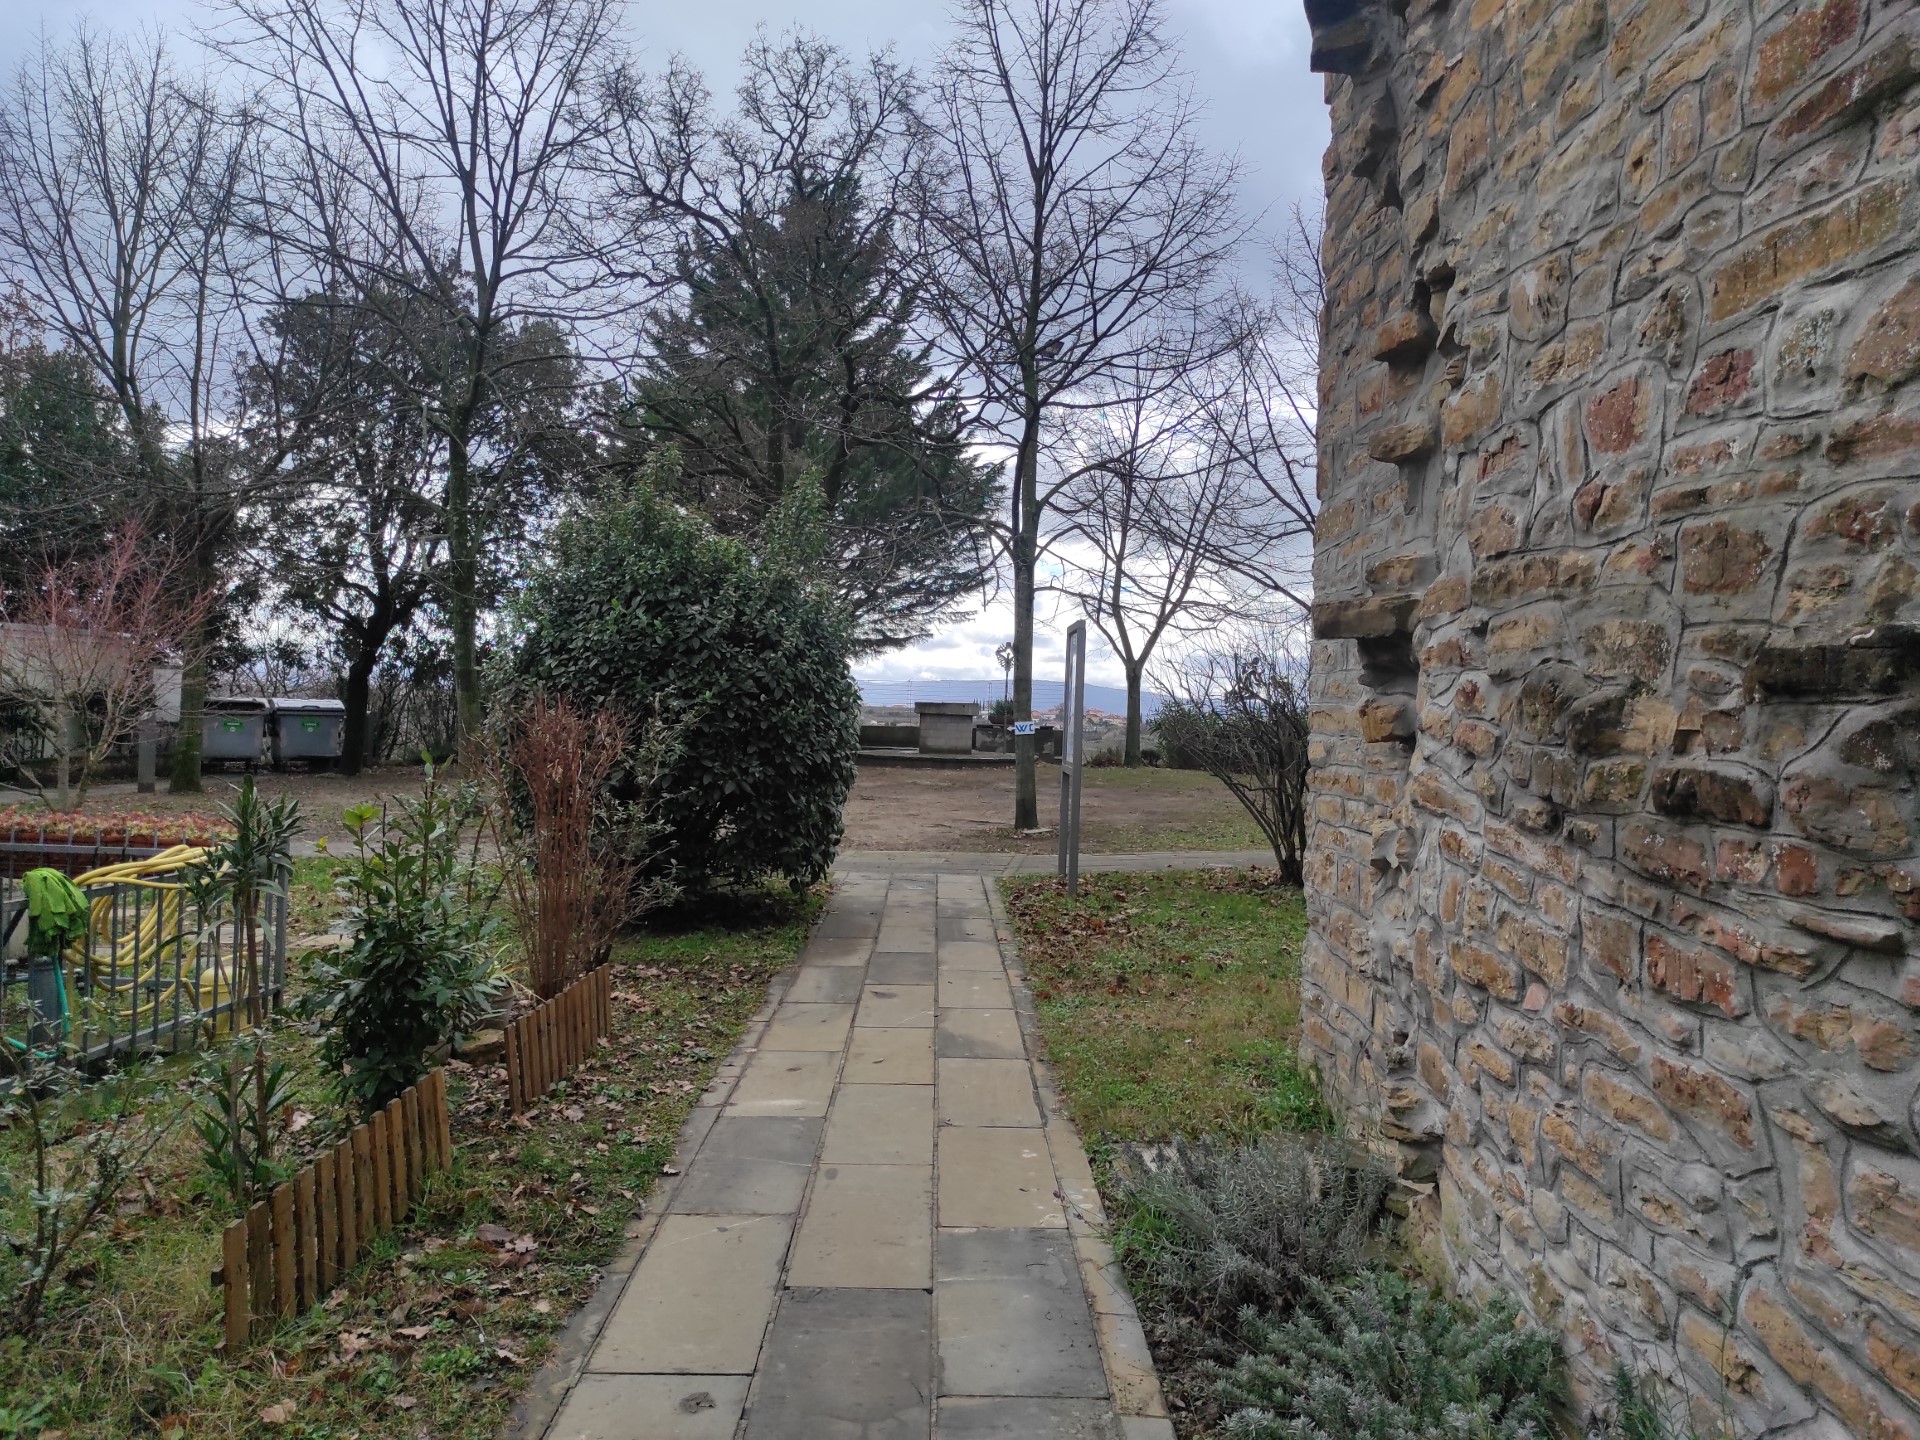
Photo 27
Photo 28
FROM THE ARCHAEOLOGICAL AREA SOUTH TO PORTA SANTA MARGHERITA
Keeping the restroom block on the right, a dirt path descends to a double-leaf metal gate that is ajar and can be opened, beyond which one accesses the eastern archaeological area at Porta Santa Margherita (Photo 30). About thirty meters away, in the middle of the lawn, is the Didactic Classroom (Photo 31): it is a defined space paved with gravel and stone inserts converging in the center with seven benches arranged in a semicircle facing a table and the explanatory panels regarding the fauna and ceramic ware (Photo 32) translated into English. The panels have the same characteristics as the previous ones: a minimum height from the ground of 91 cm and a maximum height of 190 cm; black characters on a white background, with drawings and photos of the finds. The path to reach it for about ten meters maintains the gravel, then merges with the vegetative soil, the lawn, and with various protruding branches and roots (Photo 33).
Returning towards the gate on the left, a path about 200 cm wide in mixed gravel for about 20 meters descends (slope 14%) leading to the remains of Porta Santa Margherita (Photo 34). There are three panels placed on uneven and sloping ground (average minimum height from the ground 100 cm, maximum height from the ground 194 cm): the first indicates where one is within the Park through the general map of the area, the second illustrates the traces found dating back to the Iron Age, with texts (Italian and English) in black serif characters on a white background accompanied by a drawing and a stratigraphic scheme; the third illustrates the history of Porta Santa Margherita and depicts its features with a reconstructive drawing; the plexiglass protecting the panel makes reading difficult in case of reflection (Photo 35).
In correspondence with the signs, before the metal staircase, the ground is uneven: a manhole protrudes from the walking surface and a fabric with various tears covers the uneven and gravelly ground. With a step of 16 cm, one then ascends onto a metal grating walkway 140 cm wide with a railing height of 103 cm and a circular cross-section handrail. After a couple of meters, a fork appears: to the right, a metal ramp (slope 10%) leads first to a steep metal staircase (13 steps) which in turn reaches an uneven path (slope 26%) but does not lead to any archaeological excavation or artifact (Photo 36). To the left, however, a staircase (Photo 37) composed of eleven steps with an intermediate landing at the third step down (rise 18 cm and tread of 25 cm) leads to the foot of the remains of the gate where another explanatory sign explains the history and function of the surrounding walls (min height from the ground 97 cm, max height from the ground 191 cm). There is a seating area for resting with the same characteristics as the previous ones (Photo 38).
Photo 30
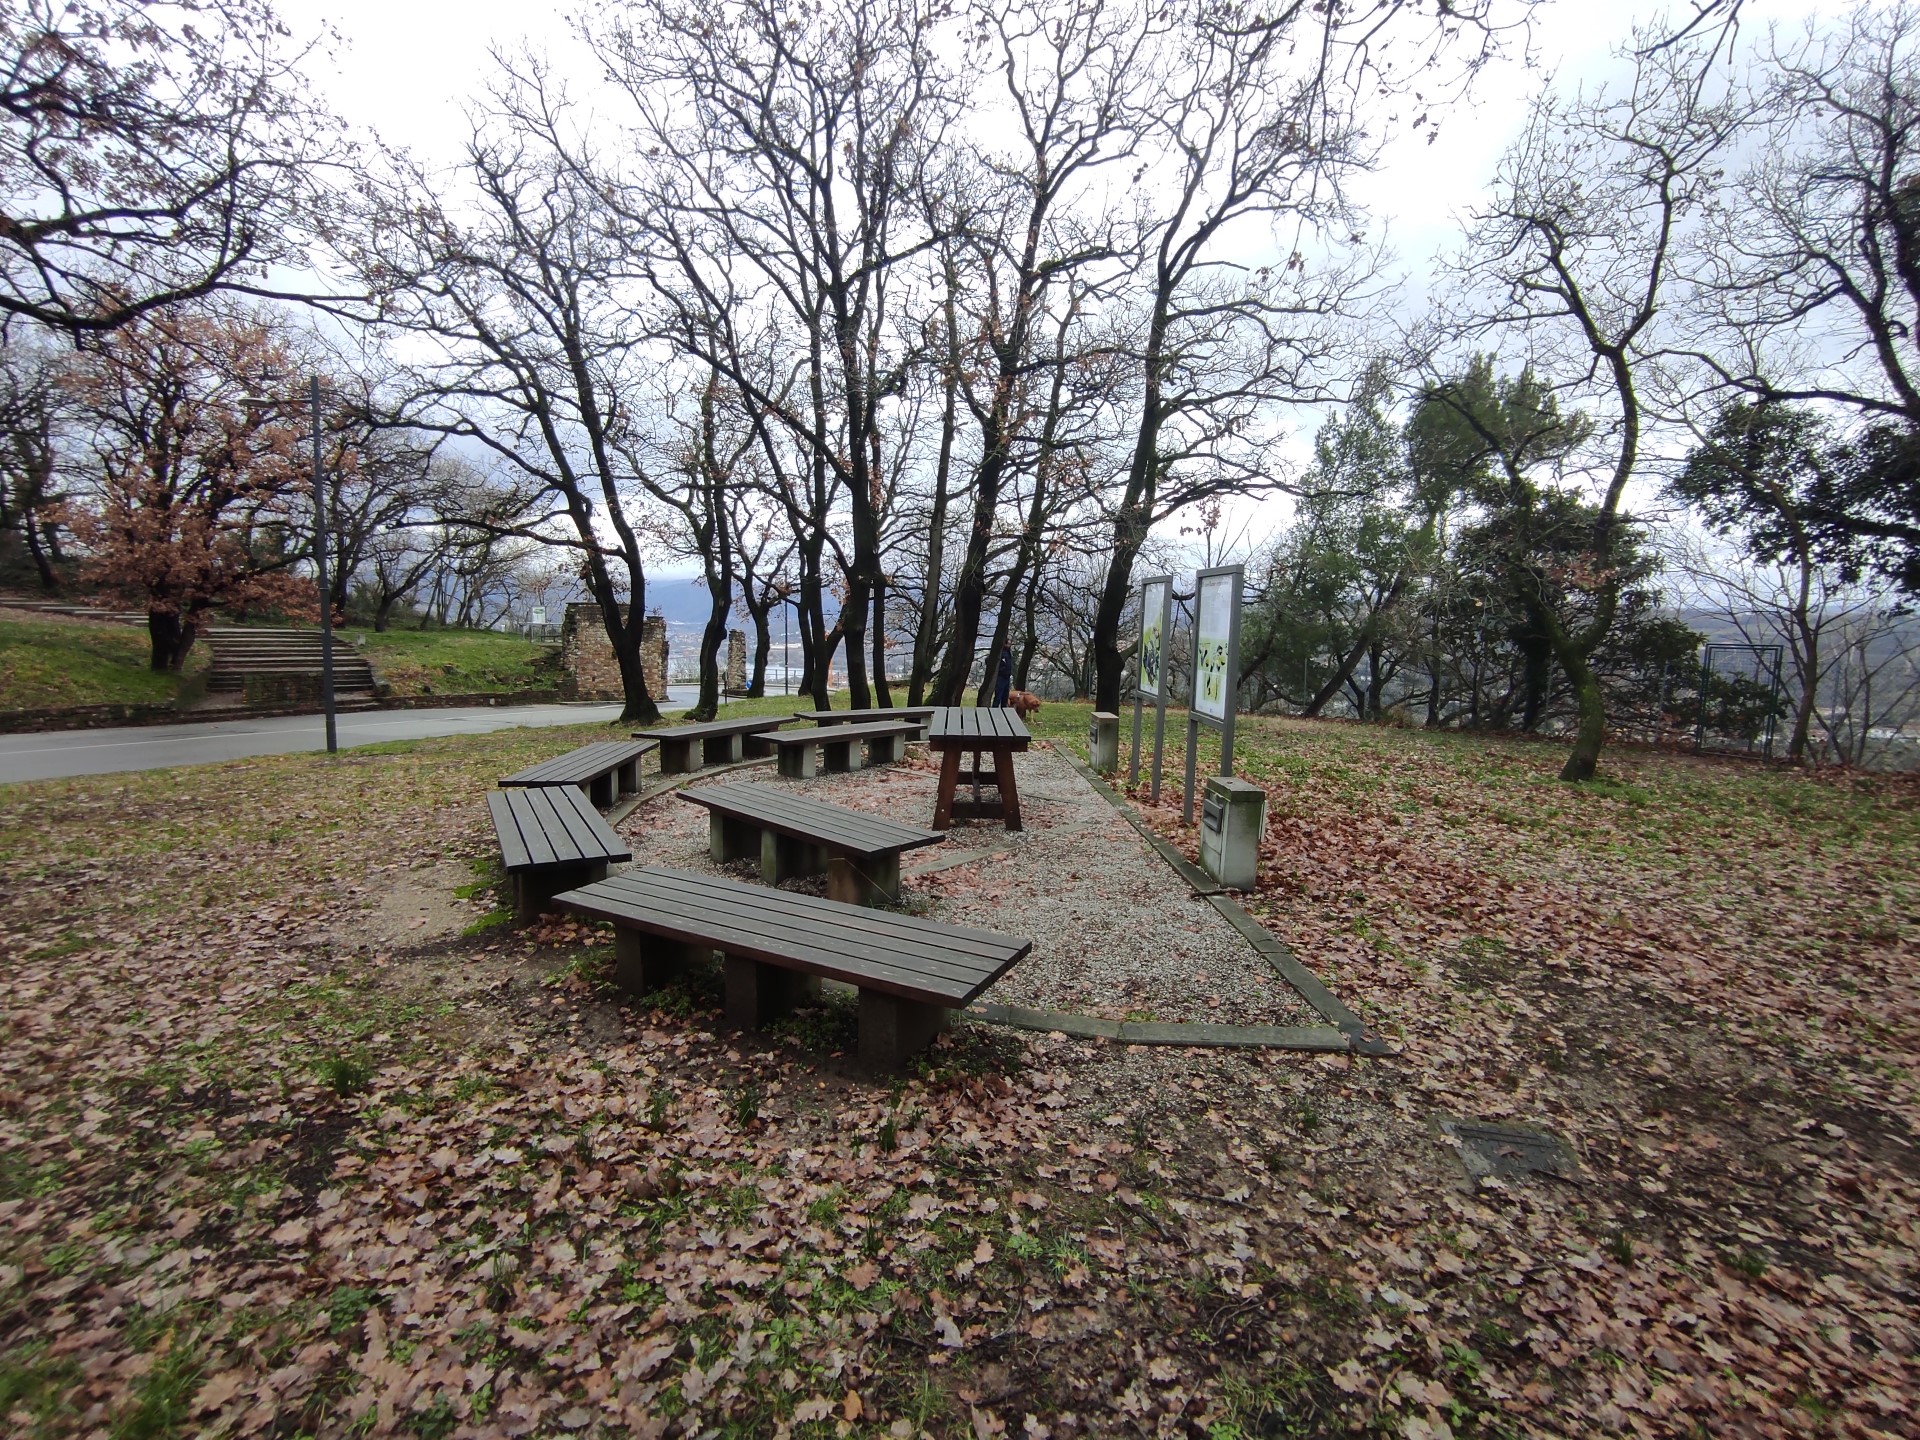
Photo 31
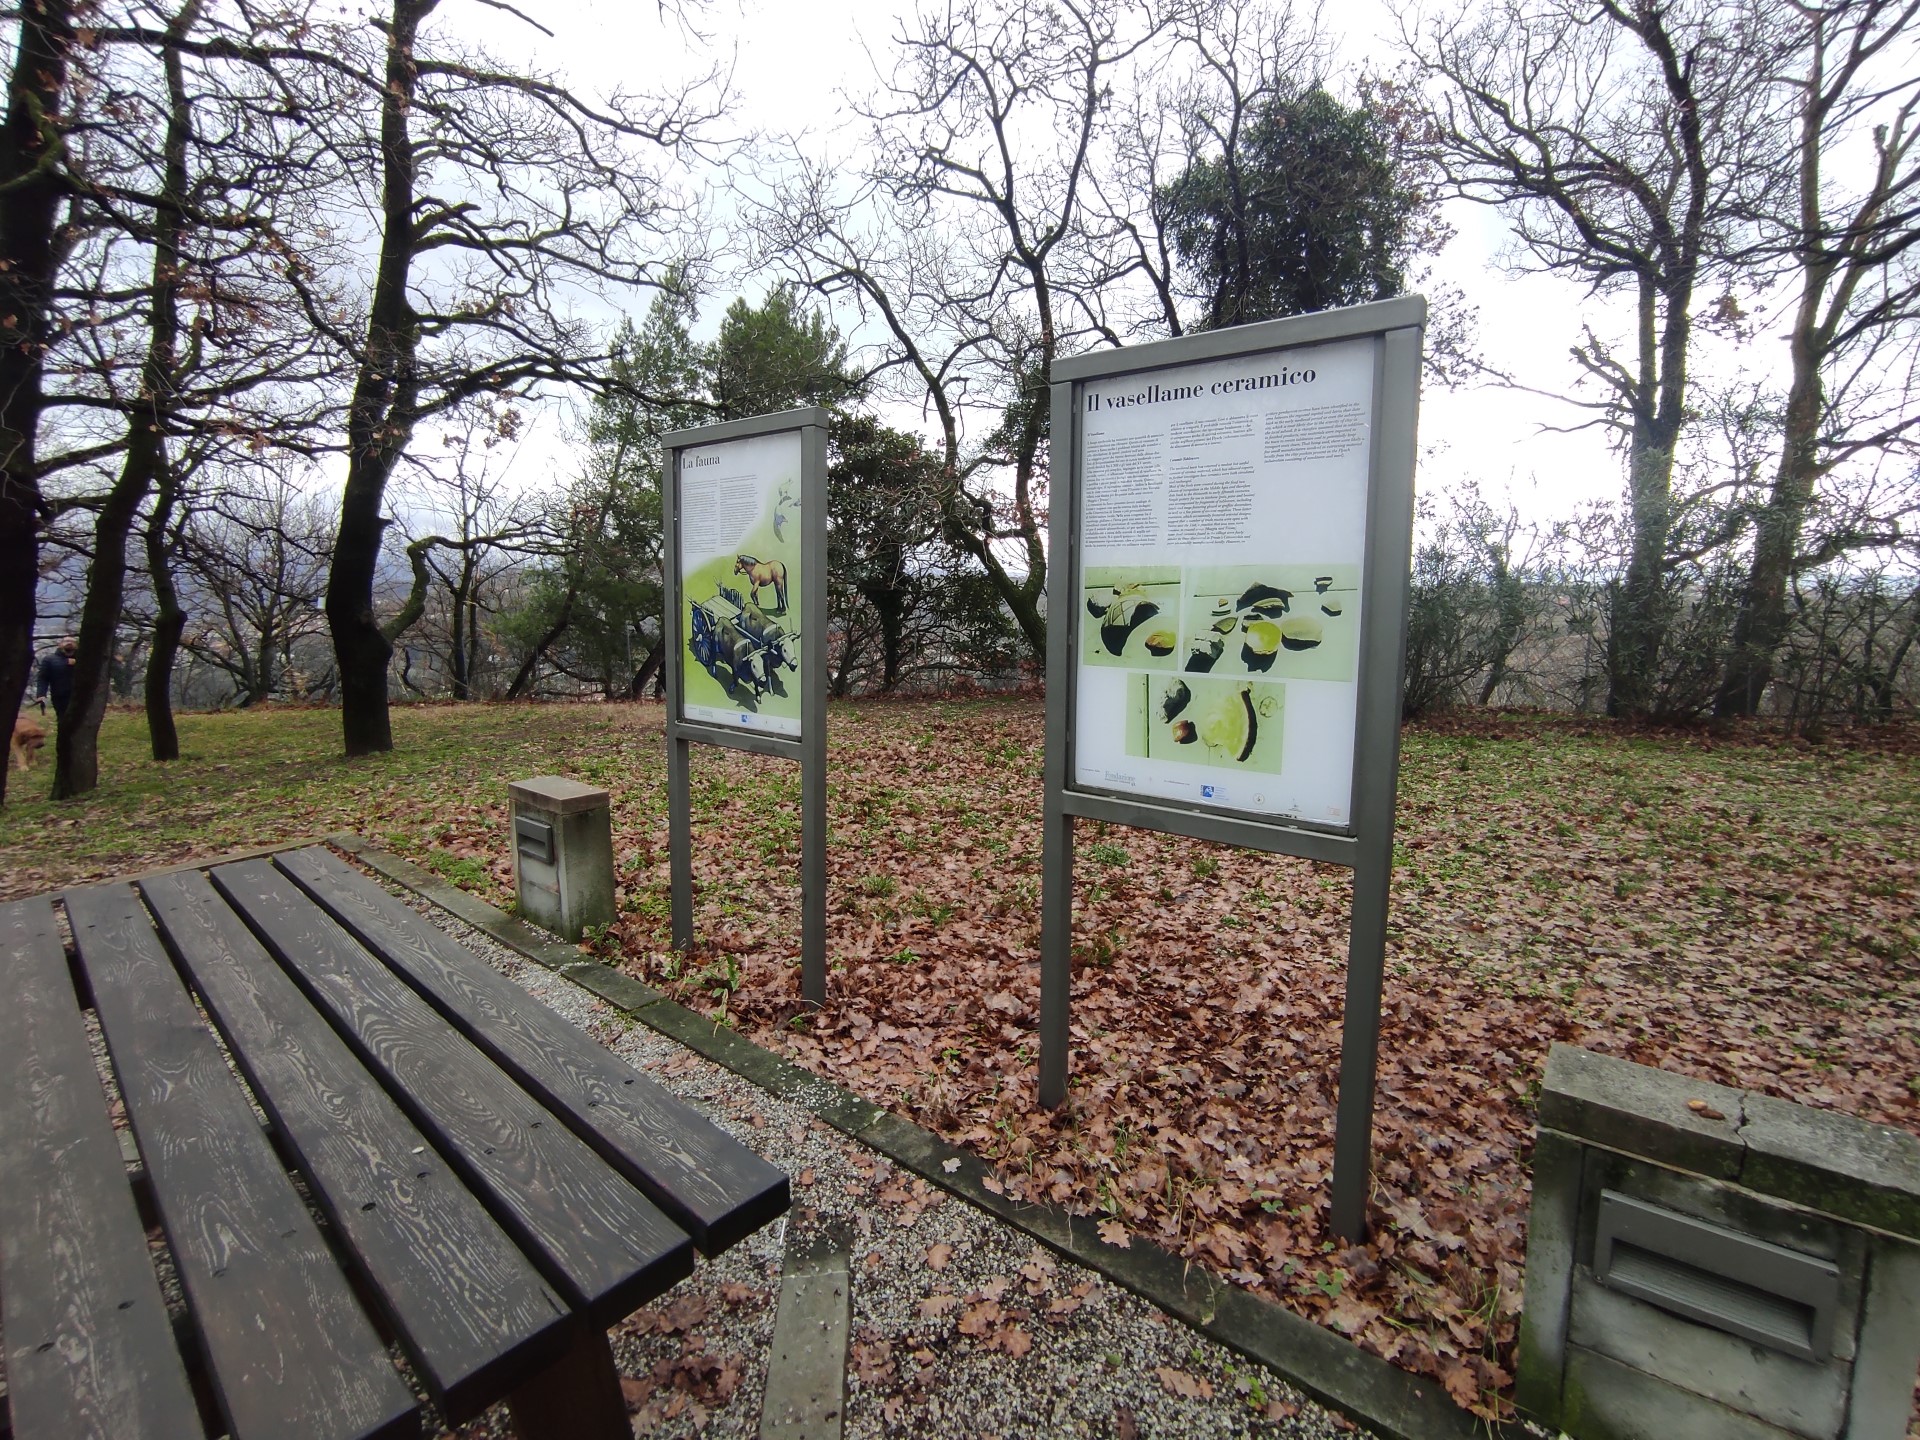
Photo 32
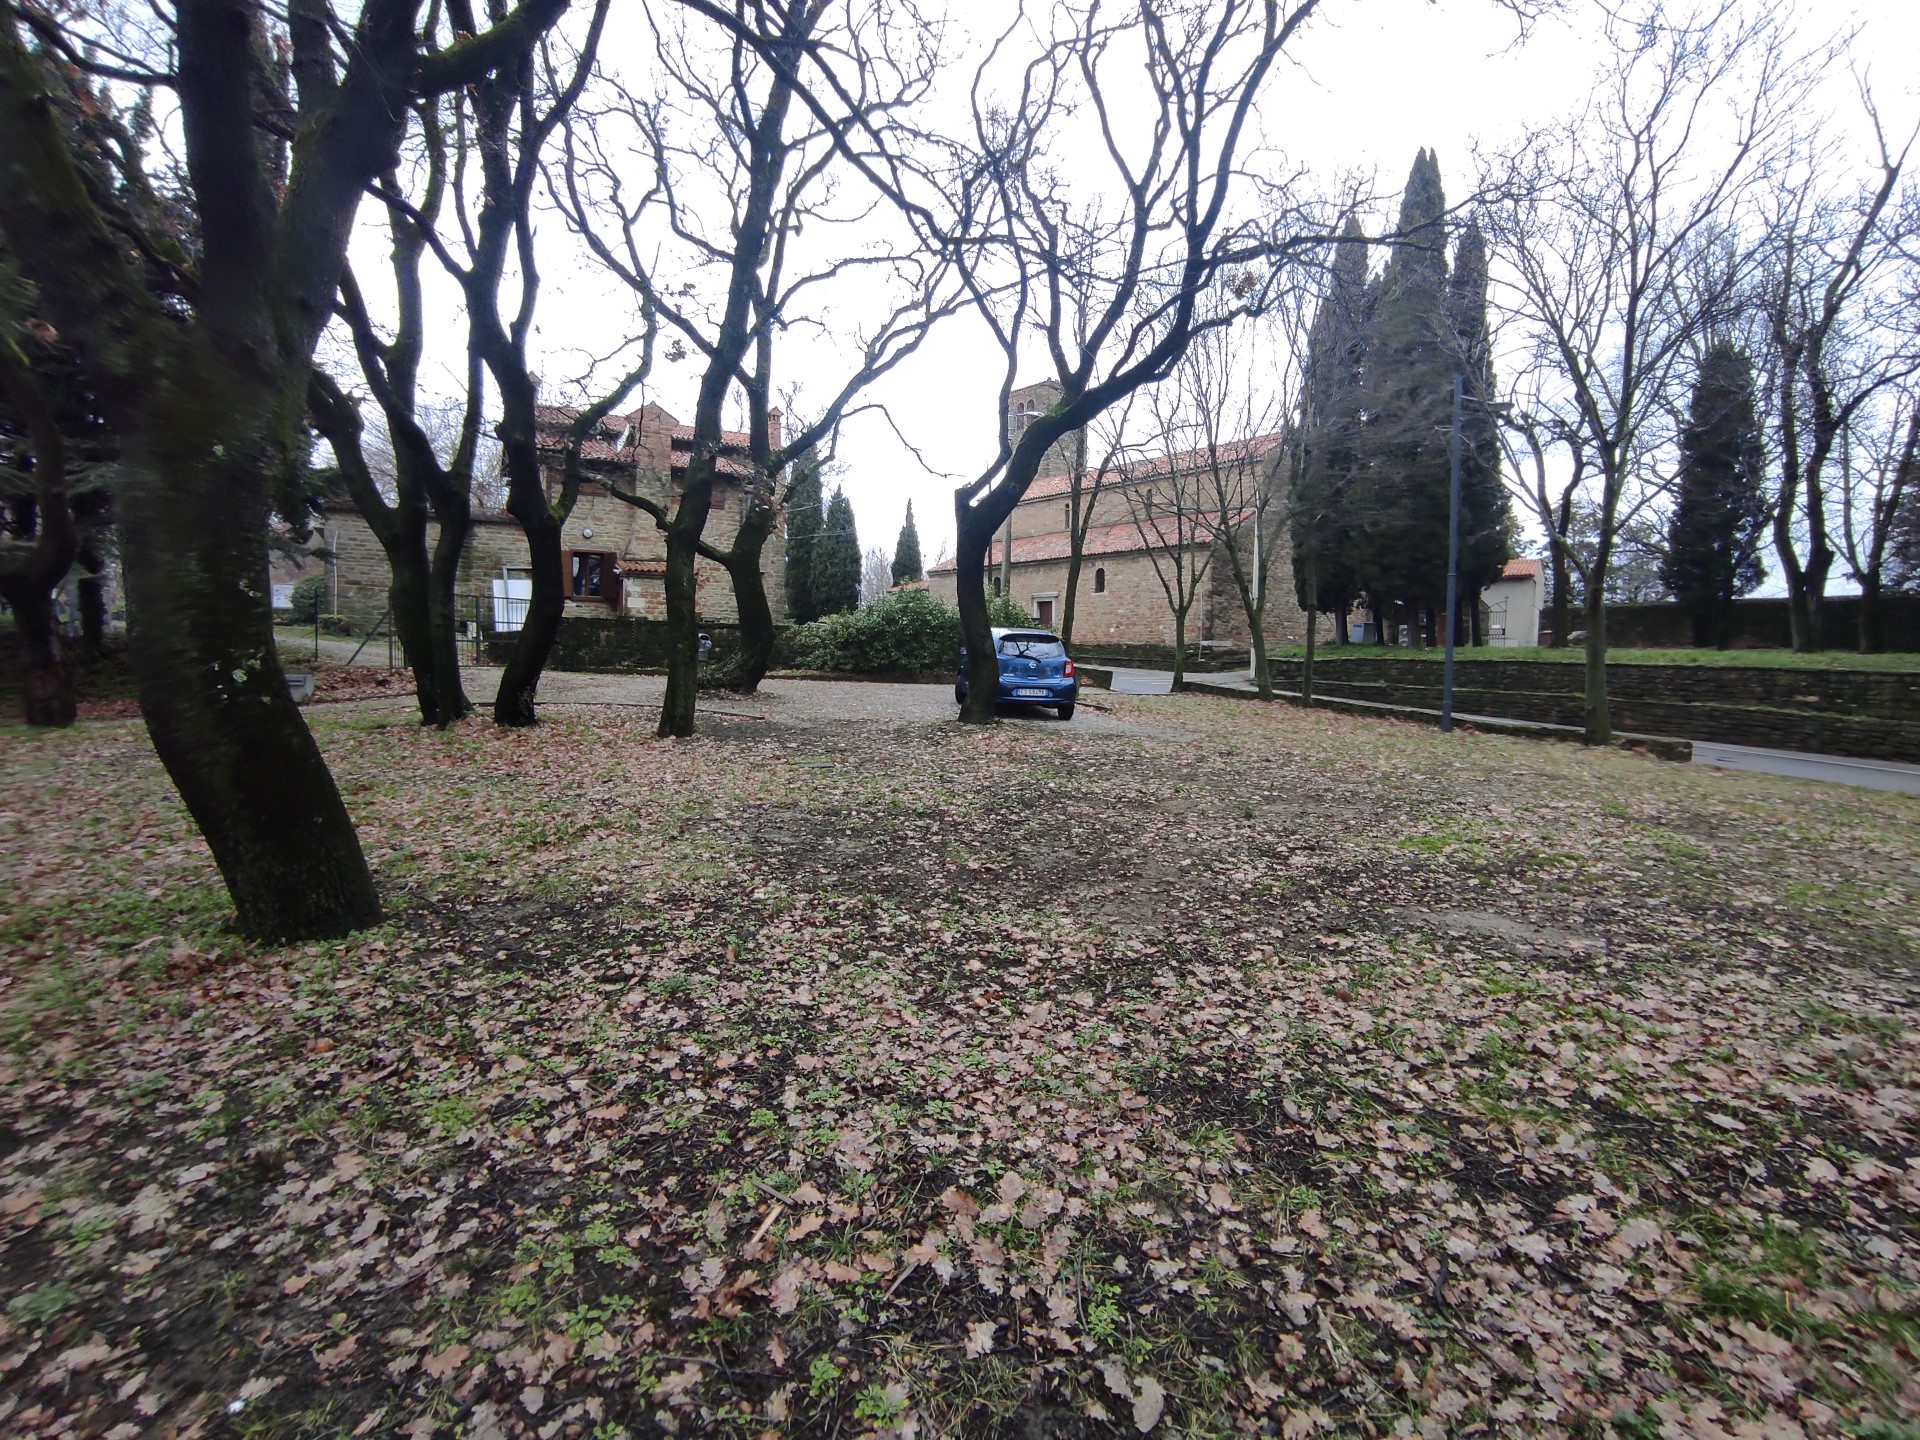
Photo 33
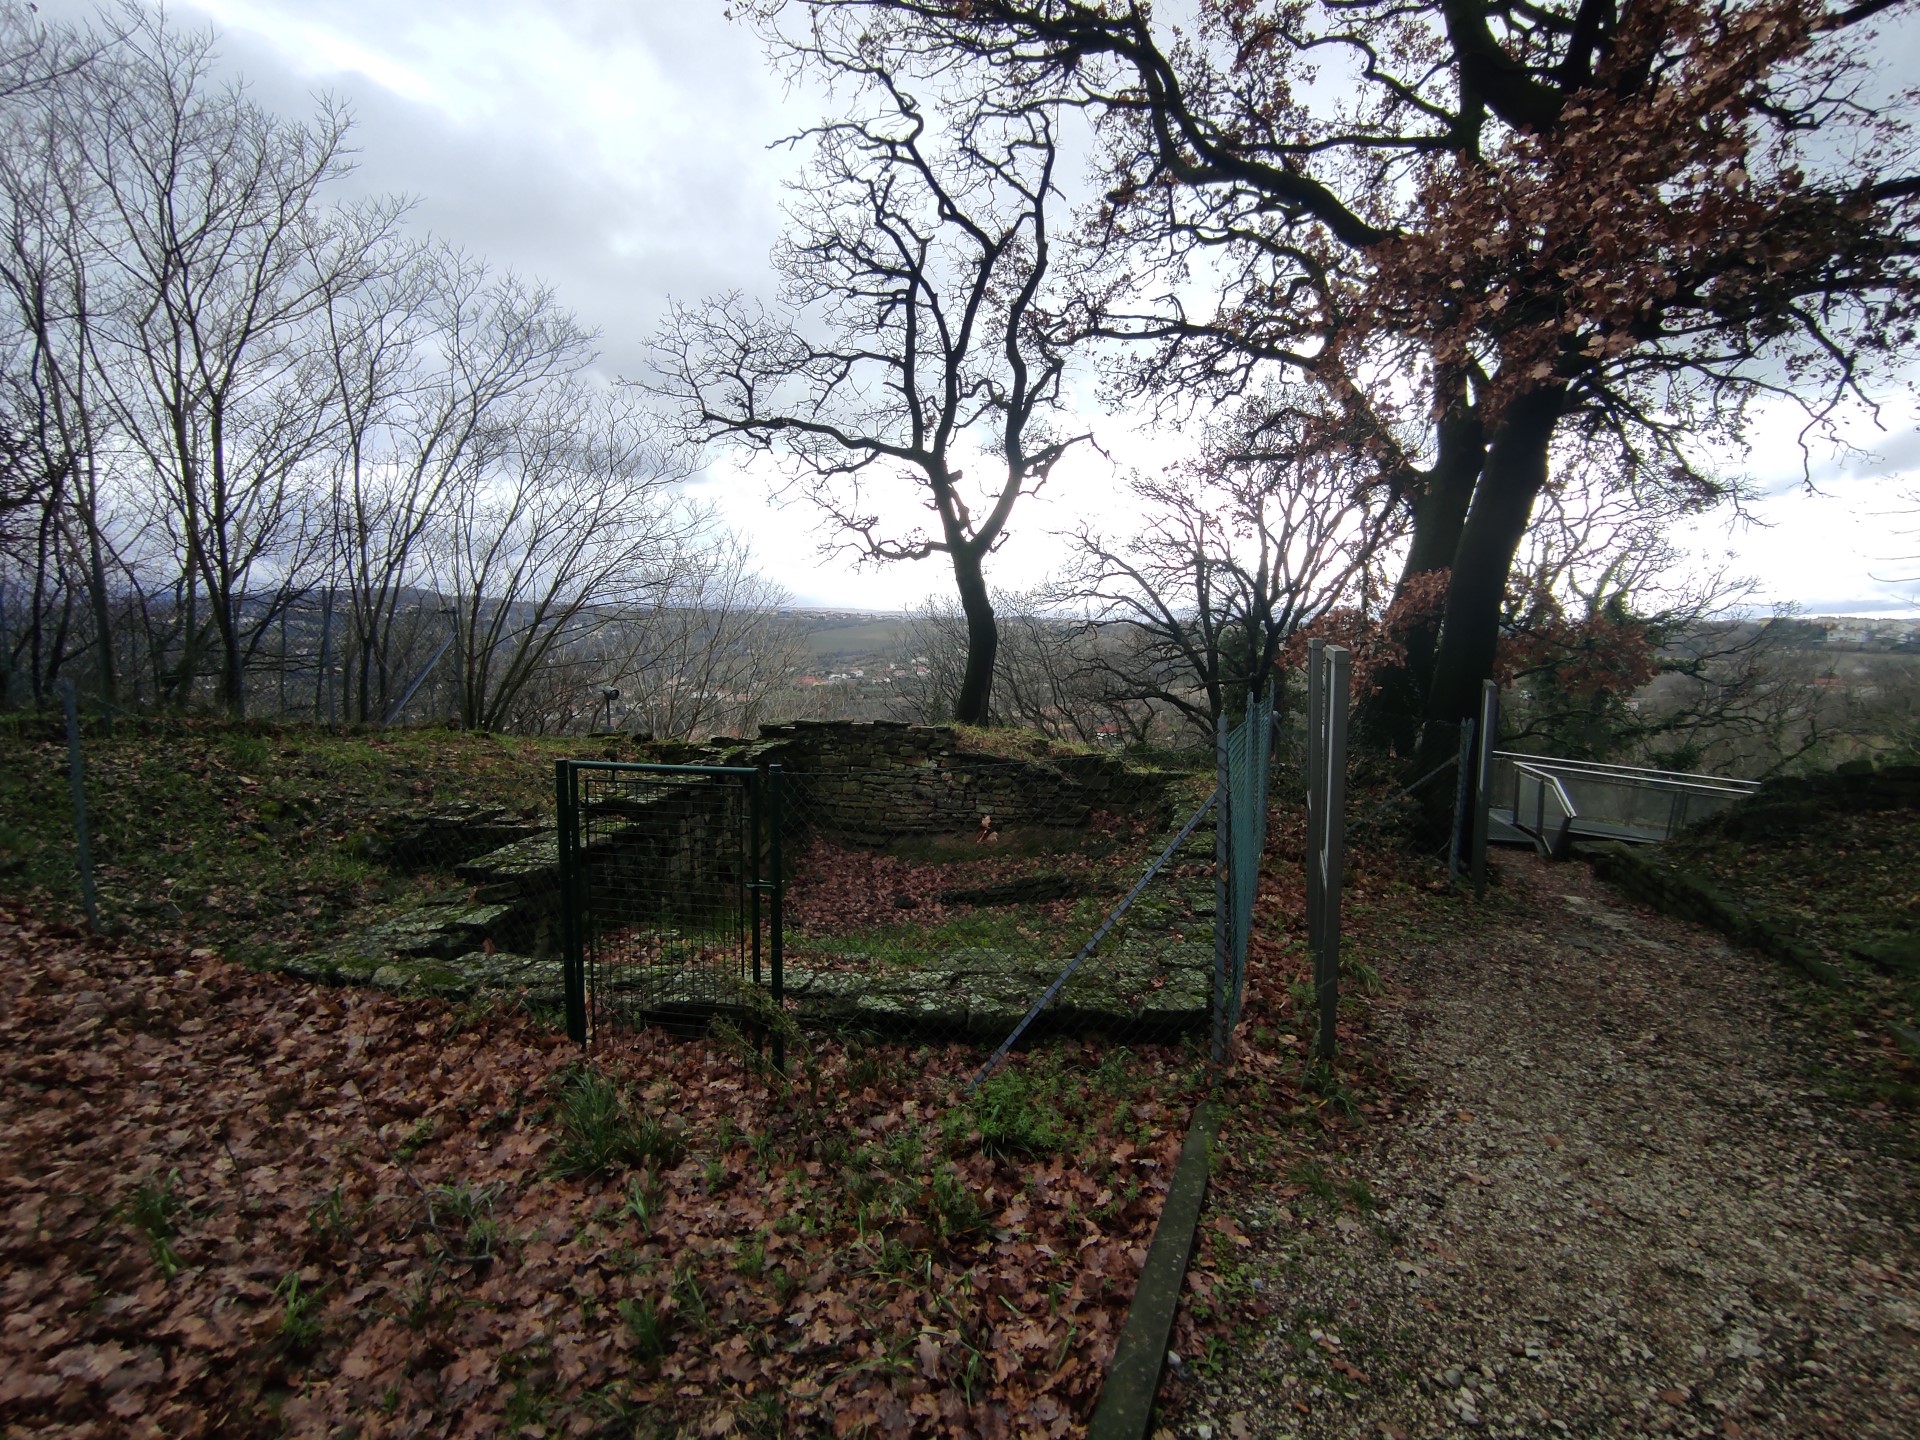
Photo 34
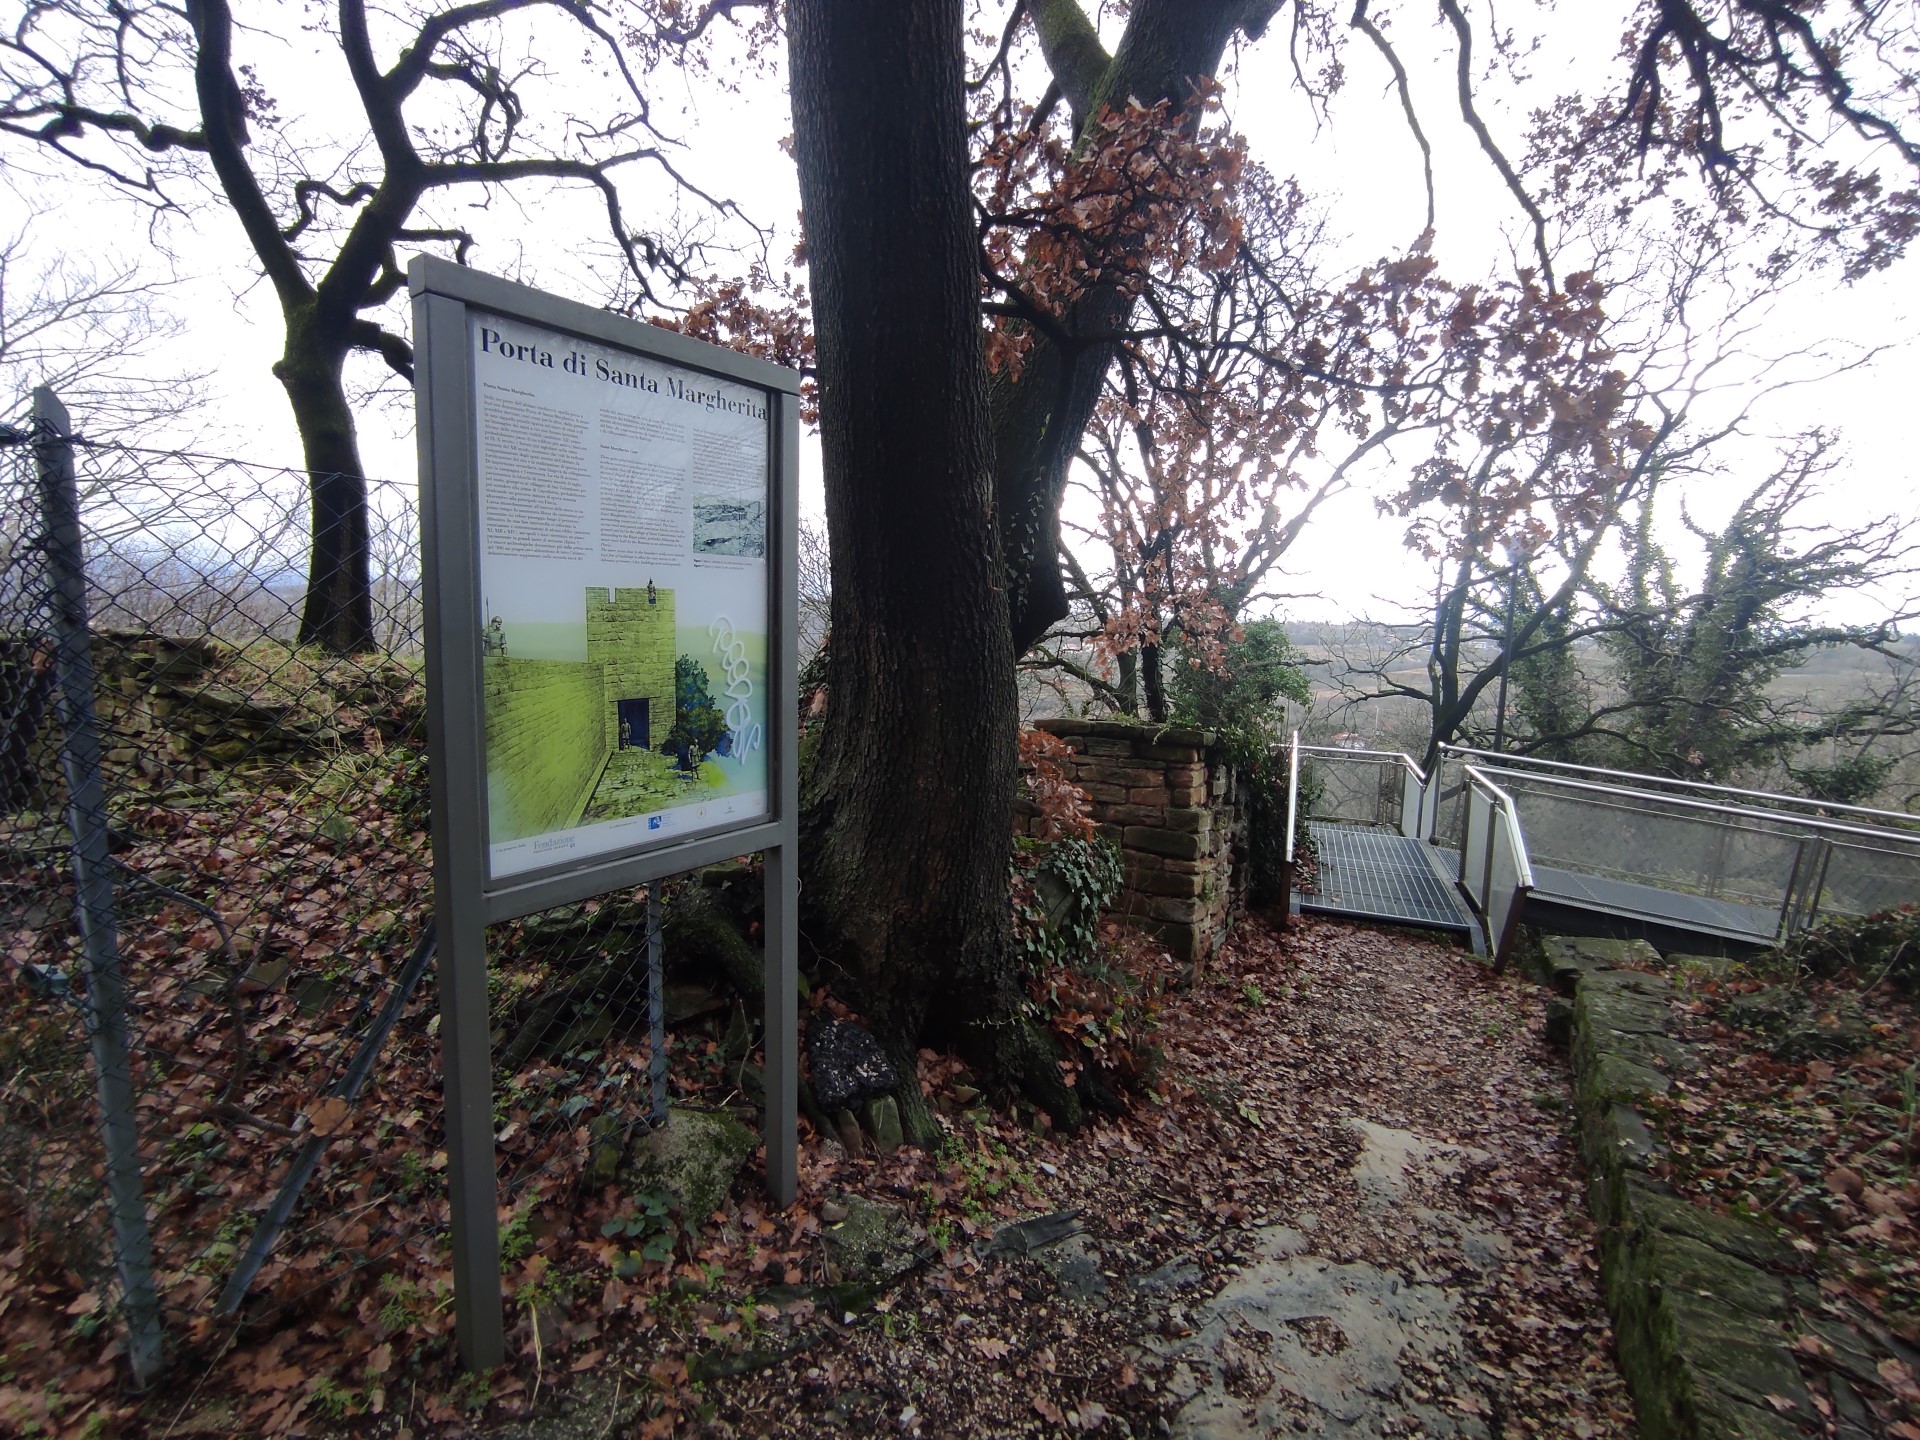
Photo 35
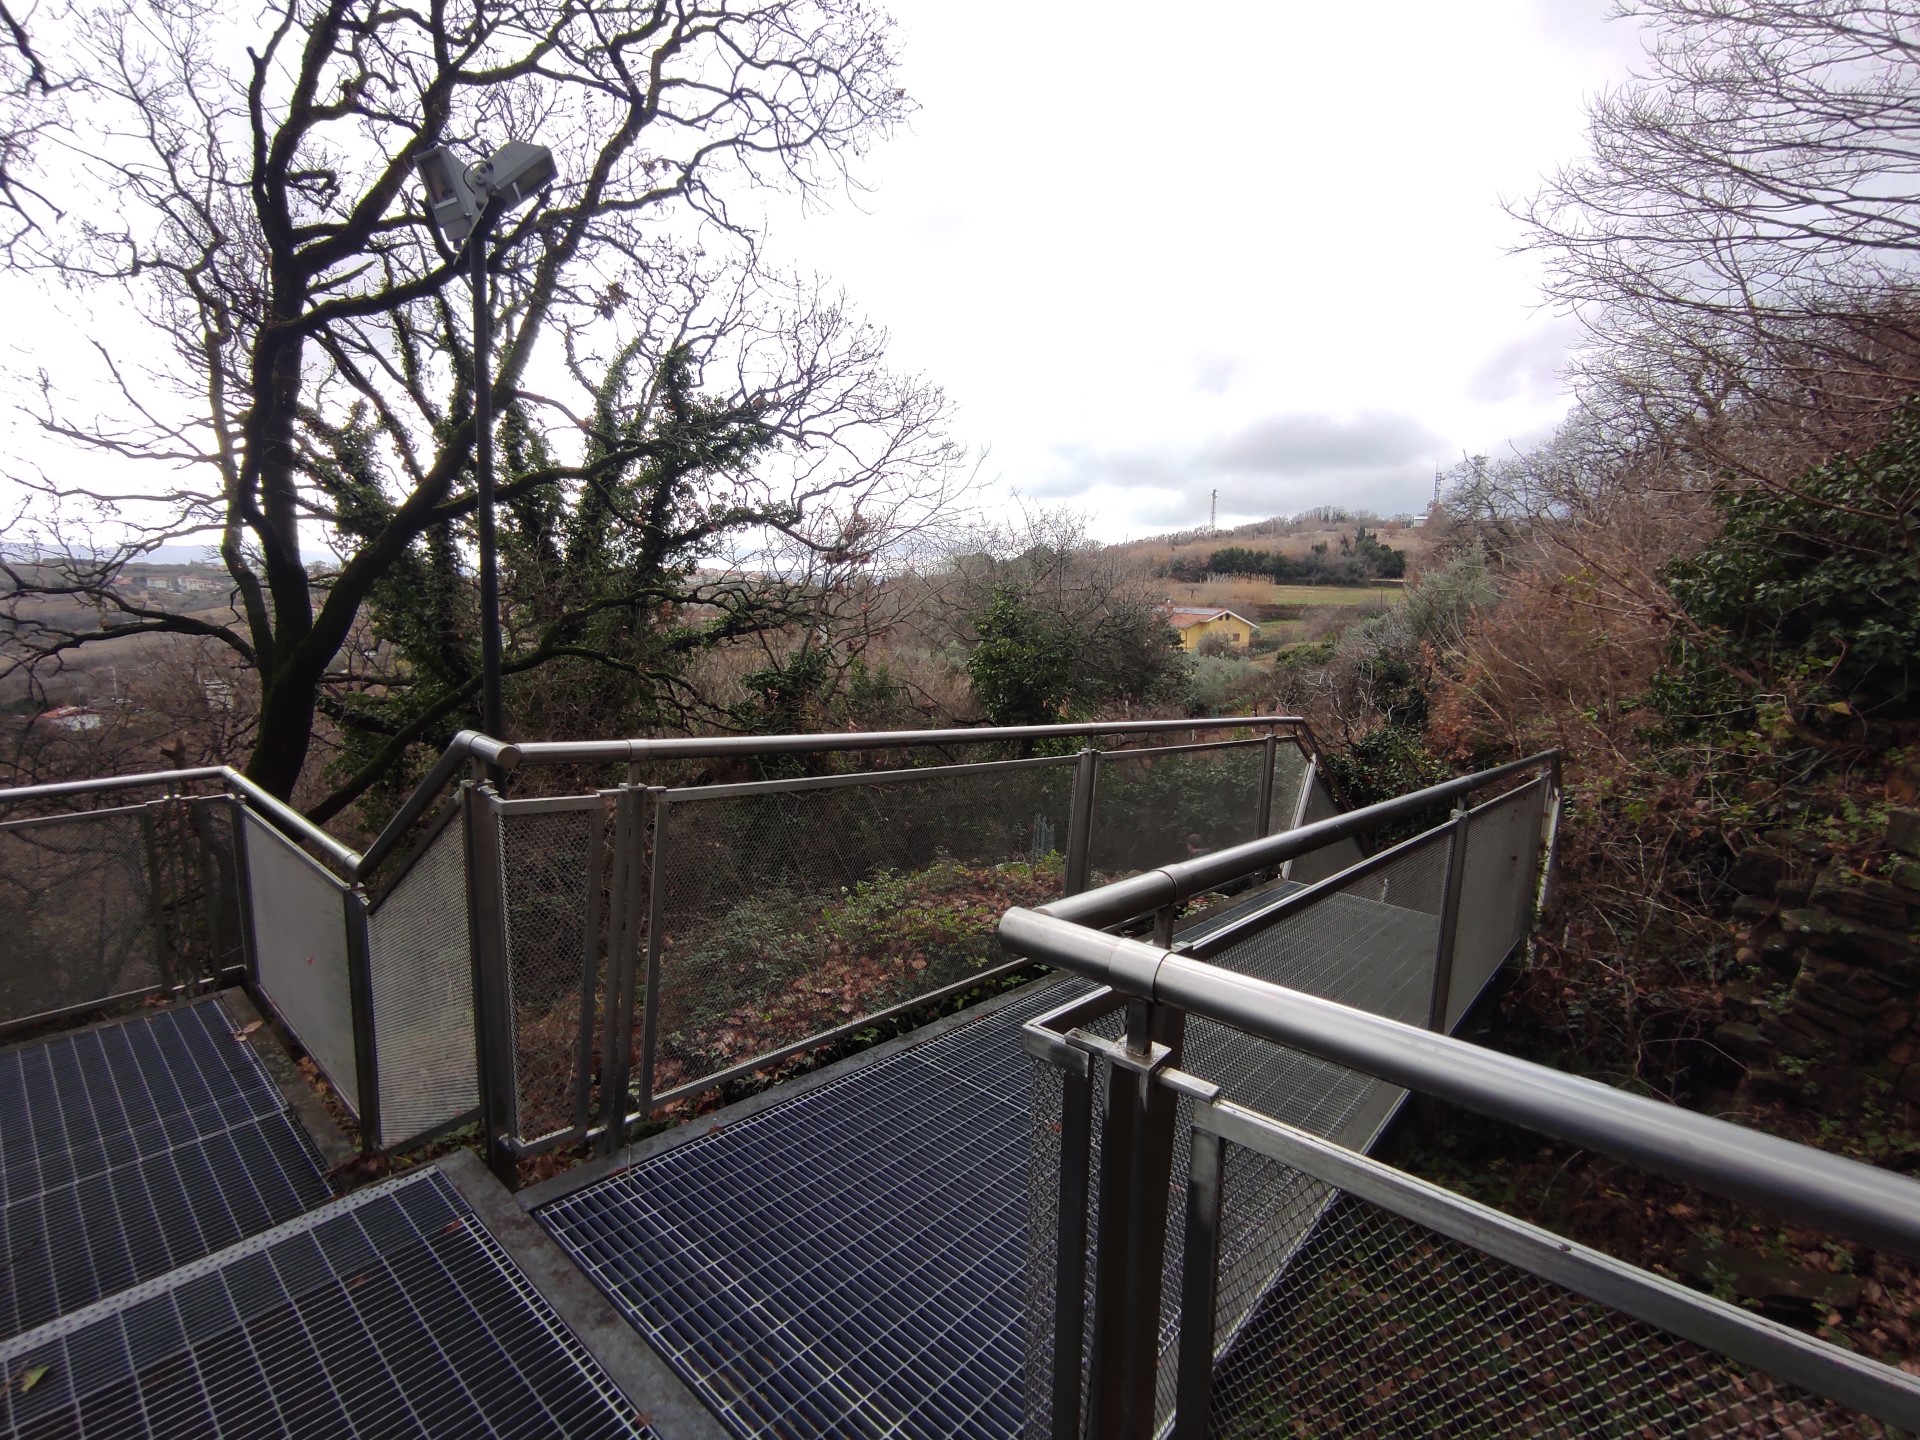
Photo 36
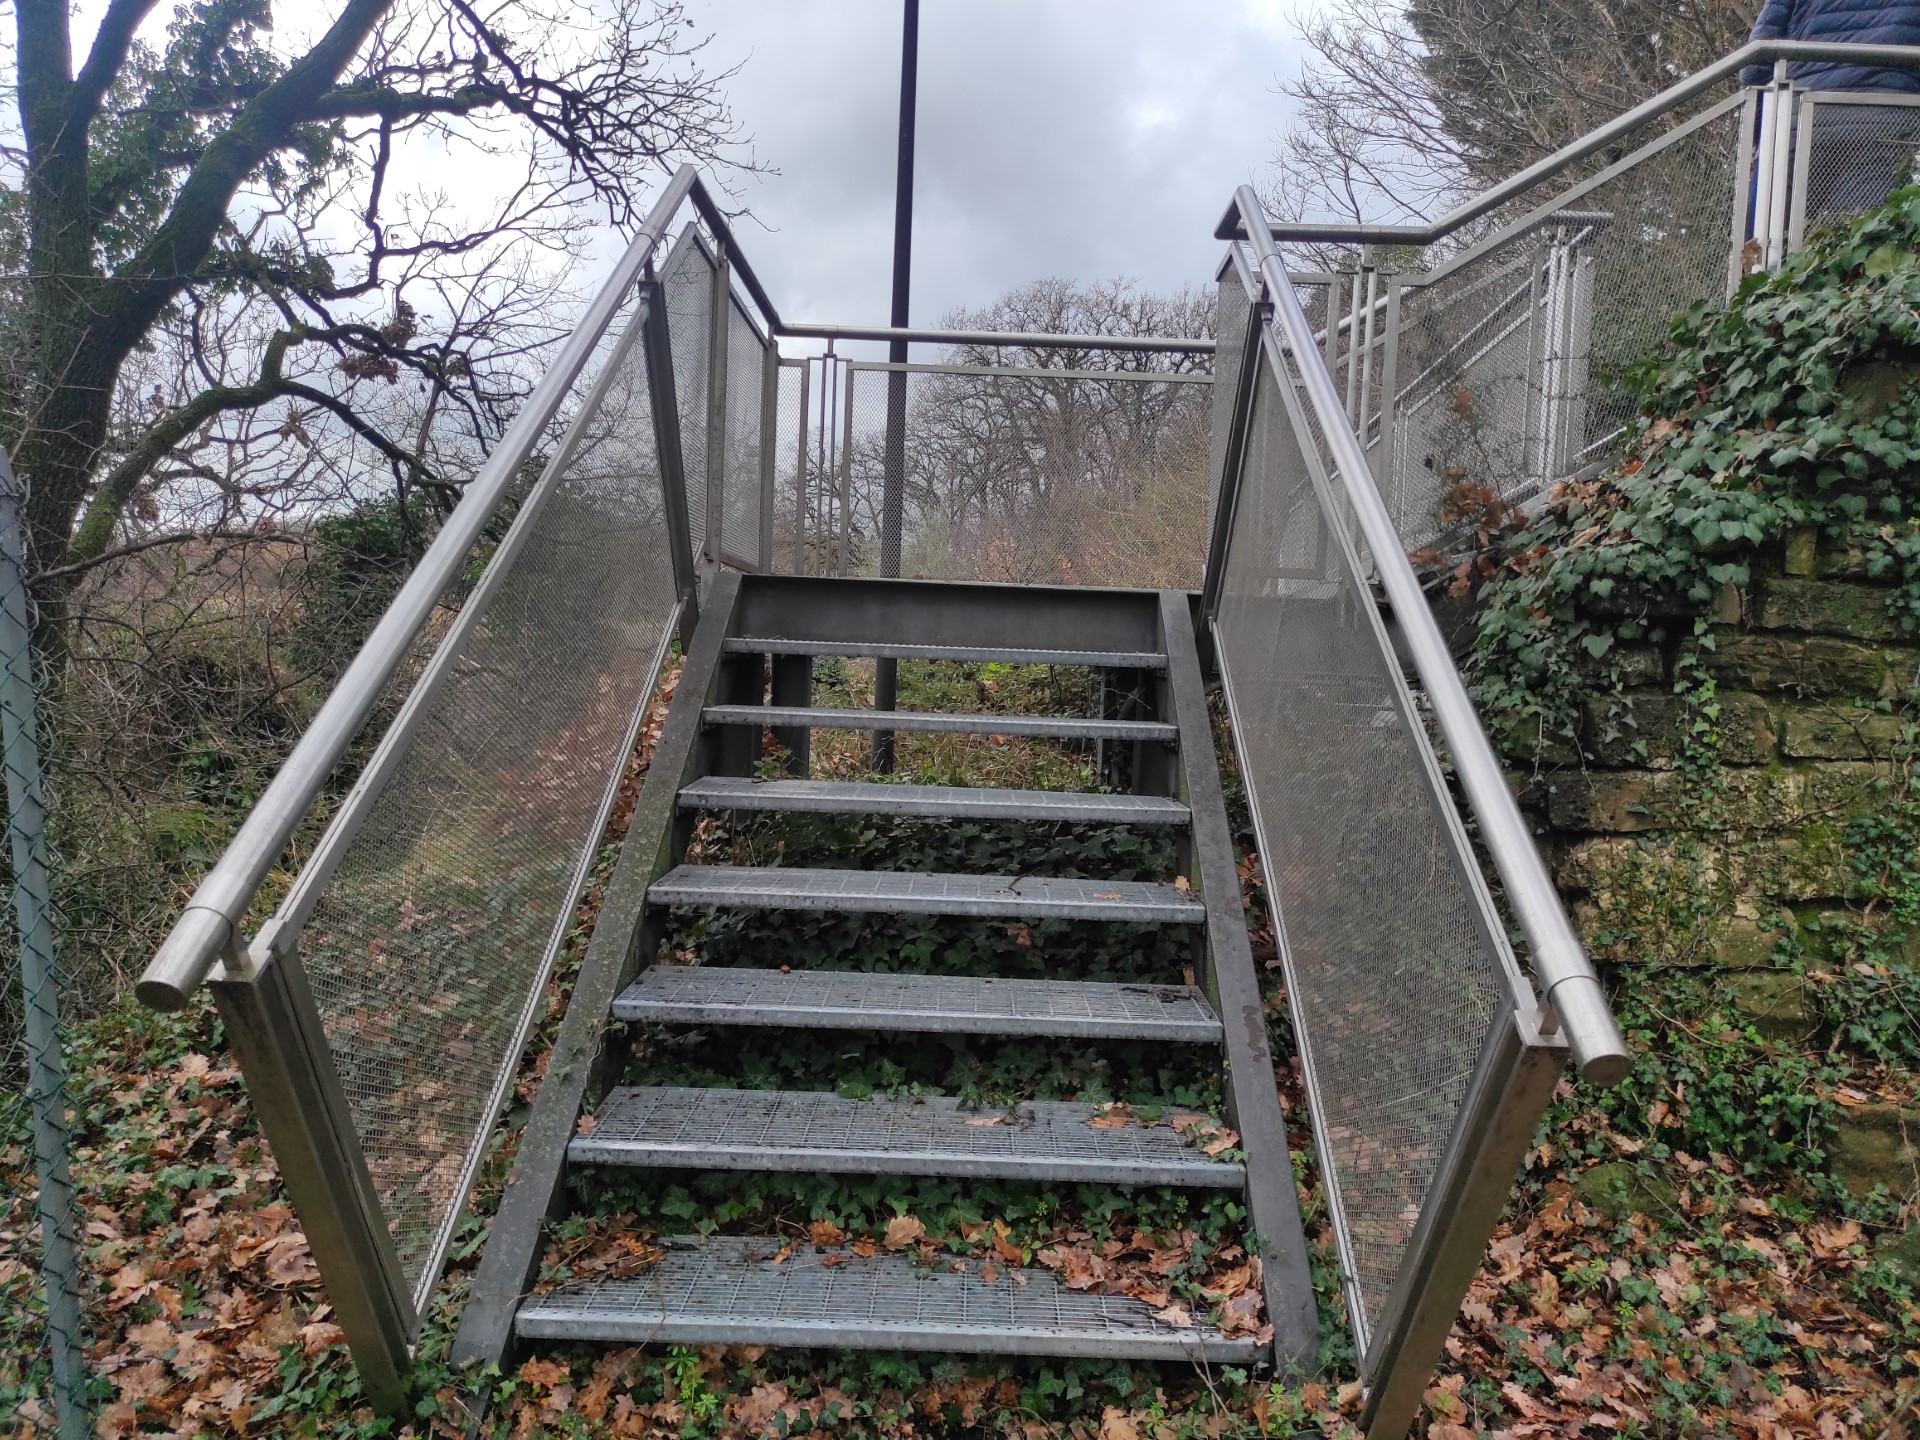
Photo 37
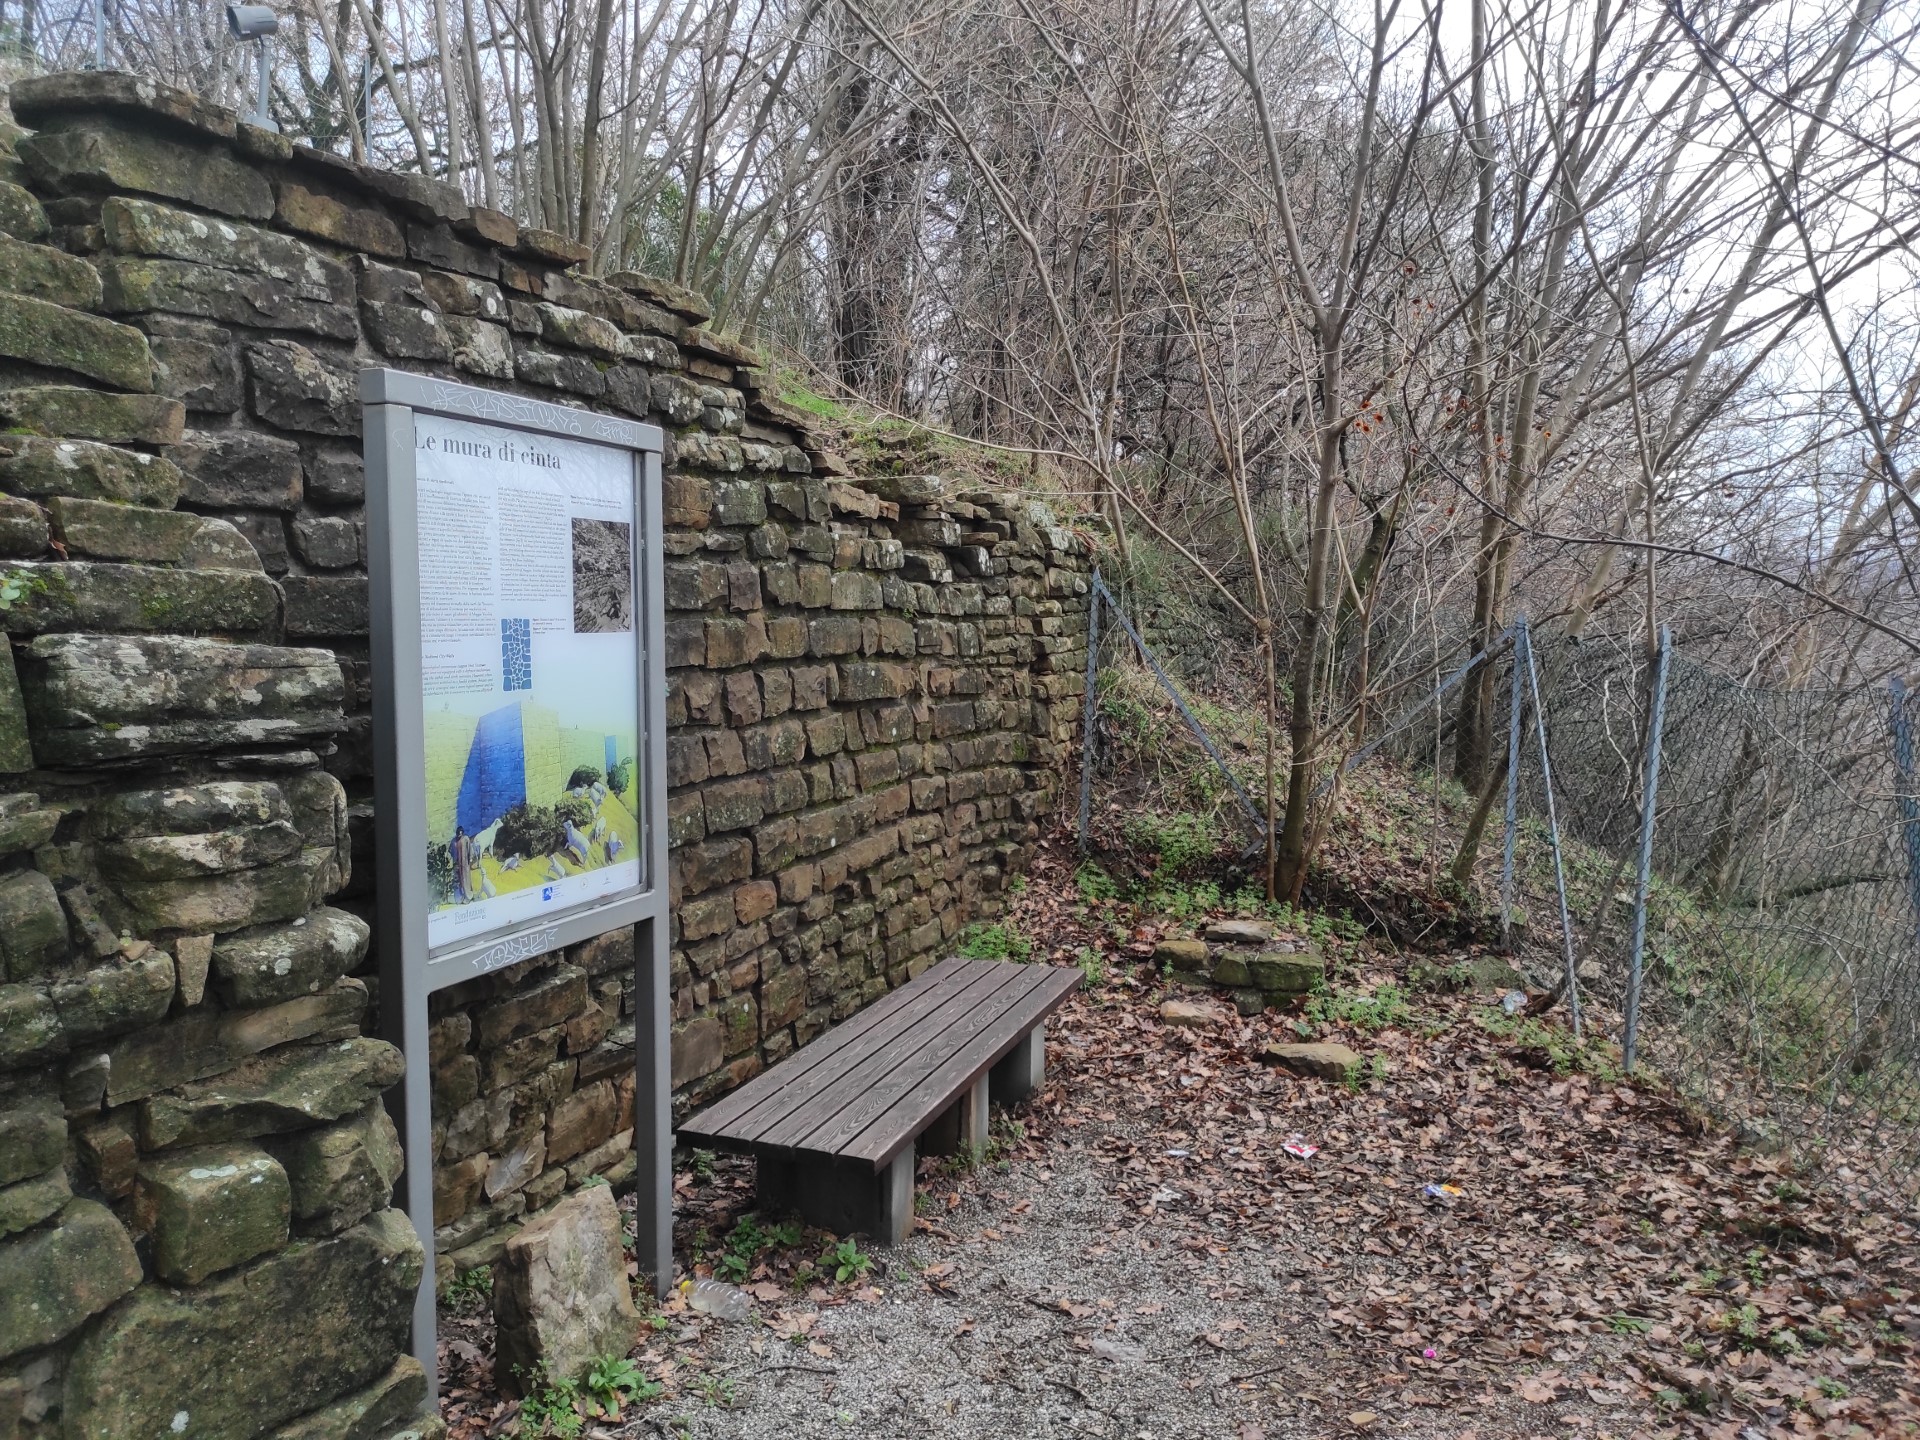
Photo 38
SOUTH ARCHAEOLOGICAL AREA
In this area, at the intersections or information points, the pavement widens up to 150 cm allowing for an easy change of direction and approach to the information panels that have the same characteristics as the previous ones (Photo 40).
If from the fork just after the entrance to the south archaeological area you continue to the right (Photo 39), the paved stone path leads us in just 35 meters to a walkway that allows walking over the archaeological remains of the south area (Photo 41) with a splendid view of the surrounding landscape (Photo 42, 43). The walkway, 156 cm wide, è paved with wooden planks orthogonal to the direction of travel, with a steel railing with handrails on both sides. This bridge over the remains features two ramps separated by a landing and a final level section: the first is 450 cm long with a slope of 6.1%, the landing is 150 cm long, the second is 5 meters long with a slope of 6.1%, the last section measures 8 meters and connects with a 9 cm descending step to the dirt path.
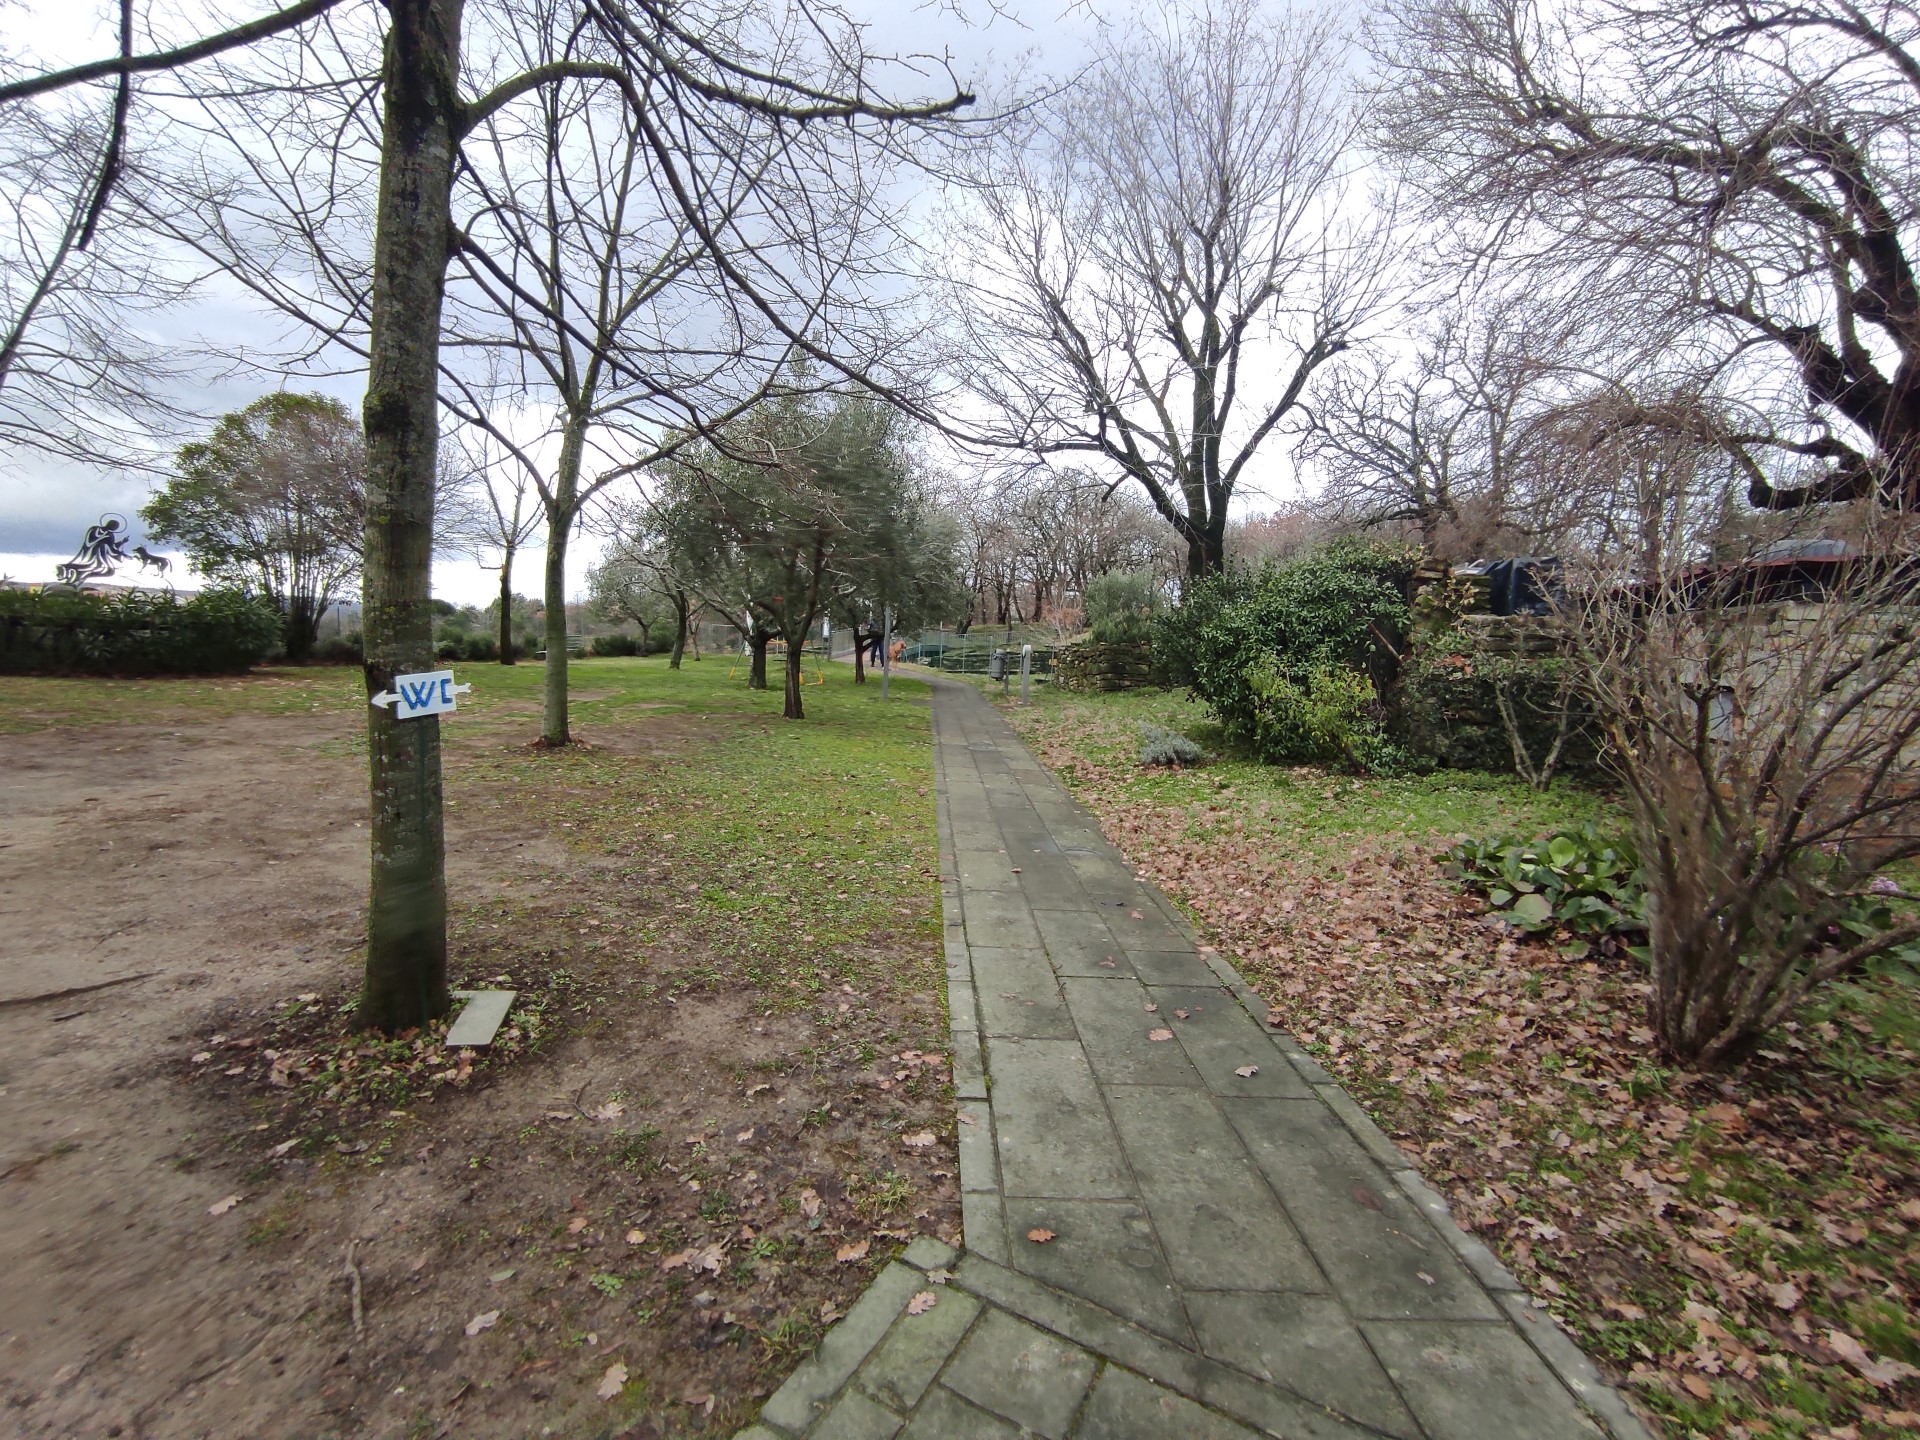
Photo 39
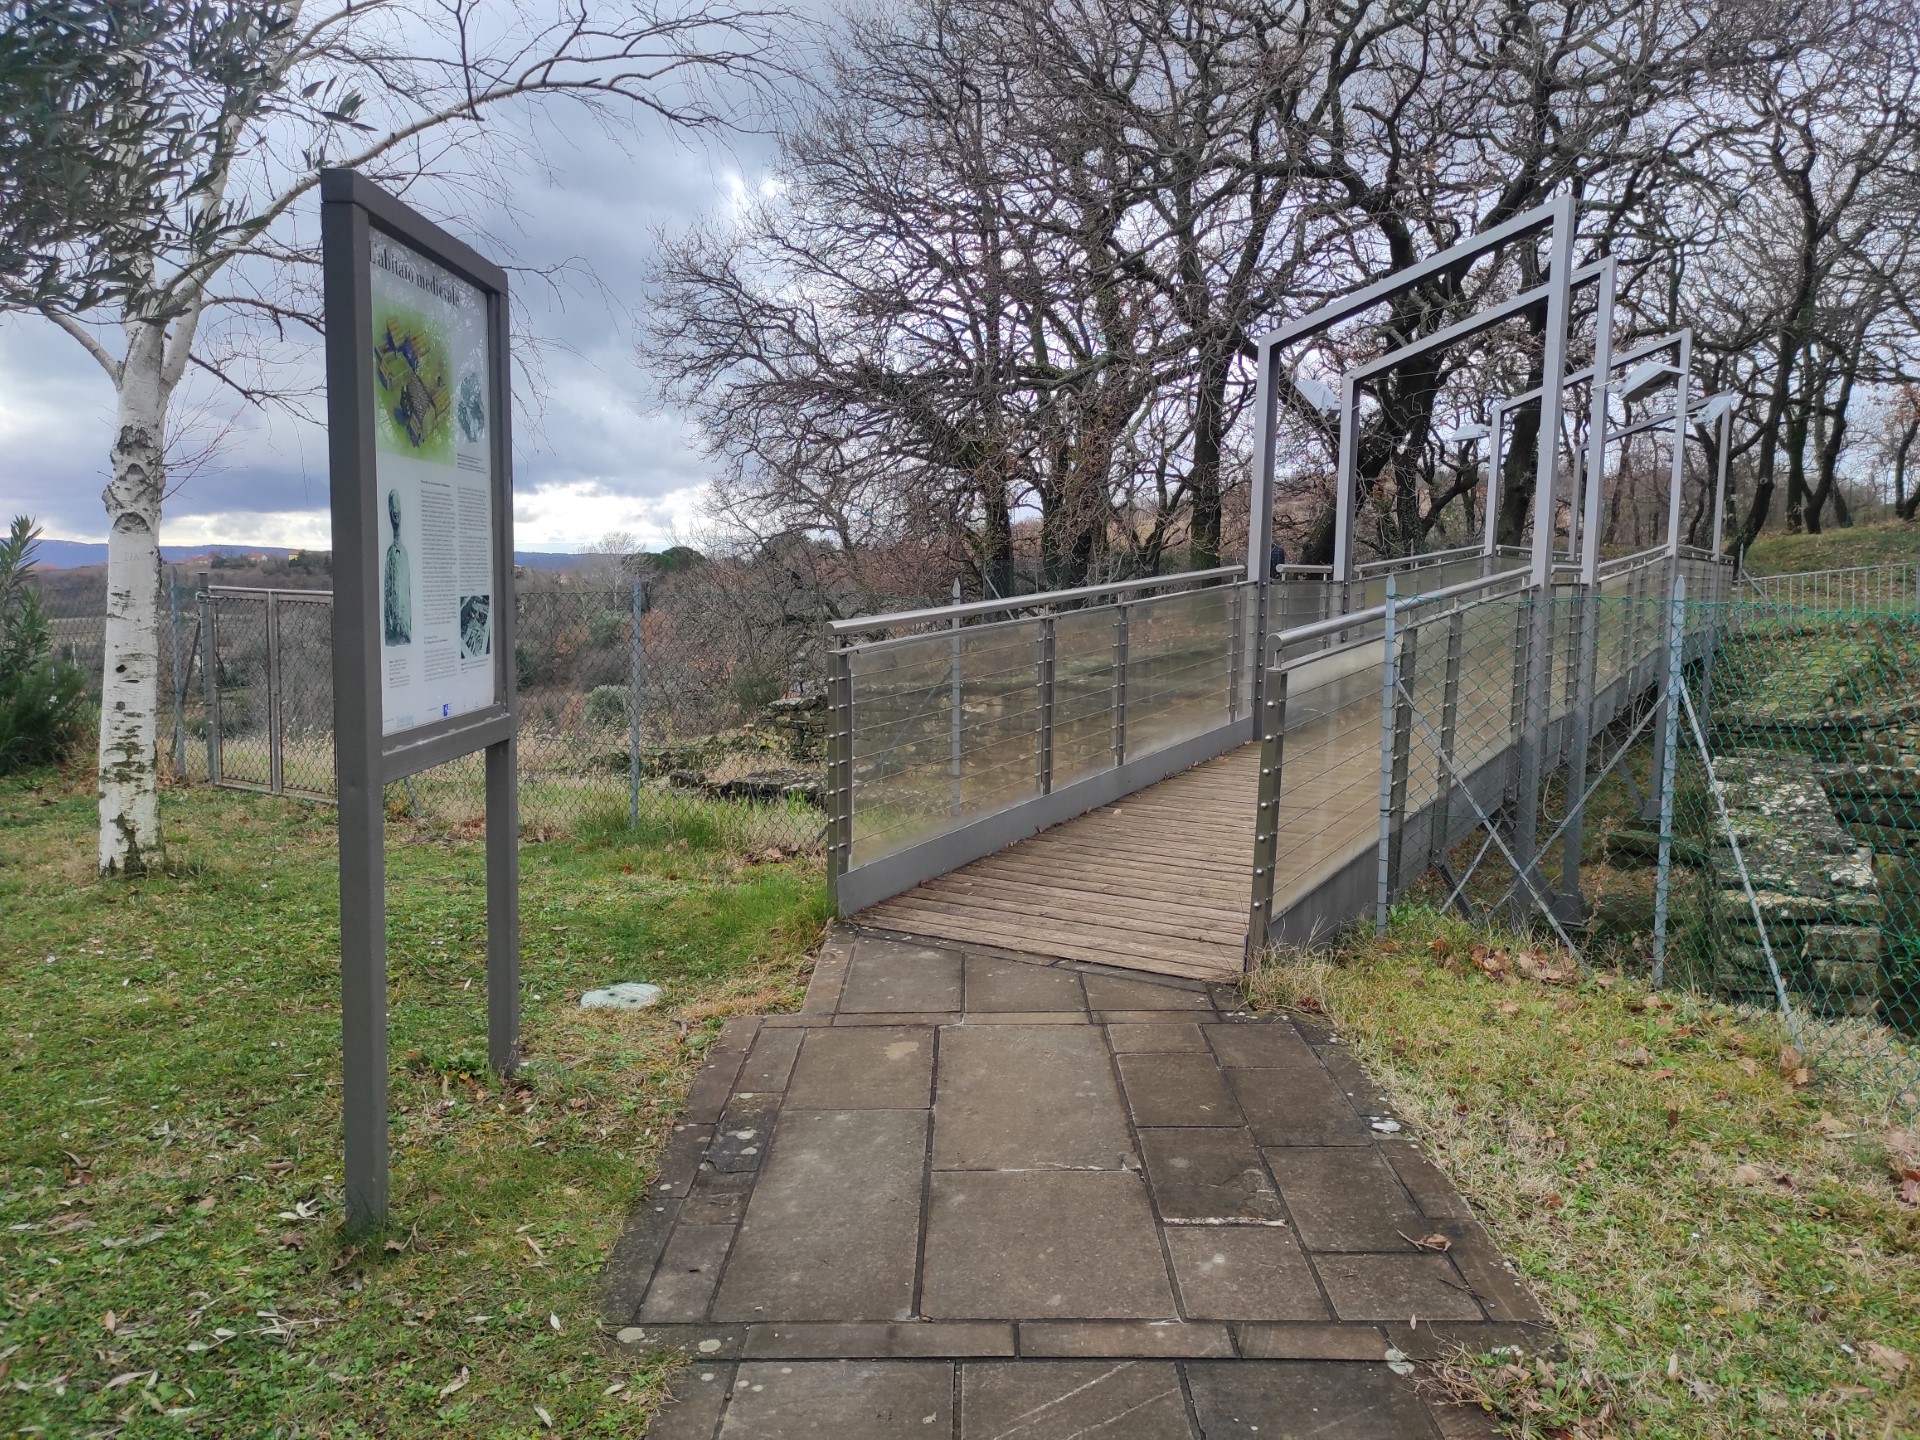
Photo 40
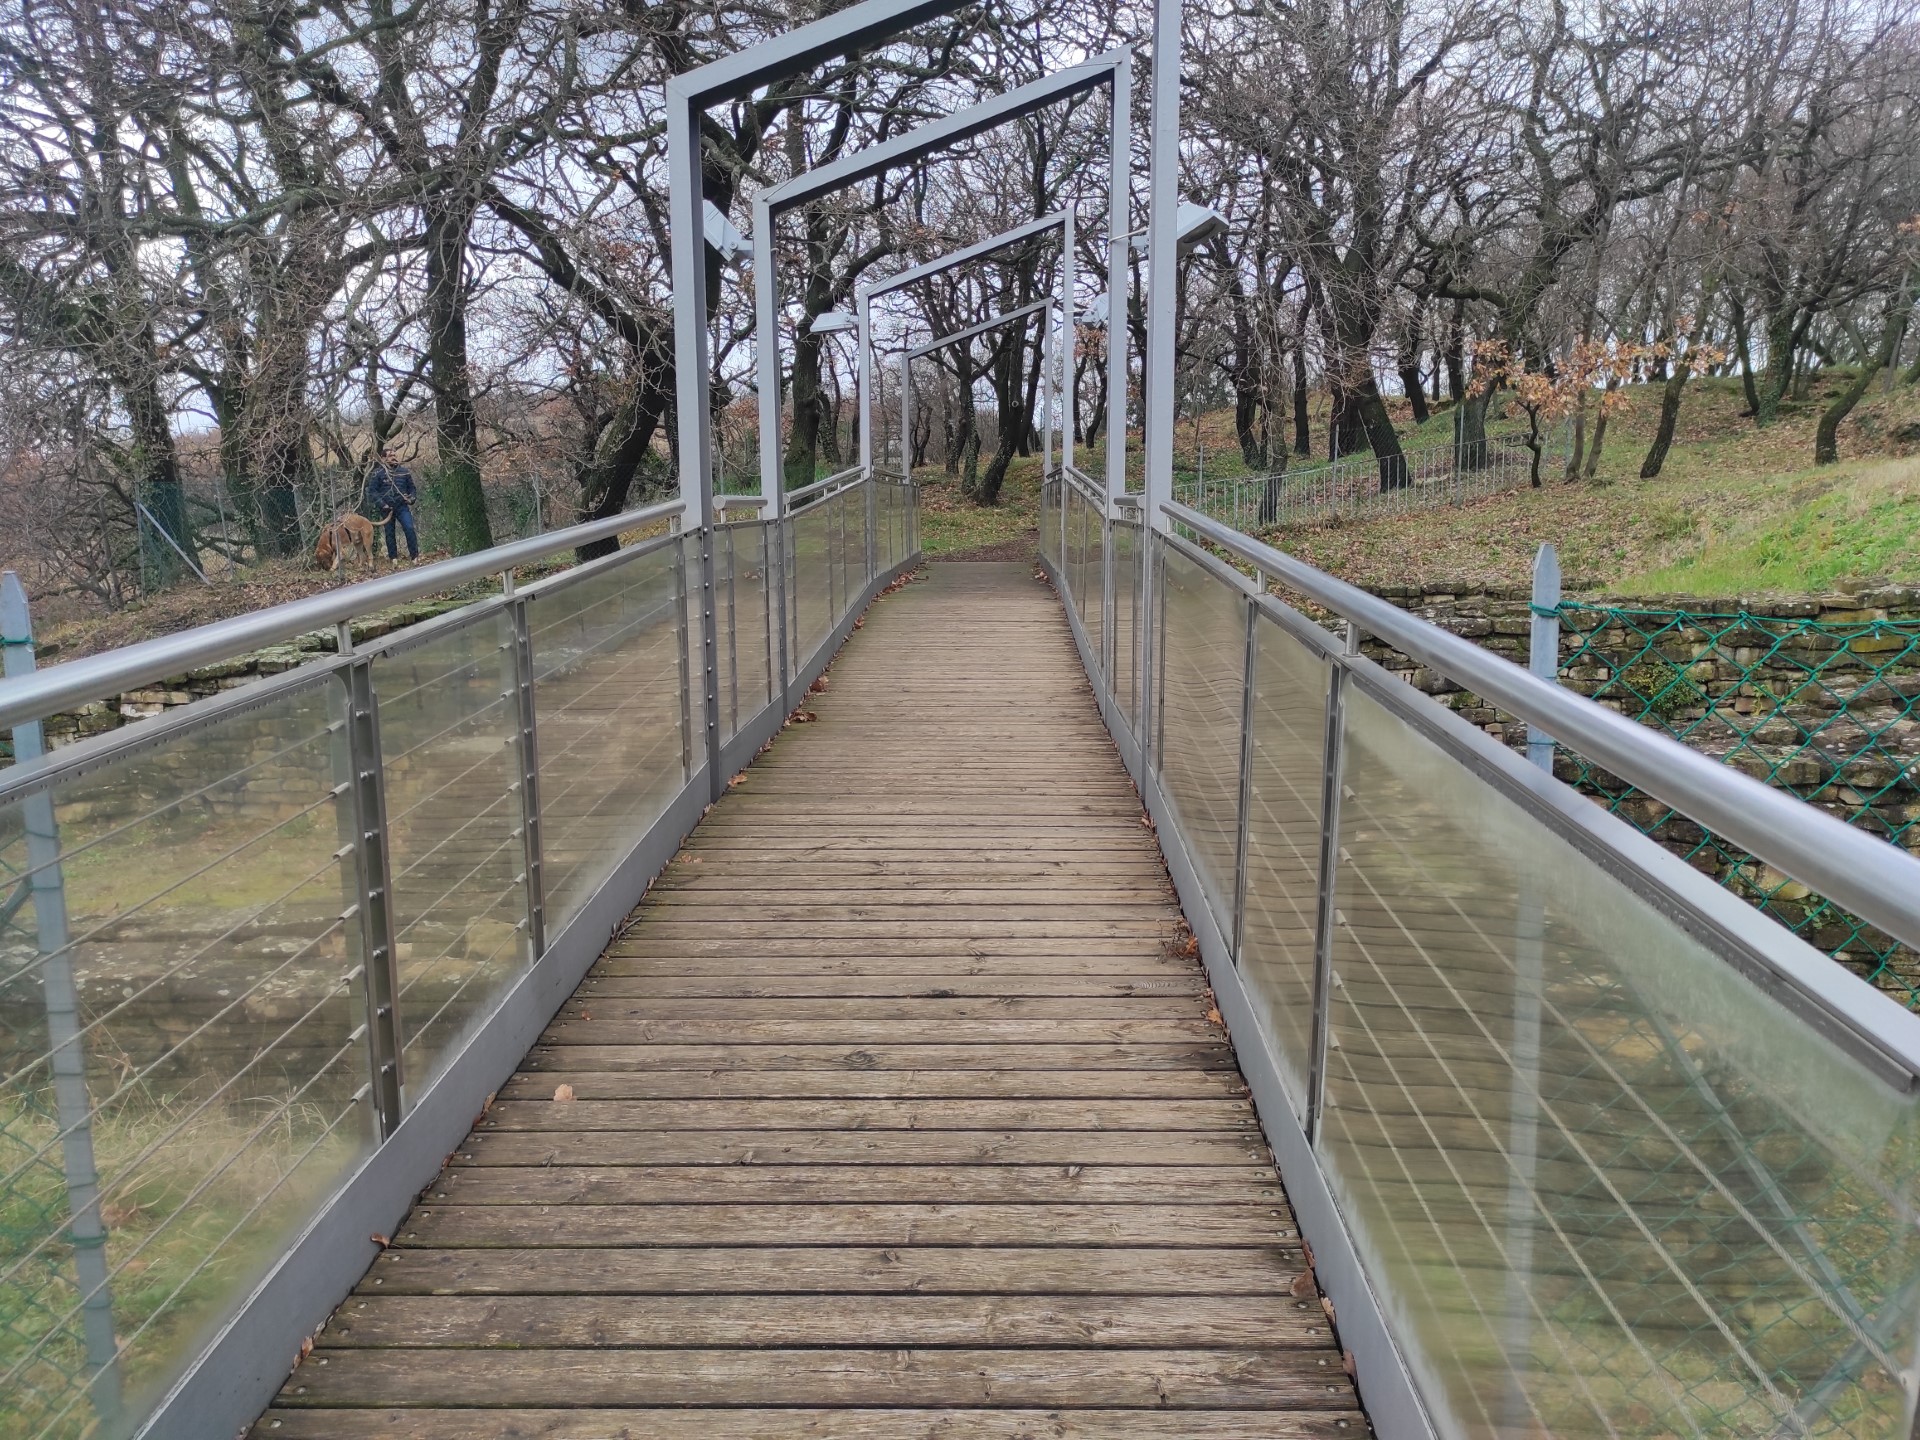
Photo 41
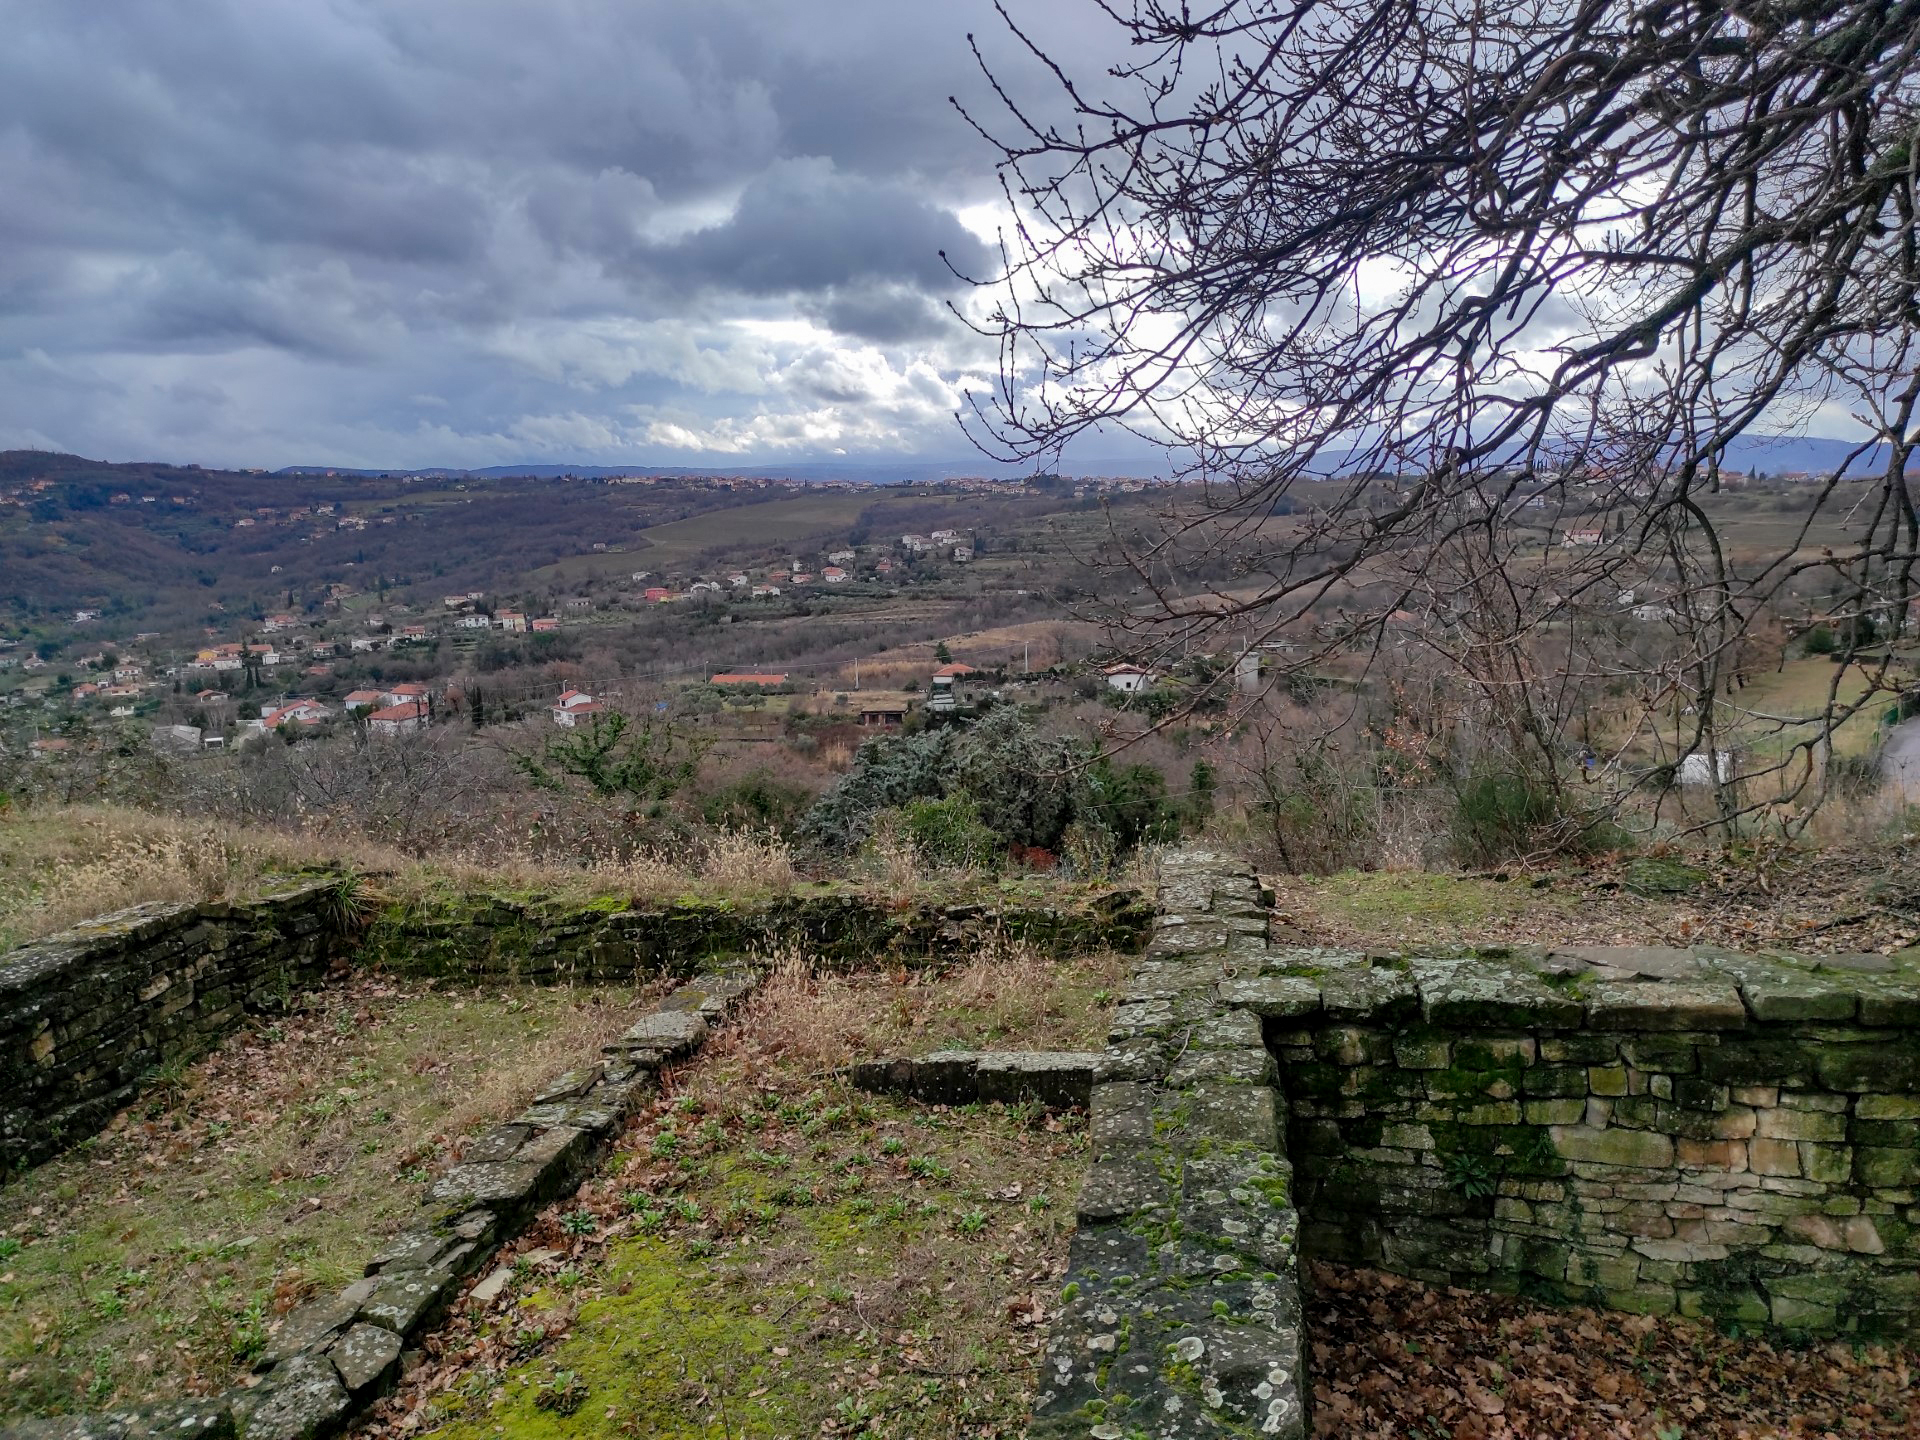
Photo 42
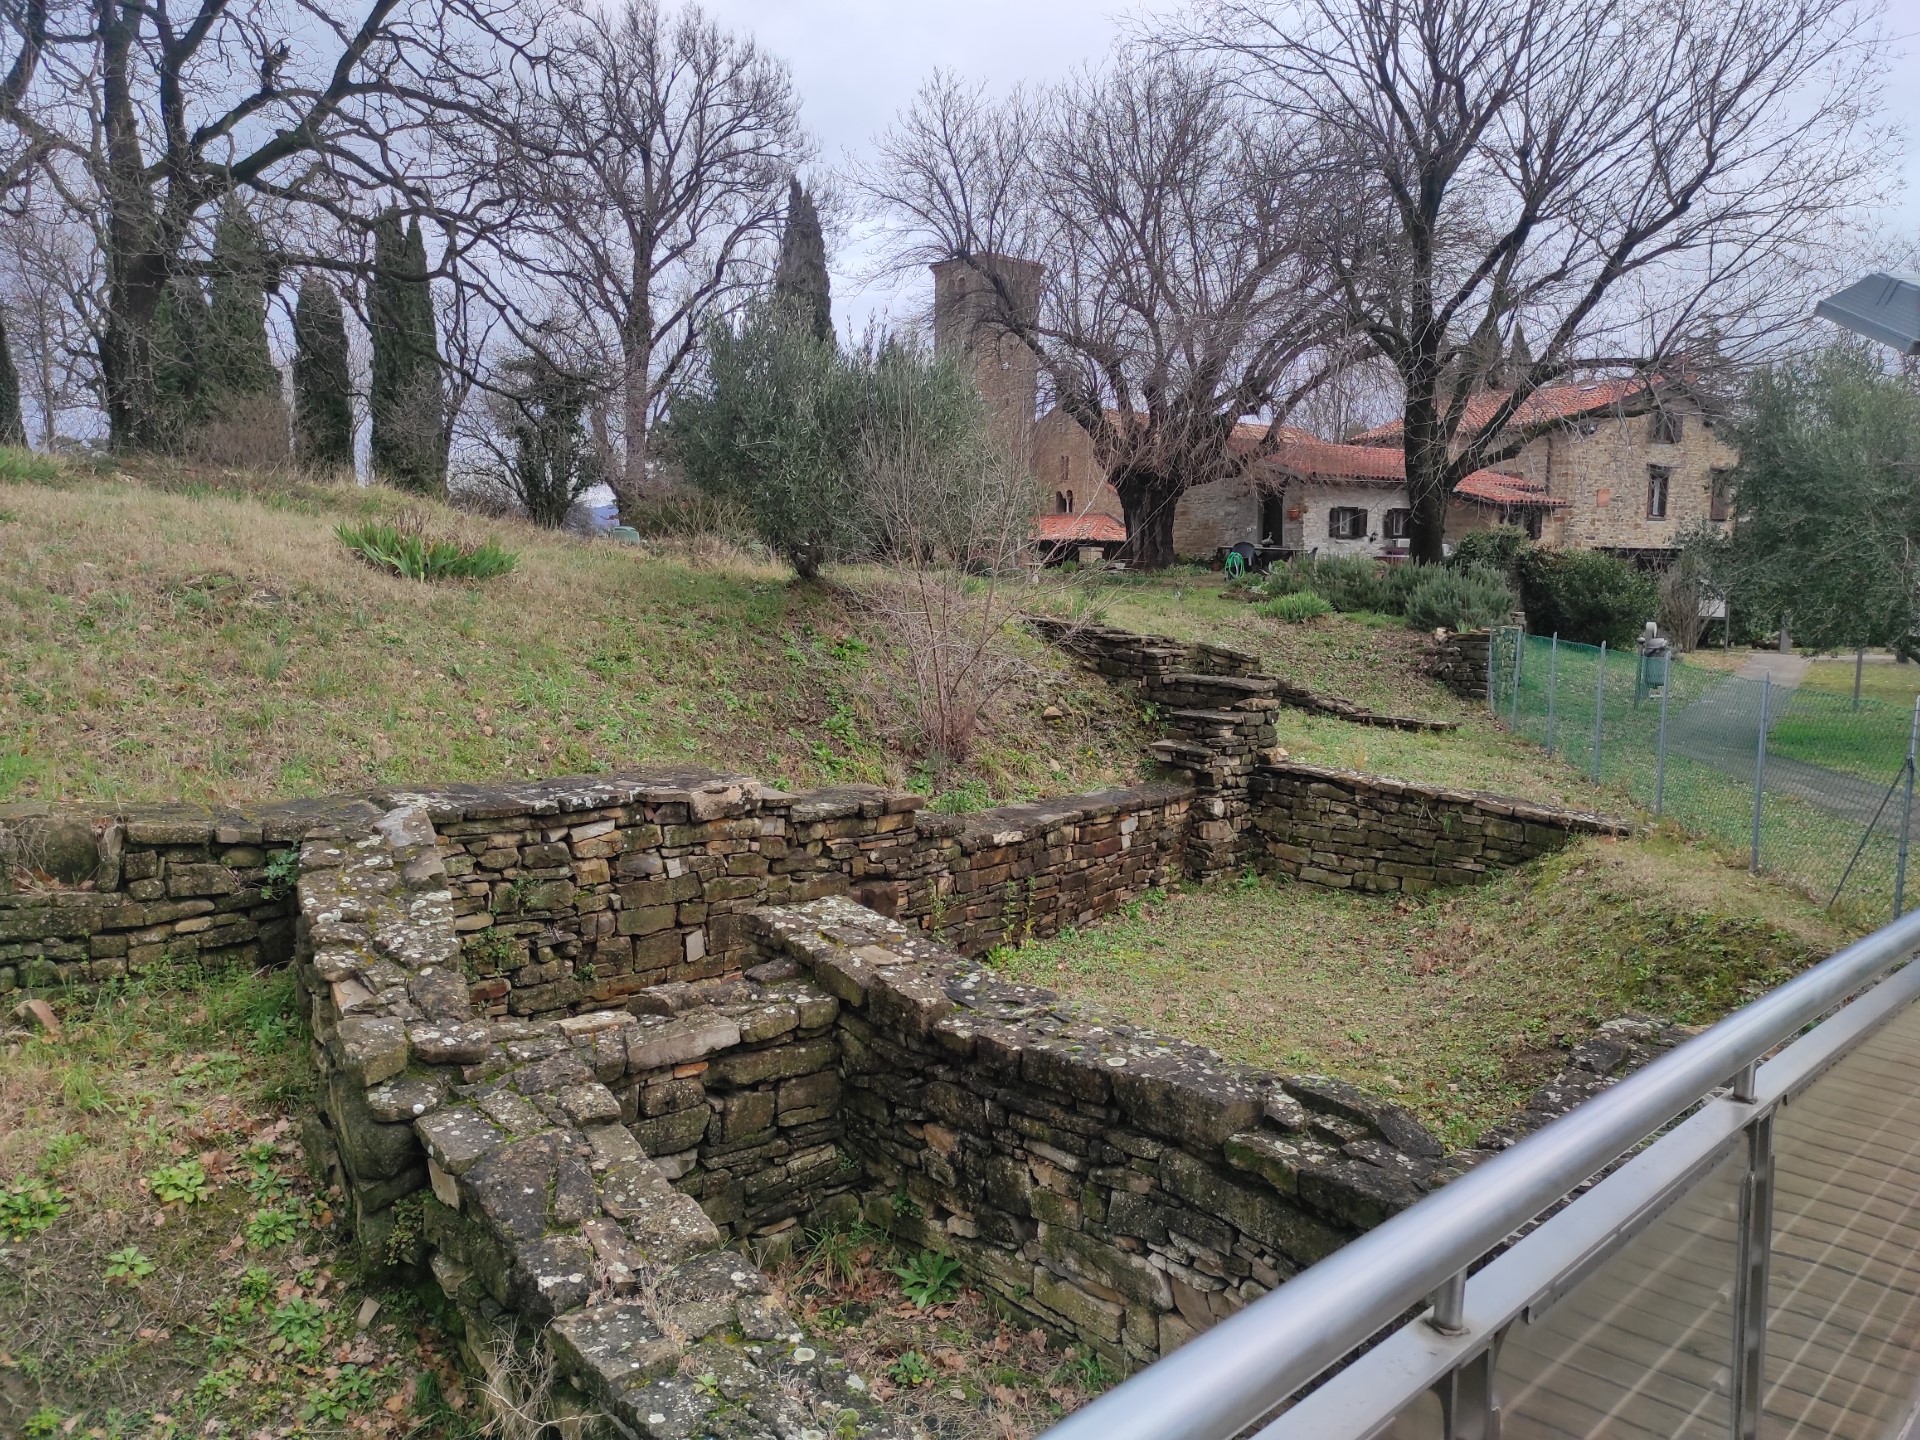
Photo 43
From here on, the path winds through the western part of the park for about 120 meters on a trail (Photo 44, 46) with a soil and vegetation surface, following the natural terrain, with dips and hills with varying slopes up to the highest point of the hill in line with Porta Santa Caterina (Photo 45). There is no real endpoint.
A trail leads to the wall that borders the road, but the area is unprotected and is located near the bend, with a high step to overcome (60 cm); therefore, despite the presence of an information panel on the opposite roadside, it is not recommended to take this route. Instead, it is advisable to return to the parking lot via the same road taken to arrive.
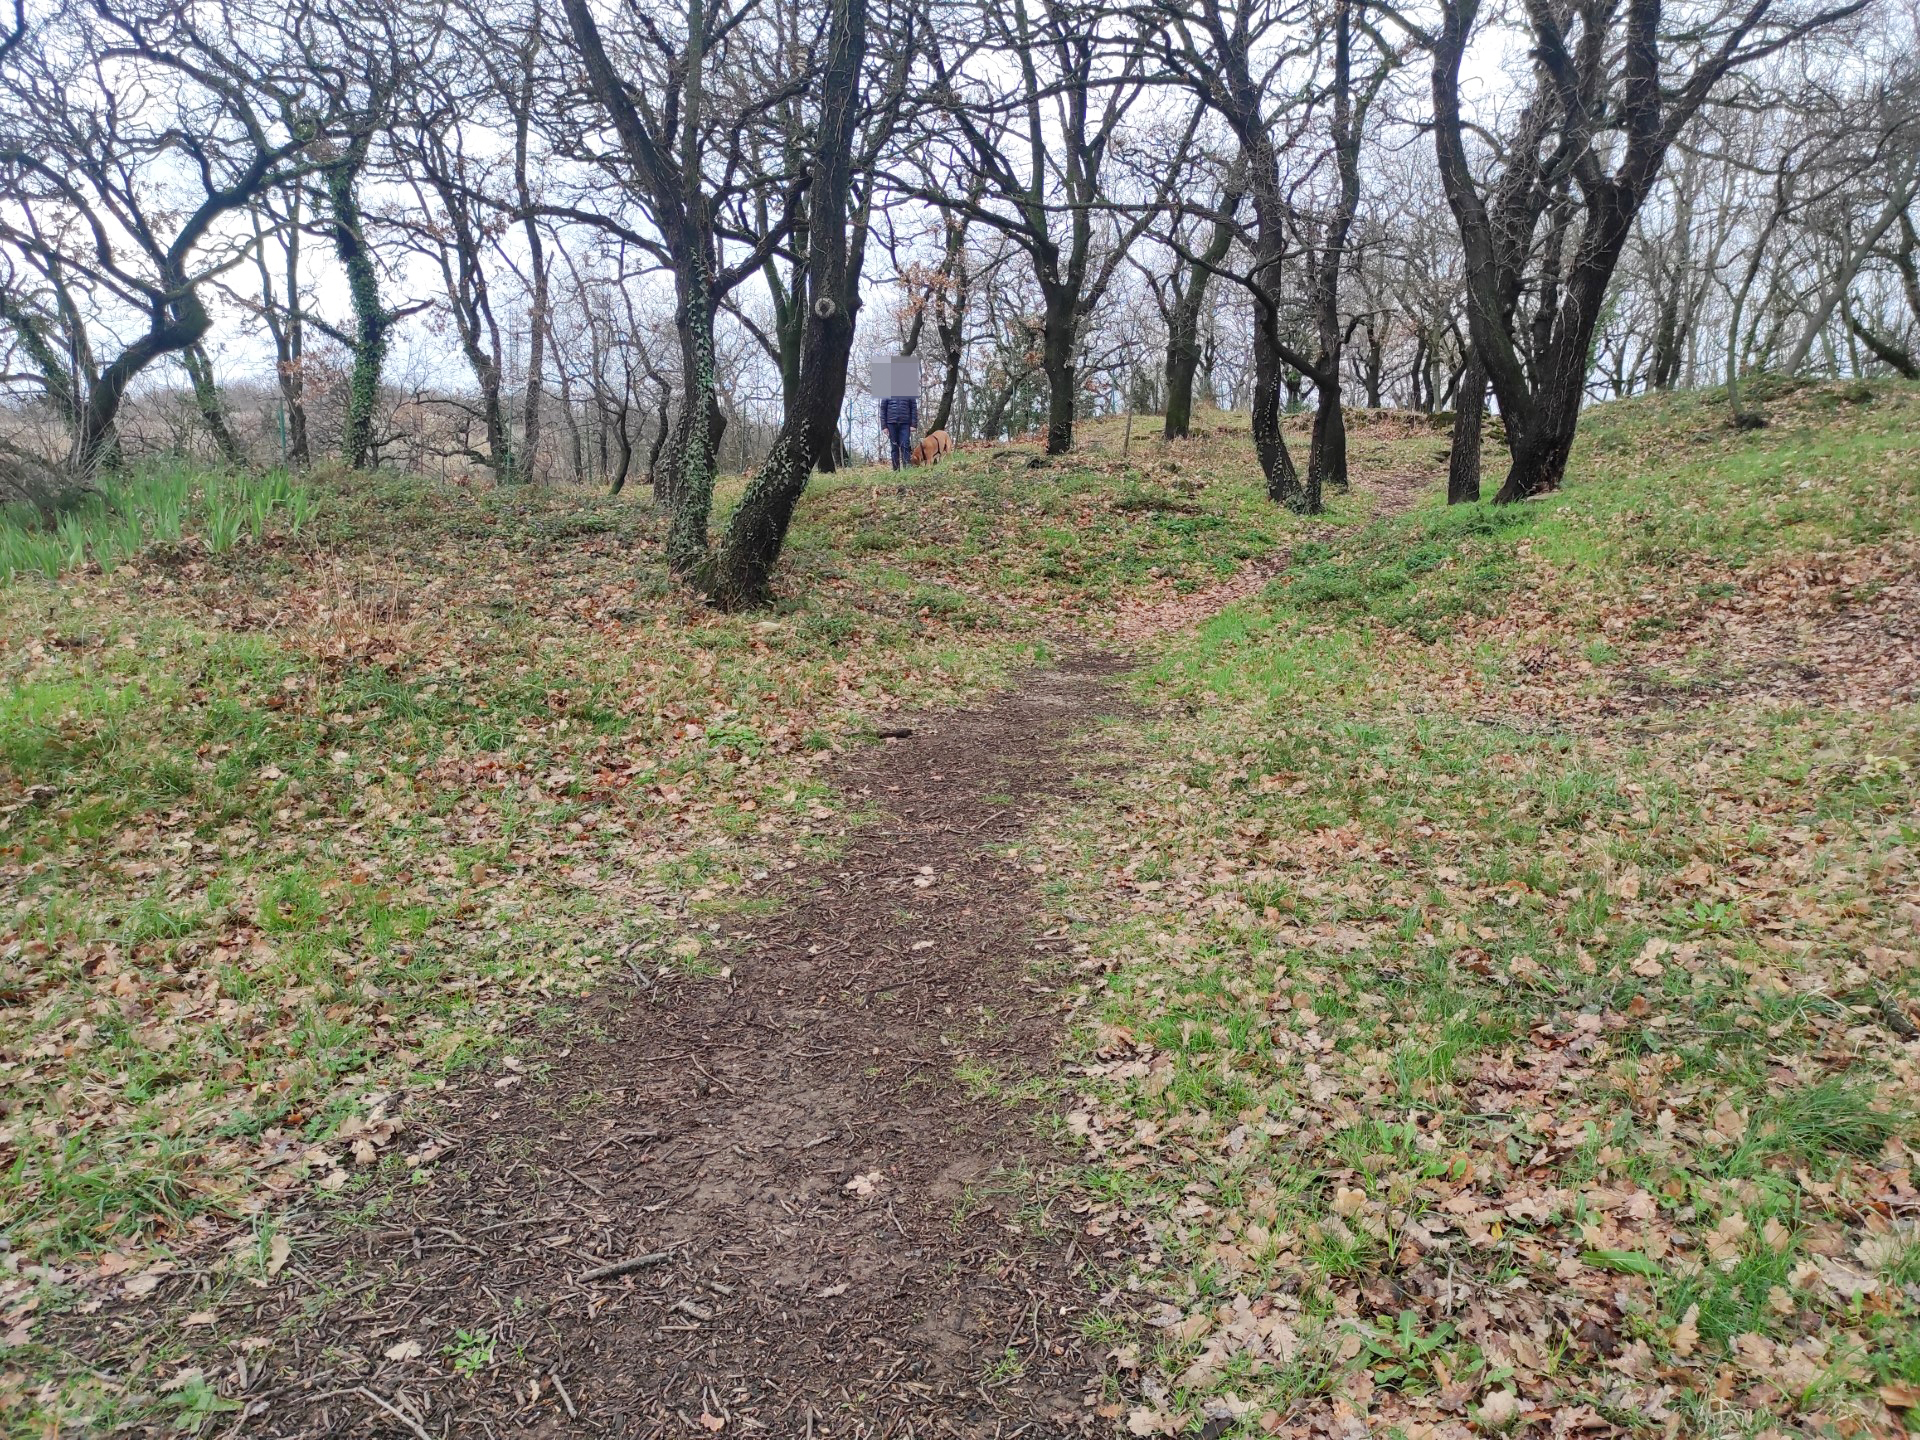
Photo 44
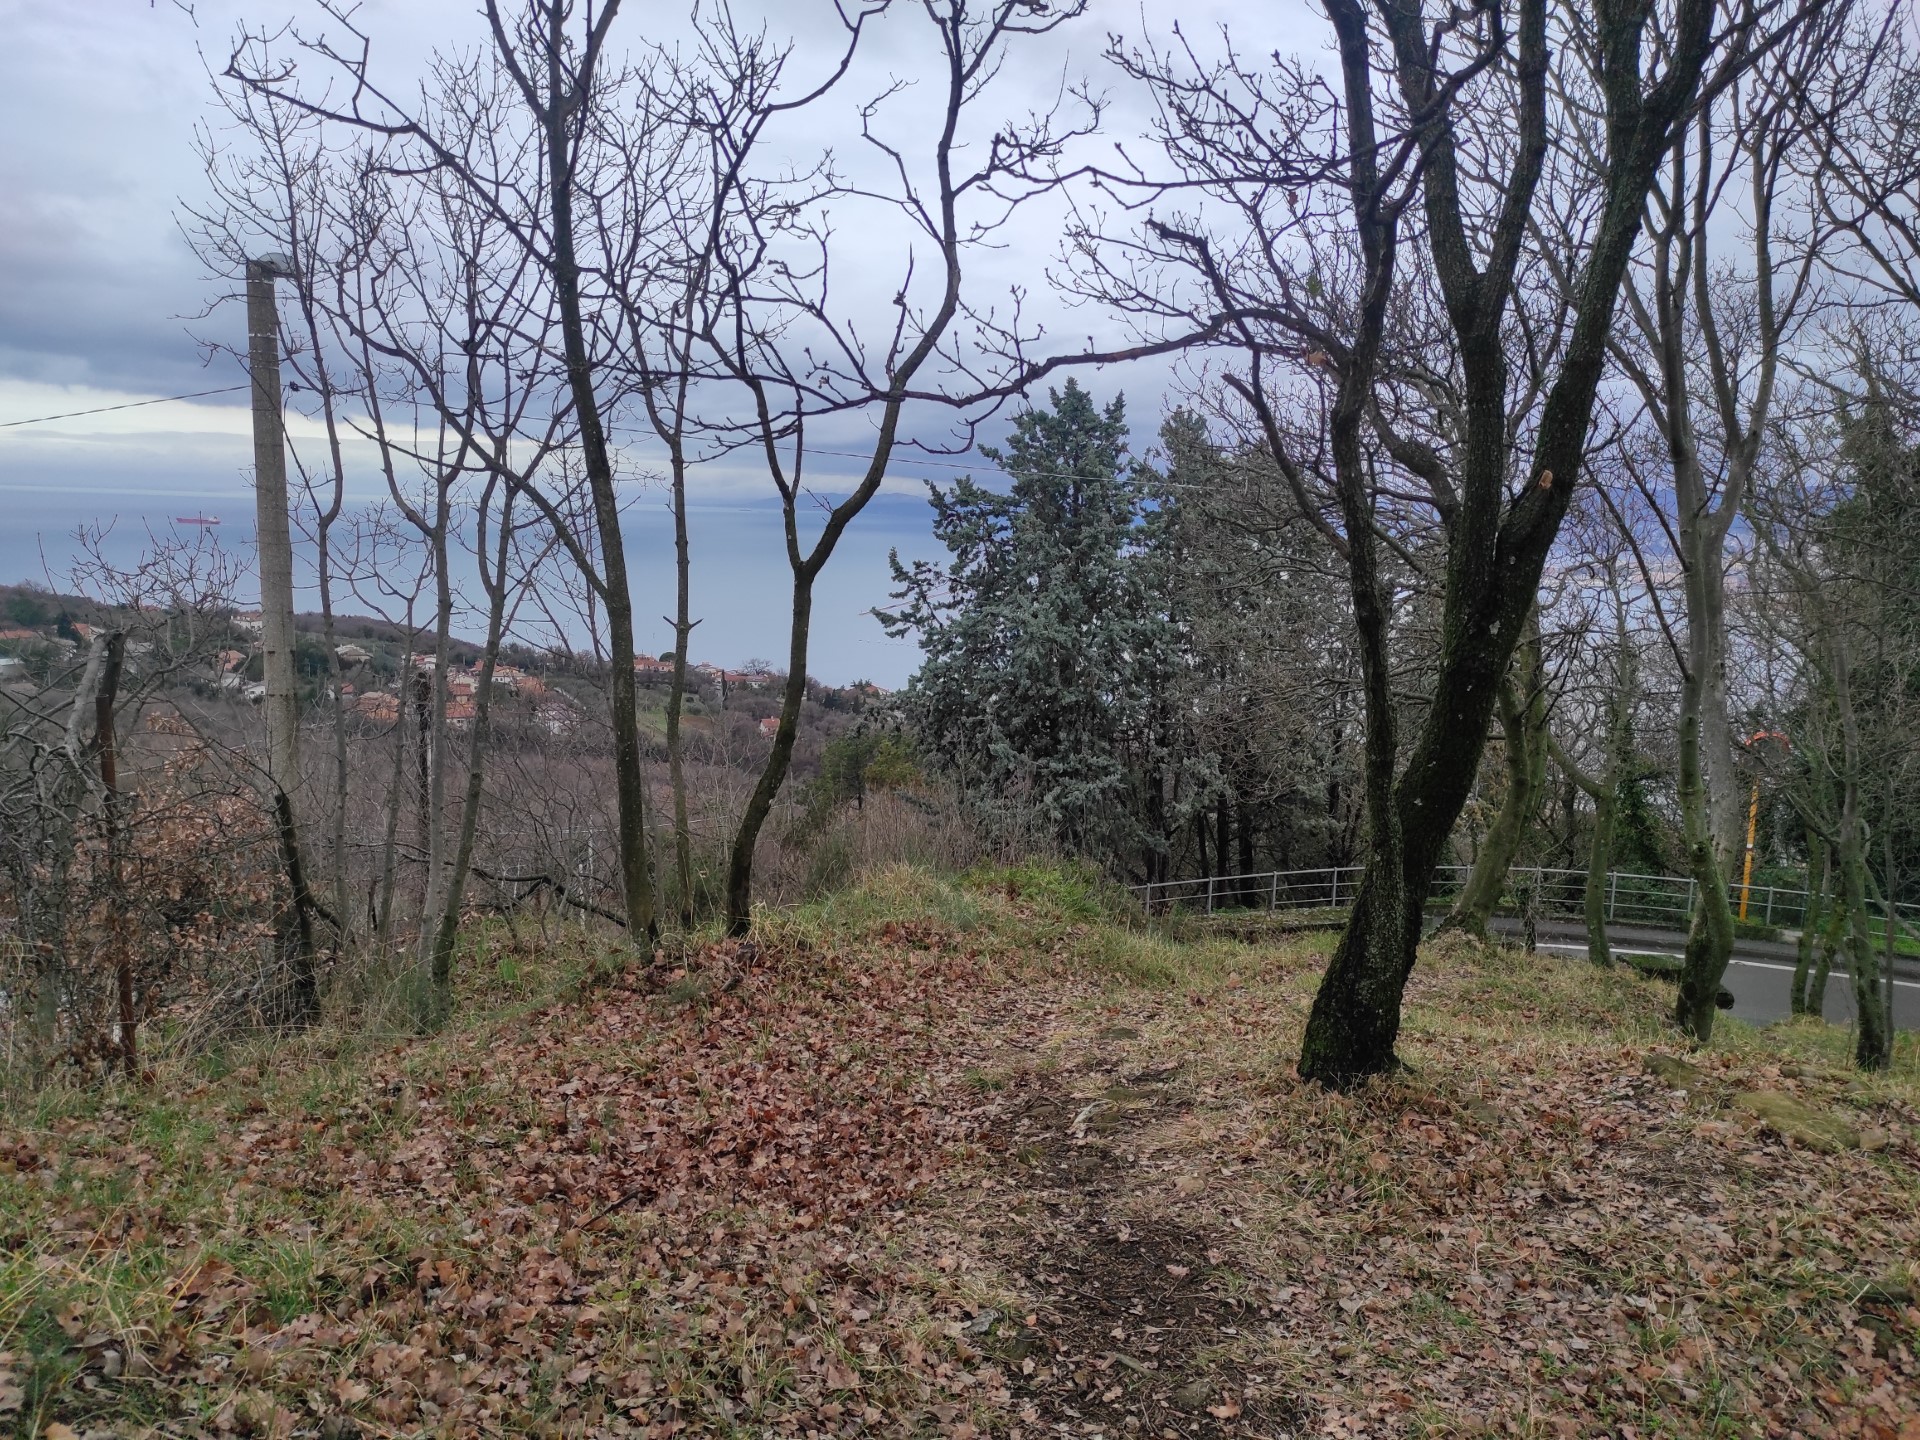
Photo 45

Photo 46
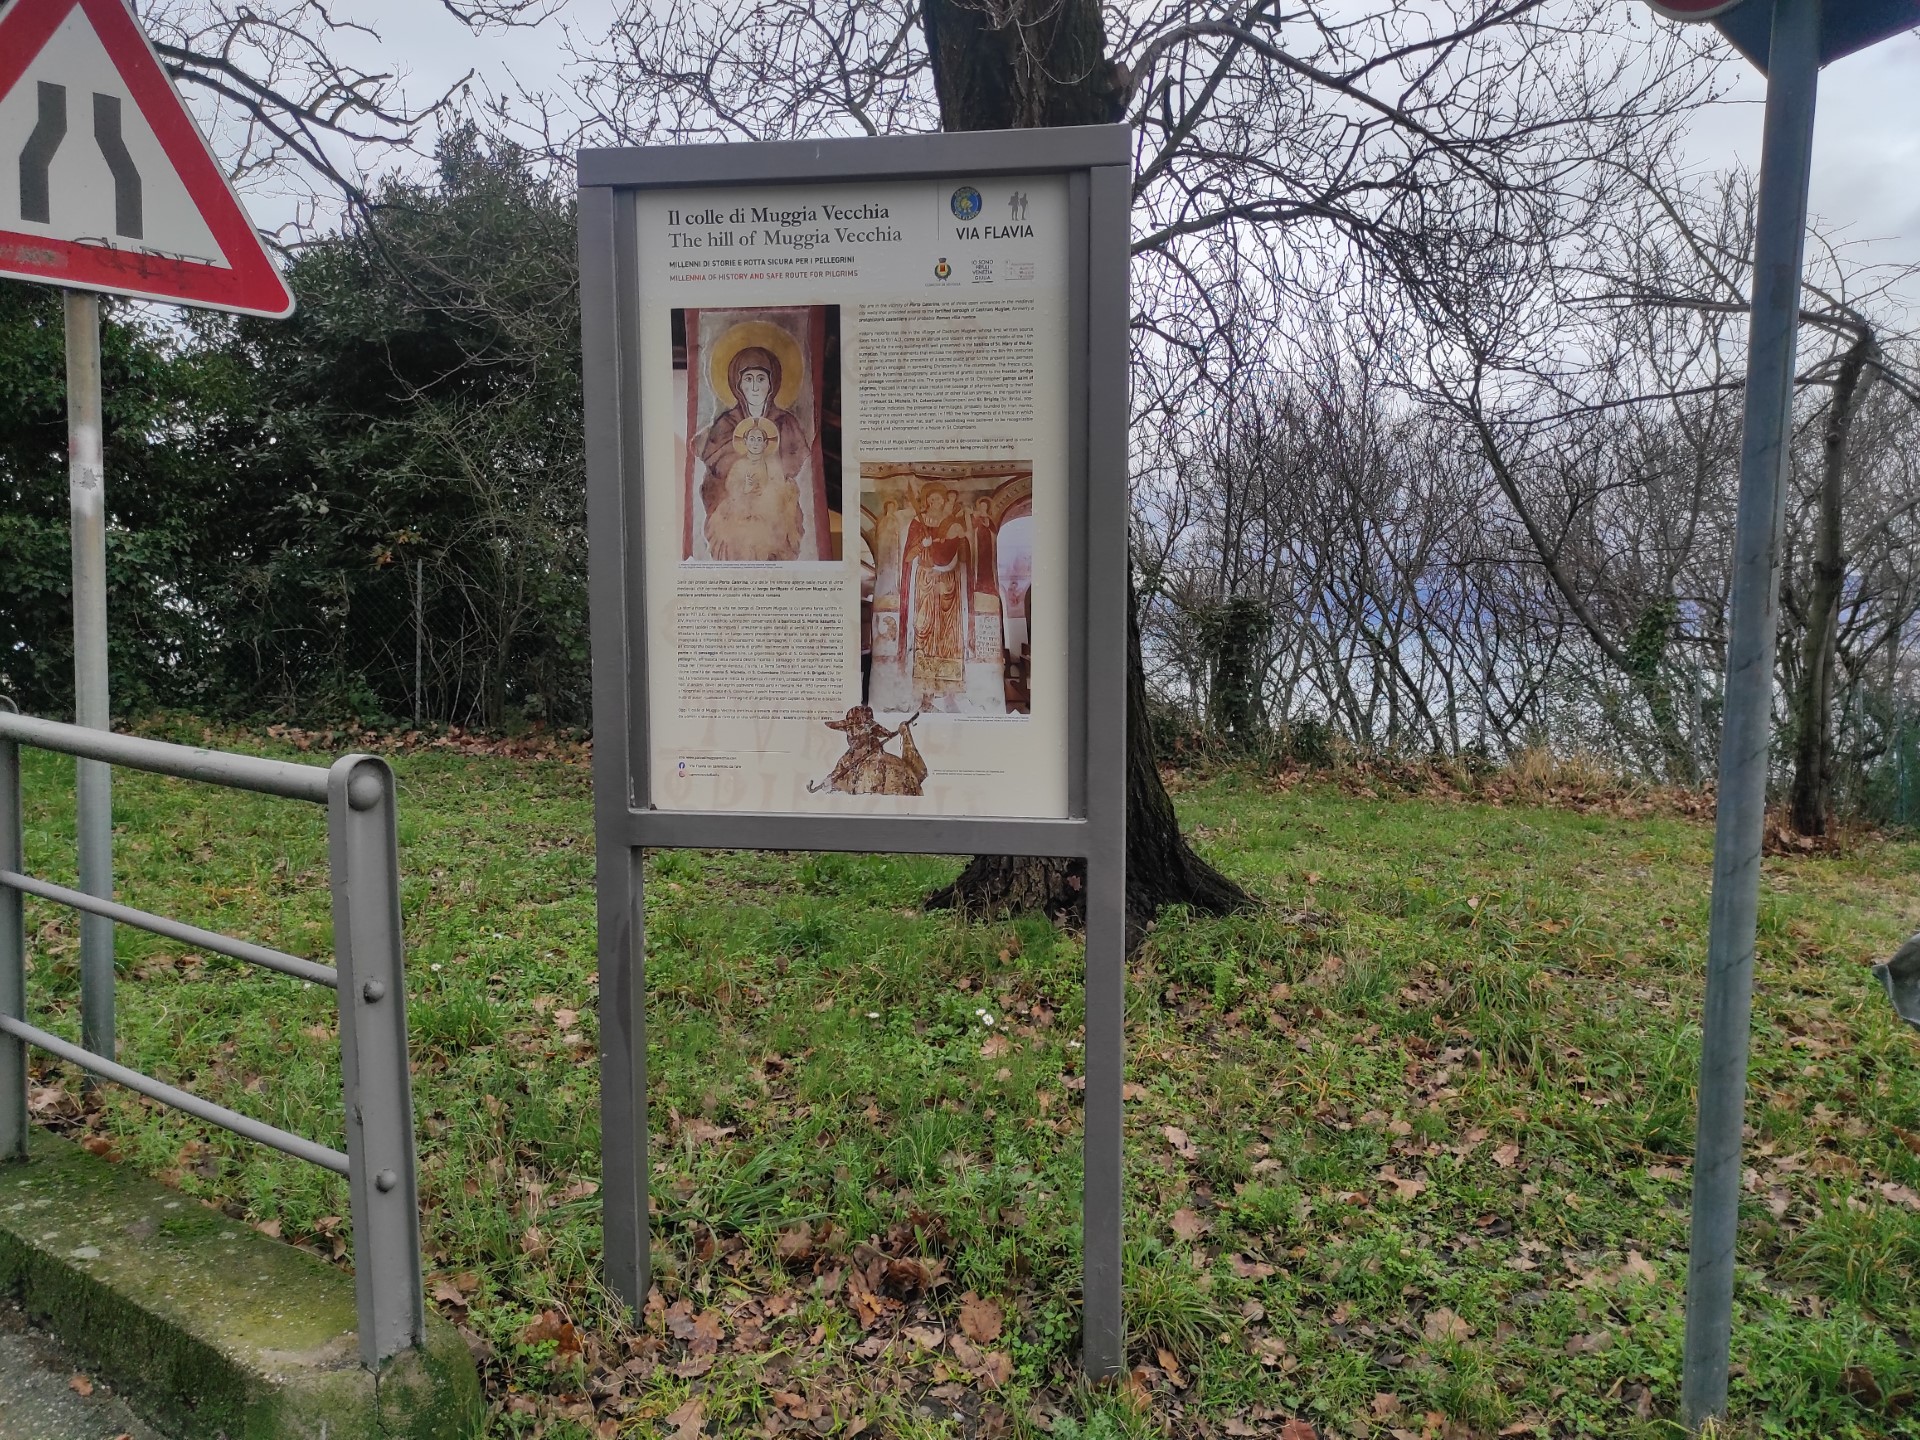
Photo 47
2.3
/3
PRIVATE PARKING - PARCHEGGIO SANTUARIO DI MUGGIA VECCHIA
.jpg)
Parcheggio, stalli riservati nelle vicinanze del marciapiede
.jpg)
Pannello esplicativo lungo il percorso per raggiungere l'entrata.
Private parking
PRESENT:
Present and with adequate capacity compared to the structurePrivate parking characteristics
TYPE:
Open outdoorPAVEMENT:
Concrete/Asphalt or flush stoneRESERVED STALL:
SìSTALL:
-
NUMBER OF STALLS:
2WIDTH (CM):
395LENGTH (CM):
500SIGNAGE:
Horizontal, VerticalPAVEMENT:
Concrete/Asphalt or flush stoneDISTANCE FROM ENTRANCE:
TYPE:
Far from the entranceDISTANCE (M):
30
Path from the reserved stall (or closest to the access) to a building access
PAVEMENT:
Concrete/Asphalt or flush stoneMAIN WIDTH:
TYPE:
> 90 cmCOVERAGE:
NoTACTILE-PLANTAR PATHS:
NoHeight difference (> 2.5 cm)
PRESENT:
NoBuilding access
ENTRANCE:
Entrance already registered with the entrance form, as primaryENTRANCE - PRINCIPALE
.jpg)
Ingresso, vista esterna
.jpg)
Ingresso, vista della bussola
.jpg)
Ingresso, vista interna
Entrance type
ACCESSIBLE:
NoTYPE:
MainHeight difference (> 2.5 cm)
PRESENT:
YesHEIGHT DIFFERENCE:
-
TYPE:
Short staircase/StepUNIQUE CODE:
SB1SHORT STAIRCASE/STEP (LESS THAN ONE FLOOR):
WIDTH (CM):
160NUMBER OF STEPS:
2HEIGHT OF SINGLE RISE (CM):
17HANDRAIL:
PRESENT:
NoINTERMEDIATE LANDING:
NoTACTILE-PLANTAR PATHS:
No
Threshold (< 2.5 cm)
PRESENT:
YesHEIGHT:
2.5Entrance door
TYPE:
Double door or with two opening elementsOPENING DIRECTION:
OutwardAUTOMATED OPENING:
NoTYPE:
RectangularWIDTH (CM):
180LENGTH (CM):
290EXTERNAL DOOR NOTE:
External wooden door open during visiting hours. Immediately after the threshold, there are two descending stone steps.INTERNAL DOOR NOTE:
Door consisting of two opening glass panels. The single panel measures 82 cm in width and is light to push.CLEAR DOOR WIDTH:
Double door or with two opening elementsOVERALL OPENING (CM):
159MAIN PANEL (CM):
77FLUSHNESS OF DOOR FRONT AND BACK (NOT EVALUATED HEIGHT DIFFERENCE UP TO 2.5 CM):
NoDOORMATS/RUGS:
PRESENT:
YesTYPE:
Flat doormatTYPE:
CompactINTERCOM/BELL:
PRESENT:
NoGlass doors: window stickers to indicate their presence
RELEVANT:
SìPRESENT:
NoGeneral note
ROOM - INTERNO
.jpg)
Interno, vista della navata centrale
Room name
TYPE:
Generic of the structureIDENTIFIER:
V1Door
ACCESS:
NoneDimensions
ROTATION DIAMETER 140 CM:
SìPREDOMINANT FREE WIDTH:
> 75 cmFlooring
TYPE:
OtherOTHER TYPE:
MarbleColor contrast floors/walls
TYPE:
NoFLOOR COLOR:
WhitishWALL COLOR:
WhiteHeight difference (> 2.5 cm)
PRESENT:
NoSignage
TACTILE PATHS:
NoTACTILE MAP:
NoINFORMATIVE SIGNAGE:
NoOther furnishings
TYPE:
ChairNOTES:
There are prayer benches for 4 people with a seat height of 46 cm from the ground both in the central nave and in the side navesFIXED TO THE GROUND:
No3
/3
PARCHEGGIO AD USO PUBBLICO - PARCHEGGIO SANTUARIO MUGGIA VECCHIA E PARCO ARCHEOLOGICO
.jpg)
Stalli riservati
.jpg)
Marciapiede adiacente allo stallo riservato
Caratteristiche parcheggio pubblico
TIPOLOGIA:
Esterno scopertoSTALLO:
-
NUMERO STALLI:
2TIPOLOGIA:
A pettineLARGHEZZA (CM):
395LUNGHEZZA (CM):
500SEGNALETICA:
Orizzontale, VerticalePAVIMENTAZIONE:
Cemento/Asfalto o pietra complanare
Raccordo col percorso pedonale
DISLIVELLO (> 2,5 CM):
PRESENTE:
NoNota generica
PERCORSO DI COLLEGAMENTO - PARCHEGGIO / BAGNO
.jpg)
Marciapiede nei pressi della Basilica di Santa Maria Assunta
.jpg)
Attraversamento pedonale
.jpg)
Ingresso e indicazioni del Parco e del WC
Collegamento
DA:
ParcheggioA:
WC accessibile zona comuneTipo di percorso
Caratteristiche percorso esterno
DIMENSIONI:
LARGHEZZA LIBERA PREVALENTE:
> 90 cmPAVIMENTAZIONE:
TIPOLOGIA:
Cemento/Asfalto o pietra complanareCOPERTURA:
NoSEGNALETICA:
PERCORSI TATTILO-PLANTARI:
NoSEGNALETICA INFORMATIVA:
SìDISLIVELLO (> 2,5 CM):
PRESENTE:
NoNota generica
BAGNO - ACCESSIBILE
.jpg)
Blocco servizi igienici
.jpg)
Bagno, vista frontale
.jpg)
Bagno, vista ingresso e zona lavabo