Medea - FVG in motion 10 thousand steps of health

Hill
GENERAL INFORMATION
LAST INSPECTION DATE
18/04/2024
PLANNED ITINERARY
Medea - FVG in motion 10 thousand steps of health
LENGTH
4000 meters
DEPARTURE
Parking
GUIDED TOUR
Campp
You follow the asphalt road that climbs up the Colle di Medea and reaches the Ara Pacis at the top. On the left, you can see the sign for the road leading to the Church of Sant’Antonio. At this point, there is a parking area (Photo 1) and the explanatory board of the 10,000 steps FVG (Photo 2). There are no indicator signs, so you follow the path to the right of the board, while the church remains a short distance away.
Moving onto the dirt road for a few dozen meters (Photo 3,4), you can see the staircase that descends from the Church of Sant’Antonio, on the left, down to the right towards the town of Medea as indicated on the explanatory board. A little further on, bypassing a staircase leading to the woods, you come across a dirt path; the sign with the arrow for the 10,000 steps indicates a turn to the left (Photo 5).
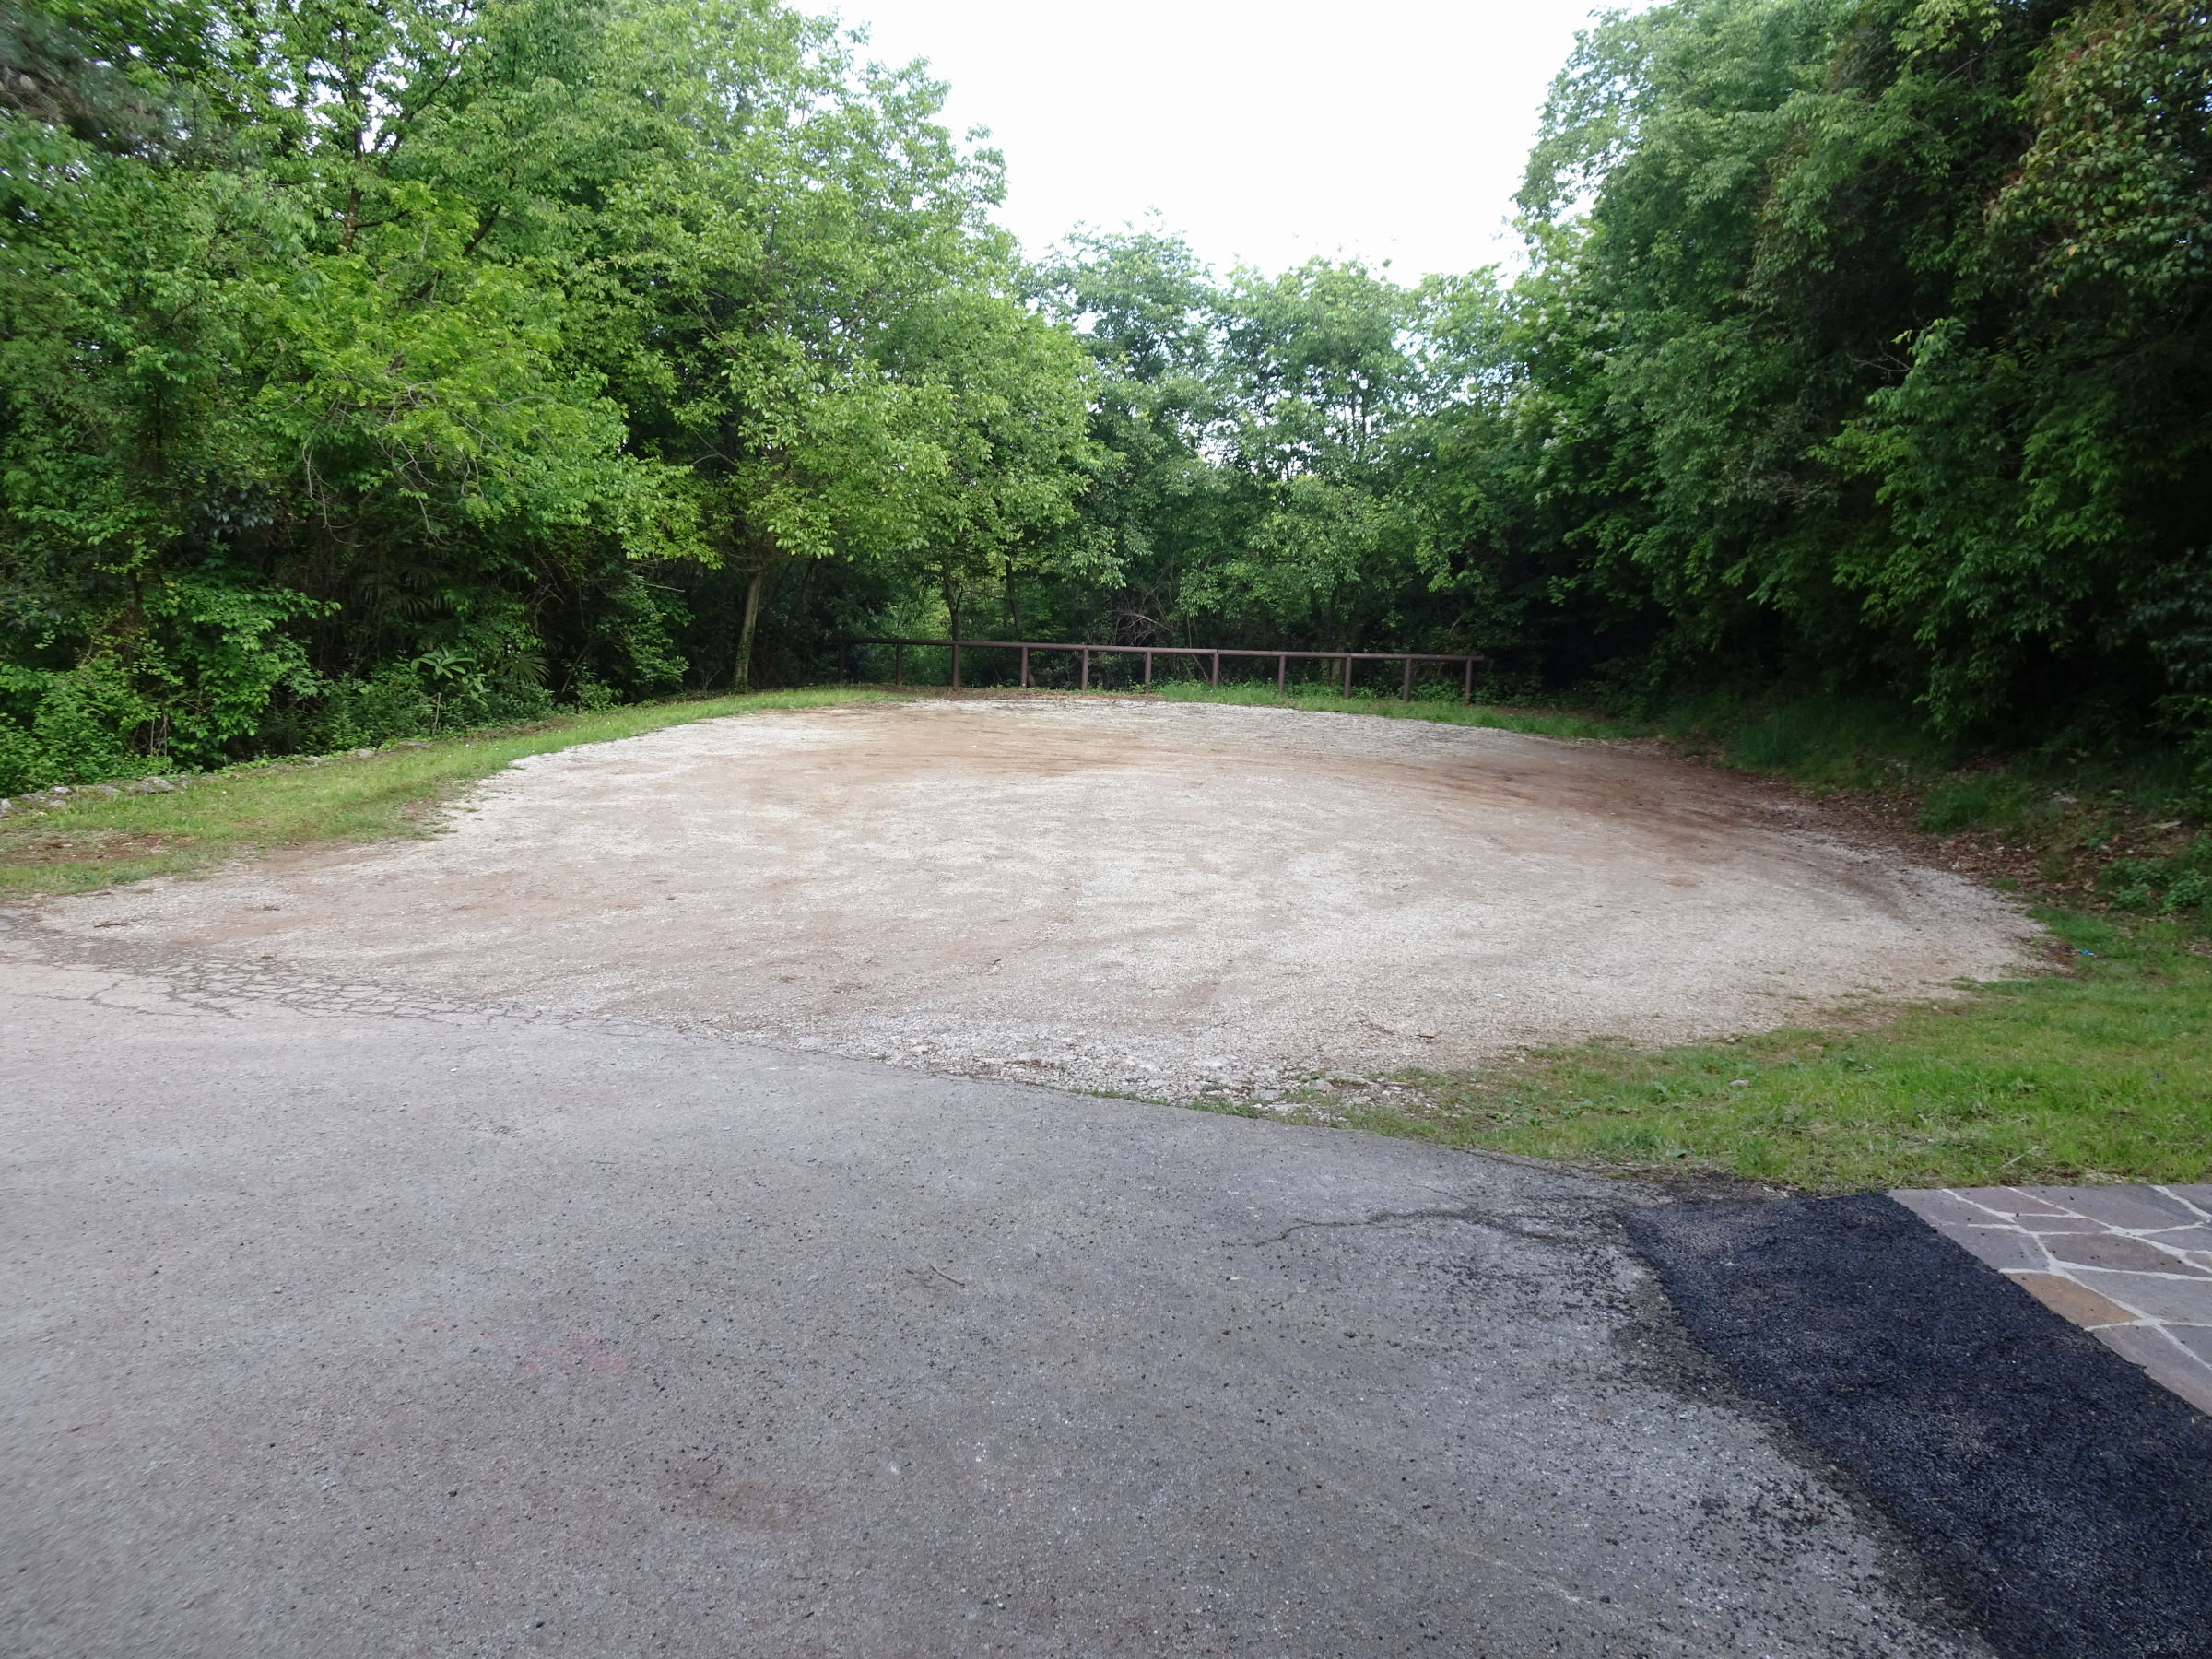
Photo 1 - Parking, starting point of the route
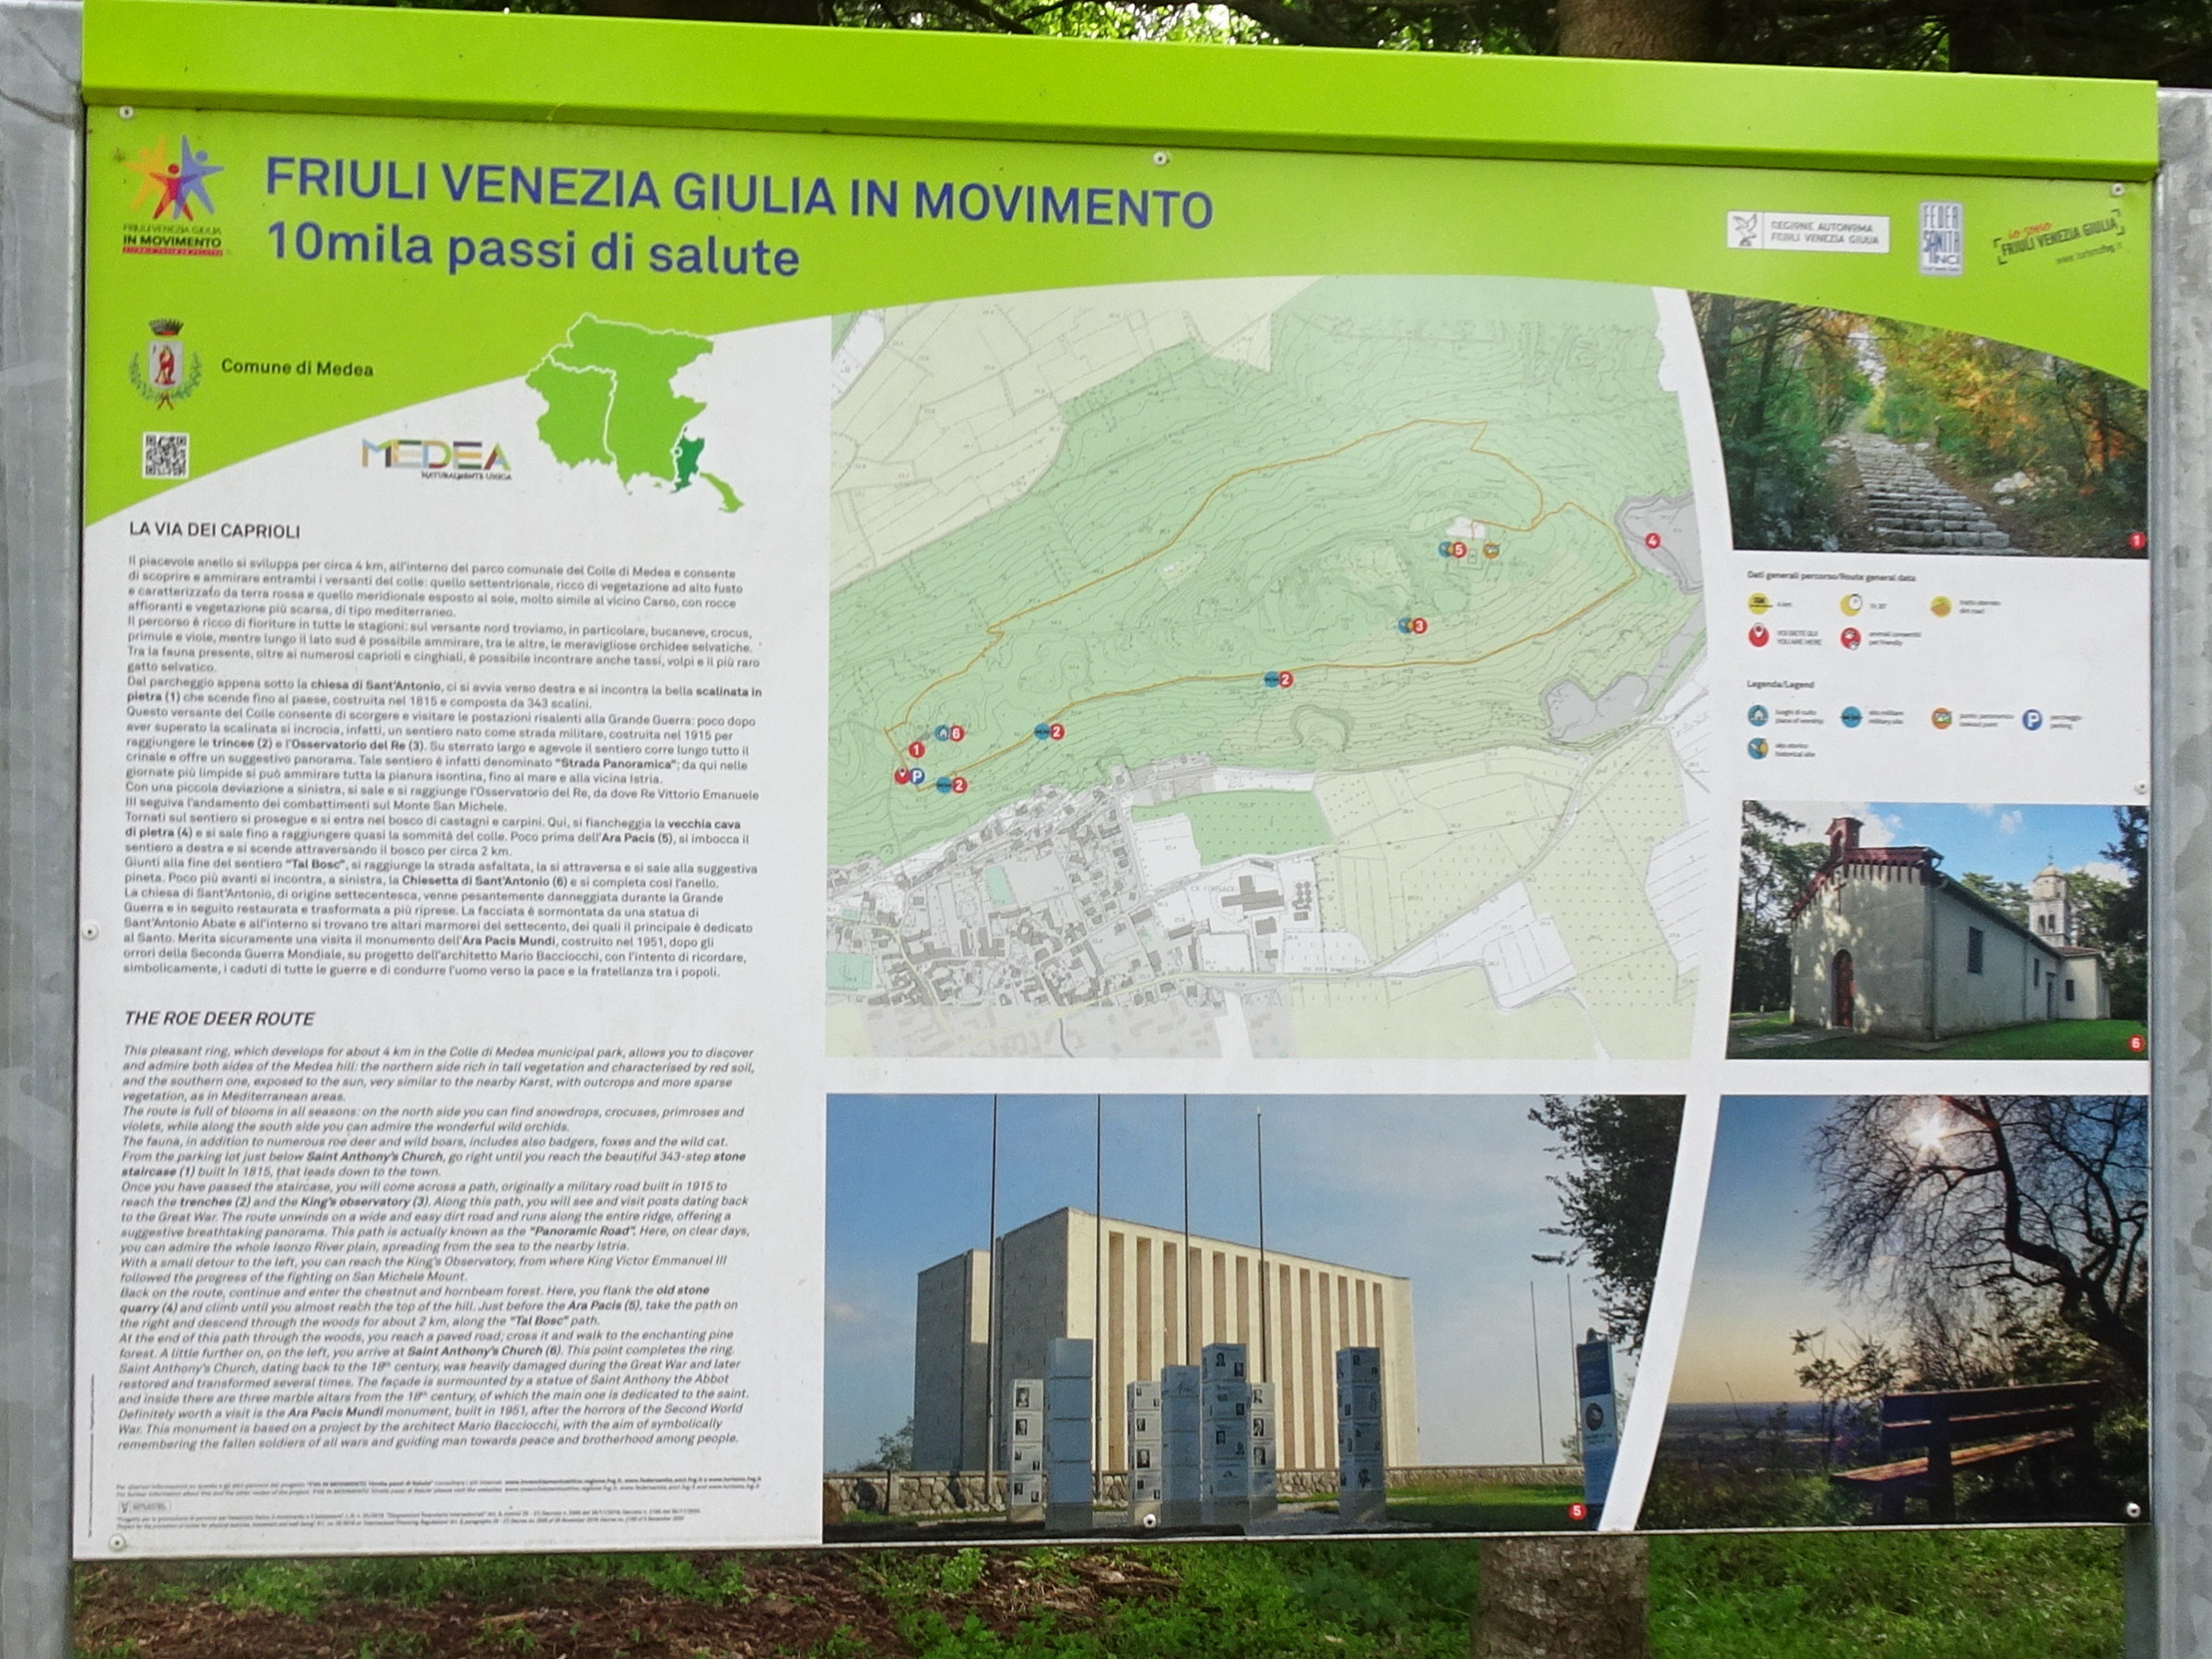
Photo 2 - Explanatory sign of the route
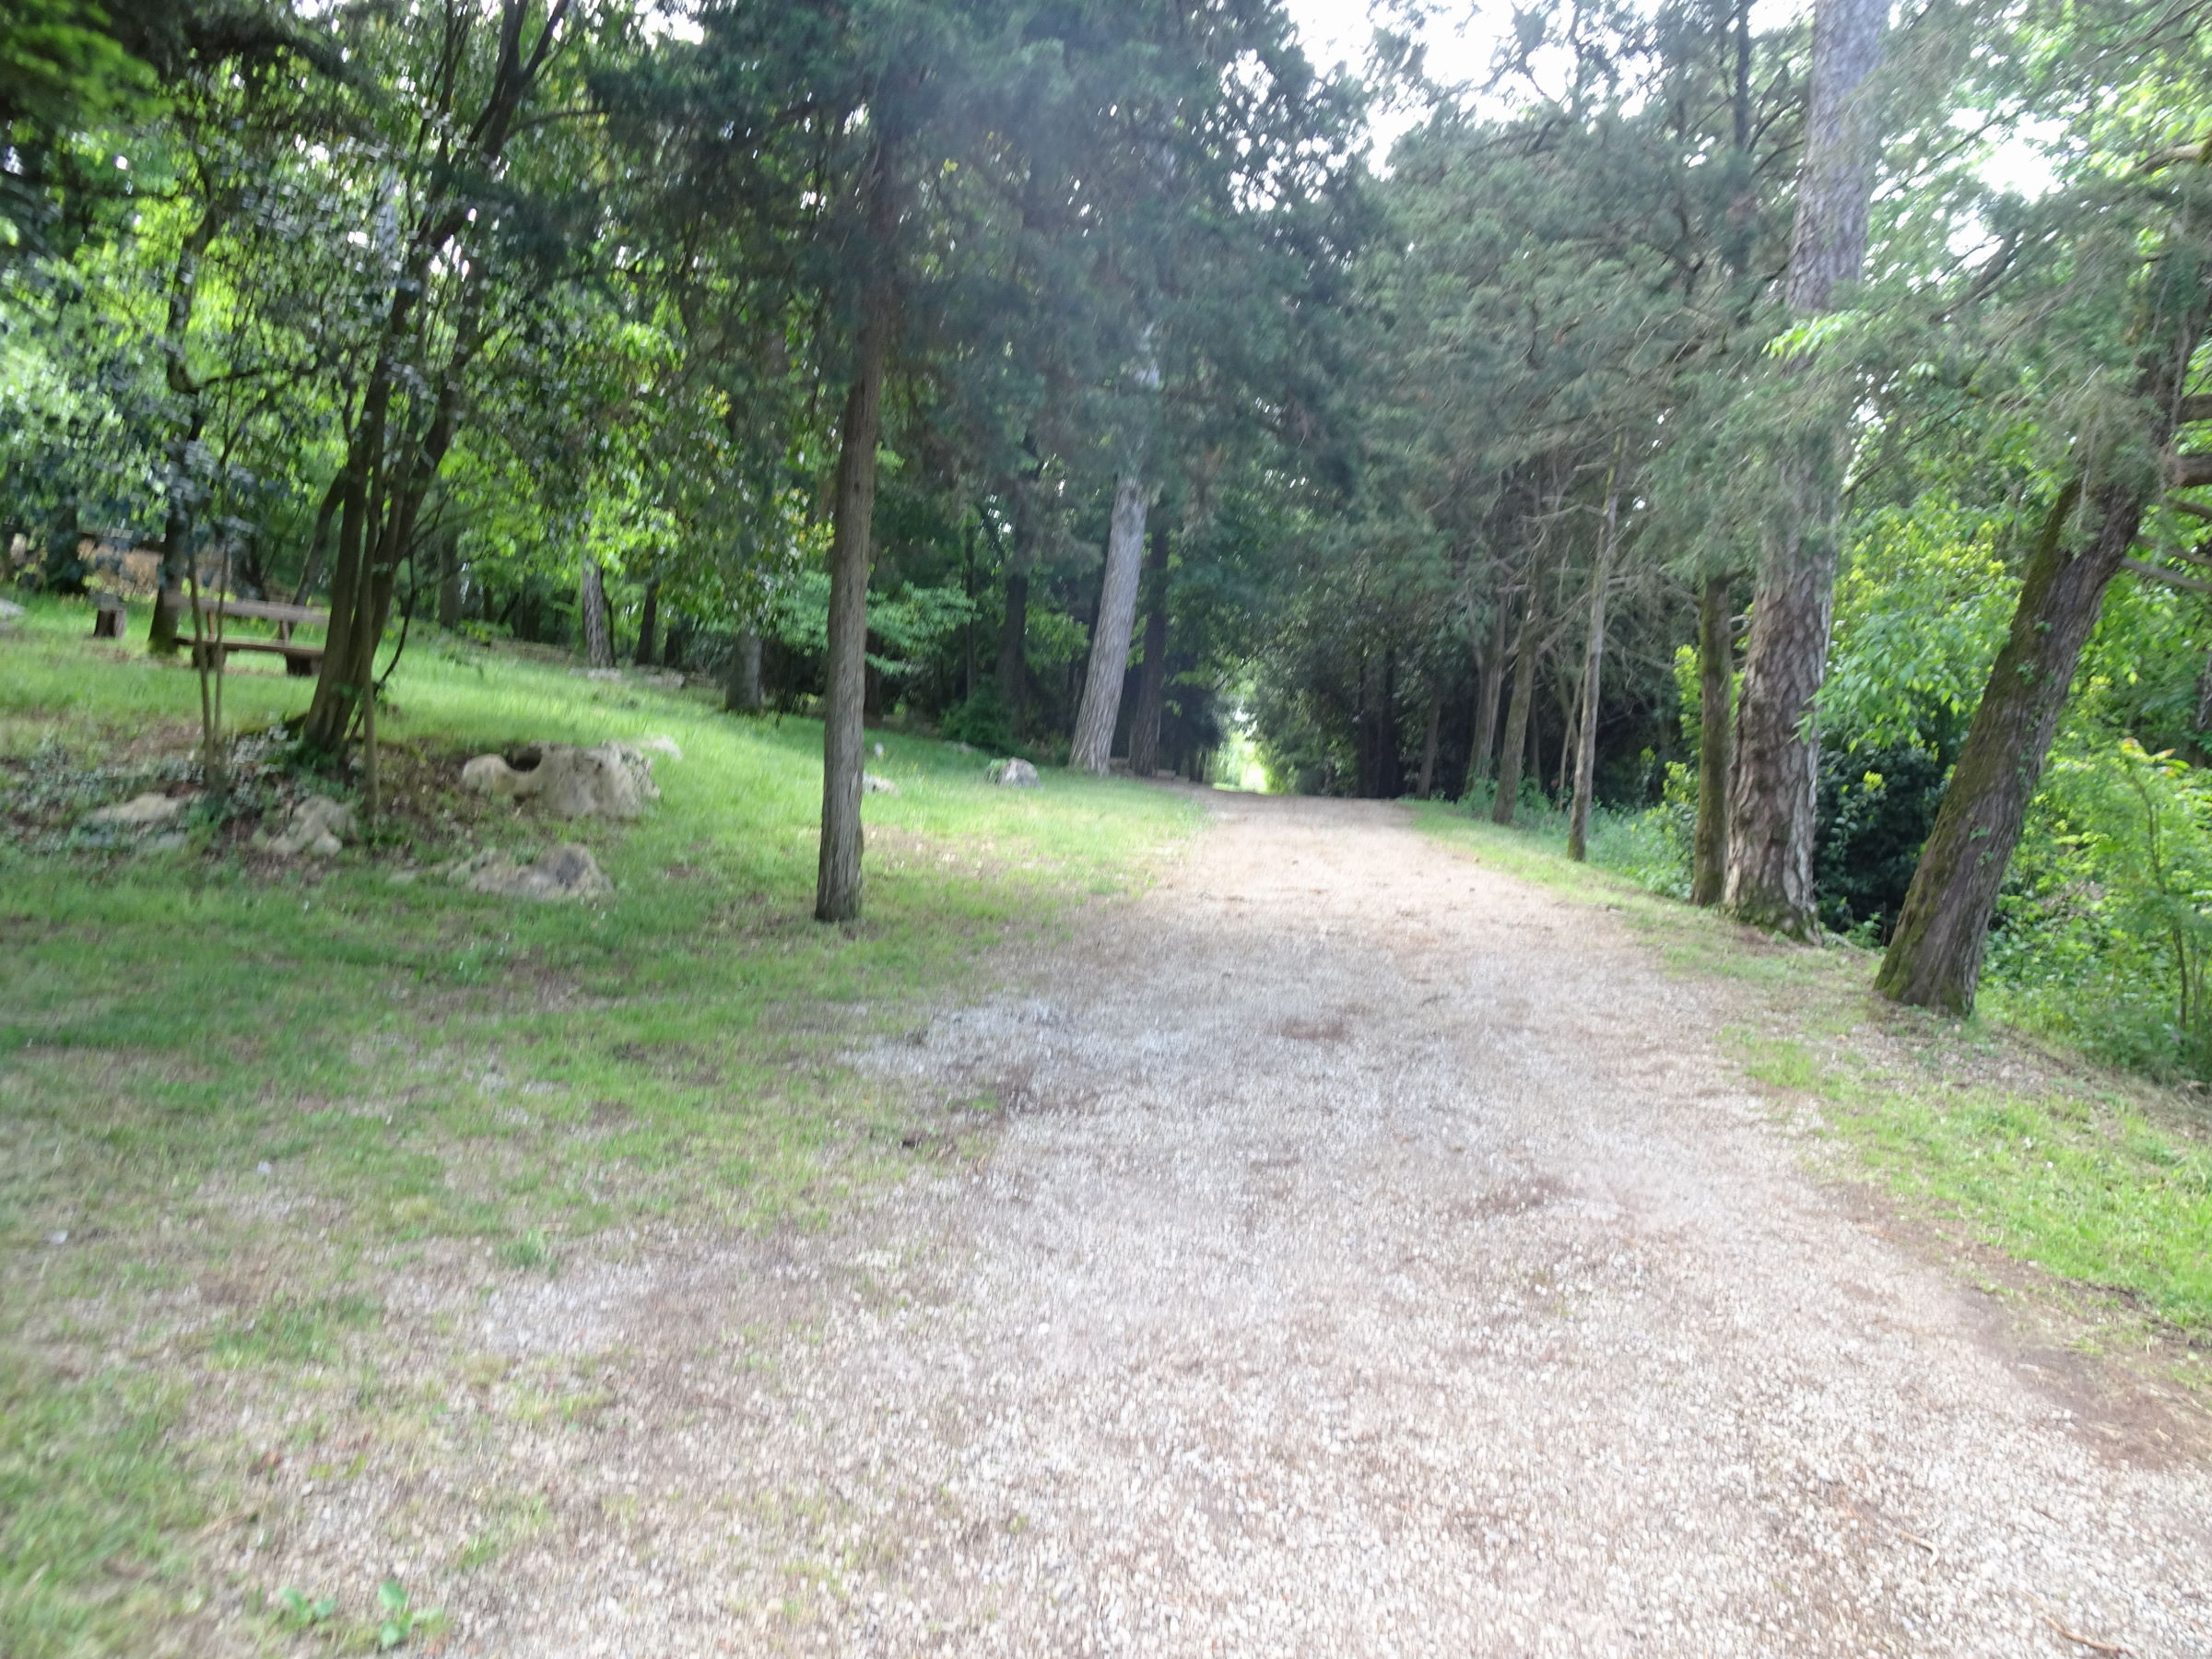
Photo 3 - Beginning of the route on a gravel road
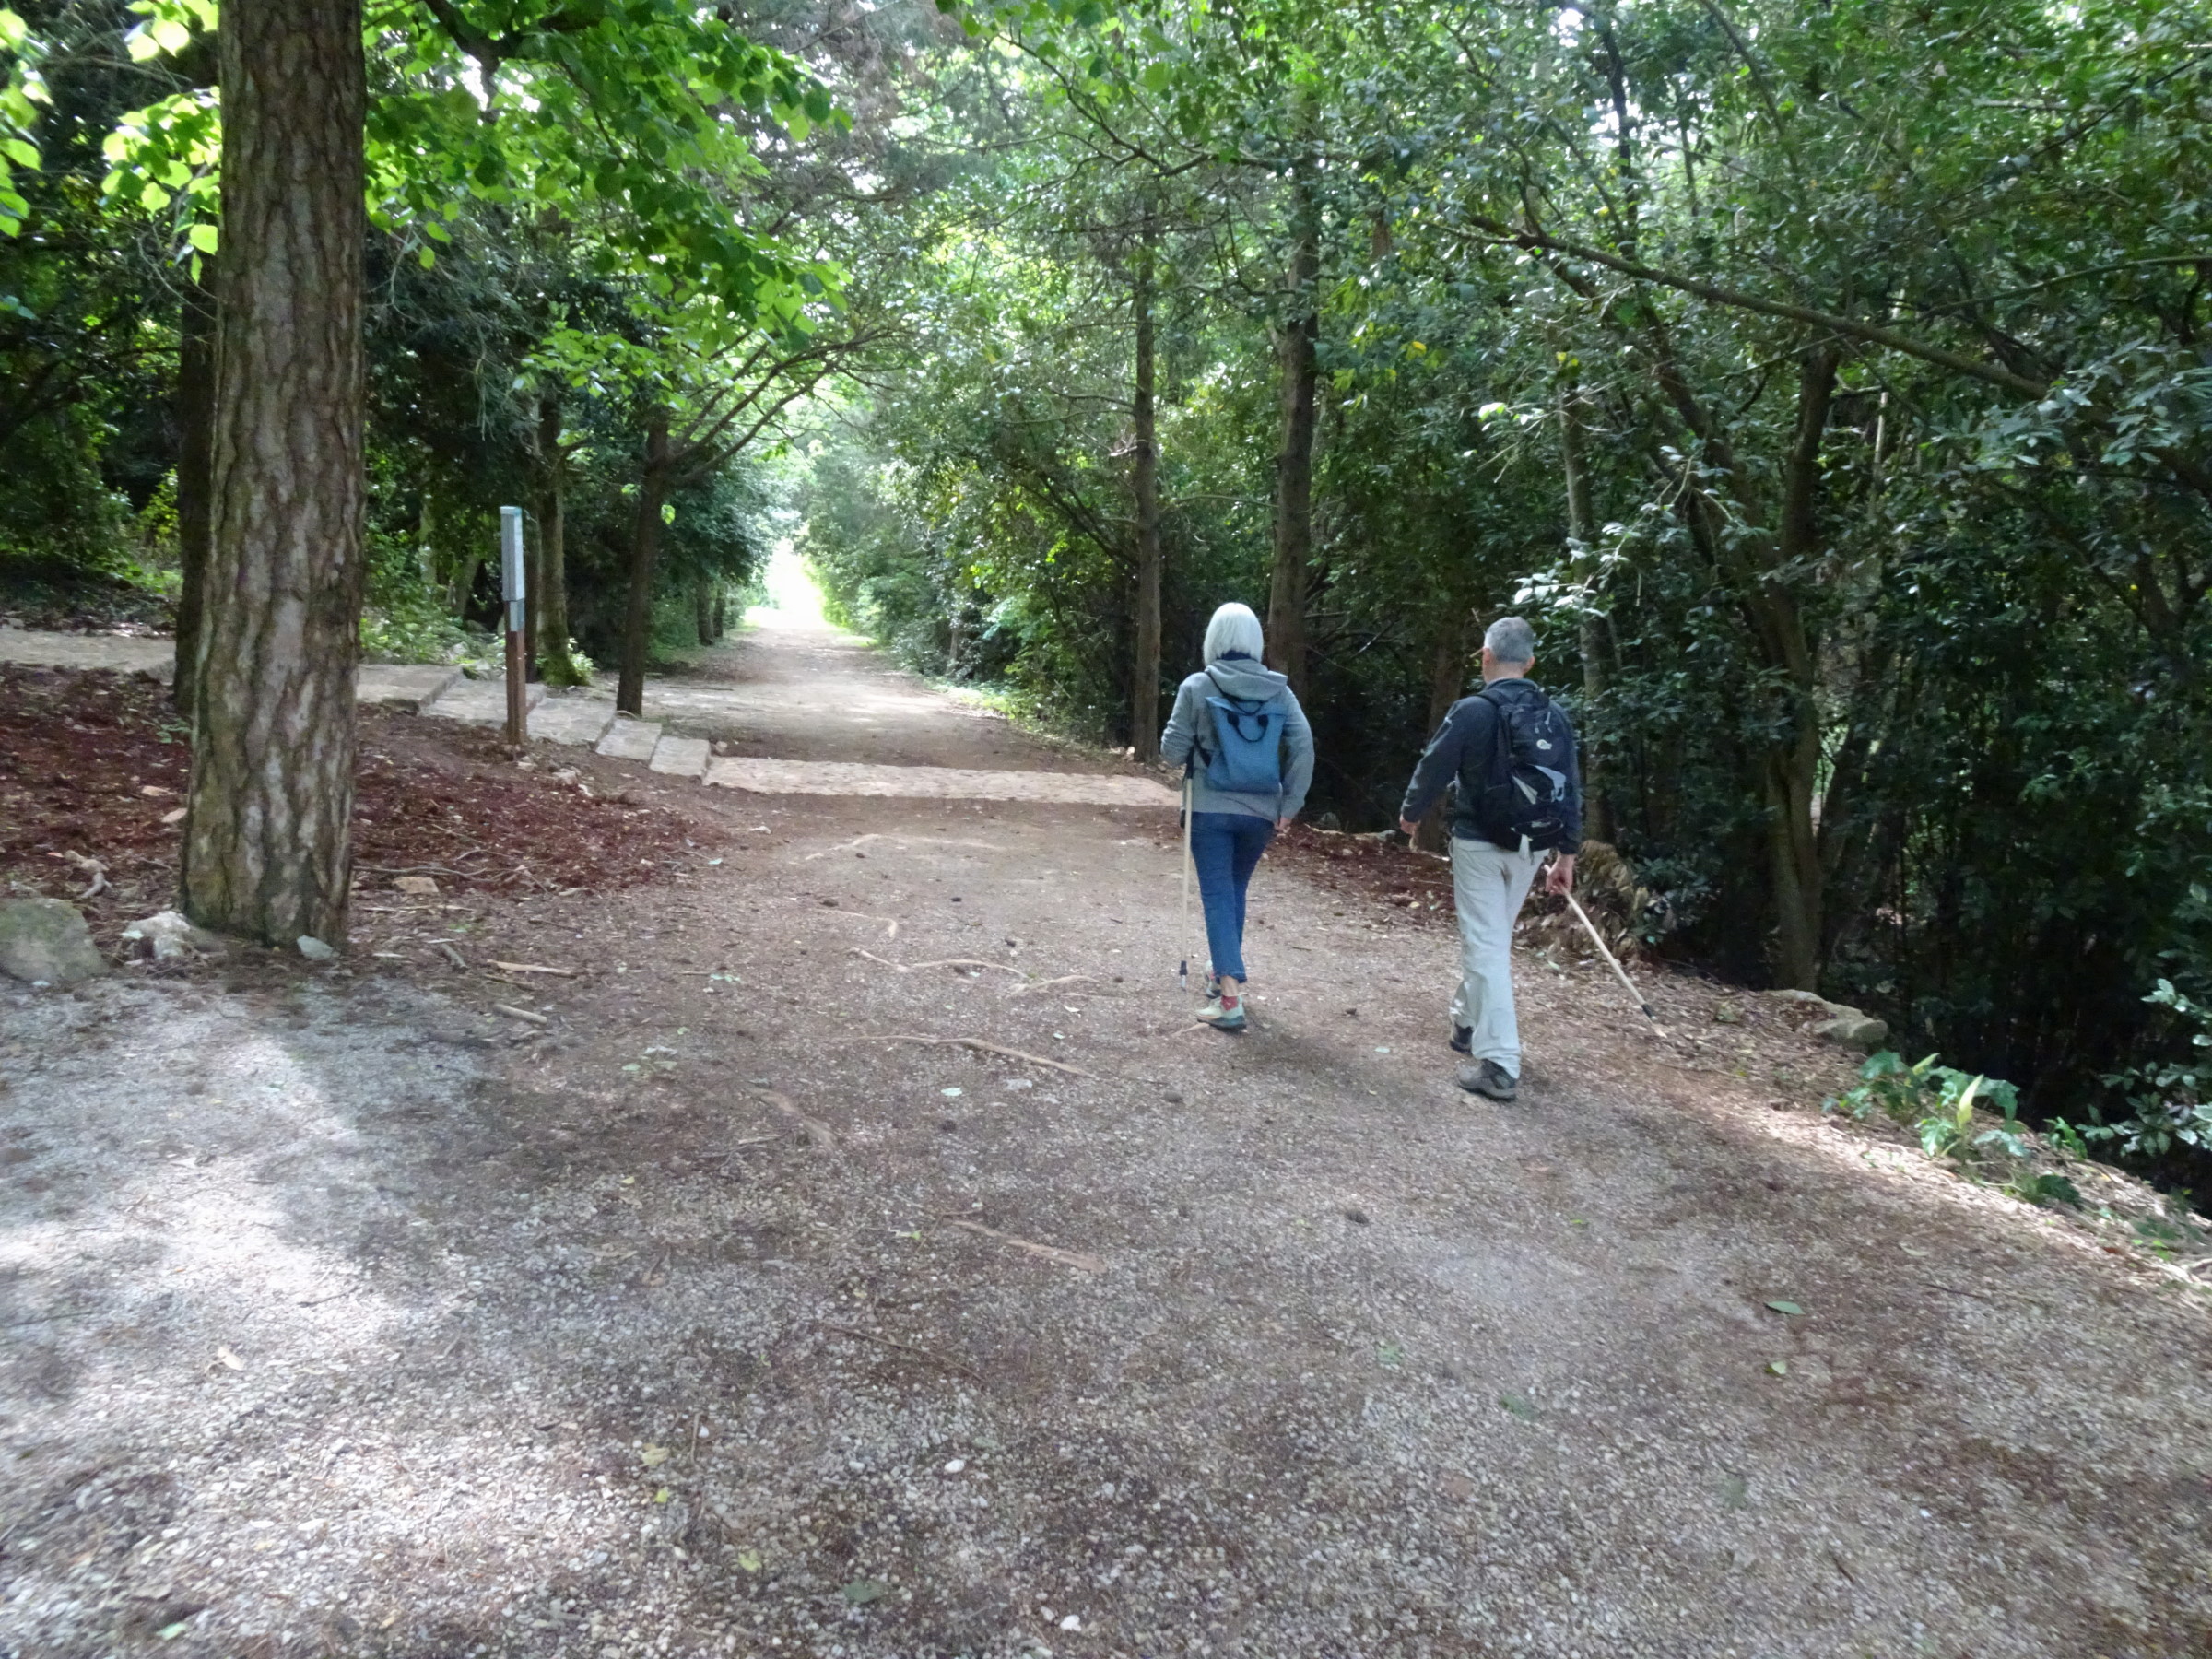
Photo 4 - Staircase connecting the church of Sant'Antonio to the village
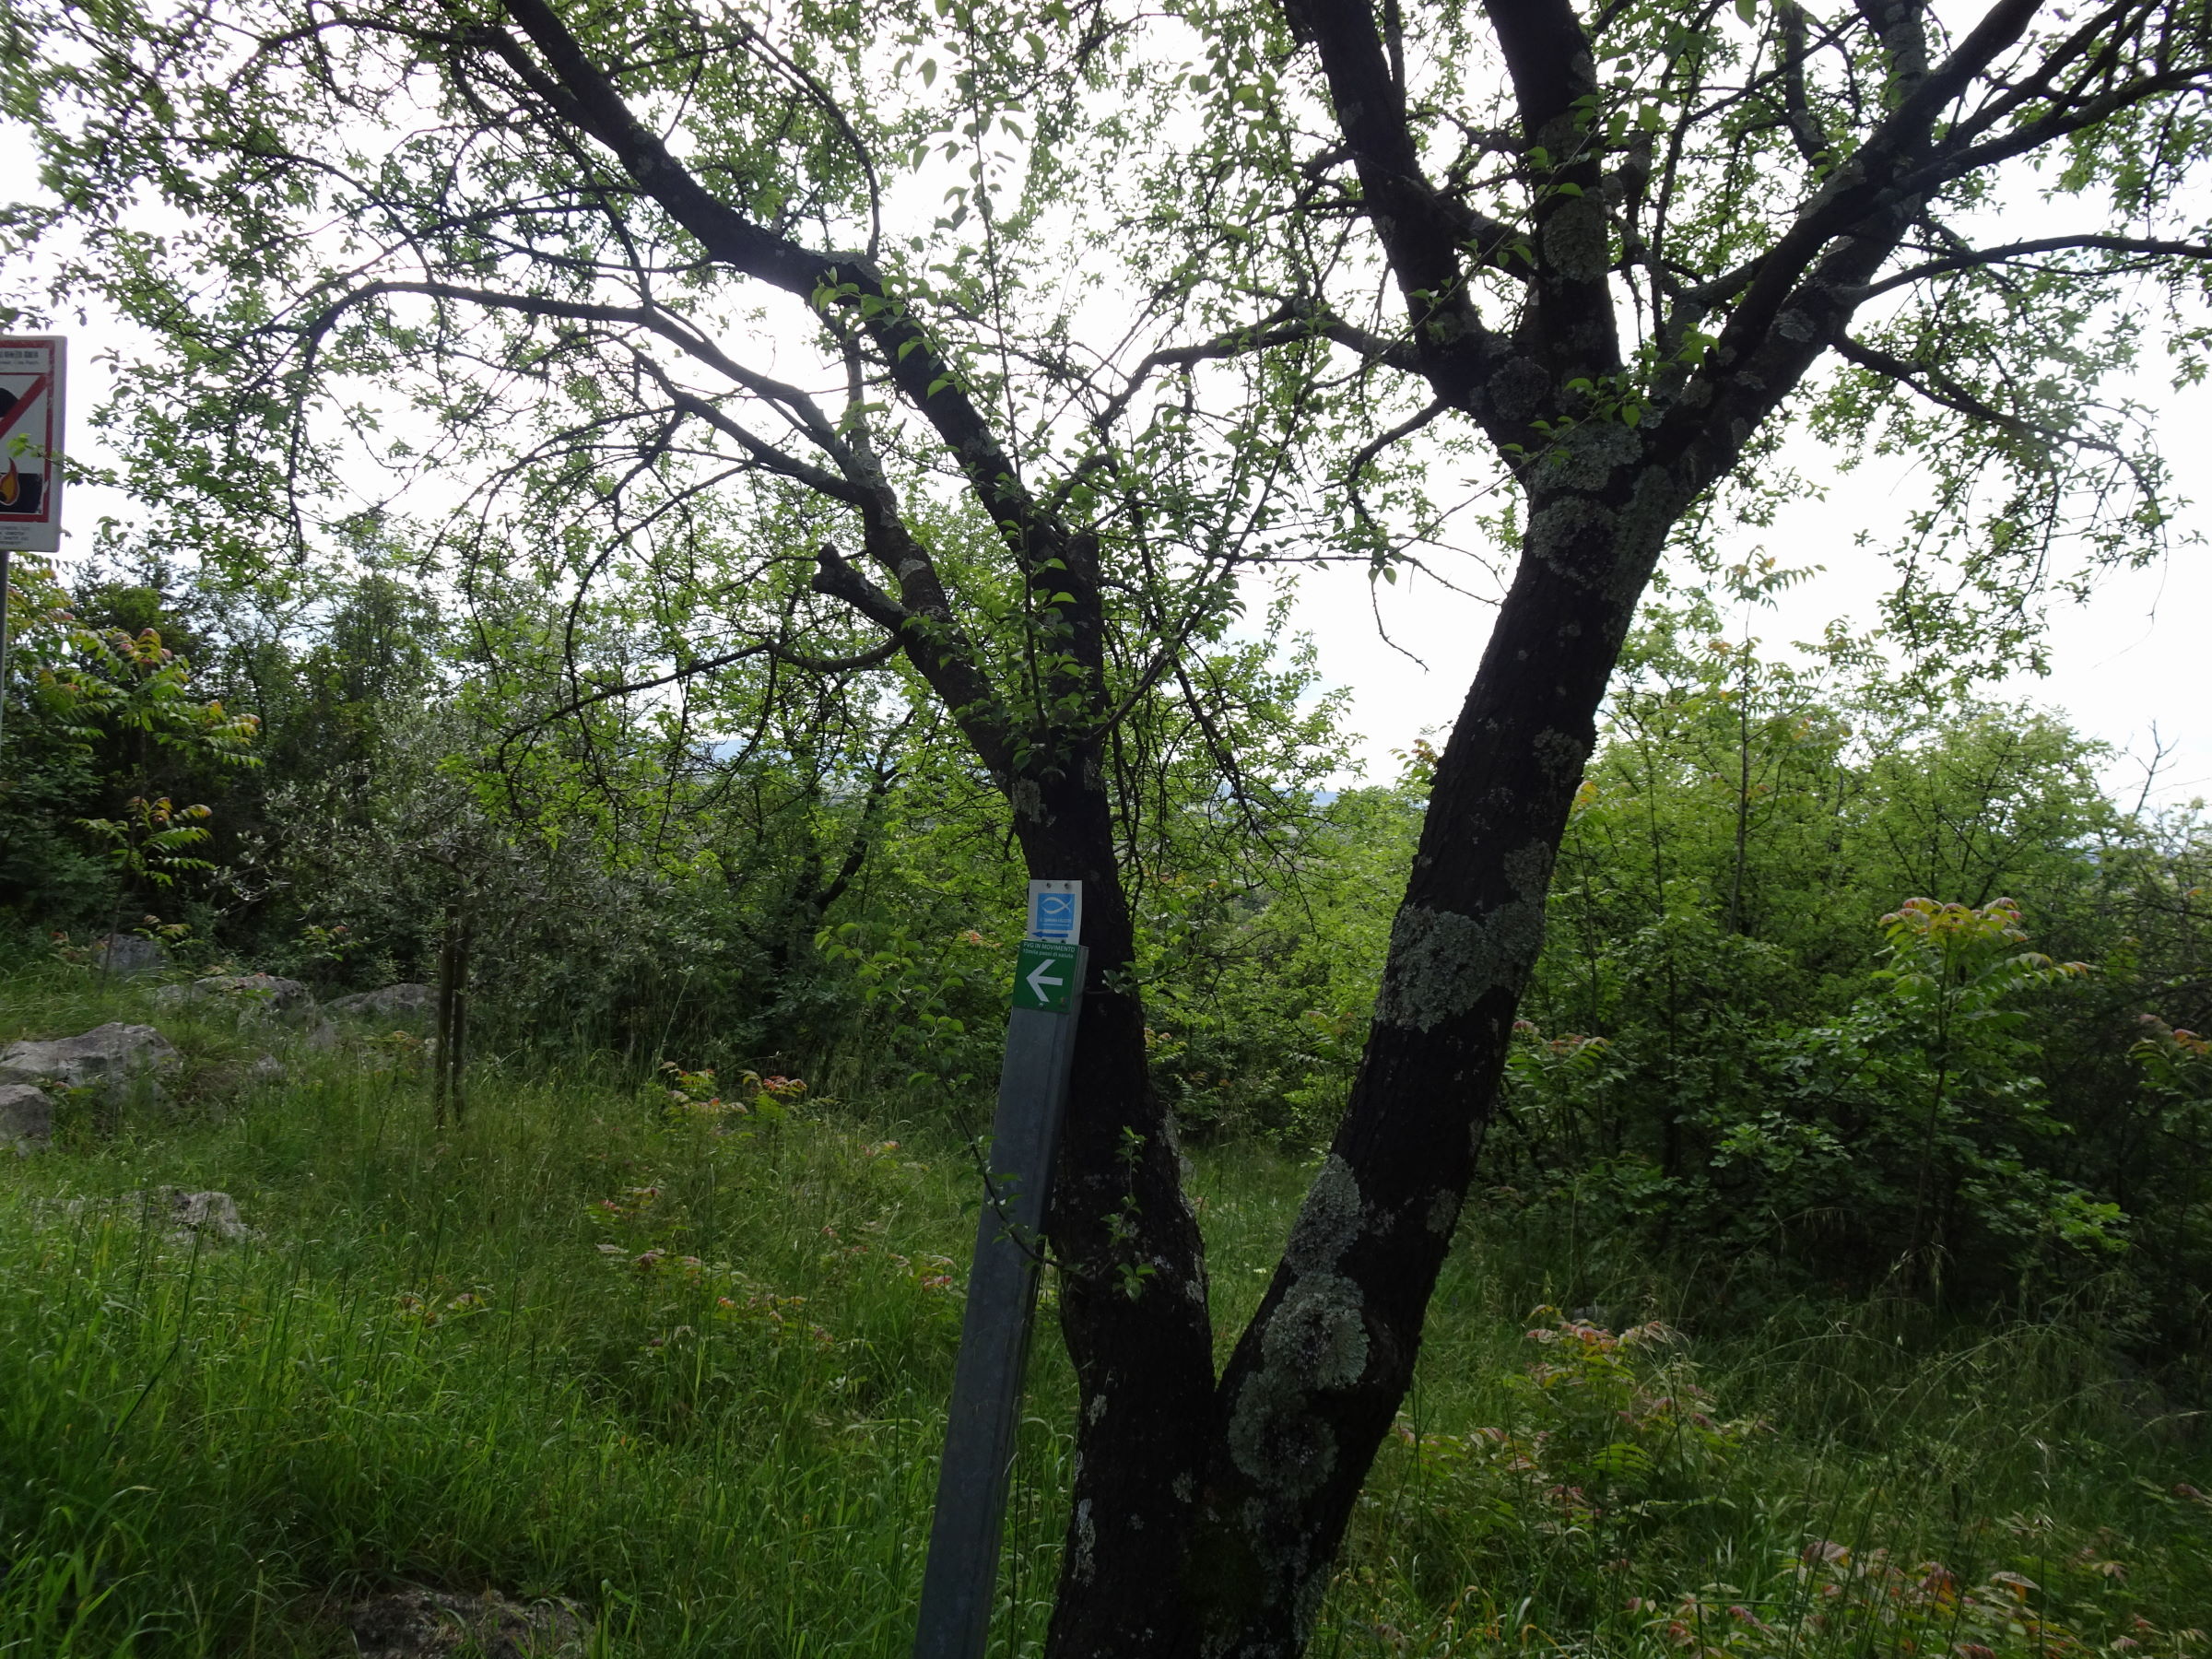
Photo 5 - Route indicator sign
Along this stretch of path, 300 m from the start, on the south side of the hill, there are comfortable benches (photo 6), small ponds with amphibians (photo 7), remnants of trenches or other military constructions (photo 8).
The route continues with a gentle ups and downs while the natural ground remains regular and homogeneous (photo 9 and following); Continuing, secondary paths are crossed that descend and others on the left that ascend (photo 12), until reaching points like the King’s Observatory.
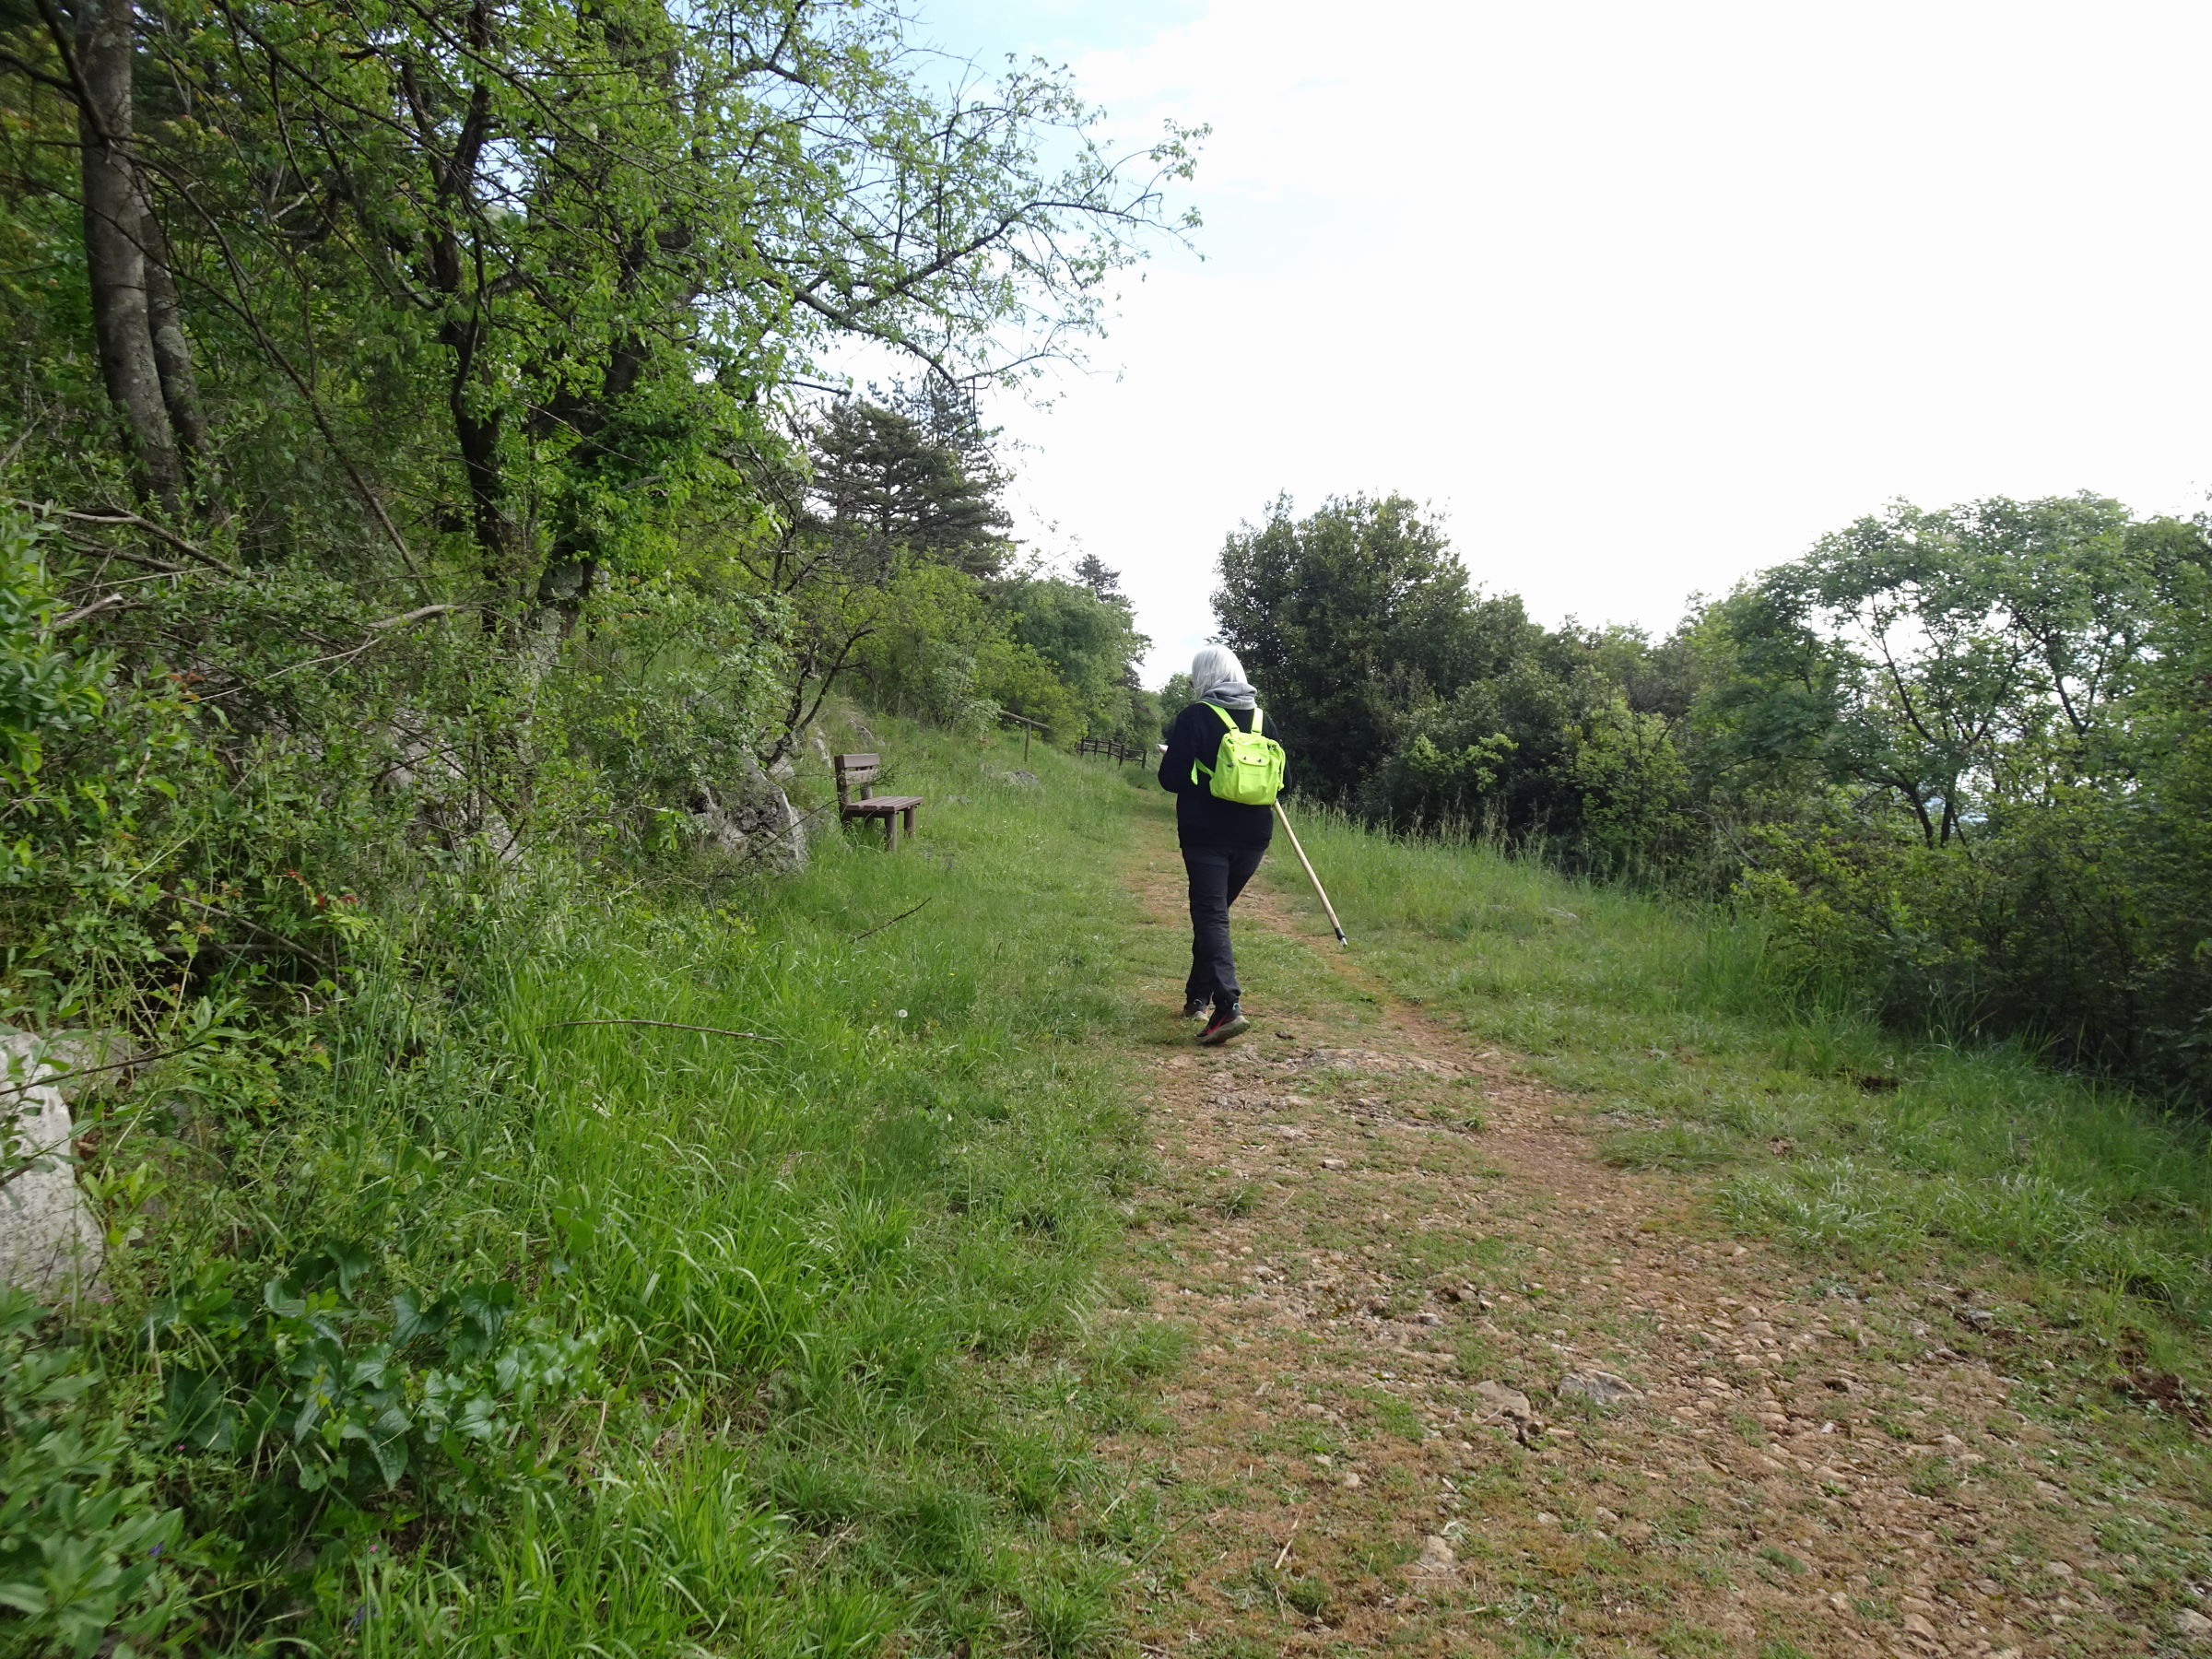
Photo 6 - Benches along the dirt path
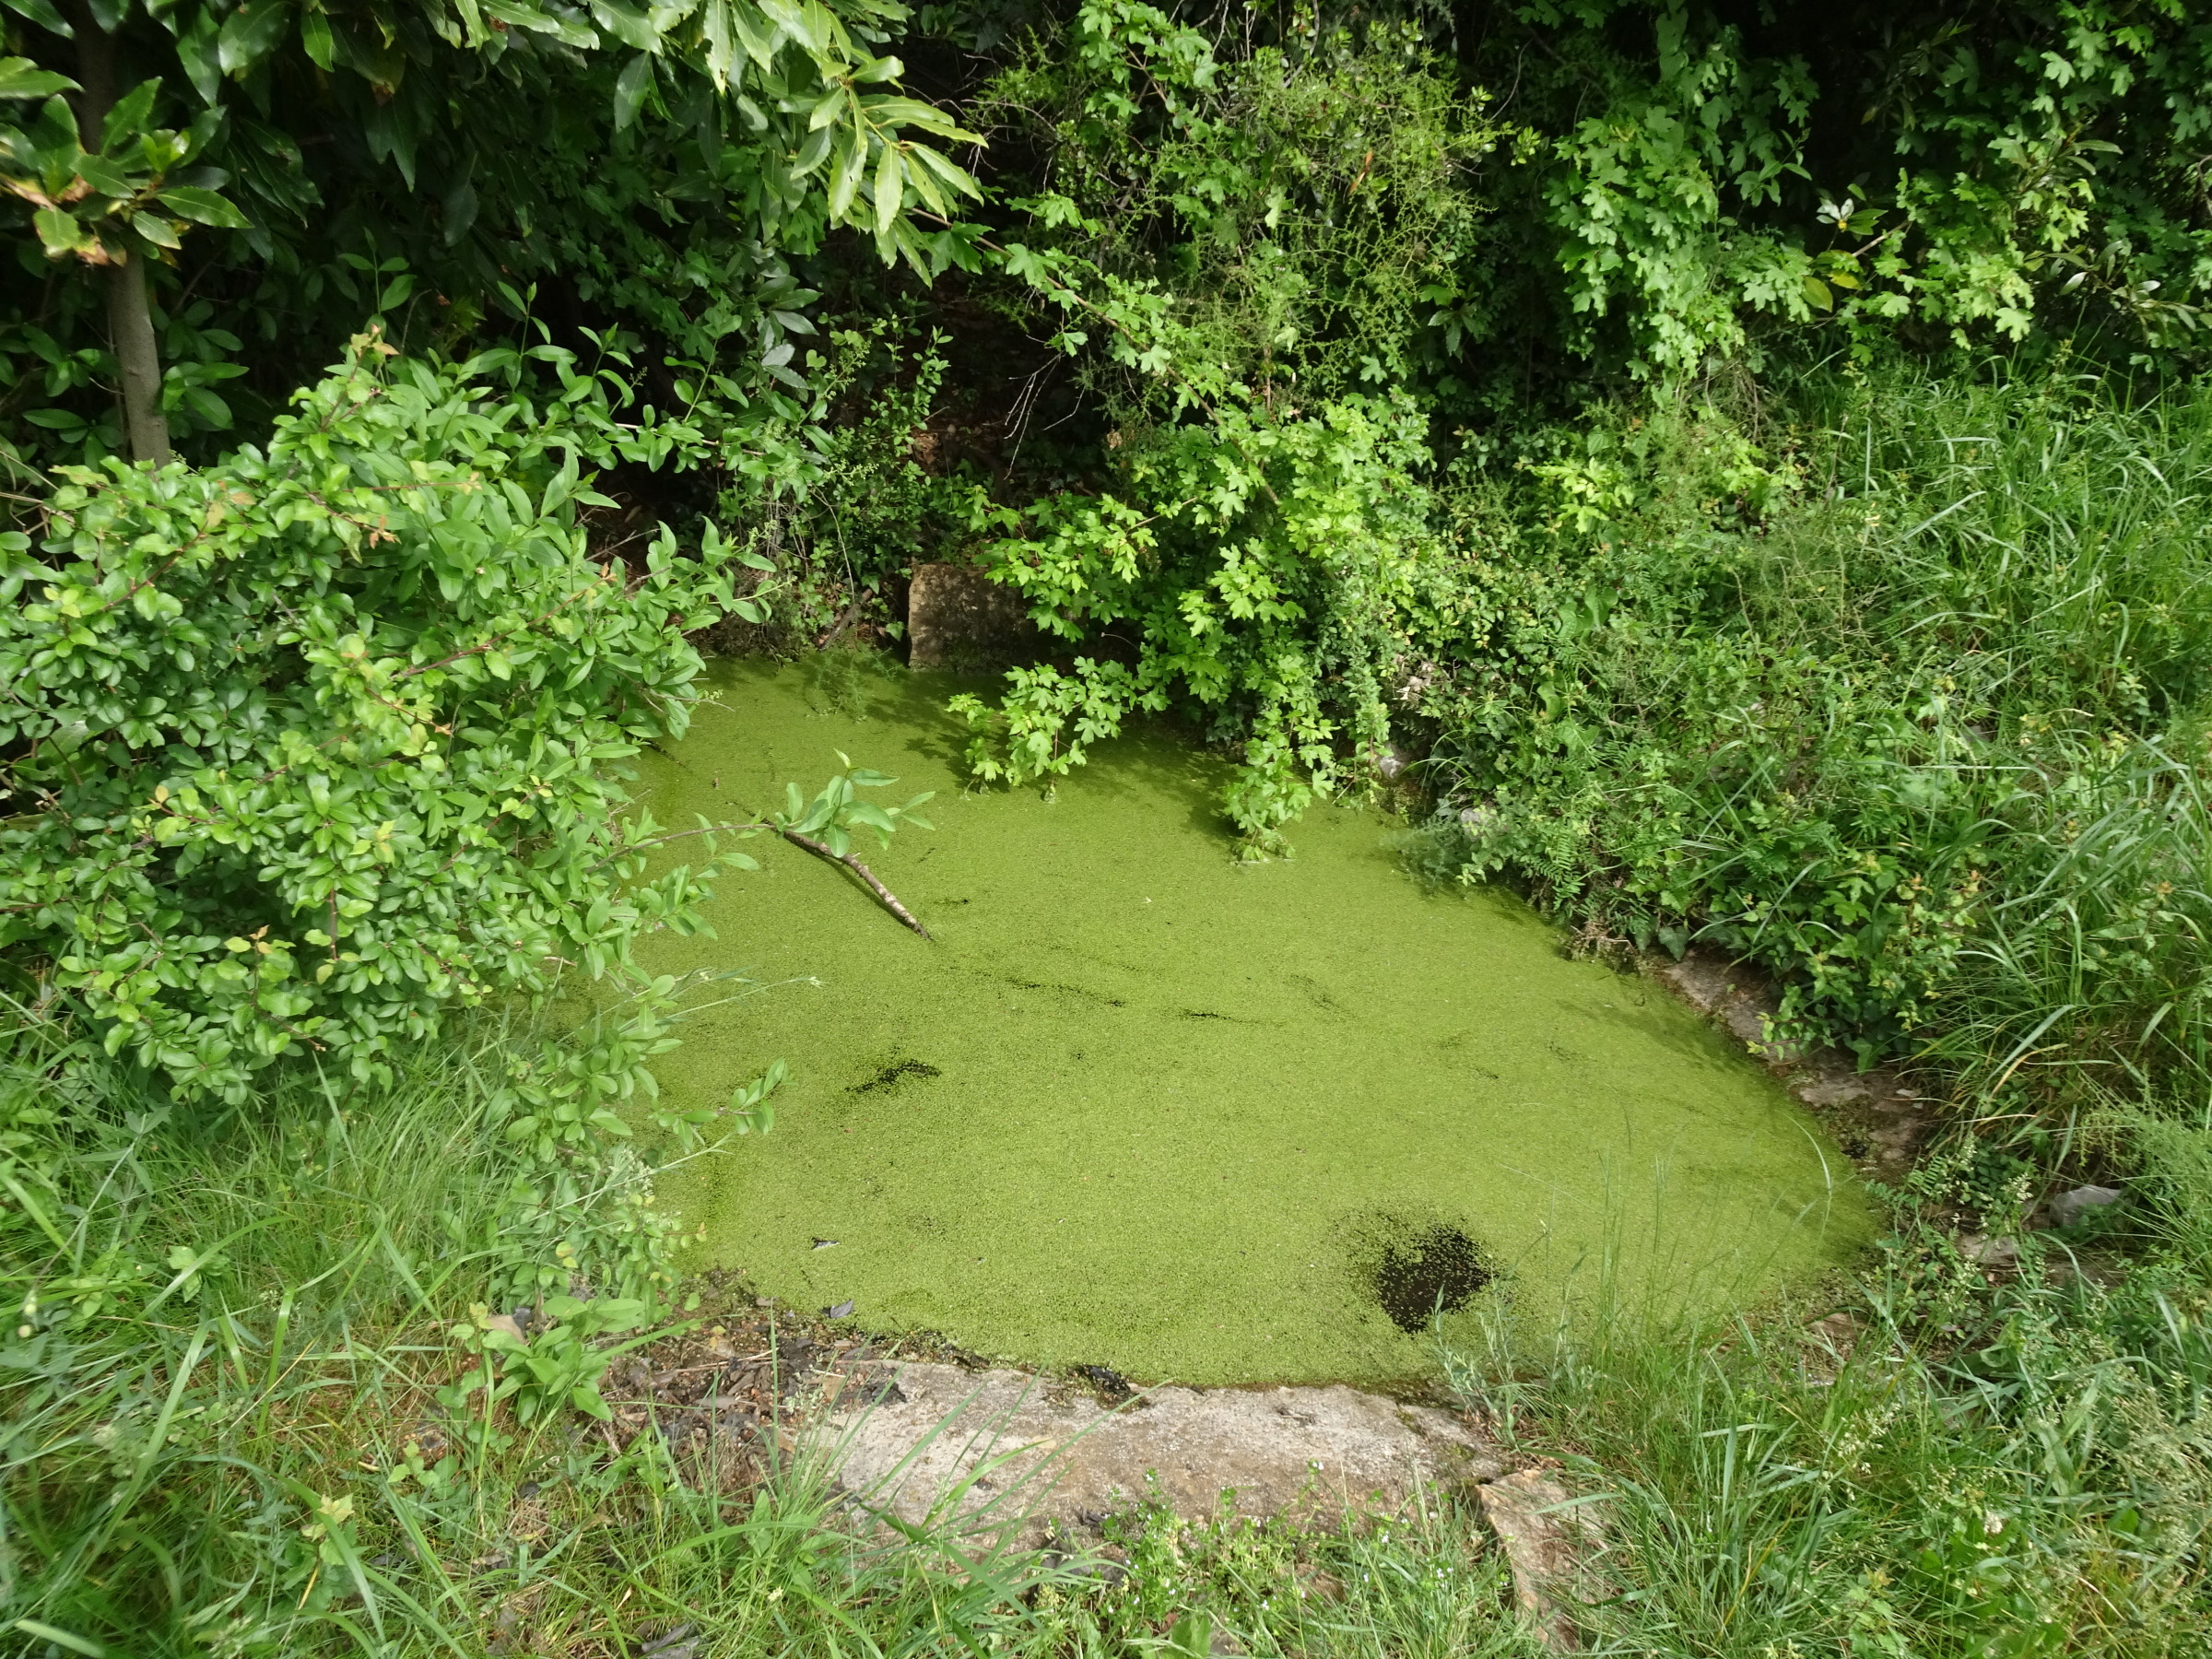
Photo 7 - Small ponds with amphibians
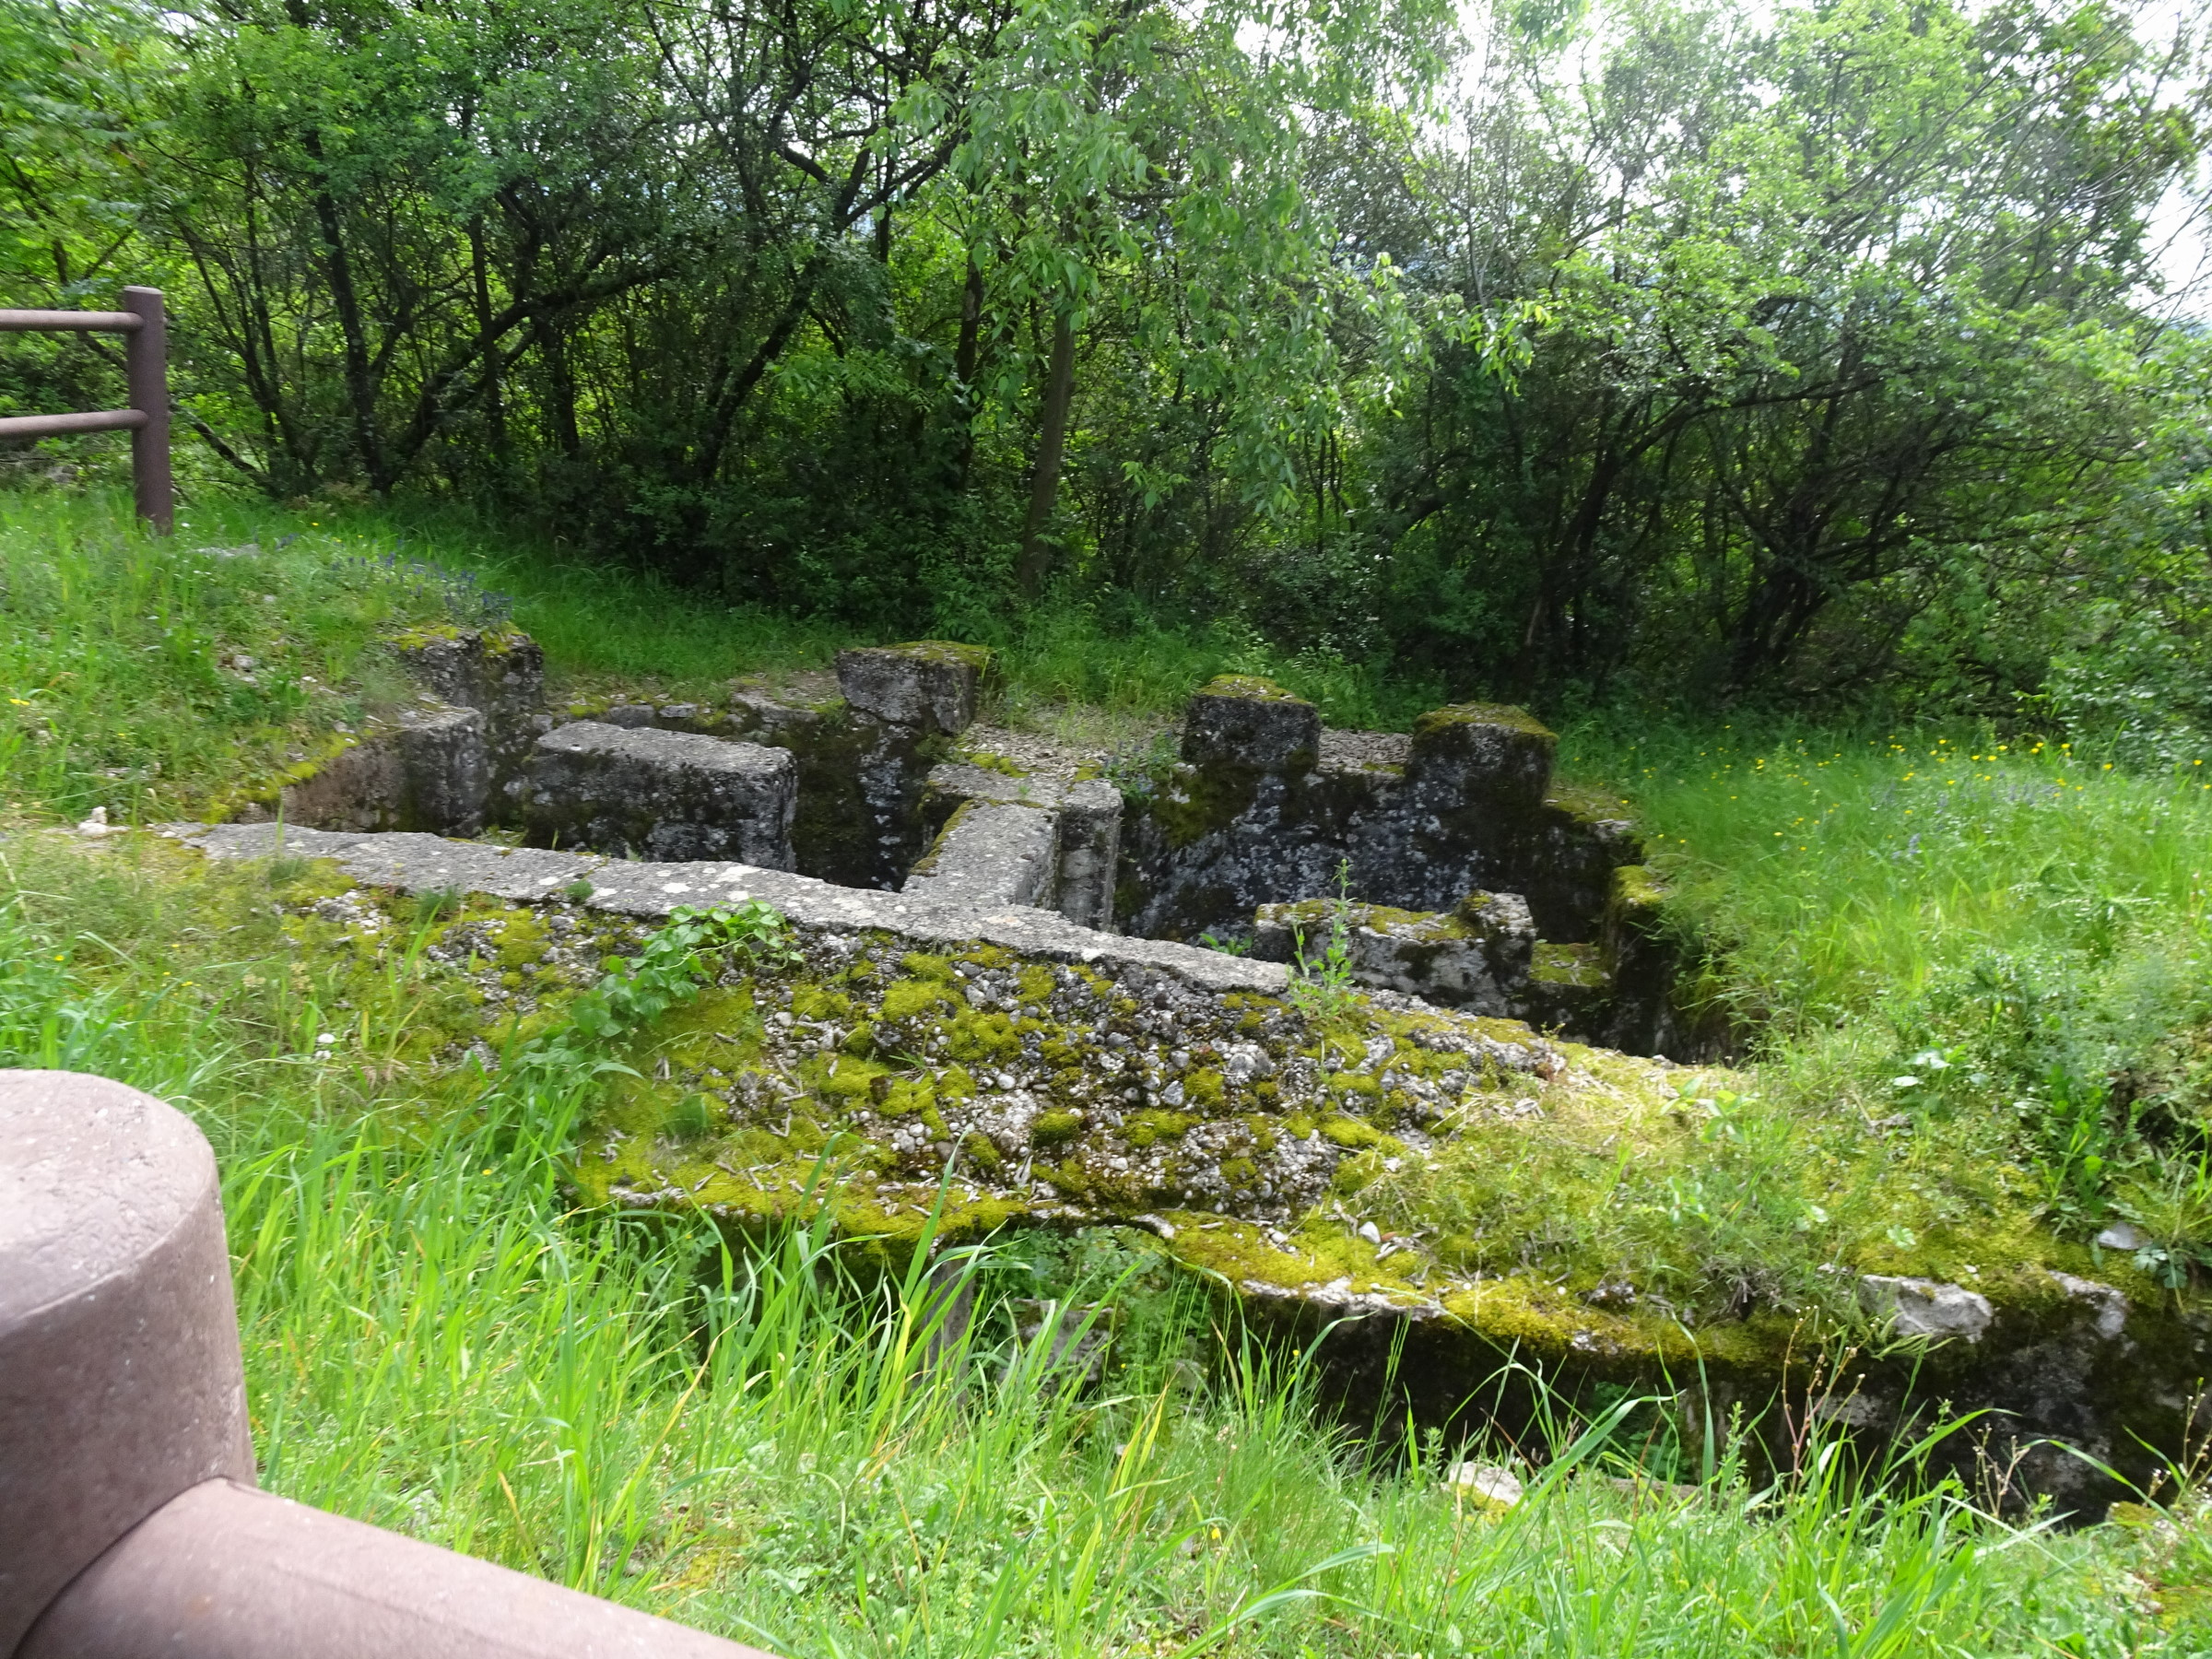
Photo 8 - Remains of trenches or other military constructions
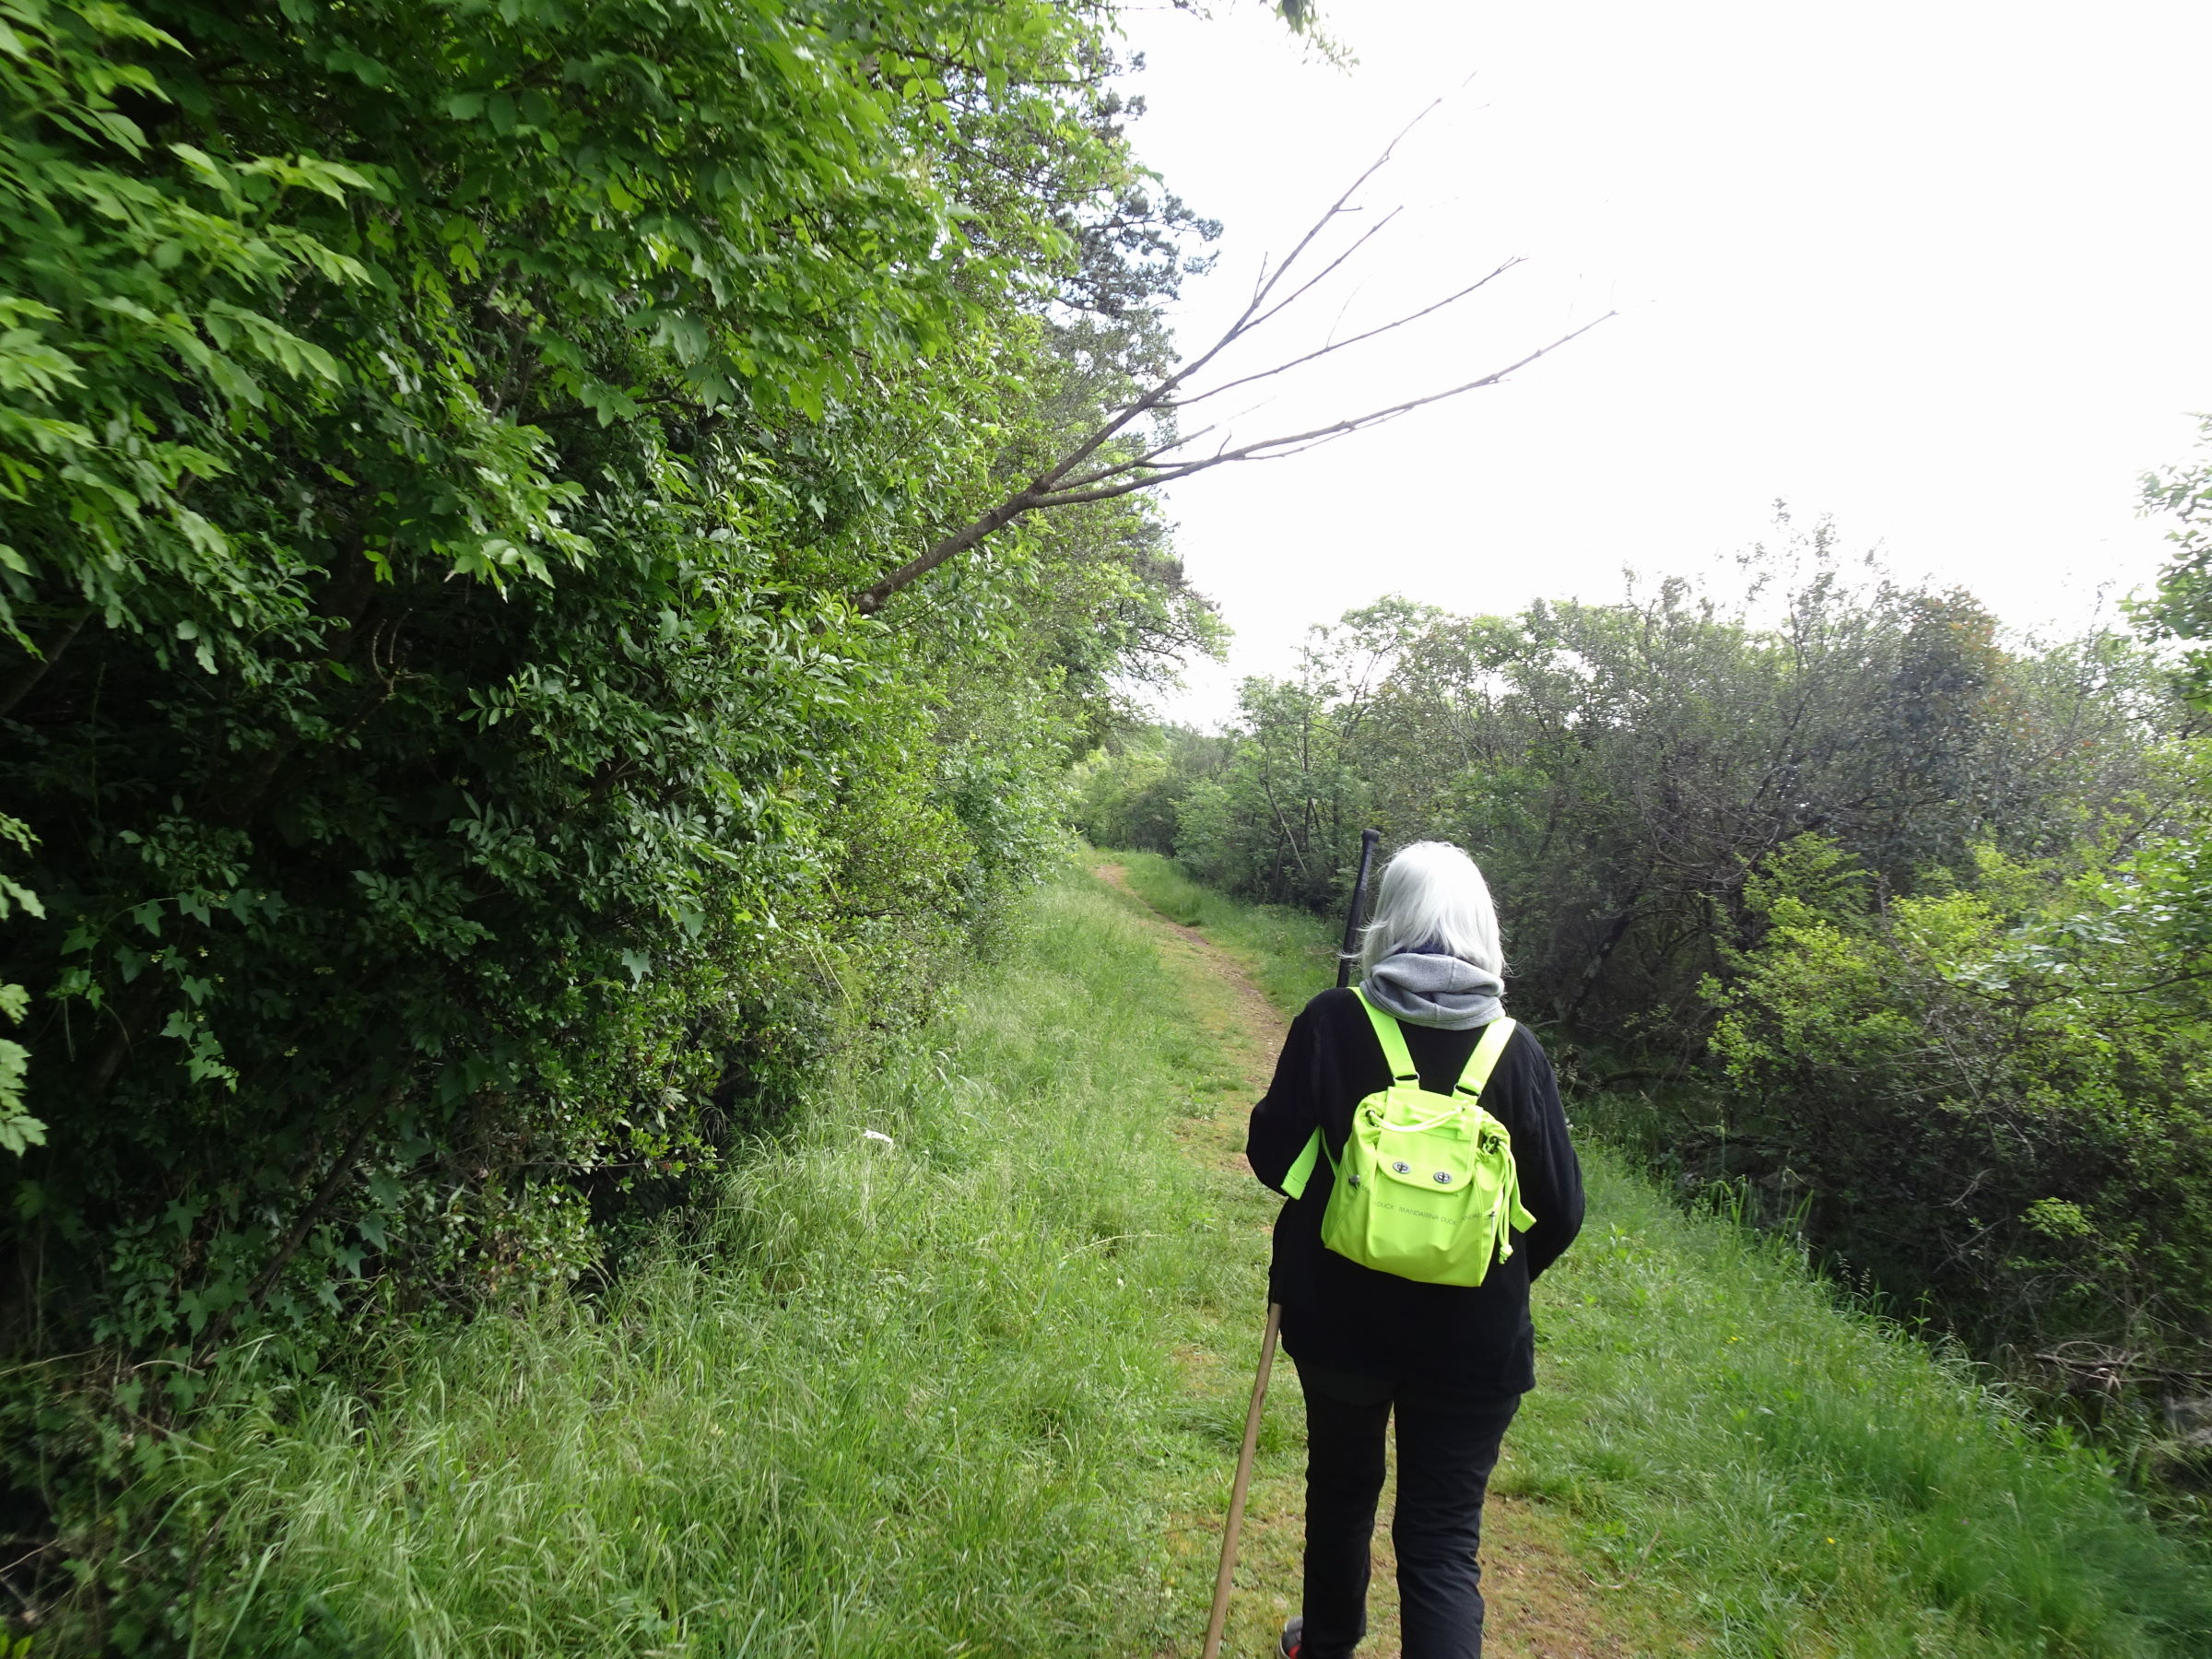
Photo 9 - Path with a regular and homogeneous surface with gentle ups and downs
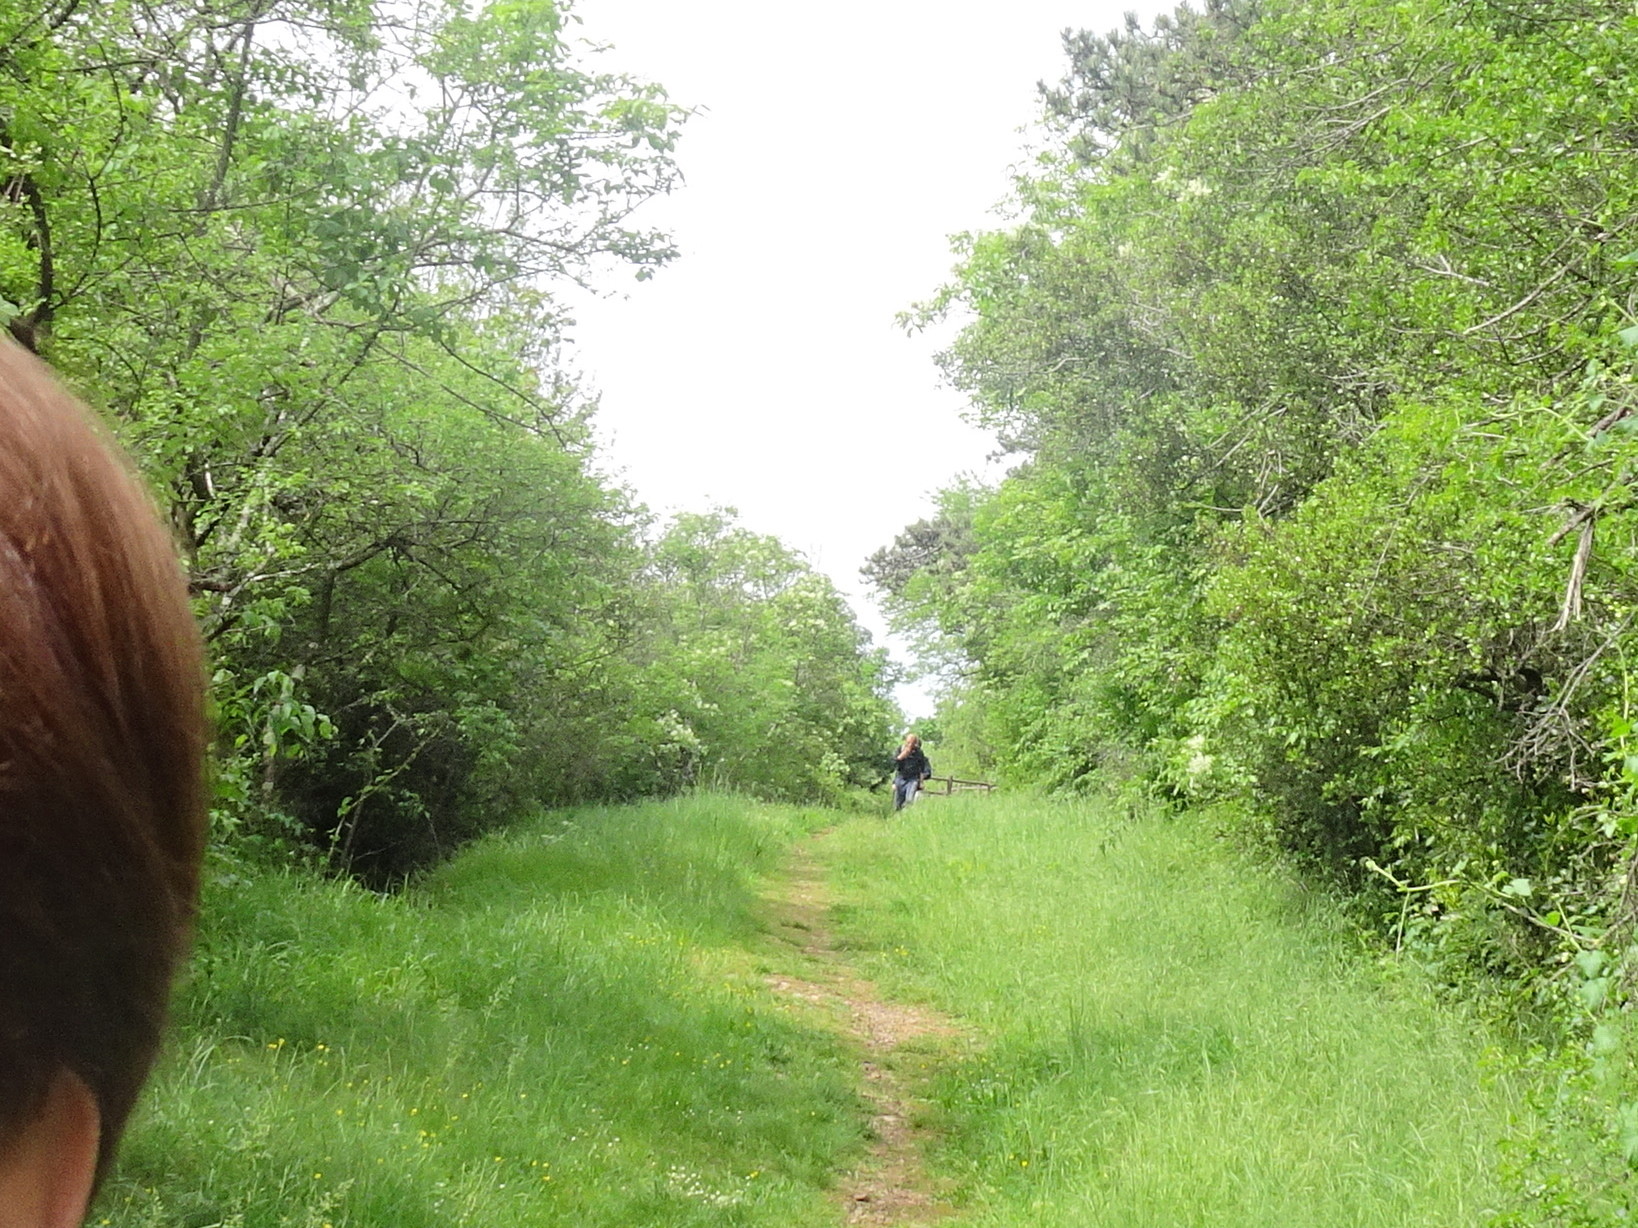
Photo 10 - Path with a regular and homogeneous surface

Photo 11 - Path with a regular and homogeneous surface
About 1 km from the start, there is another bench (Photo 13), and you proceed along a long homogeneous stretch (Photo 14 and subsequent), until you reach a slight ascent where the view towards the plain is somewhat limited by the vegetation (Photo 16).
After about 1.3 km from the start, marked by the presence of a signpost, you encounter the path that leads up to the Ara Pacis (Photo 17).
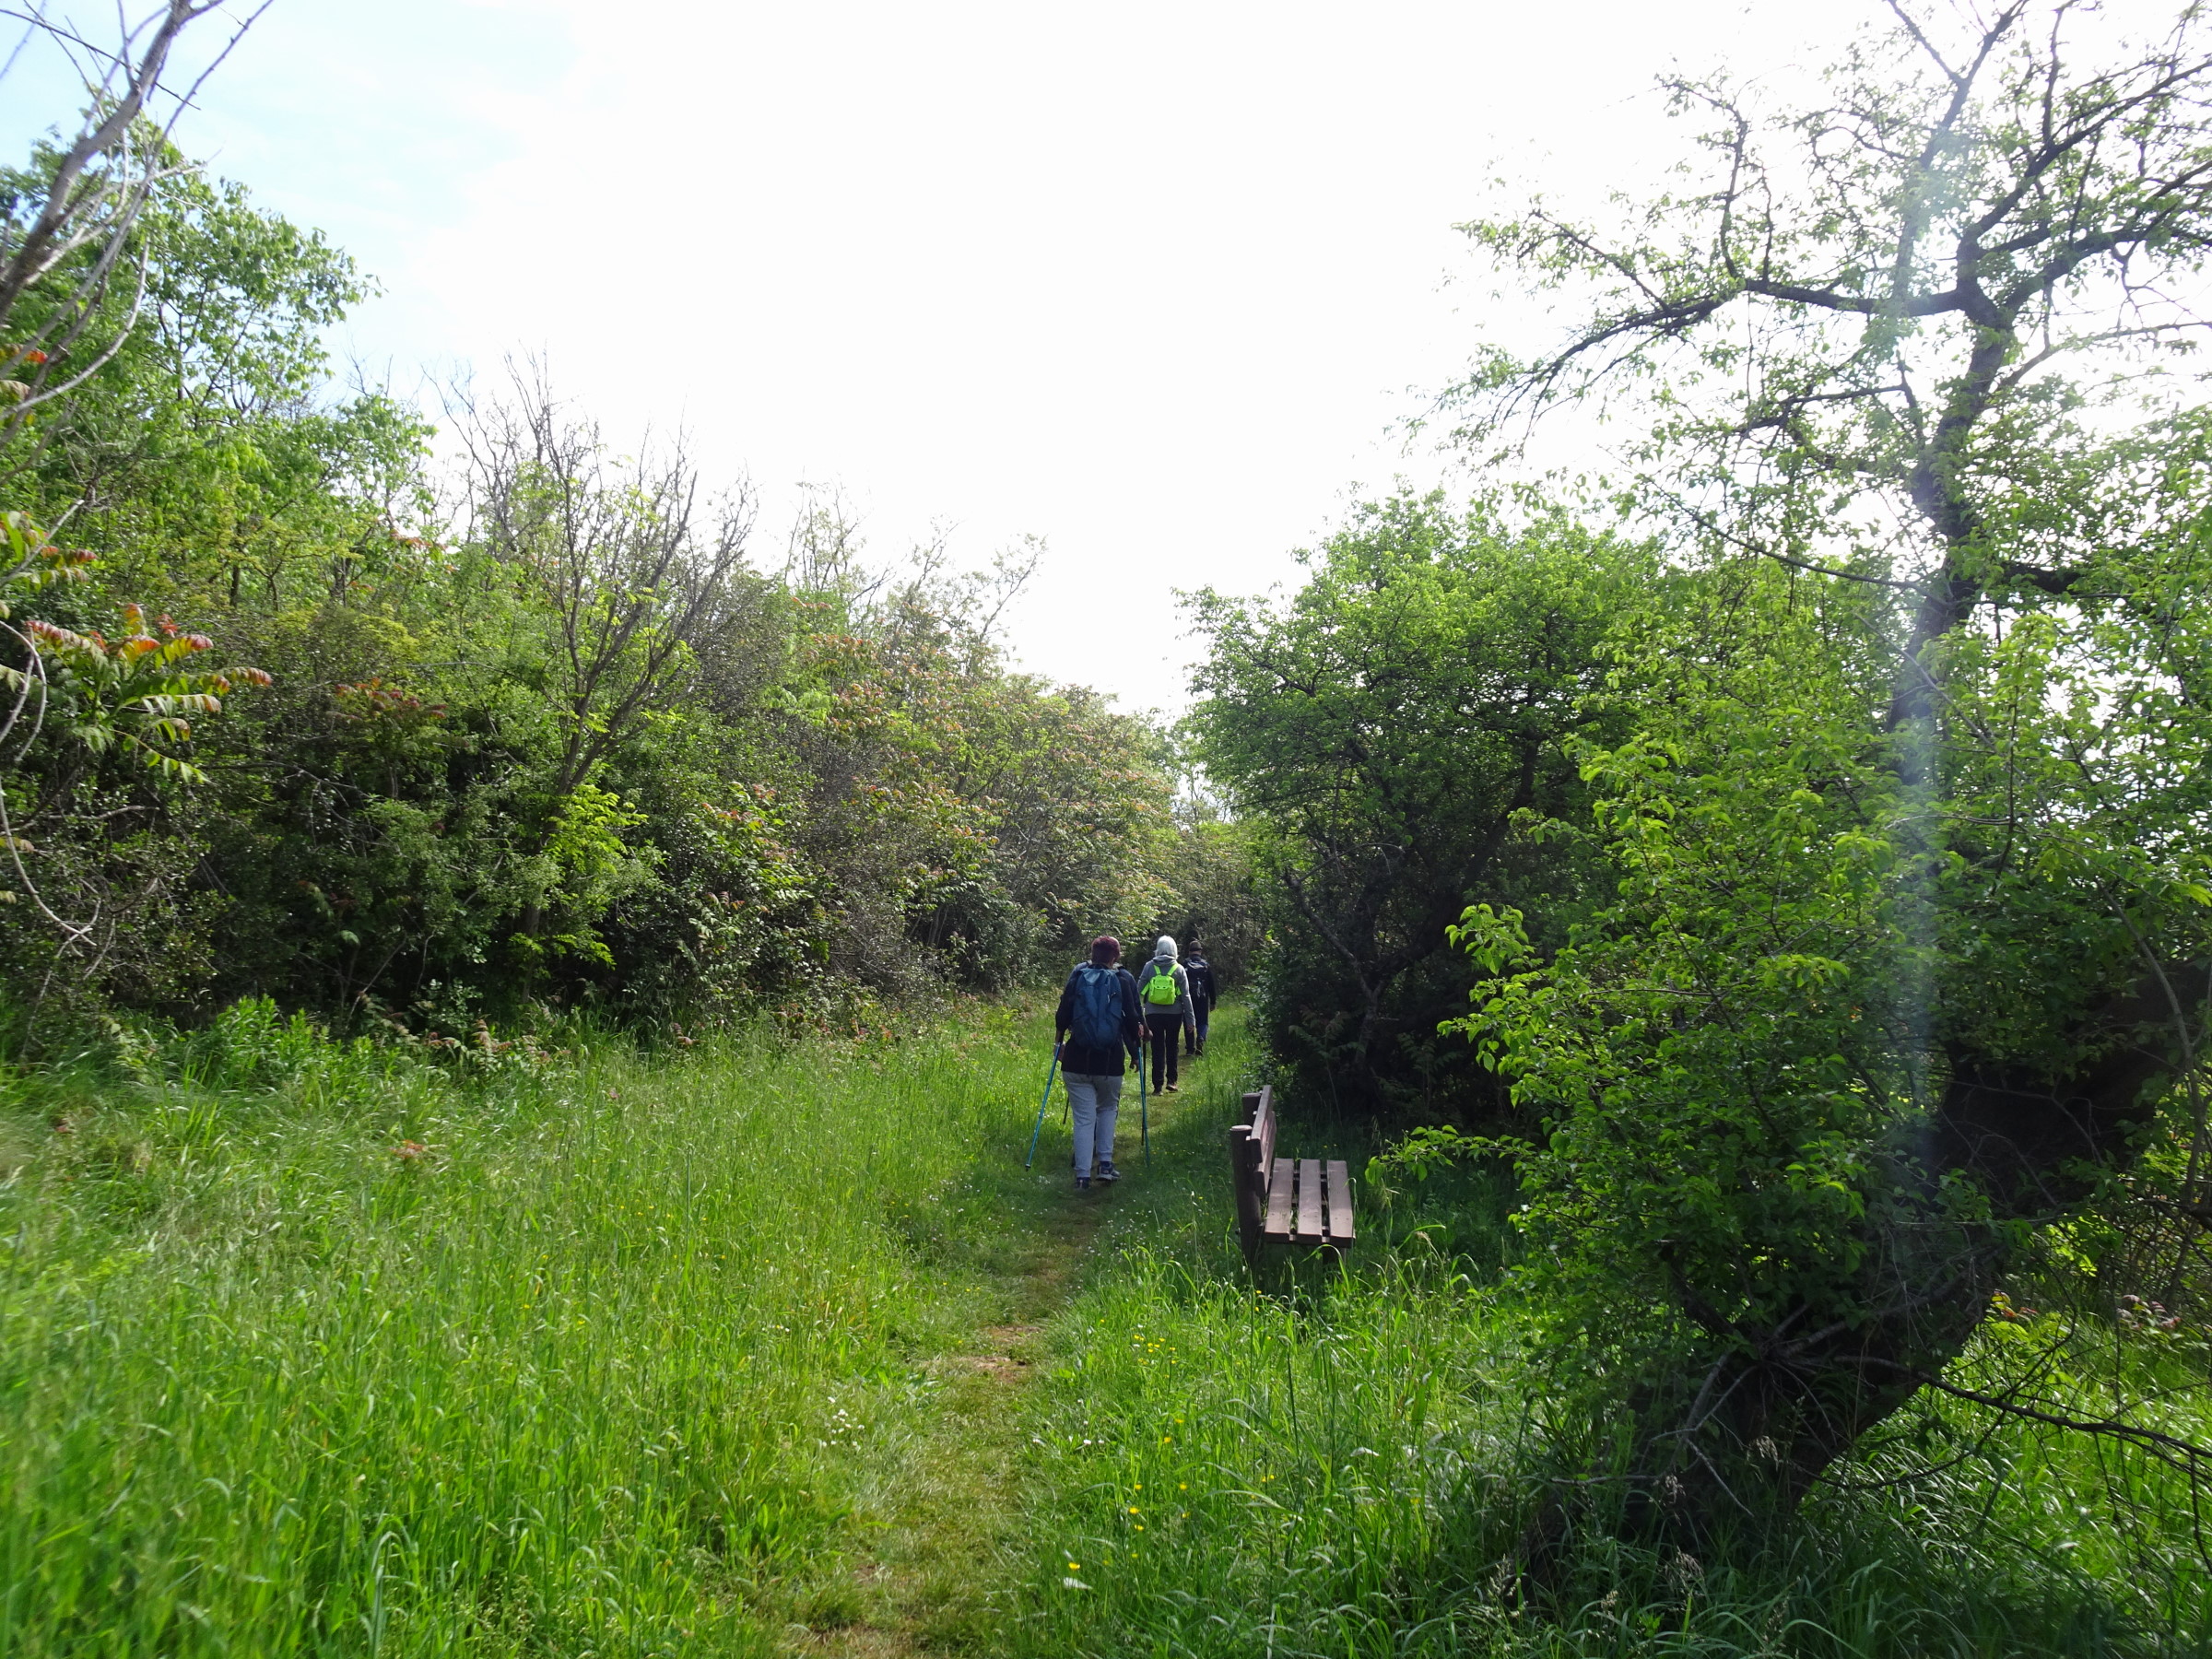
Photo 13 - Bench along the path
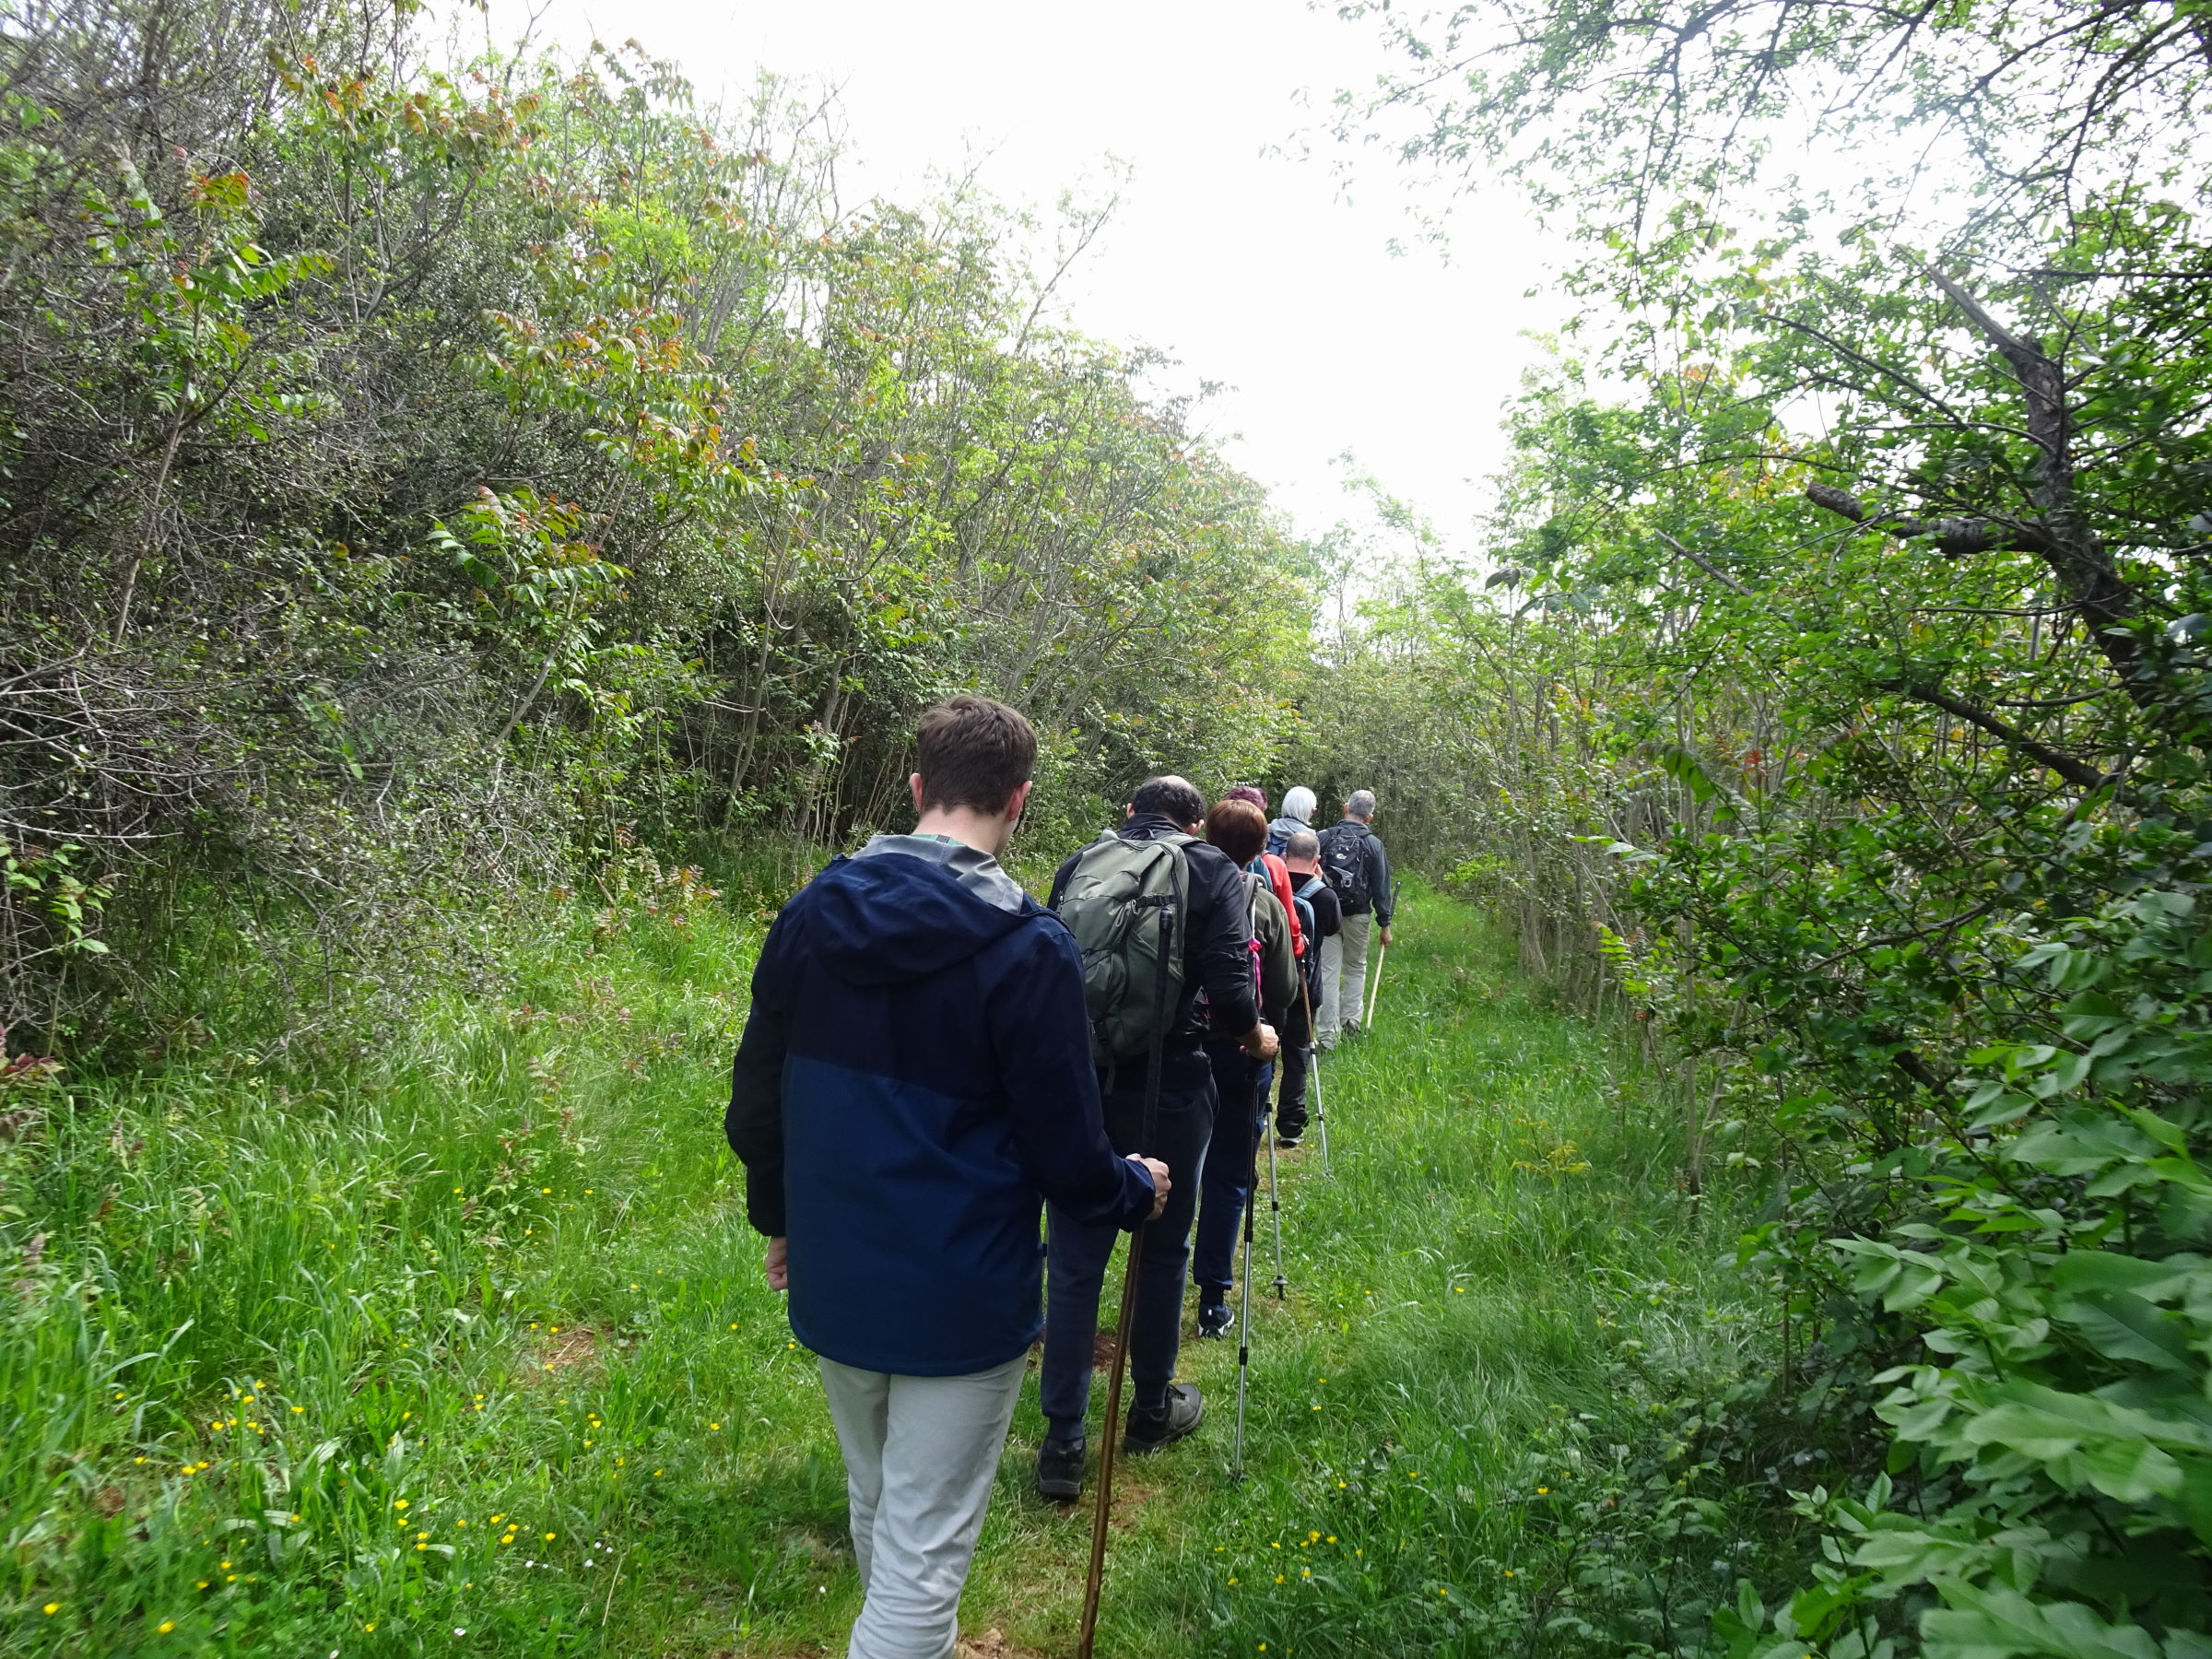
Photo 14 - Path with natural and homogeneous surface
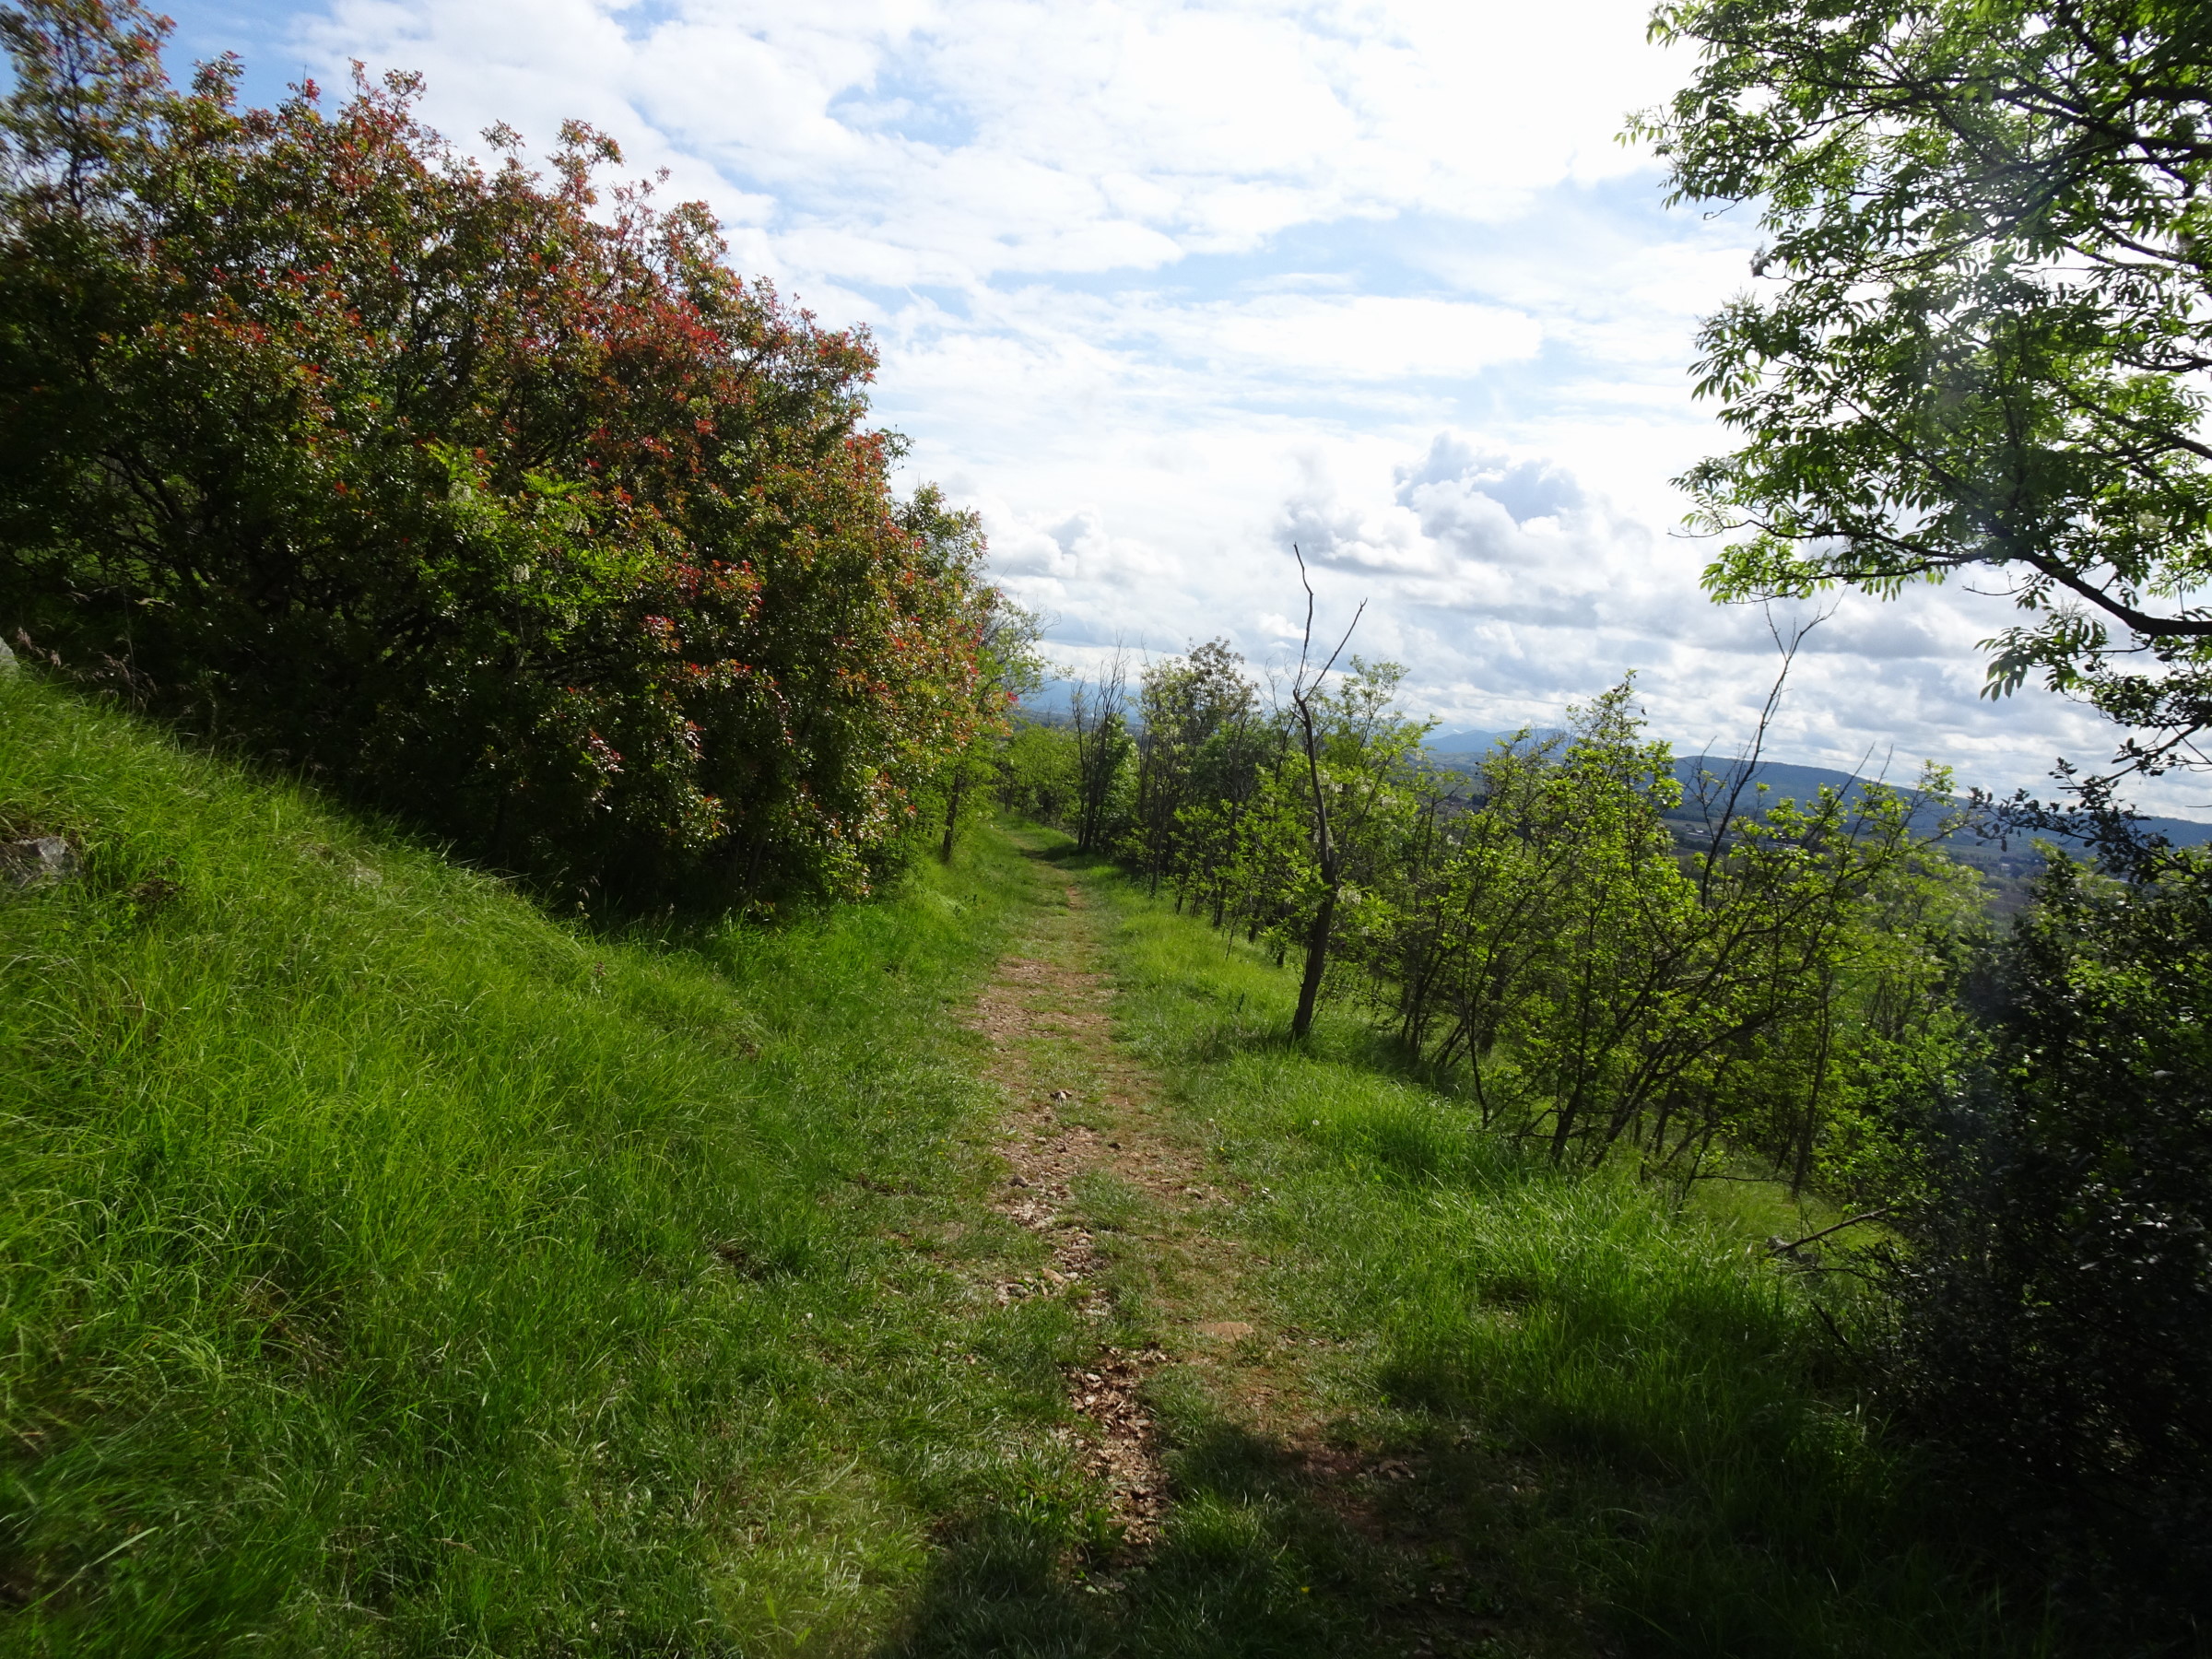
Photo 15 - Path with natural and homogeneous surface
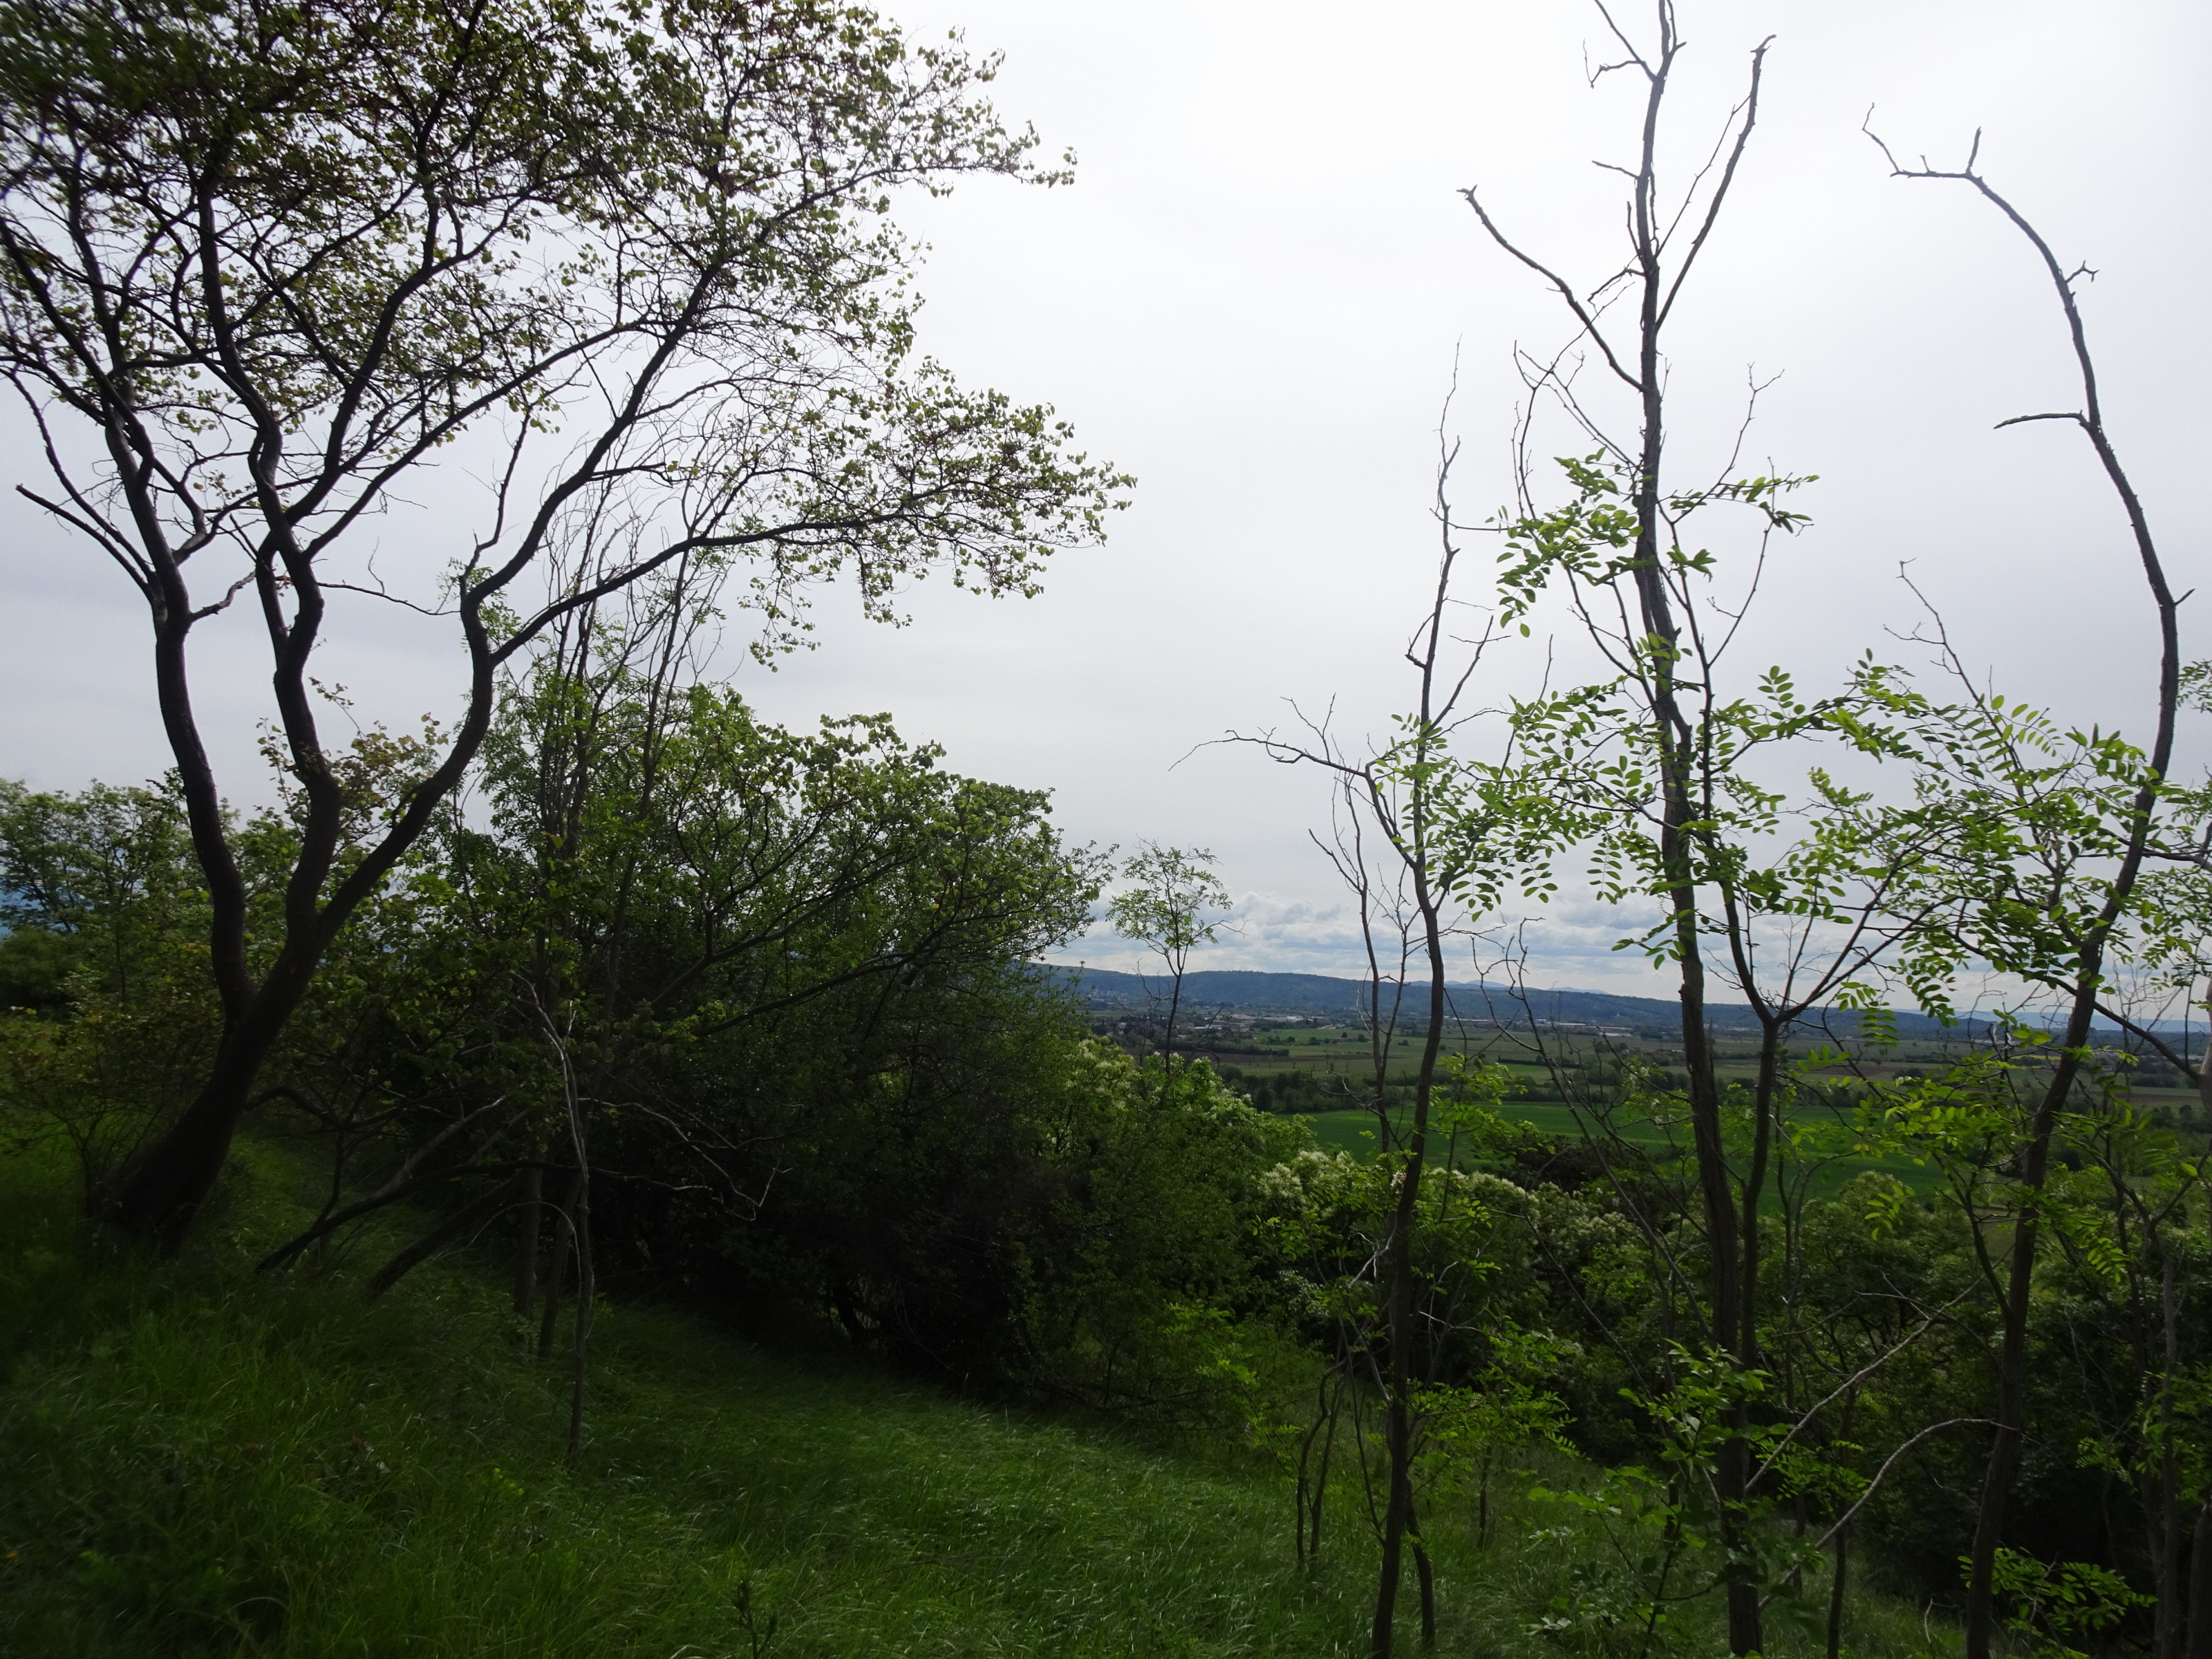
Photo 16 - Slight ascent, view towards the plain covered with vegetation
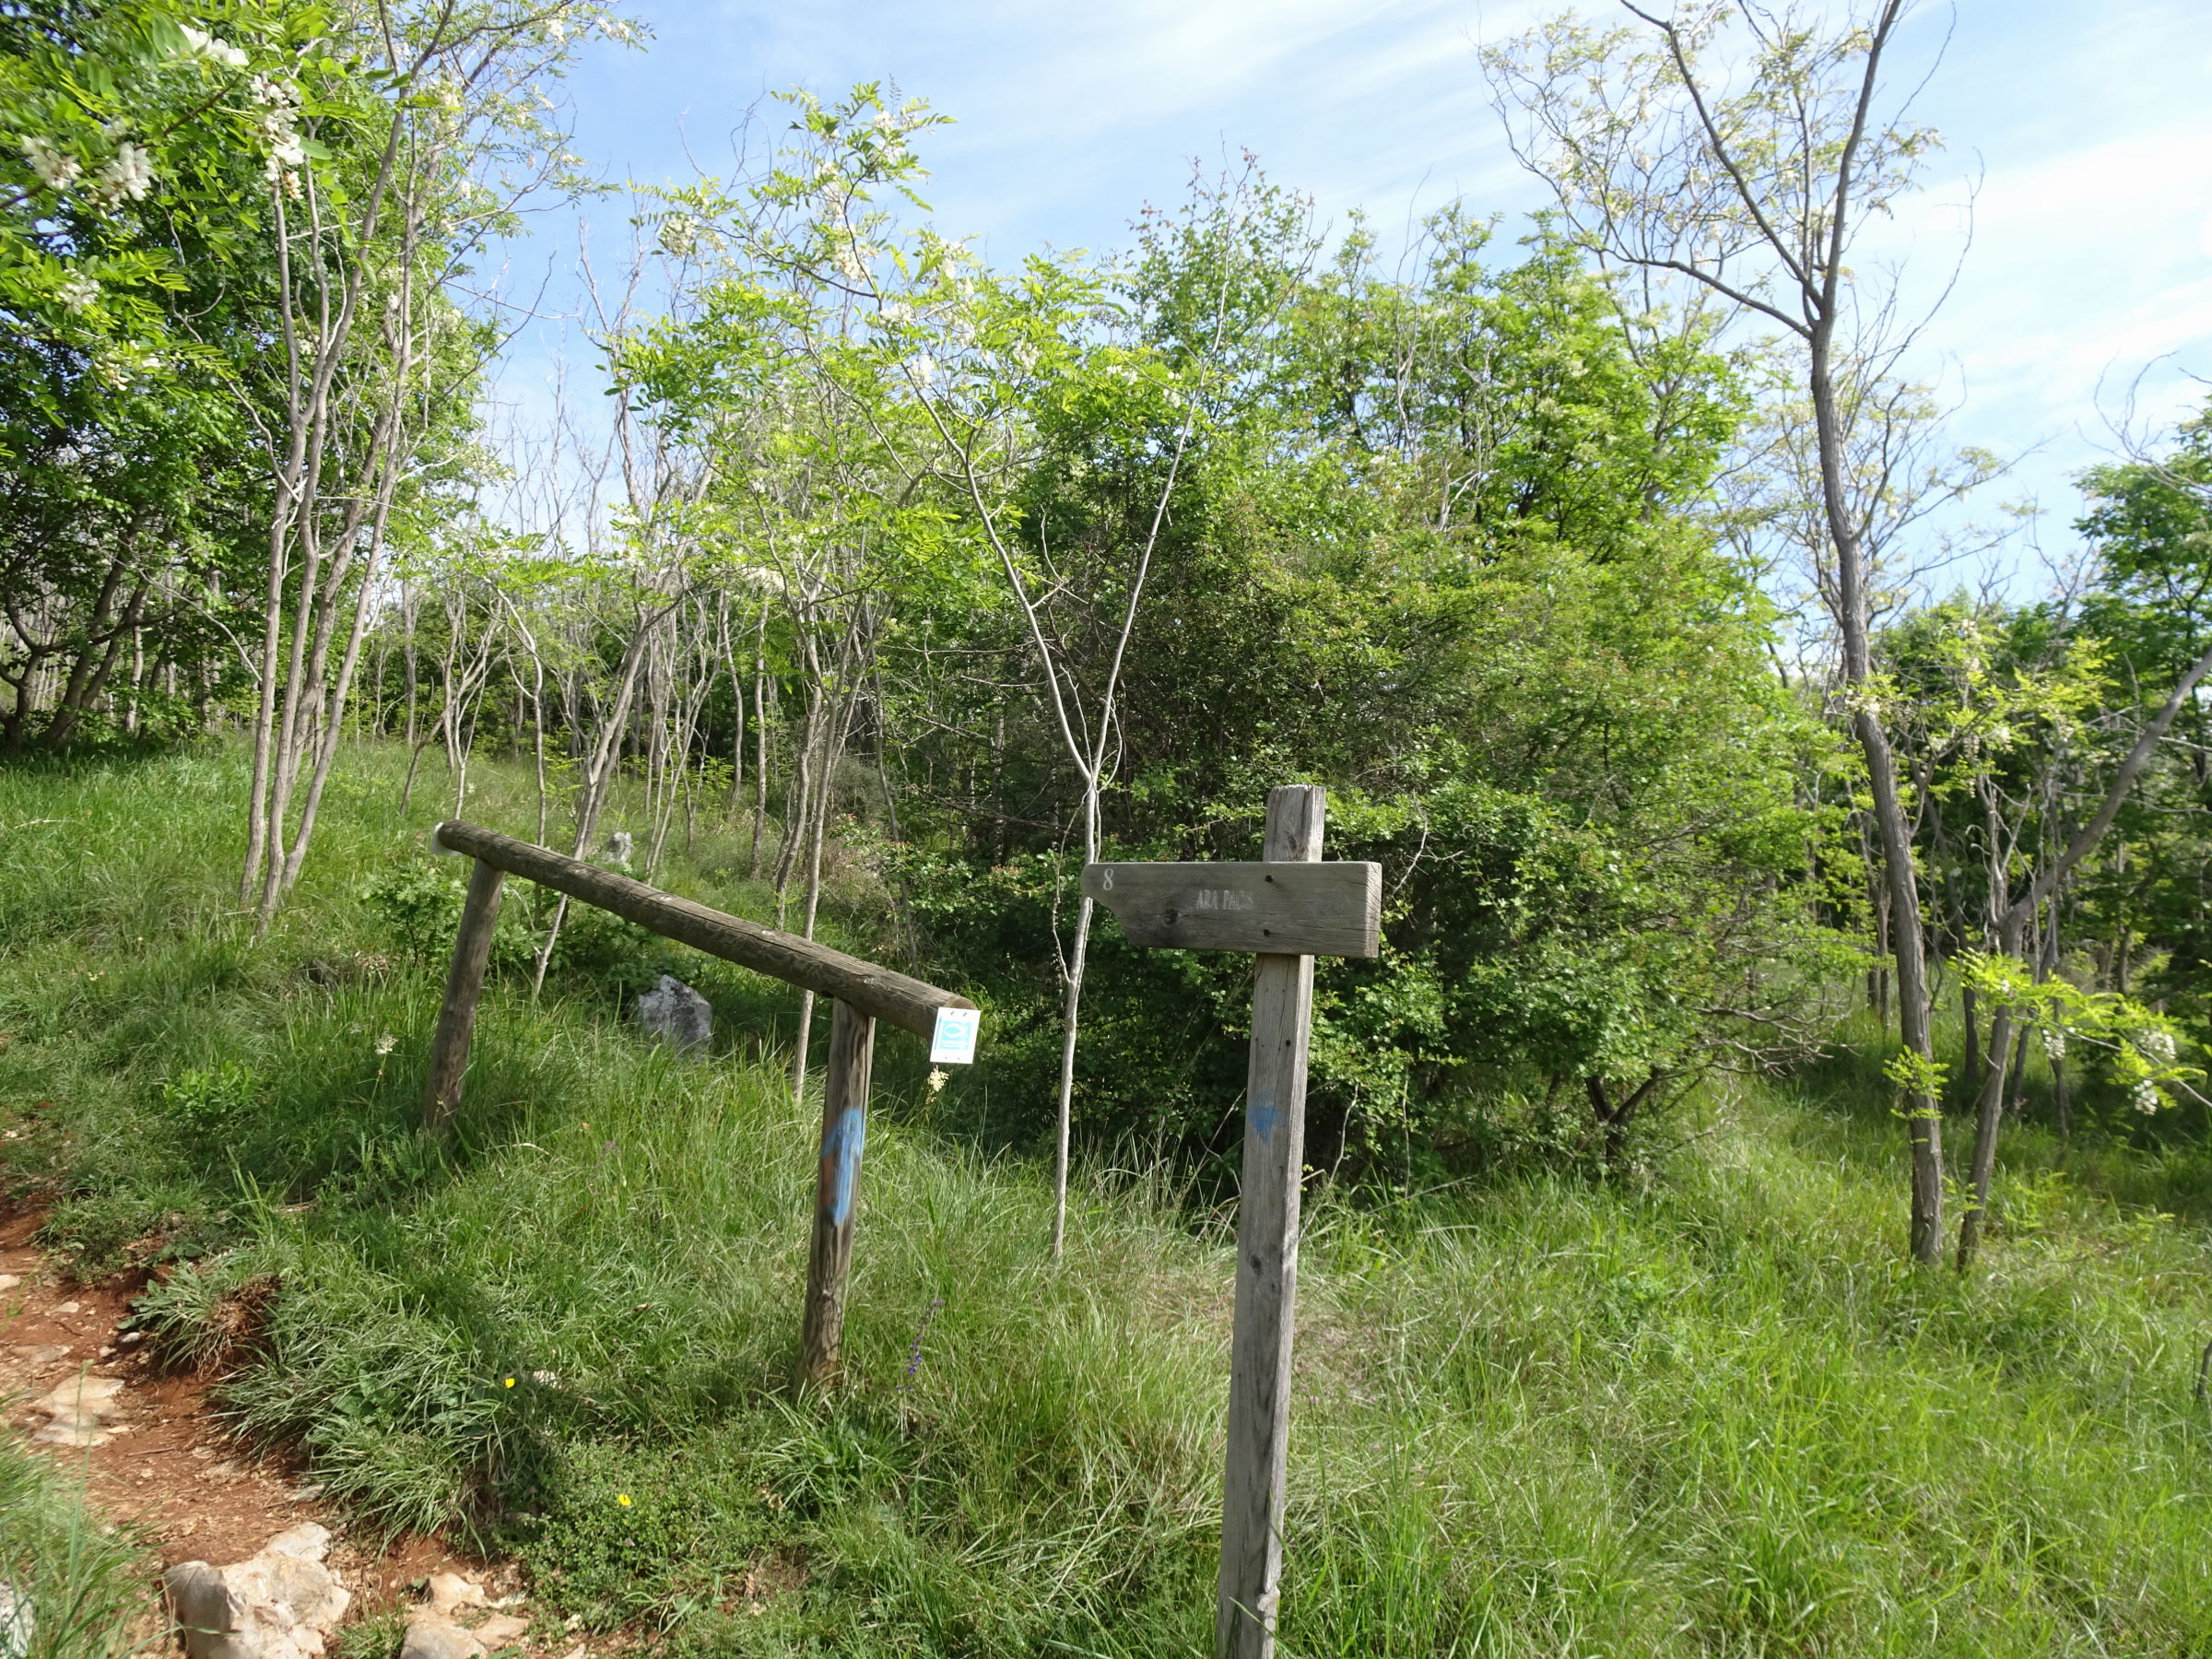
Photo 17 - Path that ascends towards the Ara Pacis
The journey continues by discovering points with a clearer view of the plain and the heights of the Carso (Photo 18-19). At km 1.6 from the start, the path descends slightly and then turns left (Photo 20) to enter the woods. The ascent is on natural ground (photo 21) and for a stretch, it runs alongside the area of the underlying quarry, enclosed by a metal fence (Photo 22-23).
The ascent continues on a path with an irregular surface due to soil runoff; it is slippery in places with the presence of stones (photo 24-25).
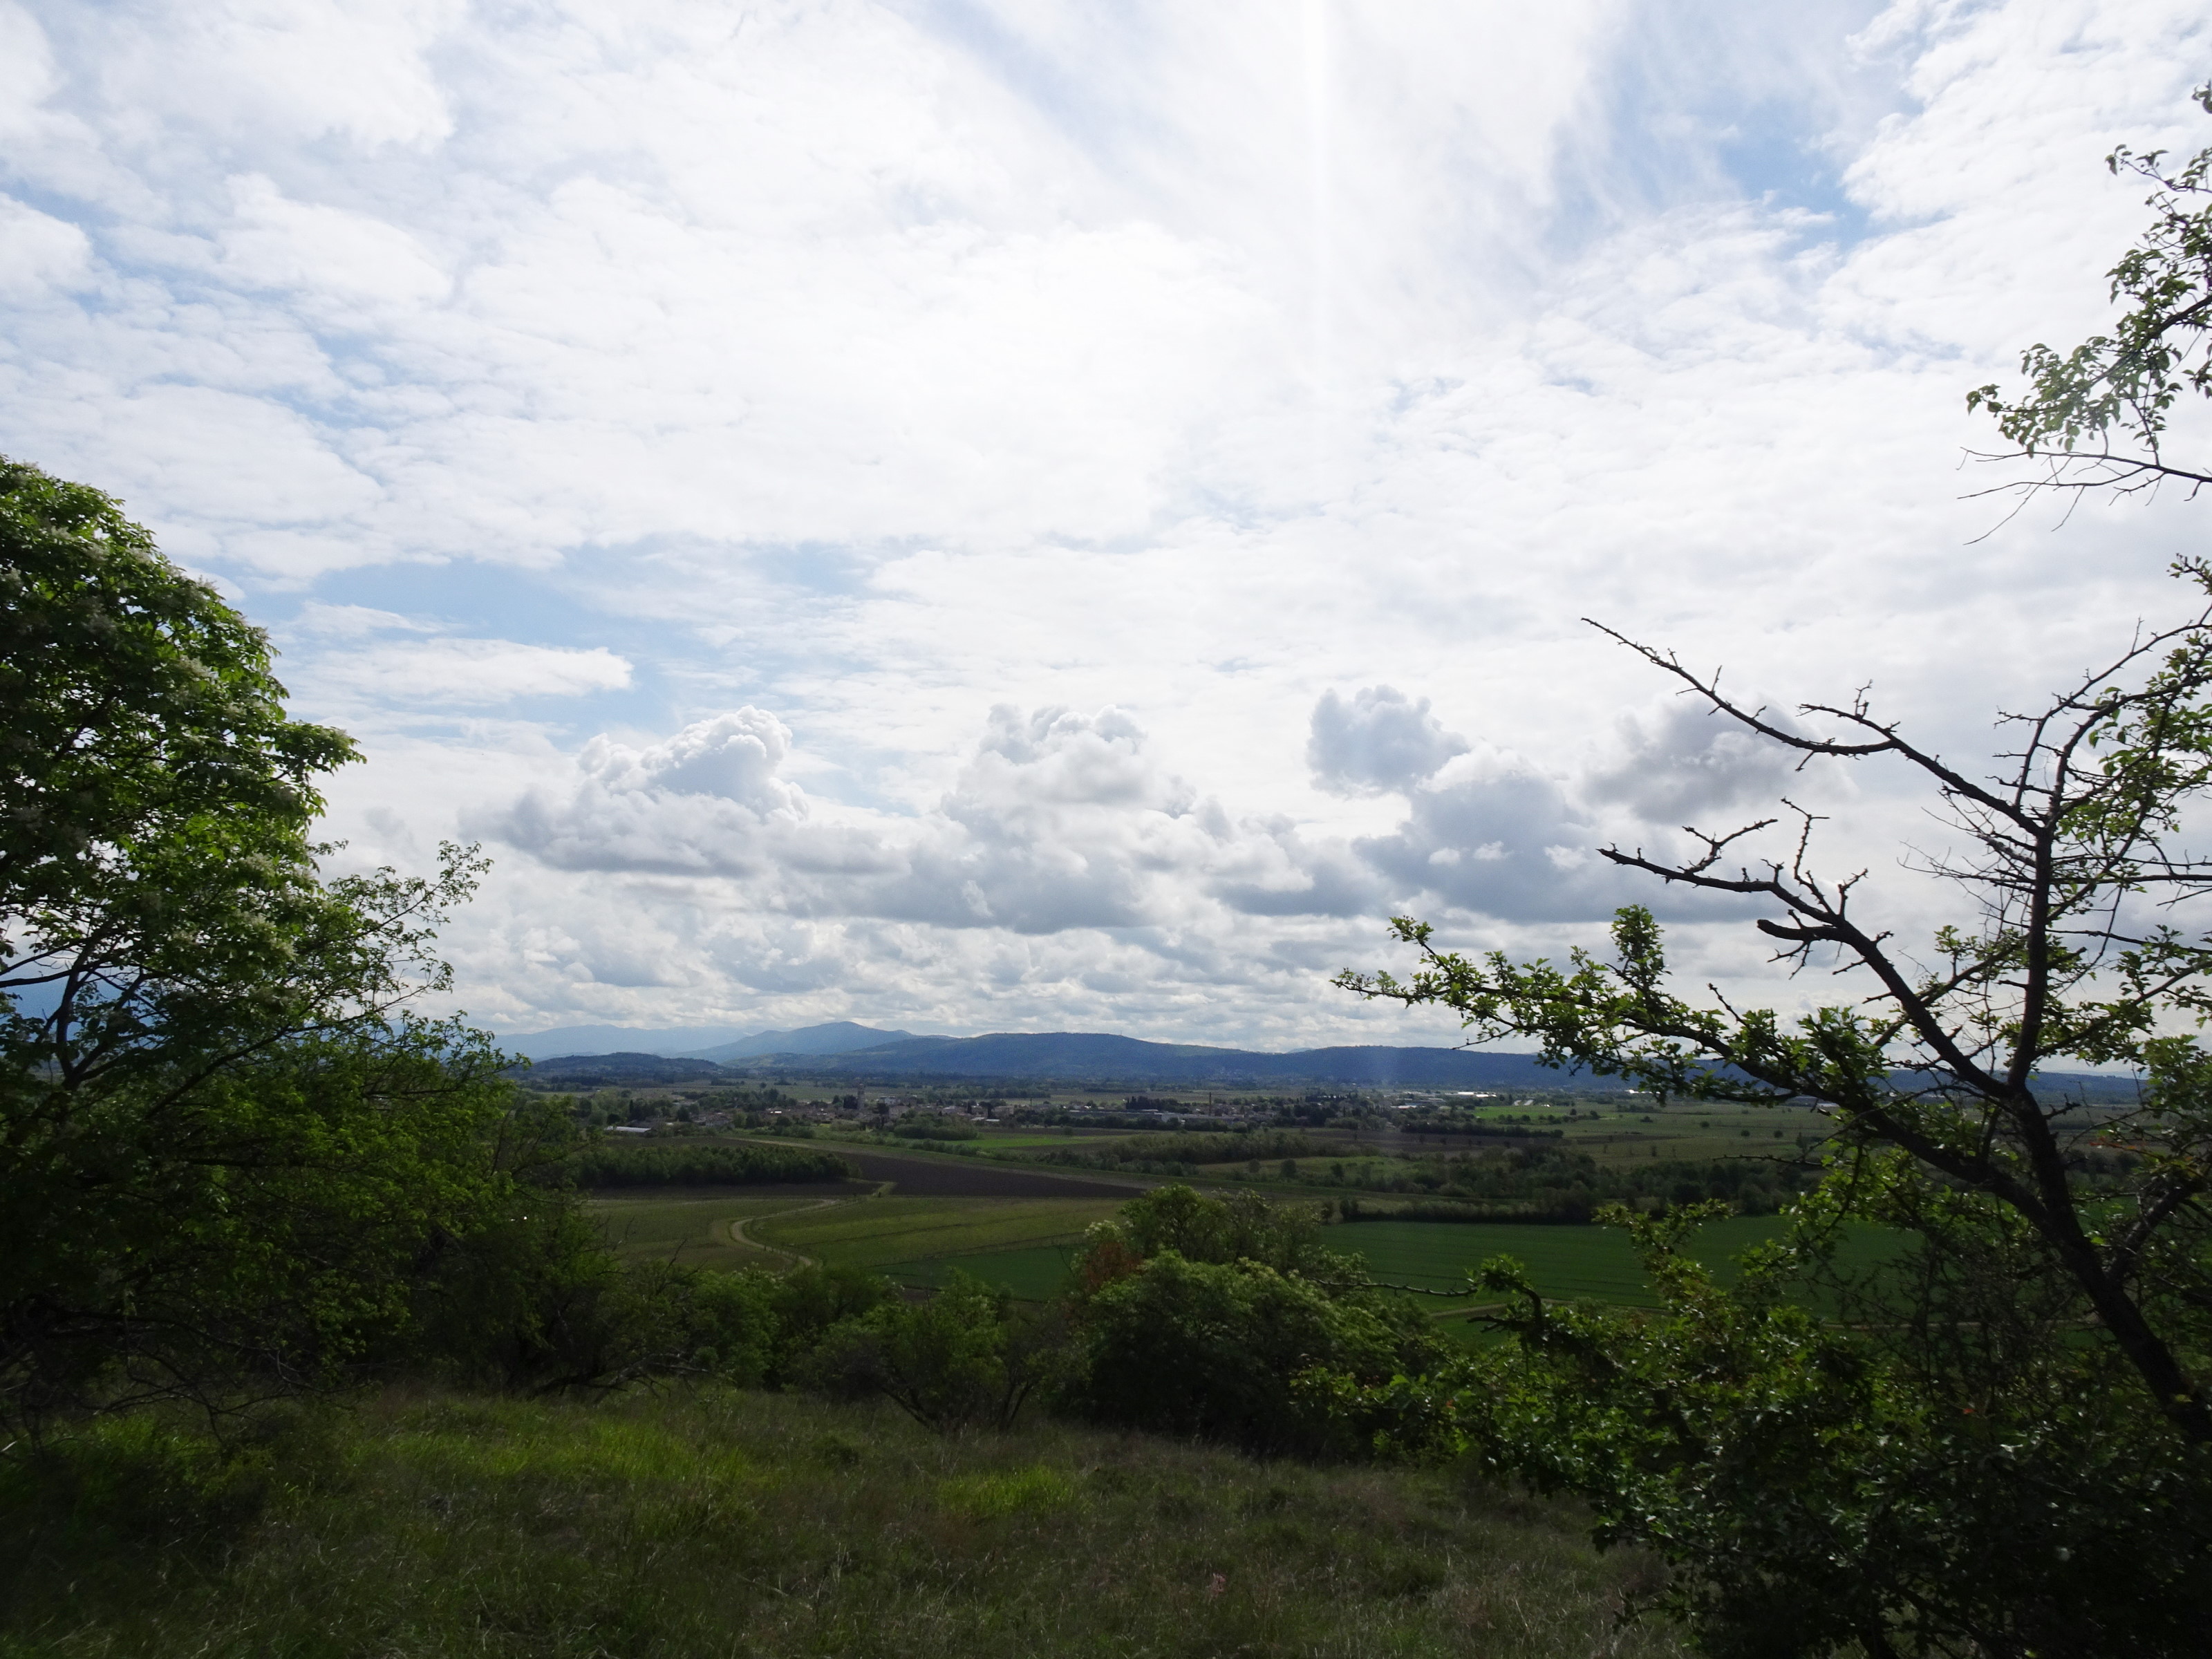
Photo 18 - View of the plain and the heights of the Carso

Photo 19 - View of the plain and the heights of the Carso
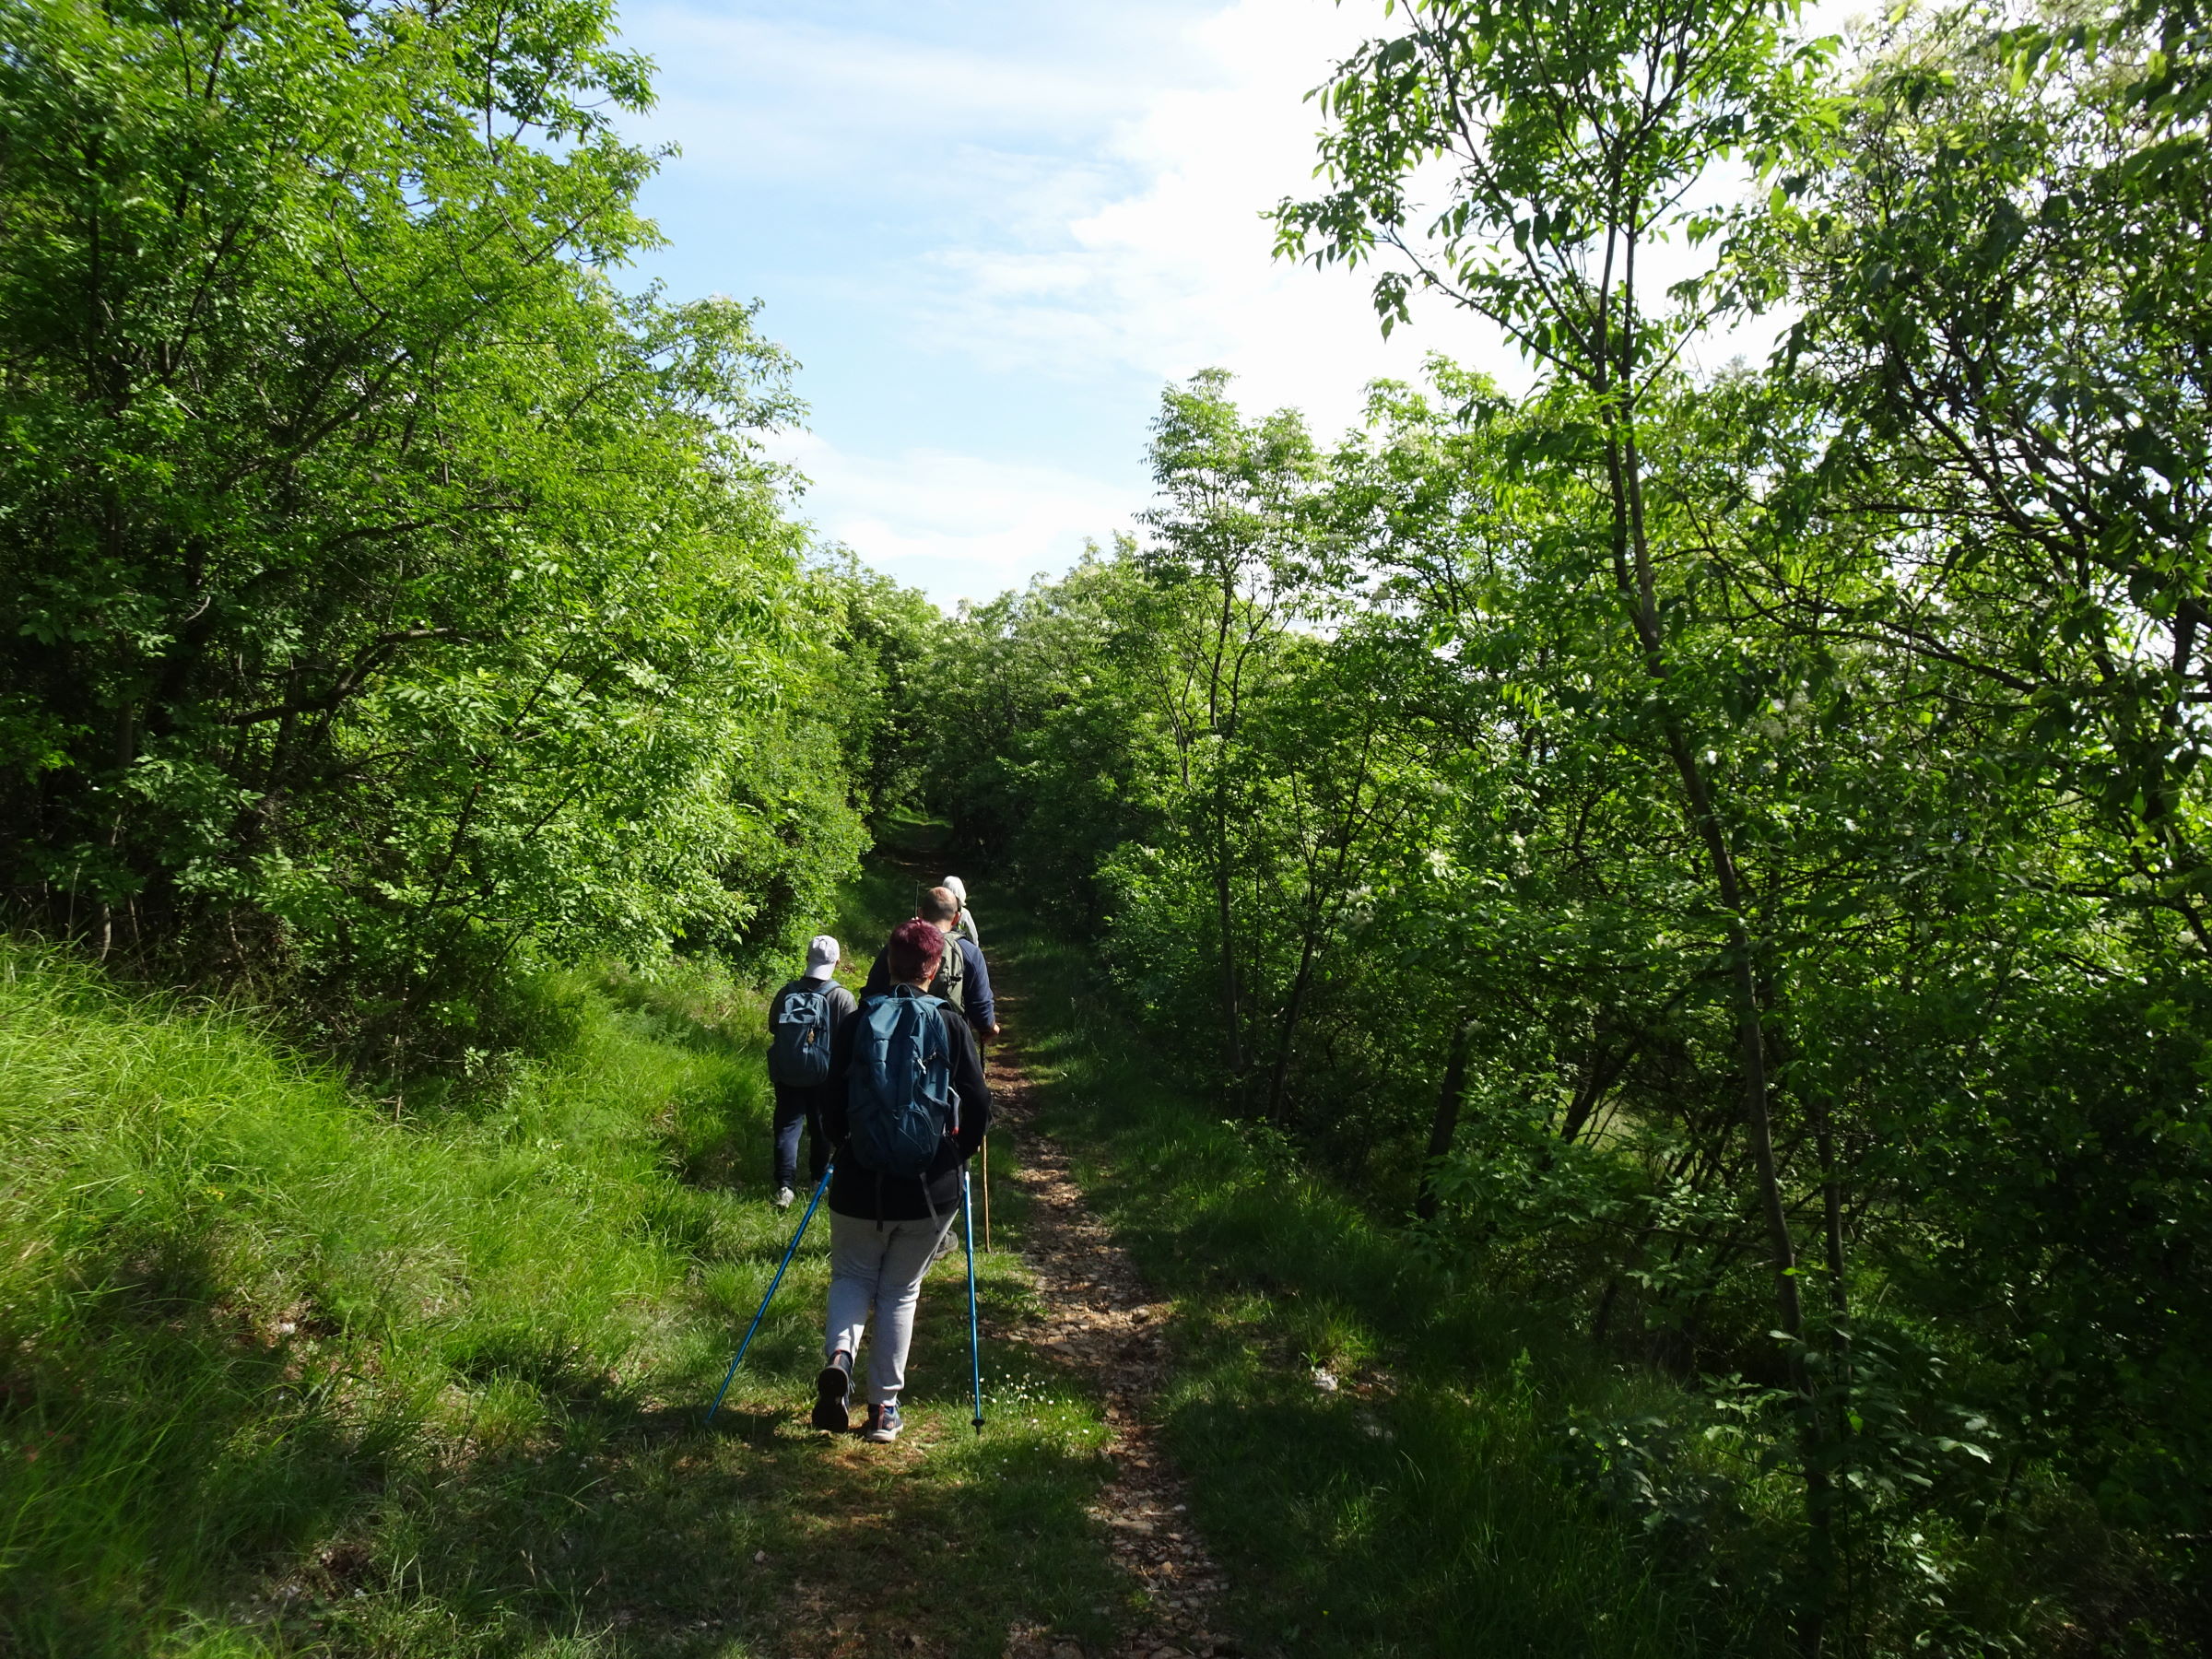
Photo 20 - Presence of a descent to enter the forest
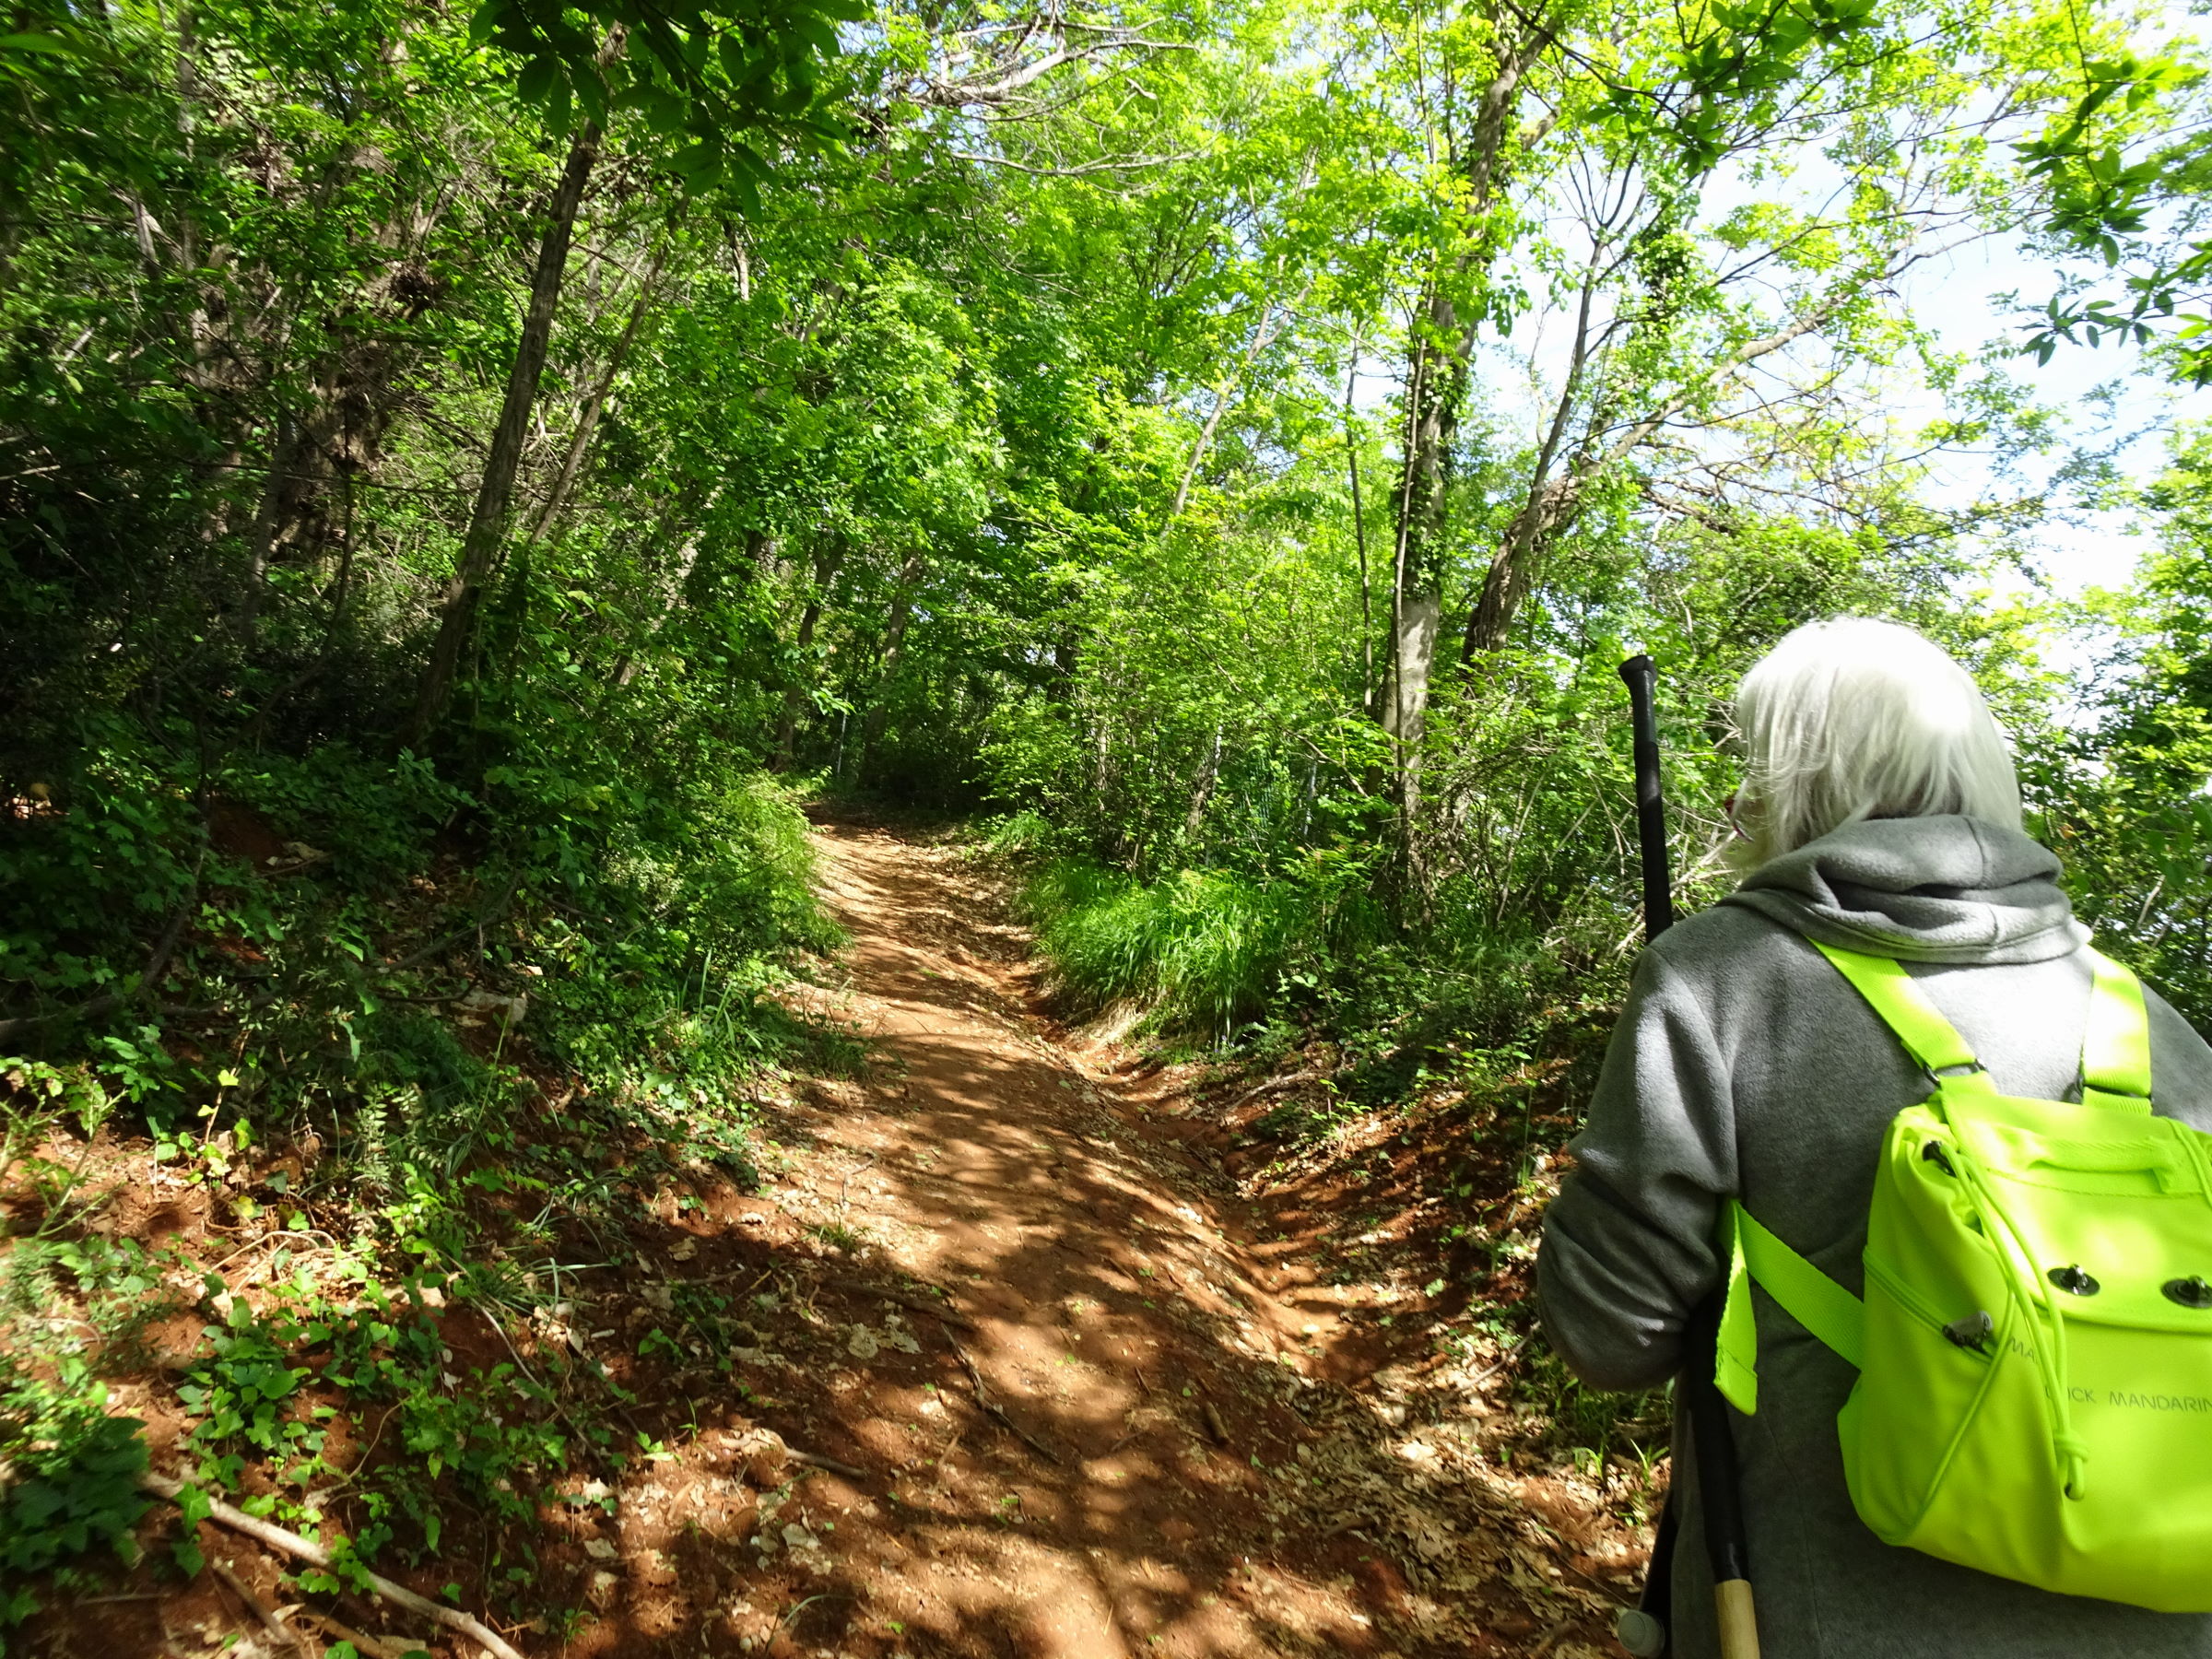
Photo 21 - Path on natural ground

Photo 22 - The path runs alongside the area of the underlying Quarry (fenced off)

Photo 23 - The path runs alongside the area of the underlying Quarry (fenced off)
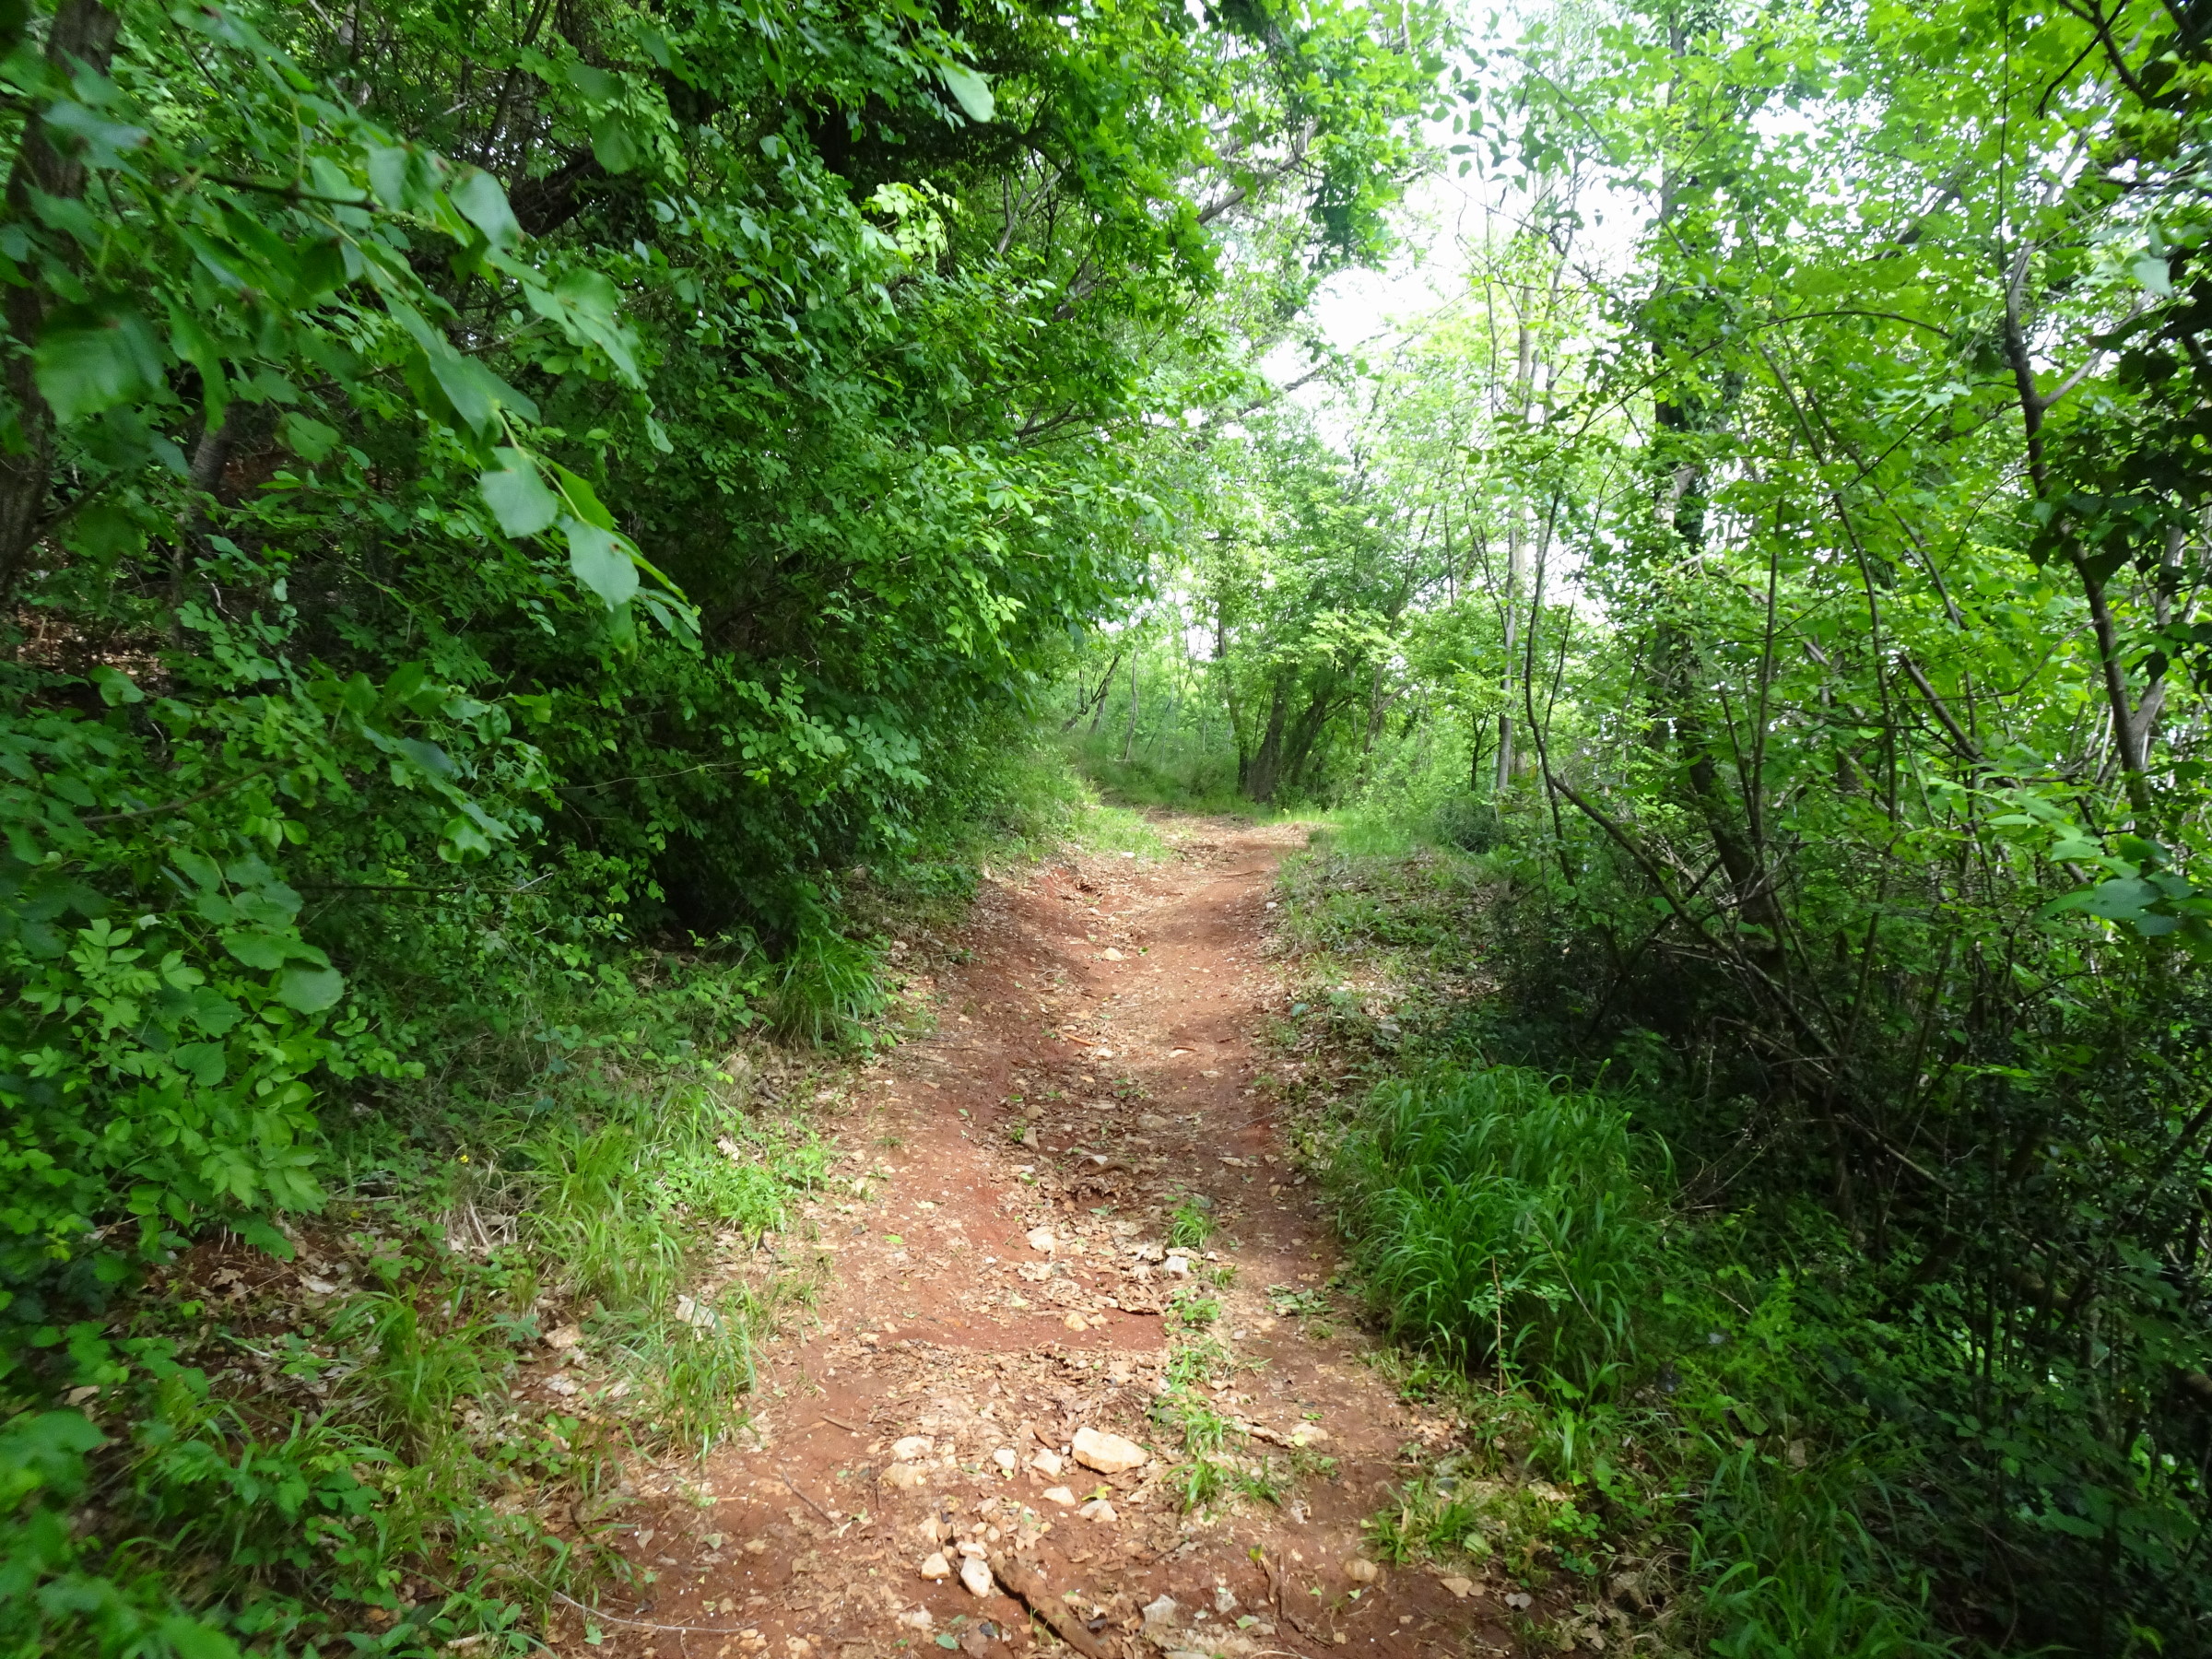
Photo 24 - Ascending path with uneven, slippery ground and presence of stones

Photo 25 - Ascending path with uneven, slippery ground and presence of stones
About 1.8 km from the start, after passing a rest area with a bench and a trash can (Photo 26, 27), you continue climbing for a short, more challenging stretch (Photo 28, 29), until you reach a fork, about 2 km from the start where there is a sign indicating a right turn towards Borgnano and not to continue straight (direction Ara Pacis) (Photo 30, 31).
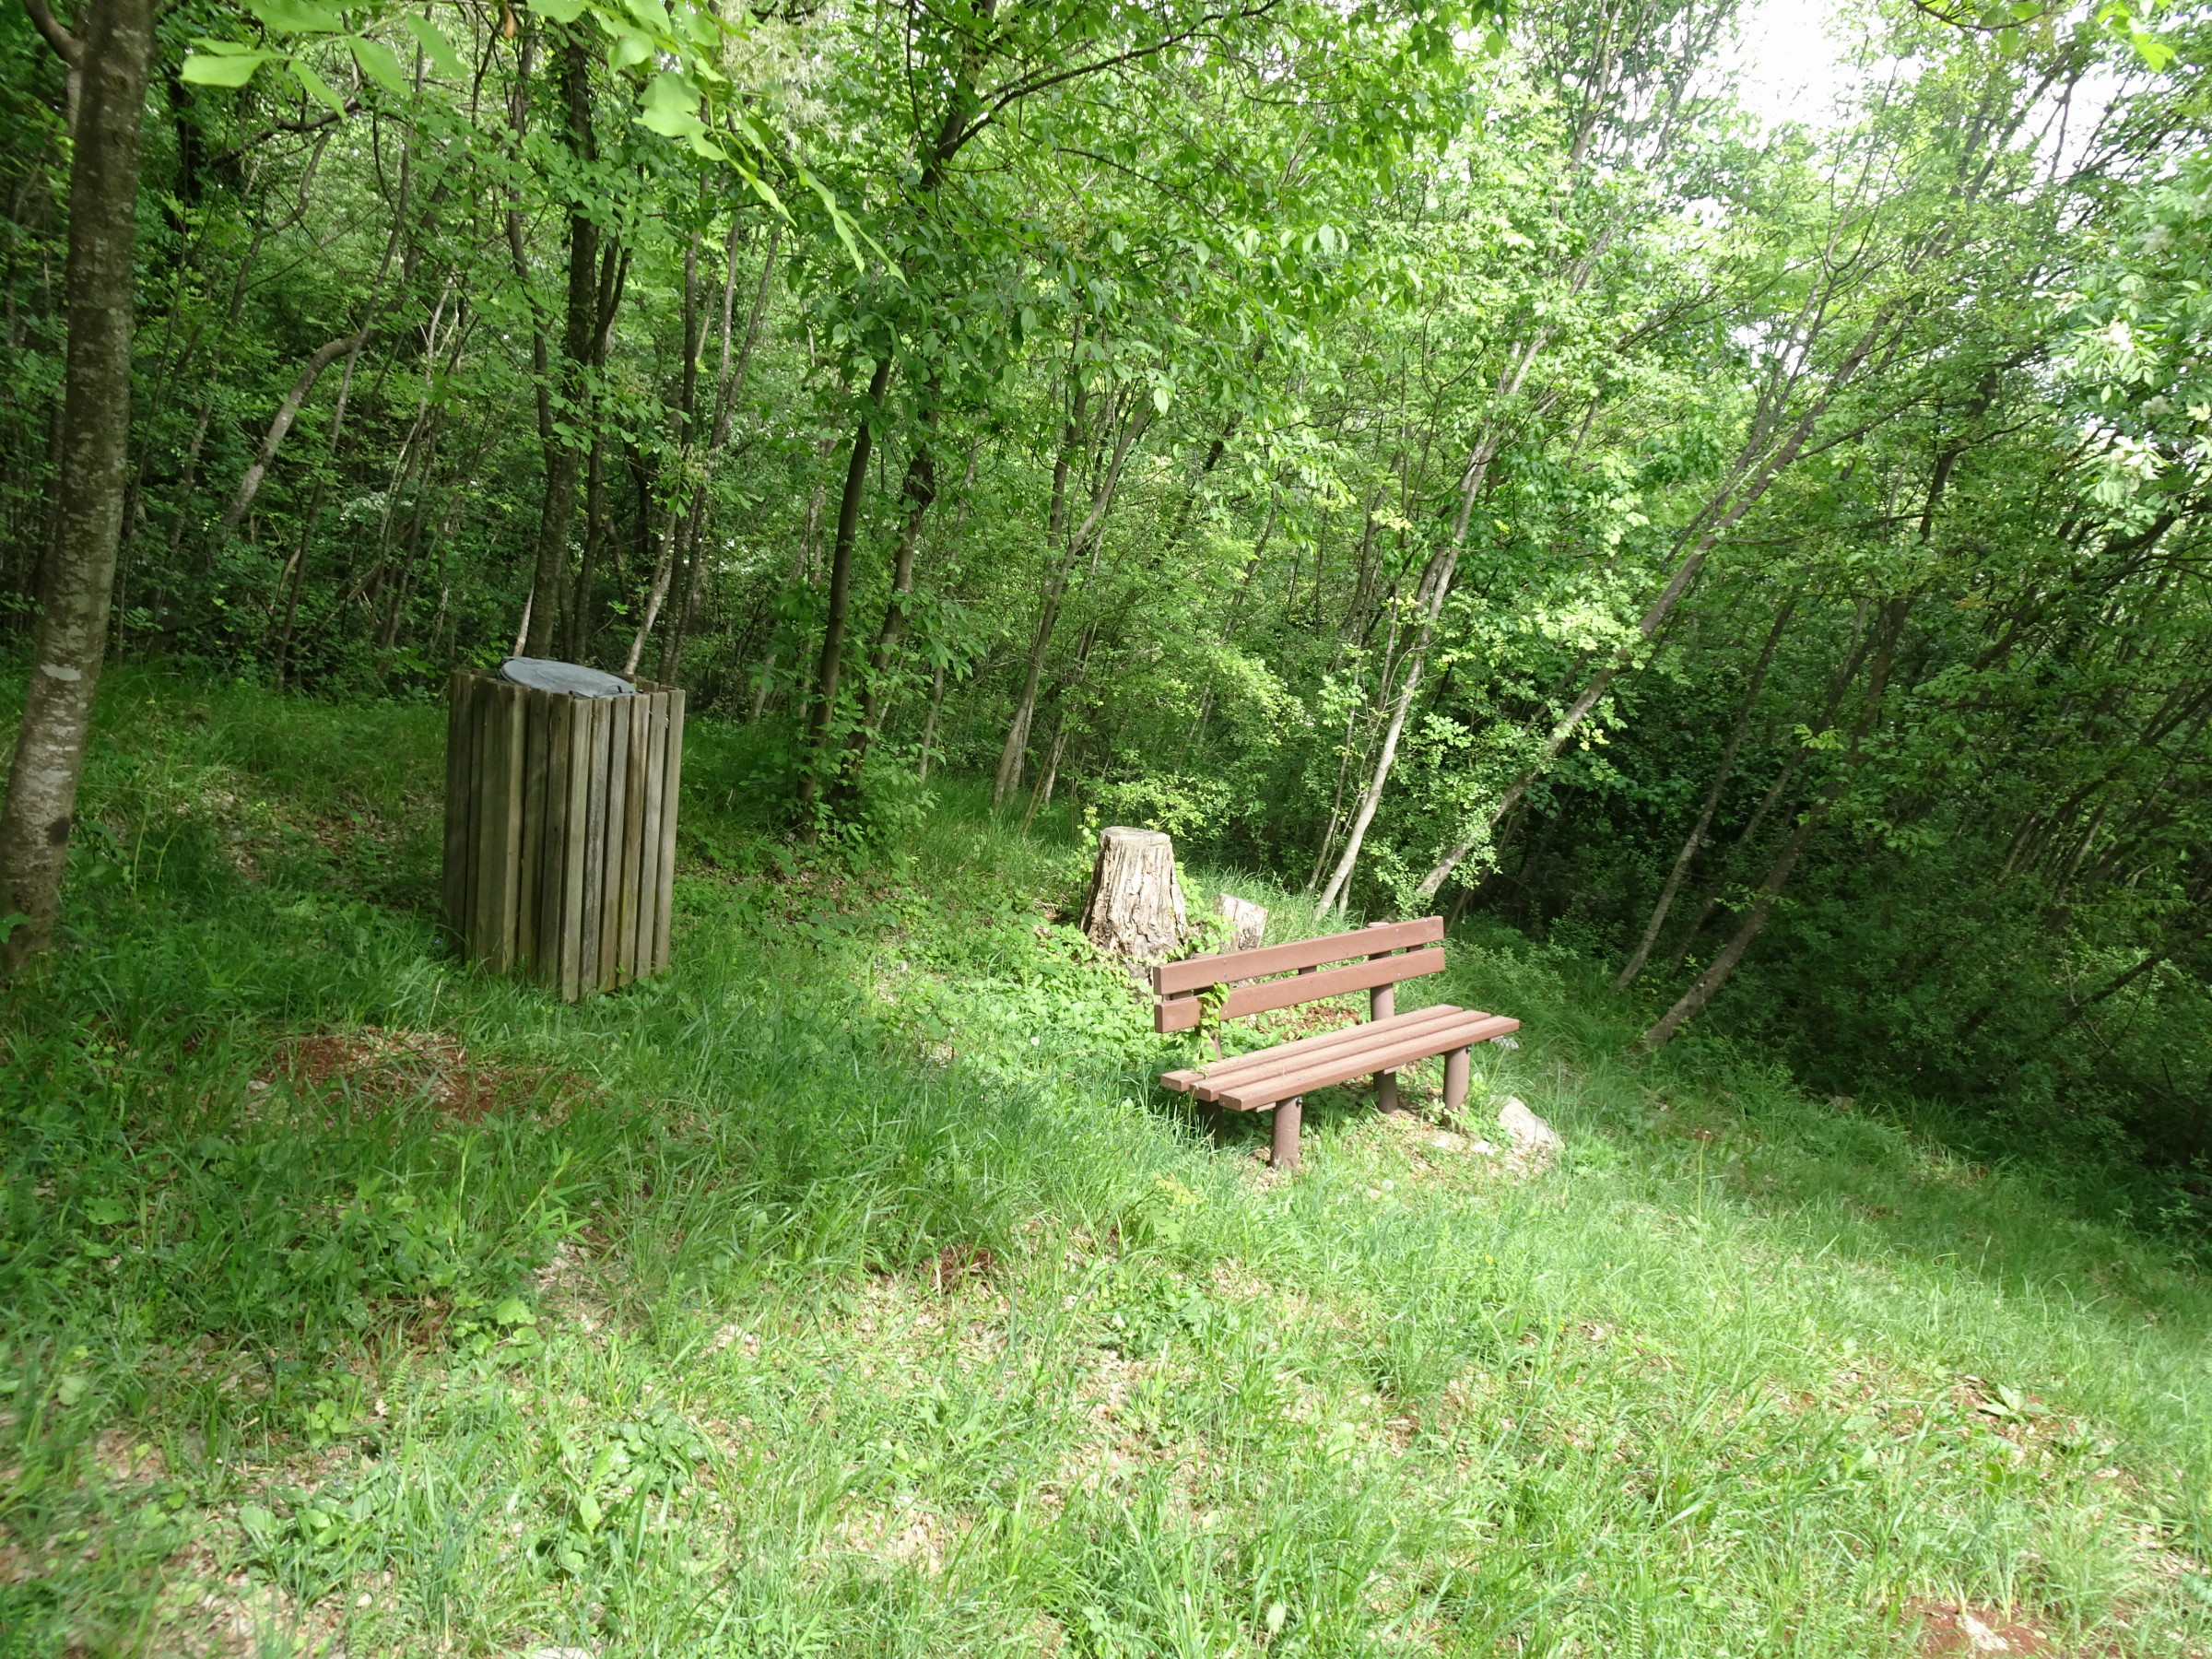
Photo 26 - Rest area with bench and waste bin
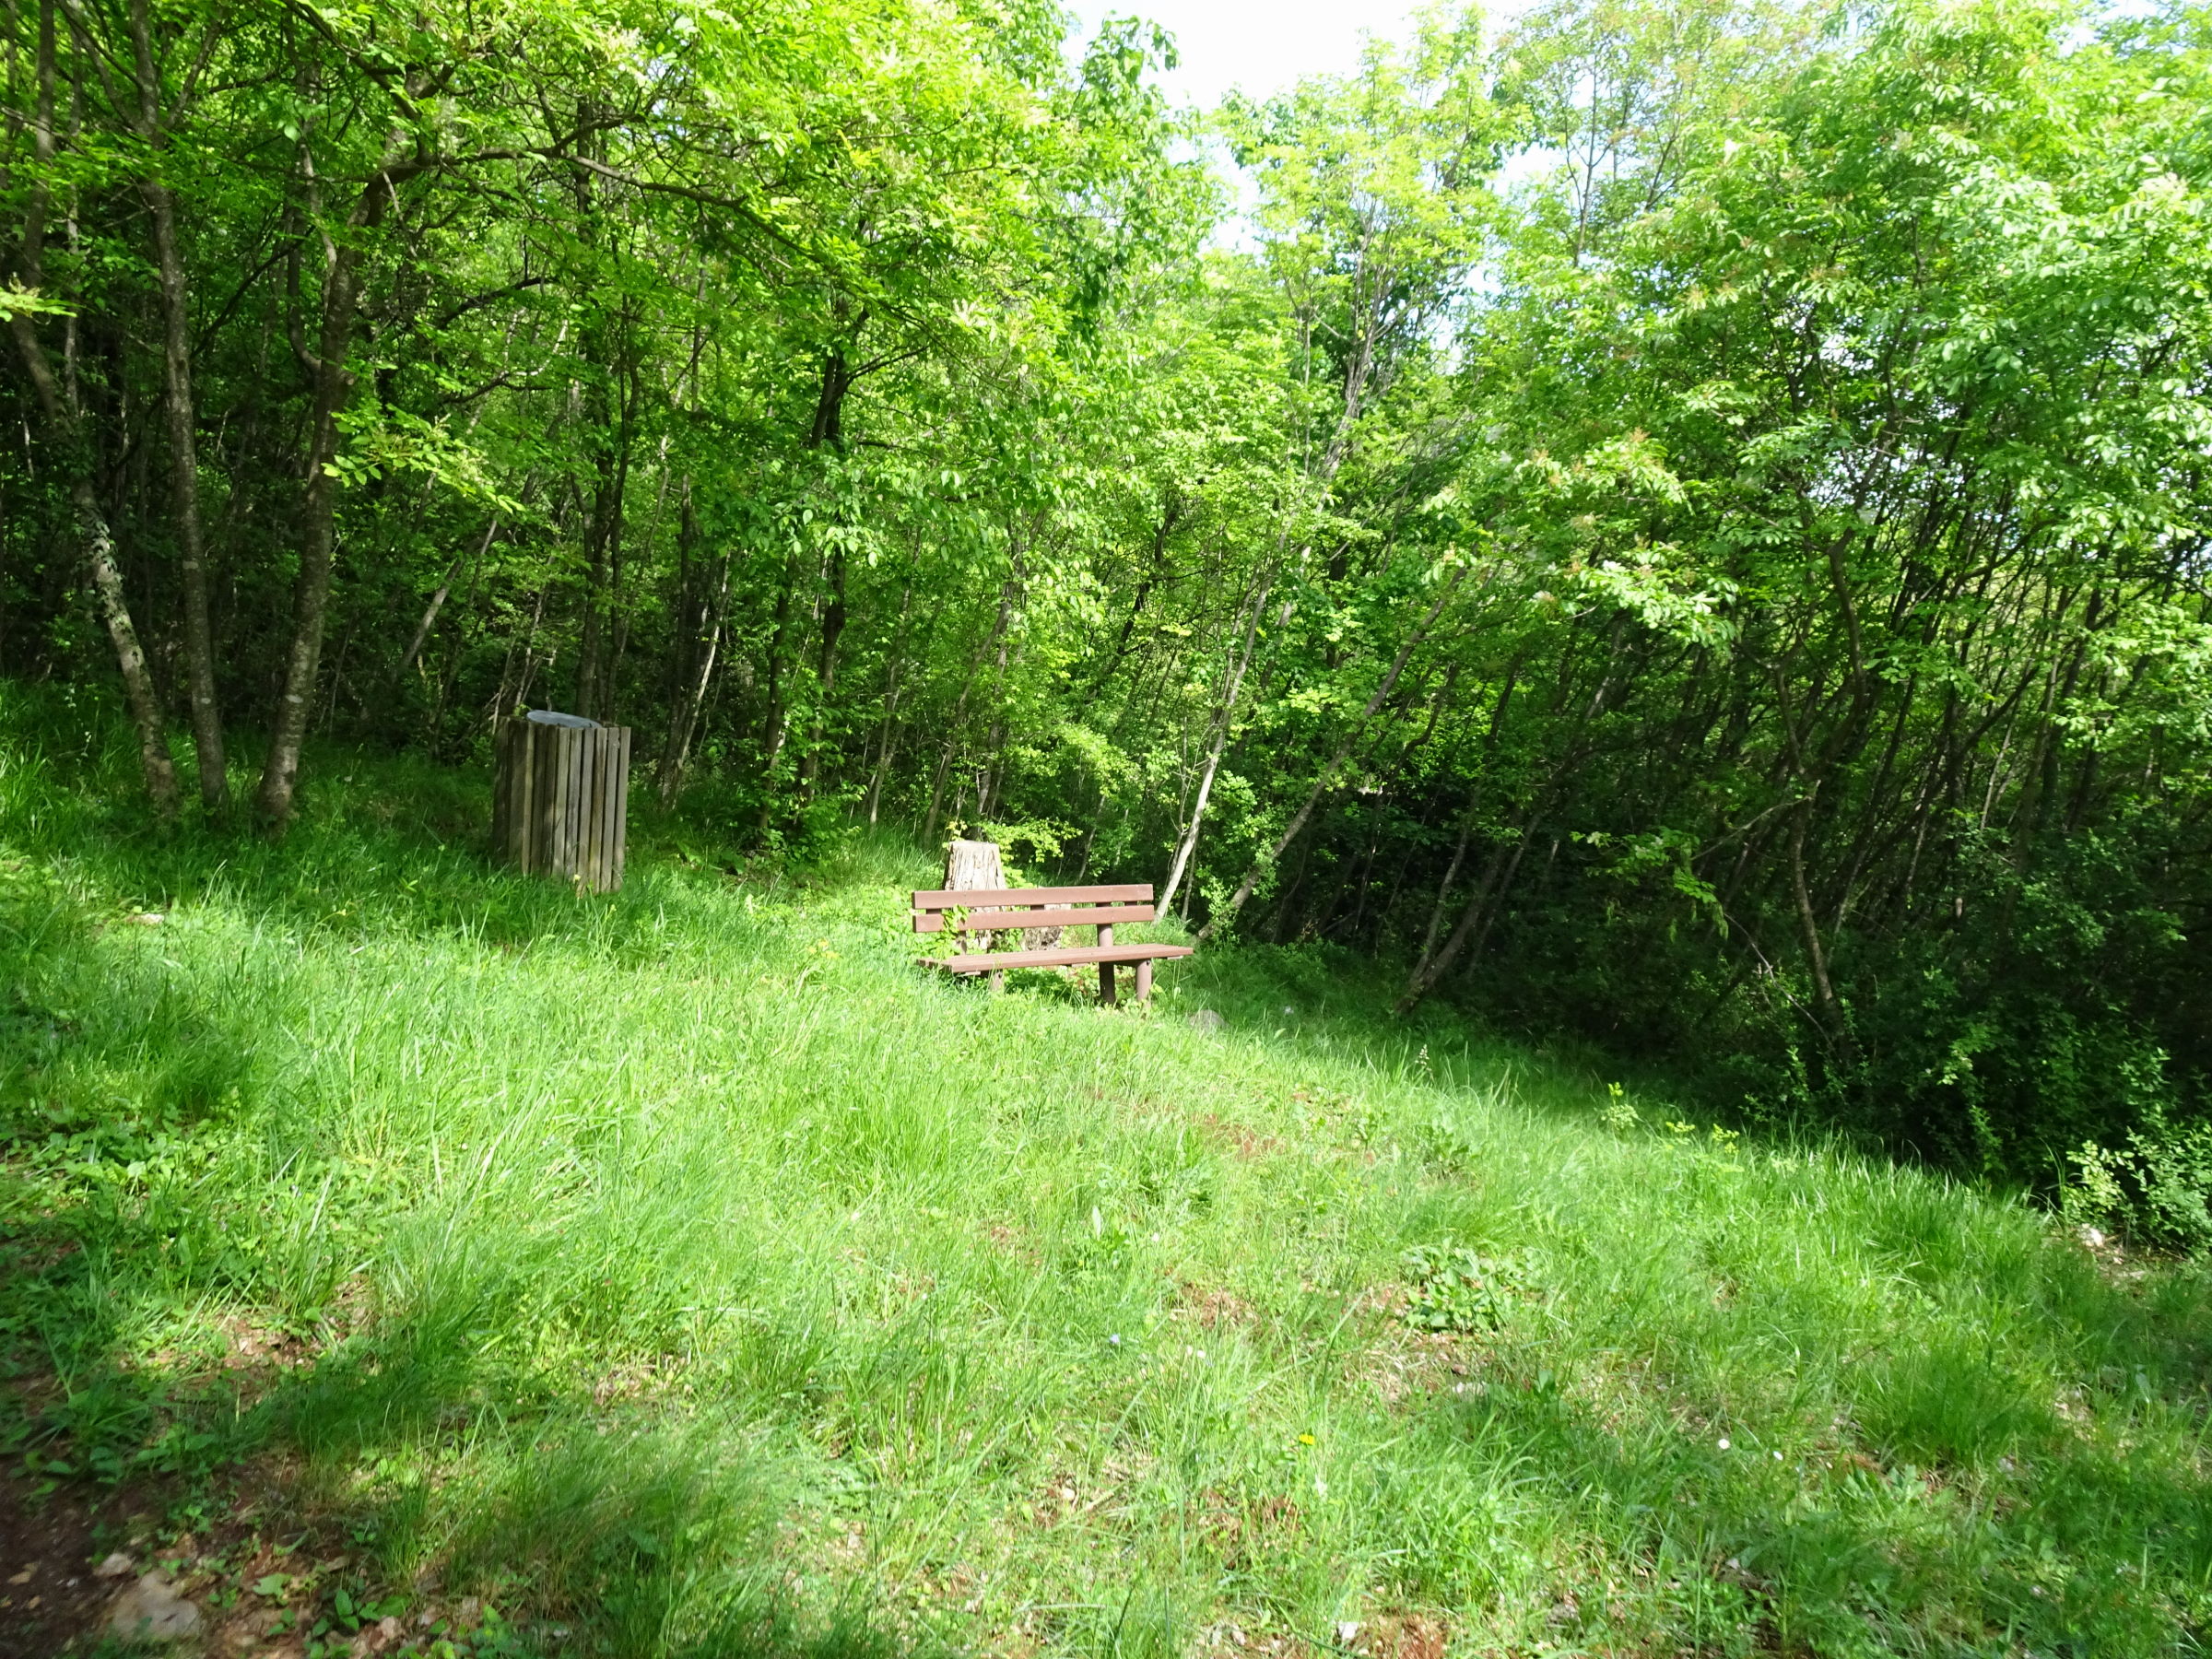
Photo 27 - Rest area with bench and waste bin
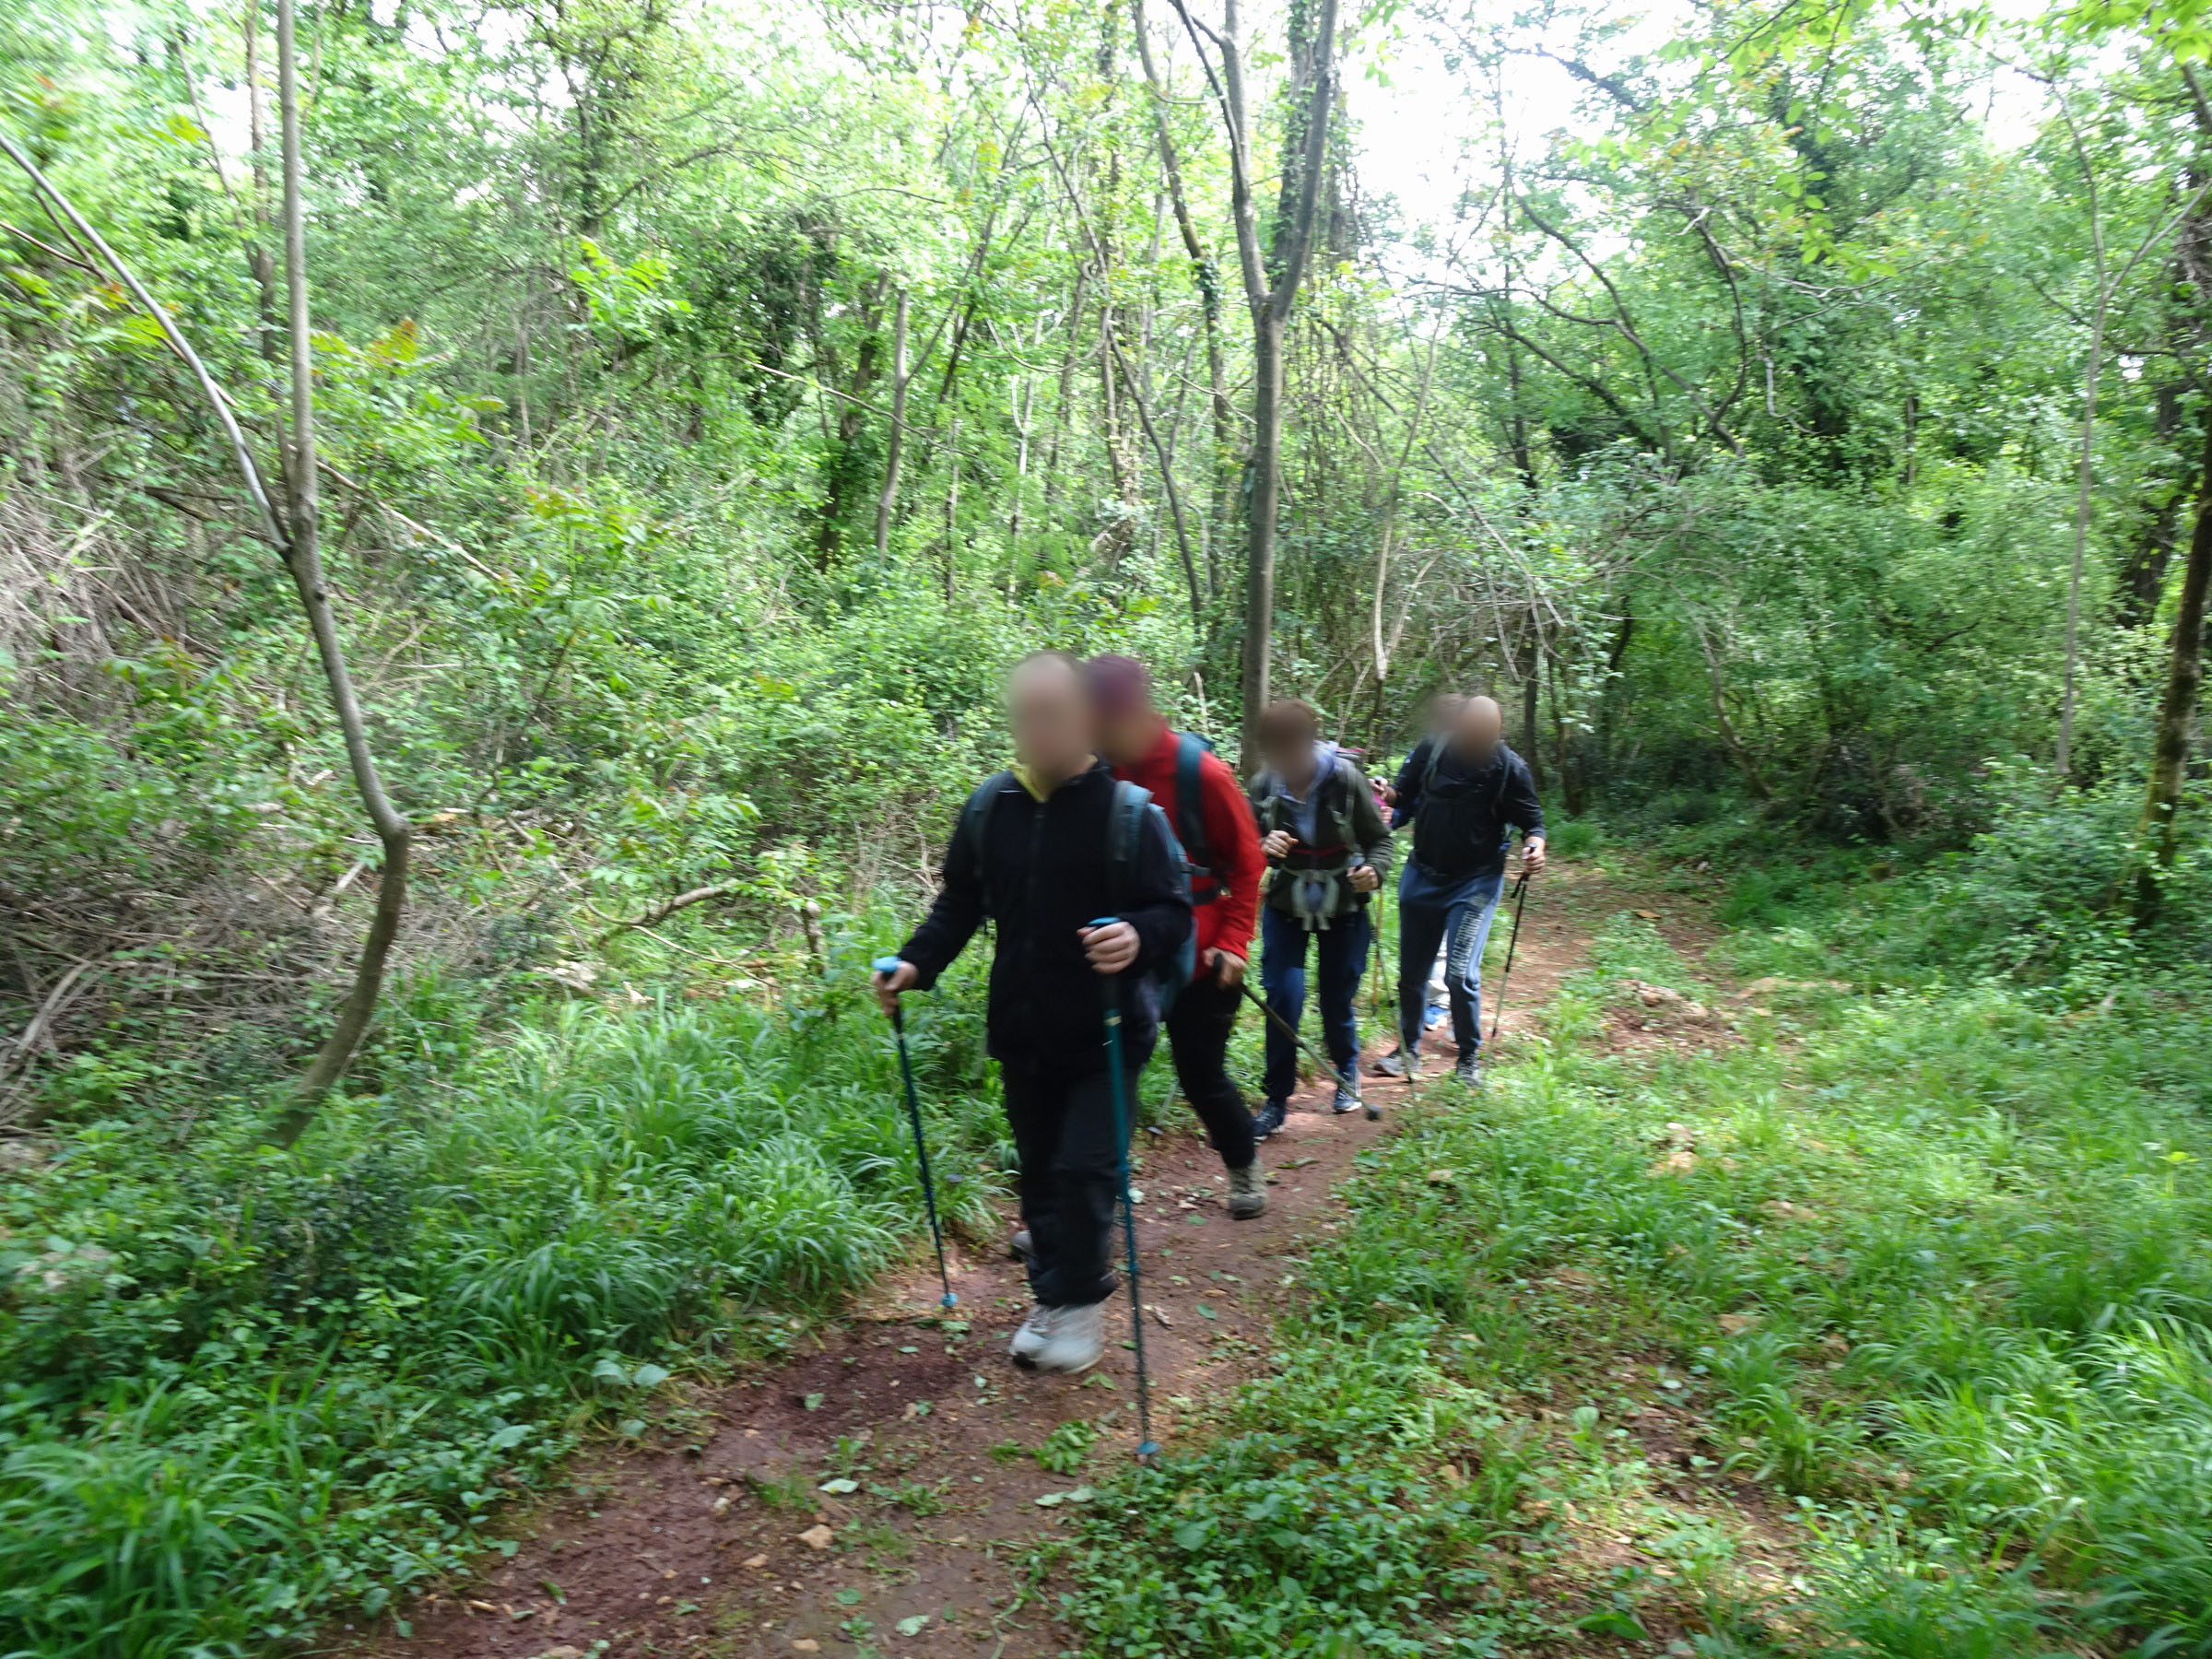
Photo 28 - Stretch of uphill path
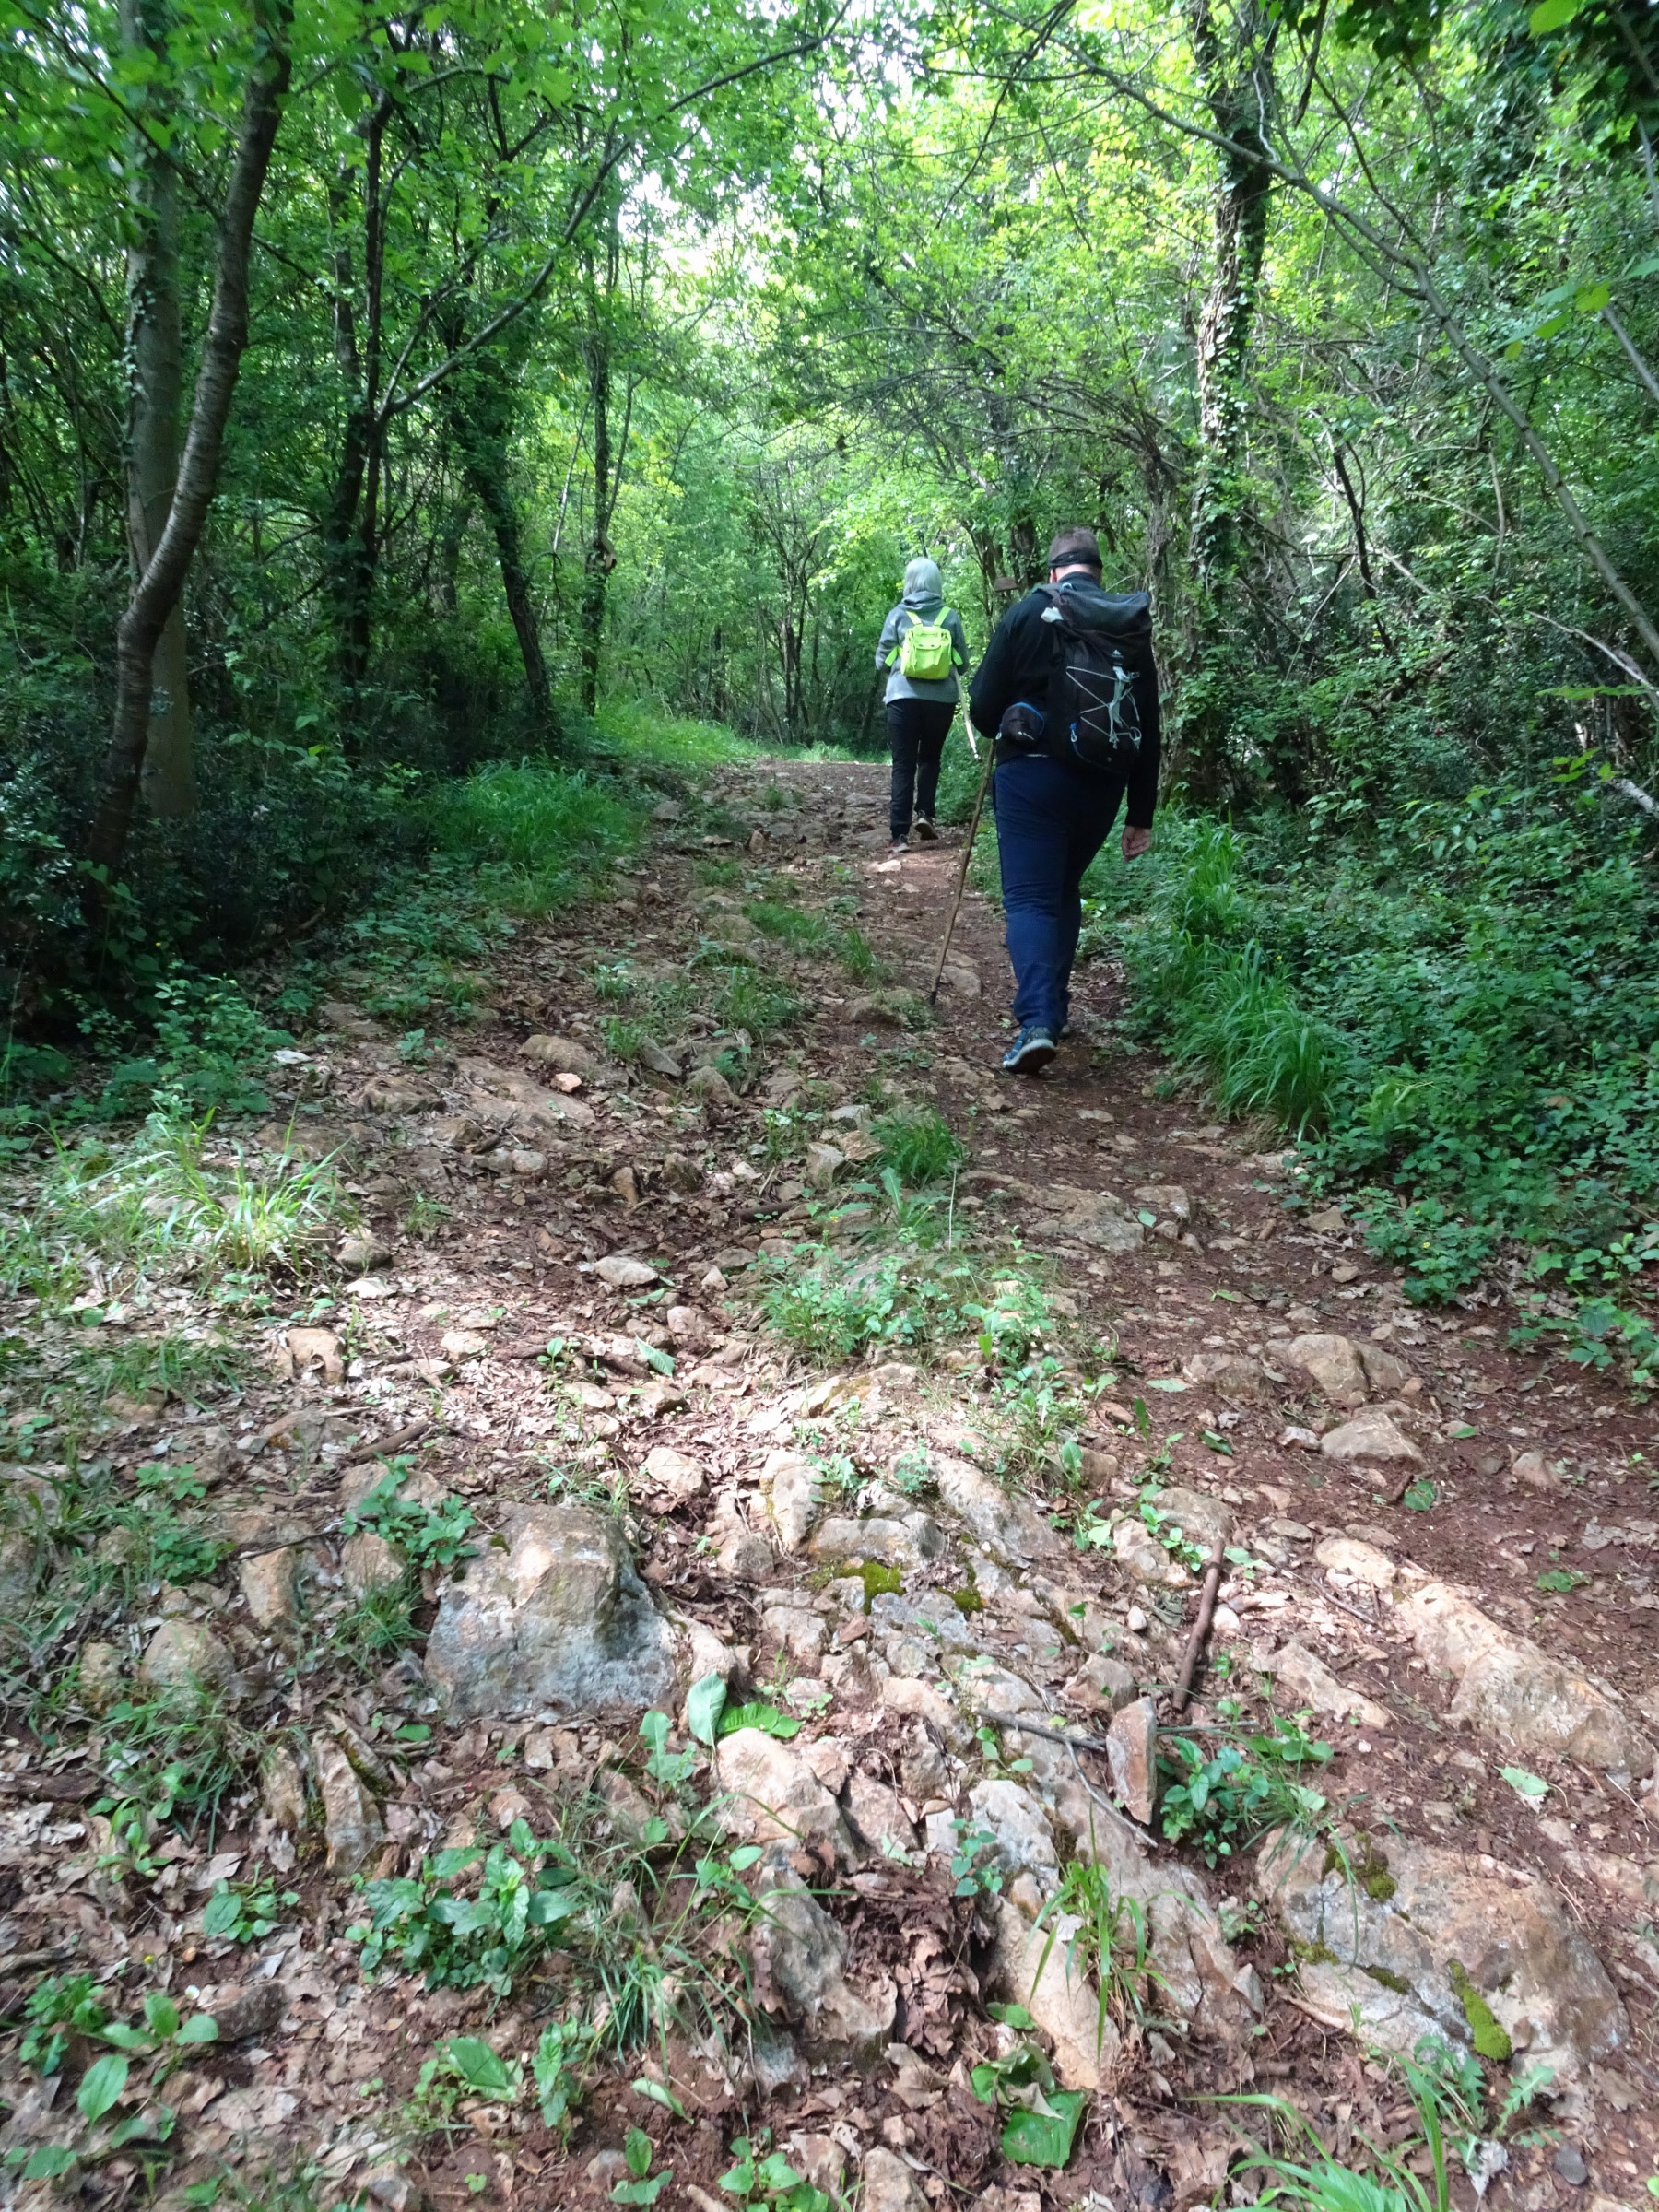
Photo 29 - Stretch of uphill path
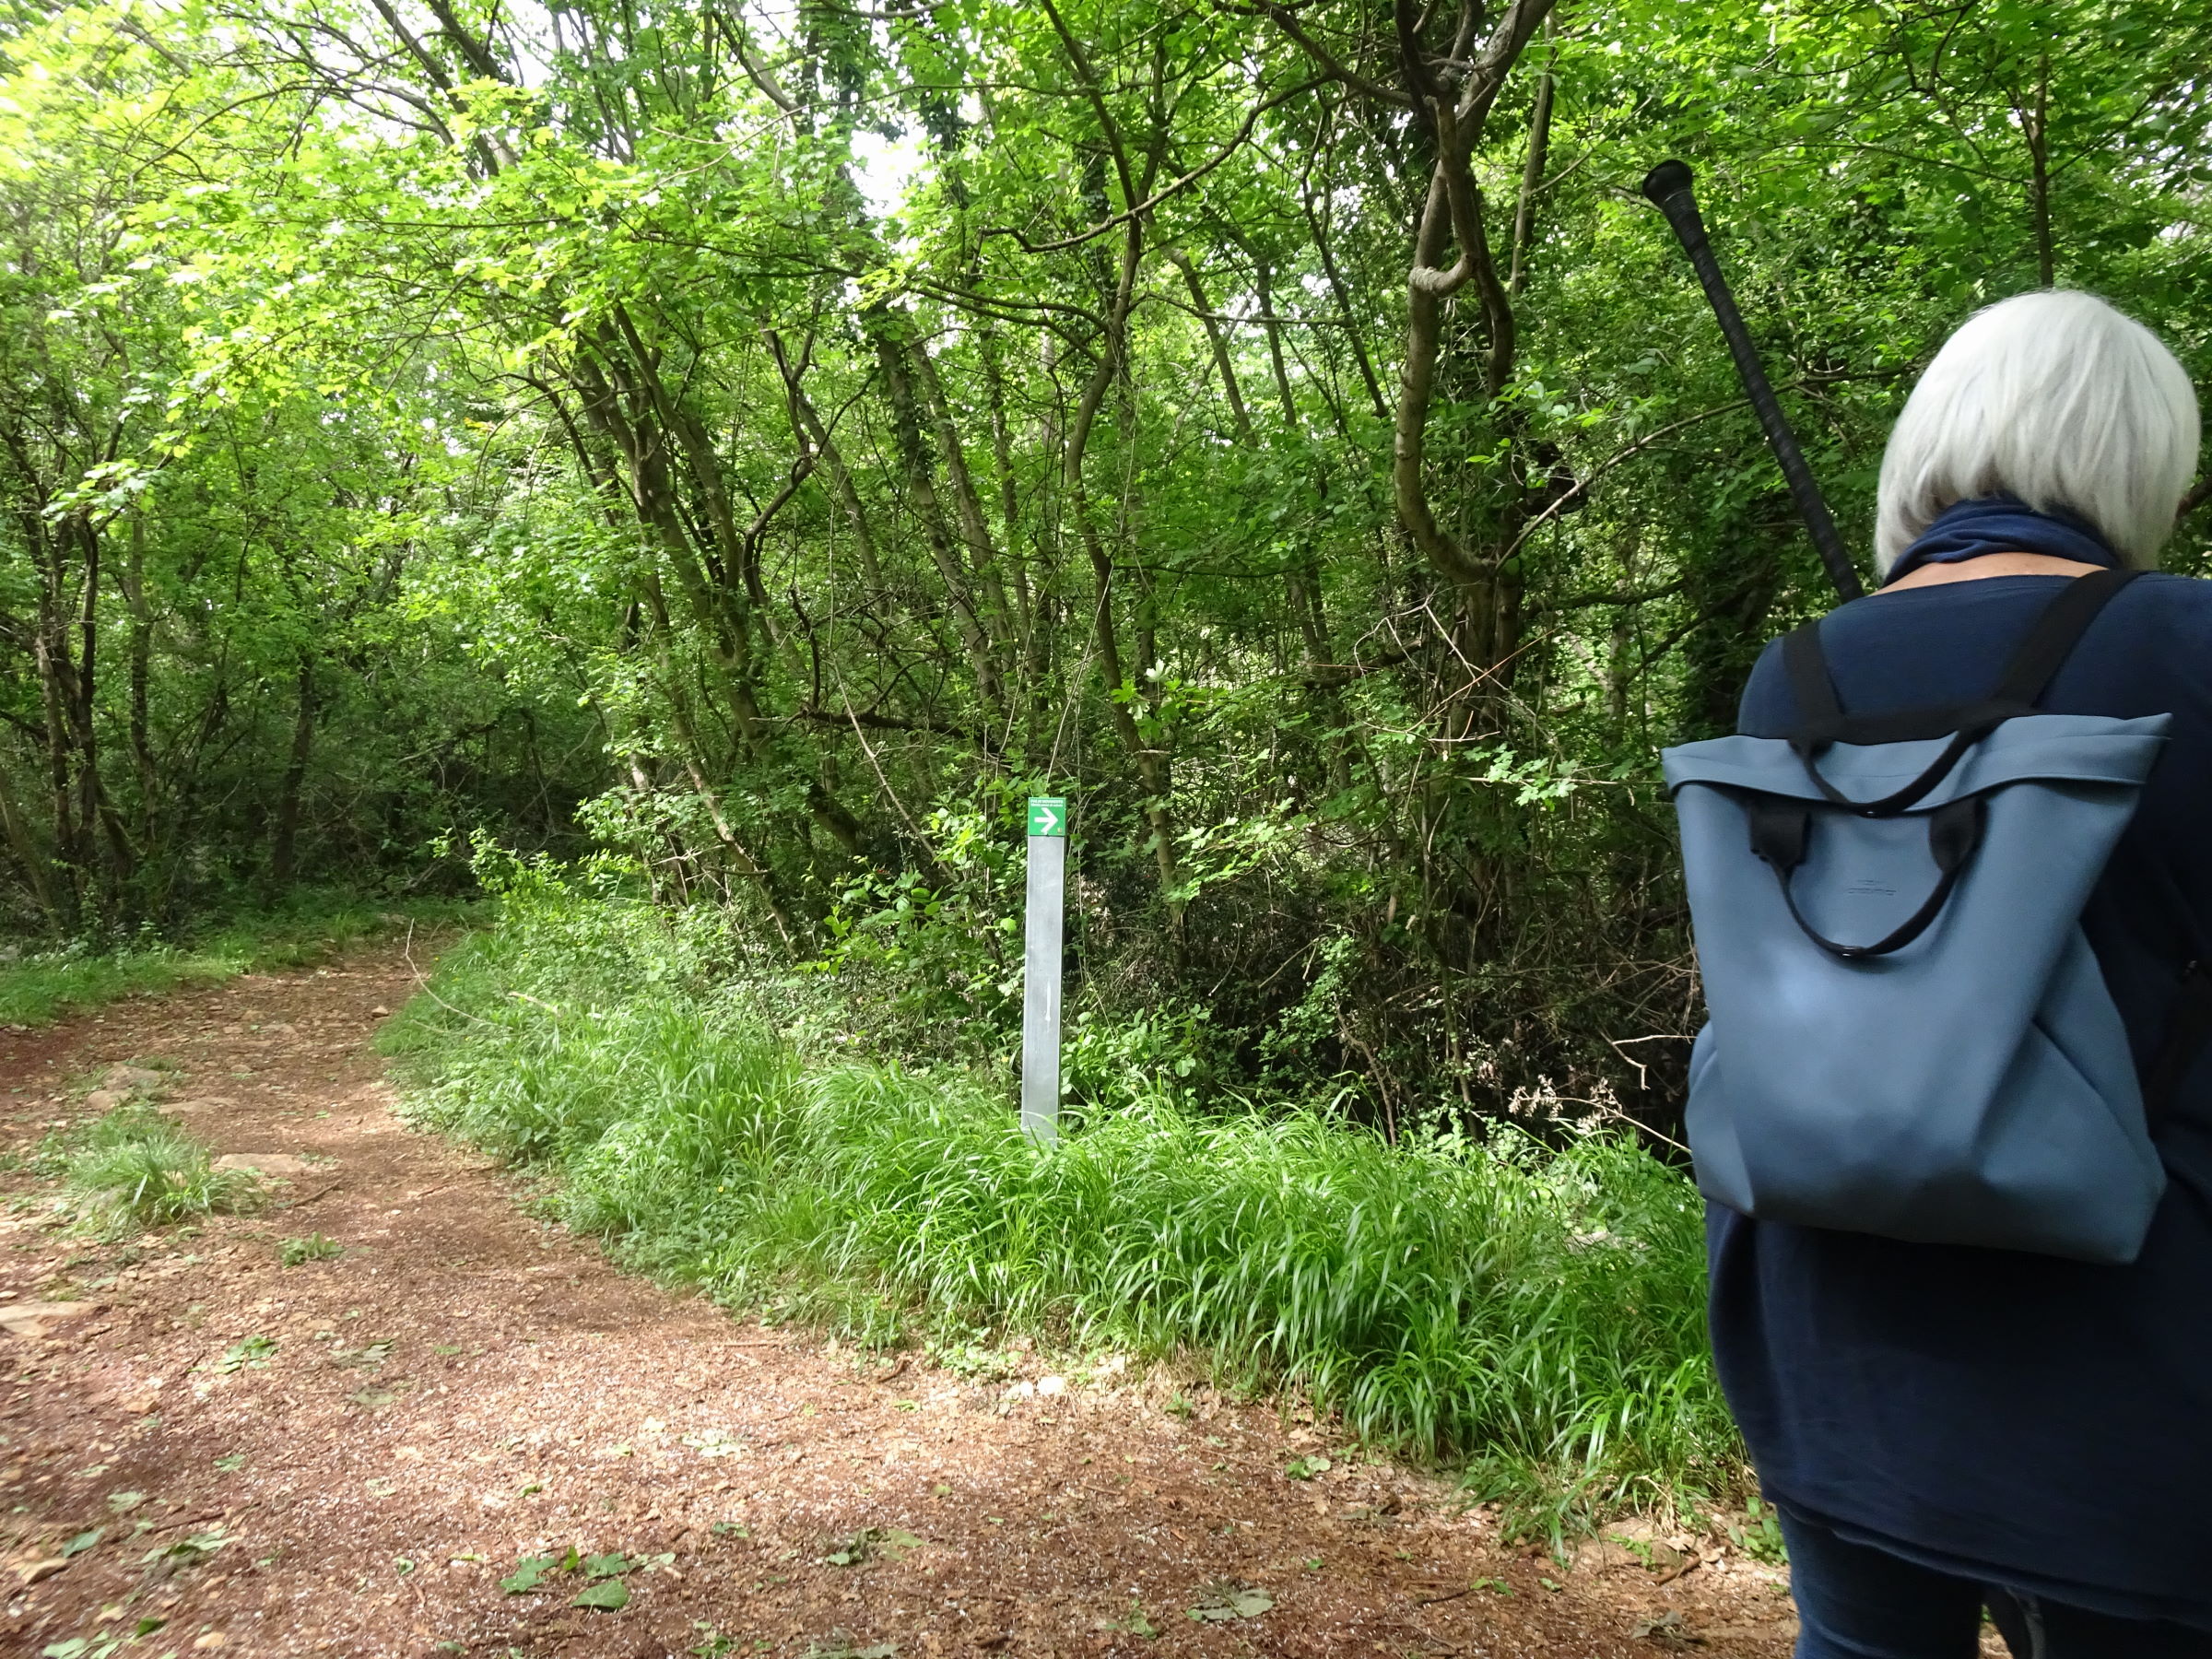
Photo 30 - Path indicator sign
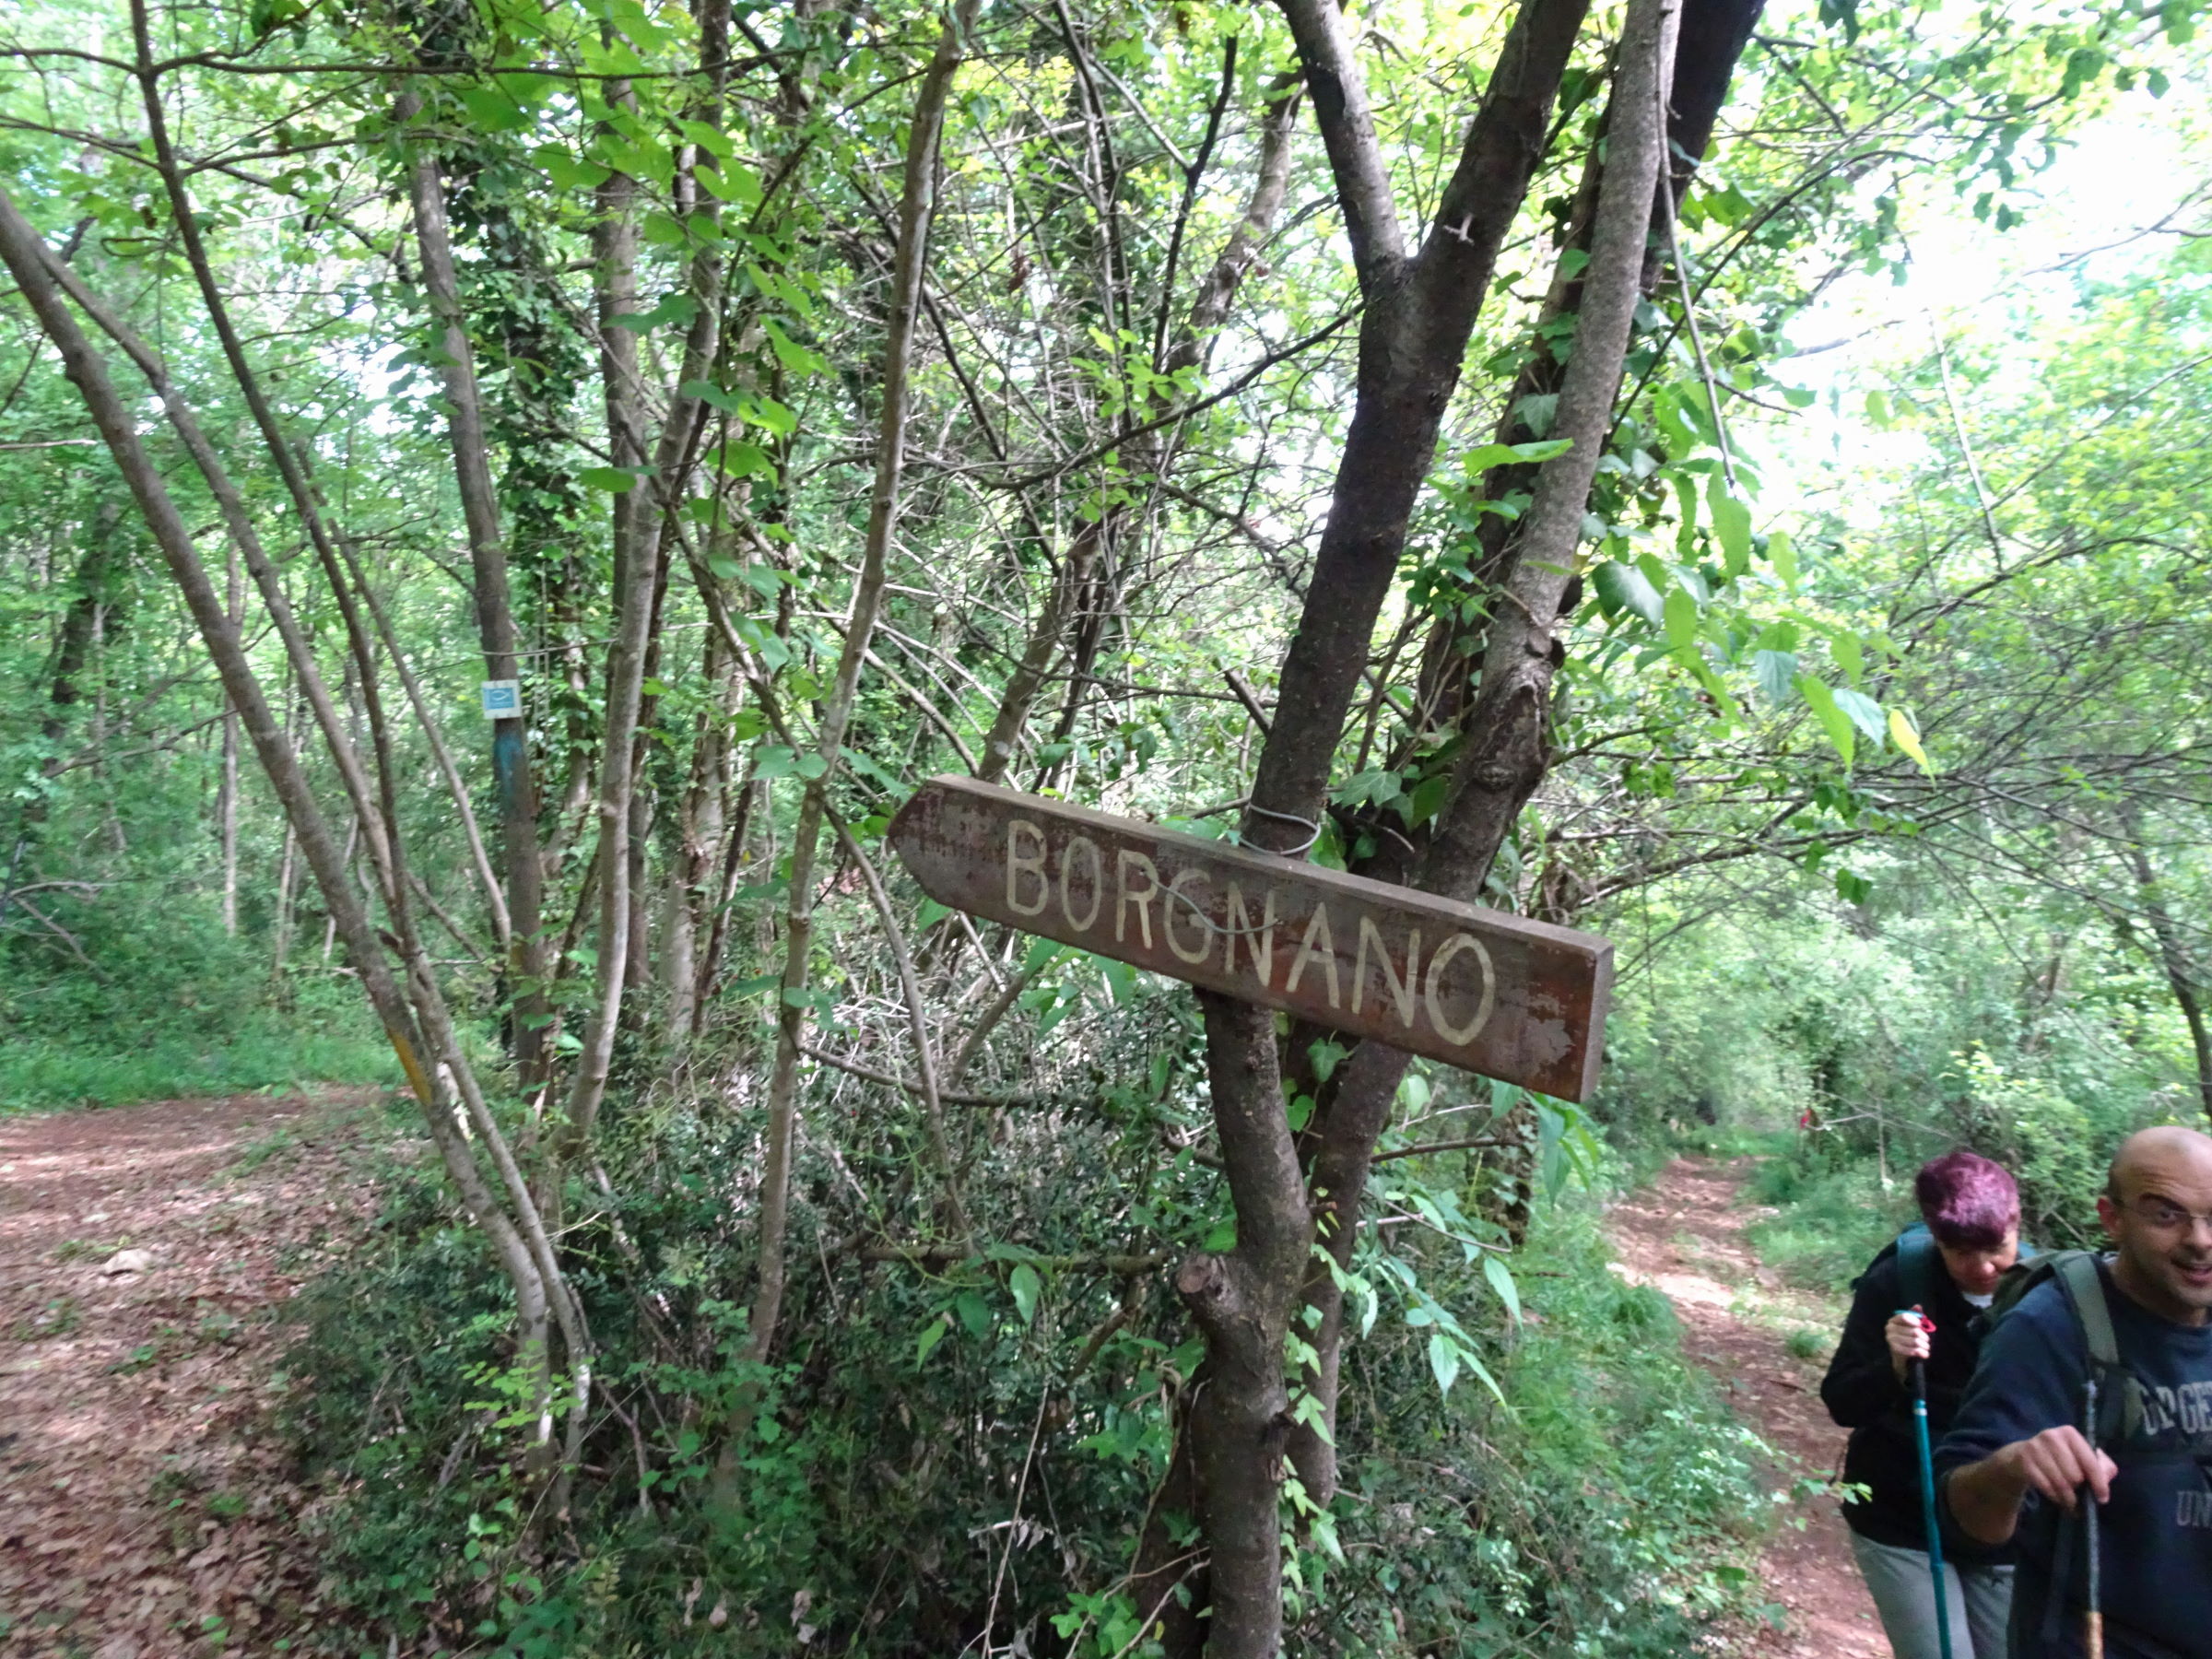
Photo 31 - Sign indicating the turn towards Borgnano
For a short stretch, the almost flat path has a regular surface (Photo 32), after a few meters there are steep slippery descents (Photo 33, 34). In this part of the forest, orientation is complicated by the network of paths present and the complete lack of indicator signs for the 10,000 steps, not even the Google map provides precise indications.
2.3 km from the start, at a junction, there is an indicator sign for the 10,000 steps (Photo 35). You move away from the path indicated for Borgnano to follow the directions towards S. Antonio. At km 2.5, at a subsequent junction (Photo 36, 37), follow the directions for S. Antonio.
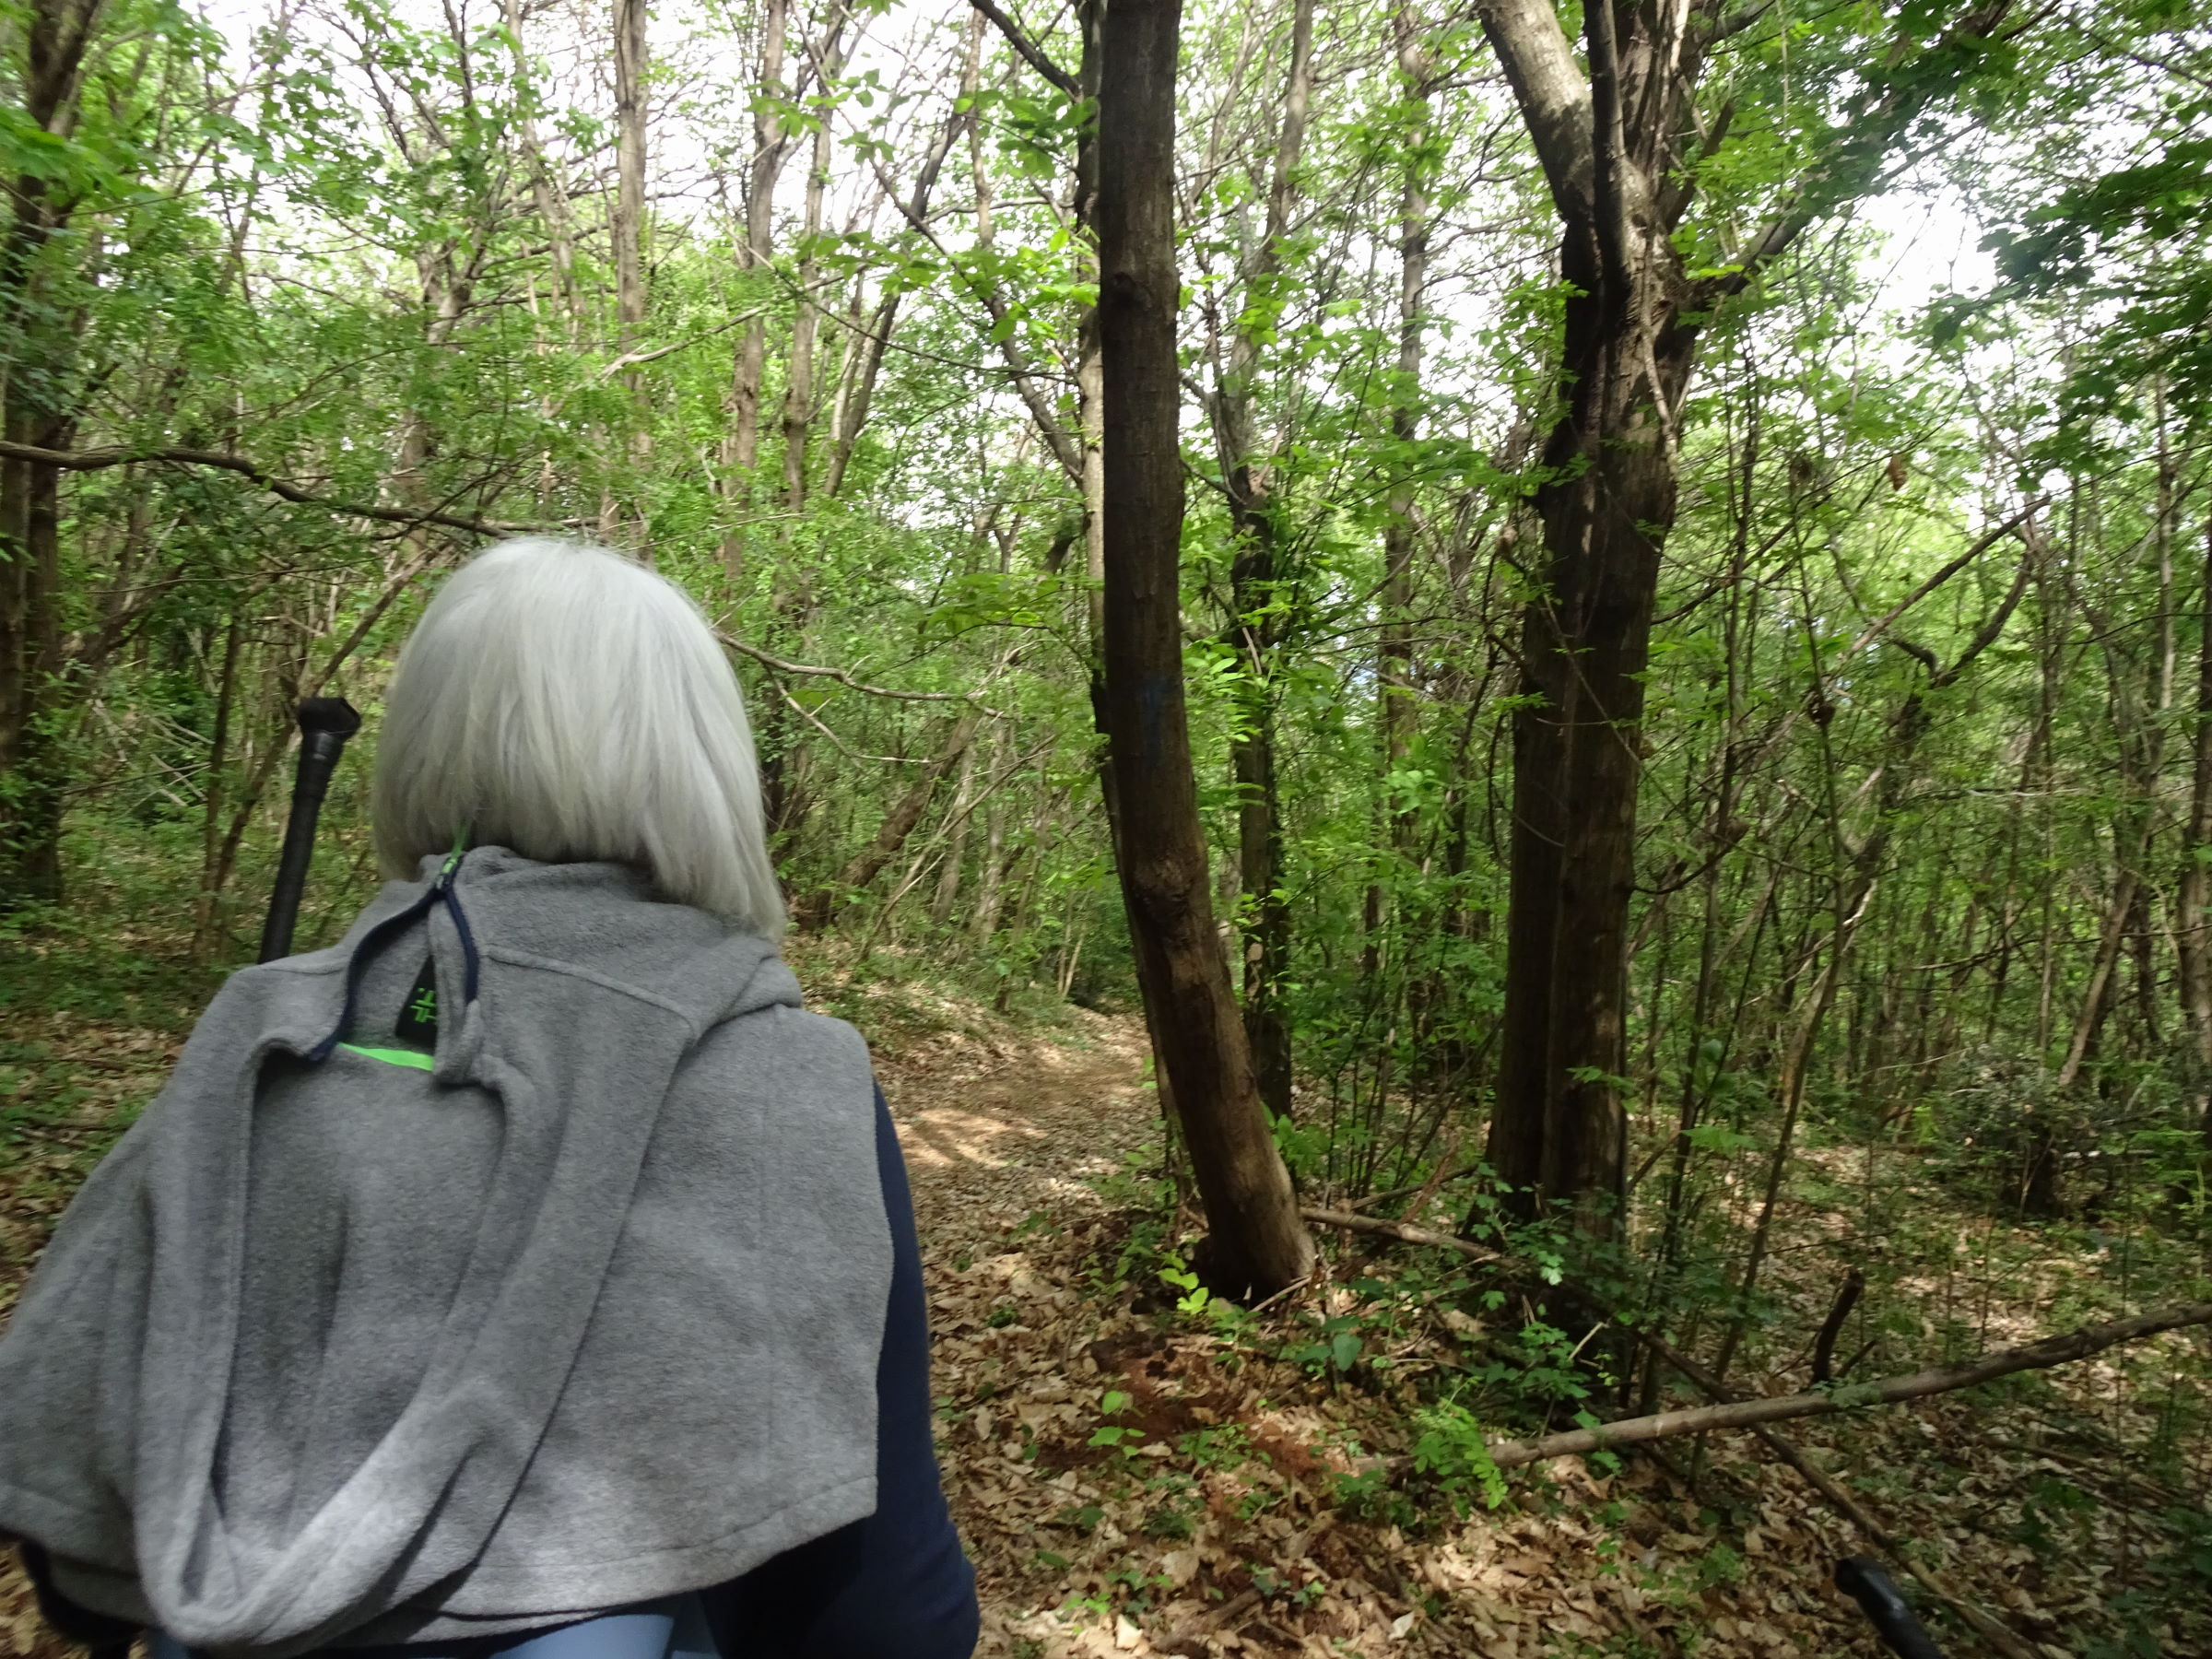
Photo 32 - Short stretch of path with regular surface
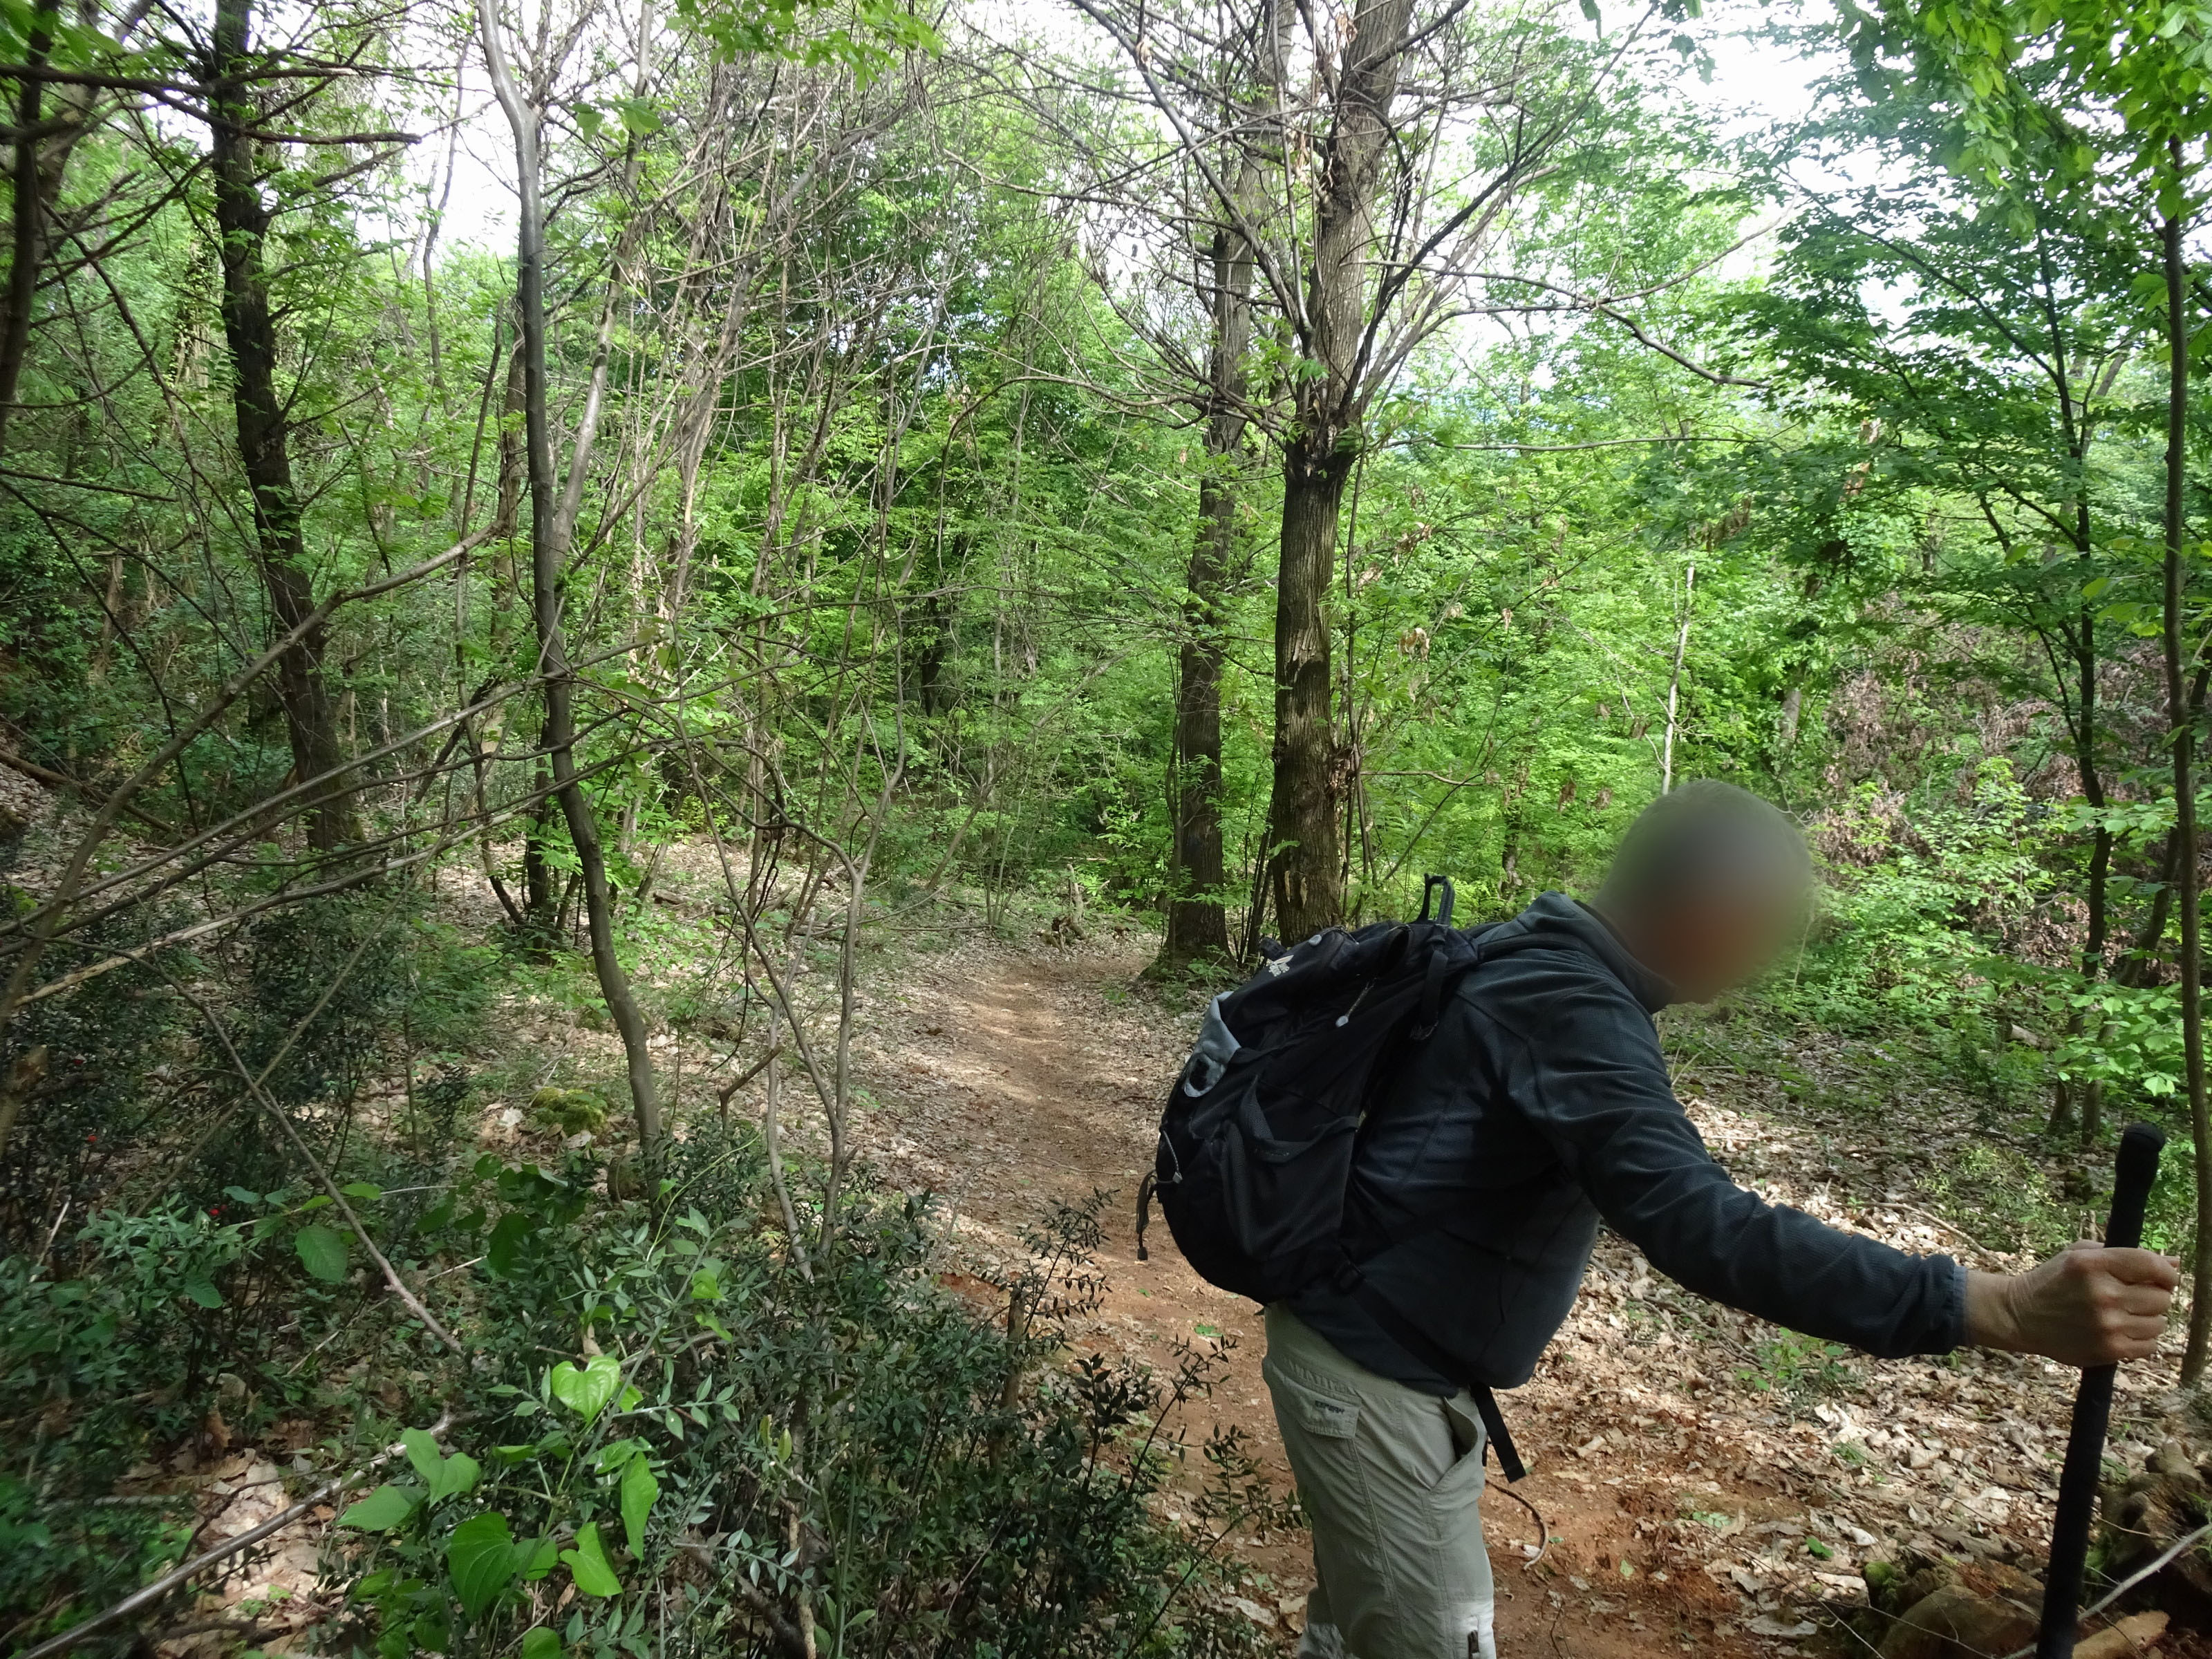
Photo 33 - Stretch of path with steep slippery descents
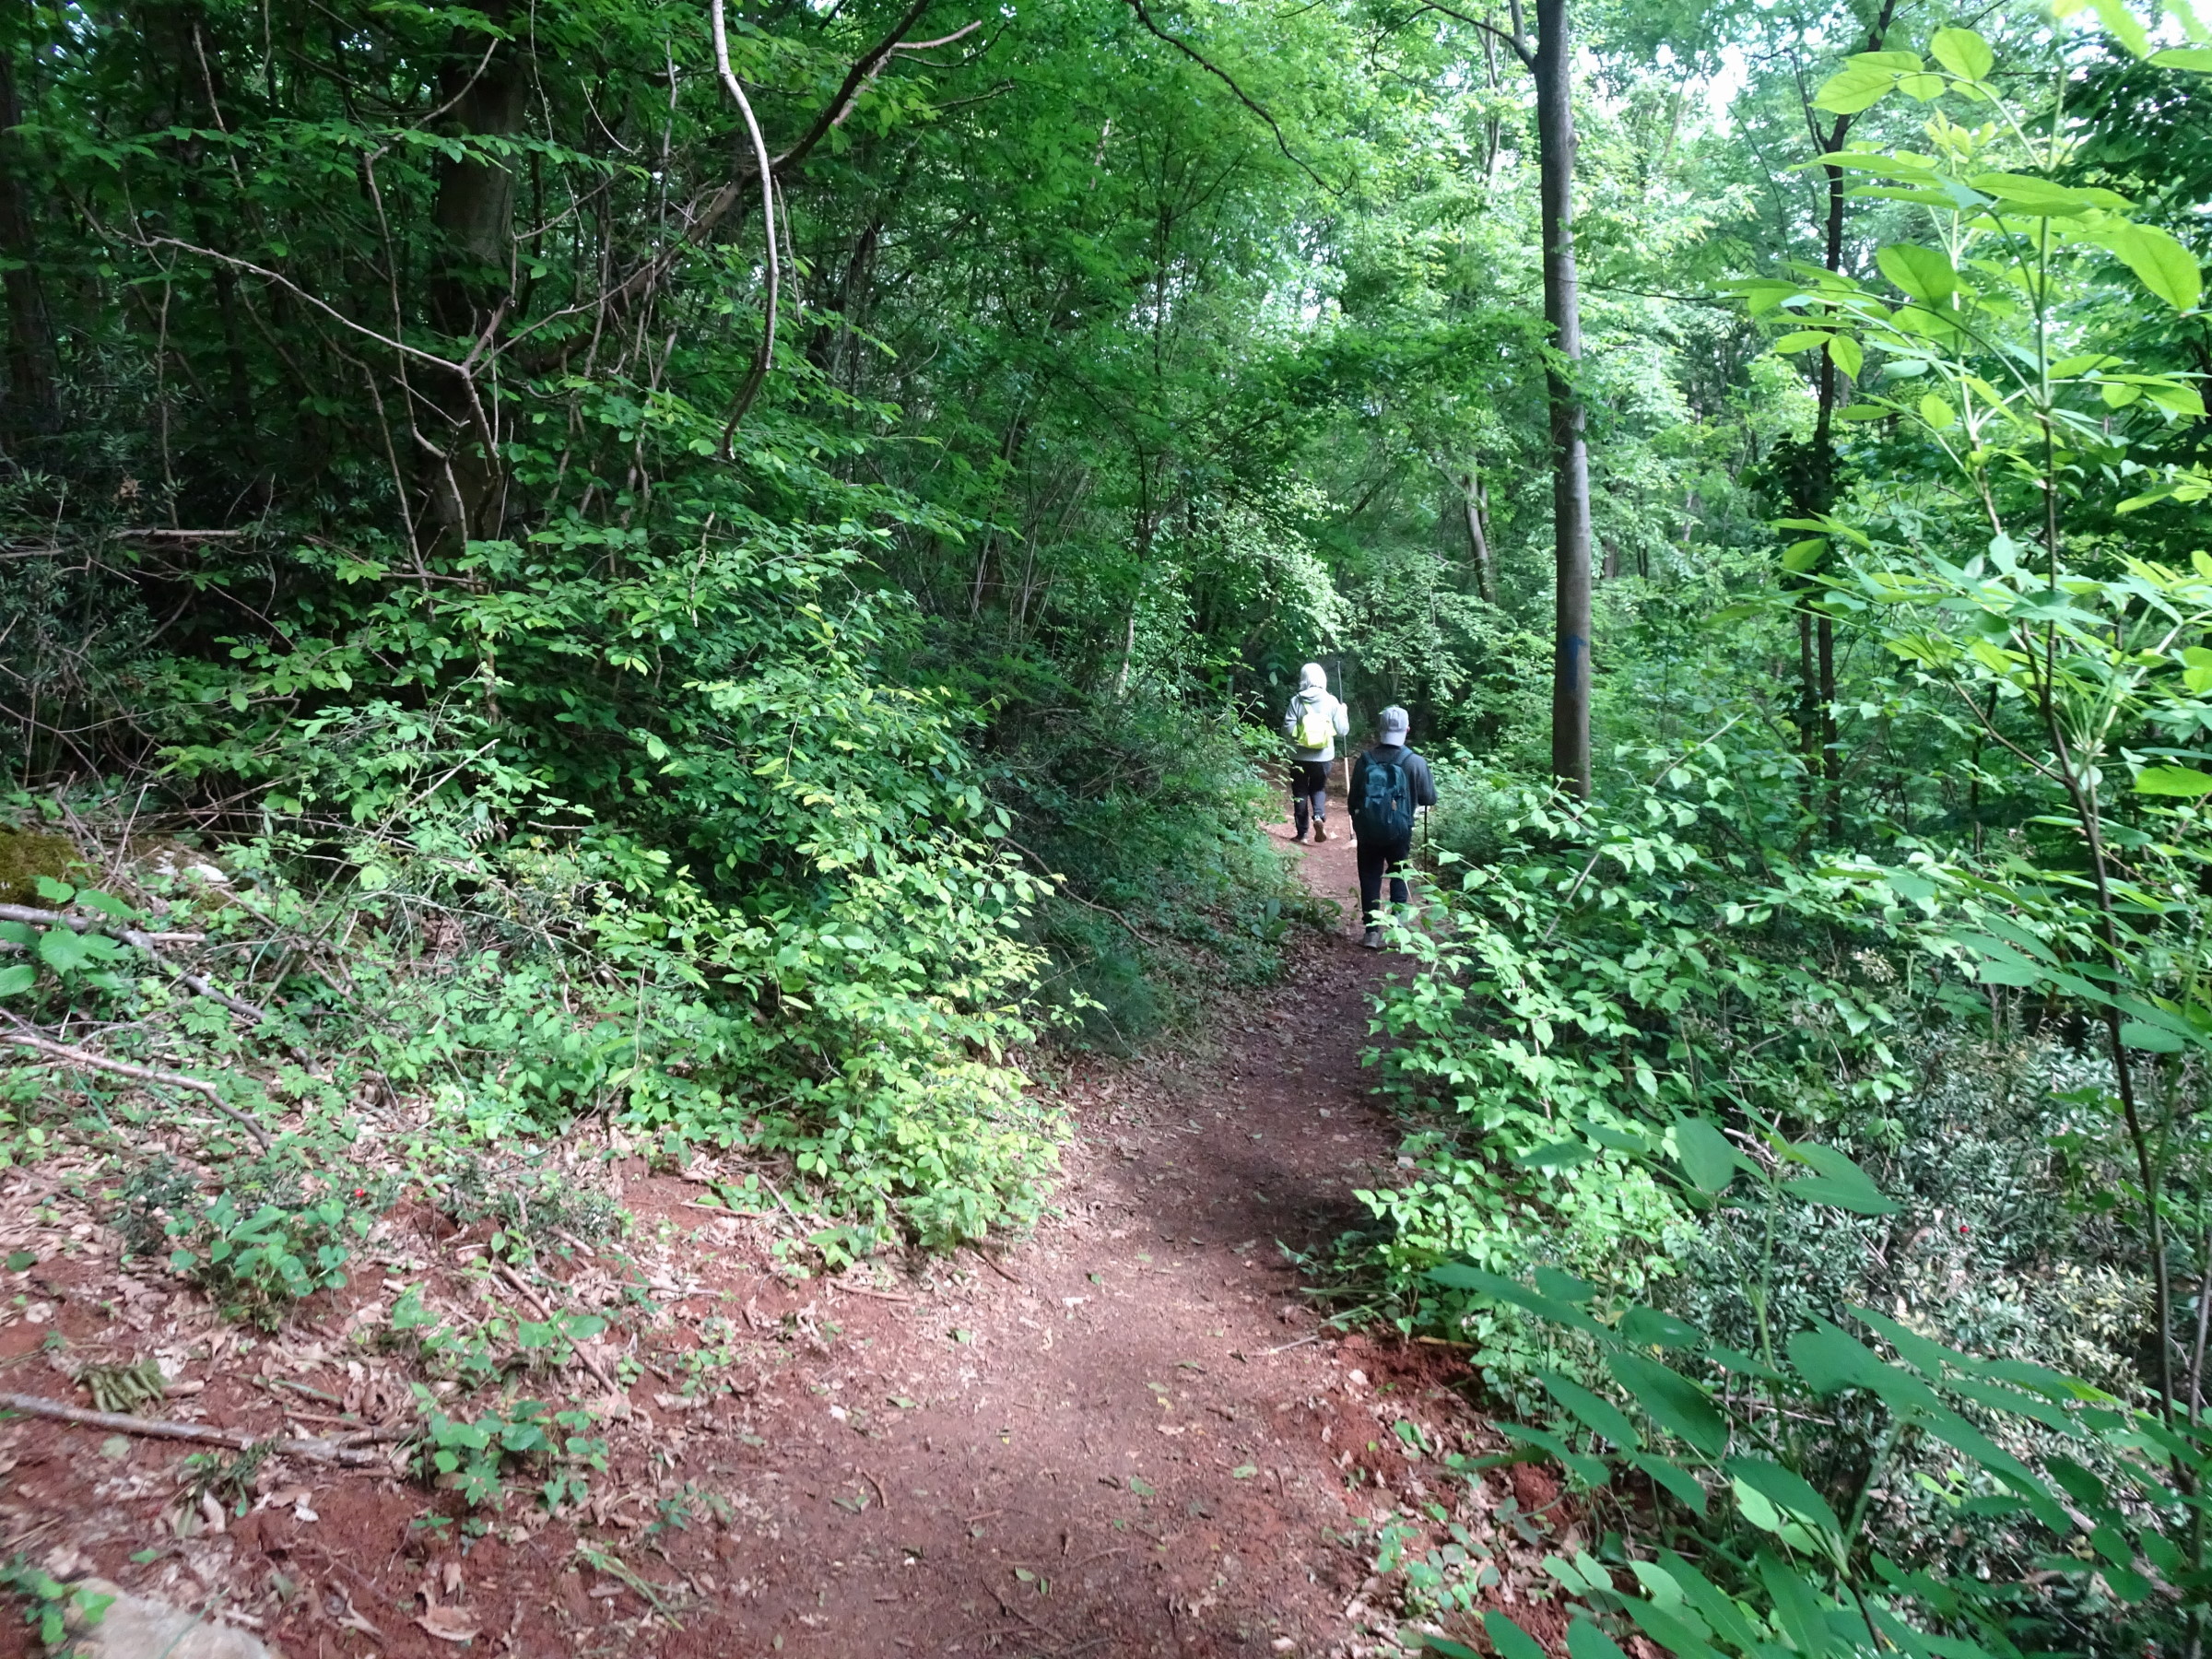
Photo 34 - Stretch of path with steep slippery descents
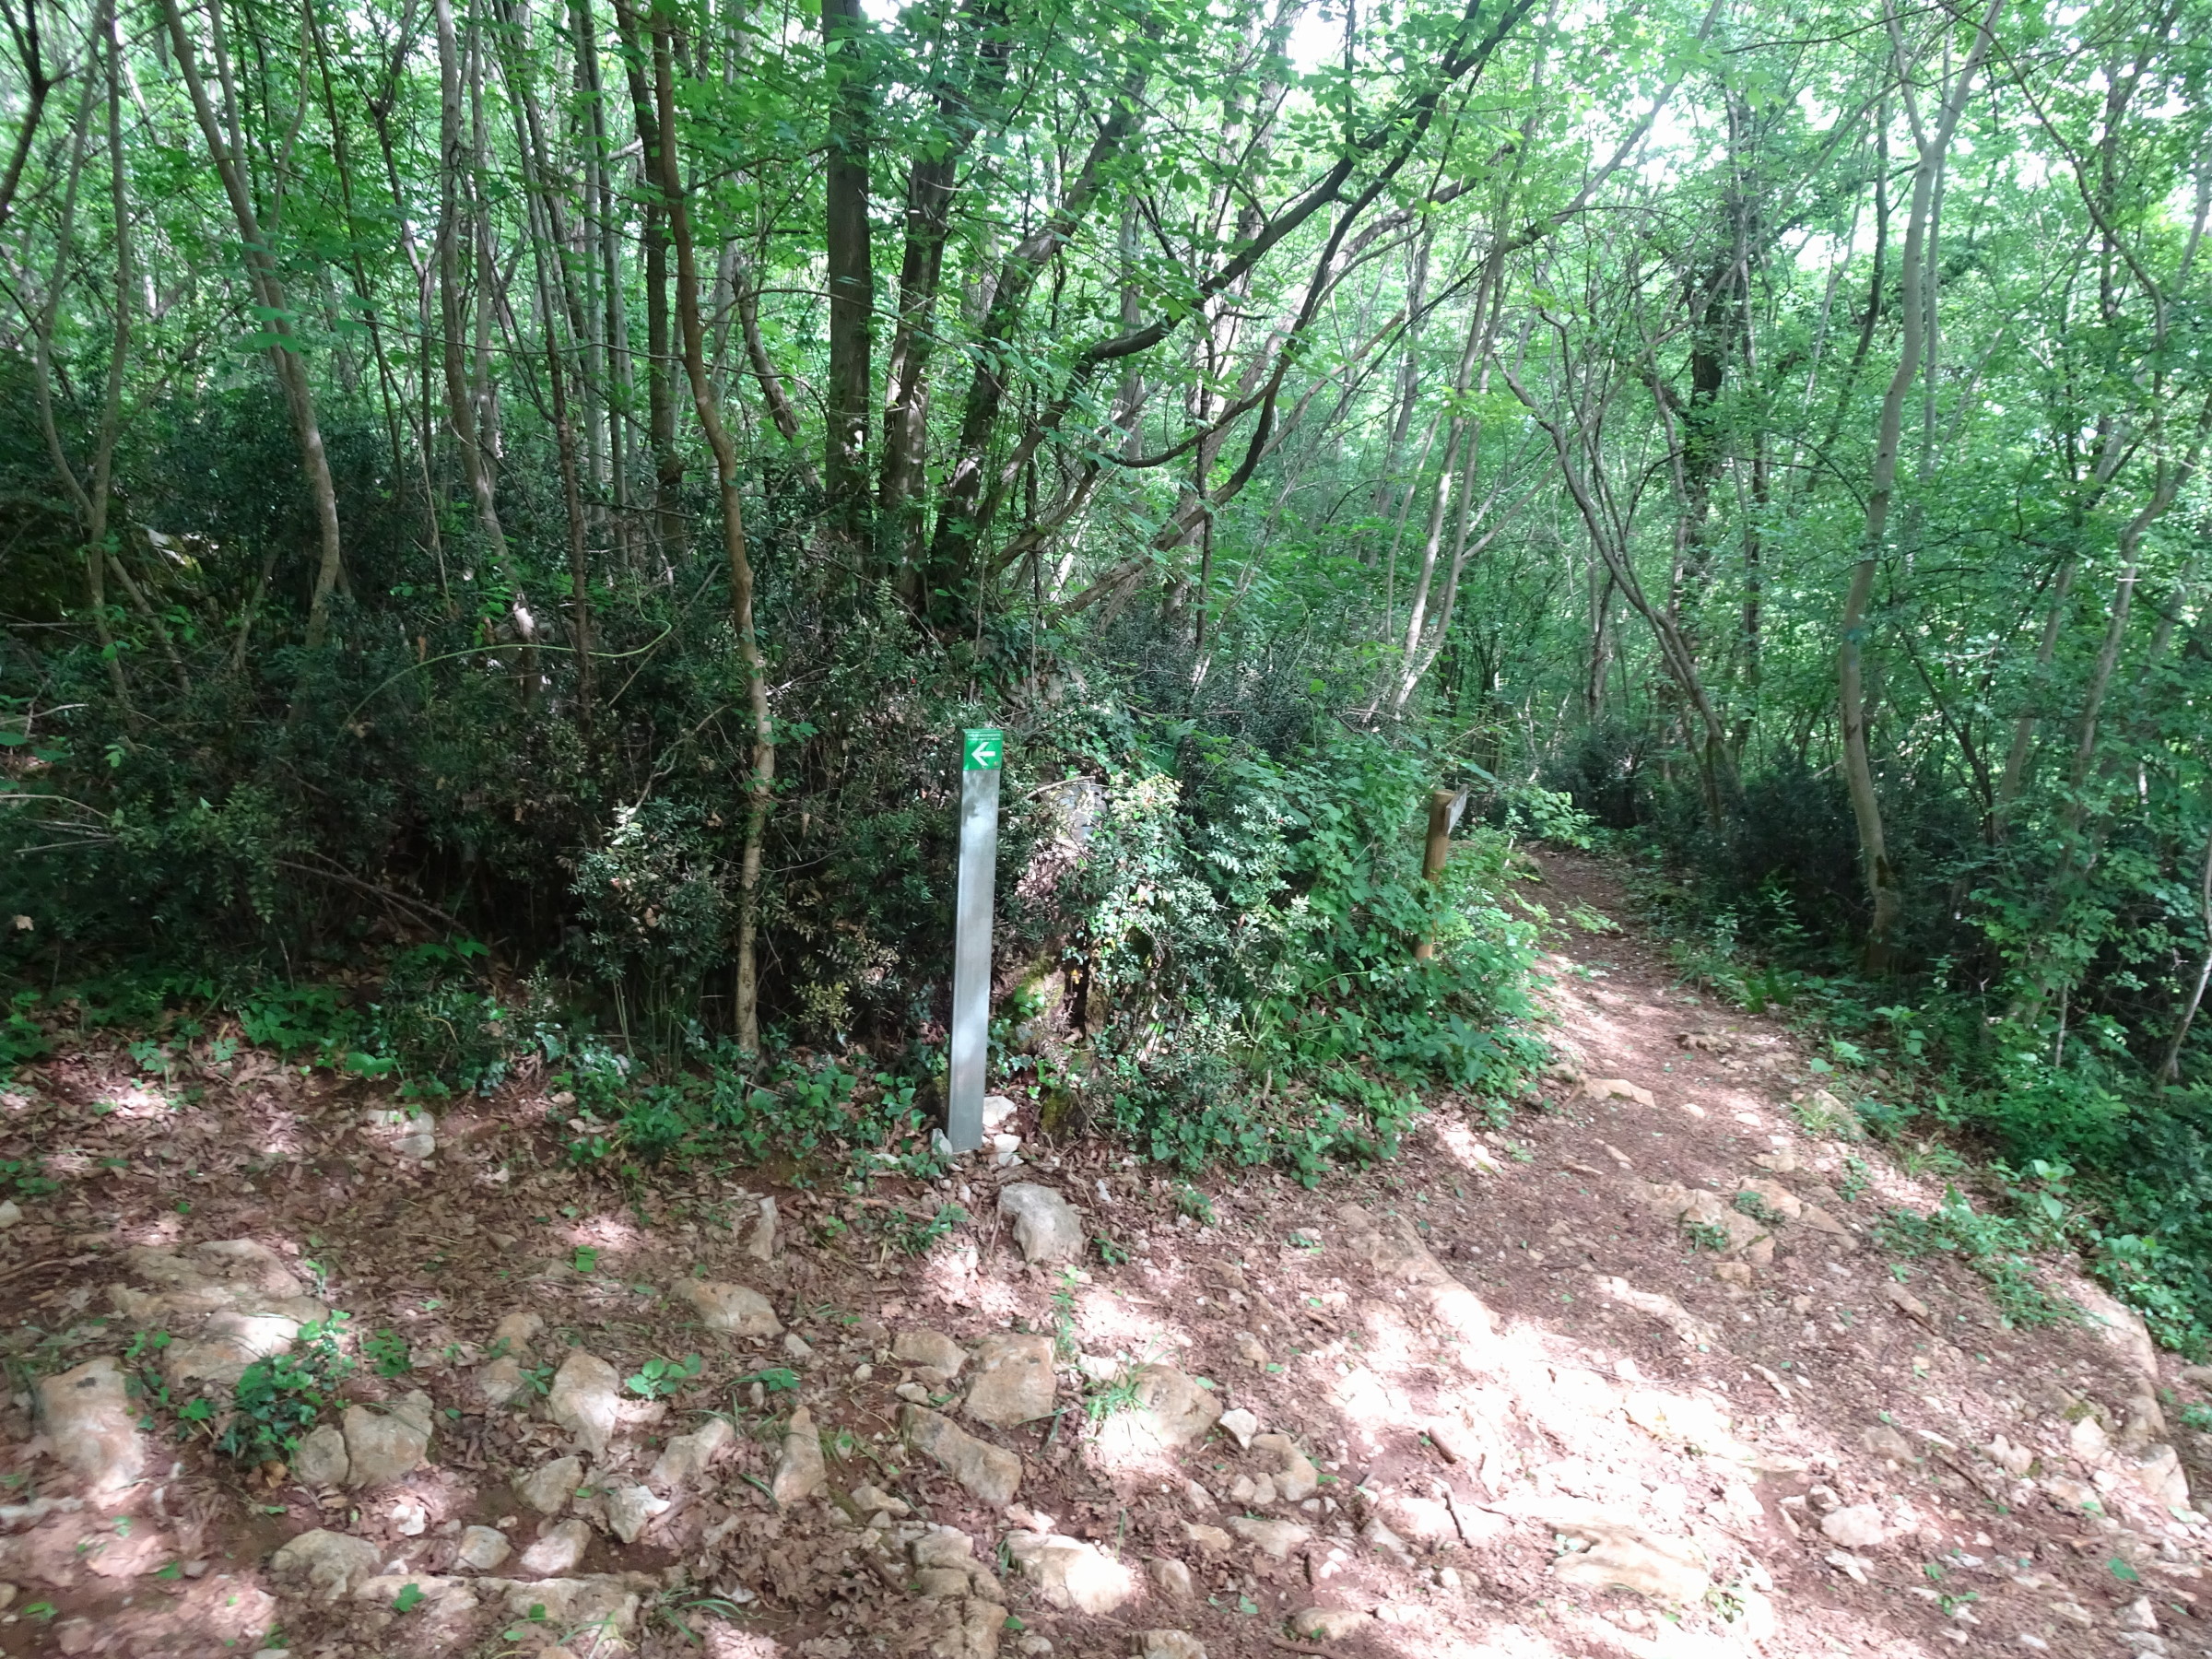
Photo 35 - Path indicator sign
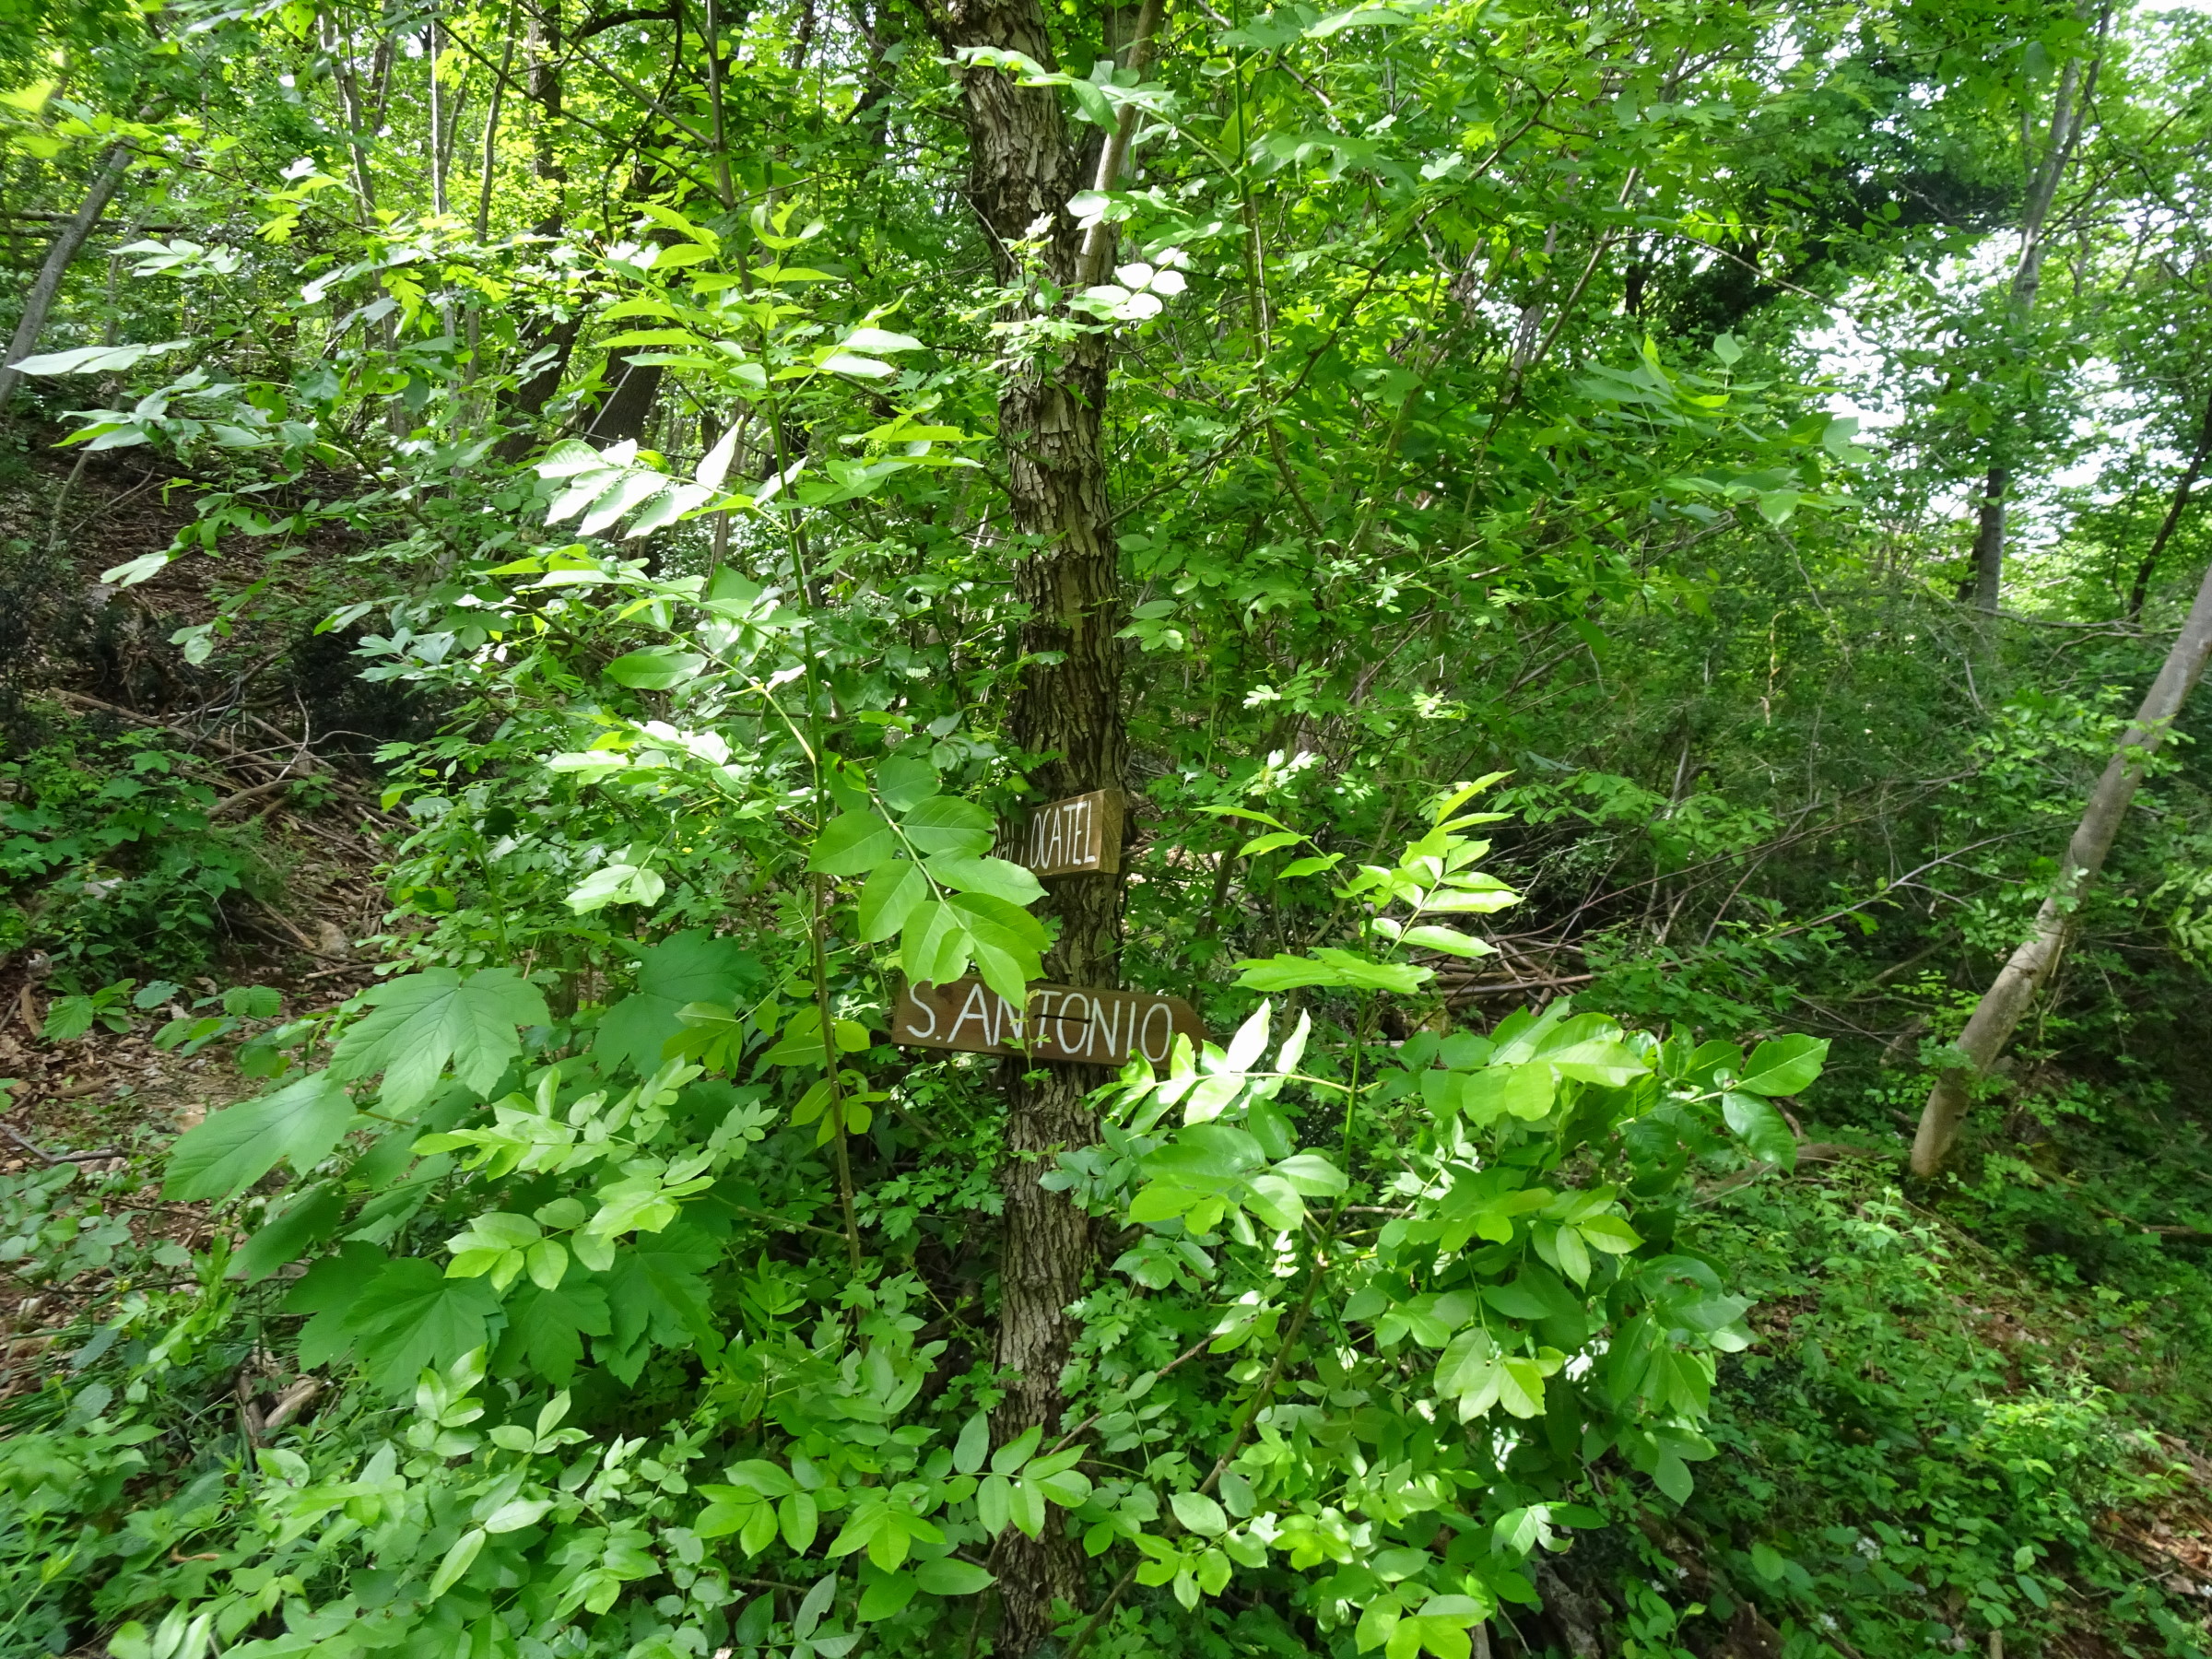
Photo 36 - Fork, indicating to continue towards S. Antonio
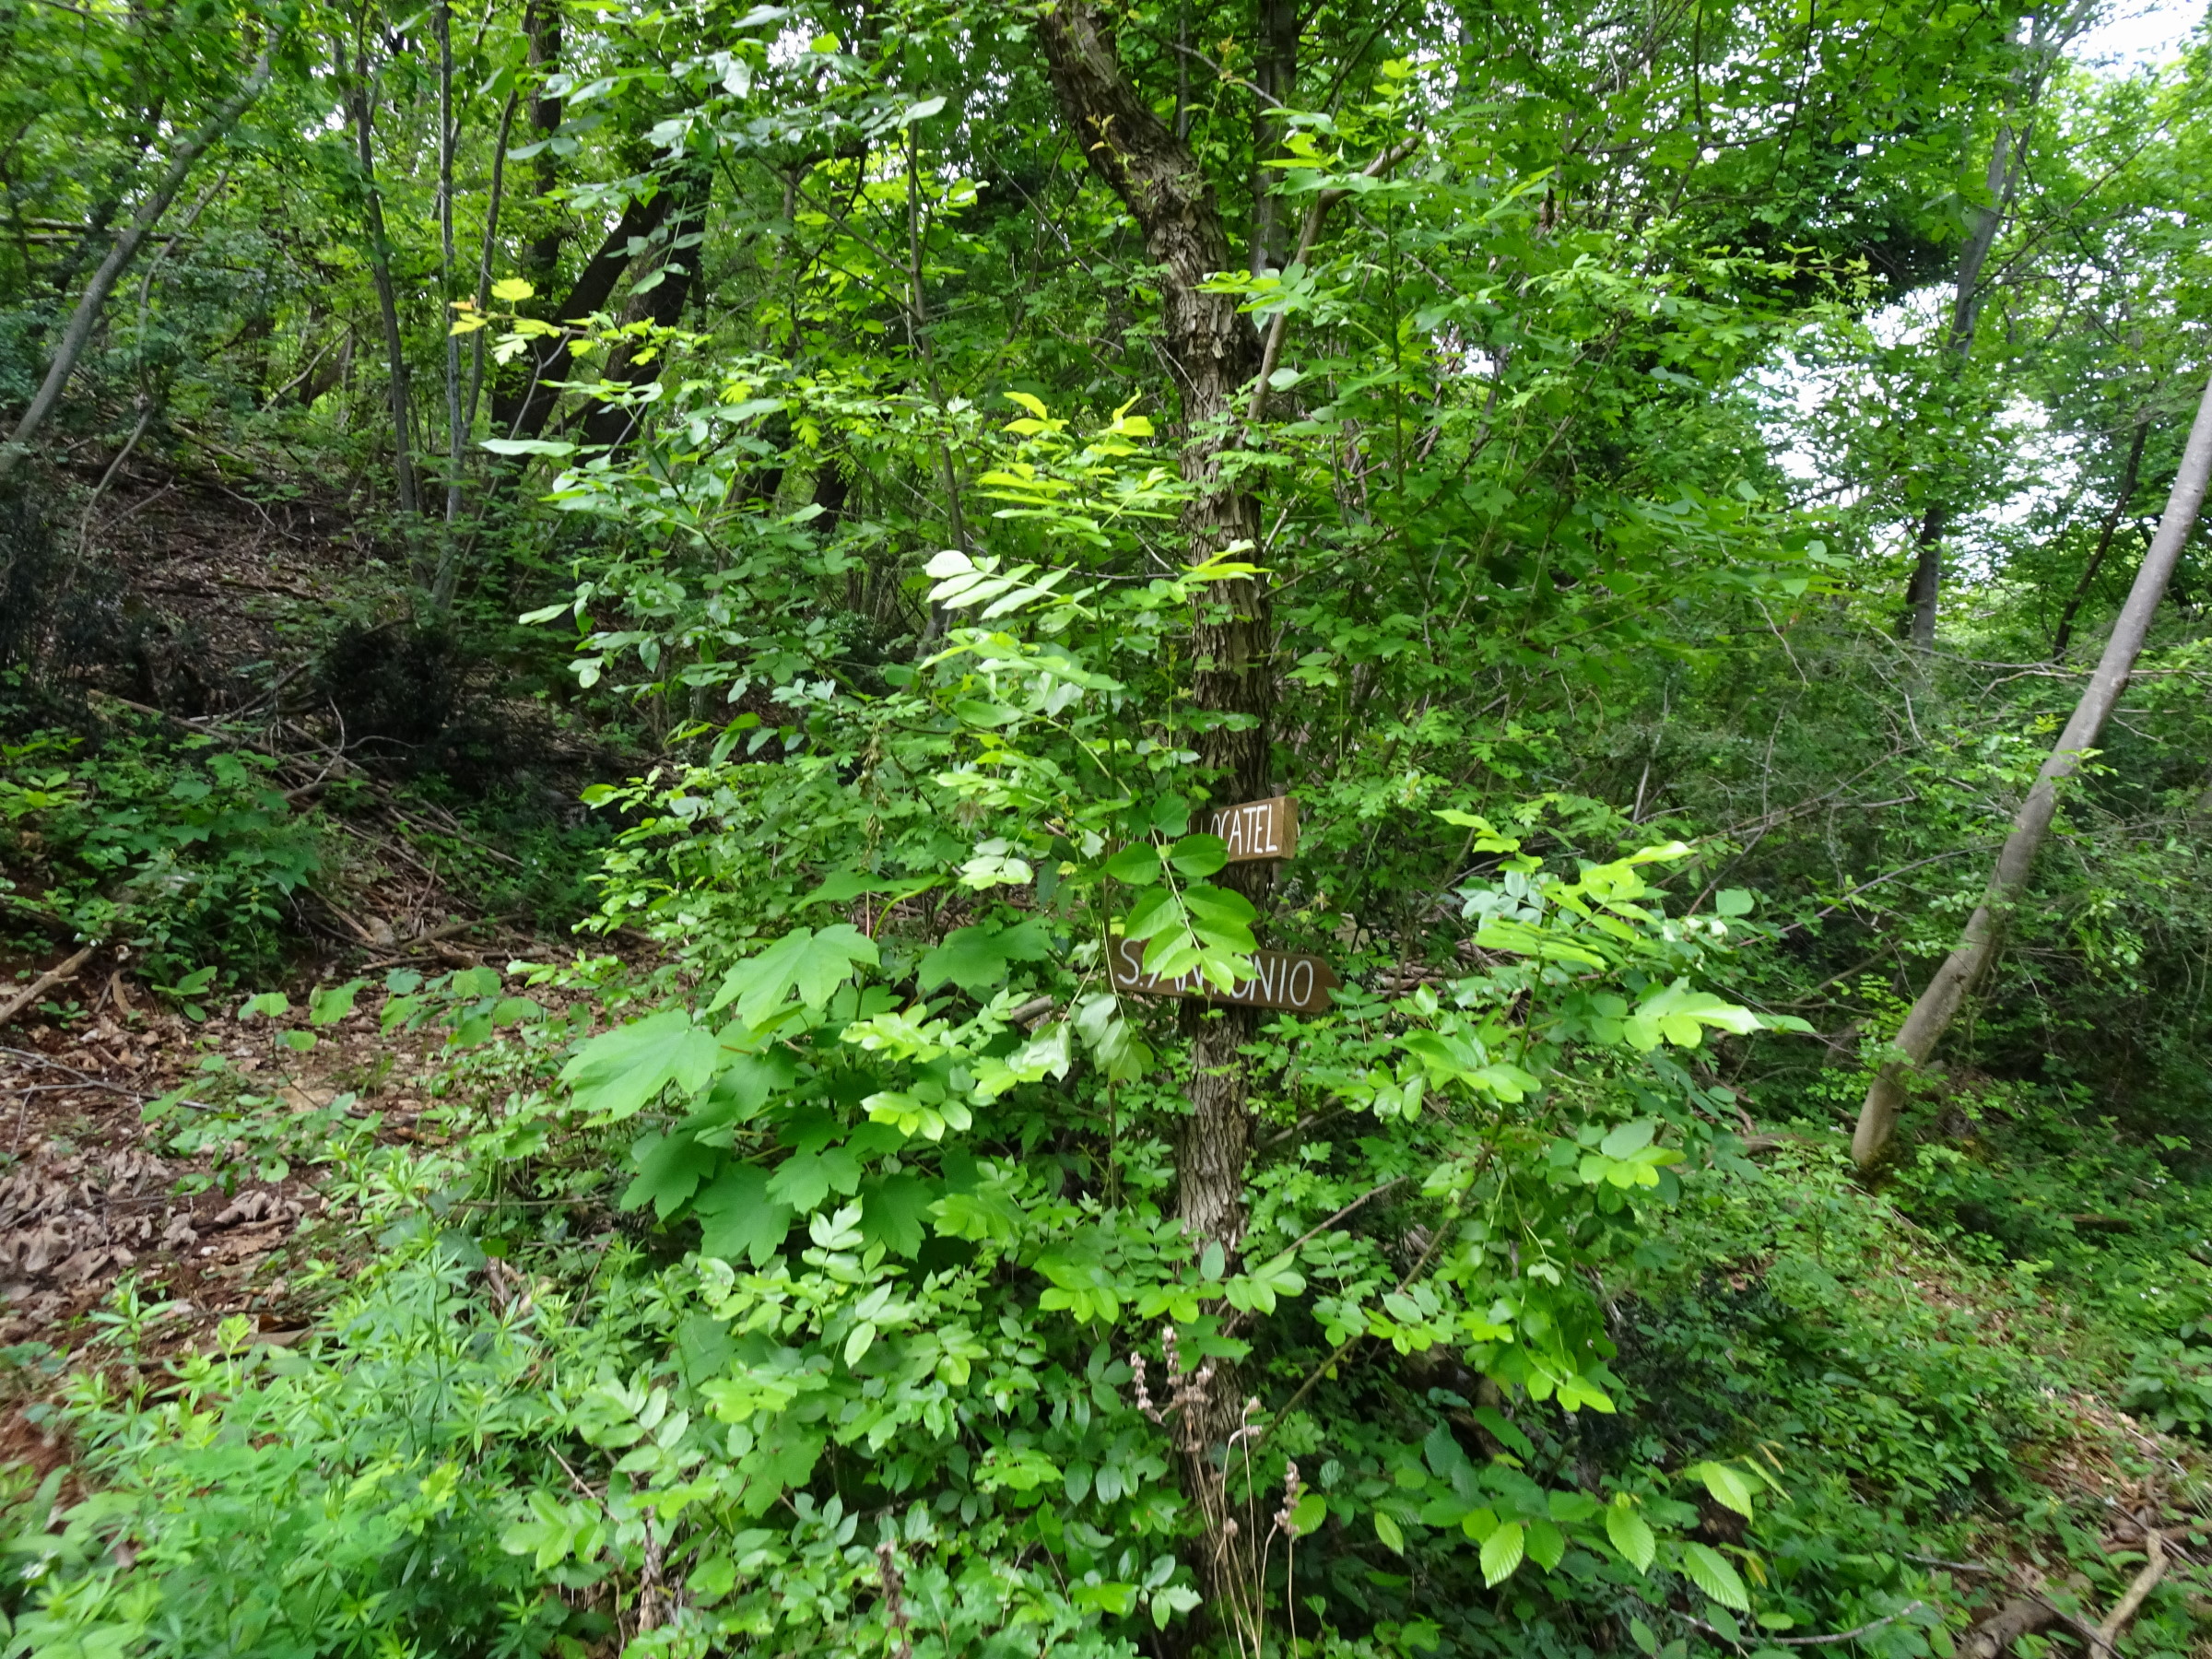
Photo 37 - Fork, indicating to continue towards S. Antonio
During the route, a minor path intersects that descends towards the valley floor (Photo 38). The wide road that crosses the hill on the north side has slight ups and downs; the ground is earthy, which is why there are some puddles (Photo 39-40). At km 3.2, you exit the forest to cross a stretch with muddy ground and many puddles (Photo 41-42).

Photo 38 - Beginning of the path that descends towards the valley floor
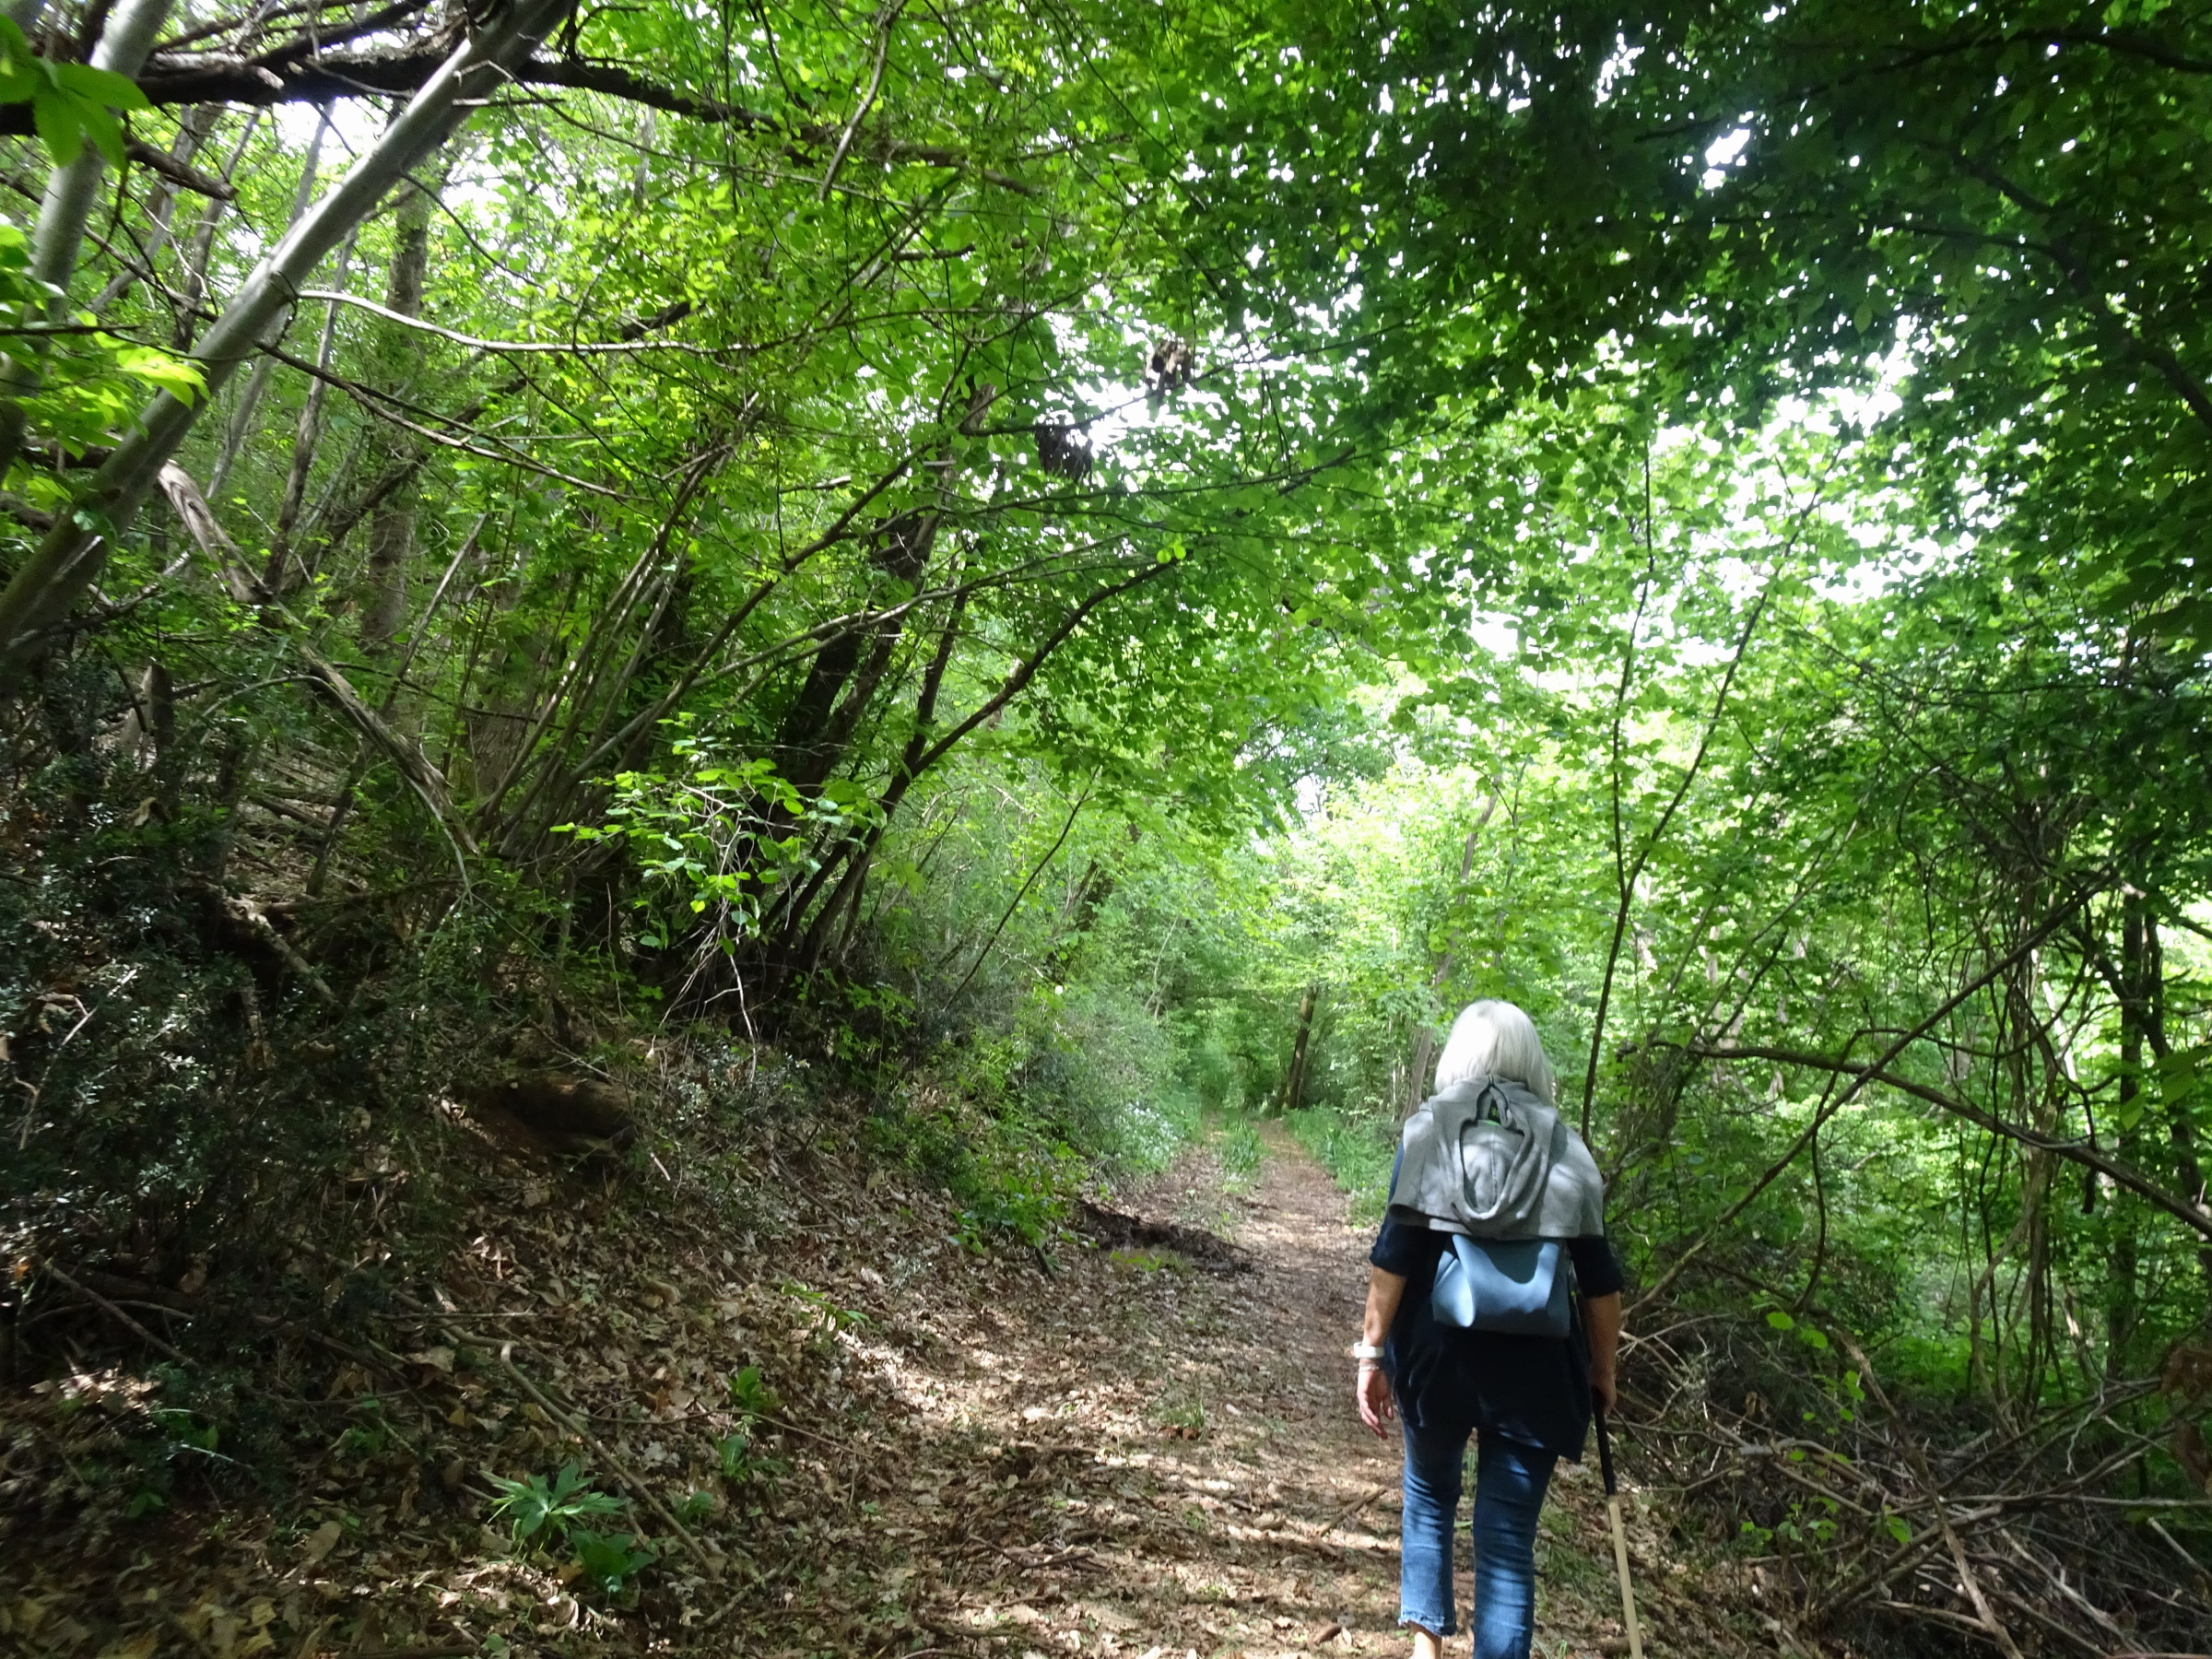
Photo 39 - Path with earthy ground and presence of puddles
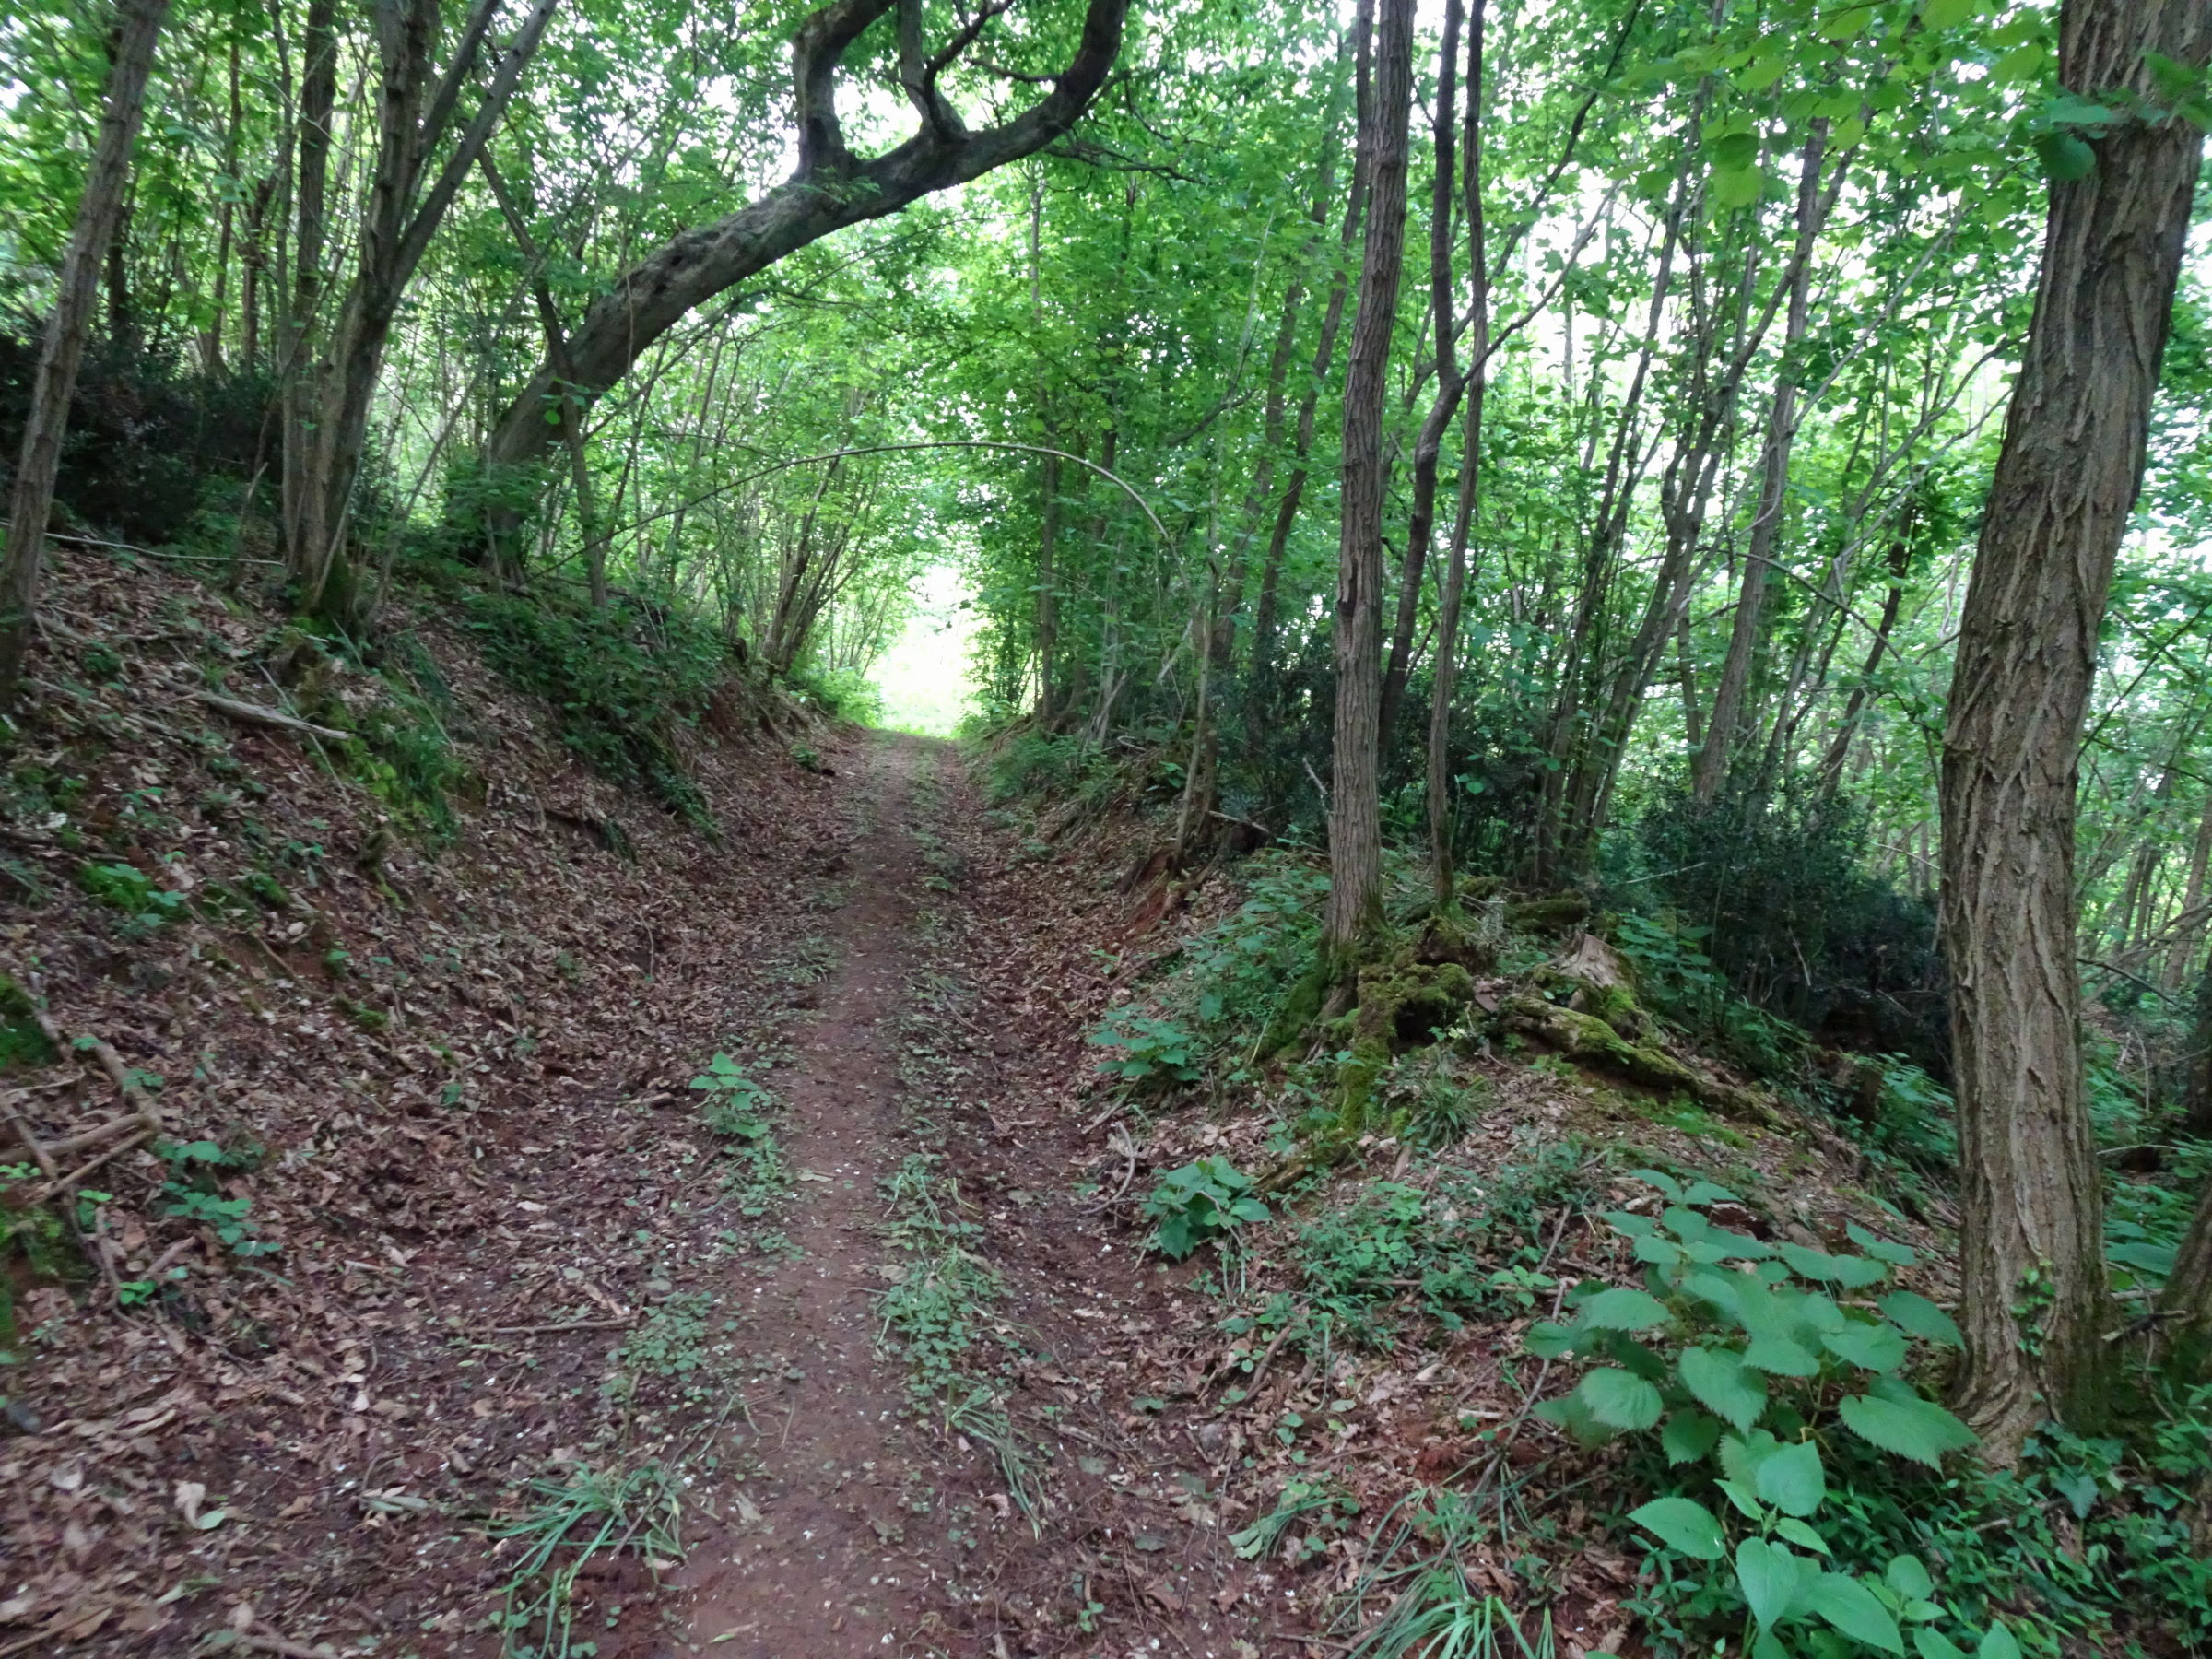
Photo 40 - Path with earthy ground and presence of puddles
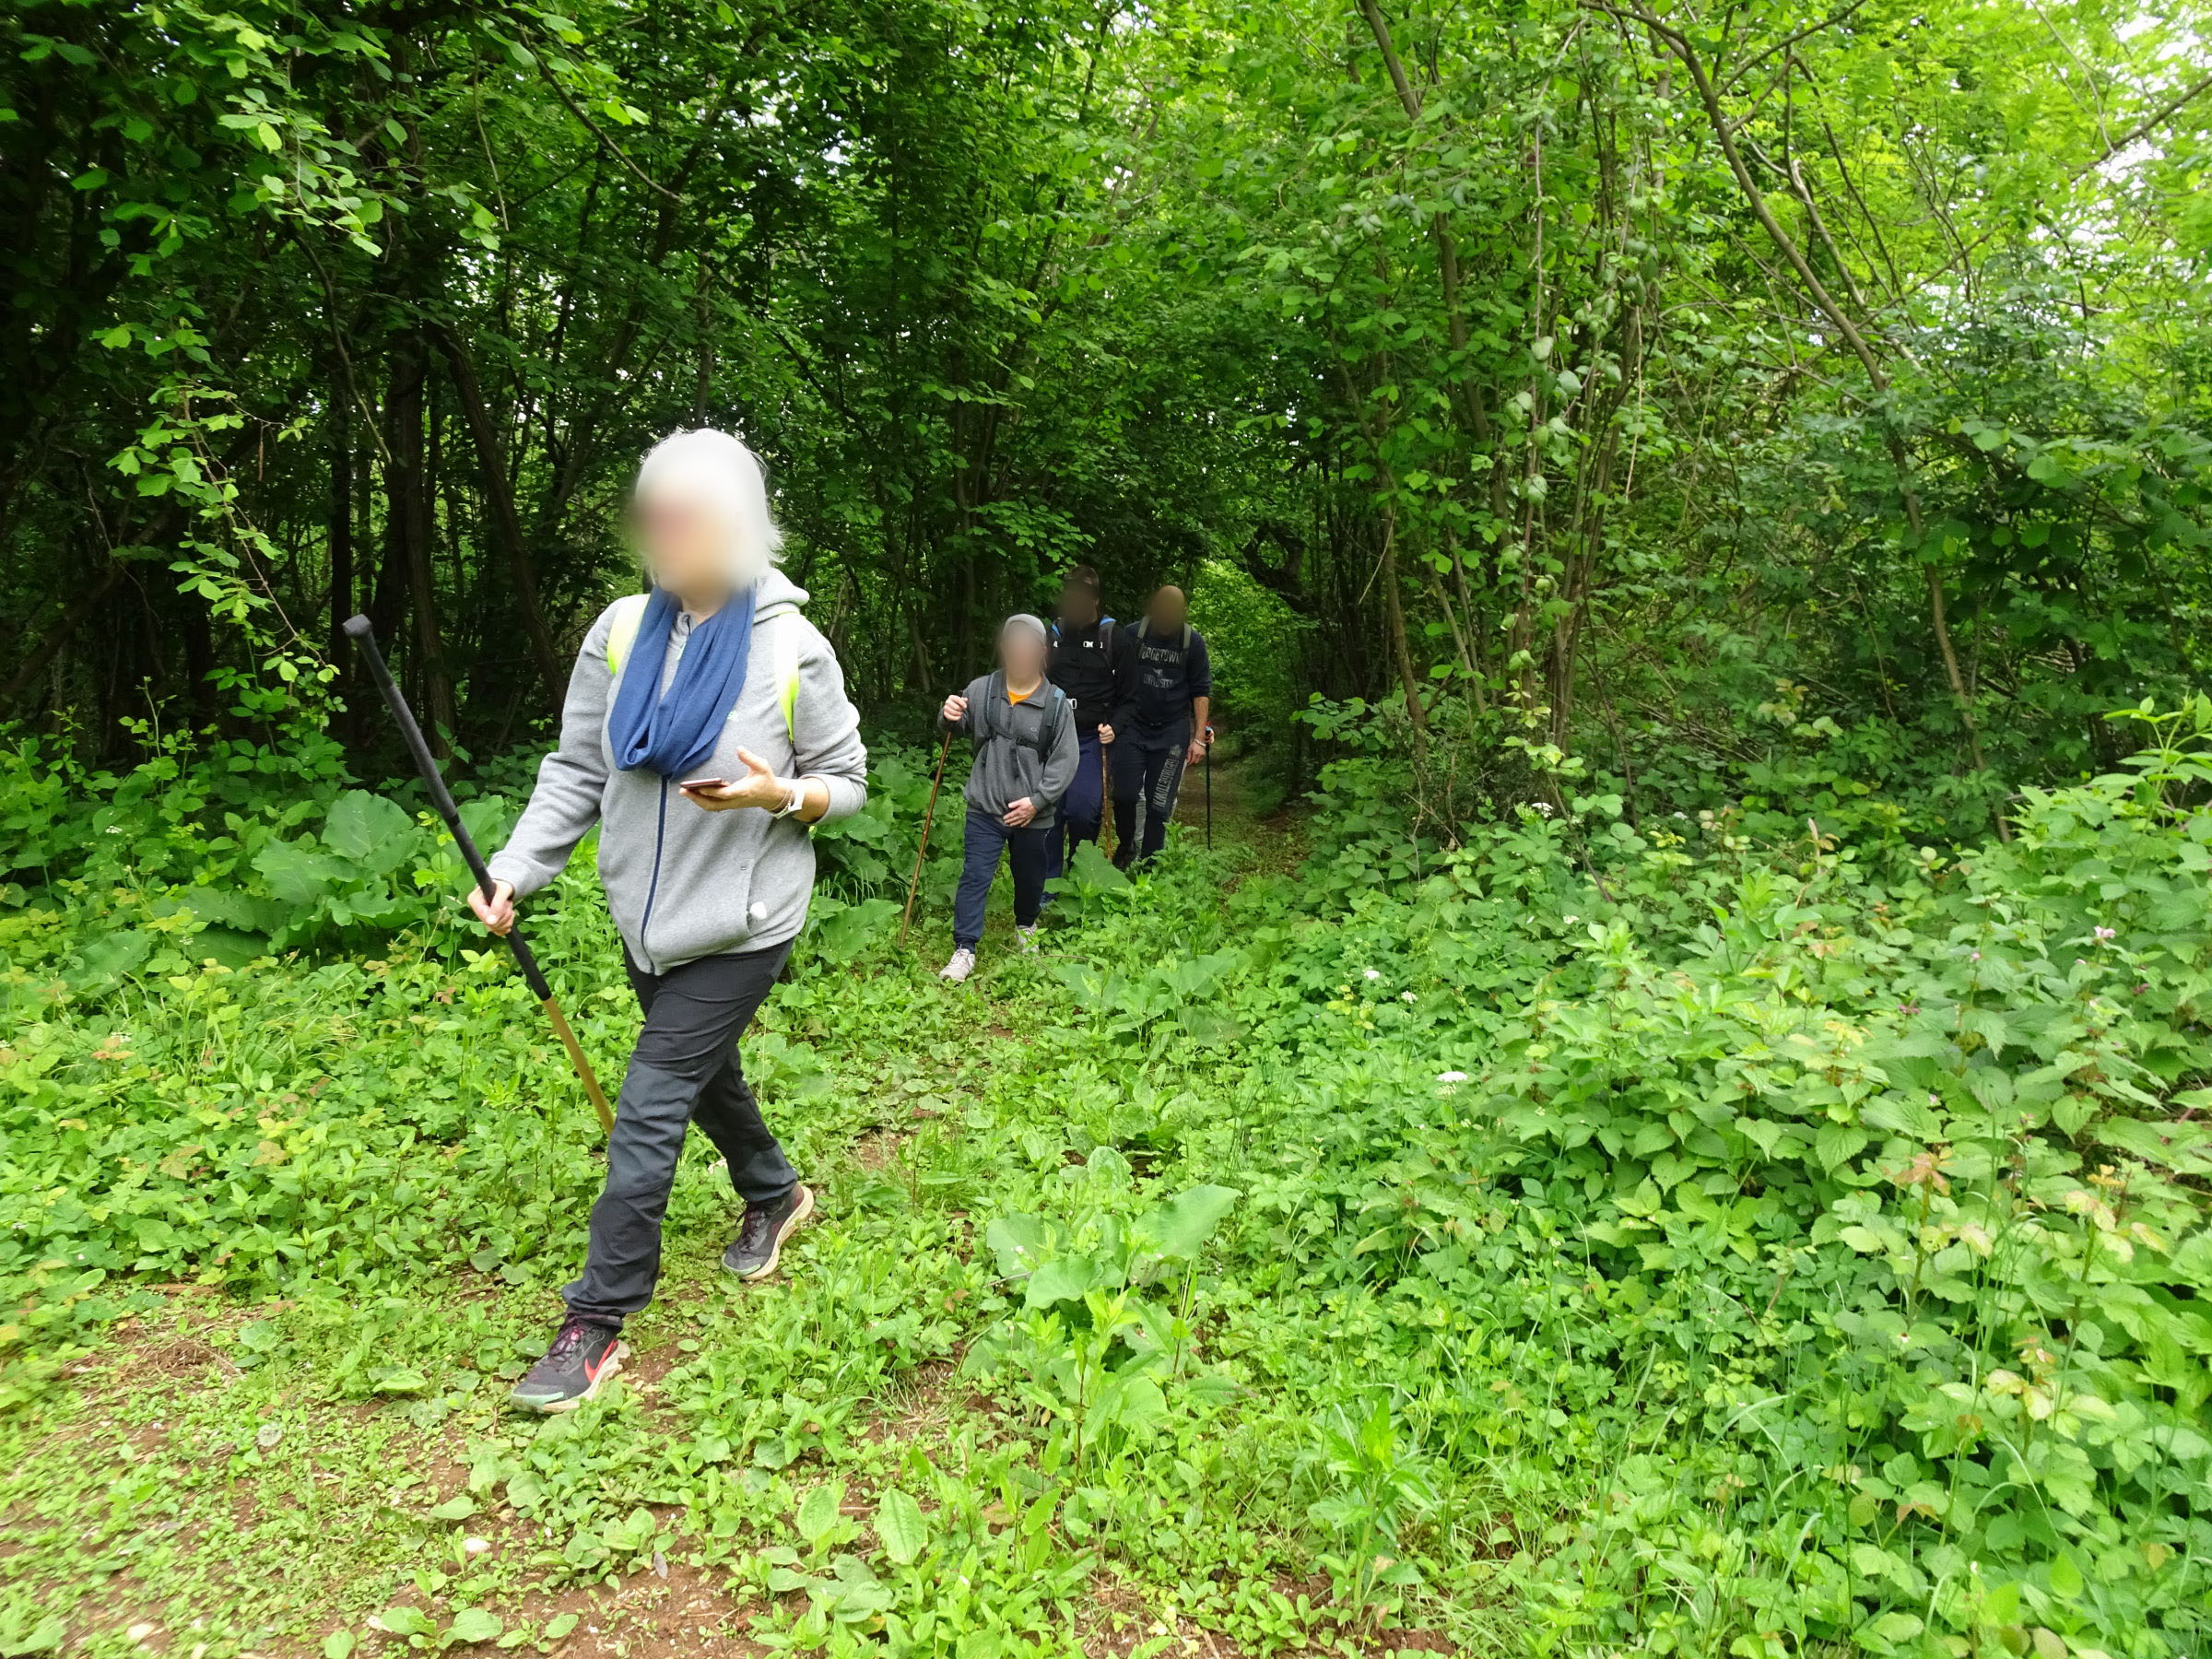
Photo 41 - Stretch of muddy path with many puddles
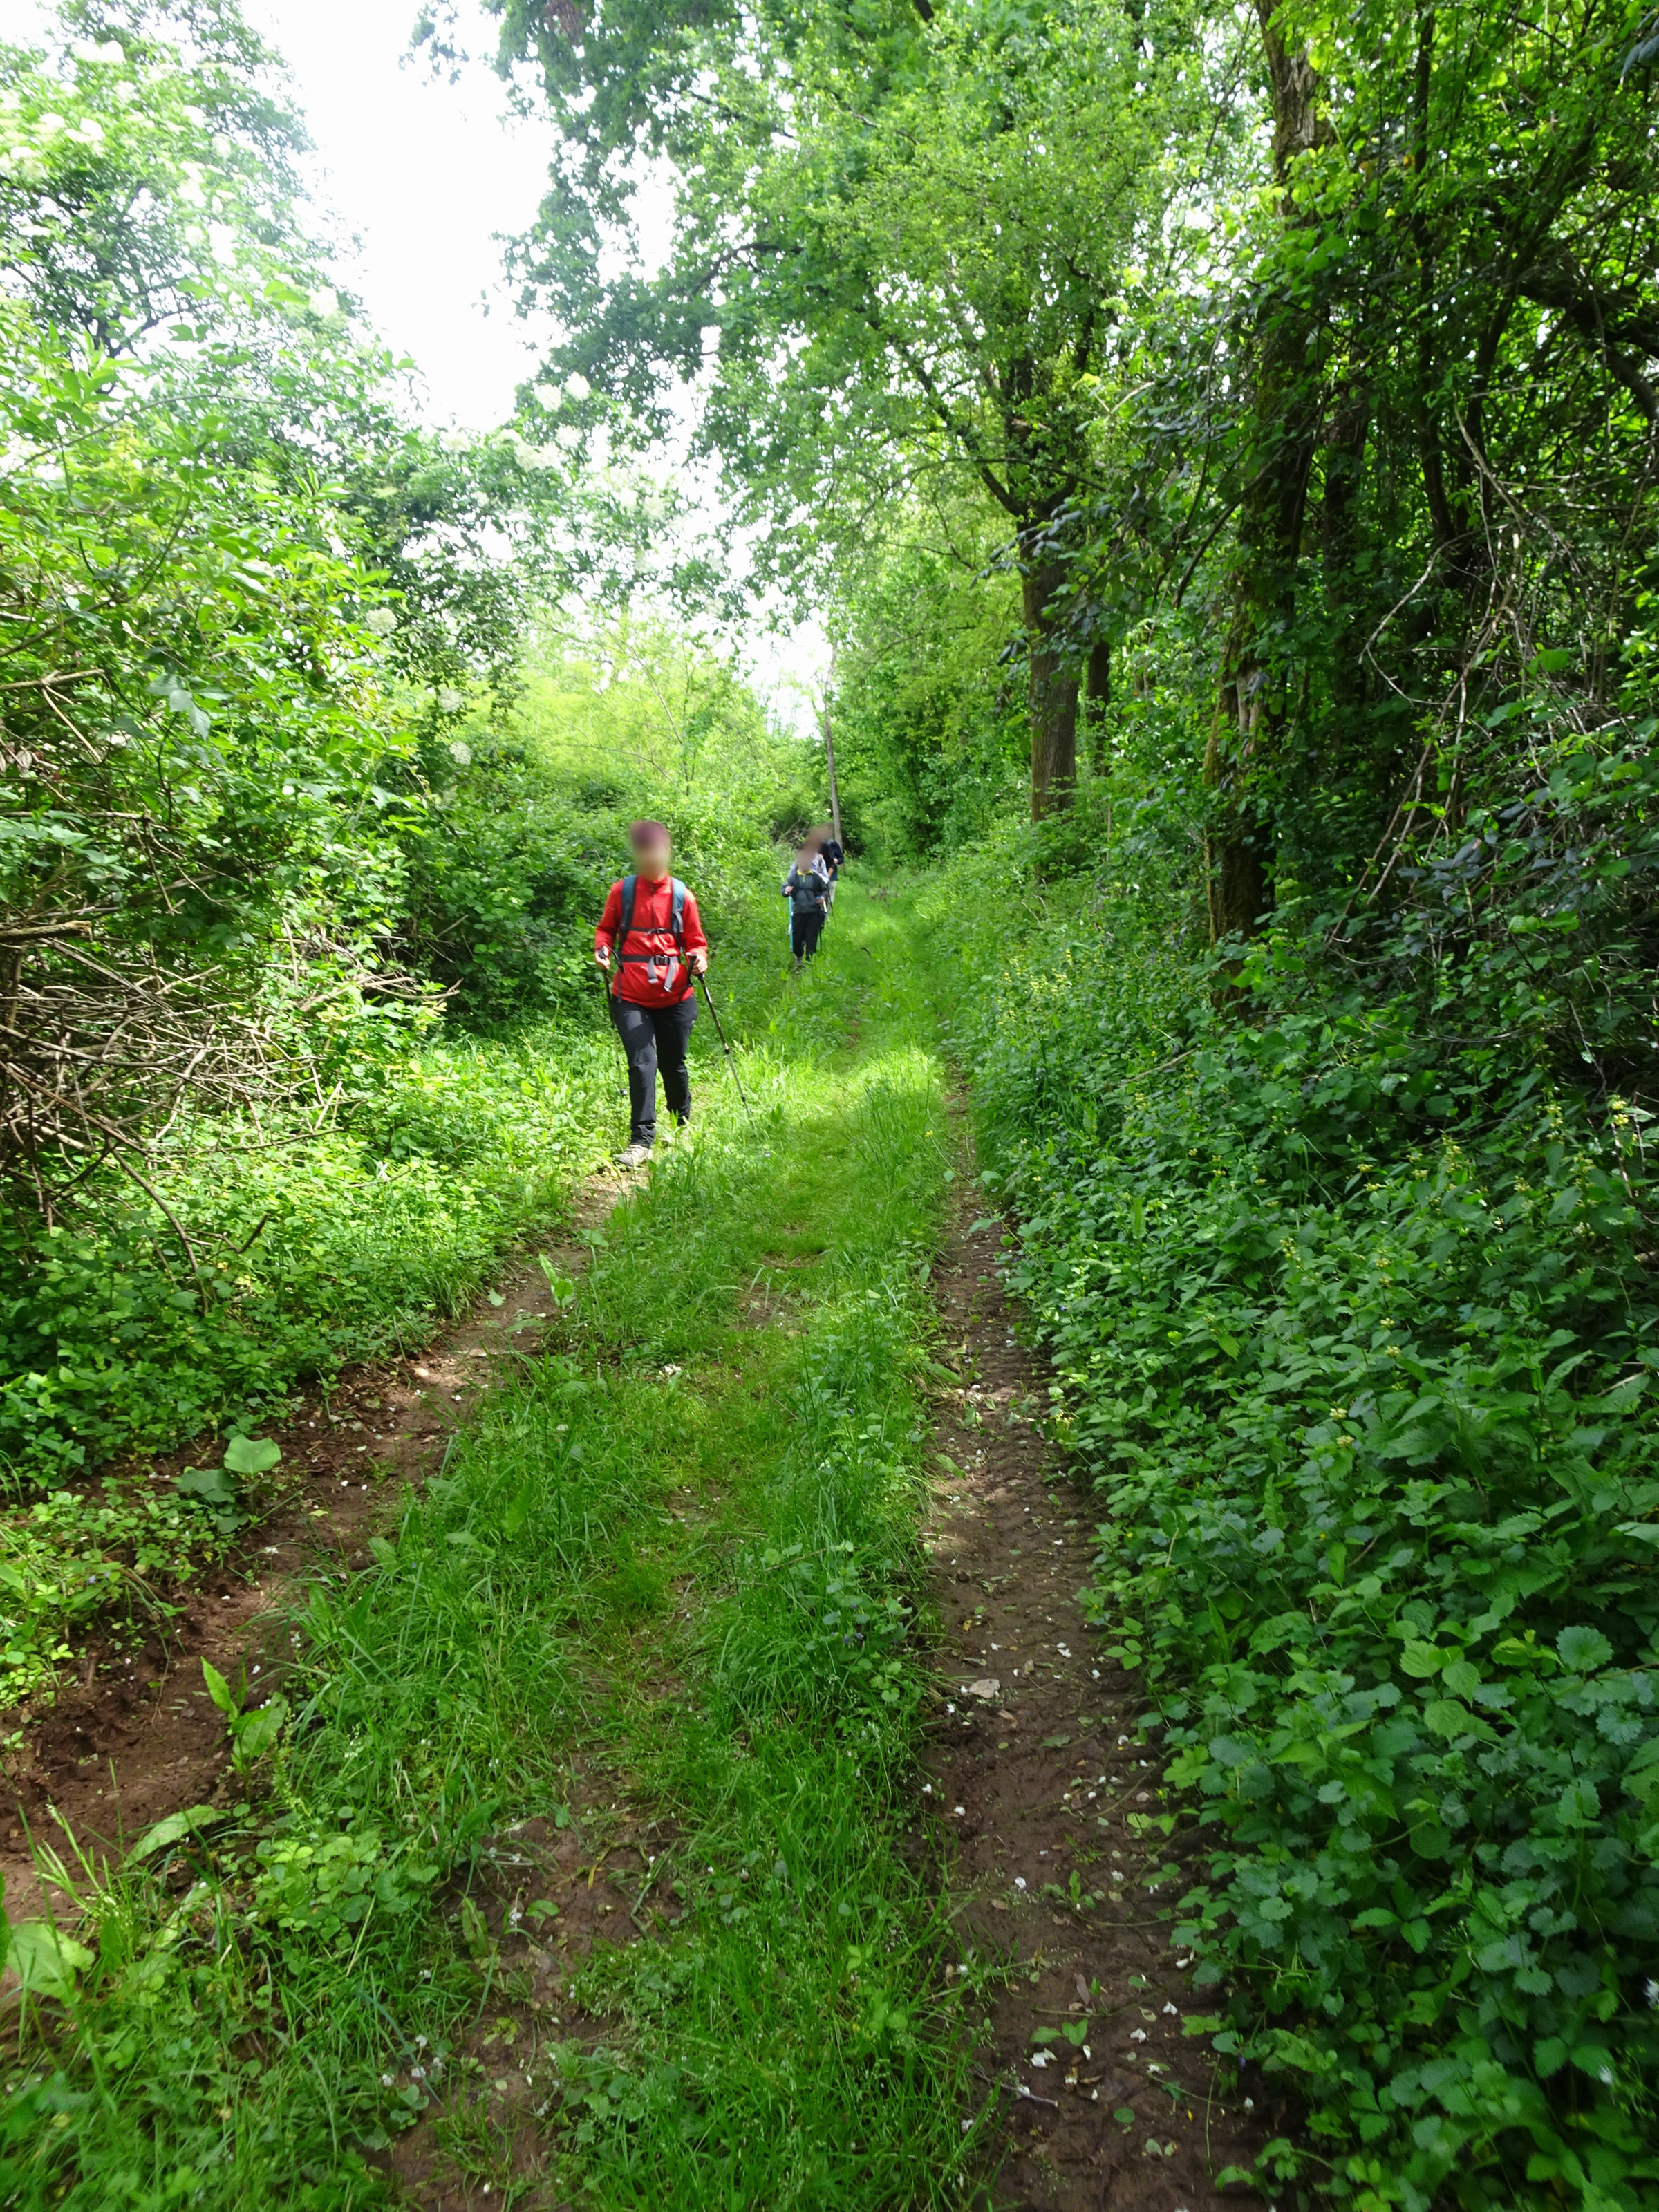
Photo 42 - Stretch of muddy path with many puddles
You proceed regularly until you reach, at km 3.4, the paved road where there is a sign indicating the 10,000 steps (Photo 43, 44).
You briefly go up the road (Photo 45) and the indicator sign suggests turning right (Photo 46).
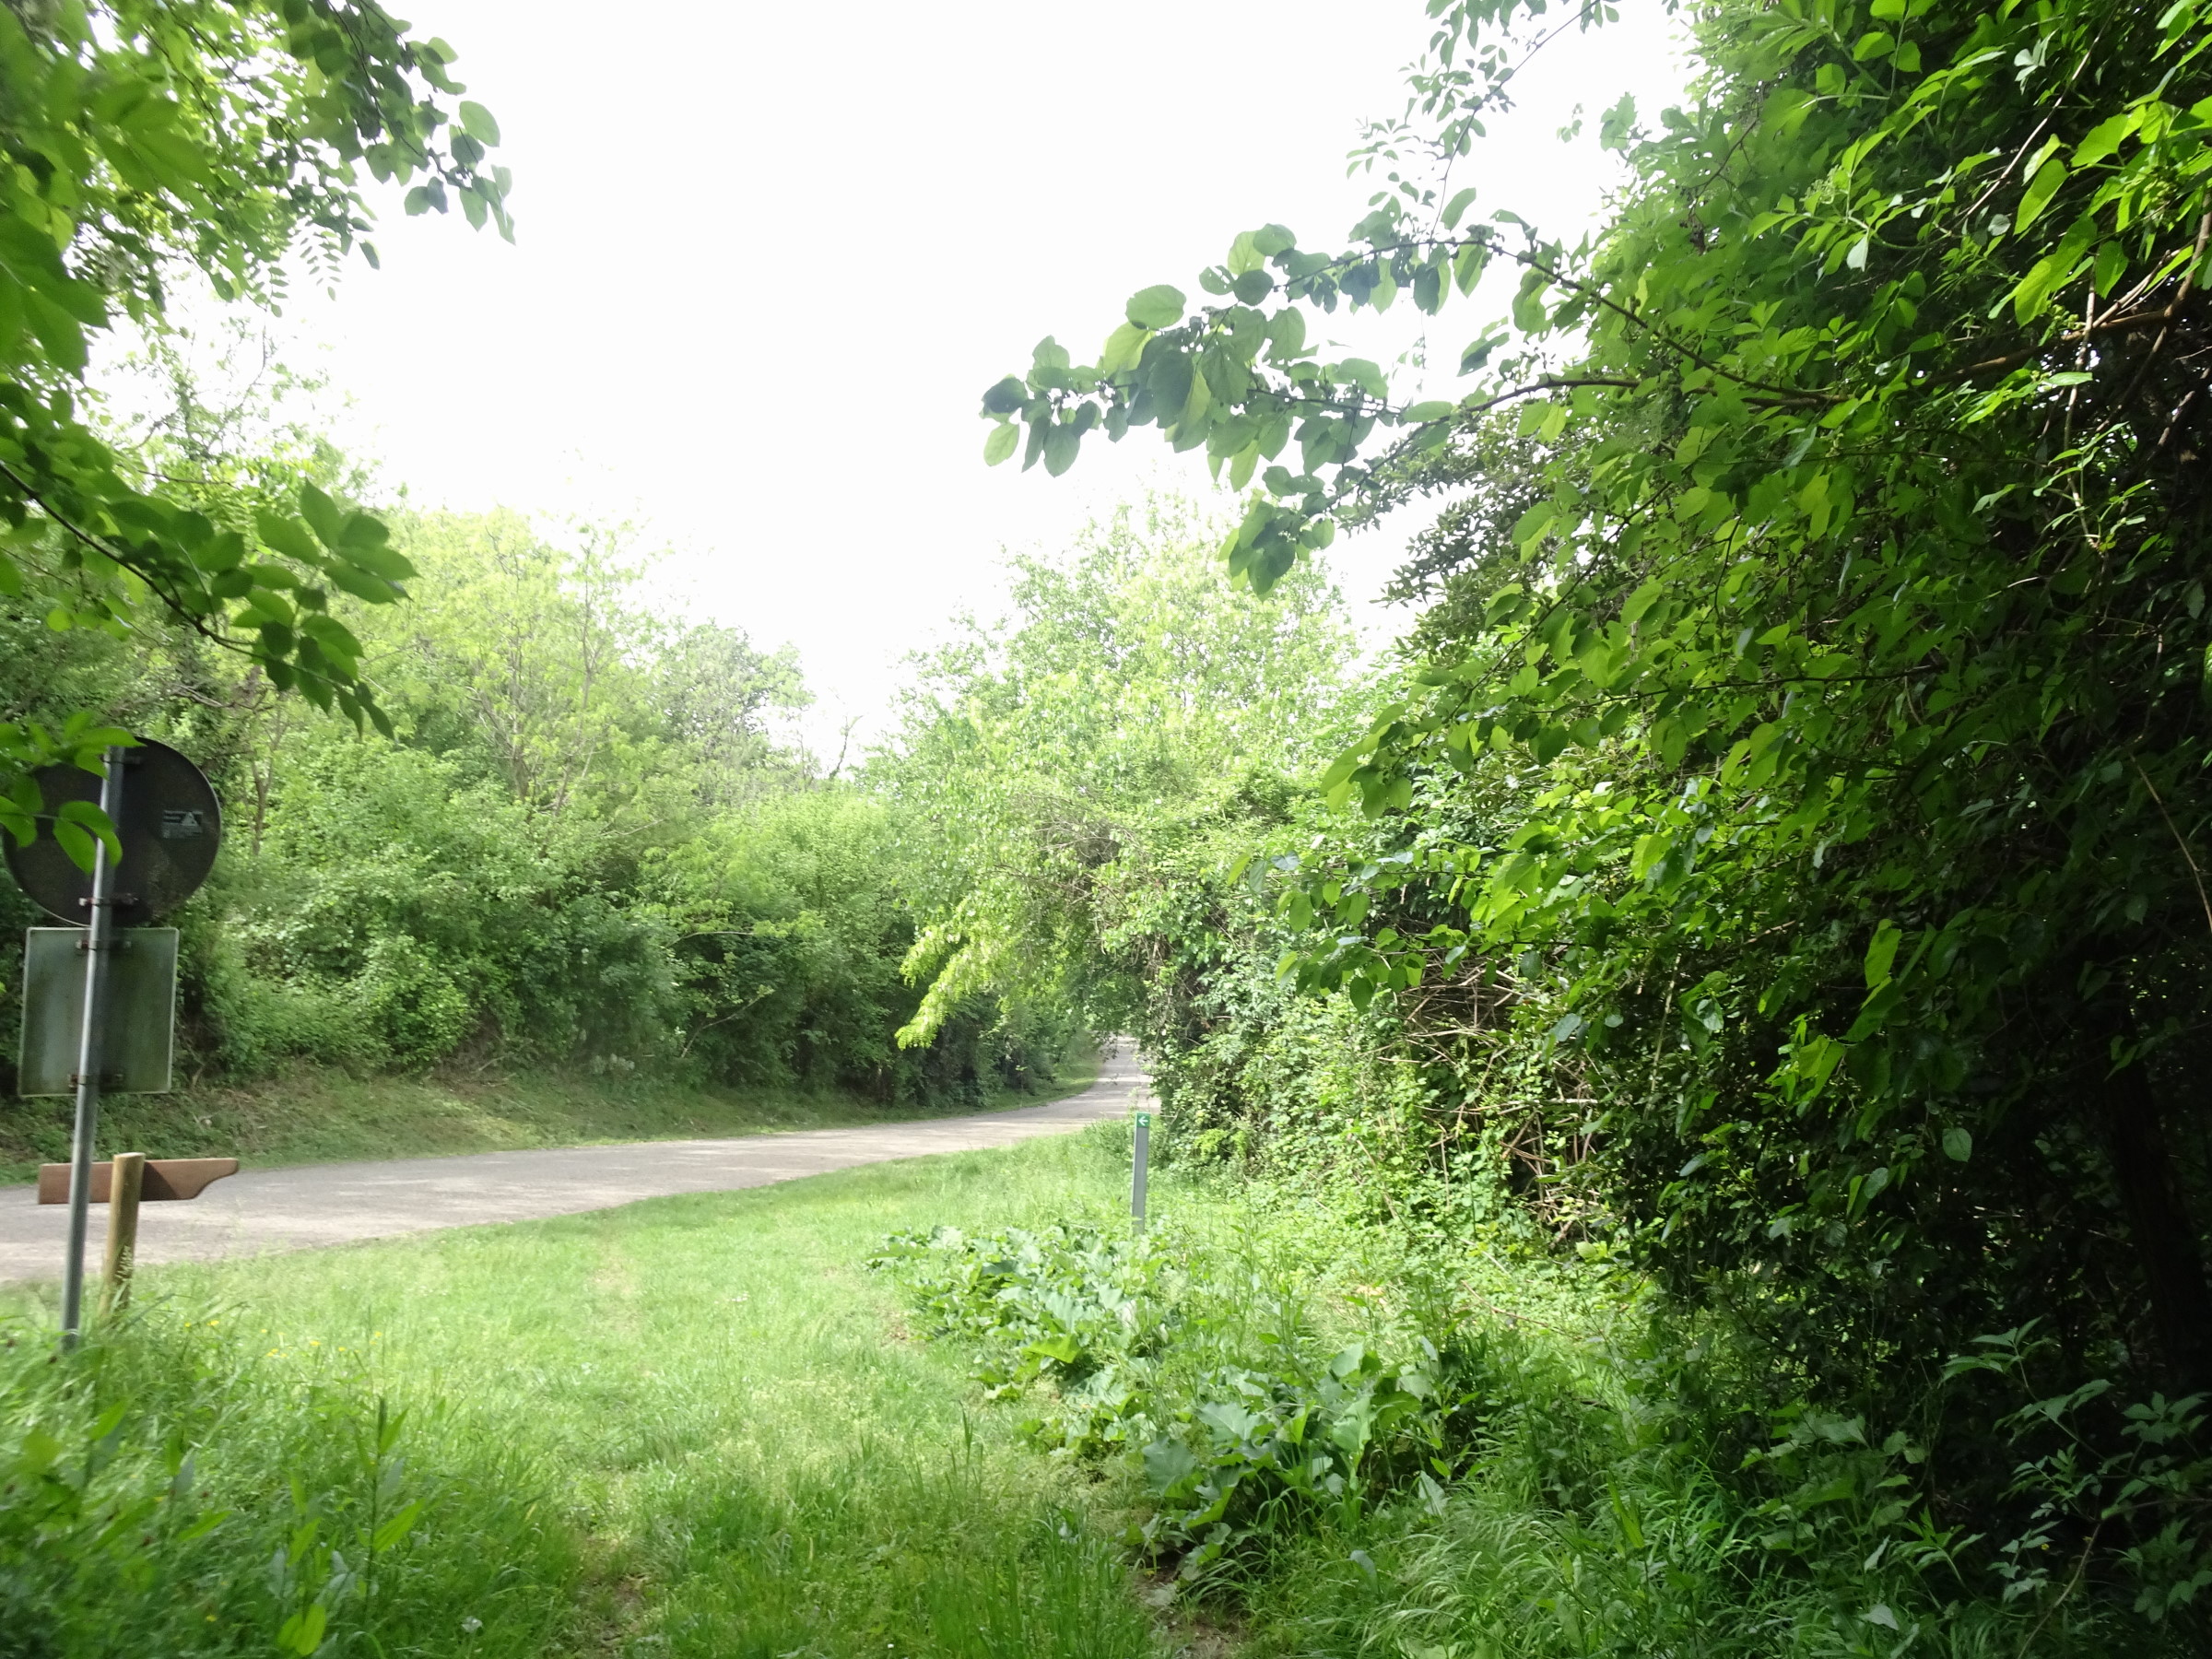
Photo 43 - Path indicator sign
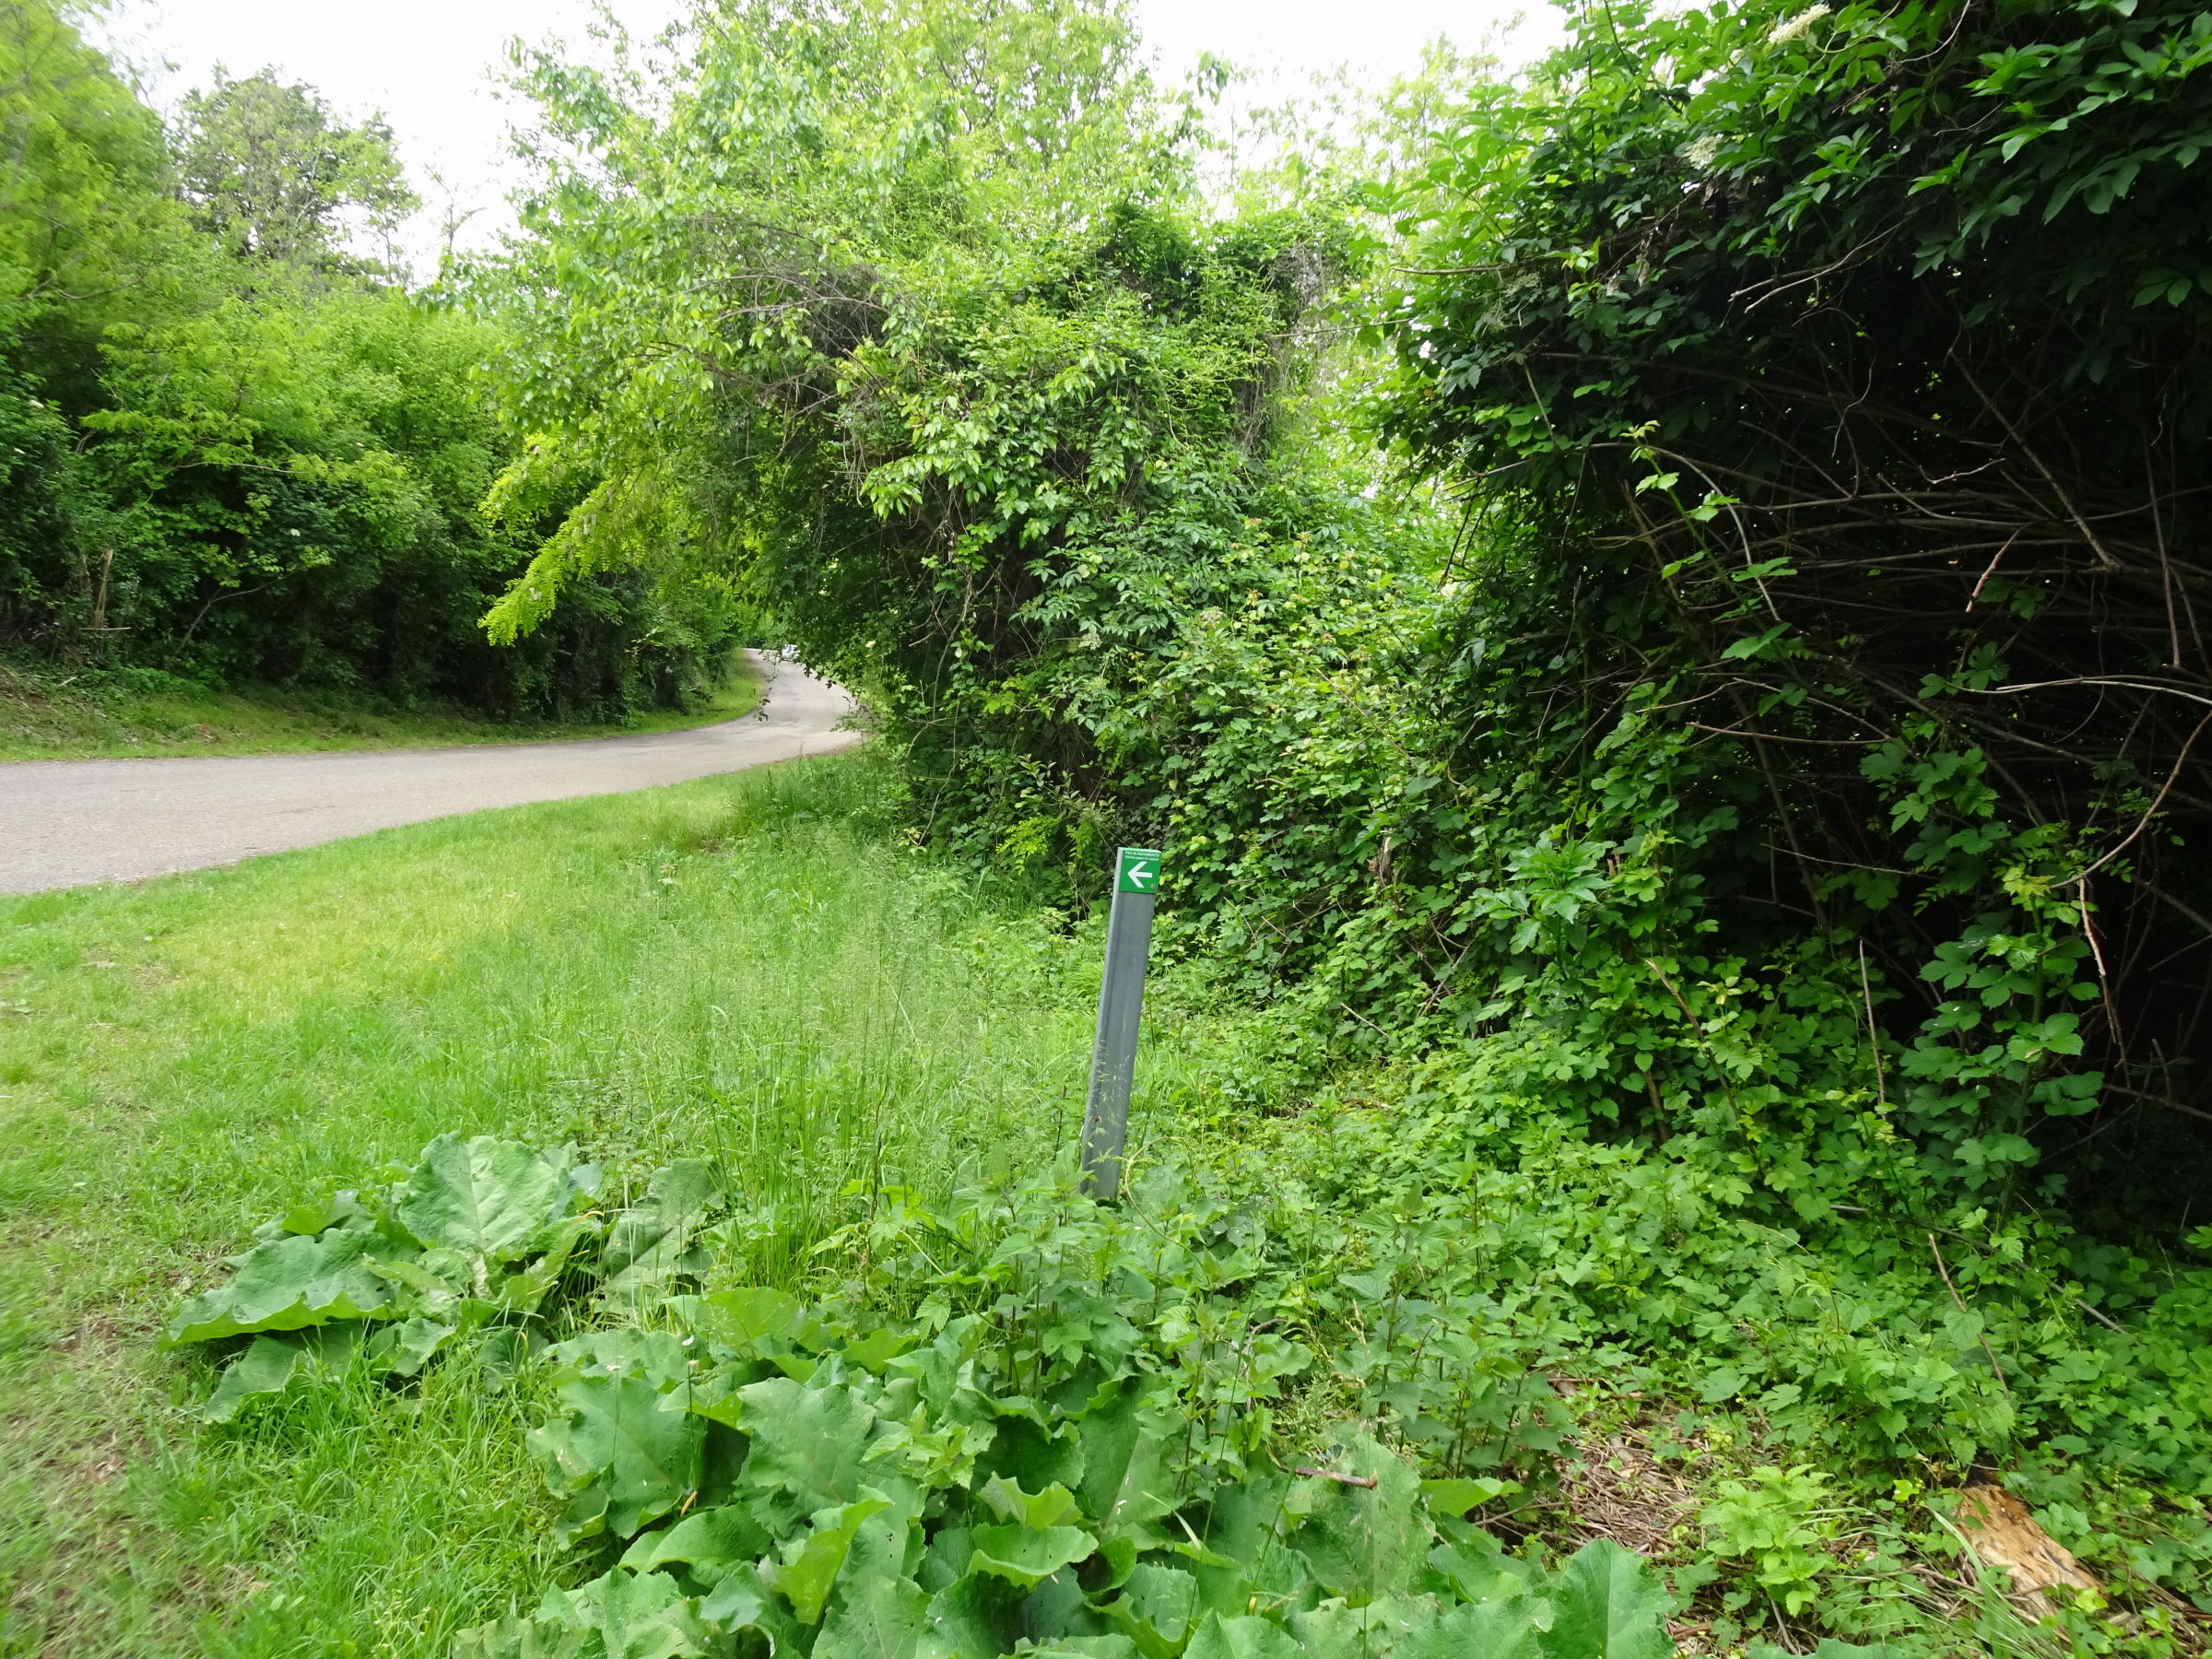
Photo 44 - Path indicator sign
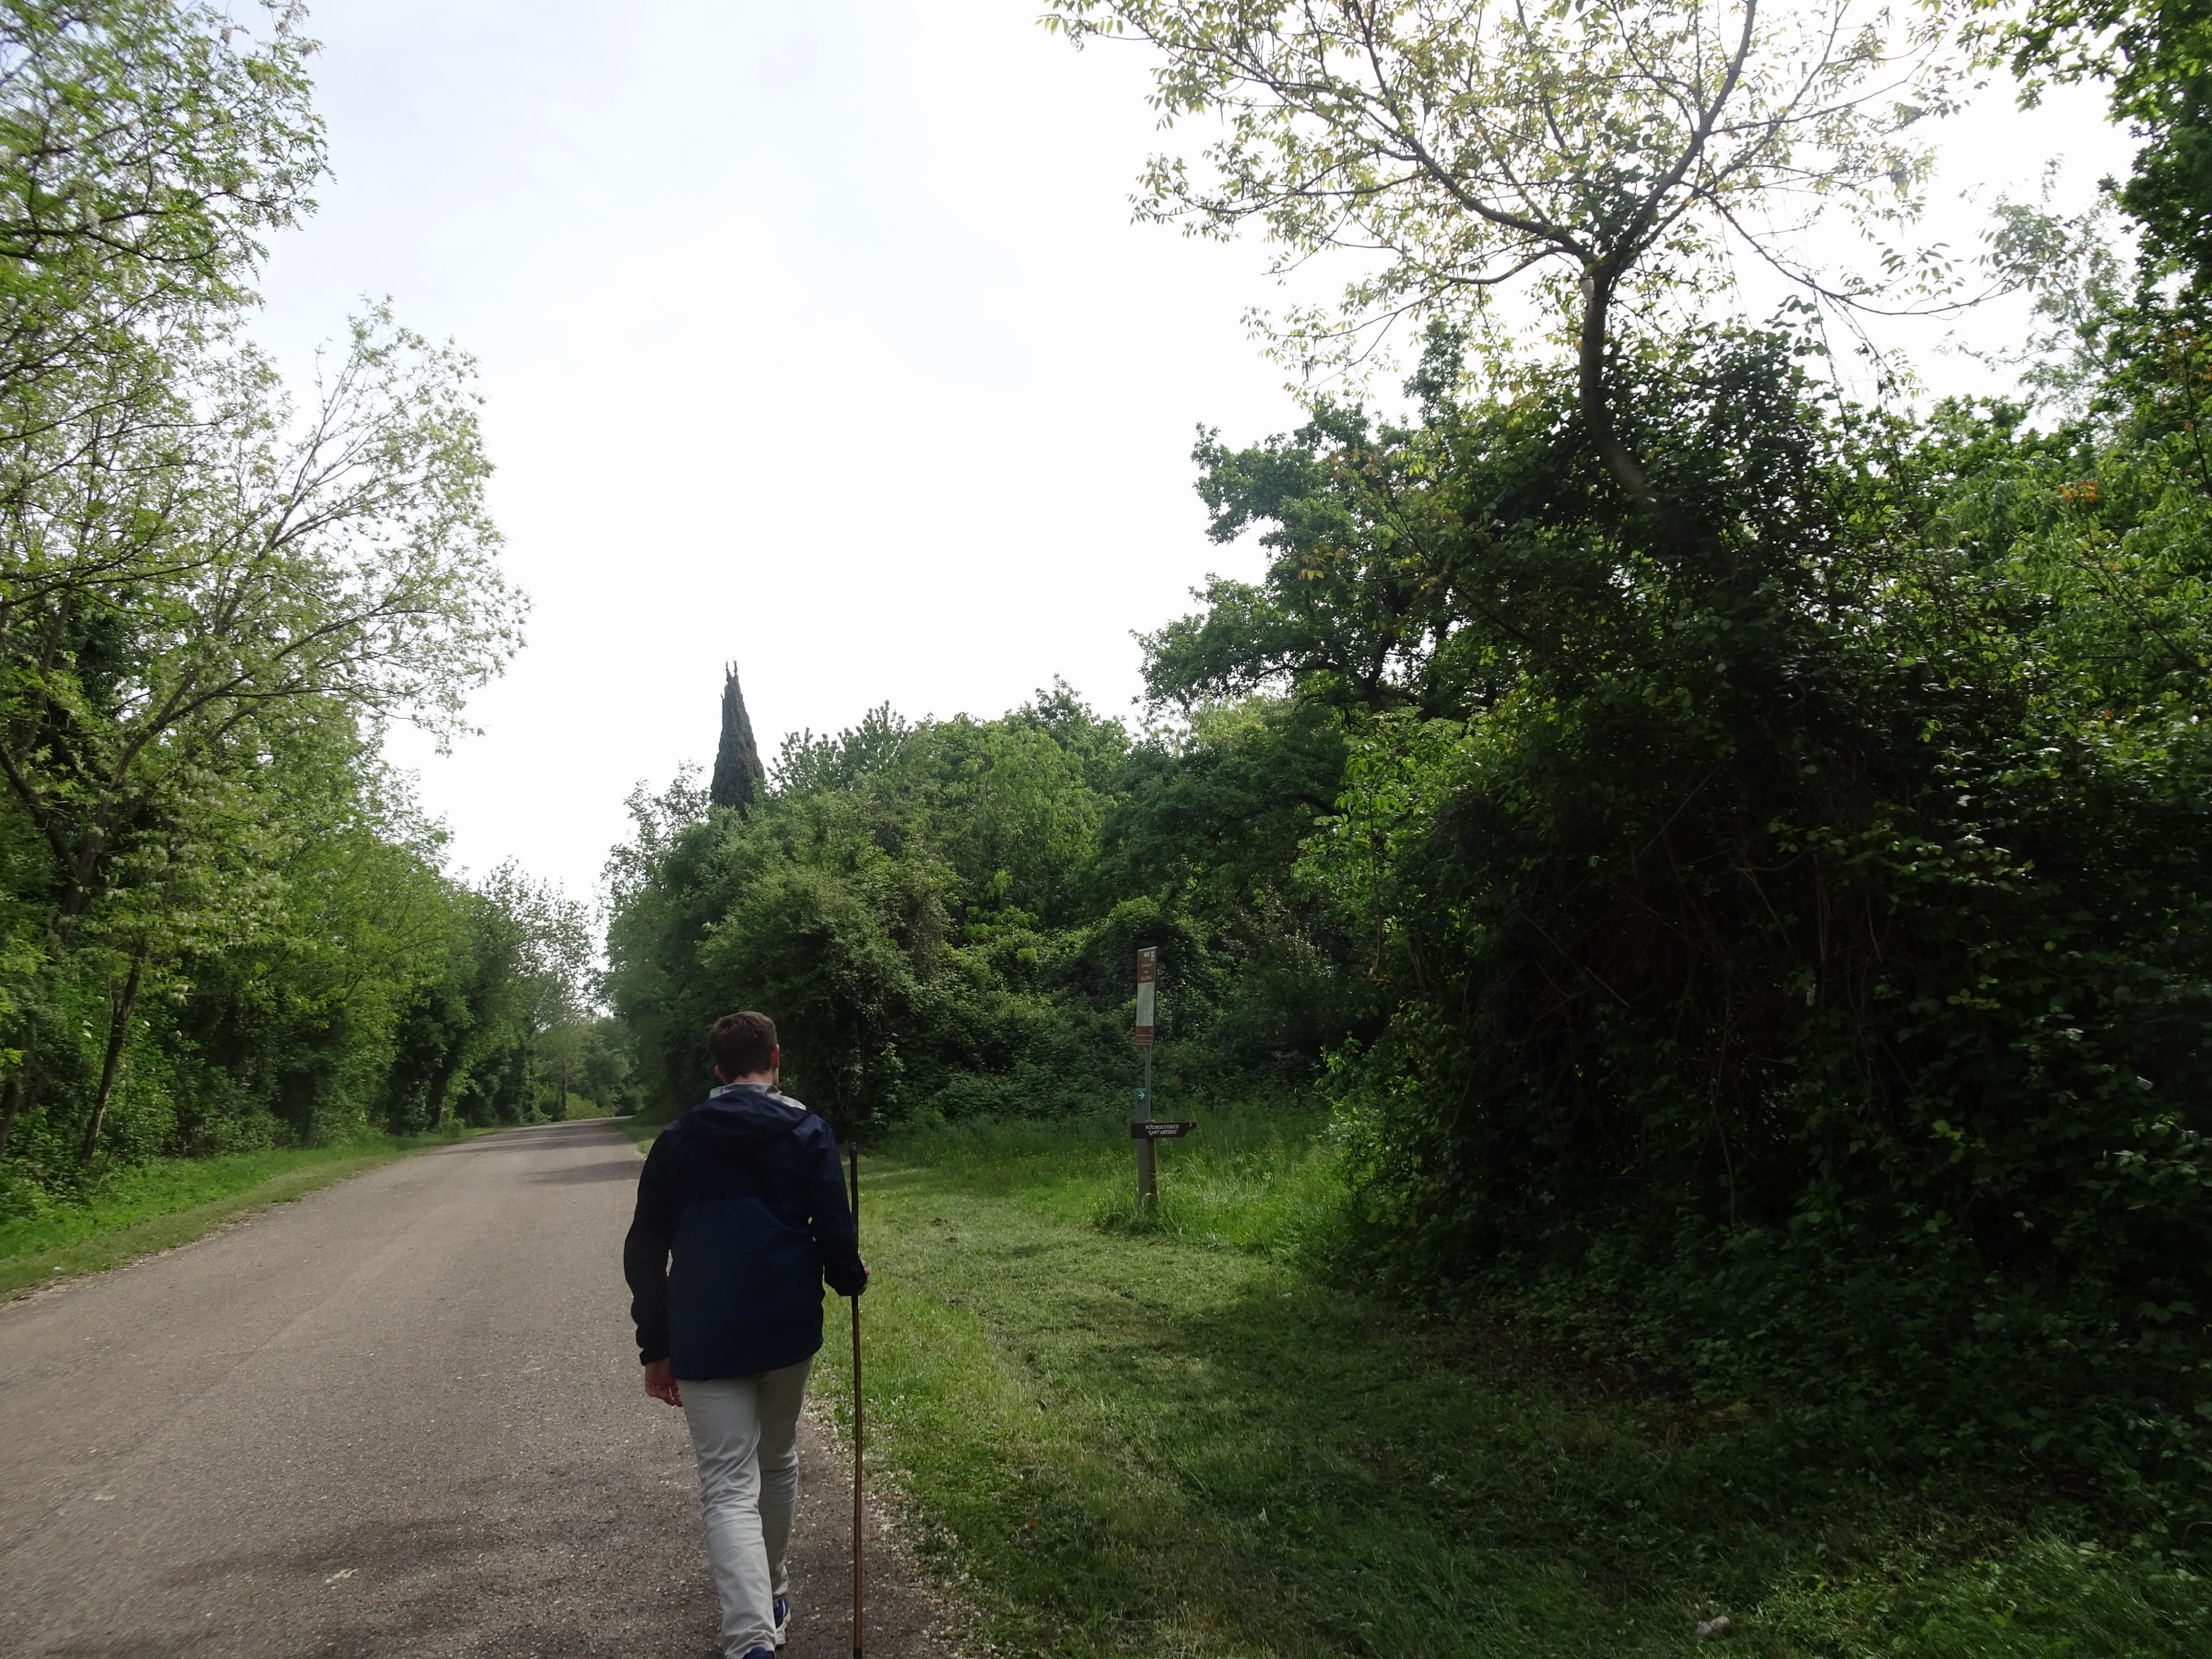
Photo 45 - The path continues for a short stretch on the paved road
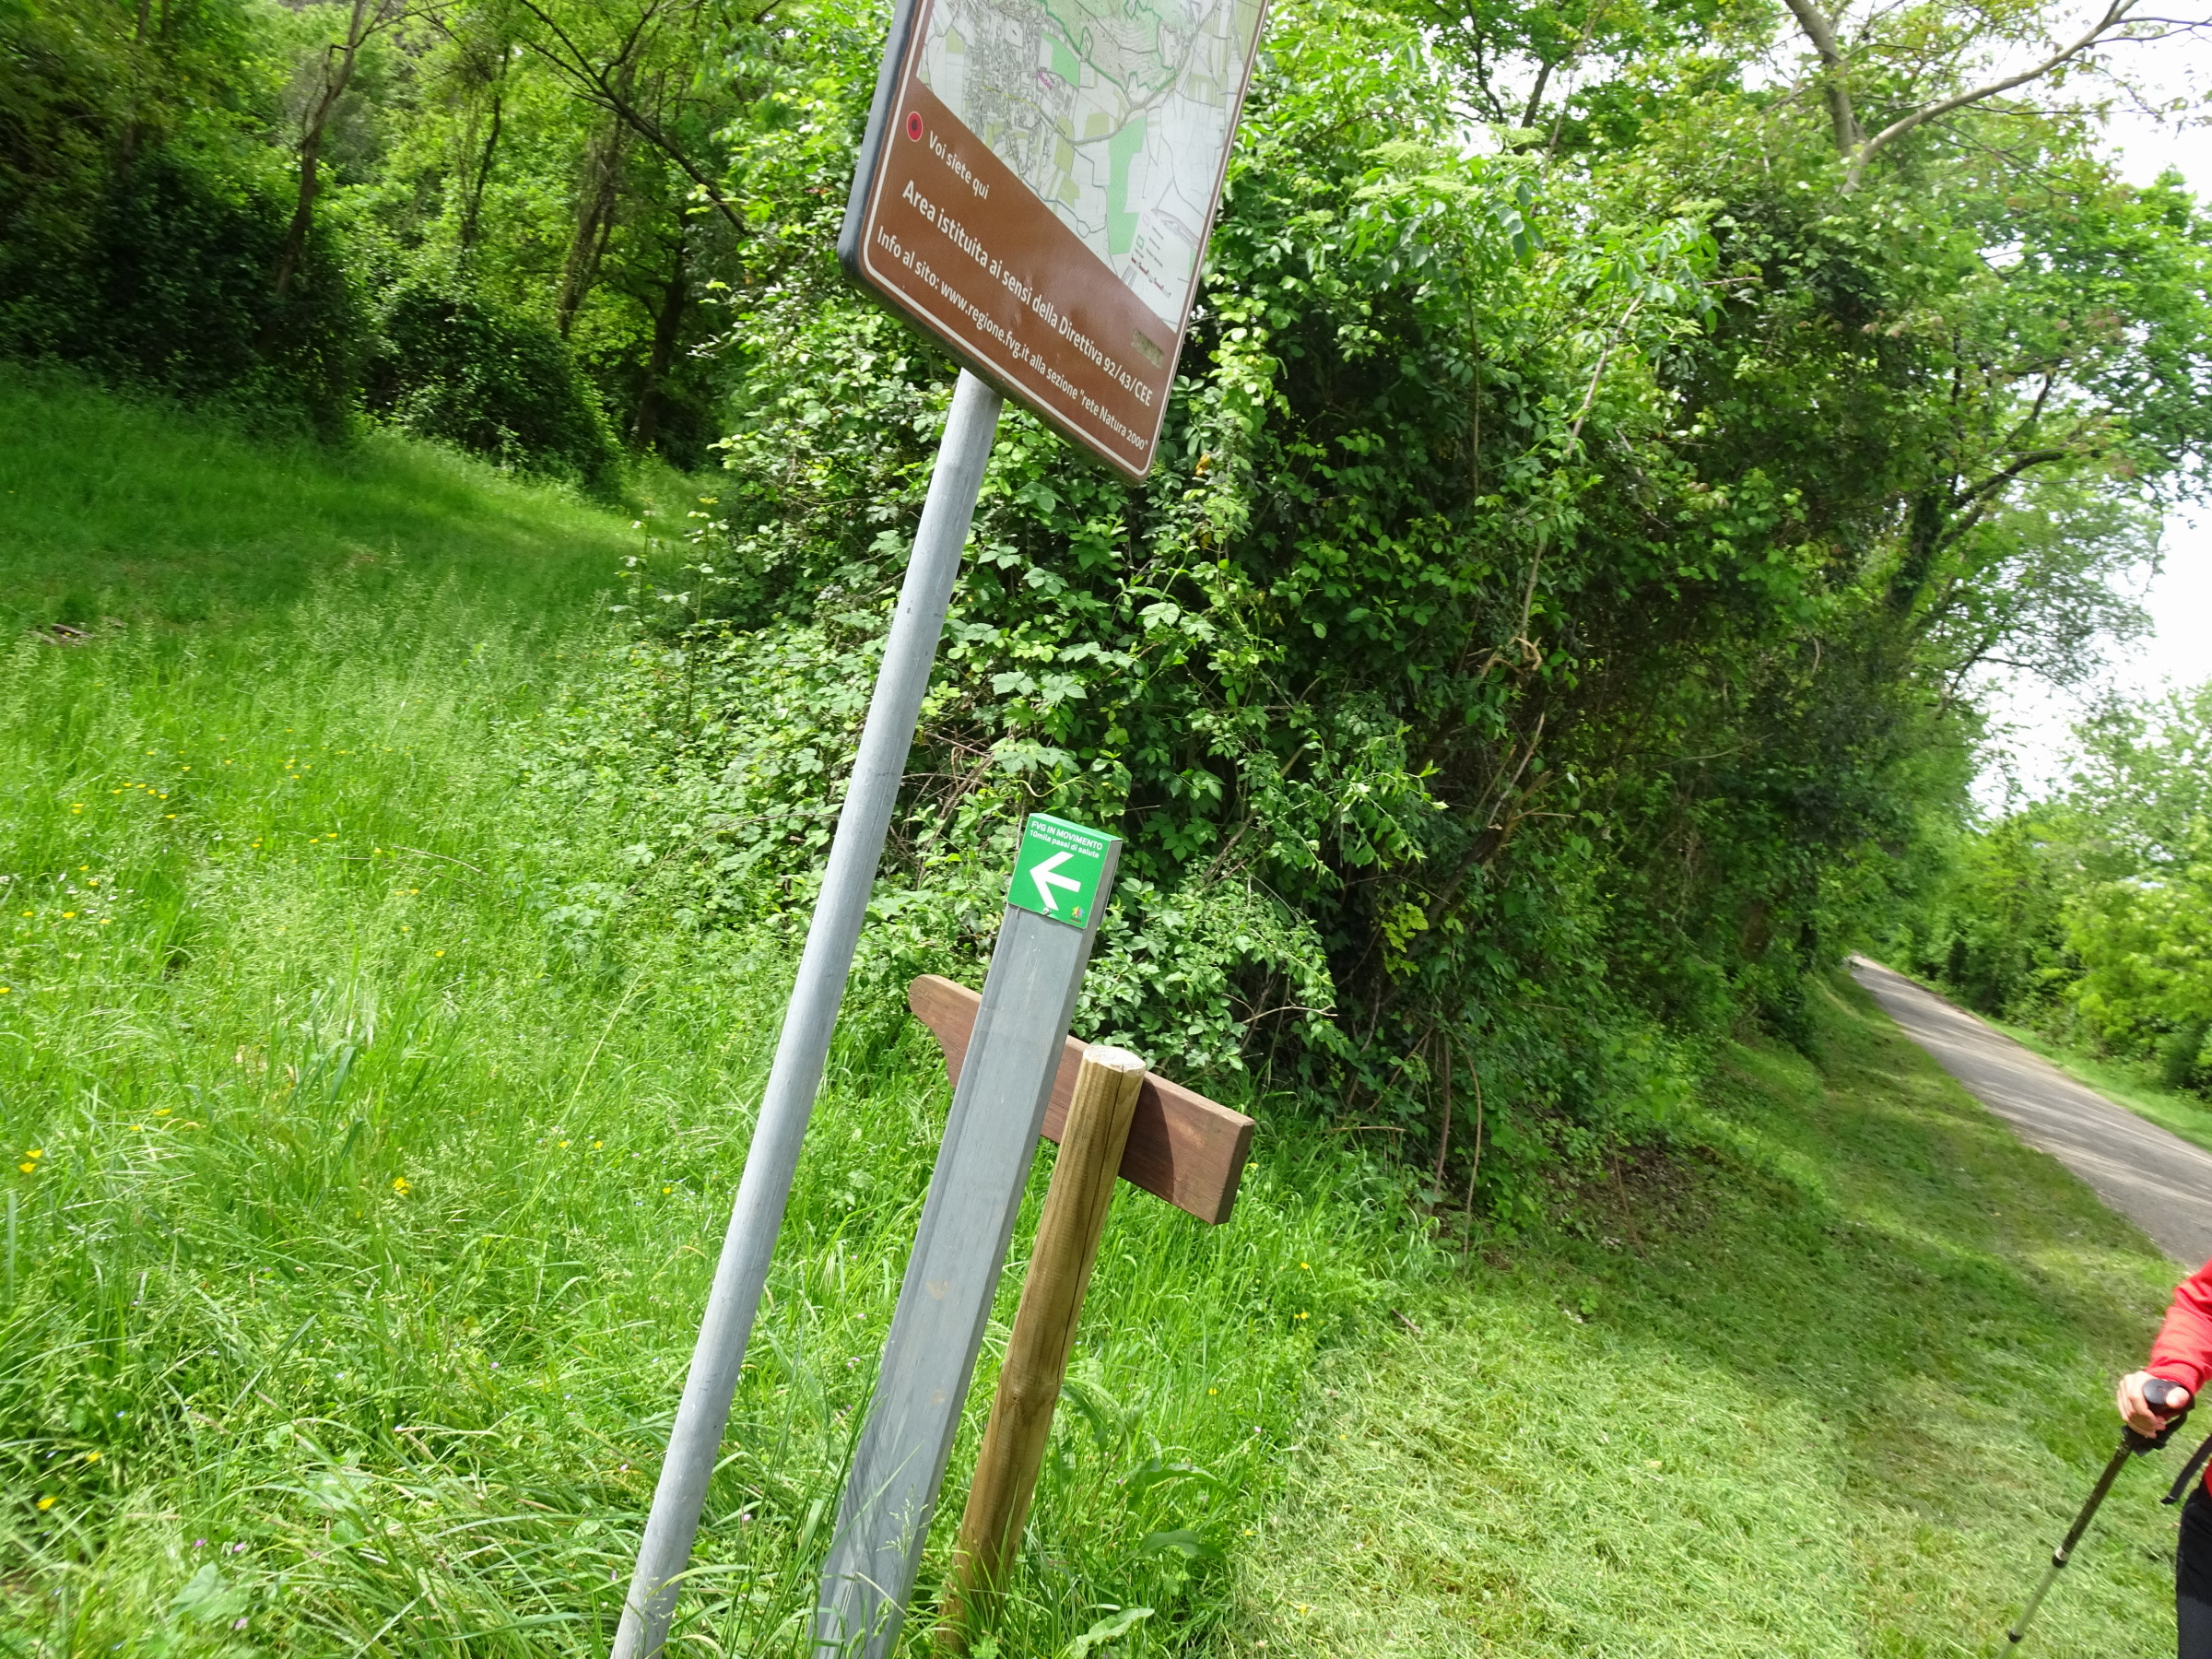
Photo 46 - Path indicator sign
After a short stretch on a dirt road (Photo 47), you reach the rest/picnic area adjacent to the church of Sant’Antonio (Photo 48 and others). Following that, a few steps further, you reach the church and the starting point, completing the loop.
The route is measured at about 3.8 km.
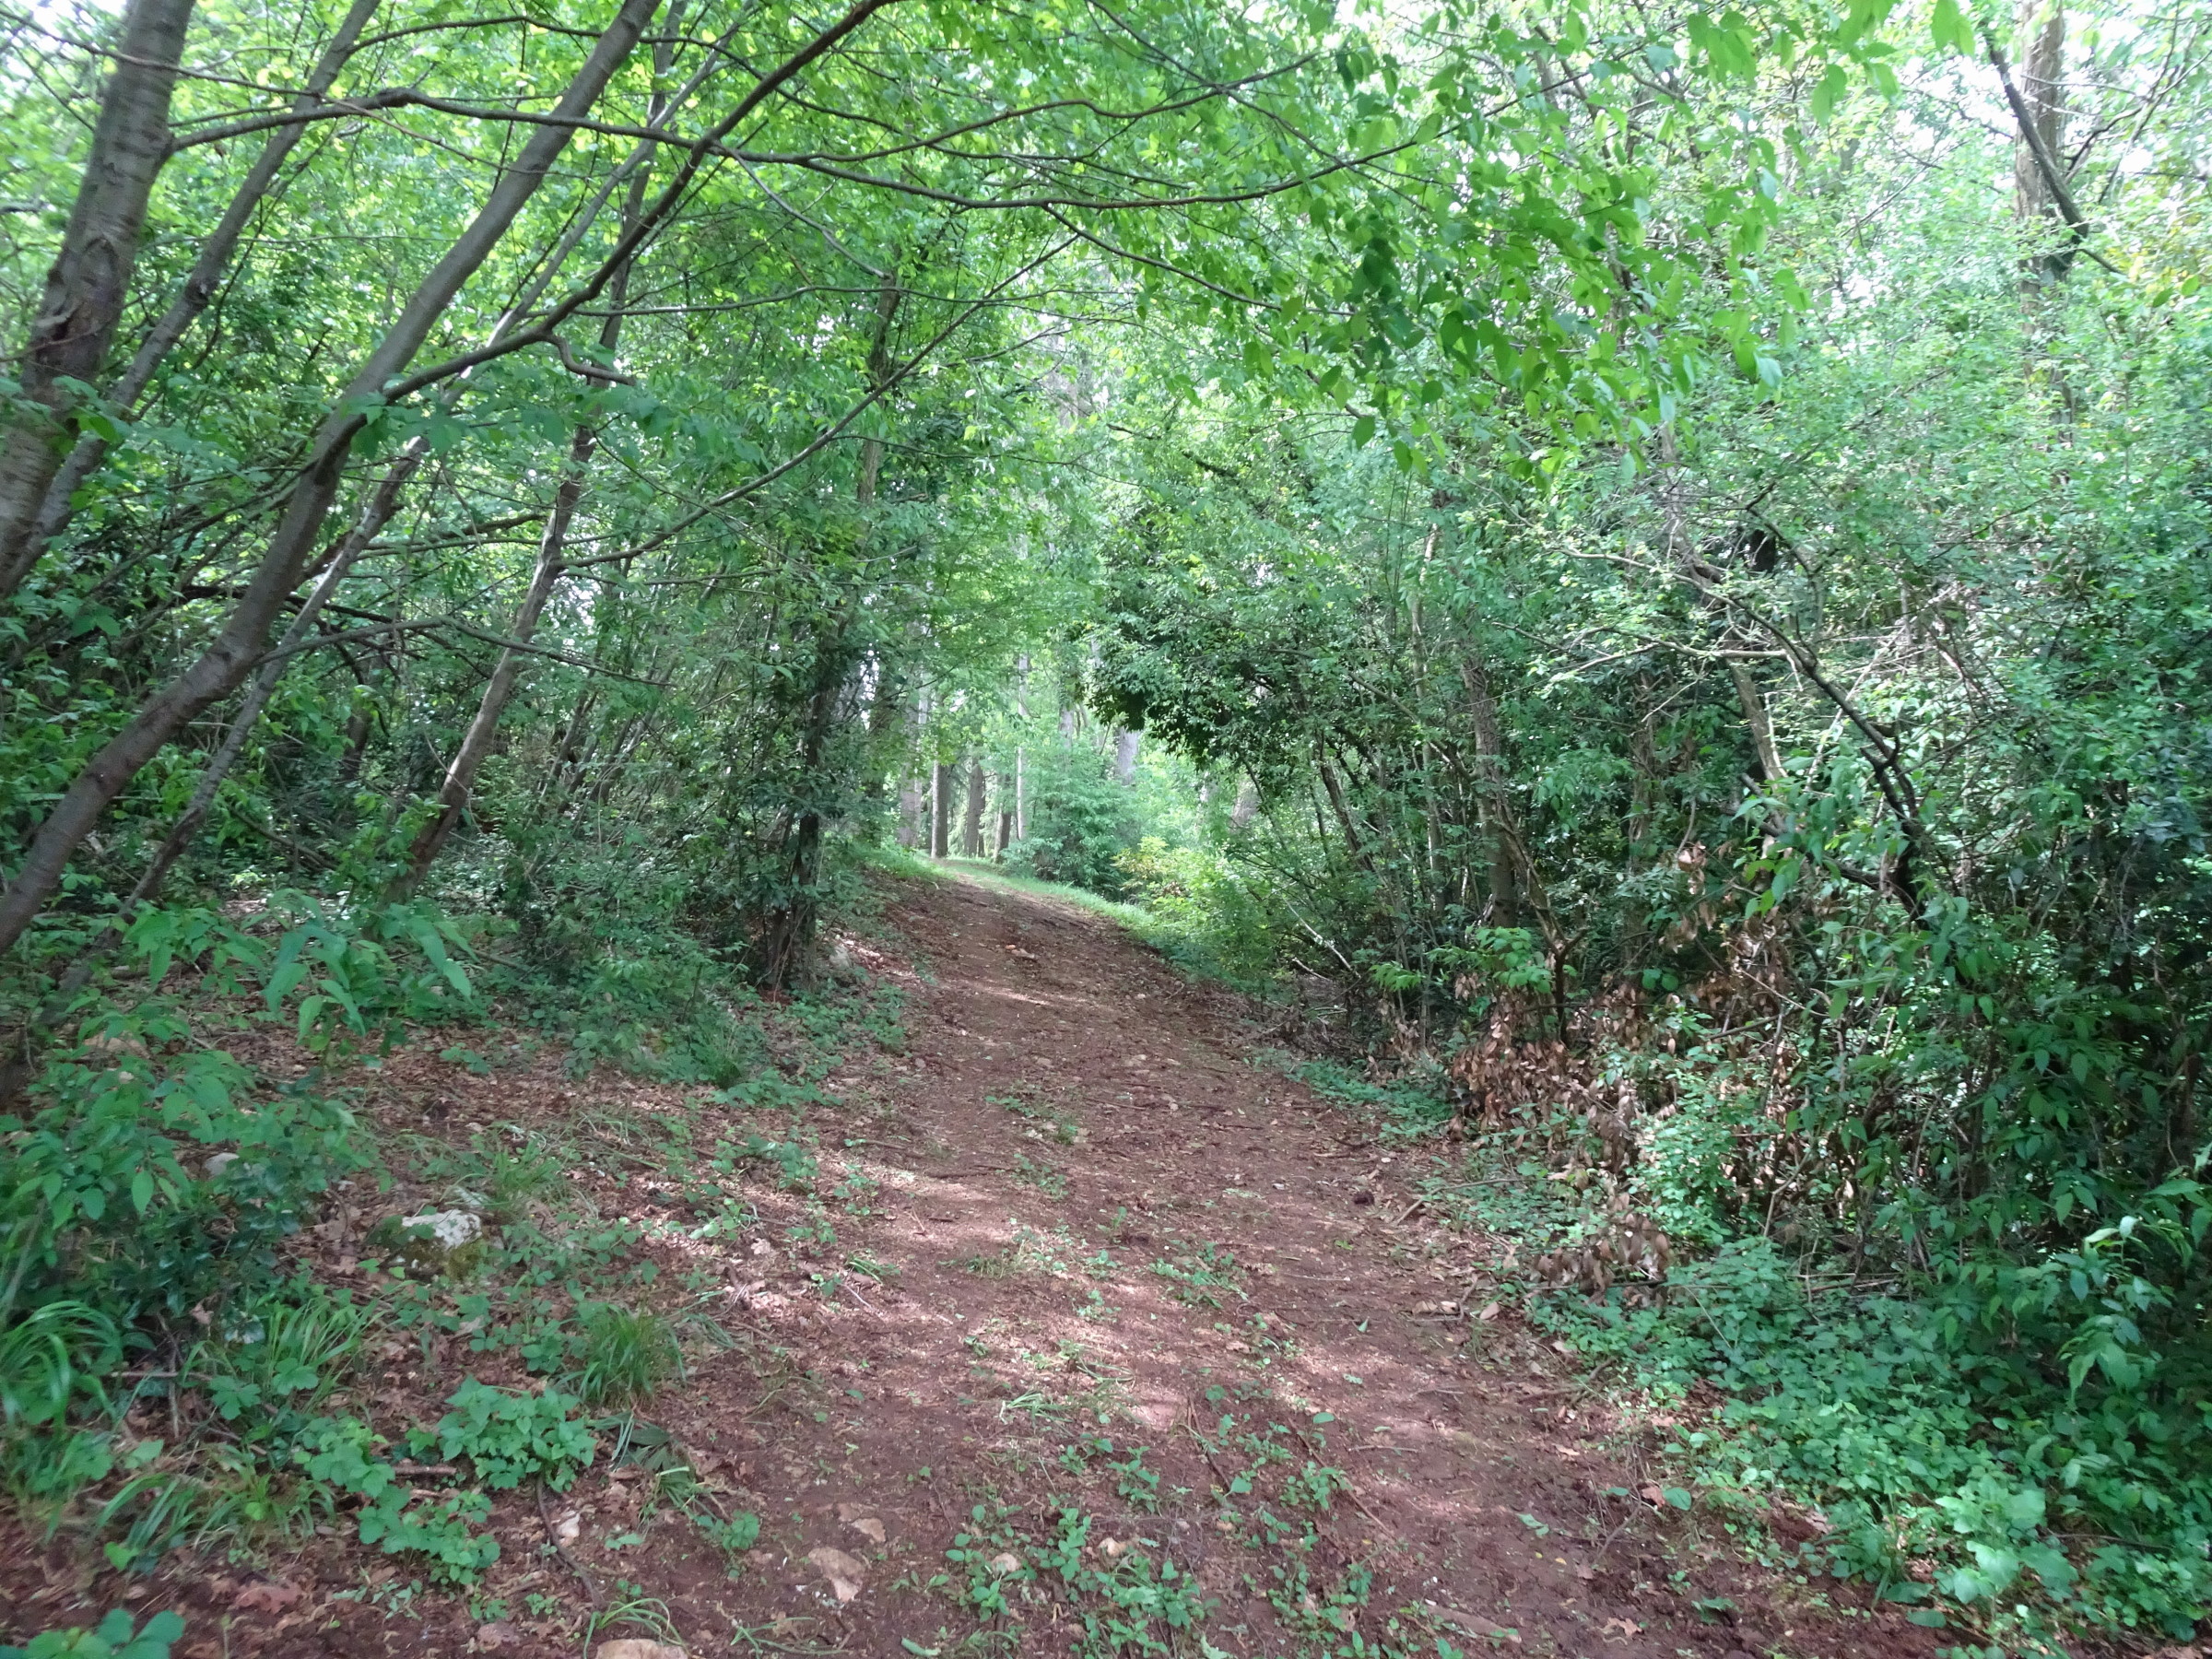
Photo 47 - Short stretch on dirt road

Photo 48 - Parking area adjacent to the church of Sant'Antonio

Photo 49 - Parking area adjacent to the church of Sant'Antonio

Photo 50 - Parking area adjacent to the church of Sant'Antonio